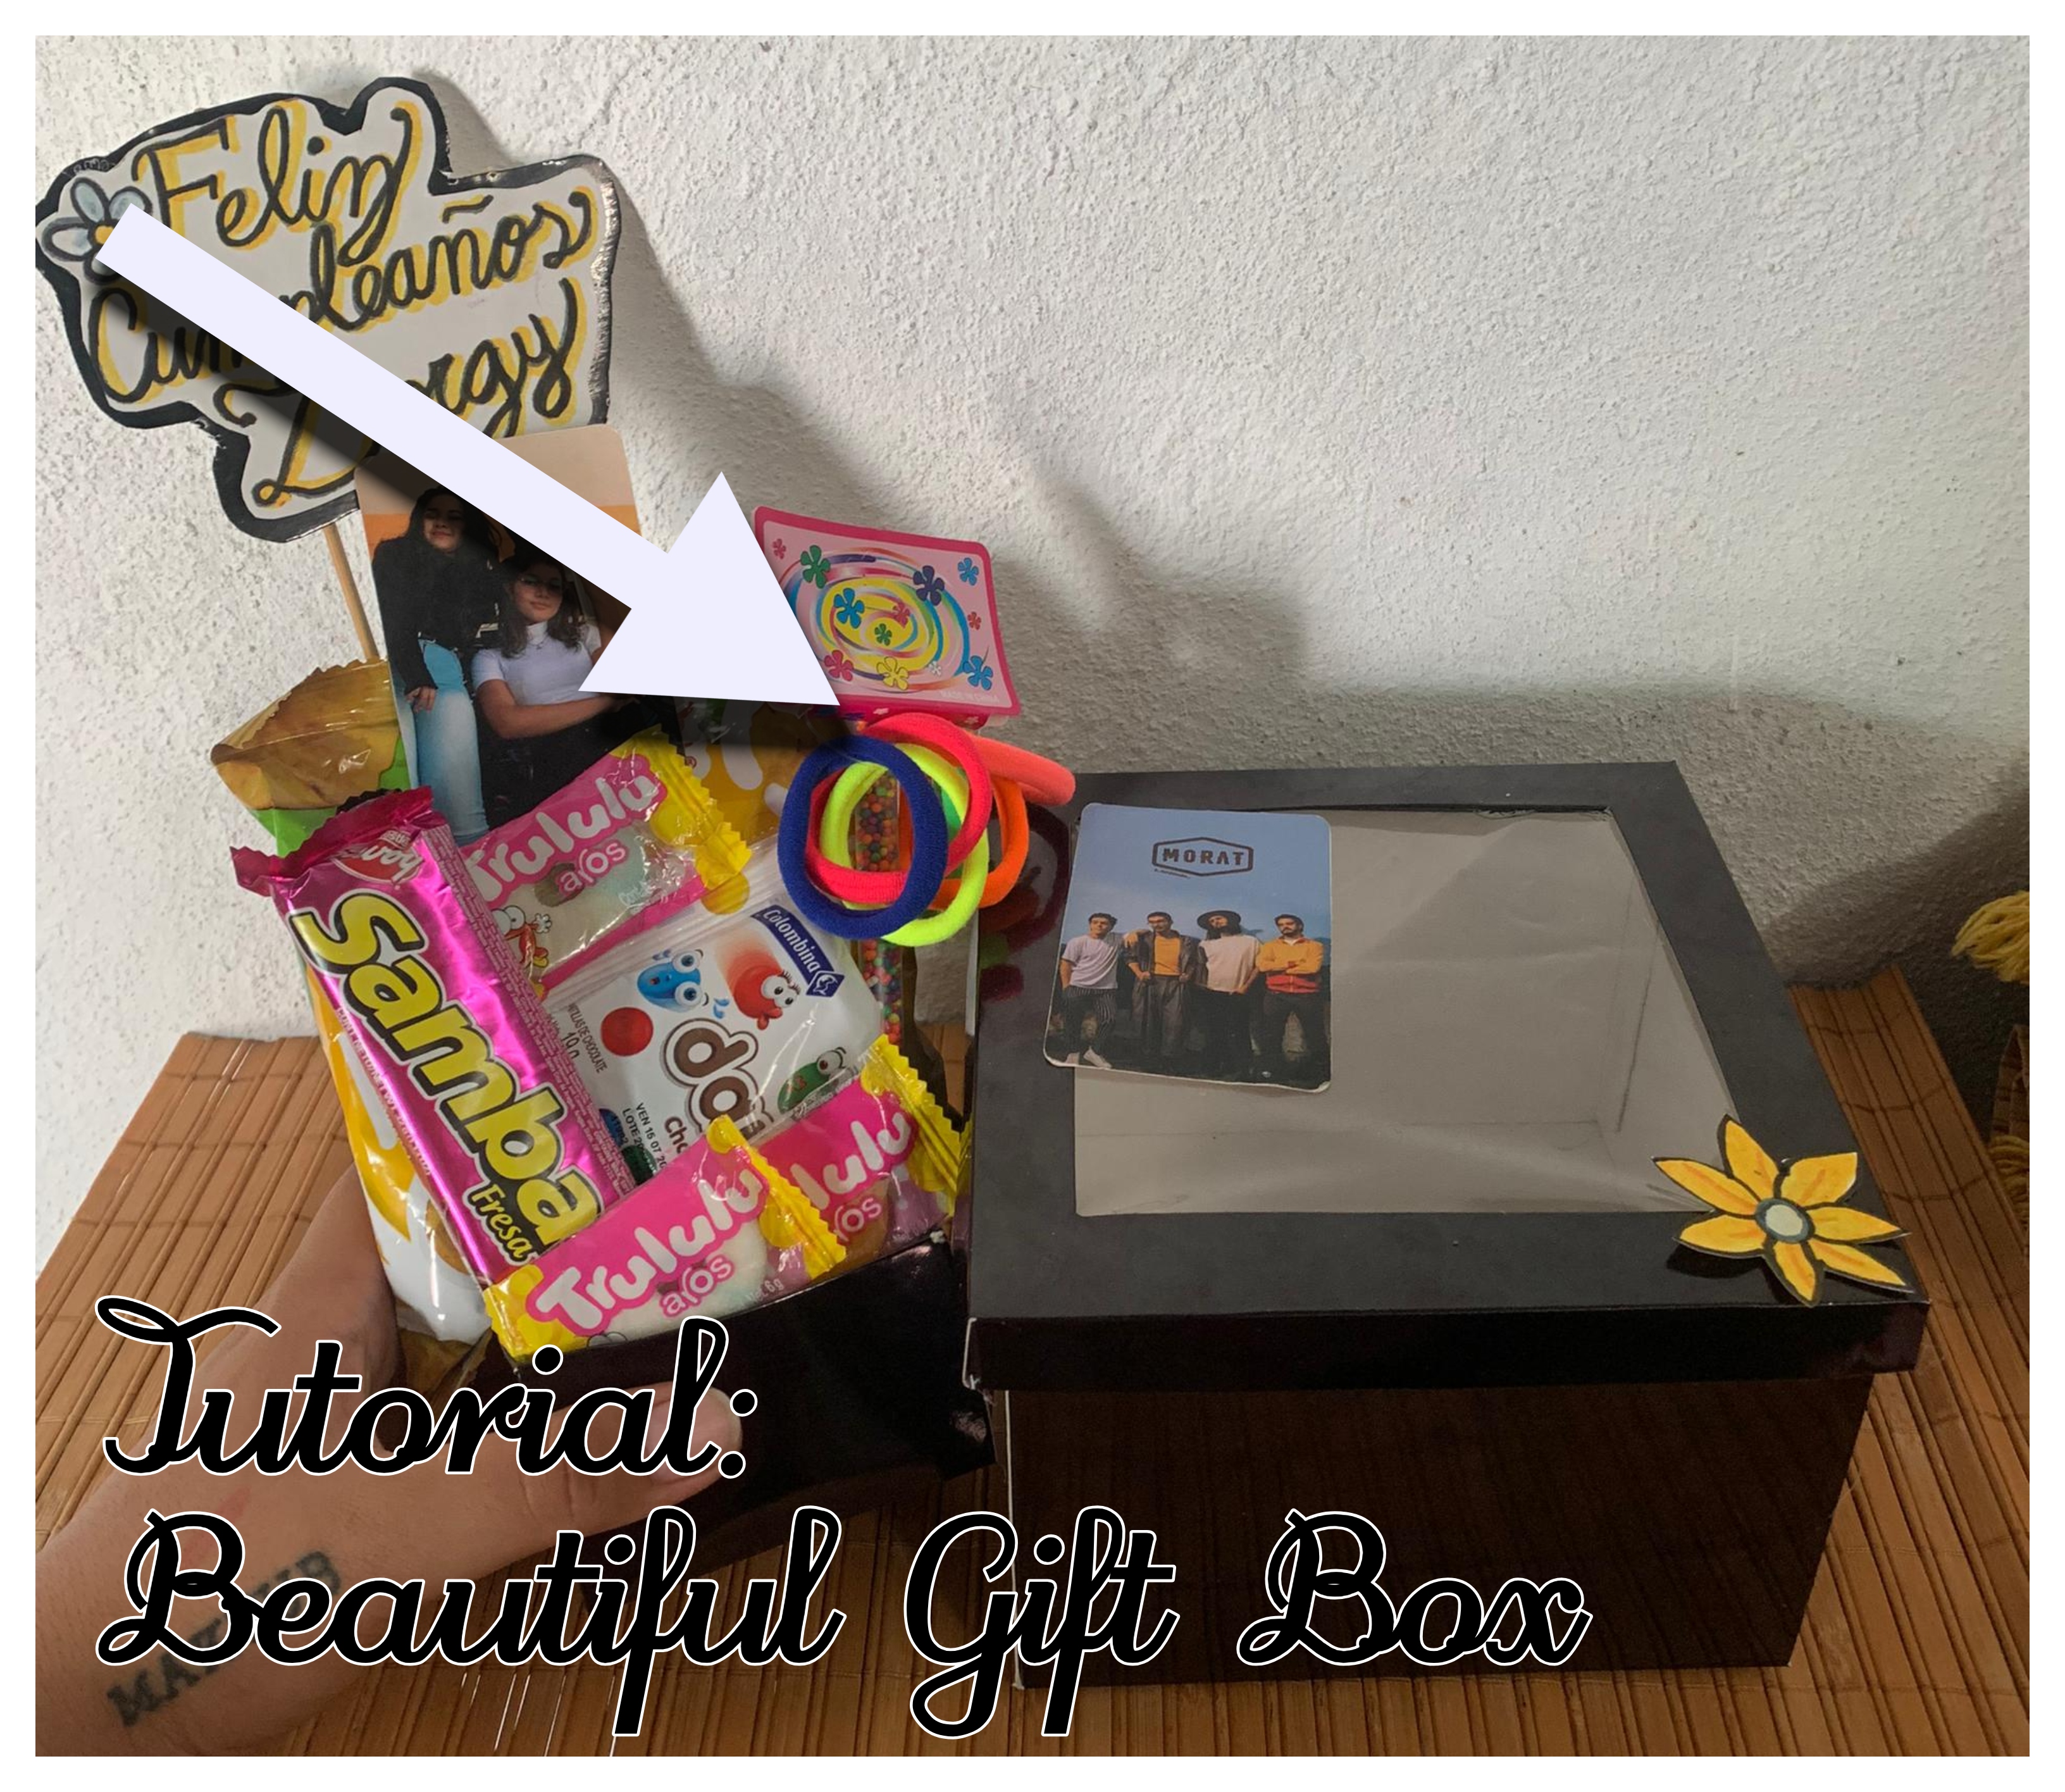
A couple of days ago was my best friend's birthday, who has been a very special person in my life, and since I couldn't let that day pass without giving her something made by me, being the good artisan that I am hahaha, I decided to make her a little arrangement and give her something special. As I have been working in a bakery in my city these past few months, I made a small cake to gift her, but I felt that it wasn't enough and that I should give it to her in a nice packaging, so I thought about making a little box and got to work.
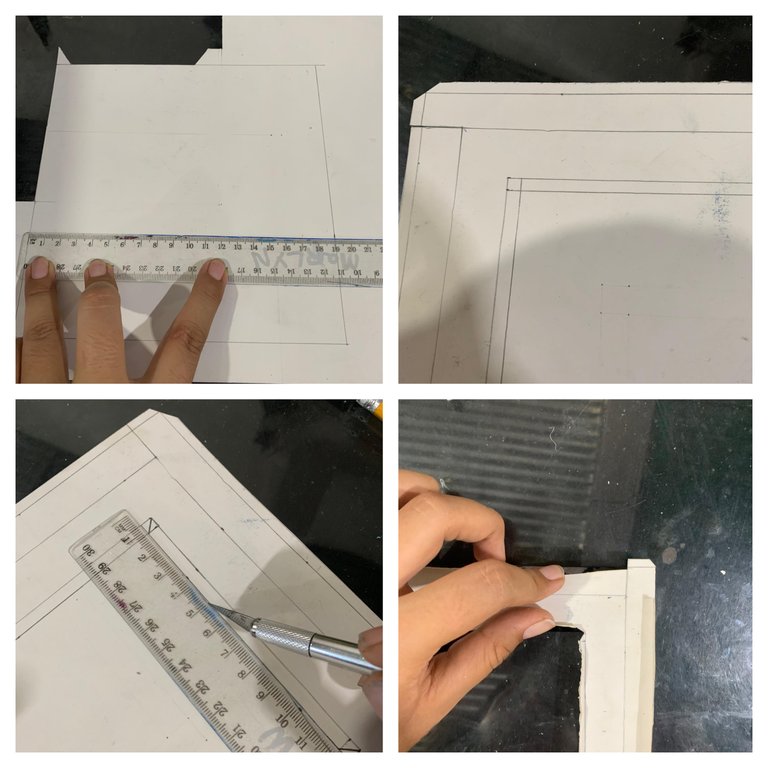
For my box, I used double-sided cardstock (the kind that is white on the back and satin on the front), pencil, scissors, ruler, precision cutter, and a small piece of transparent plastic like the ones used for cake box covers. I started by sketching a small design of how I wanted the box to be and drew it on a sheet of paper to use as a guide. Using the ruler, I began by drawing a 39x39cm square from one corner of the cardstock and in each corner of this square, I made a smaller 12x12 cm square so that the middle part measured 15x15 cm and the sides 12x15 cm.
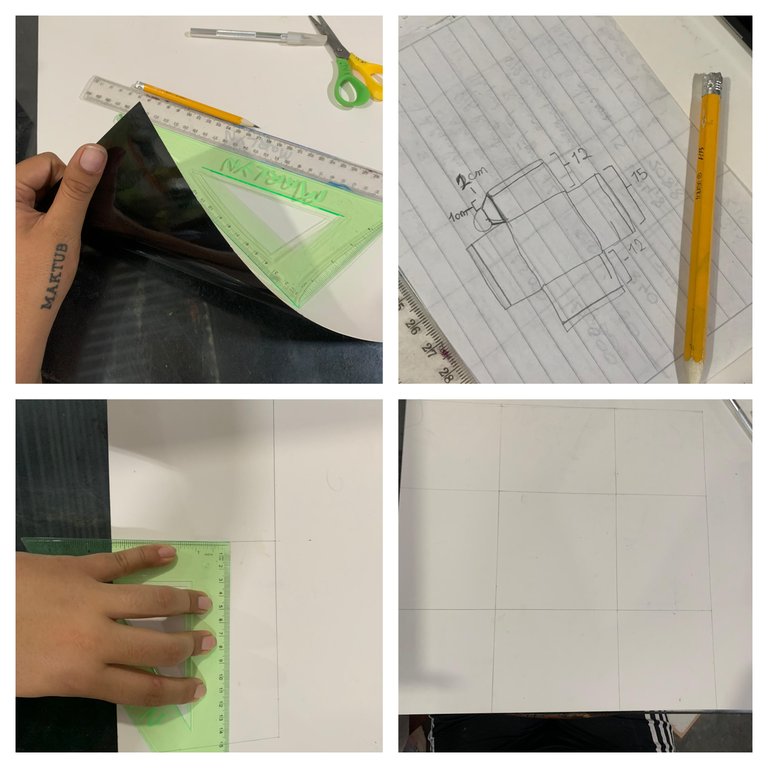
After this, on each of these 12x15 sides, I drew a line, taking 11cm from the center so that there would be a 1cm border on the edges. In each of the 12x12 cm squares, at a distance of 1.5cm, I drew a line leaving a space of 1cm from the part that connects to the other sides and 2cm from the edges. I did the same with each side, ensuring that the 2cm line was only on one side of each square, as shown in the fourth image of this collage.
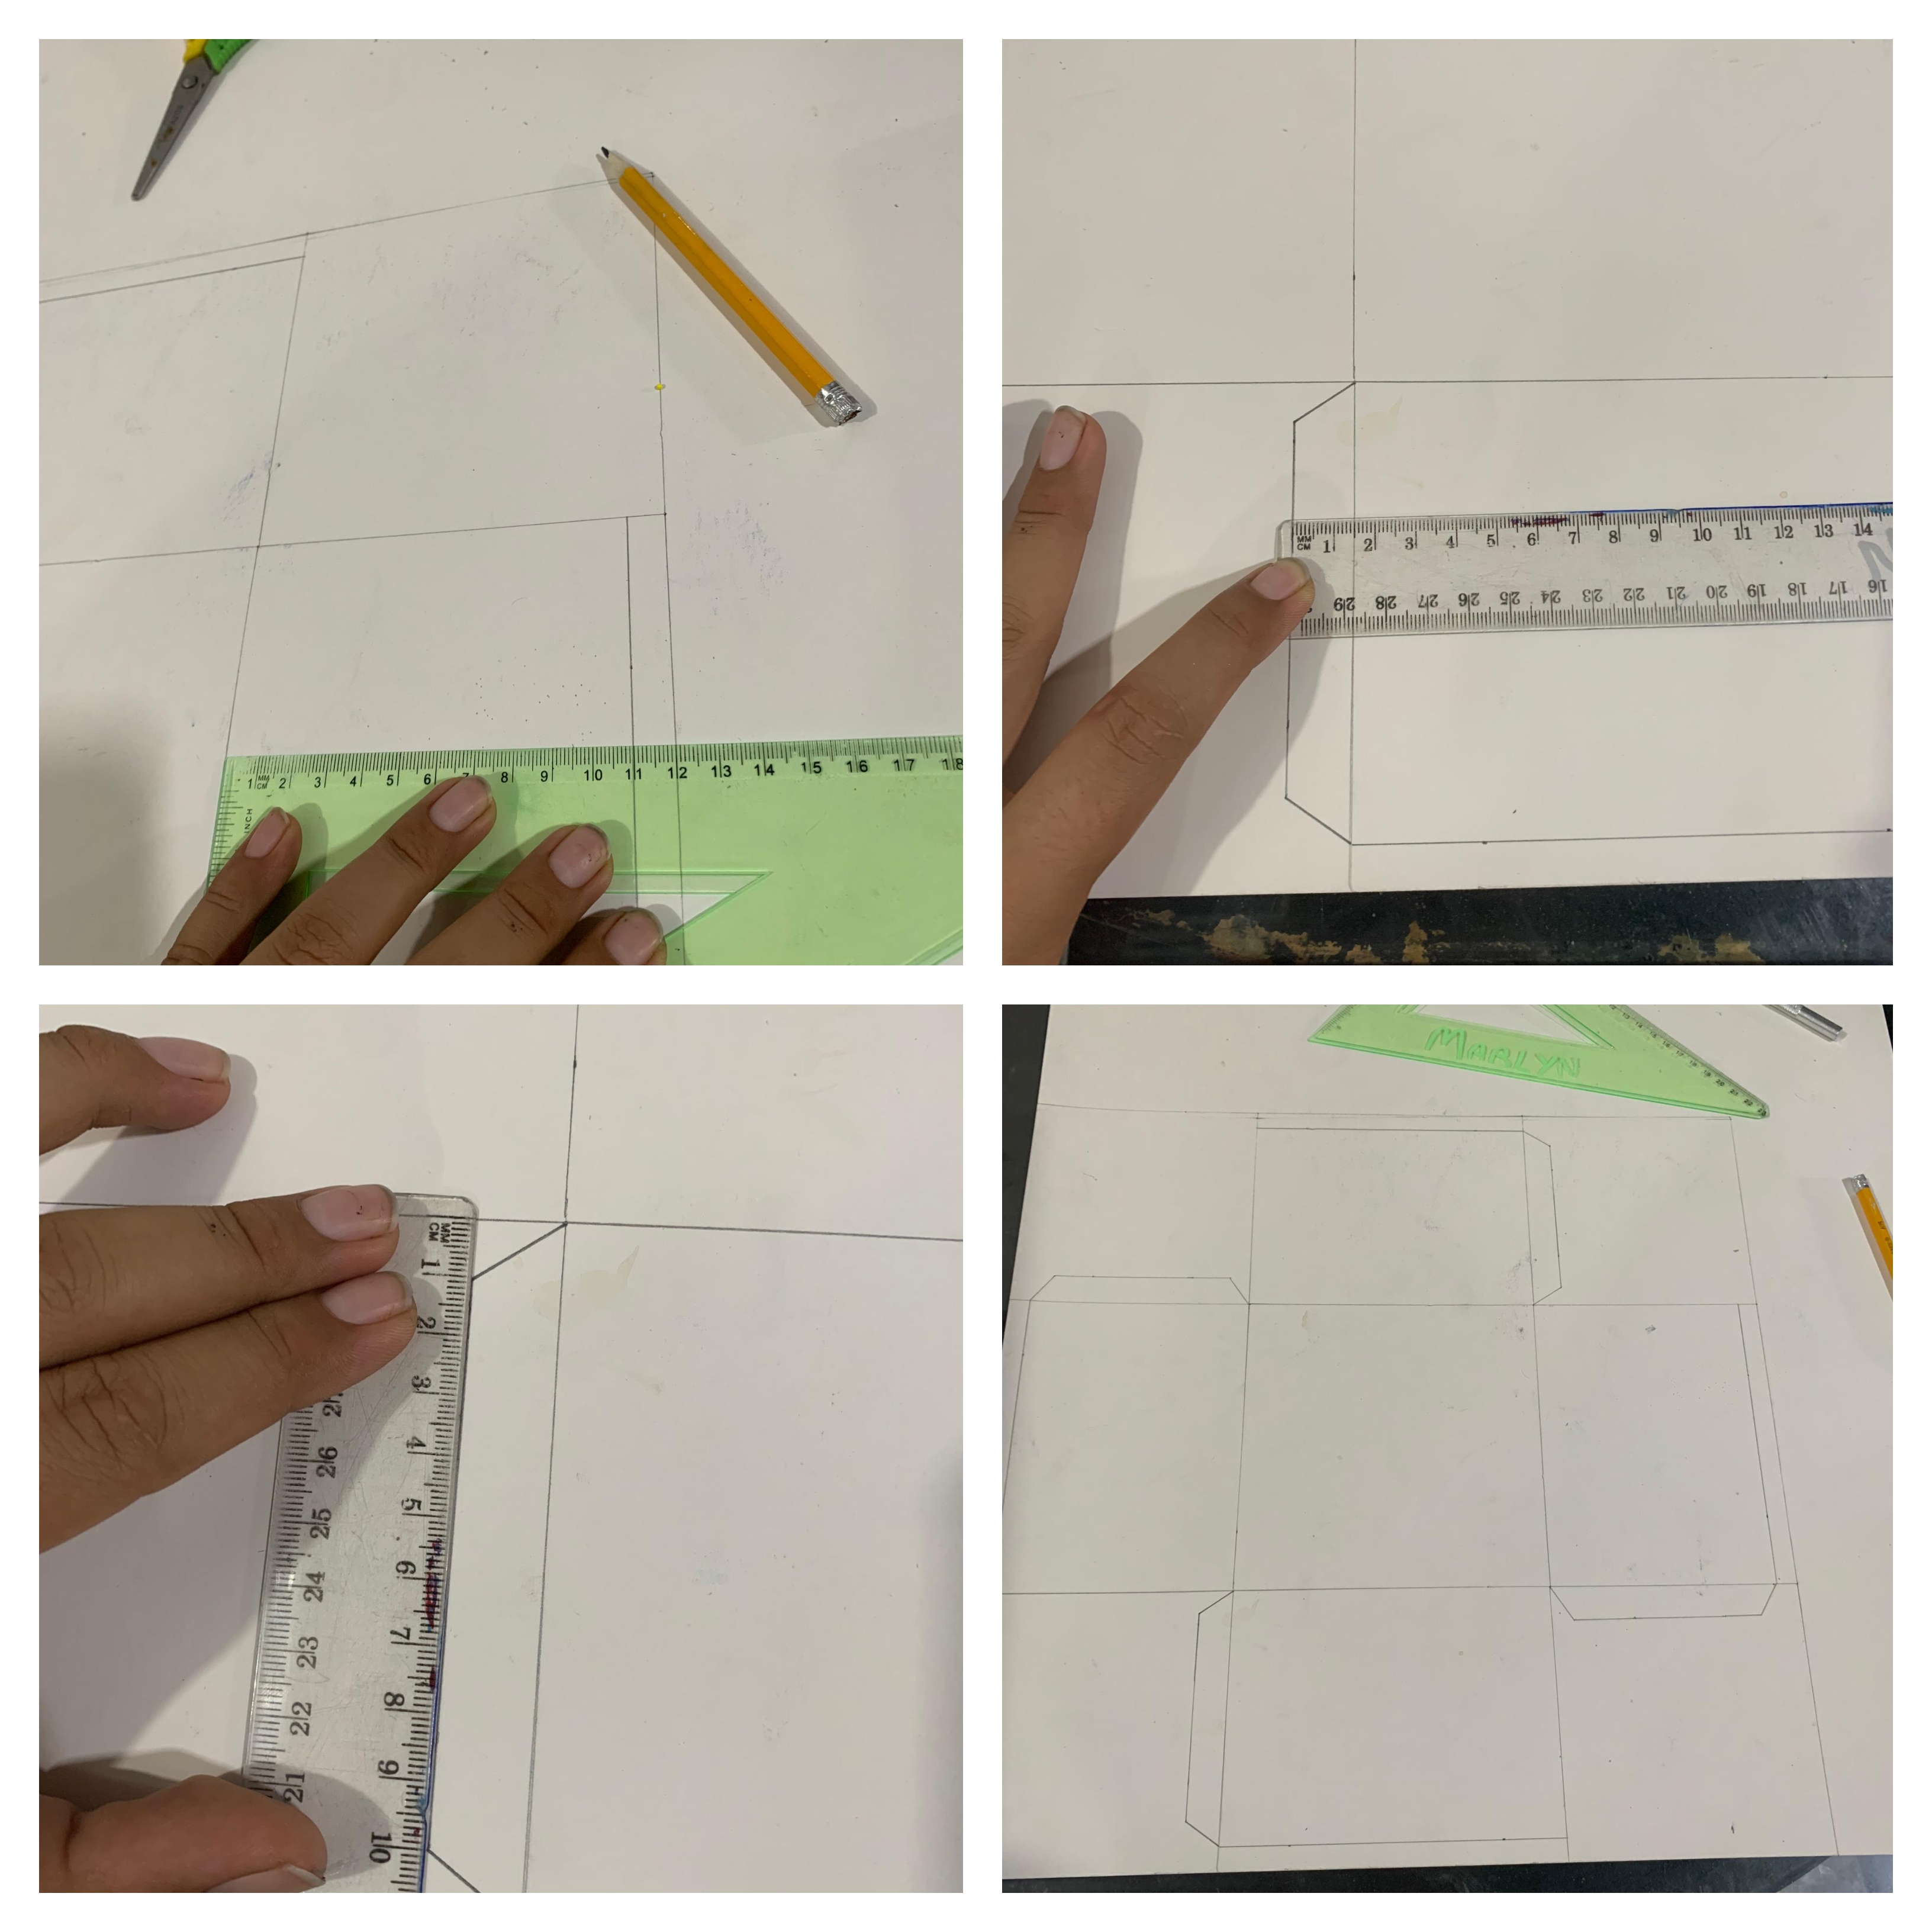
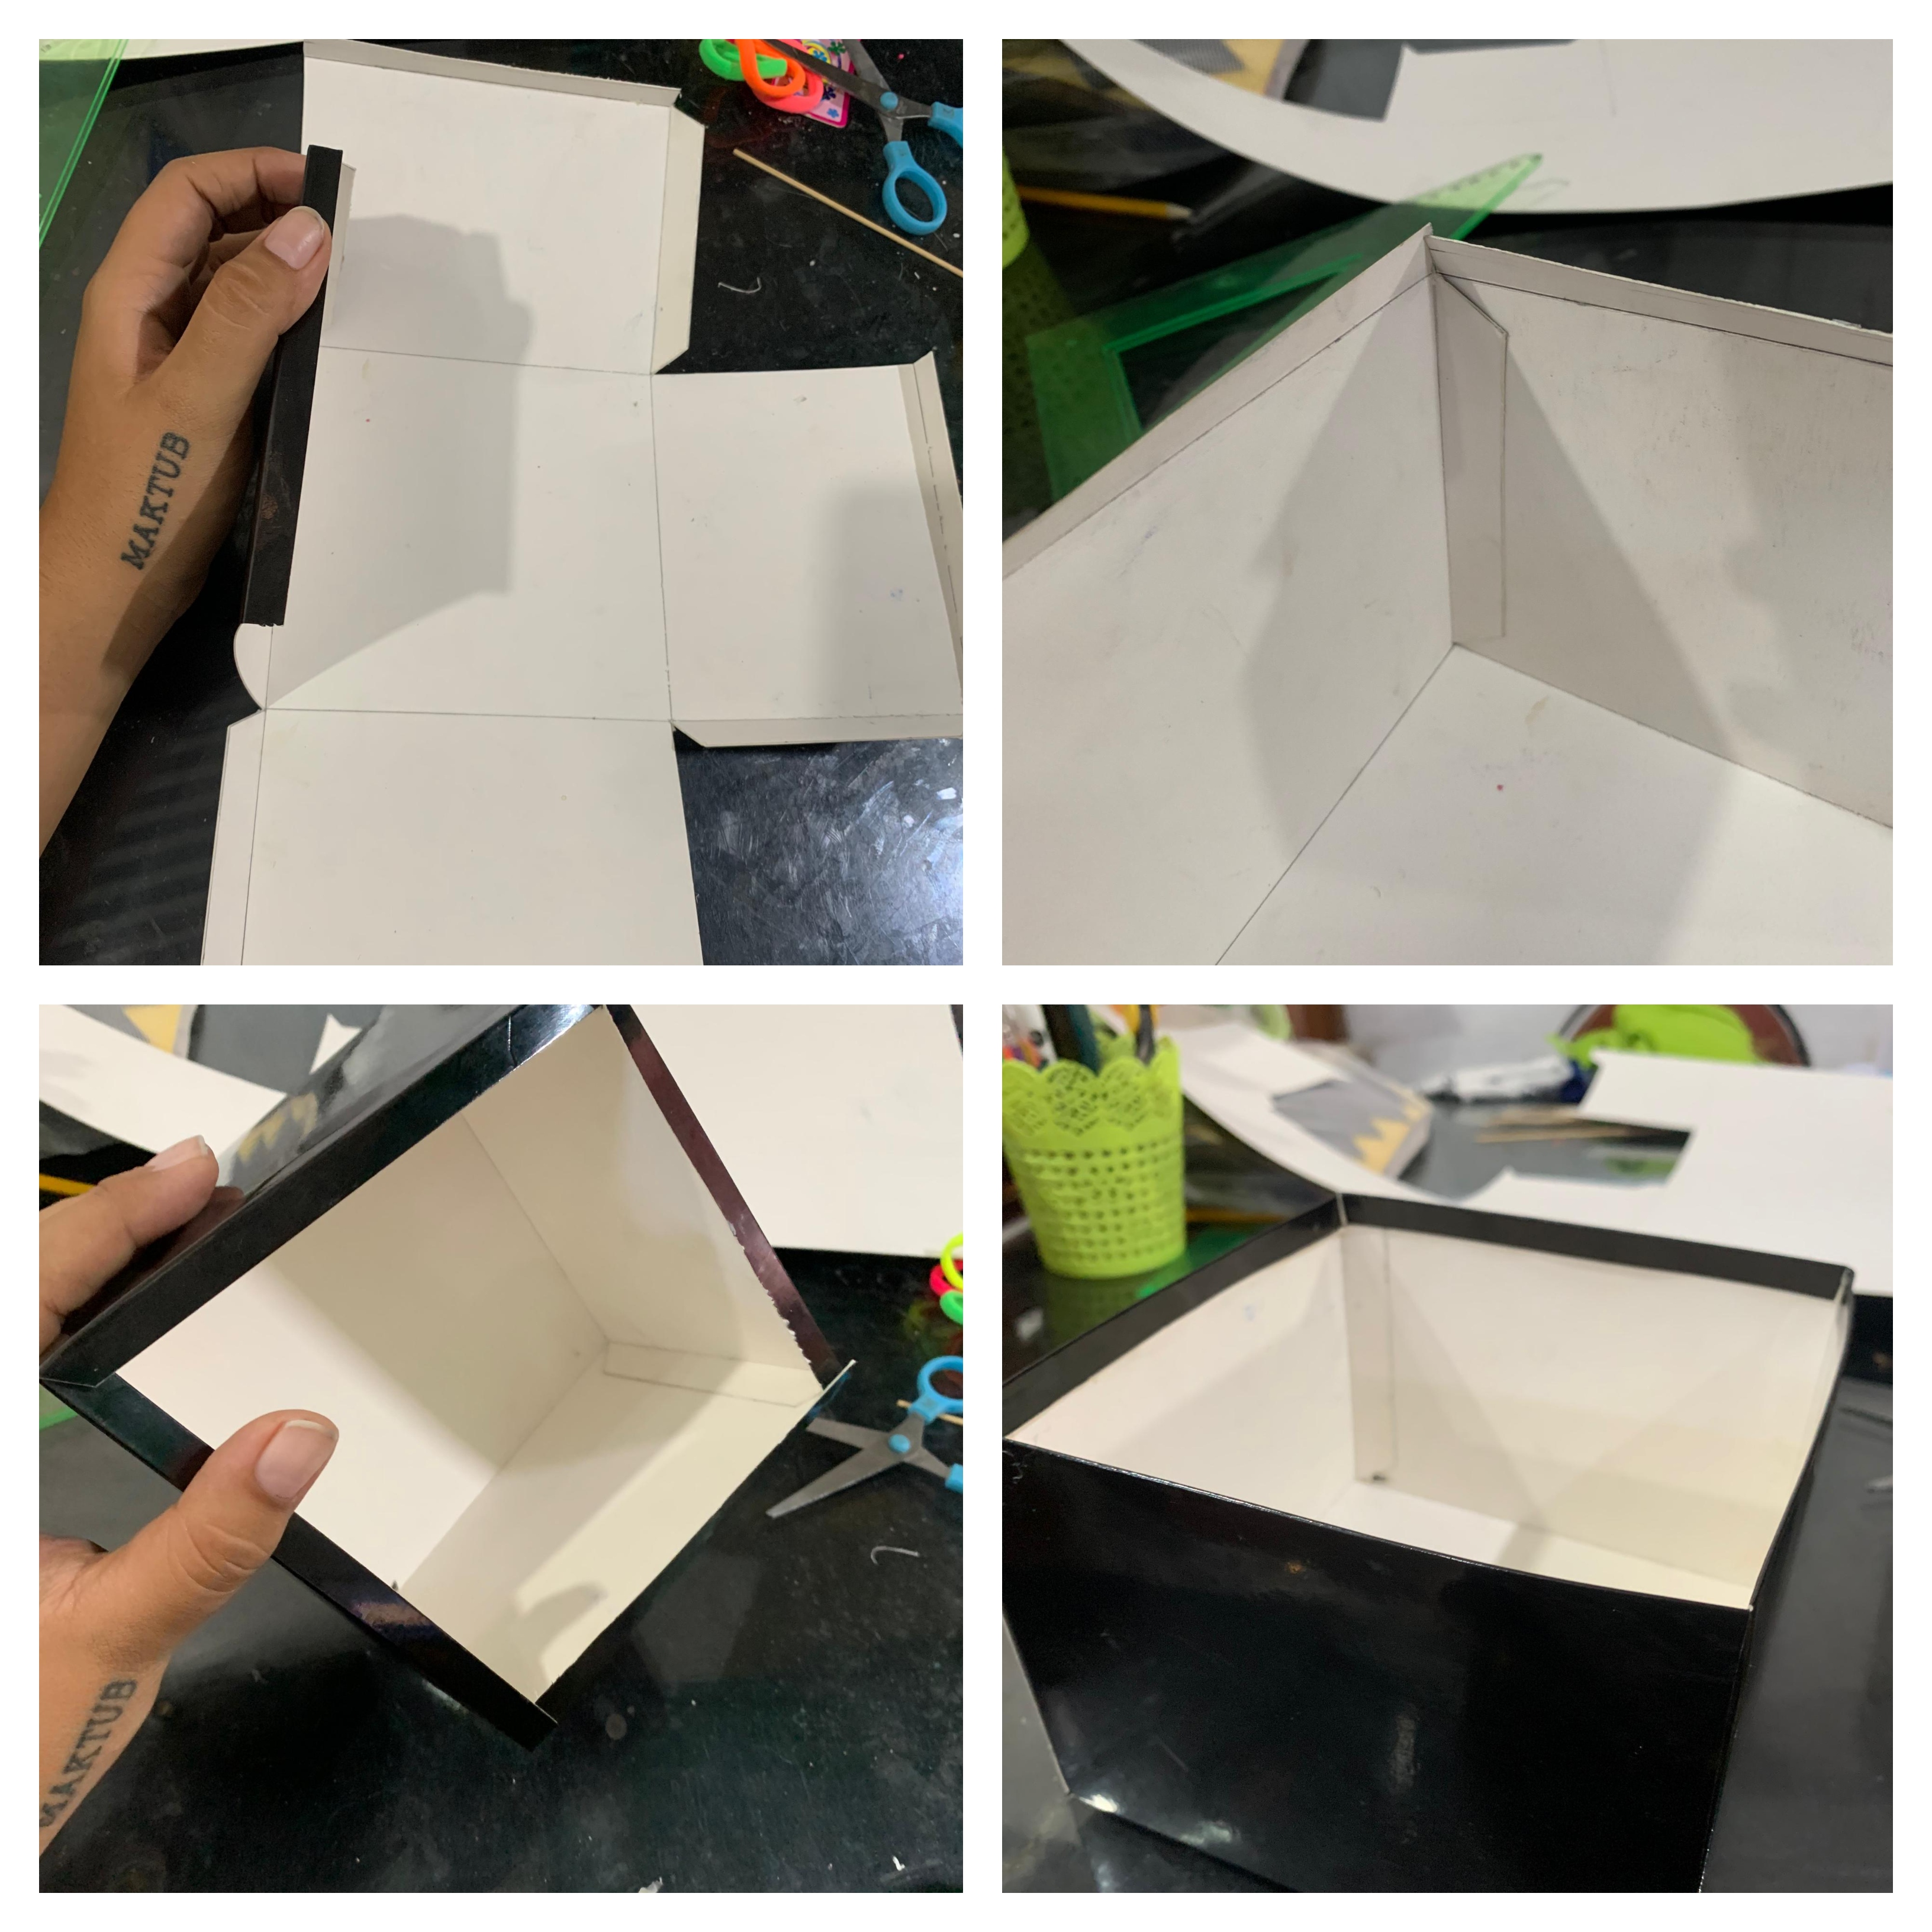
After these steps, the shape of the box is now ready, with the guide lines for assembly, and it would only be left to cut, fold, and glue. To cut what was necessary, I used a precision cutter and a ruler, cutting only along all the outer edges of my figure, as shown in the second image of the following collage. For each of the internal lines, I used a toothpick, as I only wanted the figure to fold and did not want to cut it. Once this was done, I made sure to fold each part that needed to be glued properly.
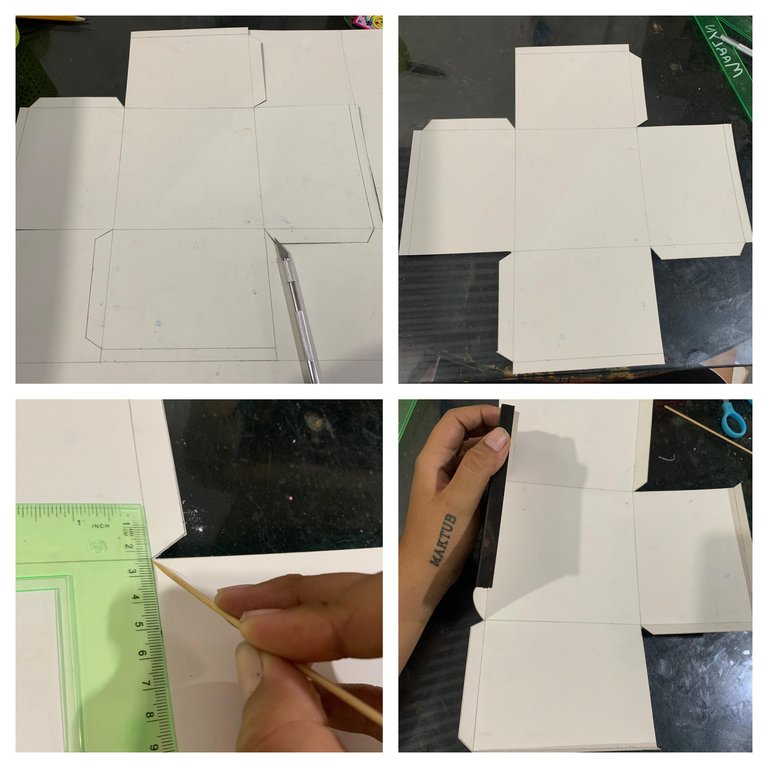
I glued the flaps created next to each side of the central square using hot glue, making the little box take shape. Once the box had taken shape, I glued each of the 1cm borders that I had folded before towards the inside, to make the edge of my box look more aesthetically pleasing.
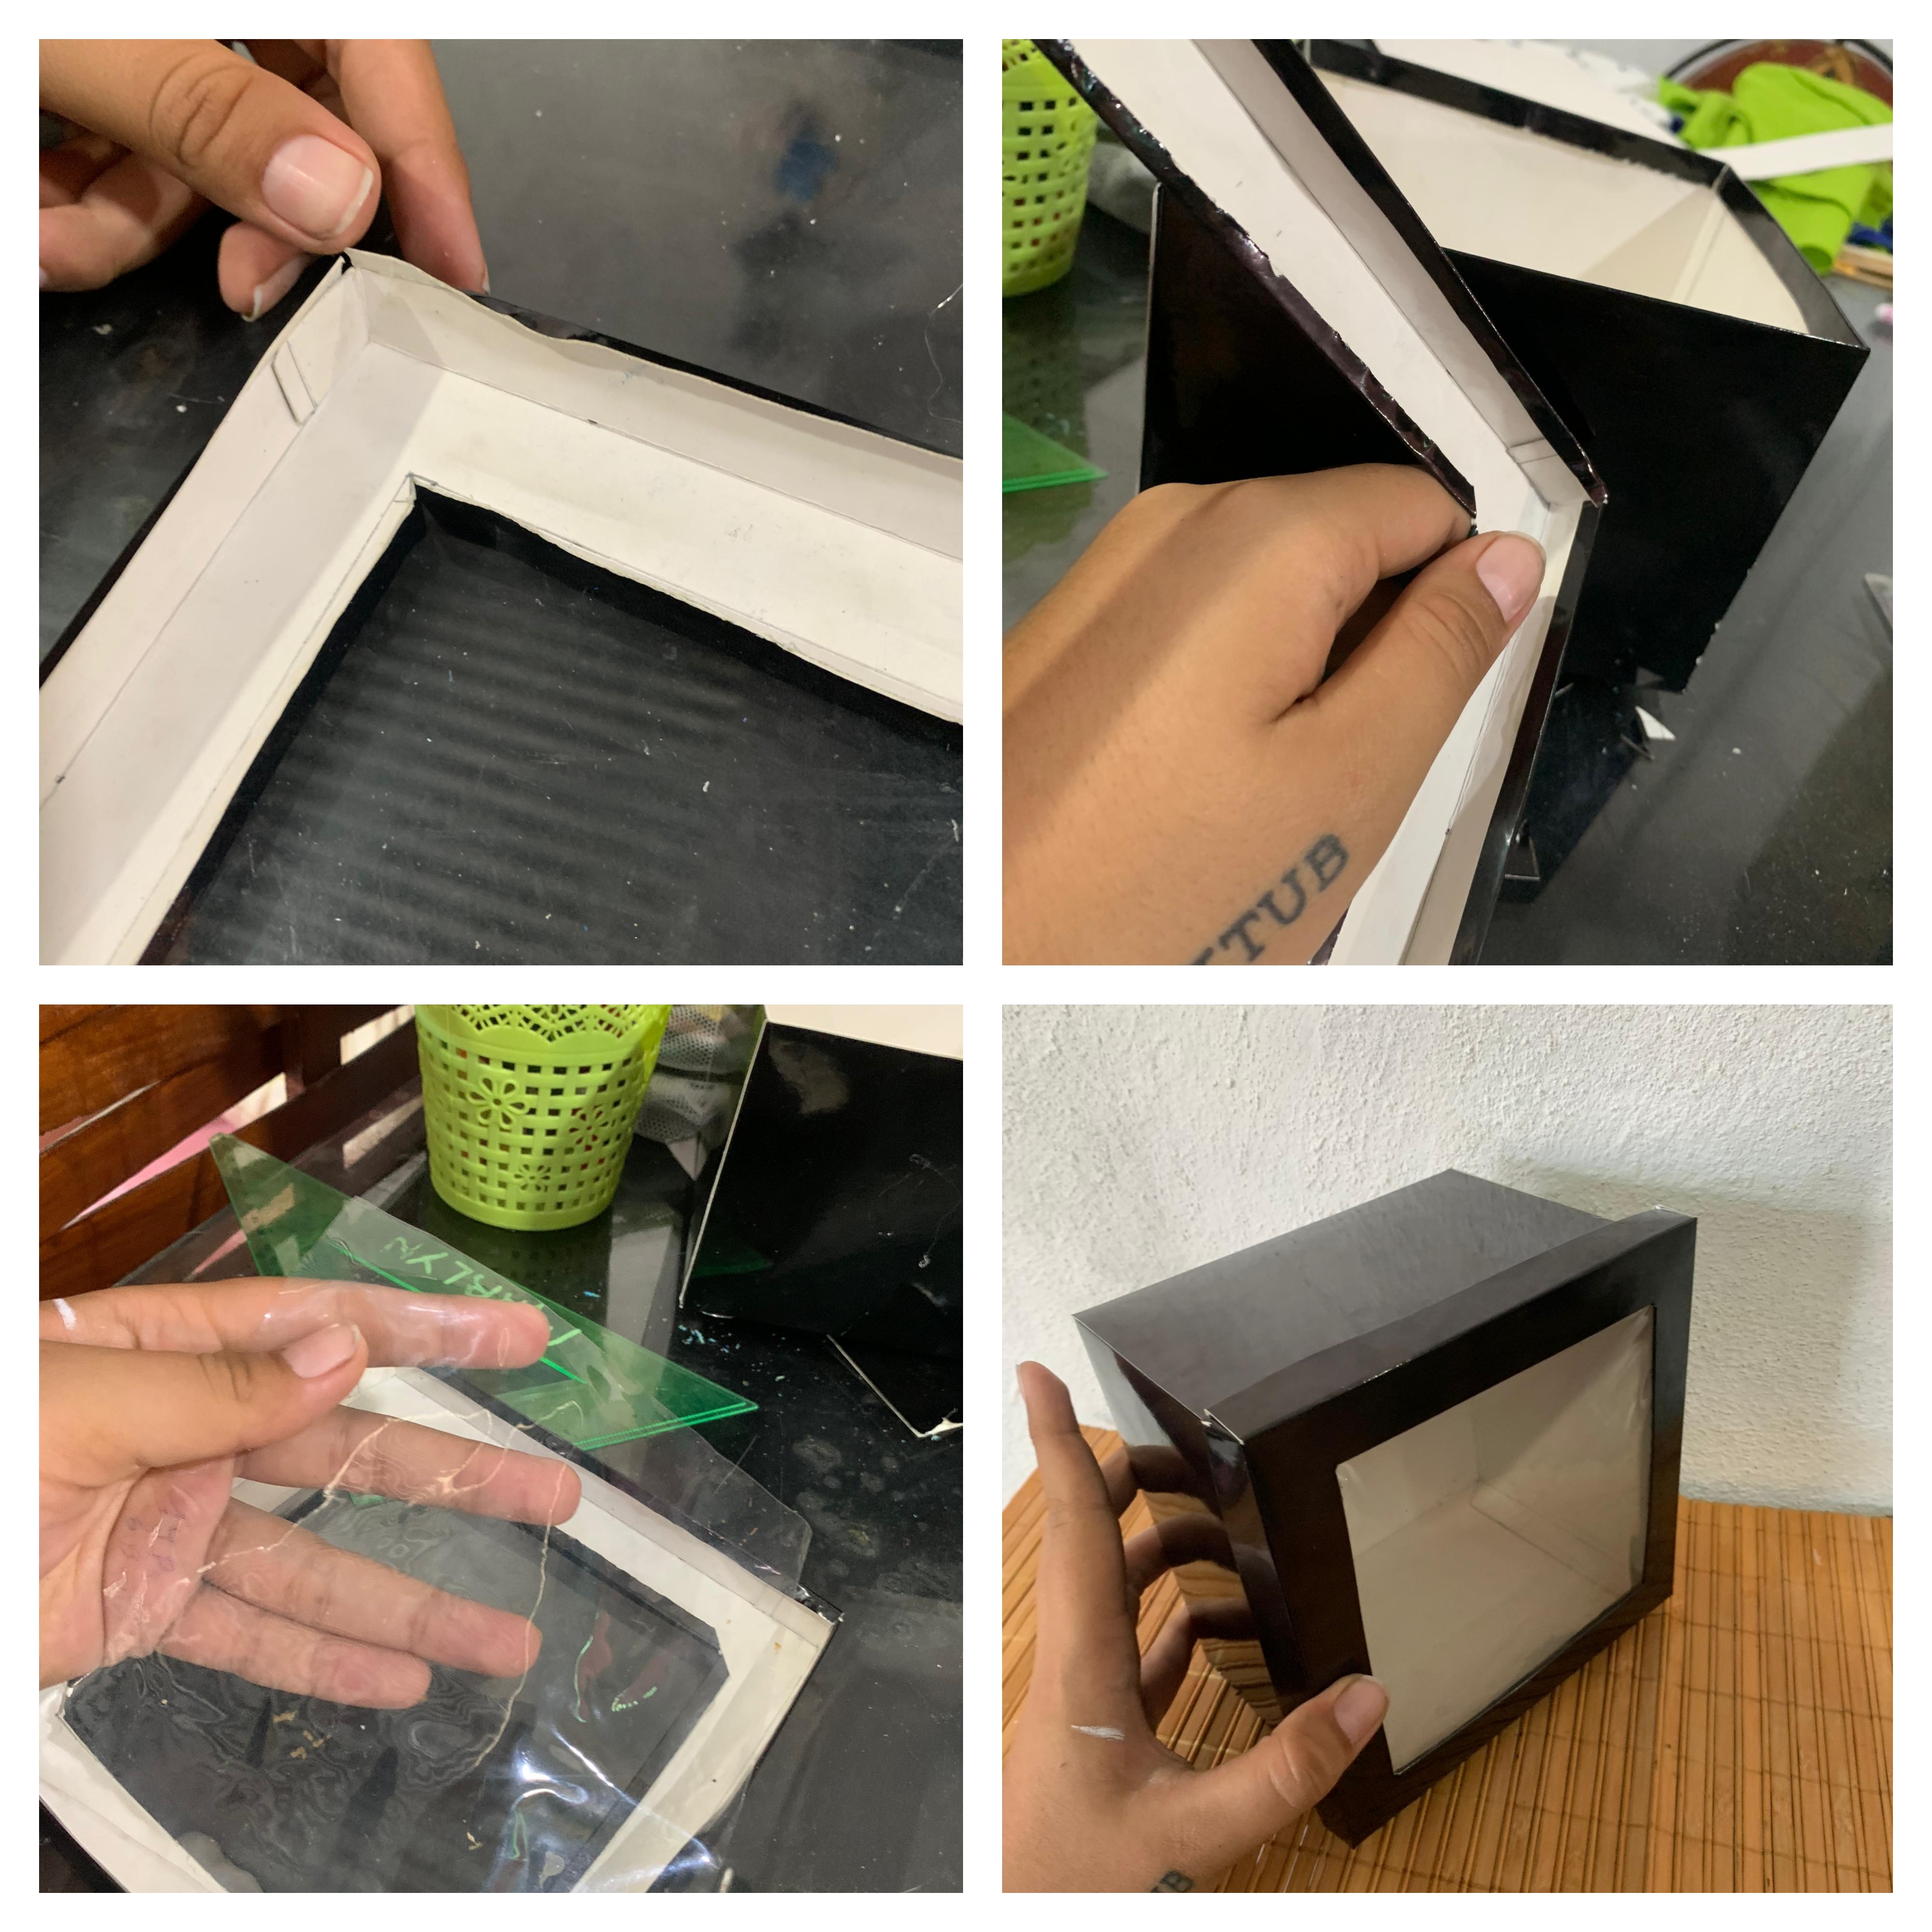
I was almost done, I just needed a cover for the box, so I took the leftover cardboard and cut out a square measuring 19x19cm. From each edge, I drew a margin of 0.5cm, one of 2cm, another of 4cm, and another of 4.5cm. I only cut out the central square from this larger square and made necessary cuts to ensure it folded neatly, as shown in the last image of this collage.
I folded and glued the 0.5cm internal and external edges inwards, similar to the final step of making the small box. I attached the flaps resulting from the previous cuts to the other sides to create the cover. In the center of the cover, where the hole is, I placed the transparent plastic, and that completed it.
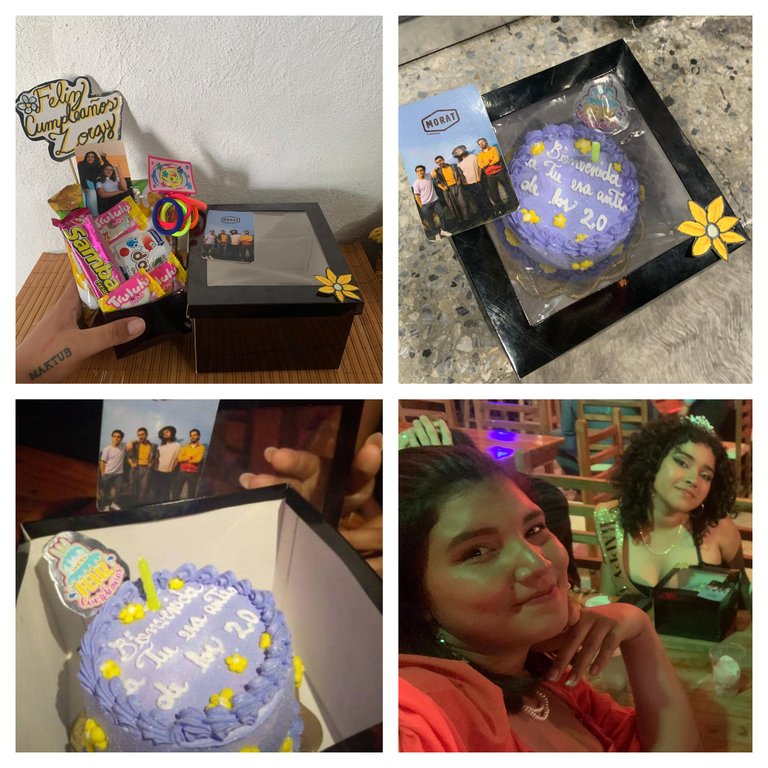
I put the small cake i made in this little box, as i mentioned before, and also made a small arrangement with sweets. This delighted my best friend, and honestly, I also really liked the result. I believe that the same box can be used to give something else as a gift or even to store small things that one typically has at home.
by the way, I also decorated the box with a small drawing of a flower and a picture of a band that my best friend and I like, since the message I put on the cake comes from a song of this band.
That's all for today, so I say goodbye until next time. I hope this little tutorial was helpful or at least entertaining for you.