Greetings friends of the community, it is a pleasure to be among you again after such a long time of absence. And for this opportunity I come to present a tutorial to make homemade Stickers with recycled materials. So without further ado, let's get started.
Saludos amigos de la comunidad, es un placer está entre ustedes nuevamente después de tanto tiempo de ausencia. Y para esta oportunidad les vengo a presentar un tutorial para elaborar calcomanías caseras con materiales reciclados. Así que sin más preámbulos comencemos.
The way we are going to proceed is as follows:
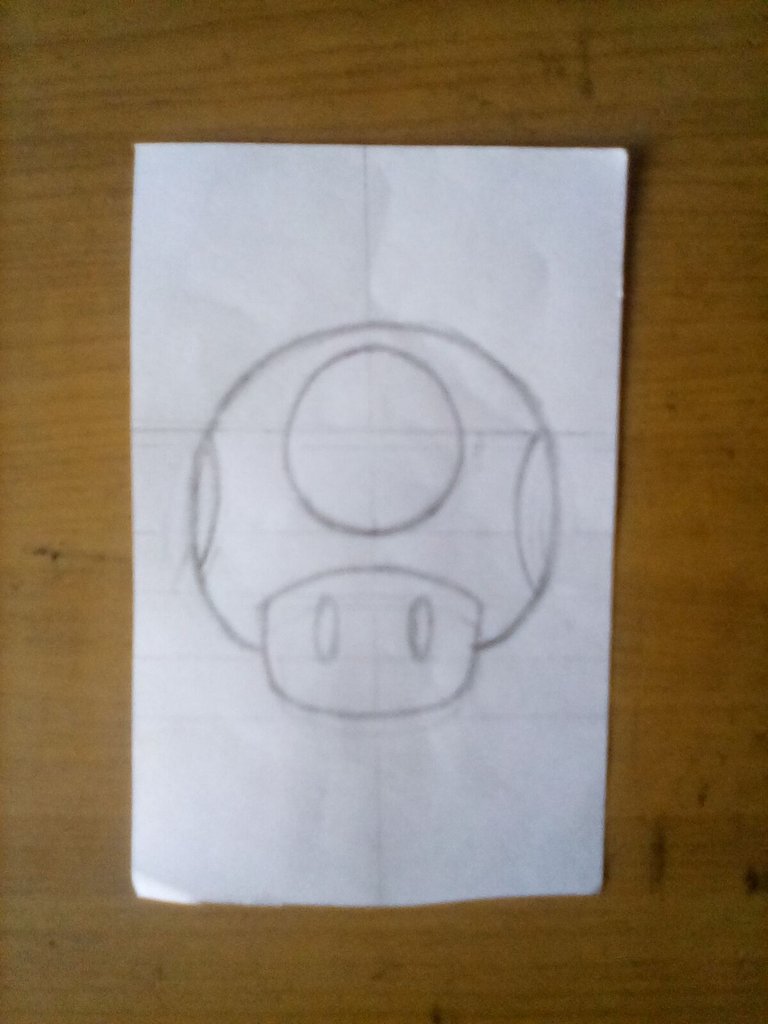
1- we create a sketch of the drawing of our liking on a piece of paper; in this case it will be the mushroom, who is one of the characters of Super Mario Bros.
La forma en que vamos a proceder será la siguiente:
1- creamos un boceto del dibujo de nuestro agrado sobre un trozo de papel; en este caso será el honguito, quien es uno de los personajes de Super Mario Bros.
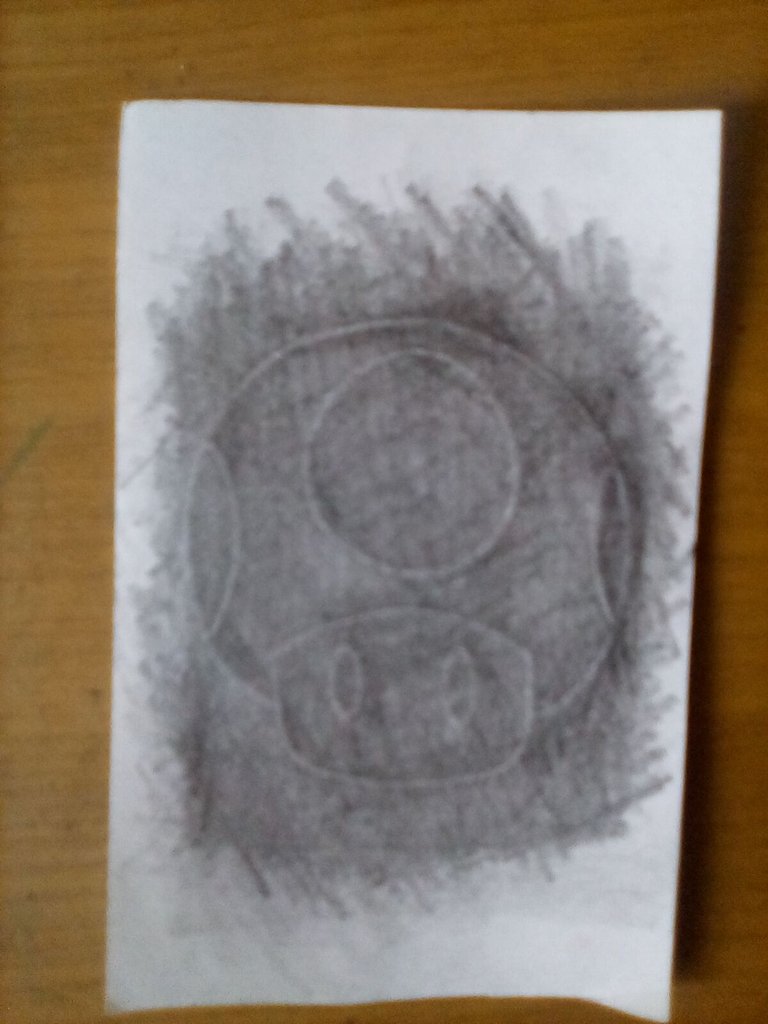
2- on the opposite side of the paper we pass graphite (preferably 3B onwards), this in order to create more copies when we redraw the image on another piece of paper.
2- en el lado adverso del papel pasamos grafito (preferiblemente 3B en adelante), esto con el fin de de crear más copias al volver a dibujar la imagen sobre otro papel.
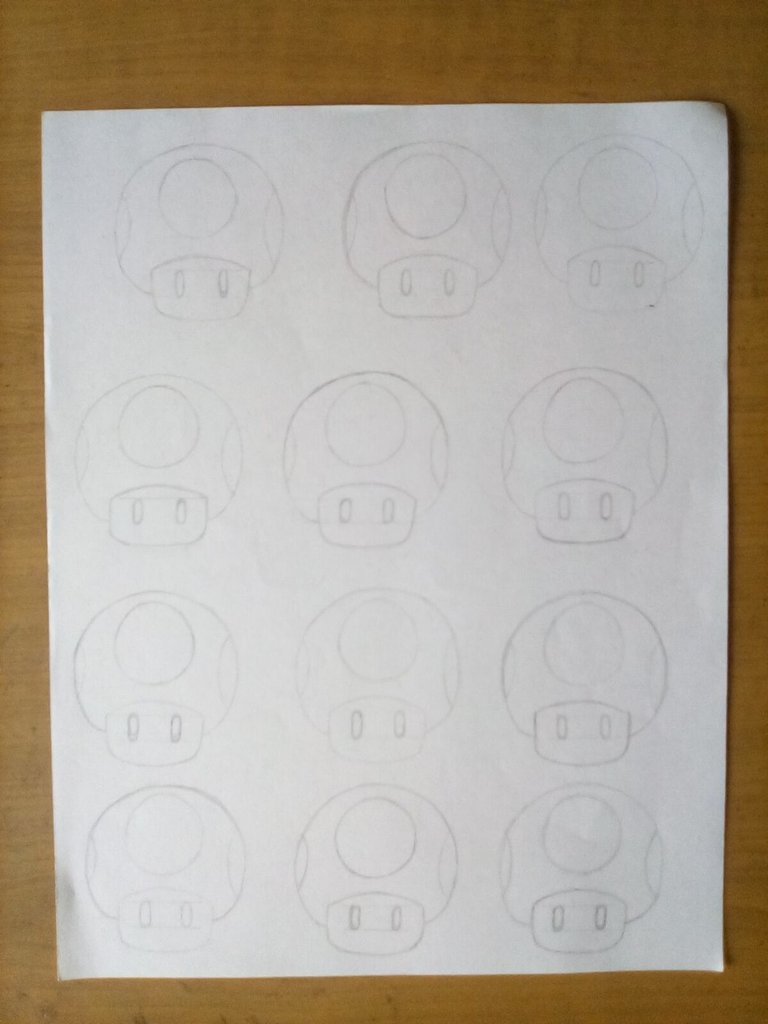
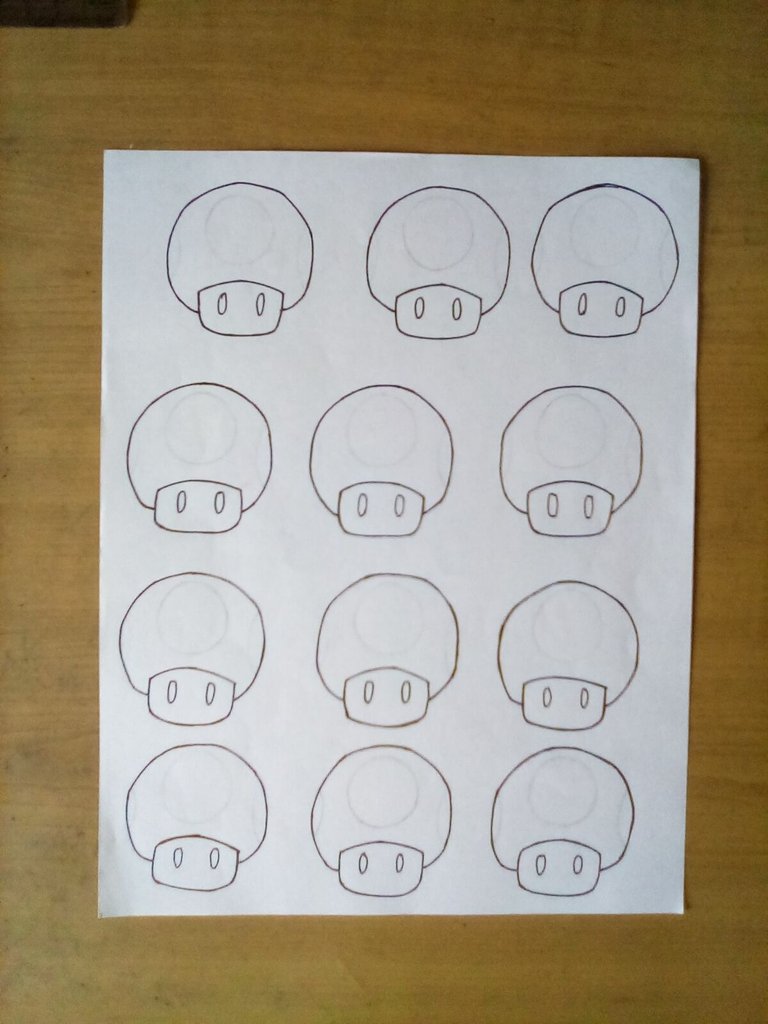
3- as said before, now we create duplicates with the paper by highlighting the lines of the drawing on top of a new paper (this method is used in case of not having carbon paper).
3- tal y como se dijo anteriormente, ahora creamos duplicados con el papel al remarcar las líneas del dibujo encima de un nuevo papel (este método de usa en caso de no poseer papel carbón).
4- once this is done and with the help of a felt-tip pen we trace the lines again, and then we remove the graphite with a white school eraser.
4- una vez hecho lo anterior y con la ayuda de un rotulador (estilografo) volvemos a tarzar las líneas, y seguidamente quitamos el grafito con un borrador blanco escolar.
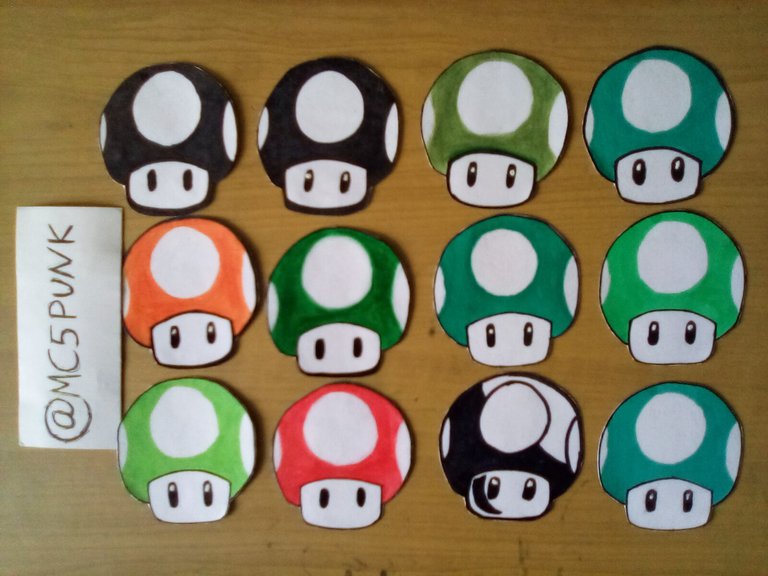
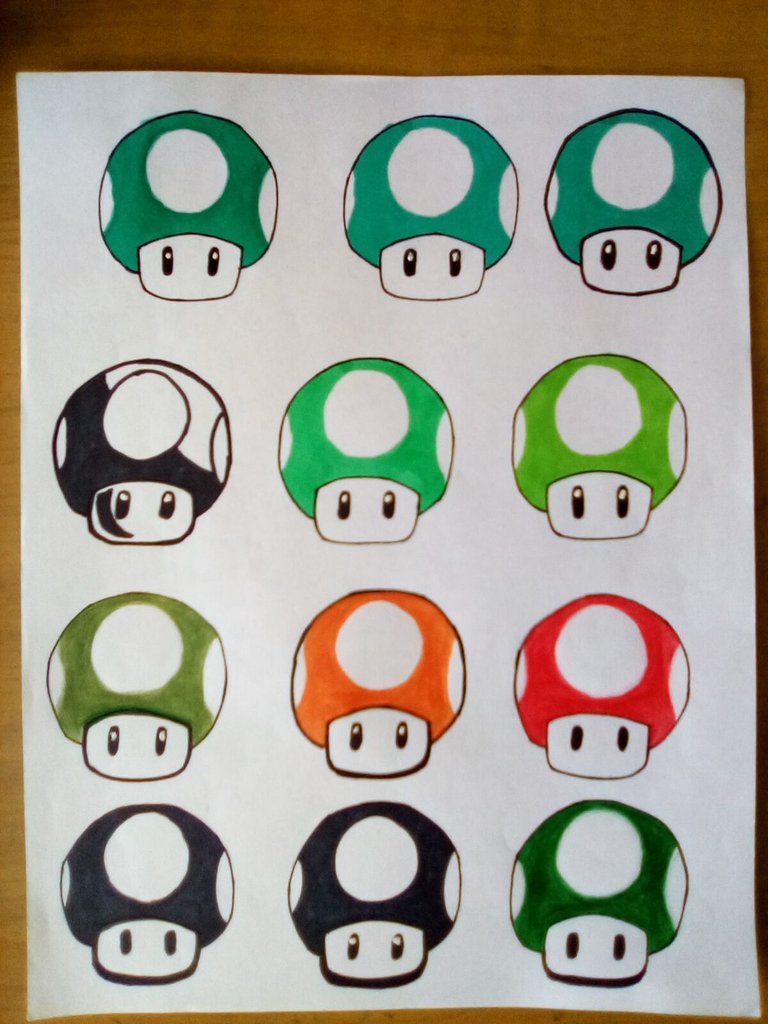
5- we paint each one of these mushrooms - in my case I used alcohol-based markers and colored pencils. The colors applied range from different shades of green, red, reddish orange, yellow orange and black. And to create the glitter effect I used ink concealer.
5- pintamos cada uno de estos honguitos -en mi caso use marcadores en base de alcohol y lápices de colores. Los colores aplicados van desde distintas tonalidades de verde, rojo, naranja rojizo, amarillo naranja y negro. Y para crear el efecto de brillo use corrector para tinta.
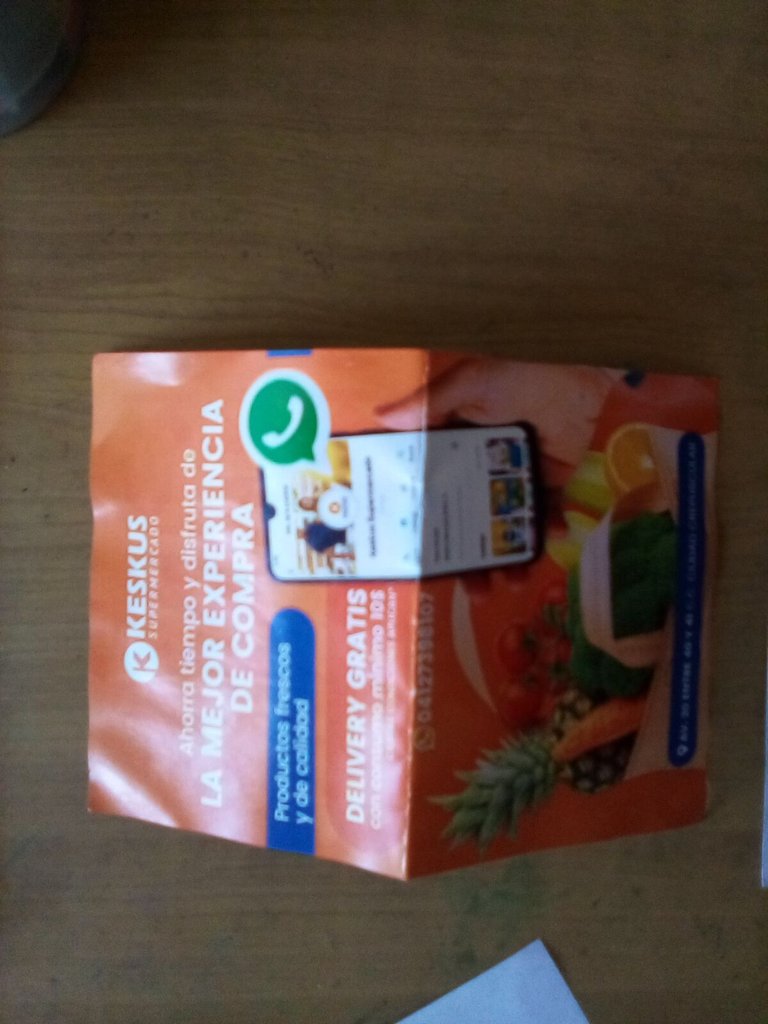
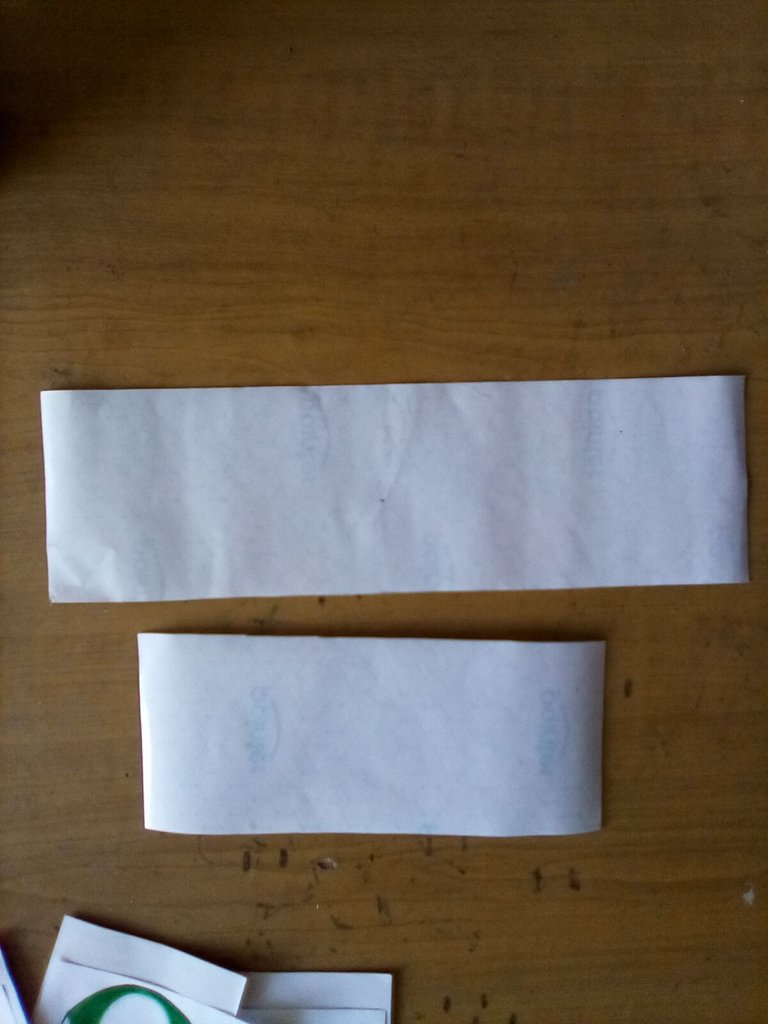
6- now, we look for paper of plastic consistency, same that is used for the elaboration of advertising flyers, and thus join them as a base to the drawings for their protection.
6- ahora, buscamos papel de consistencia platica, misma que se usan para la elaboración de volantes publicitarios, y así juntarlos como base a los dibujos para su protección.
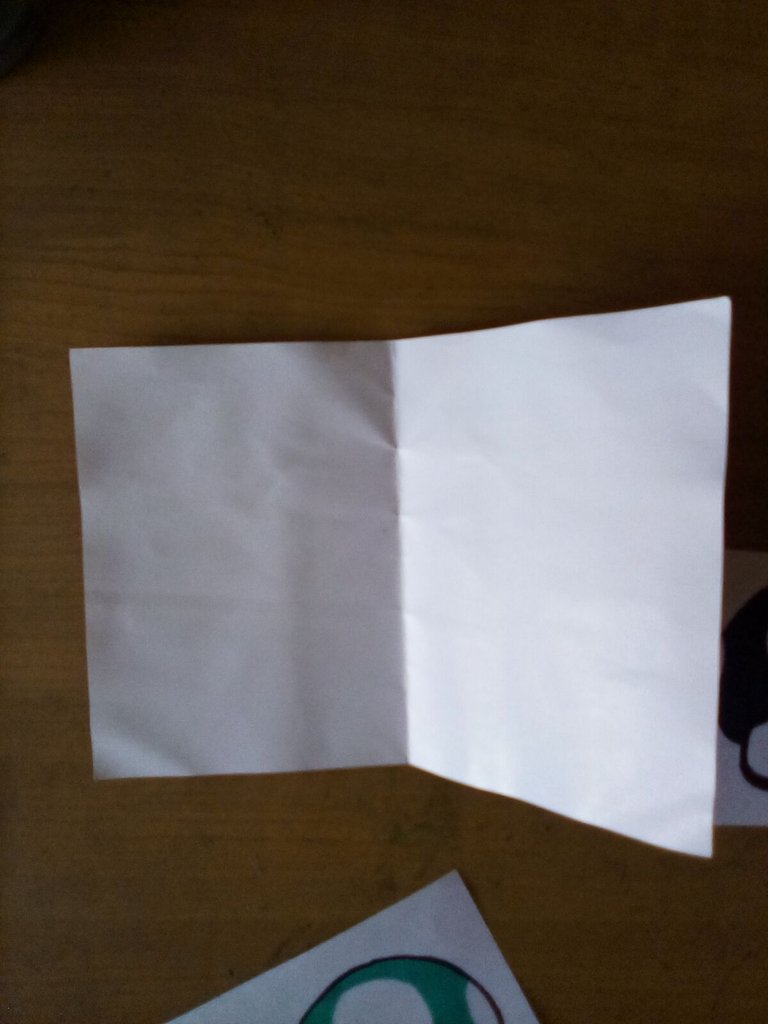
7- and to protect them on top we use transparent contact paper.
7- y para protegerlos por encima usamos papel contacto transparente.
8- once we have our images covered on top and underneath, we cut them out.
8- al tener nuestras imágenes cubiertas por debajo y por arriba pasamos a recortarlas.
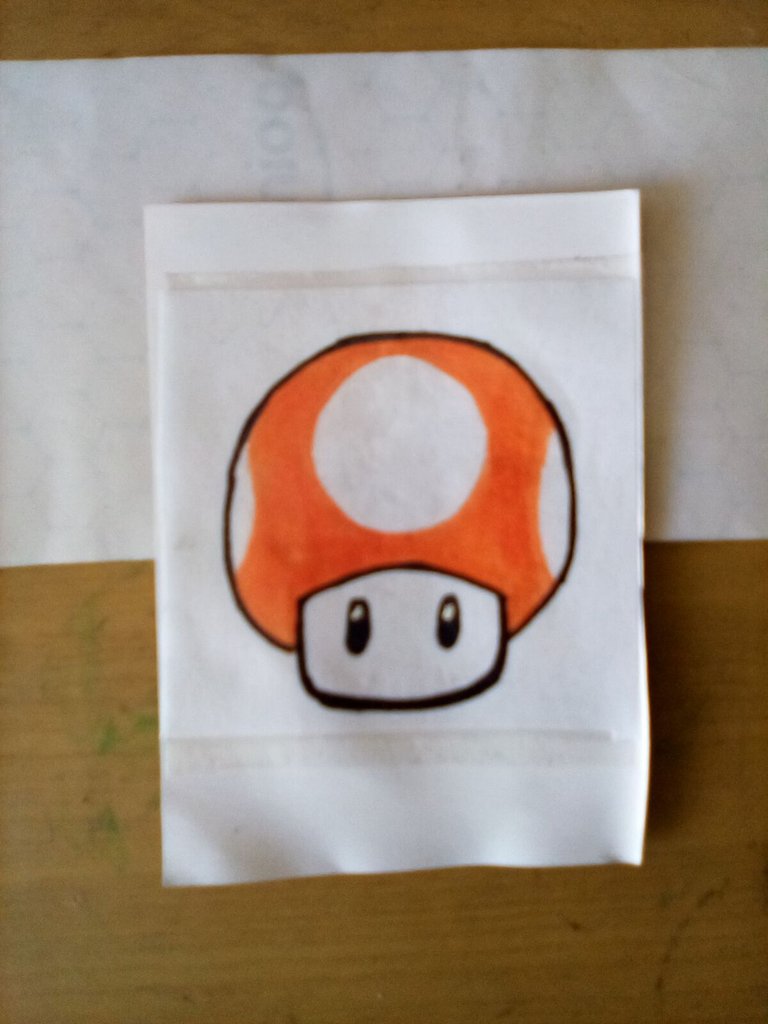
And they will look like this.
Y nos quedarán de esta manera.
And that's it! We are done with our work 😃 What do you think?
Y listo! Hemos concluido con nuestro trabajo 😃 Que les parece? 😁
I hope this will motivate you to do it. And remember you can comment at the end of this post, I'll be reading and giving you feedback. I also appreciate all the support received from all of you.
Espero que esto les sirva de motivación para hacerlo. Y recuerden que pueden comentar al final de esta publicación, los estaré leyendo y dando respuesta. También agradezco todo el apoyo recibido por parte de todos ustedes.
Without more to say I'll see you in a next installment.
Sin más que decir nos vemos en una próxima entrega.
Until then 😎👍.
Hasta entonces 😎👍
Materials used/Materiales usados
- Ink corrector;
- Graphite pencil;
- Transparent contact paper;
- Paper of plastic consistency (the ones used for advertising flyers);
- Scissors;
- Glue stick;
- Crayola colored pencils;
- Sharpie marker;
- Sharpie marker;
- Art-Pro Pointer markers.
- Corrector de tinta;
- Lápiz de grafito;
- Papel contacto transparente;
- Papel de consistencia platica (los que se usan para volantes publicitarios);
- Tijera;
- Pega en barra;
- Lápices de colores Crayola;
- Marcador Sharpie;
- Rotulador;
- Marcadores Art-Pro Pointer.
Source of the images/Fuente de las imágenes
Images captured with my Amazon Fire 8 tablet.
Imágenes capturadas con mi tableta Amazon Fire 8.
Tráfico con Deepl.com