 🌻🌻🌻🌻🌻🌻🌻🌻🌻
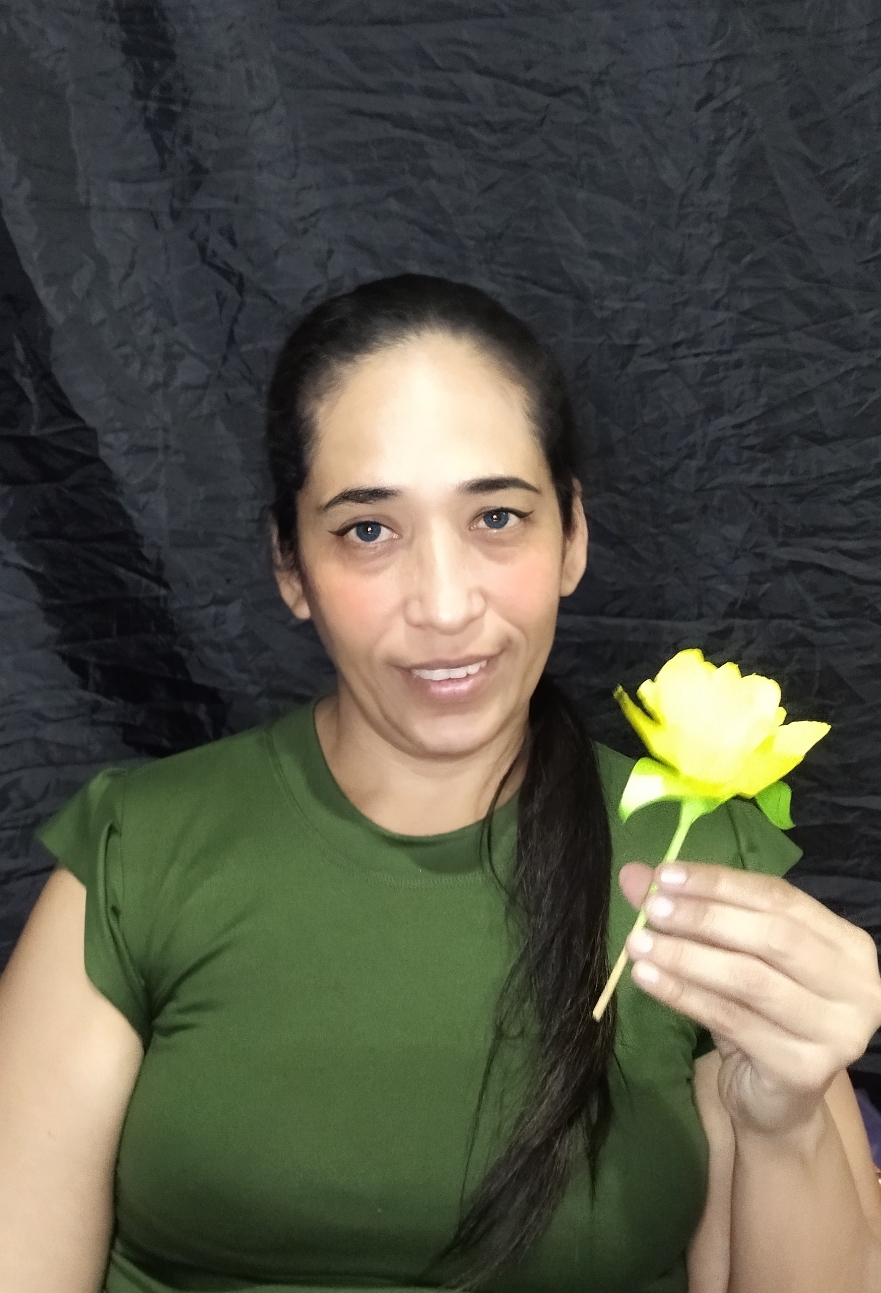
Hola gente bonita de hive especialmente a la comunidad de hive diy hoy regresamos con las baterías recargadas para traerles un tutorial de cómo elaborar una hermosa rosa con papel crepé.
Hello beautiful people of hive especially to the hive diy community today we are back with recharged batteries to bring you a tutorial on how to make a beautiful rose with crepe paper.
Luego estás rosas las vamos a utilizar en otro trabajo ya verán prontito, por ahora vamos aprender a realizarlas, lo bueno es que podemos hacerlas con cualquier color de papel que tengamos en casita de trabajos previos y que nos haya quedado.
Then we are going to use these roses in another work and you will see soon, for now we will learn how to make them, the good thing is that we can make them with any color of paper that we have at home from previous works and that we have left.
Los materiales muy fácil de conseguir y son se realiza en 8 pasos, ya verán que fácil puede ser así que manos a la obra.
The materials are very easy to obtain and are made in 8 steps, you will see how easy it can be so let's get to work.
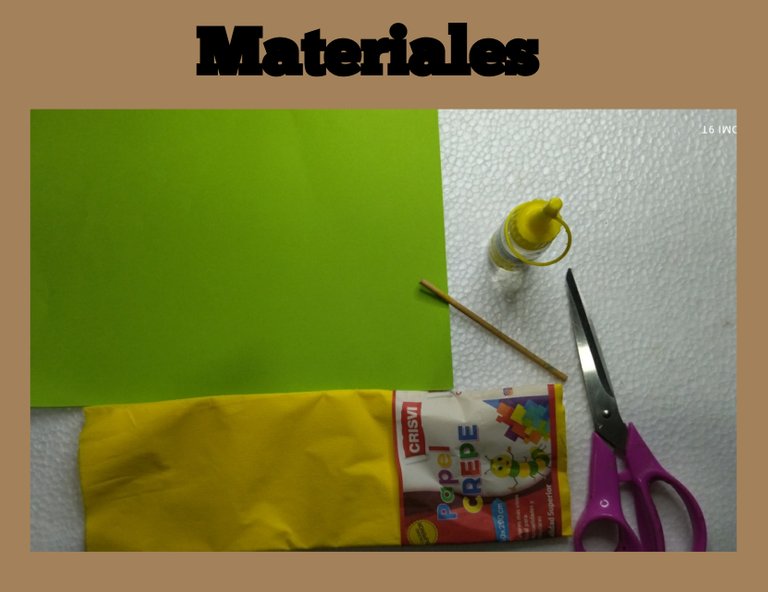
MATERIALES // MATERIALS
🌻🌻🌻🌻🌻🌻🌻🌻🌻
🌻 Papel crepé.//Crepe paper.
🌻 Silicón al frío.//Cold silicone.
🌻 Un palito de altura.//One stick high.
🌻Tijera.//Scissors.
🌻 Cartulina verde también podemos utilizar papel crepé verde oscuro.// Green cardboard or dark green crepe paper can also be used.
 PASO A PASO // STEP BY STEP
🌻🌻🌻🌻🌻🌻🌻🌻🌻
PASO 1 // STEP 1
🌻🌻🌻🌻🌻🌻🌻🌻🌻
PASO A PASO // STEP BY STEP
🌻🌻🌻🌻🌻🌻🌻🌻🌻
PASO 1 // STEP 1
🌻🌻🌻🌻🌻🌻🌻🌻🌻
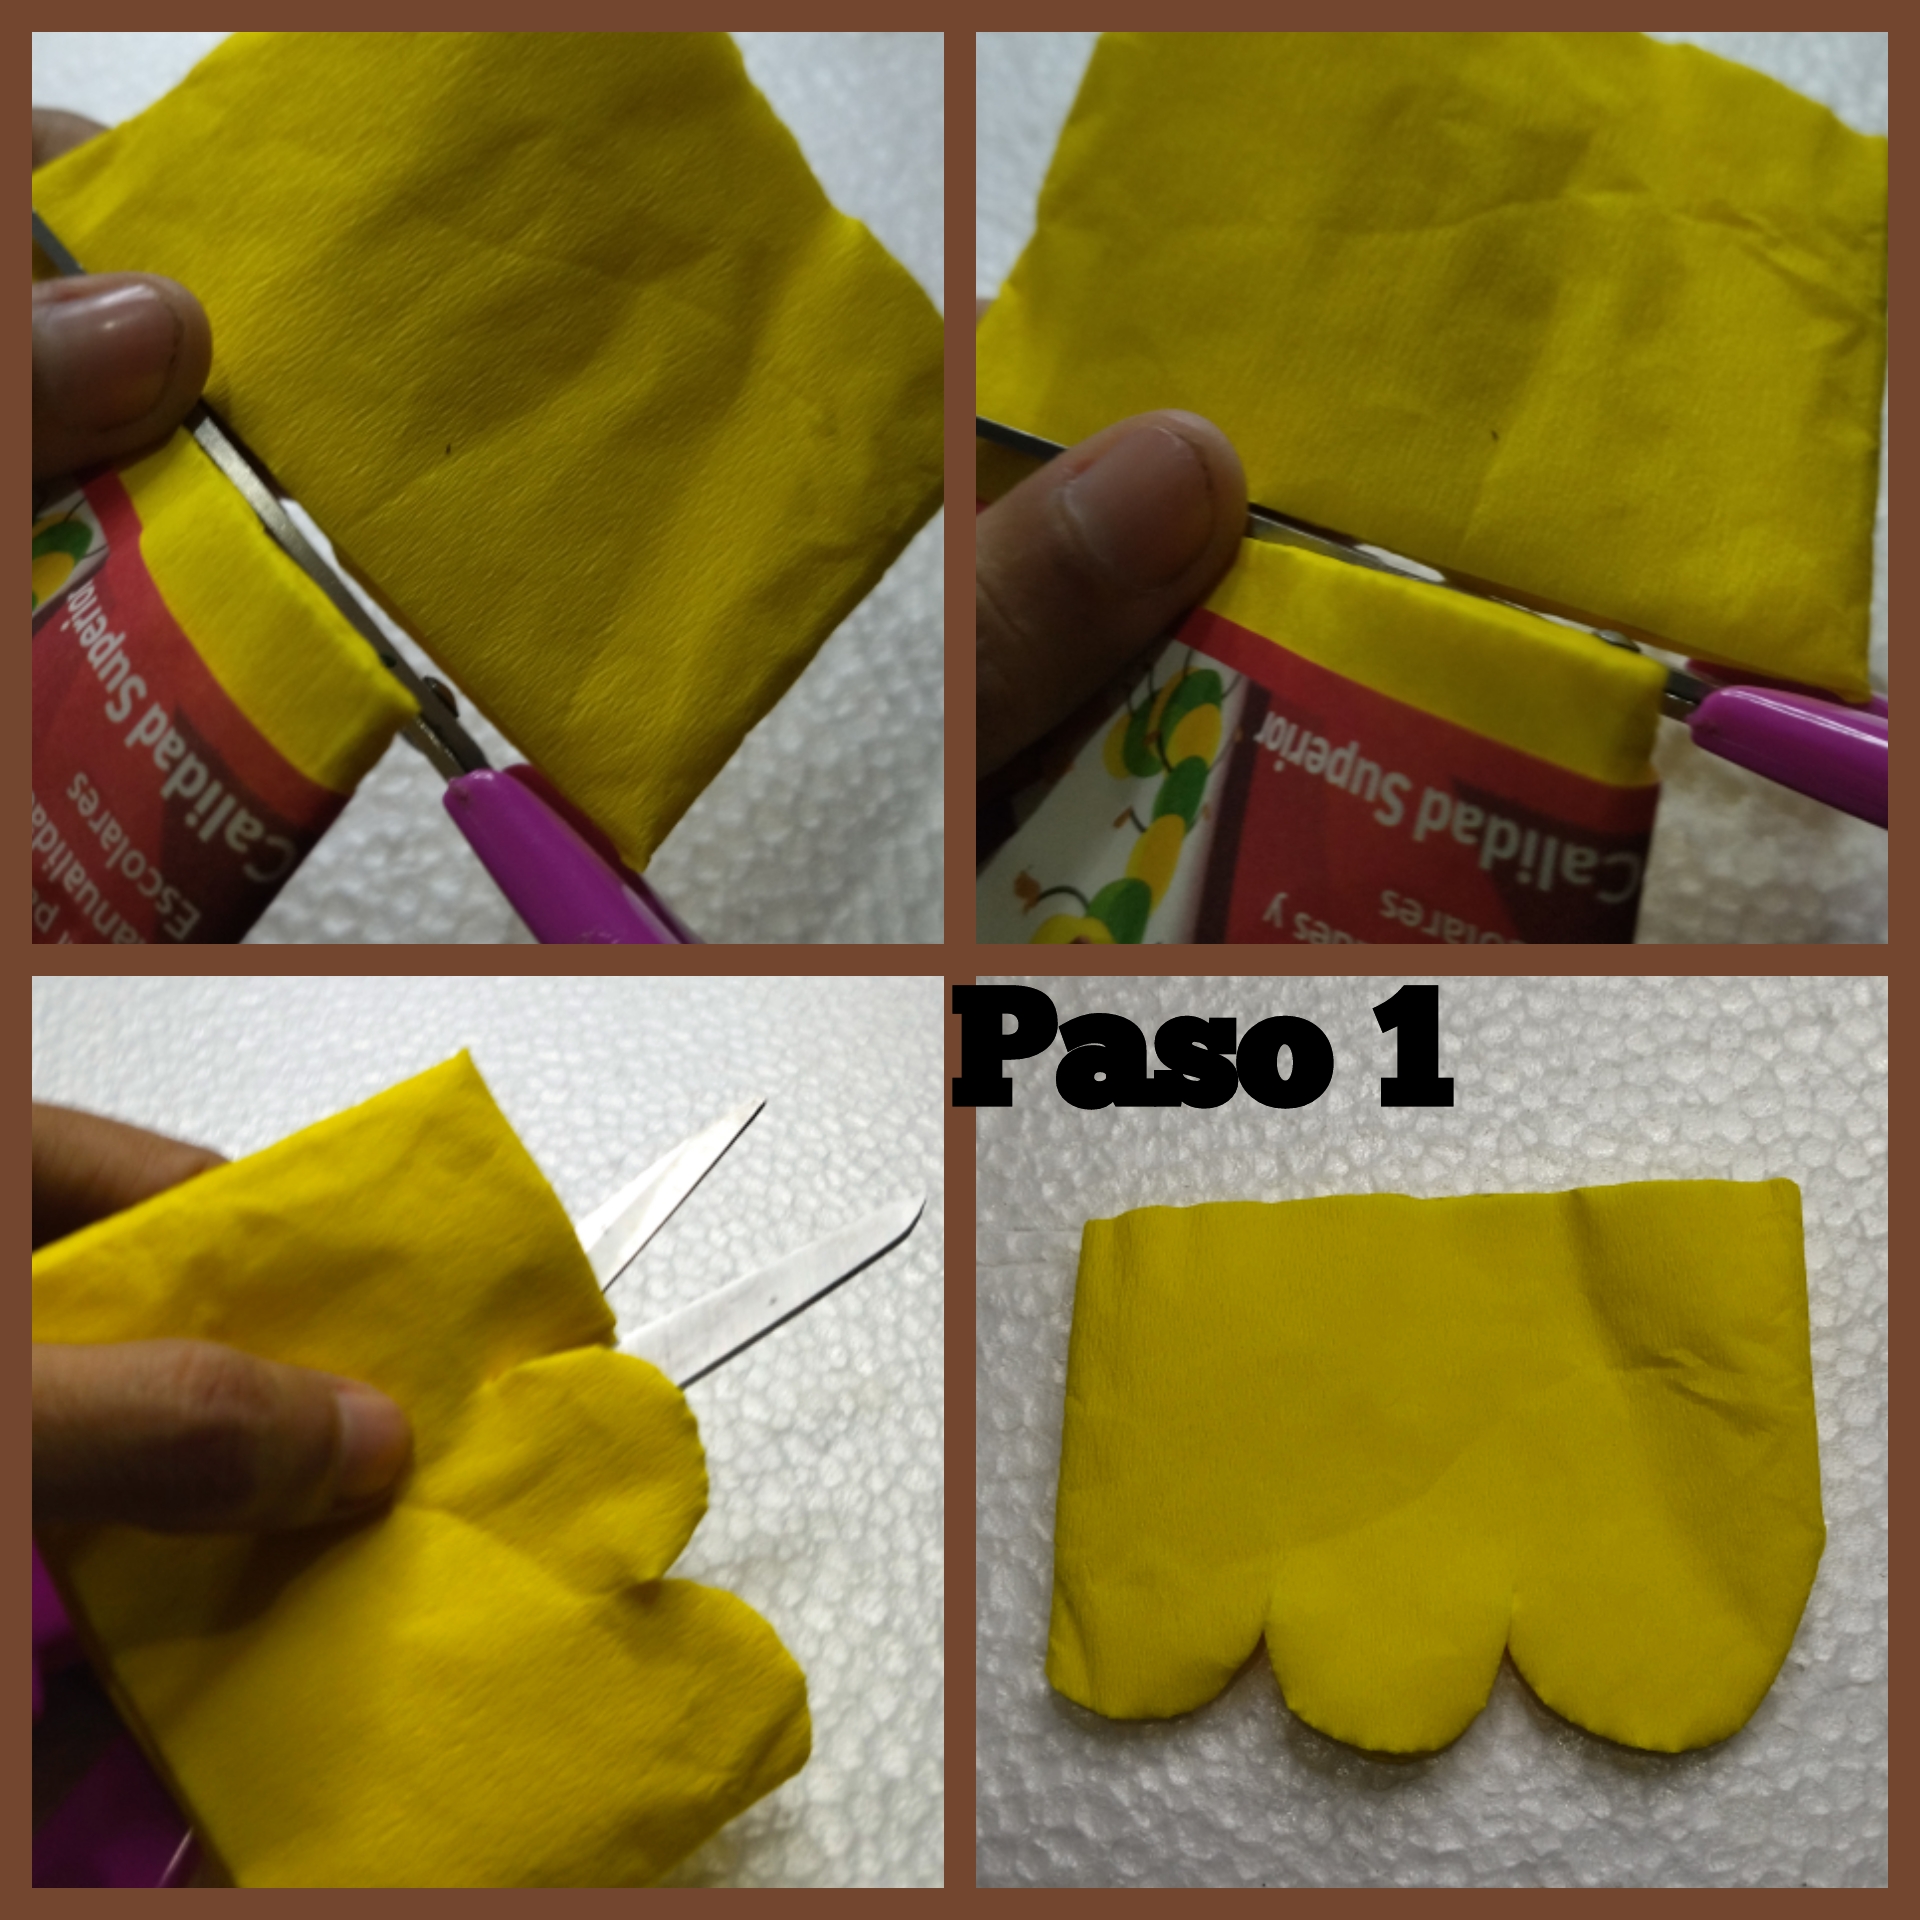
Tomamos el papel crepé y con la tijera picamos pequeños cortes de semicírculo uno tras otro como se puede detallar mejor en la foto, realmente es bien sencillo, la cantidad de corte que se va a realizar depende de cuantos pétalos vamos a querer en nuestra flor.
We take the crepe paper and with the scissors we cut small semicircle cuts one after the other as you can see in the photo, it is really very simple, the amount of cut to be made depends on how many petals we want in our flower.
 PASO 2 // STEP 2
🌻🌻🌻🌻🌻🌻🌻🌻🌻
PASO 2 // STEP 2
🌻🌻🌻🌻🌻🌻🌻🌻🌻
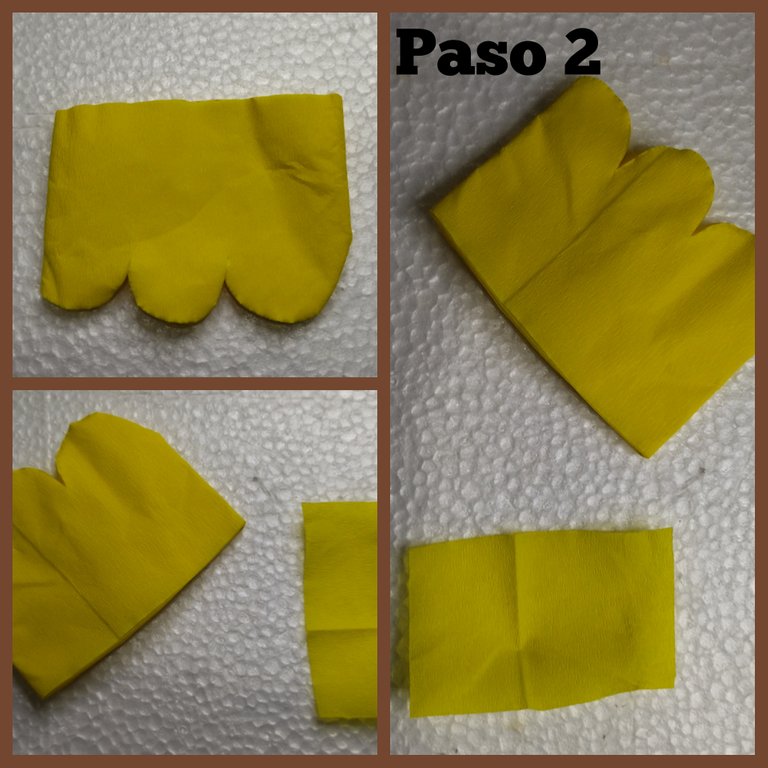
También vamos a sacar un pequeño rectángulo que va hacer el centro de nuestra flor.
We are also going to make a small rectangle that will make the center of our flower.
 PASO 3 // STEP 3
🌻🌻🌻🌻🌻🌻🌻🌻🌻
PASO 3 // STEP 3
🌻🌻🌻🌻🌻🌻🌻🌻🌻
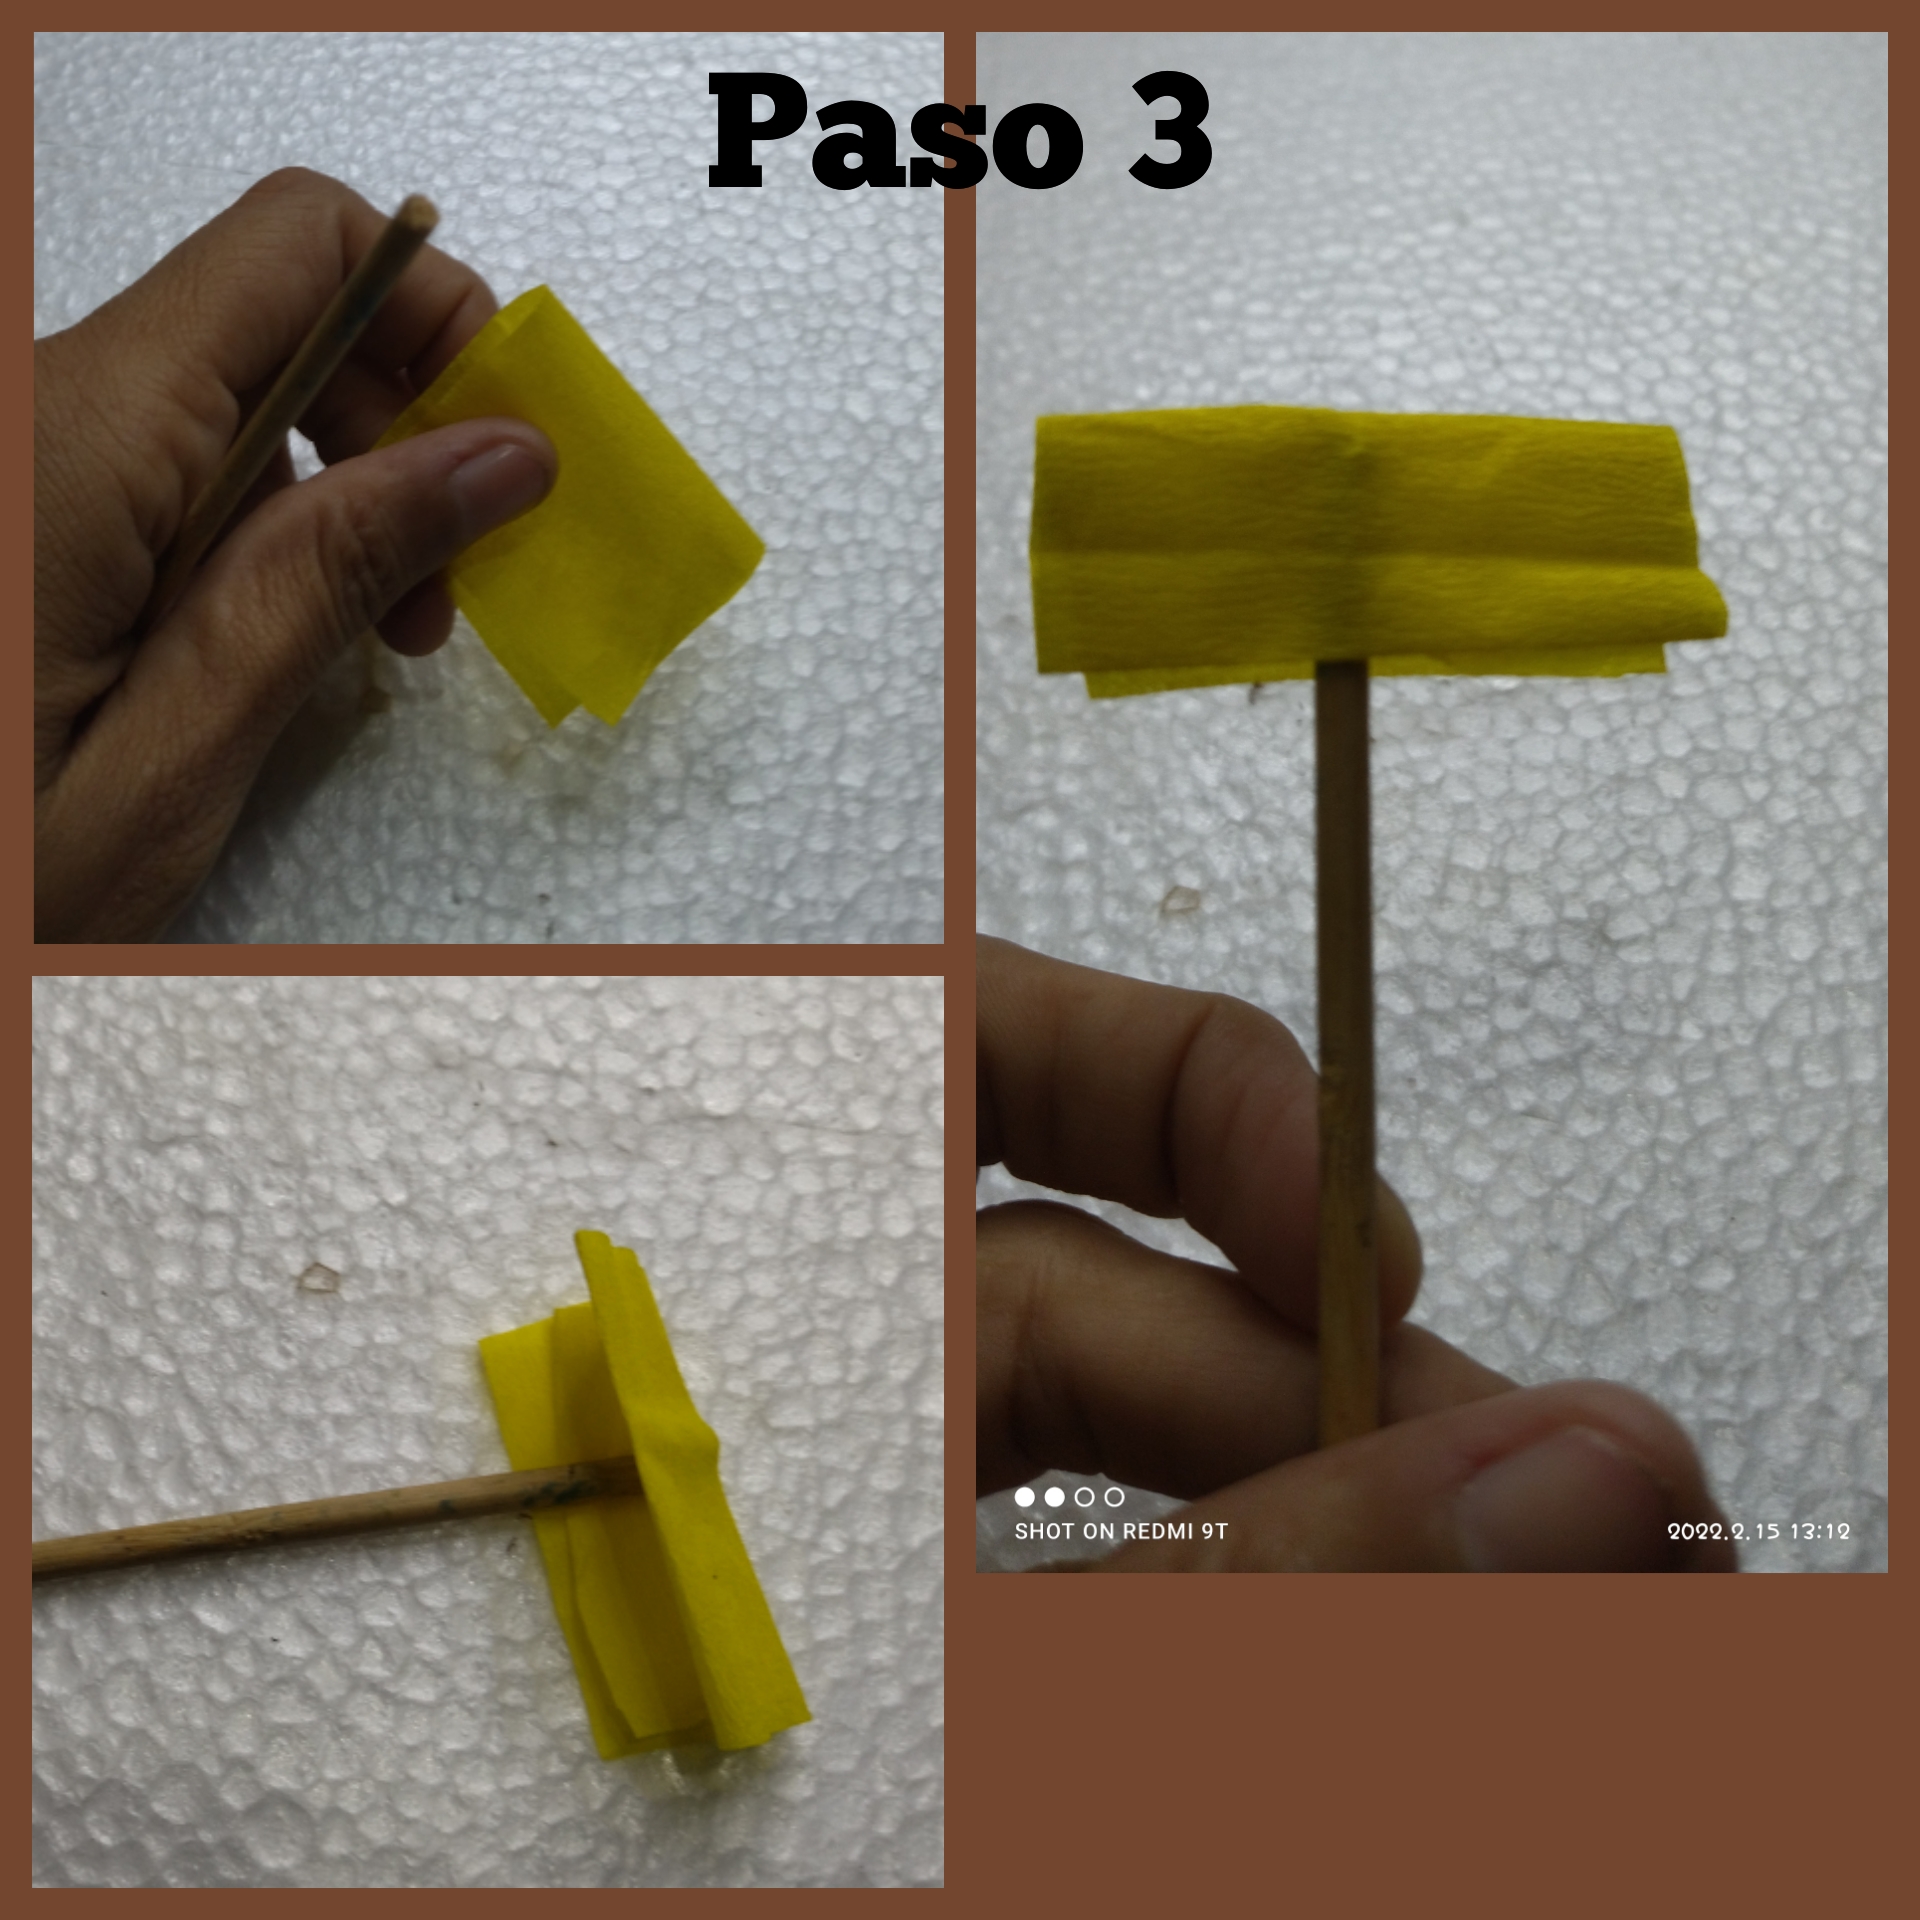
Tomamos el rectángulo de papel crepé y le colocamos un poco de silicón, y pegamos encima del palito de altura.
We take the rectangle of crepe paper and put some silicone on it, and stick it on top of the height stick.
 PASO 4 // STEP 4
🌻🌻🌻🌻🌻🌻🌻🌻🌻
PASO 4 // STEP 4
🌻🌻🌻🌻🌻🌻🌻🌻🌻
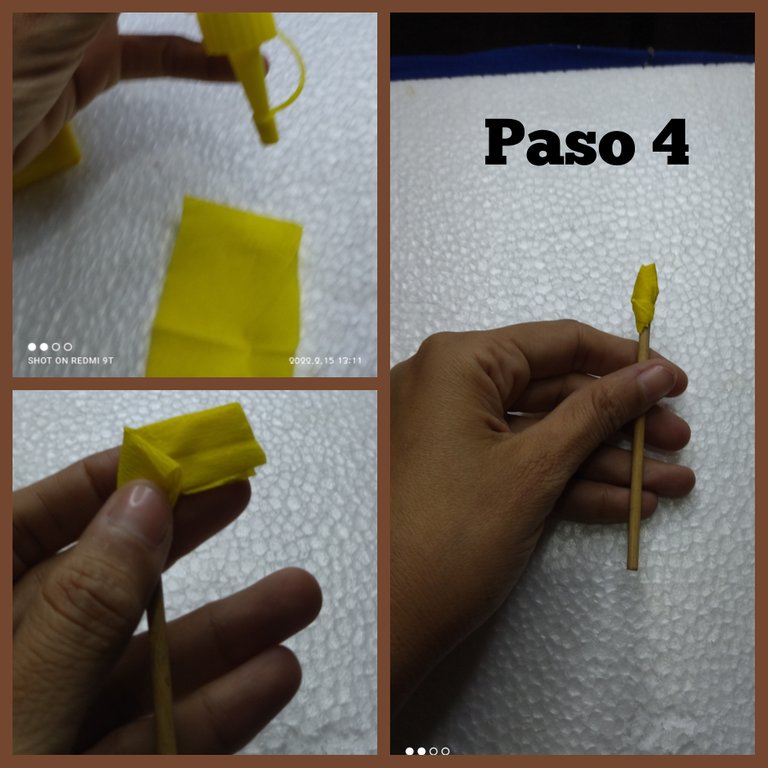
Doblamos primero un lado y aplicamos el silicón,luego el otro lado y torcemos con un poco de silicón la parte de abajo, de esta manera tenemos listo el centro de la flor.
First we fold one side and apply the silicone, then the other side and twist with a little silicone the bottom, in this way we have ready the center of the flower.
 PASO 5 // STEP 5
🌻🌻🌻🌻🌻🌻🌻🌻🌻
PASO 5 // STEP 5
🌻🌻🌻🌻🌻🌻🌻🌻🌻
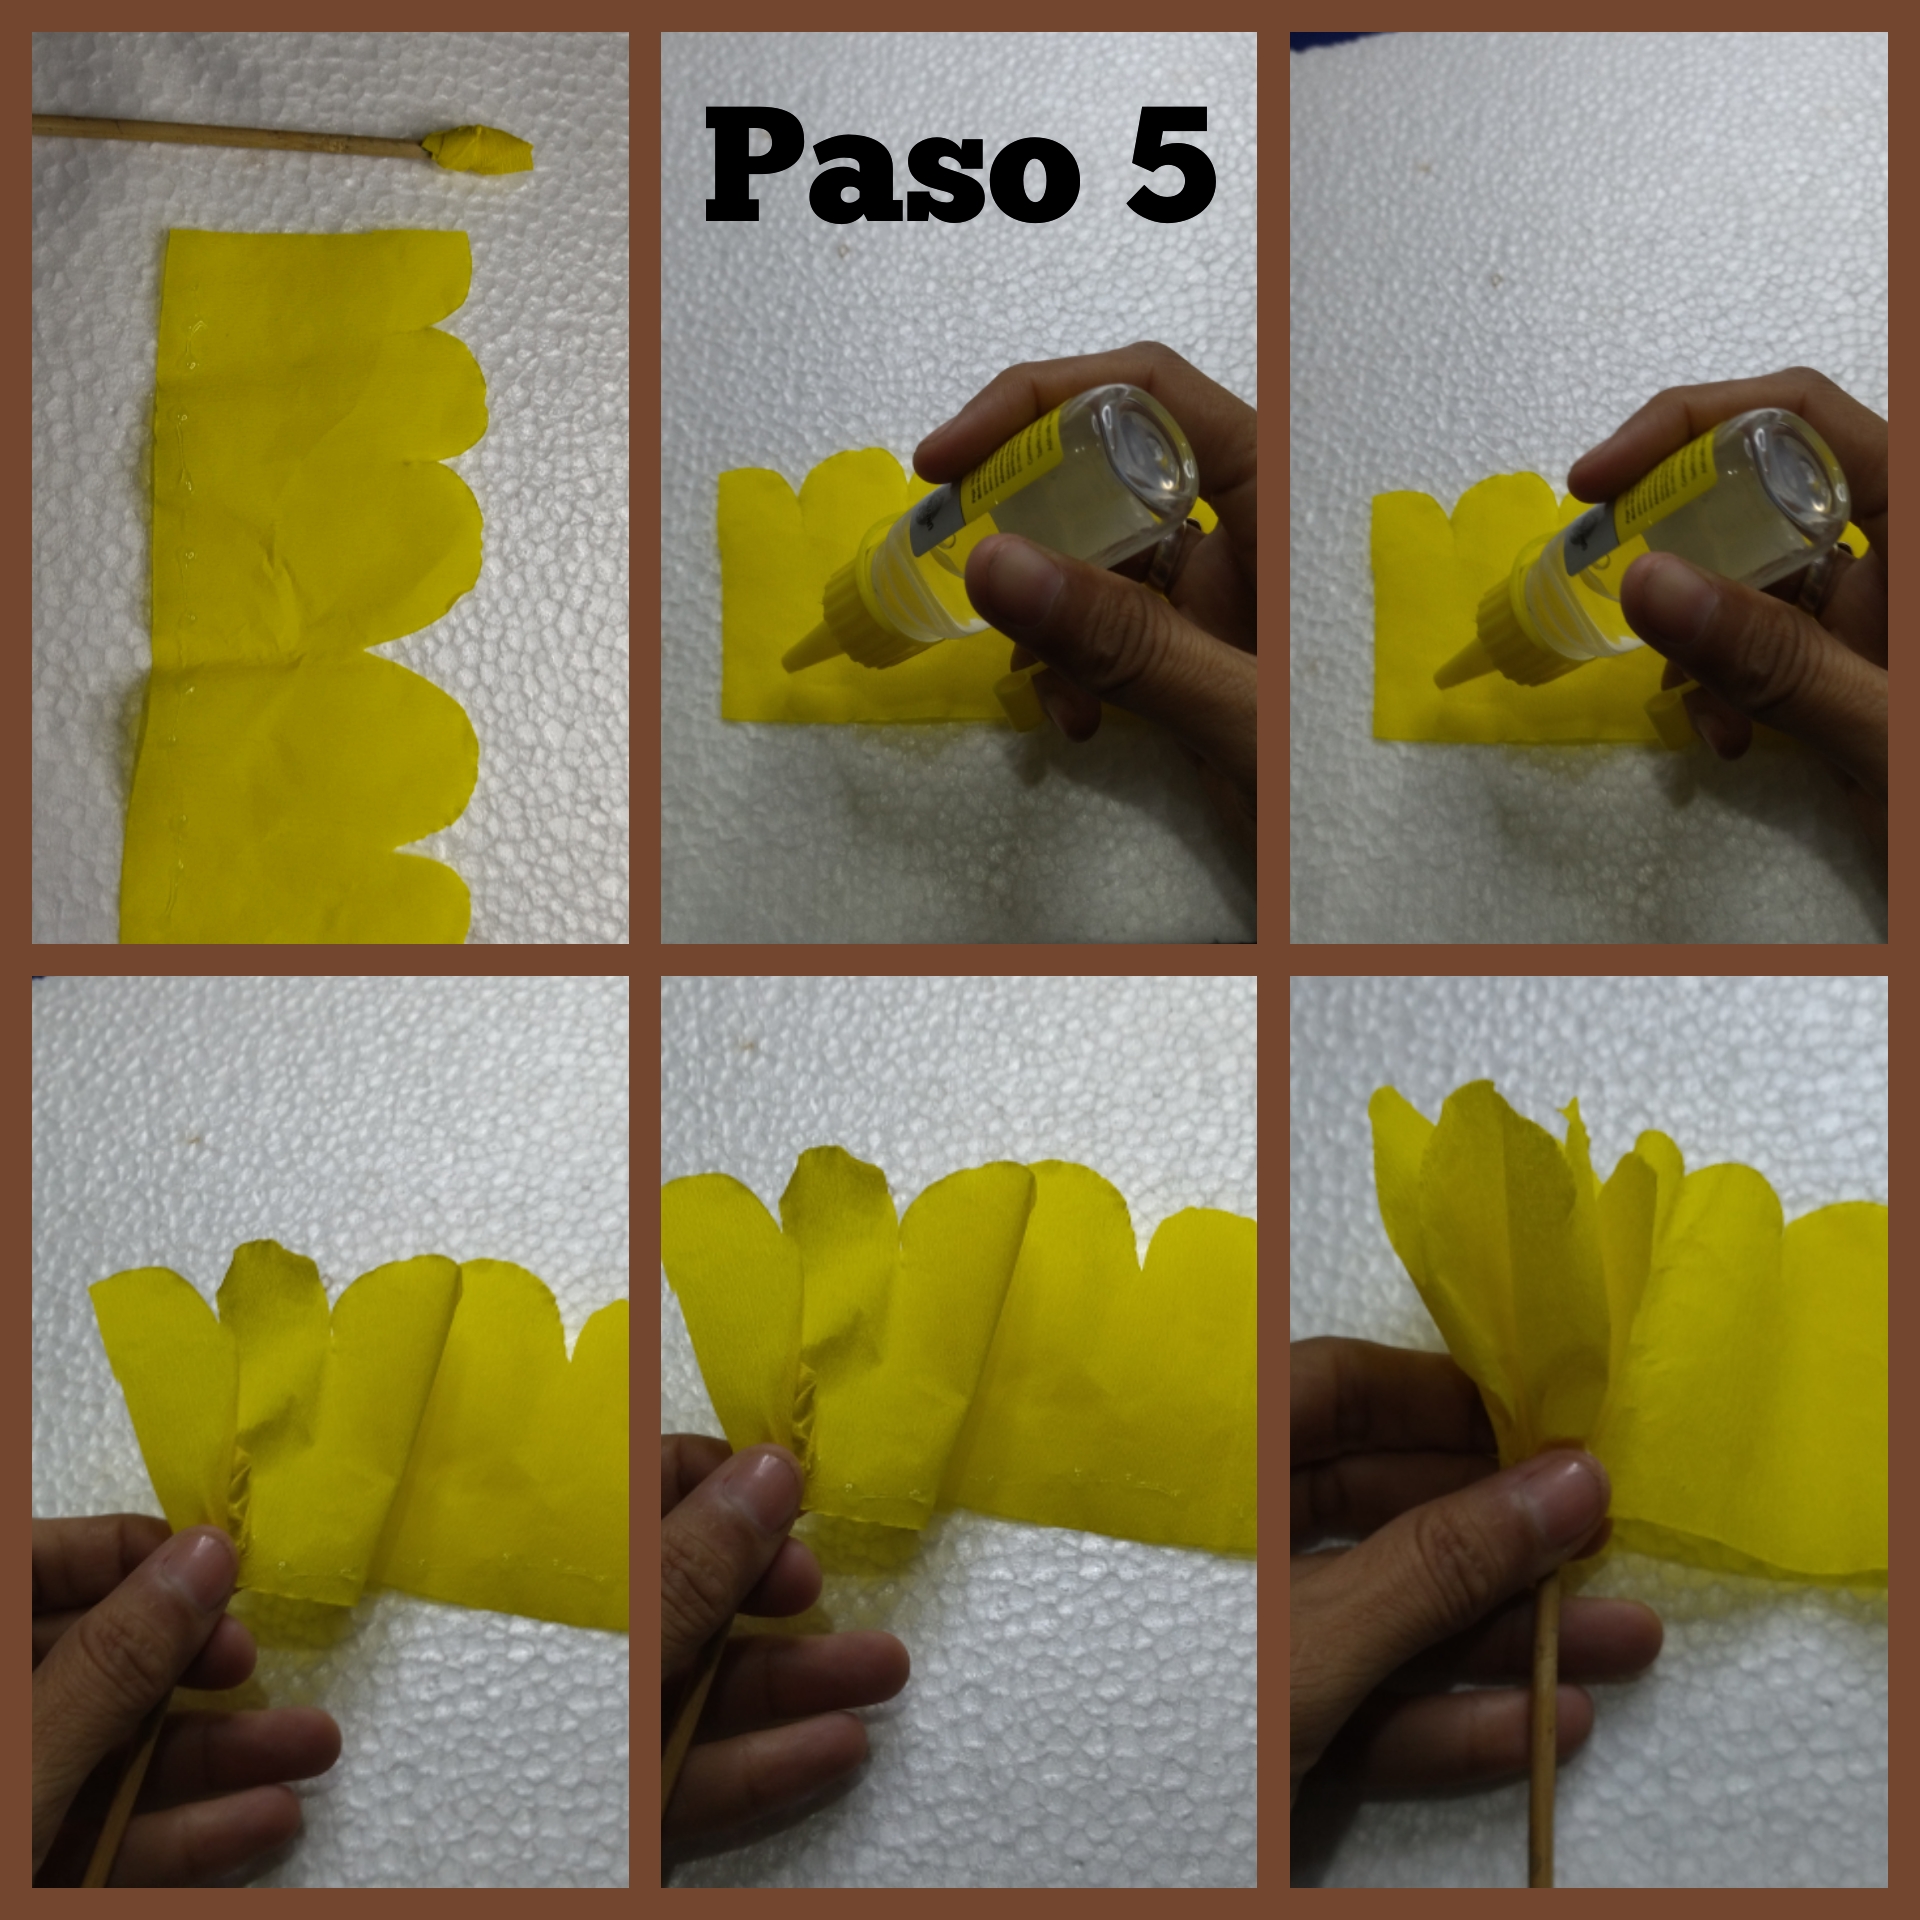
Abrimos el papel crepé que ya habíamos picado previamente y colocamos en una superficie plana para proceder a colocarle un poco de silicón en la parte de abajo, eso sí no debemos colocar grandes cantidades porque afean nuestro trabajo.
We open the crepe paper that we had previously chopped and place it on a flat surface to proceed to place a little silicone on the bottom, but we should not place large amounts because they disfigure our work.
Luego pegamos el papel crepé y vamos arruchando poco a poco al rededor del centro que hicimos, tratemos de hacerlo lo más pegado que podamos para que se vea más tupida, el largo va a depender de cuan grande vamos a querer la flor.
Then we glue the crepe paper and we will gradually crease around the center we made, try to do it as close as possible to make it look more dense, the length will depend on how big we want the flower.
 PASO 6 // STEP 6
🌻🌻🌻🌻🌻🌻🌻🌻🌻
PASO 6 // STEP 6
🌻🌻🌻🌻🌻🌻🌻🌻🌻
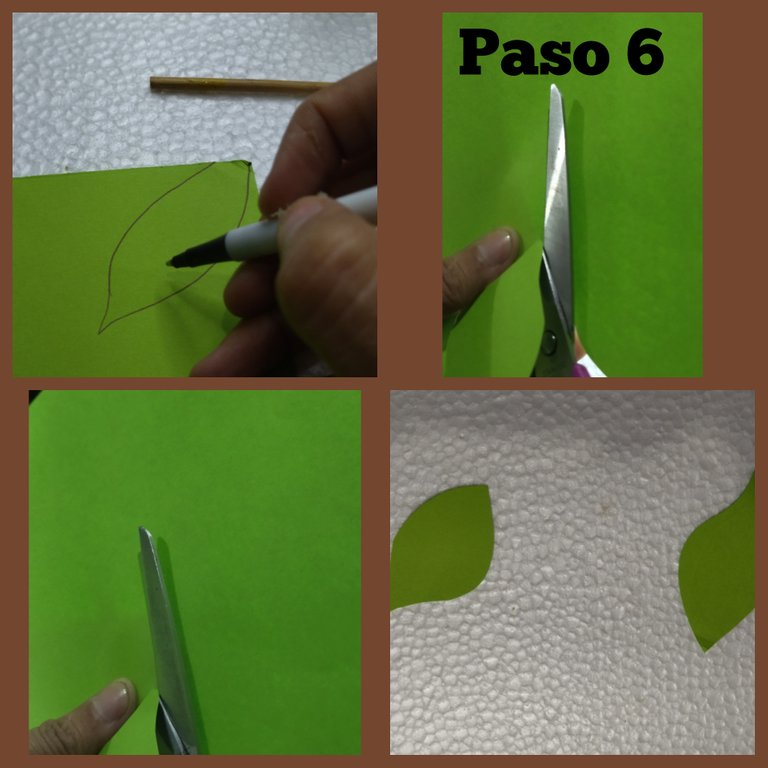
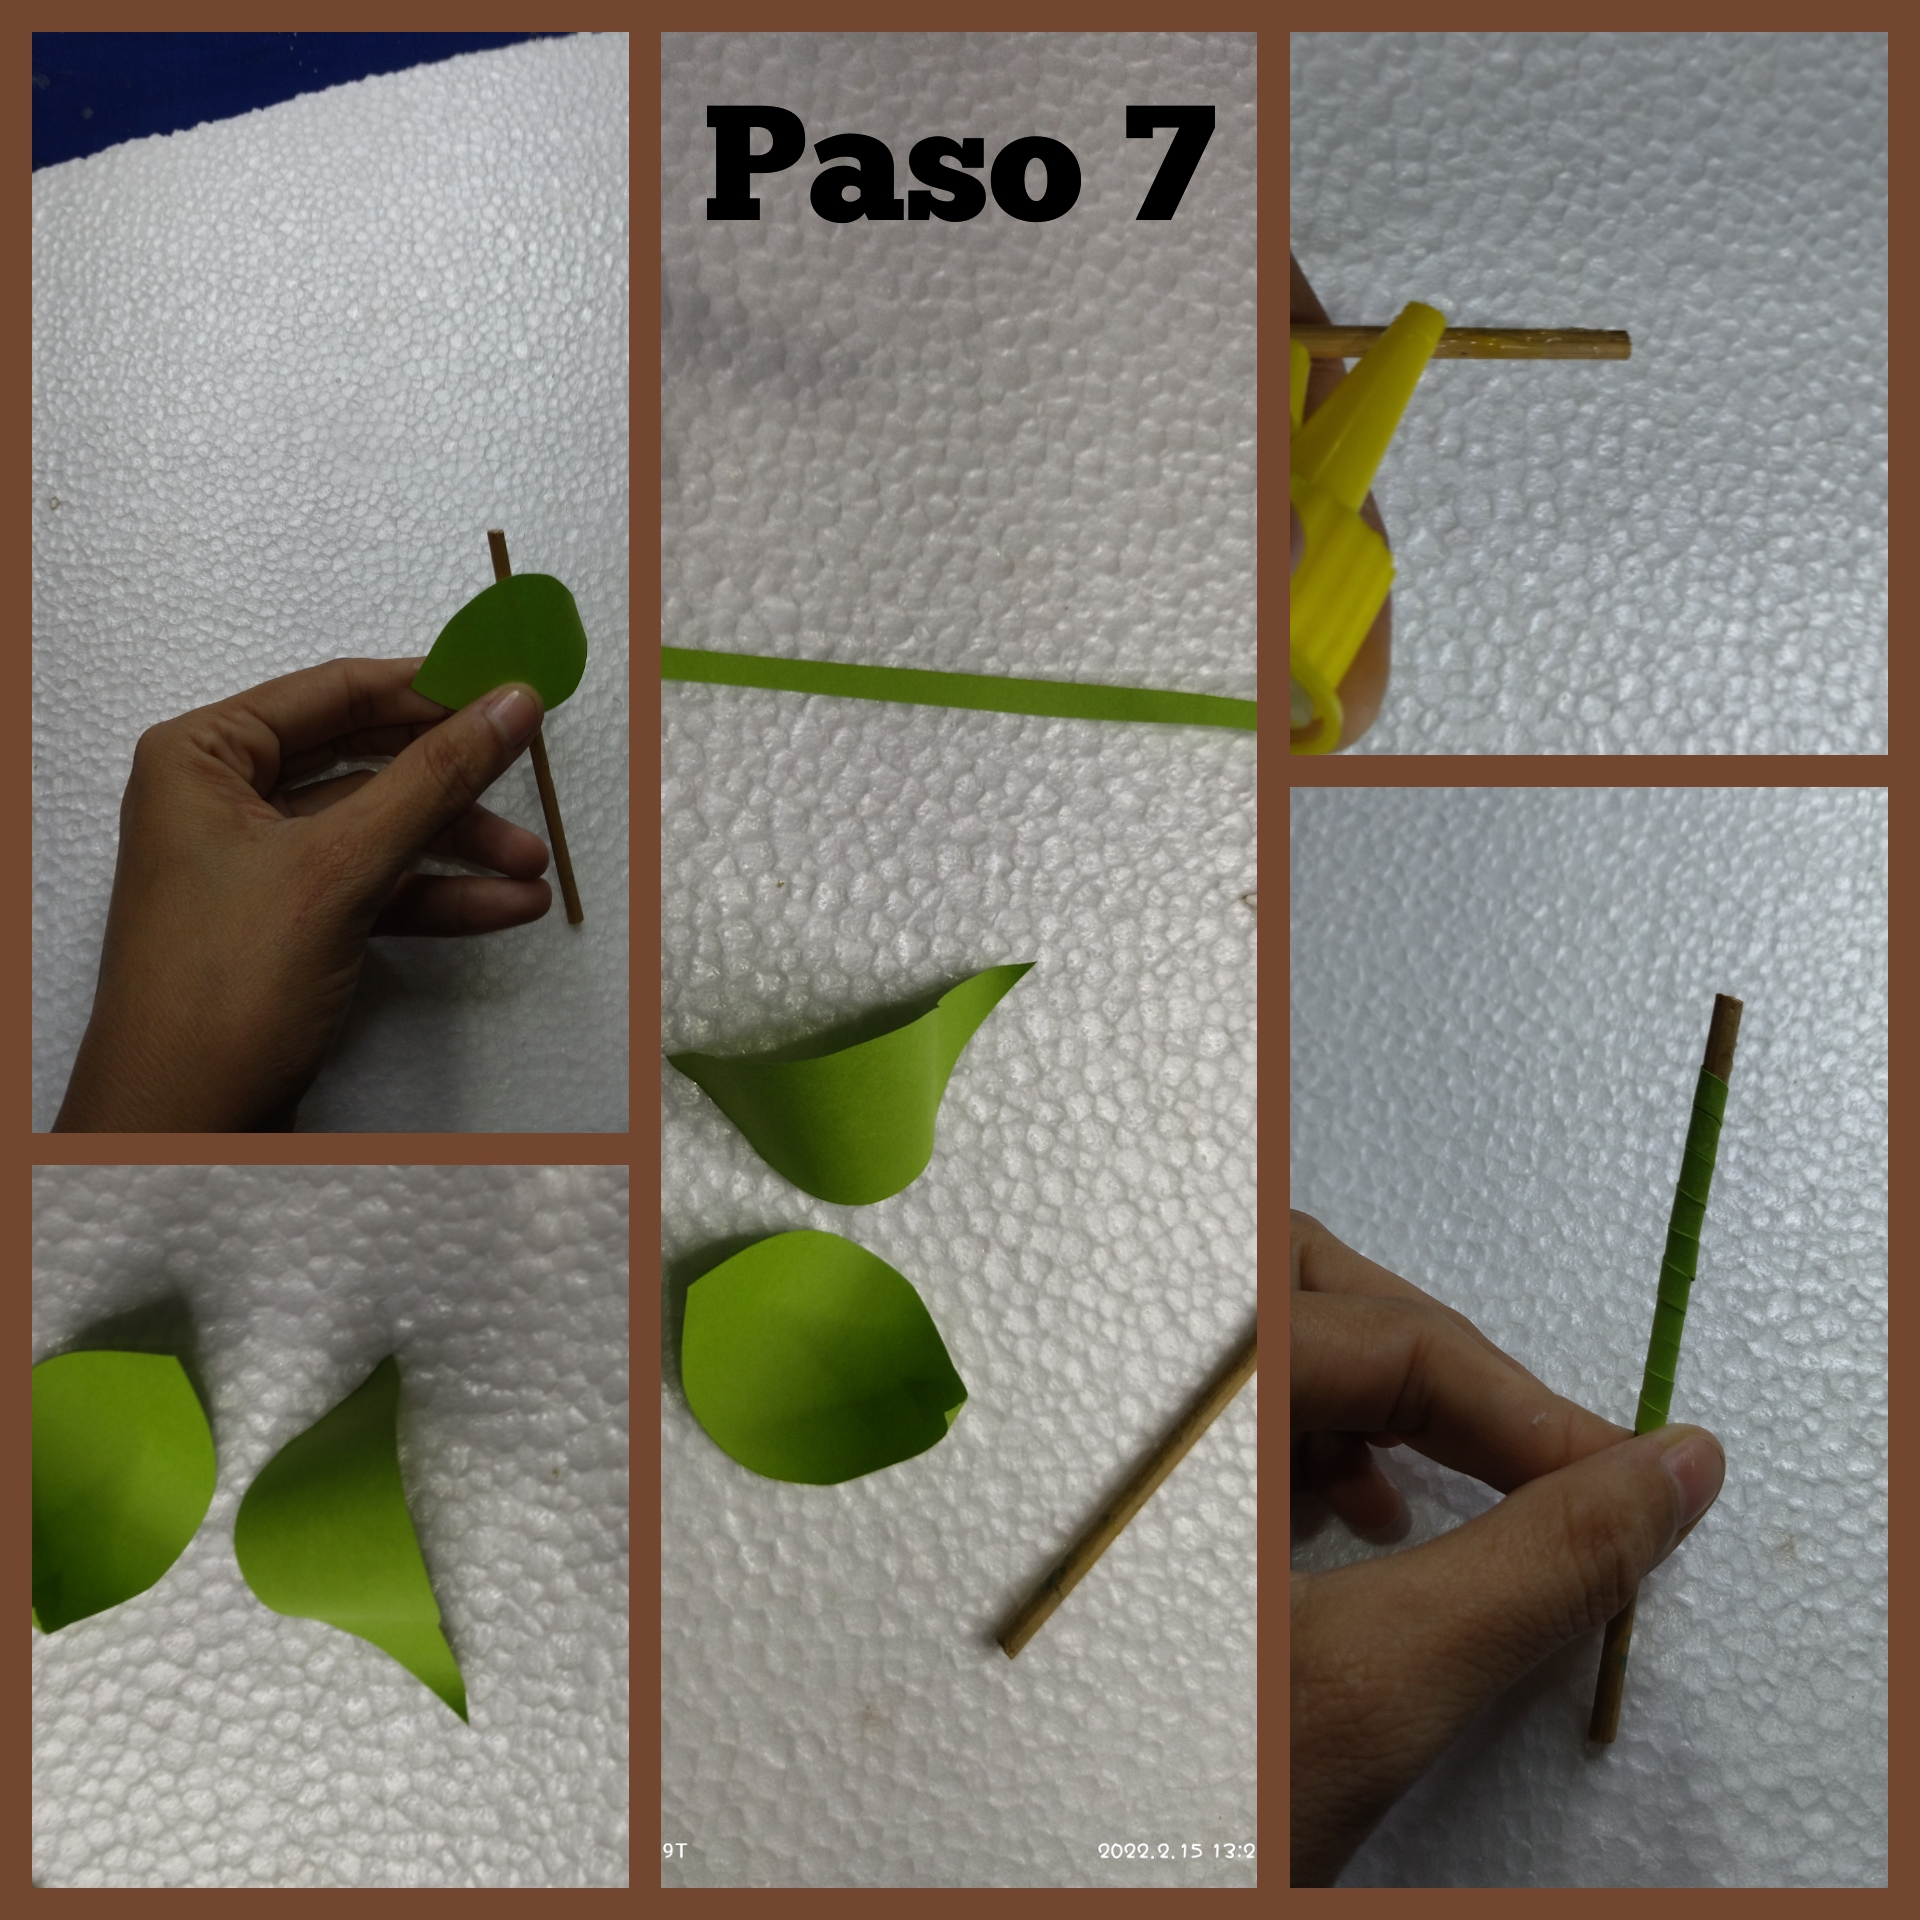
Cómo ya tenemos lista nuestra flor, vamos ahora a darle un lindo toque colocando unas hojitas, para eso tomamos la cartulina verde y nos ayudamos con el lápiz y dibujamos unas hojas las cuales vamos a recortar.
As we already have our flower ready, we are now going to give it a nice touch by placing some leaves, for that we take the green cardboard and help us with the pencil and draw some leaves which we are going to cut out.
 PASO 7 // STEP 7
🌻🌻🌻🌻🌻🌻🌻🌻🌻
PASO 7 // STEP 7
🌻🌻🌻🌻🌻🌻🌻🌻🌻
También cortamos una pequeña tira de cartulina la cual vamos a pegar por todo el palito de altura, que será el tallo de nuestra flor.
We also cut a small strip of cardboard which we will glue all over the stick height, which will be the stem of our flower.
 PASO 8 // STEP 8
🌻🌻🌻🌻🌻🌻🌻🌻🌻
PASO 8 // STEP 8
🌻🌻🌻🌻🌻🌻🌻🌻🌻
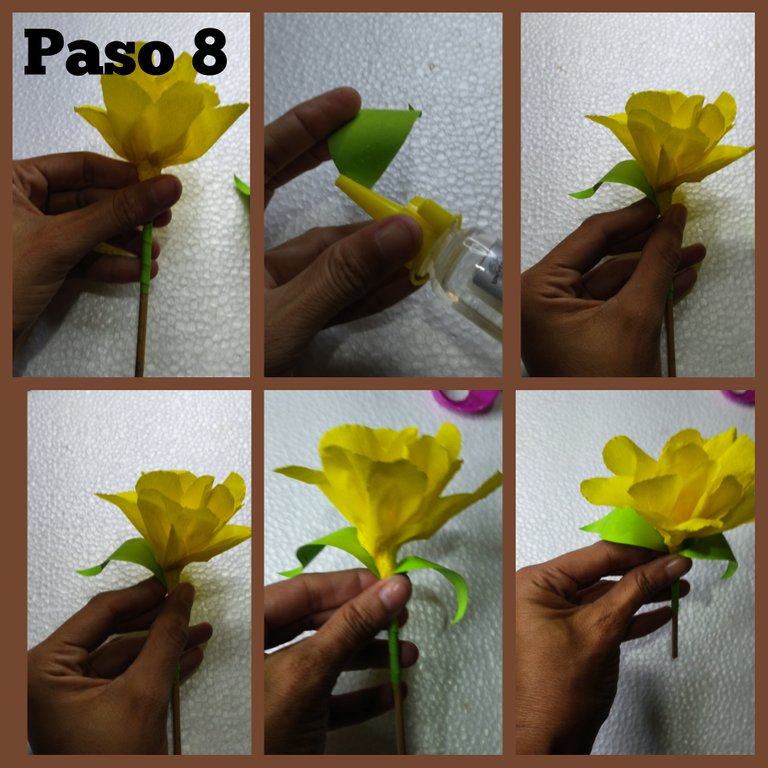
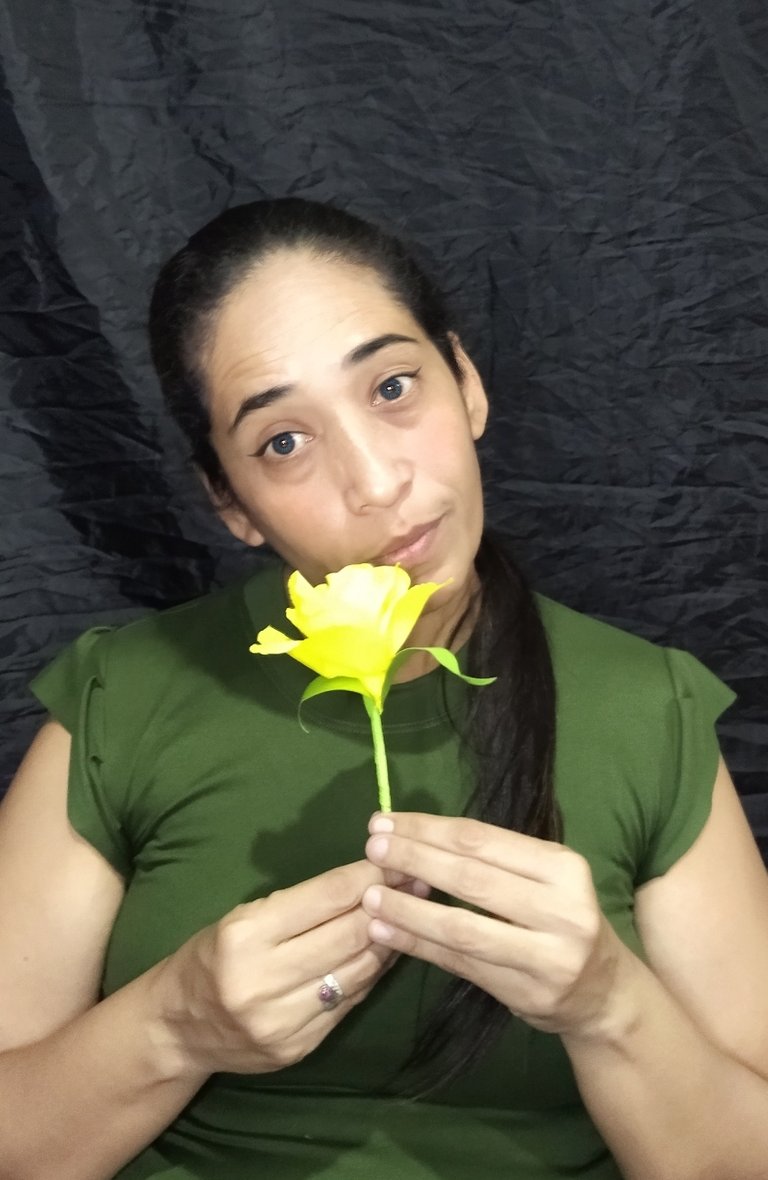
cuando haya secado le pegamos las dos hojas y listo así hemos concluido con nuestro proyecto del día de hoy, pueden ver qué es muy fácil y sencillo.
When it has dried we glue the two leaves together and that's it, that's it, we are done with today's project, you can see how easy and simple it is.
Muchos pensaran que es solo una flor, pero no este detalle puede convertirse en un fabuloso obsequio, por lo que les invito para el día de mañana para que visiten mi blog y puedan ver cómo le vamos a dar un uso bien práctico a estas hermosas flores que hemos realizado el día de hoy.
Many will think that it is just a flower, but this detail can become a fabulous gift, so I invite you to visit my blog tomorrow to see how we are going to give a very practical use to these beautiful flowers that we have made today.
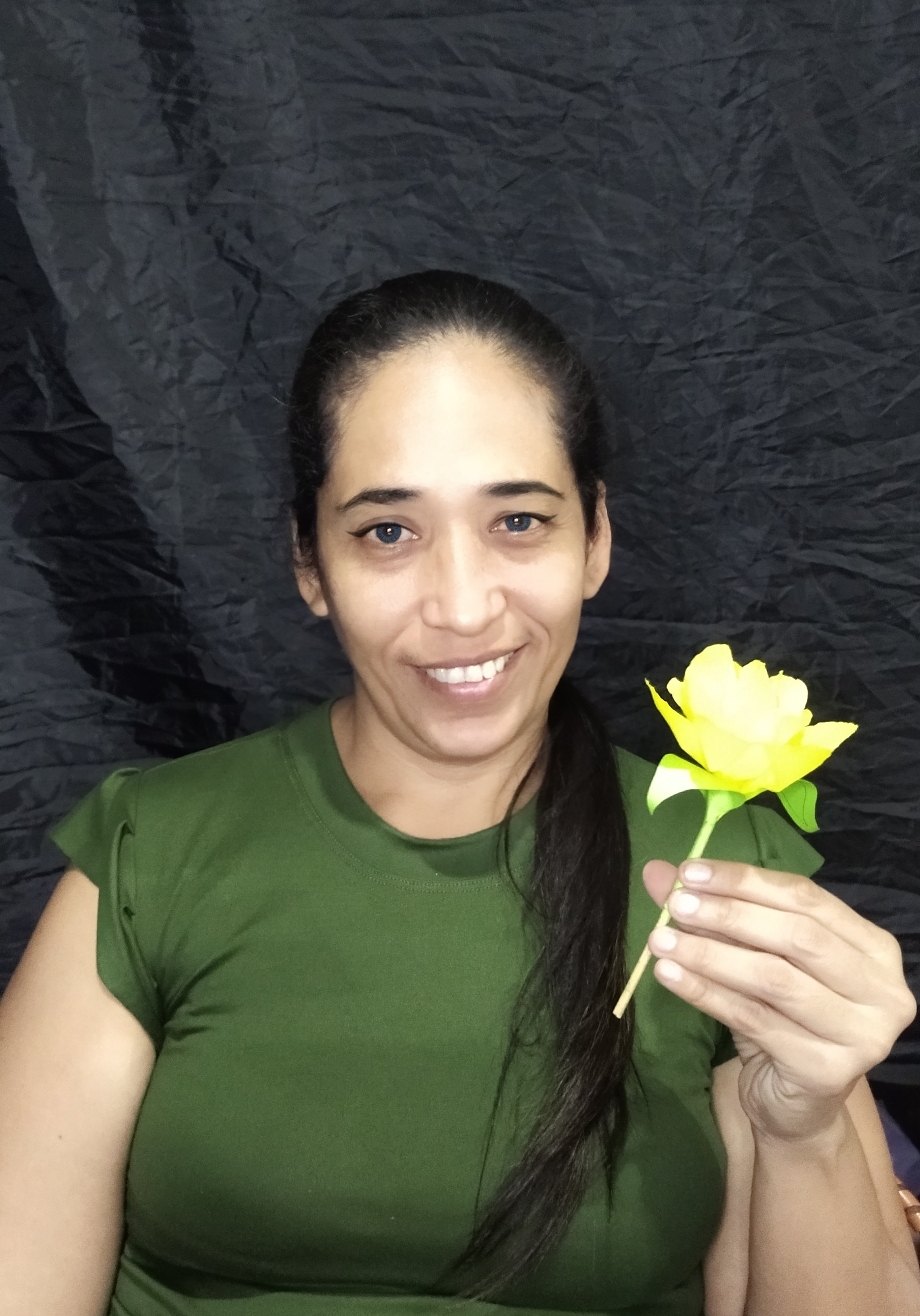
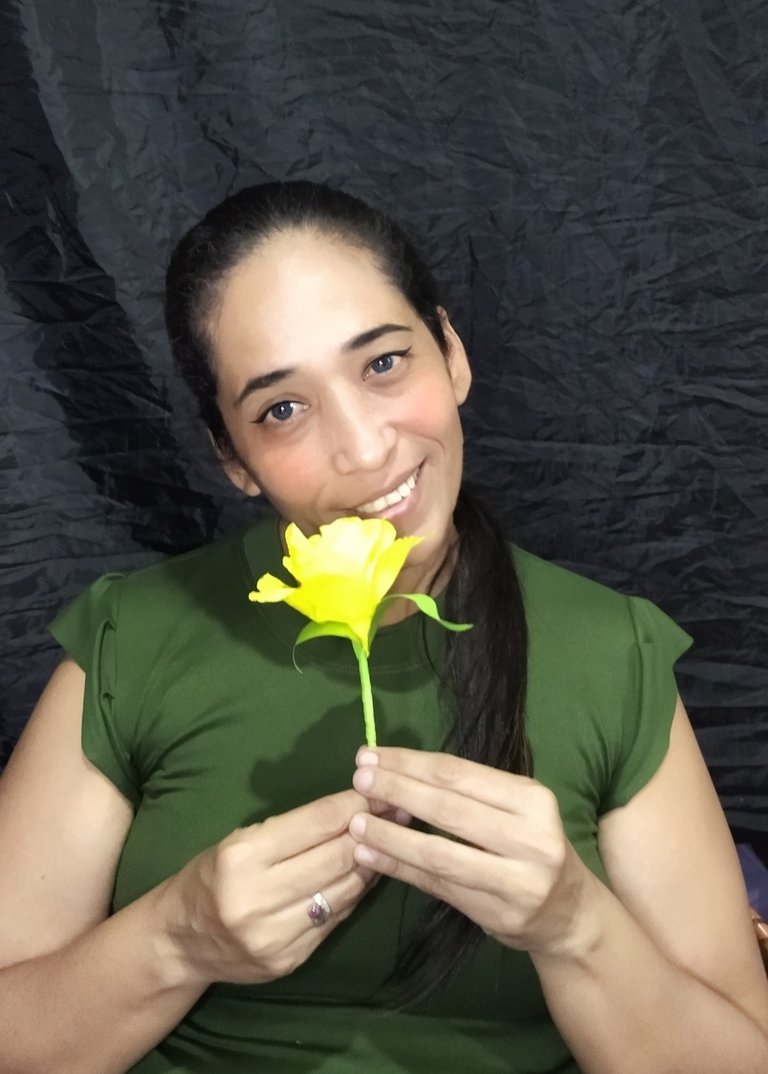
RESULTADO FINAL// FINAL RESULT
🌻🌻🌻🌻🌻🌻🌻🌻🌻
 🌻🌻🌻🌻🌻🌻🌻🌻🌻
 🌻🌻🌻🌻🌻🌻🌻🌻🌻
 🌻🌻🌻🌻🌻🌻🌻🌻🌻
 🌻🌻🌻🌻🌻🌻🌻🌻🌻
Un detalle que nos enseña que probablemente tenemos tanto en casa y no le damos uso, así que mis chicas y chicos maravillosos vamos a dejar la pereza y pongámonos manos a la obra, ayudando a darle vida a lo que creíamos un desecho pero por sobretodo que estaremos ayudando a preservar el medio ambiente.
A detail that teaches us that we probably have so much at home and we do not use it, so my wonderful girls and boys let's leave the laziness and get down to work, helping to give life to what we thought a waste but above all we will be helping to preserve the environment.
Bueno Bellezas esto ha Sido todo por el día de hoy esperando que haya sido de su agrado,si es así vota, comenta y rebloguea.
Well beauties this has been all for today hoping that it has been to your liking, if so vote, comment and reblog.
🌻Todas las fotos fueron tomadas con mi teléfono Xiaomi readmi 9T y son de mi propiedad.
🌻All photos were taken with my Xiaomi readmi 9T phone and are my property.
🌻 Utilice el programa polish para la edición de las fotos.
🌻 Use the polish program for photo editing.
***
🌻 Utilice el traductor Deepl.
🌻 Use the Deepl translator.
🌻🌻🌻🌻🌻🌻🌻🌻🌻
 🌻🌻🌻🌻🌻🌻🌻🌻🌻
