
Saludos a todos las abejitas que hacen vida dentro de esta plataforma,este universo llamado
#hive que día a día nos abre la posibilidad de compartir todos nuestros talentos, saludos especialmente el día de hoy a la comunidad
#hivediy en la que puedo compartir todos esos momentos creativos que tengo.
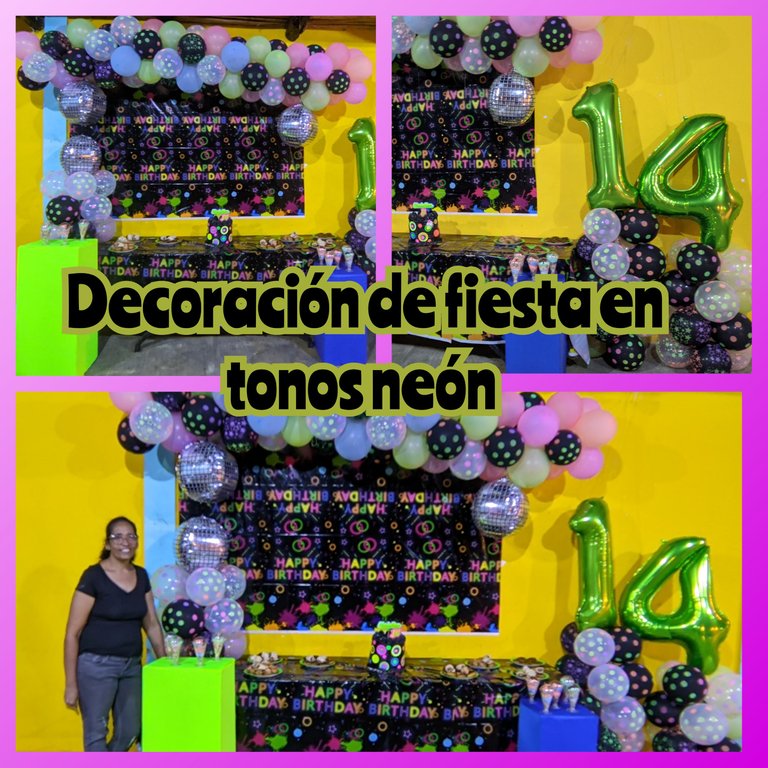
Hoy les traigo un post que está dedidado a mostrarles cómo fue que realice una hermosa decoración de una fiesta para un chico de 14 años con temática Neon, que aunque fue bastante sencilla creo que el resultado final fue hermoso.
Yo quería hacer otro tipo de decoración más llamativa, aunque los colores en si ya son llamativos, pero los dueños de la fiesta no quisieron porque la fiesta era para un chico que cumplía 14 años y el cuál tiene un carácter bastante difícil y le molesta todo, aunque si me preguntan a mi lo que, es un malcriado falta de respeto, pero bueno eso es otro tema, jejejeje el hecho es que hice está decoración tal cual como me la pidieron y acá les cuento cómo fue el proceso.
💞🎉💞PROCESO CREATIVO💞🎉💞

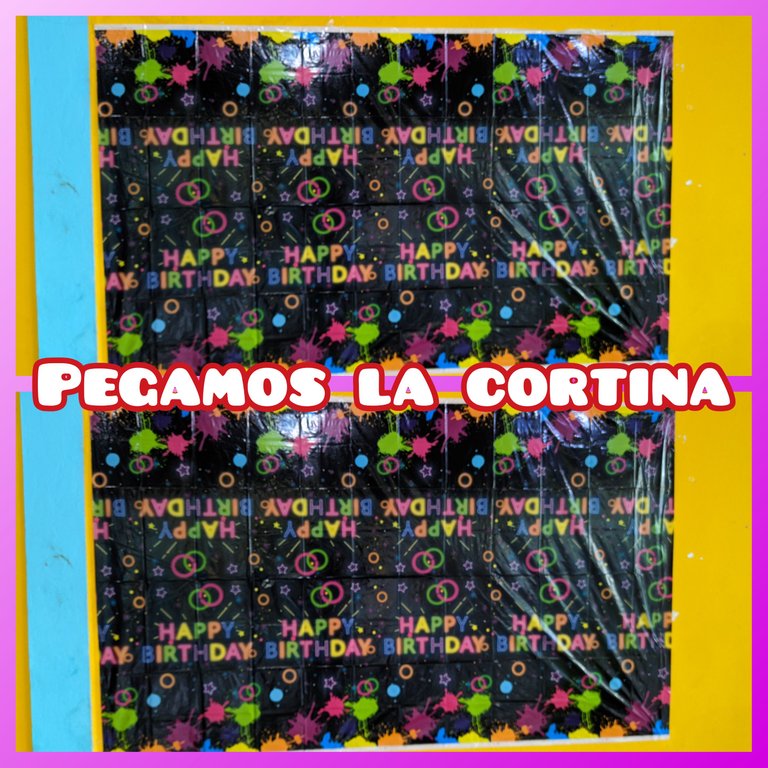
Tomamos la cortina plástica y la pegamos a la pared, en este caso trabaje con silicón liquido, nos aseguramos de que quedará bien fija al la pared ya que en el lugar la brisa era tremenda y nos dificultaba el trabajo.
Amarre a un poste un pabilo el cuál puse doble, y luego comencé a inflar cuartetos de globos, los cuales anude sin ningún orden específico.
Una vez realizado el cuarteto, lo entrelazados en el pabilo,asegurandonos de que quede bien ajustado.
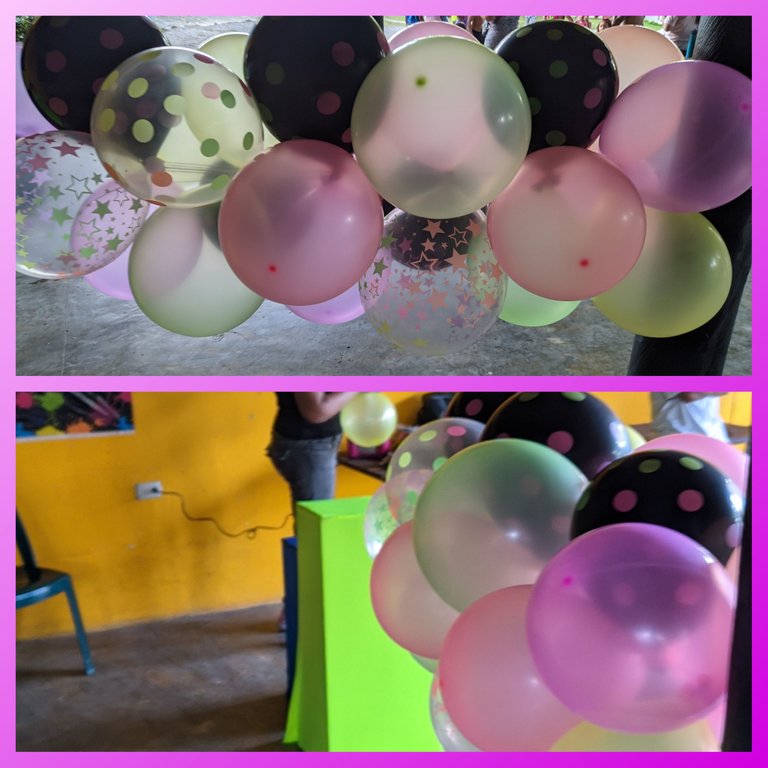
Inflamos, anudamos e hicimos muchos cuartetos de globos y los fuimos uniendo en el hilo pabilo hasta lograr crear una columna lo suficientemente larga para que cubra el largo del mantel que colocamos y el cuál será nuestro fondo de decoración.
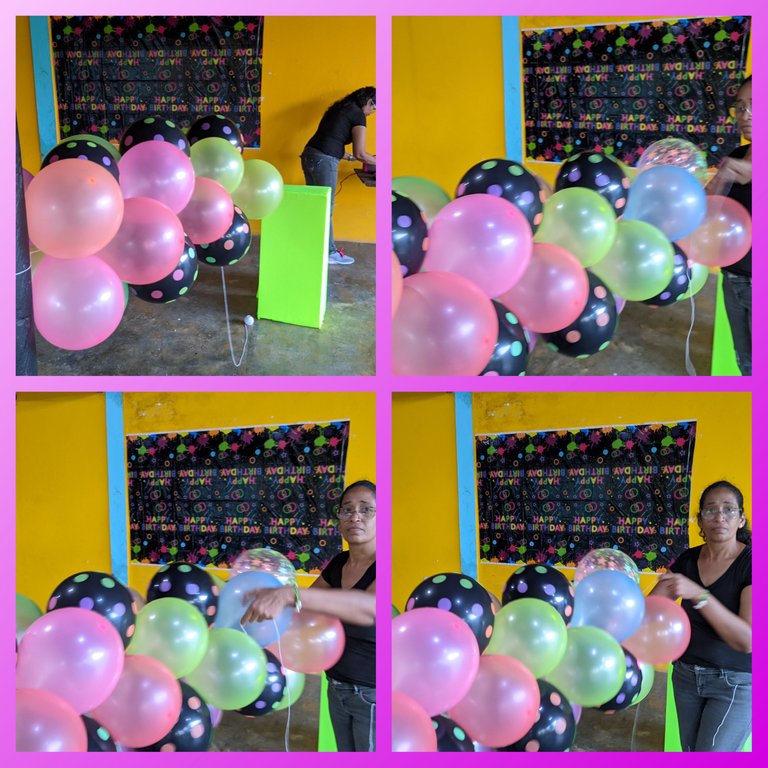
Luego repetimos el proceso de crear una columna solo que está vez será más pequeña, porque allí vamos a colocar los globos con forma de número.
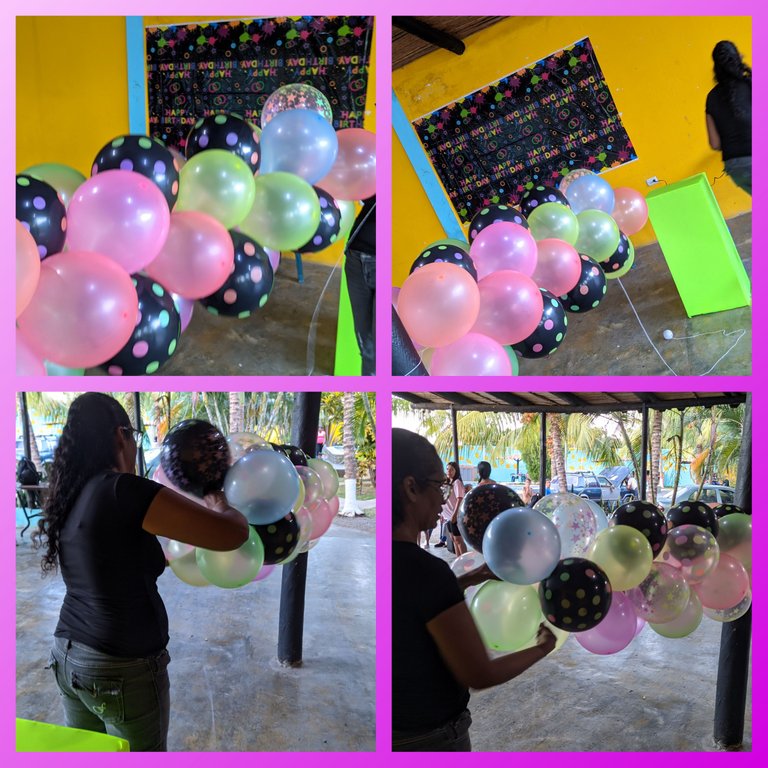
Realmente hice dos columnas de 6 cuartetos de globos, es decir utilizamos (24) globos para hacer cada una.
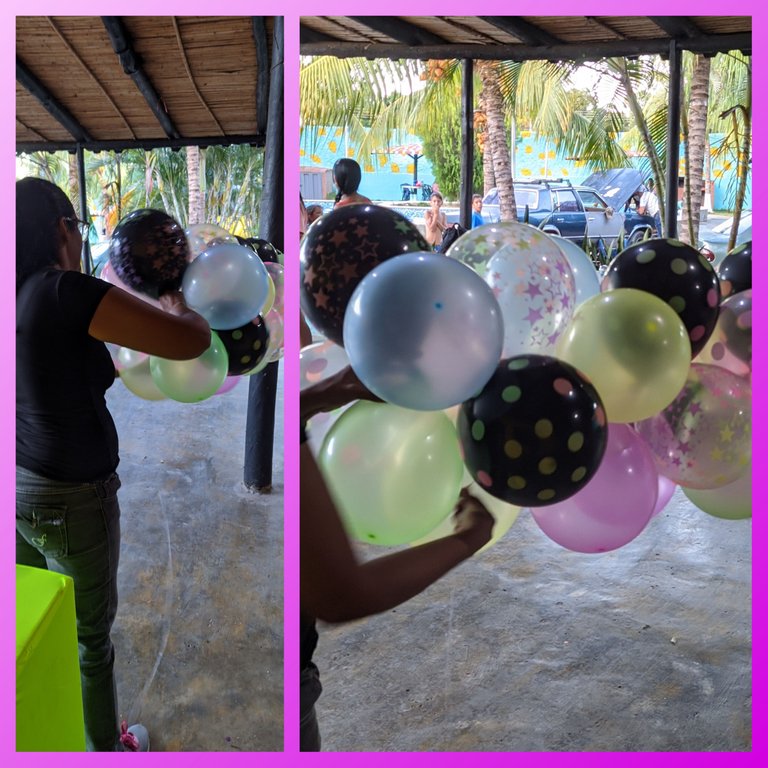

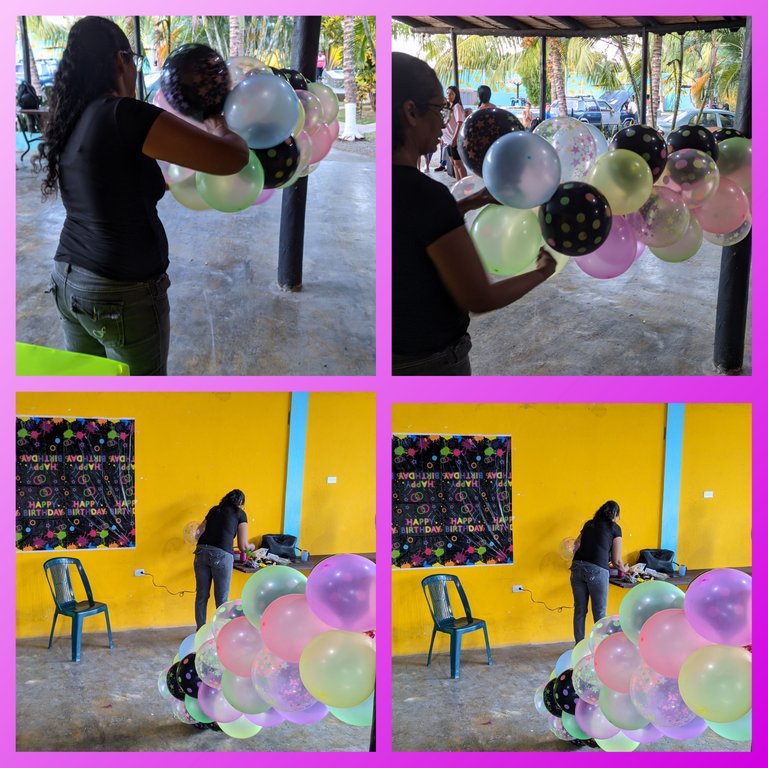
Luego amarramos la columna de globos grande que arme, centrando bien, y asegurandonos que cubra el largo del mantel, que viene siendo el largo de el mesón que se va a utilizar.
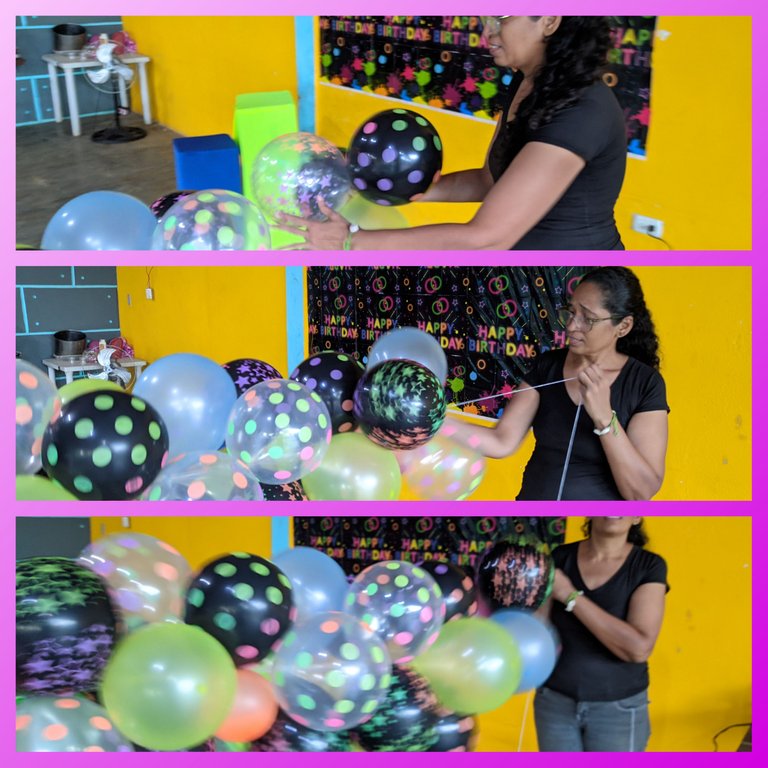
Ya fijado los globos de la parte de arriba, colocamos el mesón y su respectivo mantel y ahora lo que hacemos en colocar las dos columnas de globos a un lado del meson.
Cuando ya fijamos bien las dos columnas, inflamos los globos de números y procedemos a colocarlos encima de cada columna.
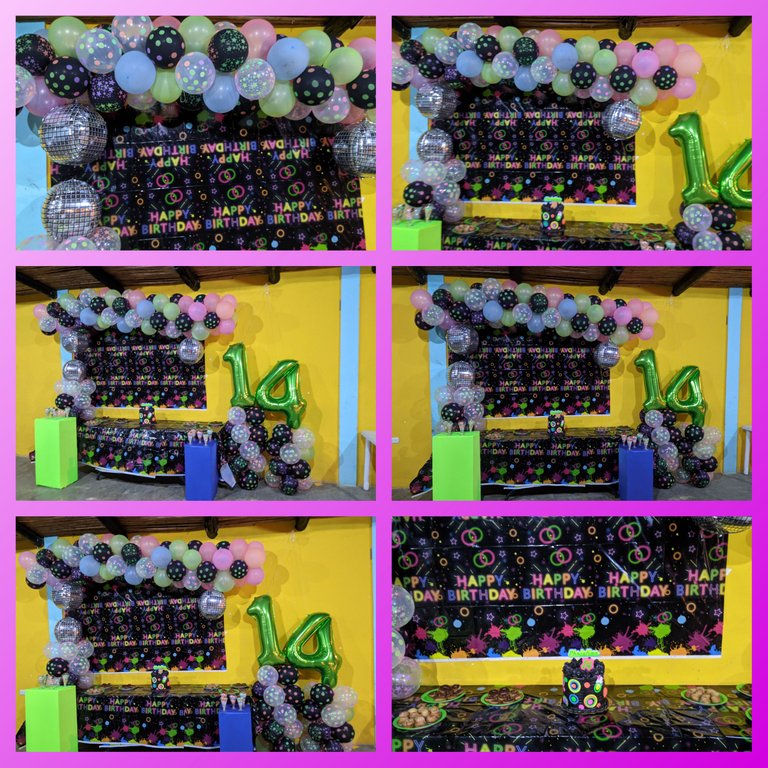
Para esta decoración además de el mesón, utilice dos mesas pequeñas rectangulares las cuales forre de tela con colores neon que es nuestra temática, y colocamos una en cada esquina del mesón.
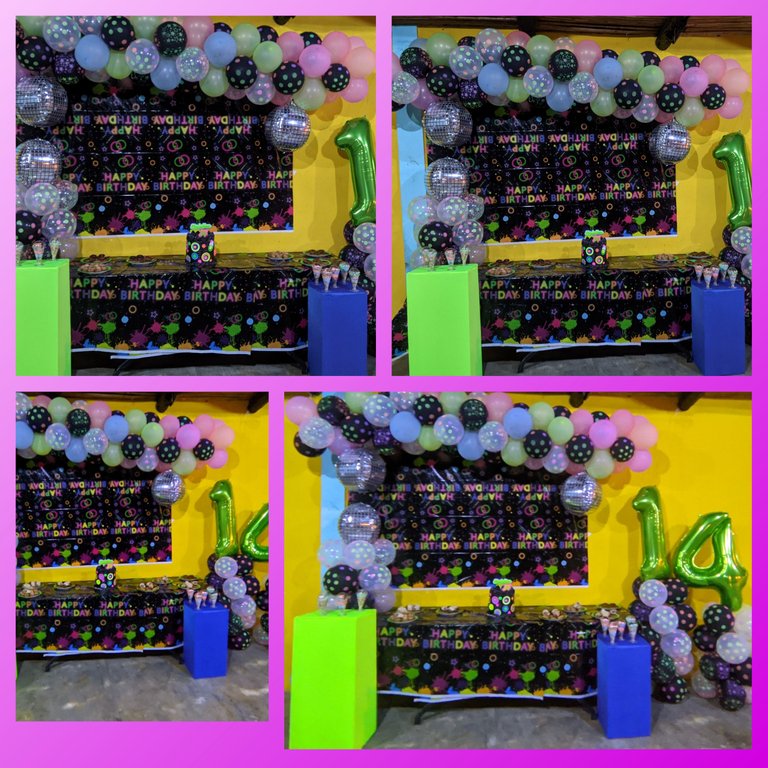
Finalmente colocamos la torta en el centro del mesón, también las bandejas de dulces.
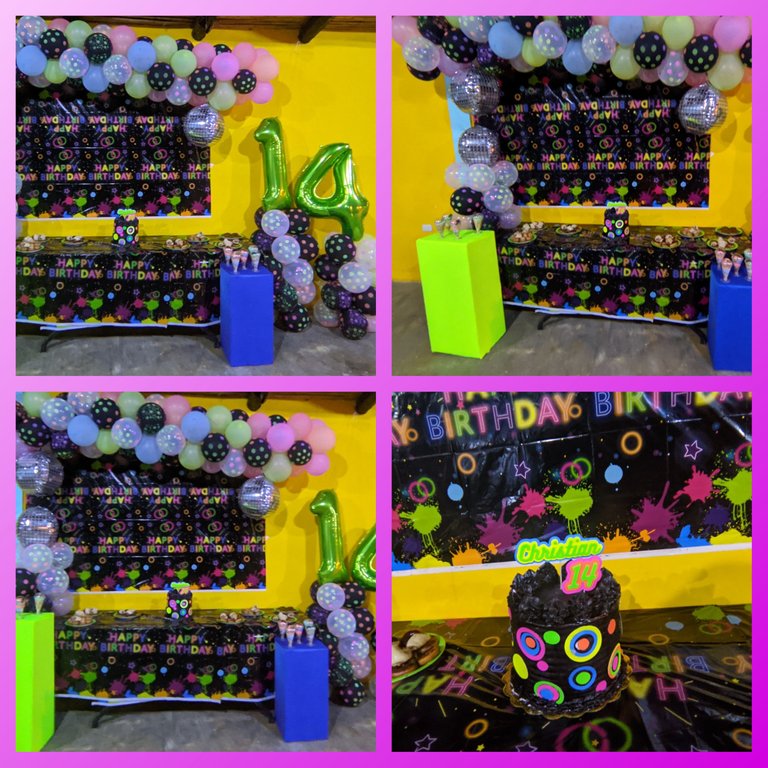
Y como un toque original en las mesas rectangulares le colocamos unas copas que hicimos con un postre, pero que tienen decoración neon y listo, trabajo concluido.
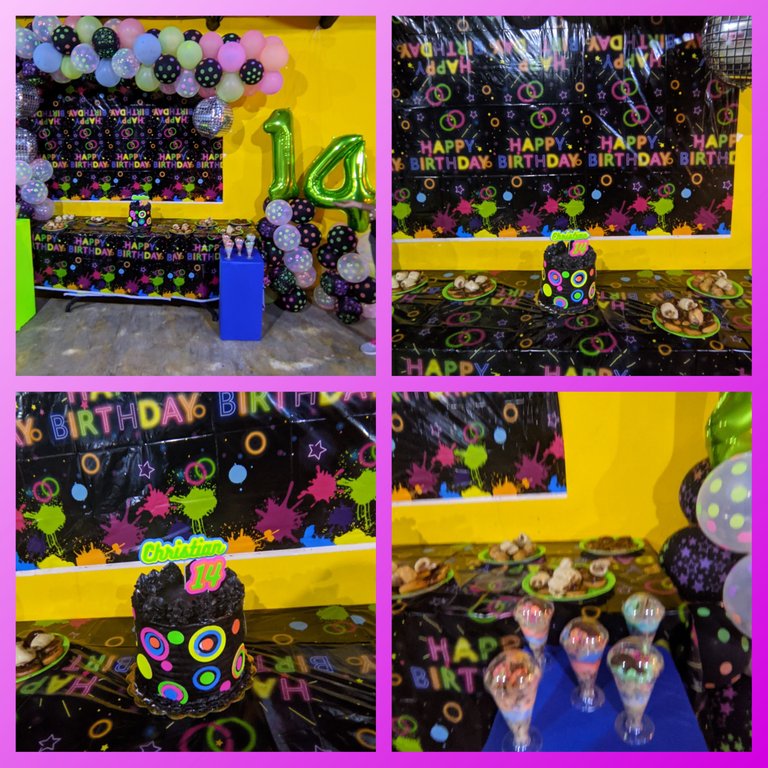 💞🎉💞RESULTADO FINAL💞🎉💞

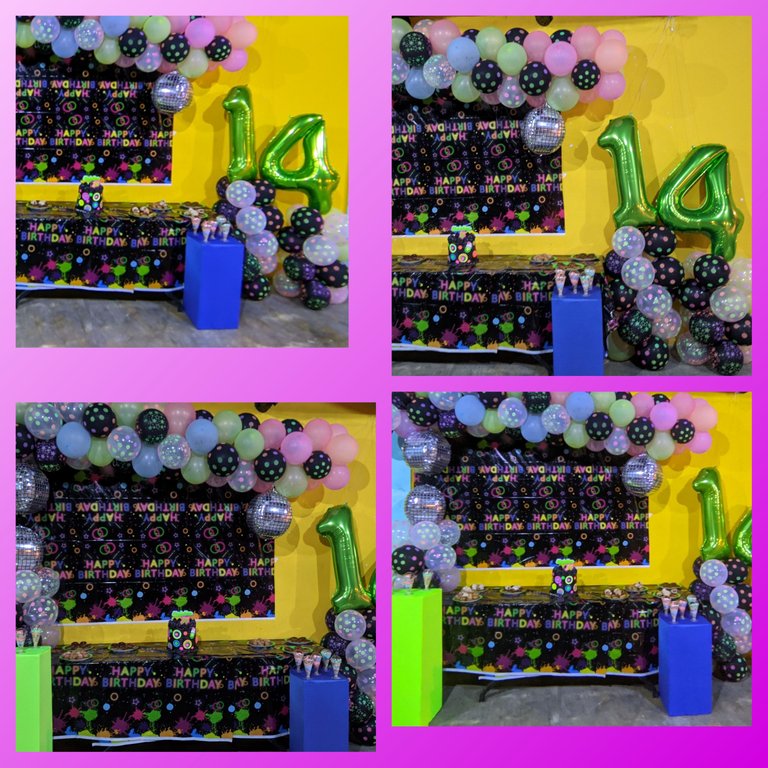

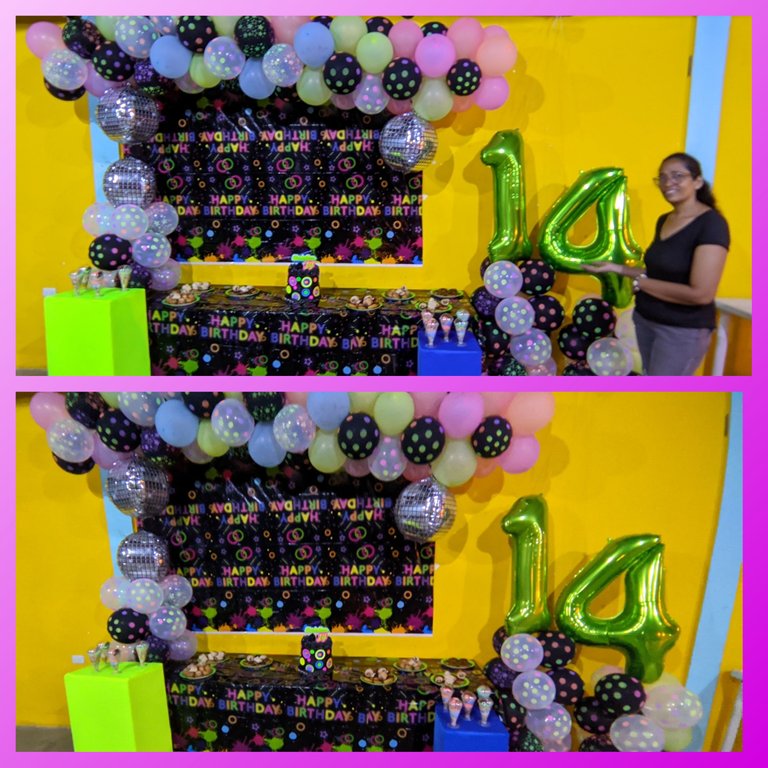

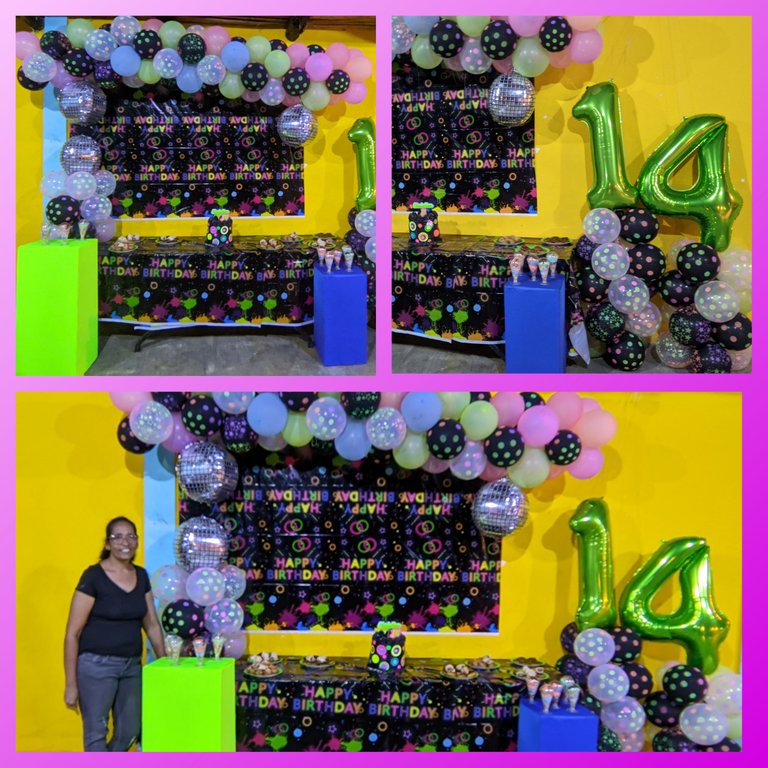

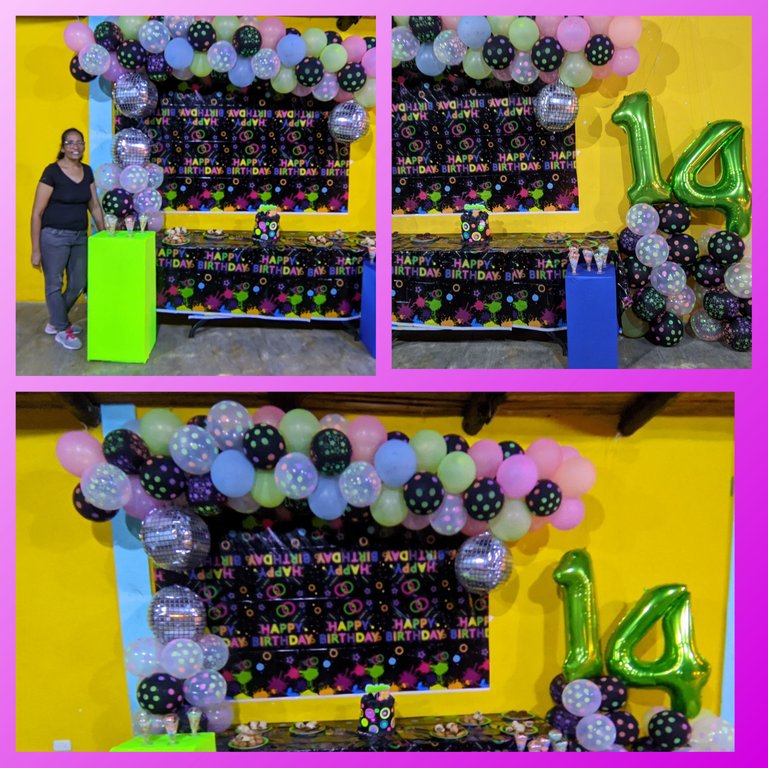
Que les pareció está decoración, a mí me parece que quedó sencilla porque no tuve libertad de acción y fue algo específico lo que querian,al final creo que quedo lindo, los globos neon no se apreciaron mejor por la claridad del día, pero en la noche por supuesto que brillaban, lamentablemente la clienta no me envió fotos de como se veian pero creo que aquí se puede apreciar el trabajo.
Es todo por ahora, me despido esperando que les haya gustado este trabajo, si tienen algunas sugerencia déjala en los comentarios, estamos para seguir aprendiendo, me despido recordándoles que la vida es bella y en colores y que mejor que esos colores los coloquemos en nuestras vidas, bye besitos.
 💞🎉💞CRÉDITOS💞🎉💞

📷 Todas las fotografías fueron tomadas con mi teléfono Xiaomi readmi 9T y son de mi propiedad, utilice el programa polish para realizar los collage.
📷Utilice el traductor Deepl.

 💞🎉💞 ENGLISH 💞🎉💞


greetings to all the little bees that make life inside this platform, this universe called #hive that day by day opens us the possibility to share all our talents, greetings especially today to the #hivediy community where I can share all those creative moments I have***
Today I bring you a post that is dedicated to show you how I made a beautiful party decoration for a 14 year old boy with a Neon theme, which although it was quite simple I think the end result was beautiful.
I wanted to make another type of decoration more striking, although the colours themselves are already striking, but the owners of the party did not want because the party was for a boy who was 14 years old and which has a rather difficult character and bothers him everything, although if you ask me what, is a spoiled lack of respect, but that's another topic, hehehehehehe the fact is that I made this decoration as they asked me and here I tell you how the process was.
💞🎉💞CREATIVE PROCESS💞🎉💞

We took the plastic curtain and we stuck it to the wall, in this case I worked with liquid silicone, we made sure that it would be well fixed to the wall because in the place the breeze was tremendous and it made our work difficult.

I tied a wick to a pole, which I doubled, and then I started blowing up quartets of balloons, which I knotted in no particular order.
Once the quartet was done, I entwined it in the wick, making sure it was tight.

We inflated, knotted and made many quartets of balloons and joined them together in the wick string until we created a column long enough to cover the length of the tablecloth we placed and which will be our background decoration.

Then we repeat the process of creating a column, only this time it will be smaller, because we are going to place the number balloons in it.

I actually made two columns of 6 quartets of balloons, i.e. we used (24) balloons to make each one.


Tie the large column of balloons, centring it well, and making sure that it covers the length of the tablecloth, which is the length of the table that will be used.

We have already fixed the balloons on the top, we place the table and its respective tablecloth and now we place the two columns of balloons on one side of the table.
When the two columns are well fixed, we inflate the number balloons and proceed to place them on top of each column.

For this decoration, in addition to the table, I used two small rectangular tables, which I covered with neon-coloured fabric, which is our theme, and we placed one in each corner of the table.

Finally we place the cake in the centre of the table, as well as the trays of sweets.

And as an original touch on the rectangular tables, we put some glasses that we made with a dessert, but with neon decoration and that's it, job done.
 💞🎉💞FINAL RESULT💞🎉💞


What did you think of this decoration, I think it was simple because I had no freedom of action and it was something specific what they wanted, in the end I think it was nice, the neon balloons were not better appreciated by the brightness of the day, but at night of course they shone, unfortunately the client did not send me pictures of how they looked but I think you can appreciate the work here.
That's all for now, I say goodbye hoping you liked this work, if you have any suggestions leave them in the comments, we are to continue learning, I say goodbye reminding you that life is beautiful and in colours and what better than those colours we place them in our lives, bye kisses.
 💞🎉💞CREDITS💞🎉💞

📷 All photos were taken with my Xiaomi readmi 9T phone and are my own property, I used polish to make the collages.
📷Use the translator Deepl.


