Hola, hola amigos de esta ingeniosa y creativa comunidad #hivediy.
Hello, hello friends of this clever and creative #hivediy community.

Reparaciones generales del hogar
I am happy to greet you again, I hope you are very well and active so that you come with me to see this work that I want to share with you today. As we all know in the community, the contest proposed by our beloved @equipodelta is active, which is entitled "General Home Repairs" I take this opportunity to invite all my friends who want to join this contest, especially my friend @editatovar here I share the link 👇
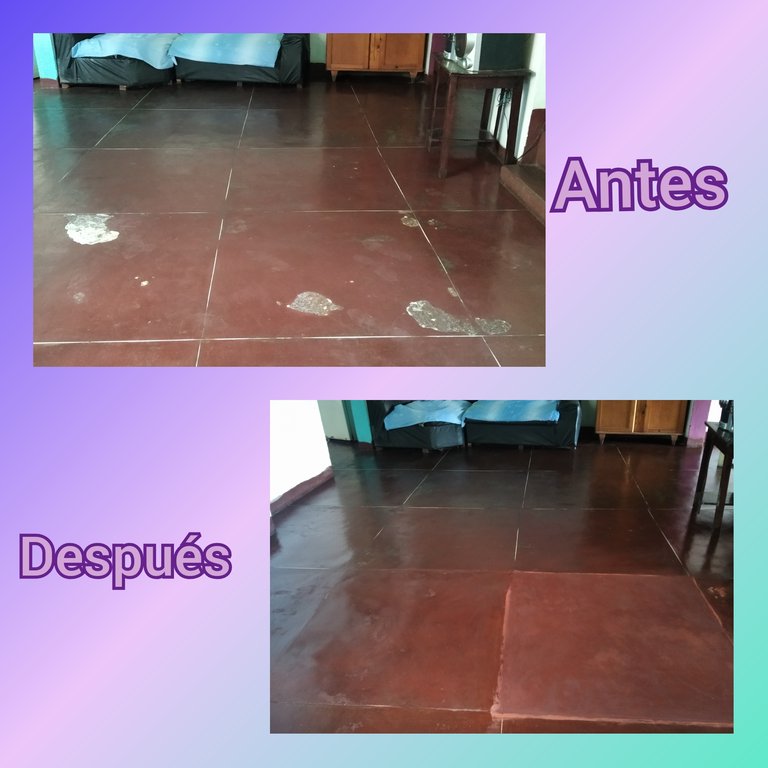
From the first moment I saw this contest, I liked it and said I'm going to participate. I currently live in my uncle Cesar's house, very kindly he lent me and my family the upper part, since approximately 6 years ago we lost our little house but well let's not get sad let's continue with the dynamics of the contest. As I was saying, my uncle's house has a cement floor which over the years has been deteriorating right in the living room, these holes that have been created every day are bigger and more visible, which is why he wanted to cover them but had not had the opportunity.
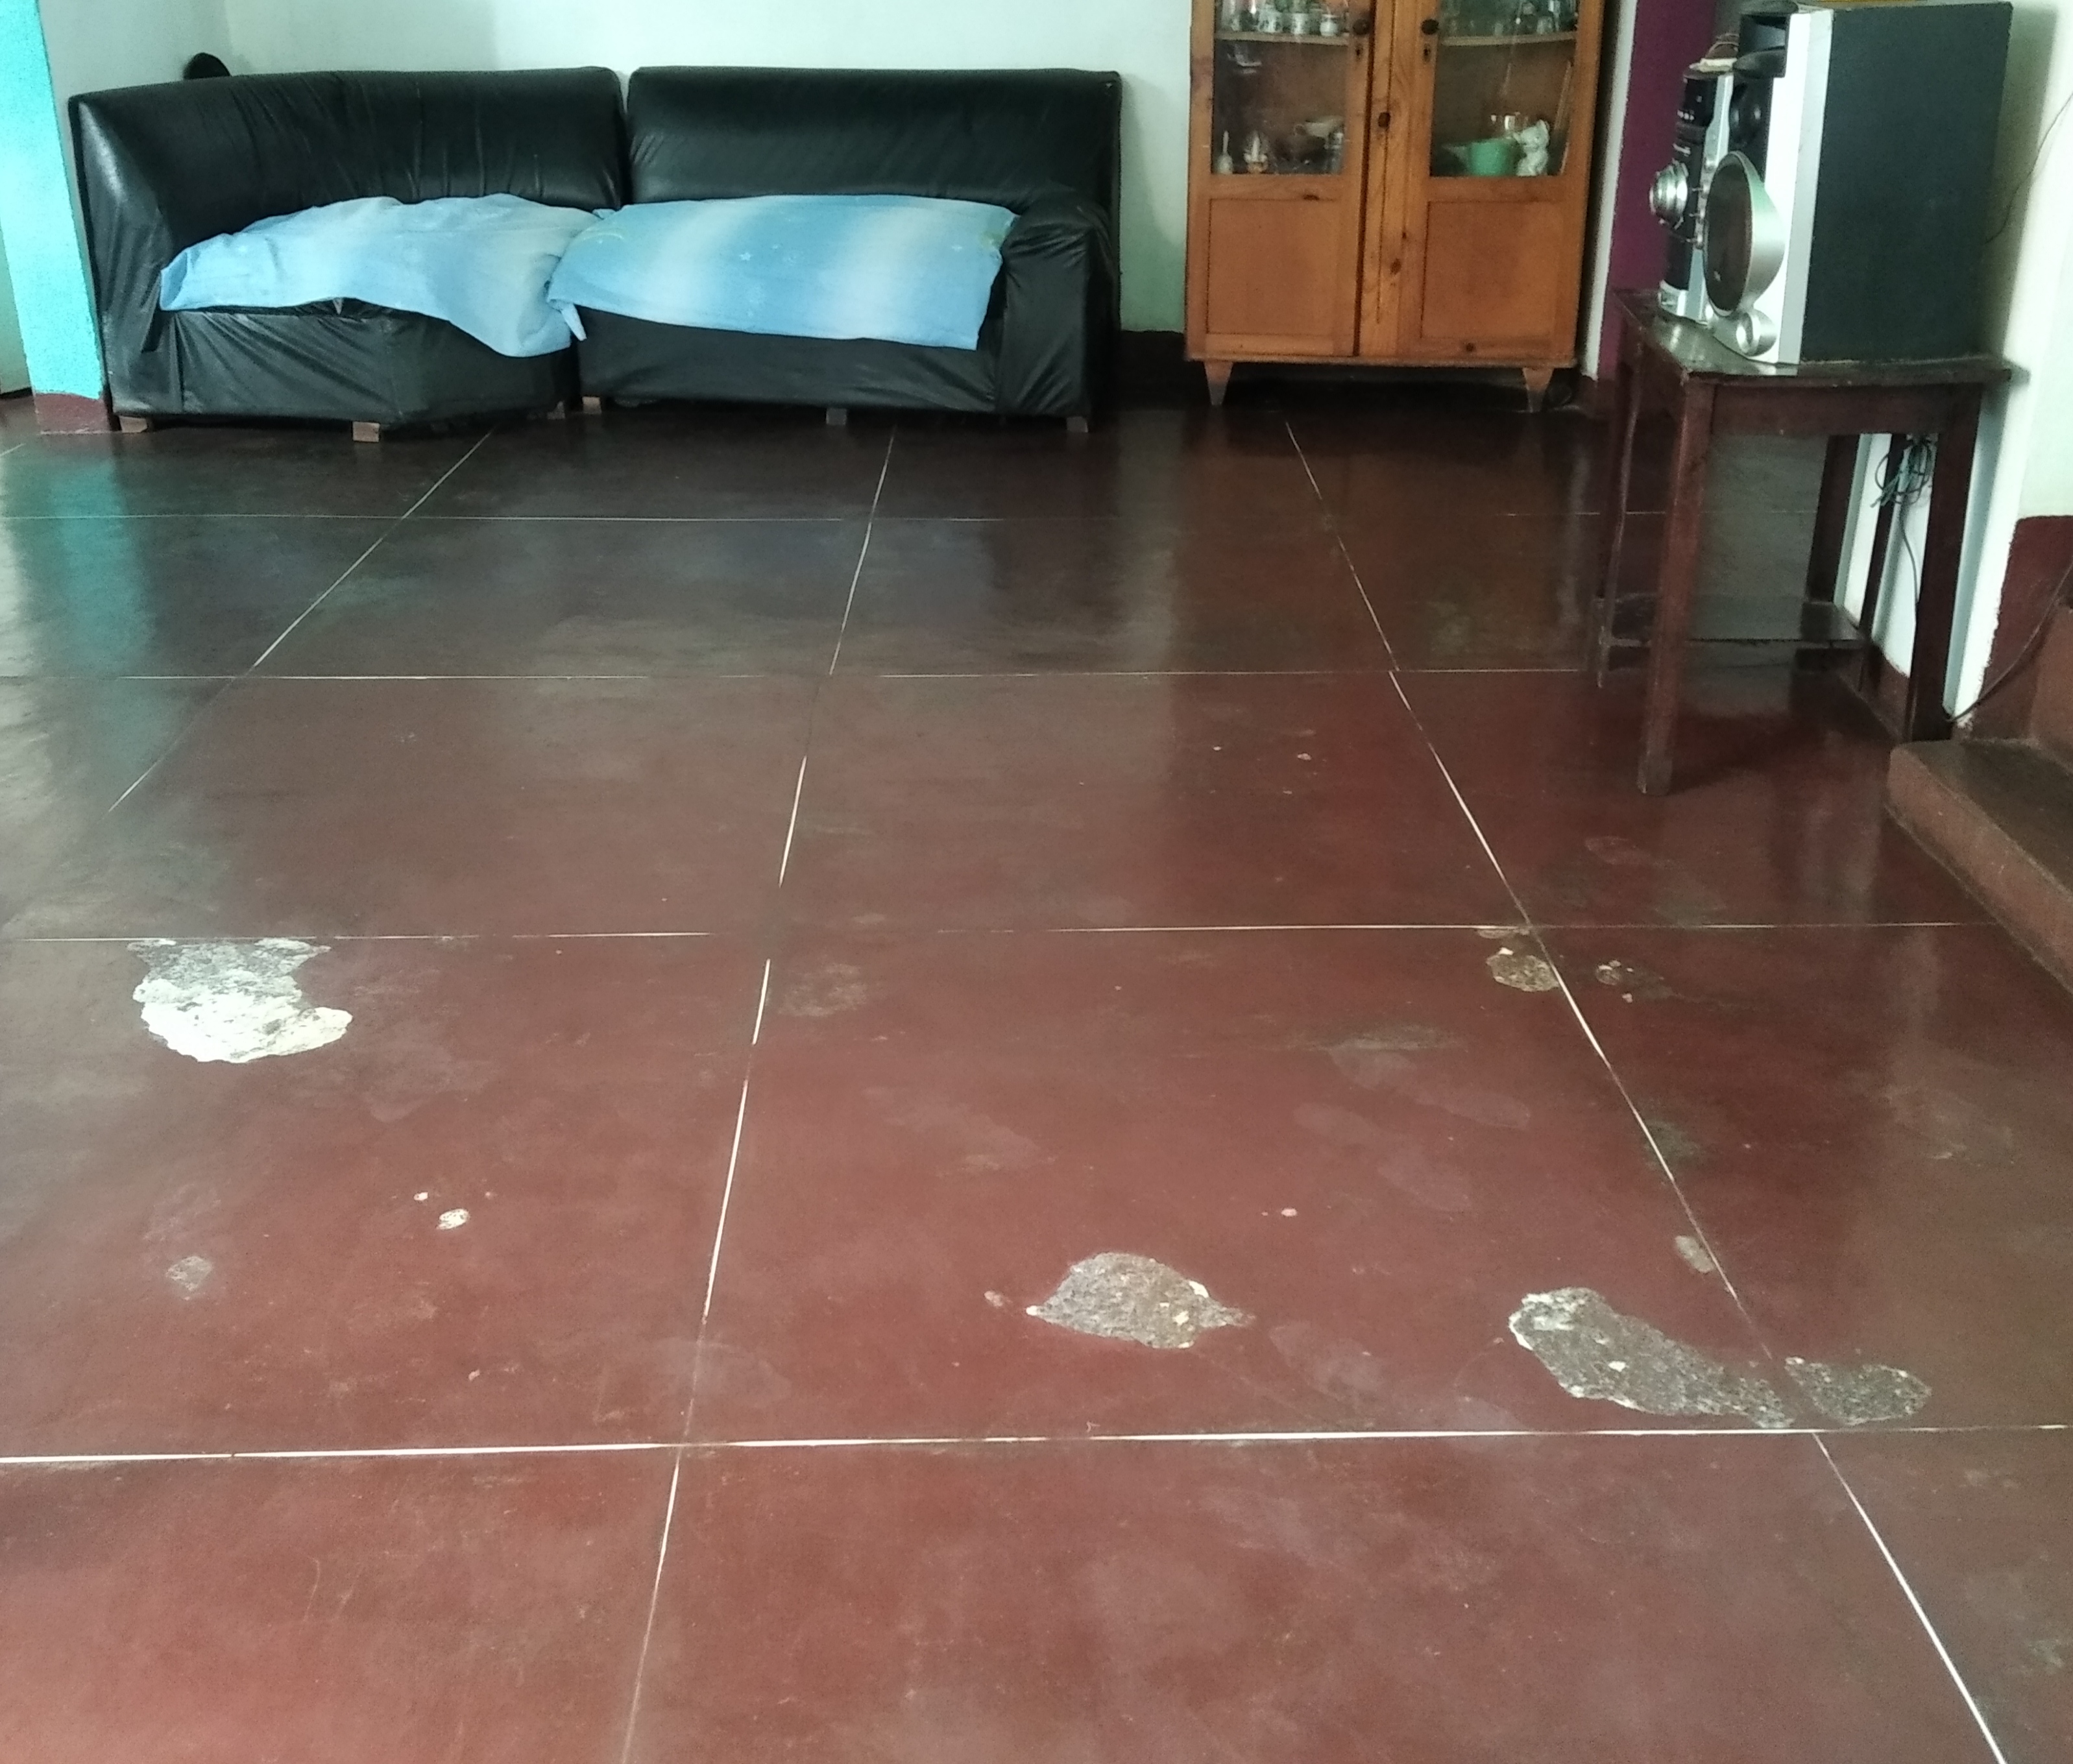
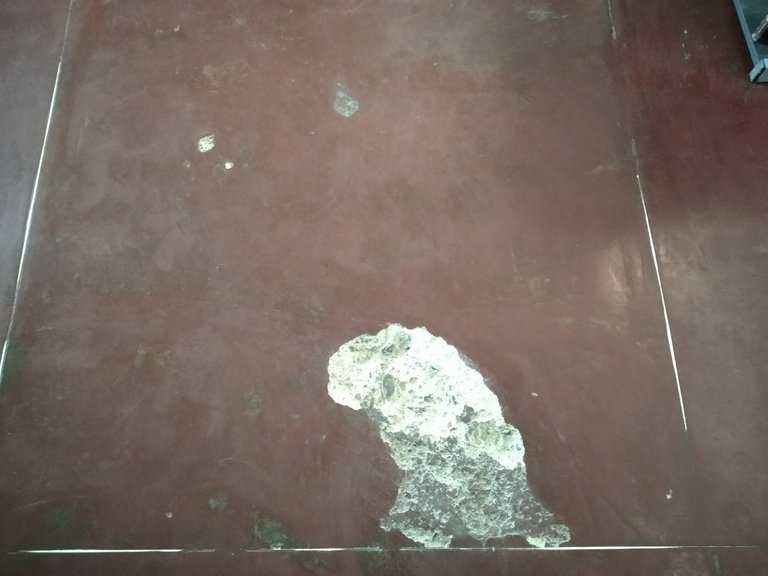
Home repairs are of the utmost importance, we cannot neglect them because little by little they deteriorate and then the cost is greater, although this is not my own home, it is the house in which I live and I must try to keep it in optimal conditions, in addition to how nice and cozy our house or home looks when we give it a little cuddle, even our mood changes in a positive way and we enter into harmony with our home.
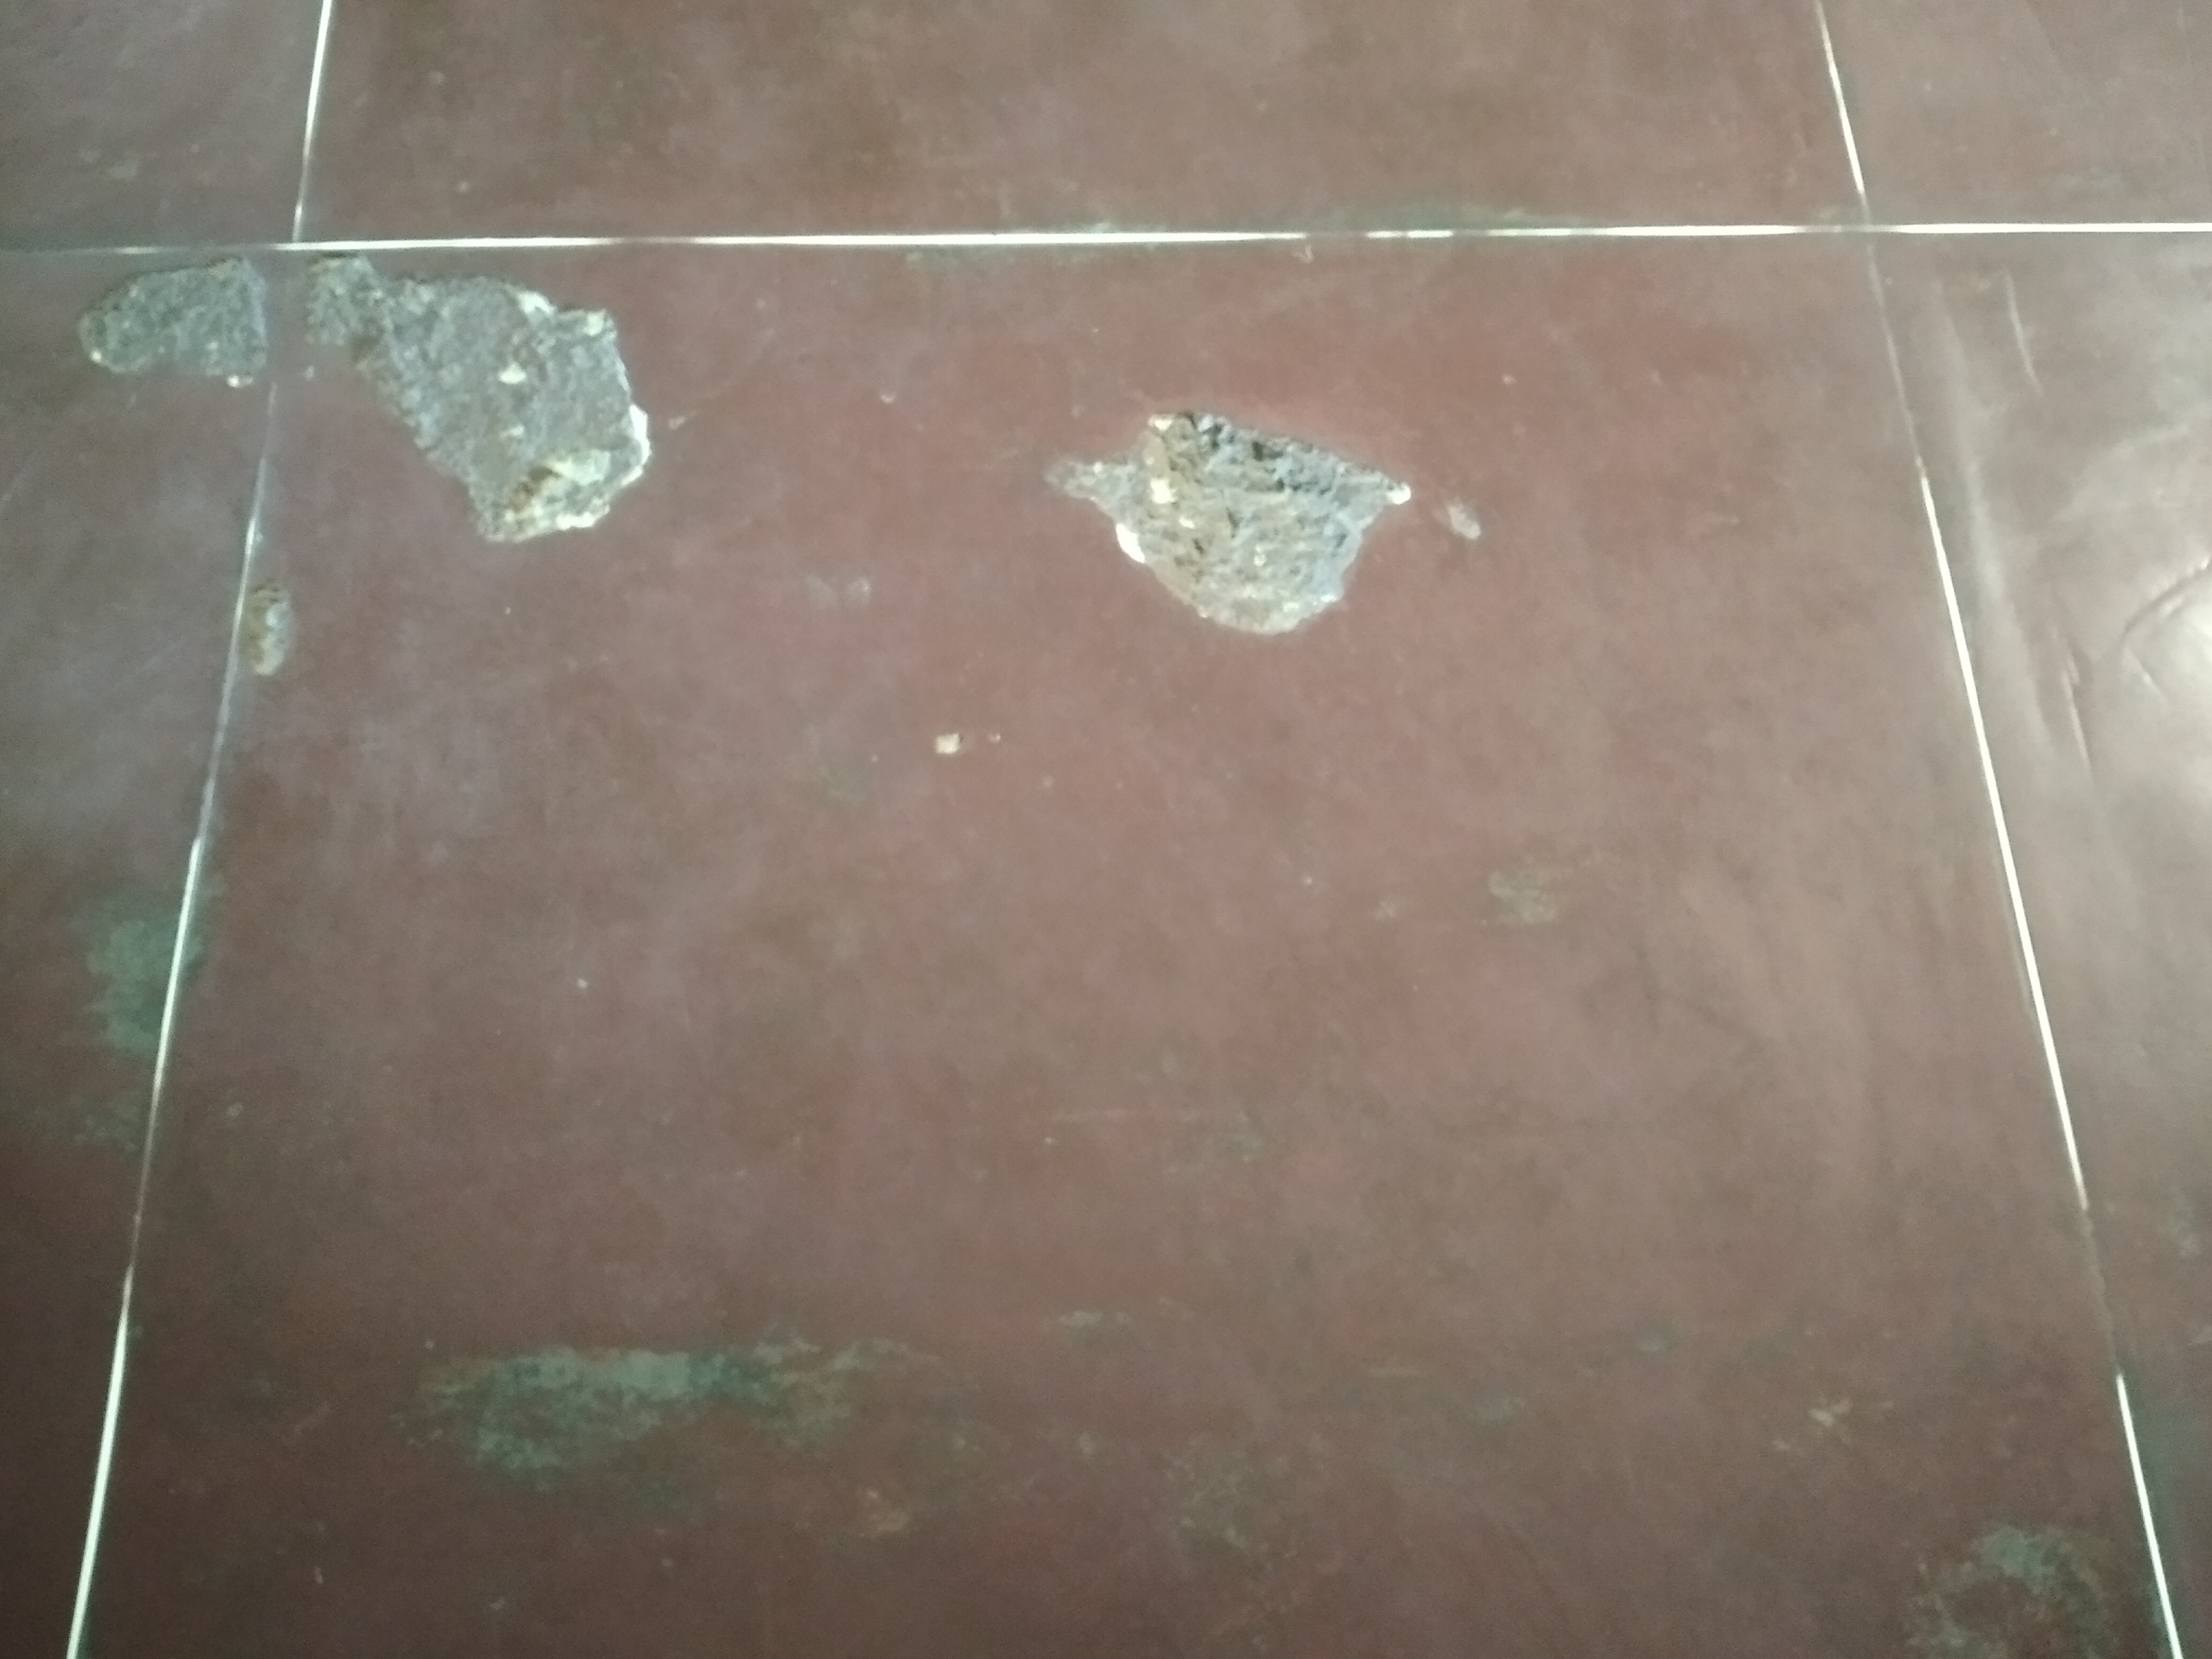
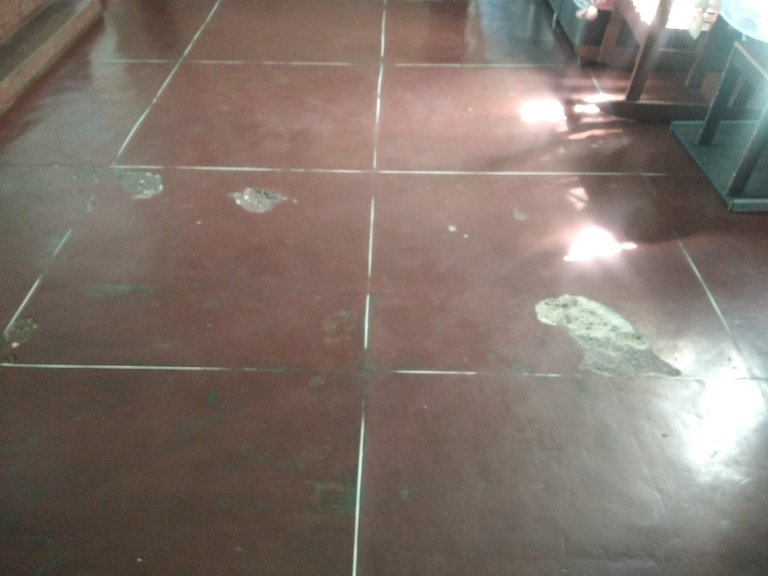
Now I will tell you about the materials, tools and step by step that I have put into practice thanks to the advice of my uncle to recover the floor of the house where I live with my family.

Materiales y Herramientas.
Materials and Tools.
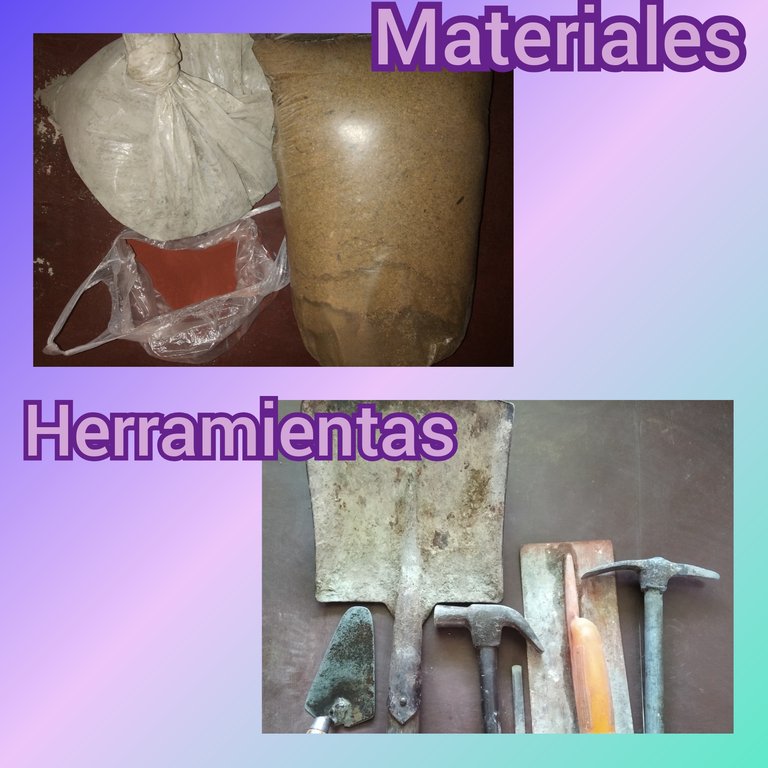
🔨 Arena lavada.
🔨 Cemento gris.
🔨 Óxido rojo.
🔨 Martillo.
🔨 Cincel.
🔨 Cuchara.
🔨 Palustra.
🔨 Pico de mano.
🔨 Pala.
🔨 Sand washed.
🔨 Gray cement.
🔨 Red rust.
🔨 Hammer.
🔨 Chisel.
🔨 Spoon.
🔨 Palustra.
🔨 Hand spike.
🔨 Shovel.

Reparación del Piso.
Floor Repair.
To start the repair of the living room floor, I began by putting on soft clothes of those old ones that we have at home that we don't care if they get dirty because we don't use them to go out anymore, plus I I put on special glasses to prevent a stone or piece of cement from falling on me when I start my work, it is important to take care of ourselves and protect ourselves to avoid injuries.
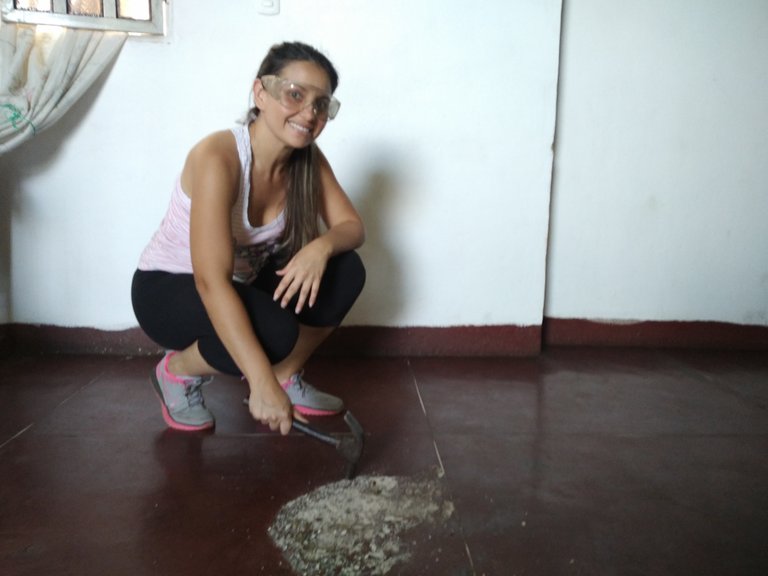
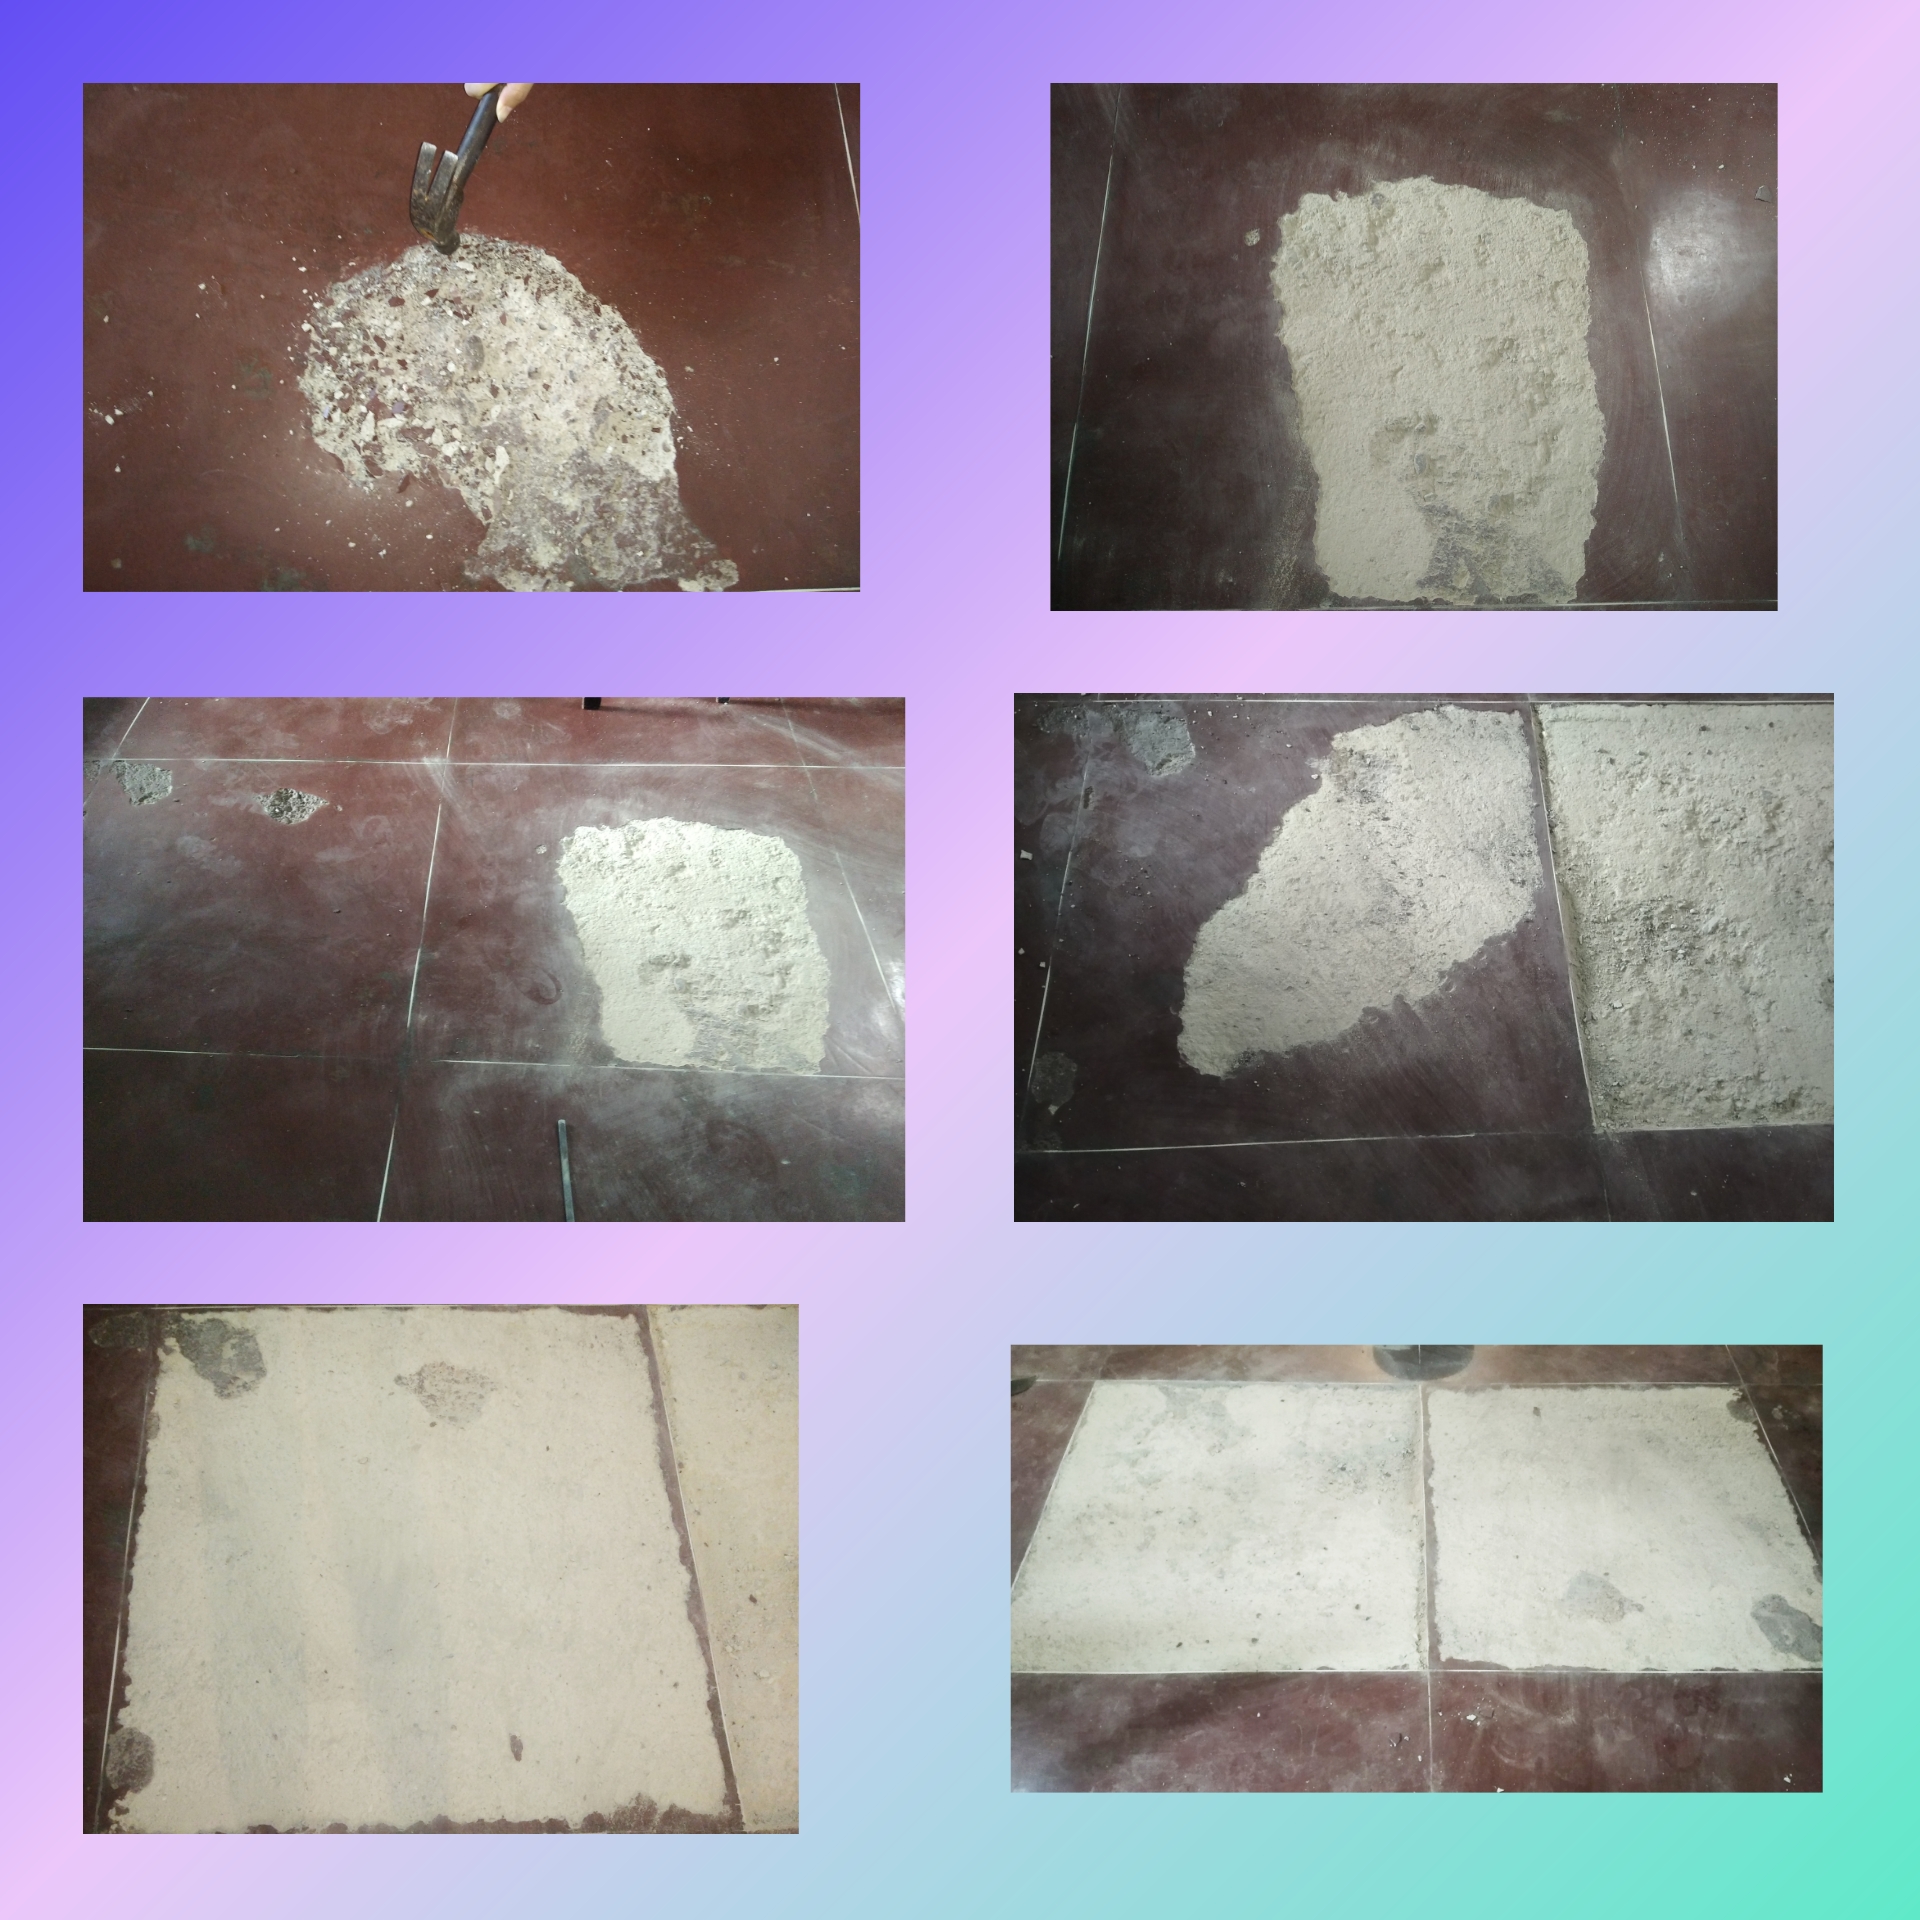
Step 1.Now yes, we start by taking the hammer and we are going to give it some blows right where the hole is to enlarge it until we remove all the cement that is in the first frame, when we finish we go to the second frame and with the hammer in the same way we remove the cement that is on top. As we can see in the image, this floor is shared by squares that measure 1 square meter and which are separated with strips, a tape used in construction that serves to separate this type of work, making it appear that the squares are squares. large ceramic and no, they are made of cement.
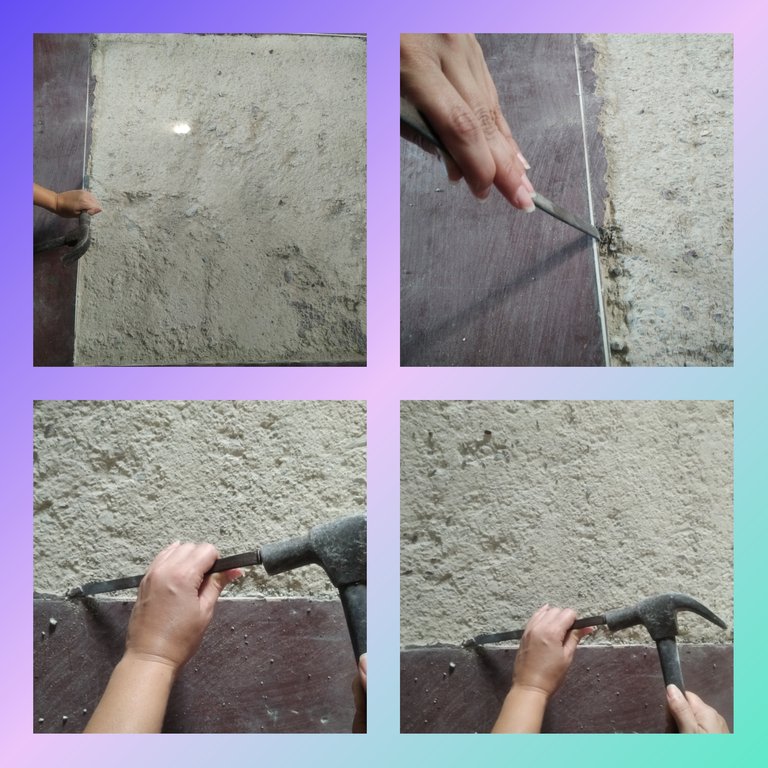
Step 2.The cement that was stuck to the strip with the help of a chisel and a hammer was removed until I cleaned the two frames that we are going to repair.
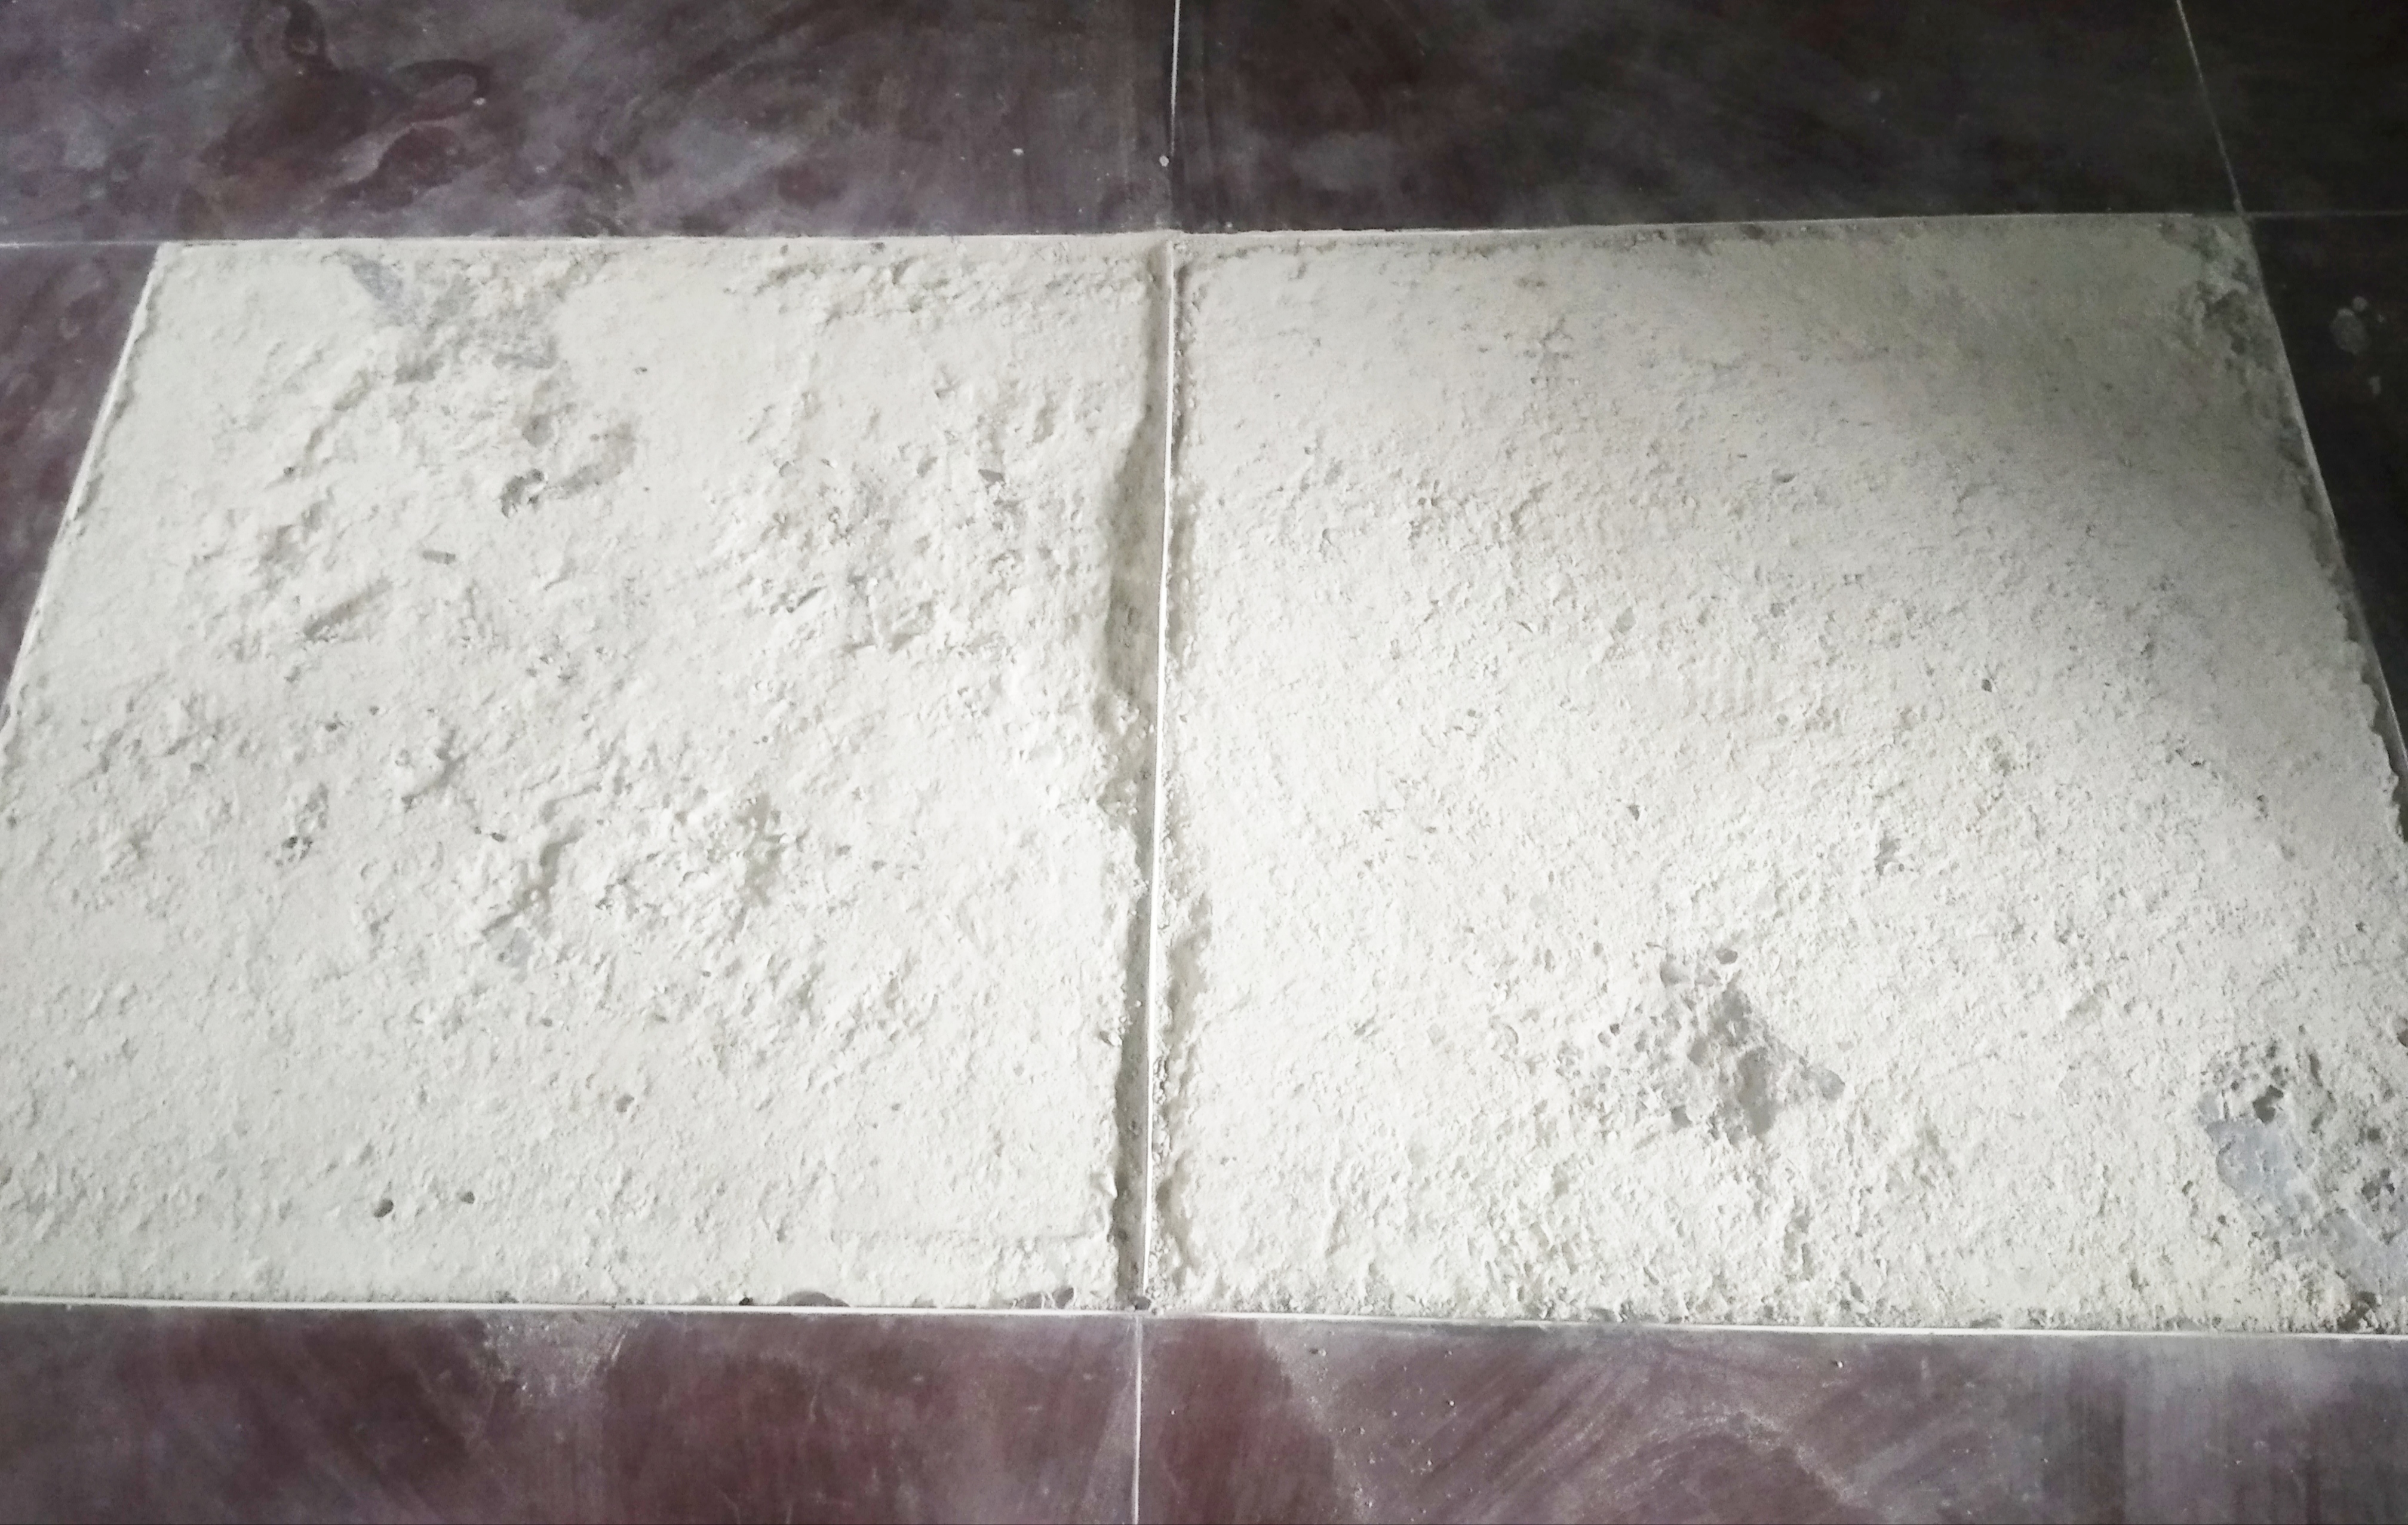
Looking like this.
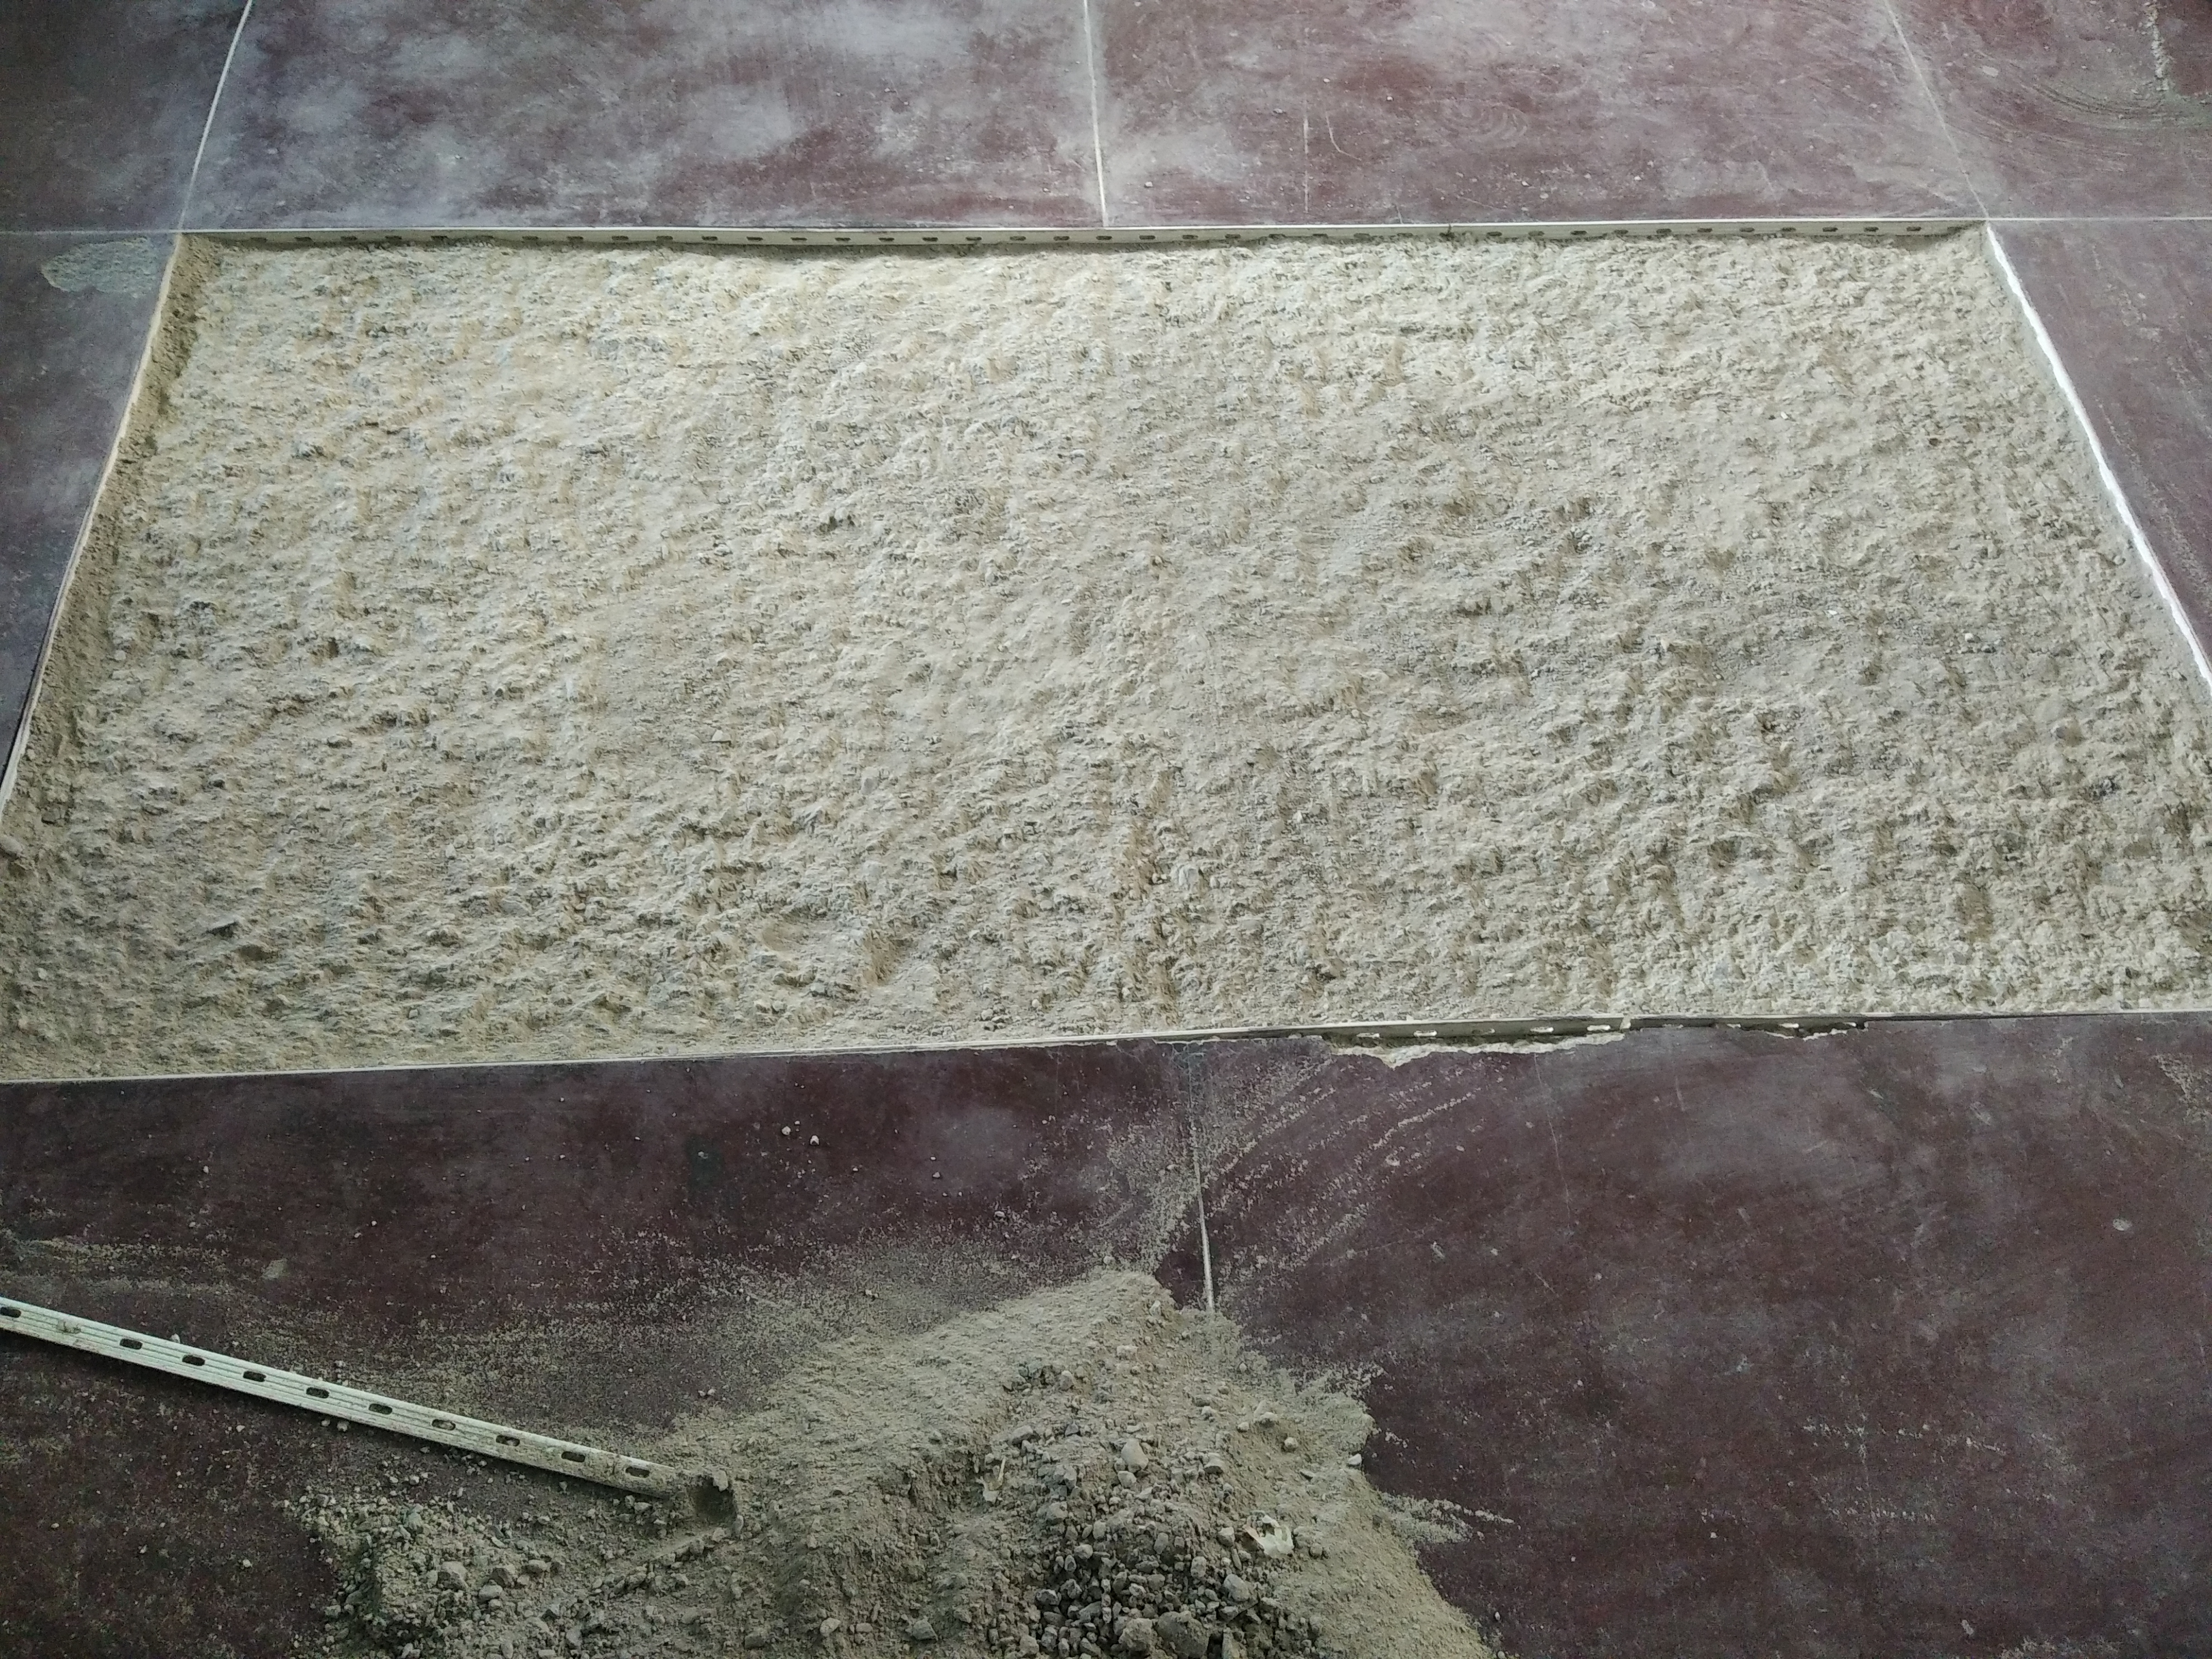
Step 3.In this step we're going to go deeper removing some of the old fill so we can add the cement and sand mix that we'll make later. I began by putting on my face mask since in this step a lot of cement and sand dust is raised, which are harmful to our respiratory tract and in case of being allergic, then with the help of a hand pick I began to hit as I told you to go deeper.
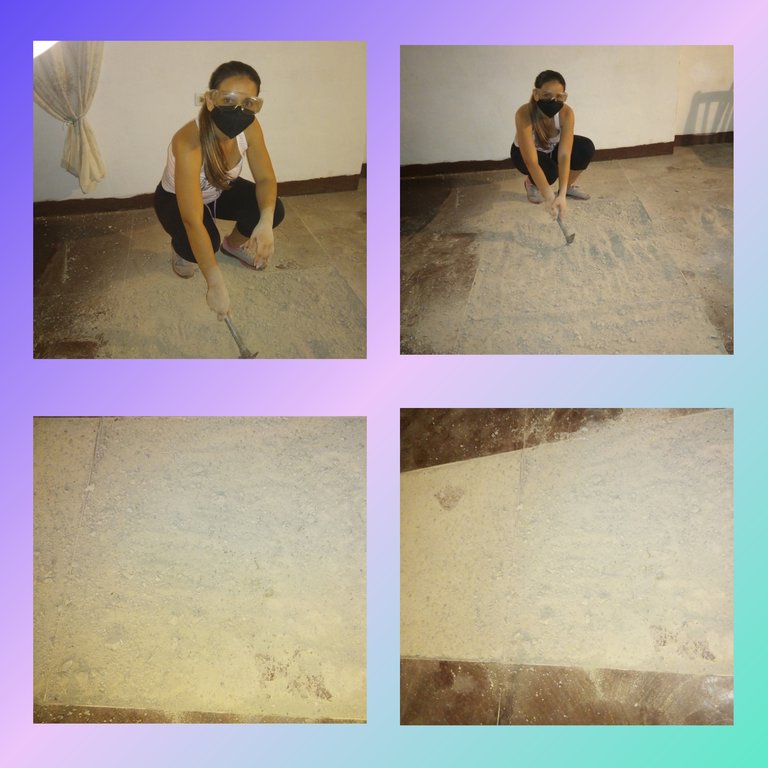
We would stay this way, with a little depth so that when the work is finished it is durable and the floor is not damaged again.
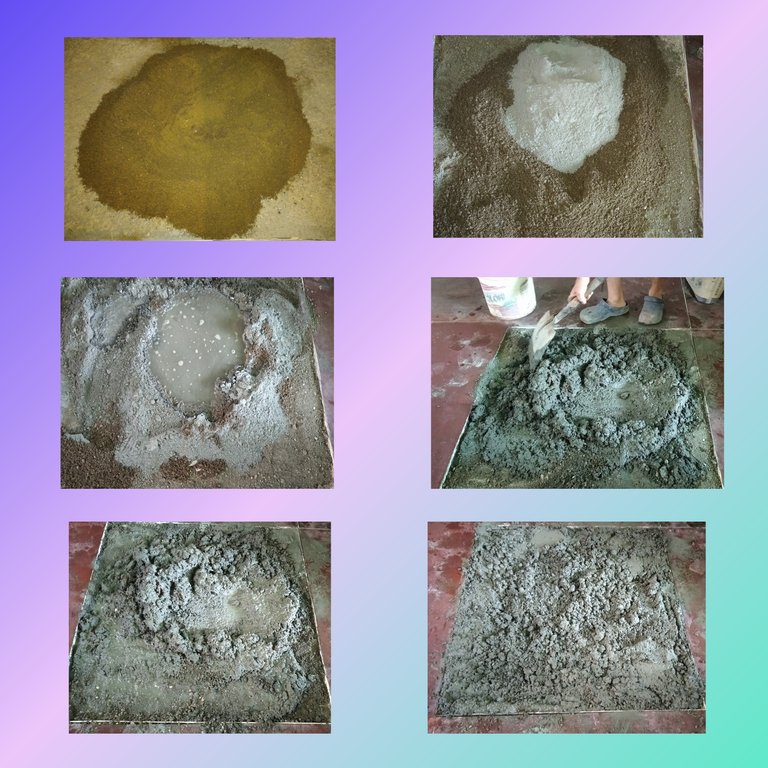
Step 4.Now comes a very important step that consists of preparing the mixture, for which we make a mountain with the washed sand and then we open a hole in the center, we add the gray cement in the middle, We add water and with the shovel we begin to unite the materials, after the mixture is ready, we spread with the spoon all over the painting until we fill the entire painting.
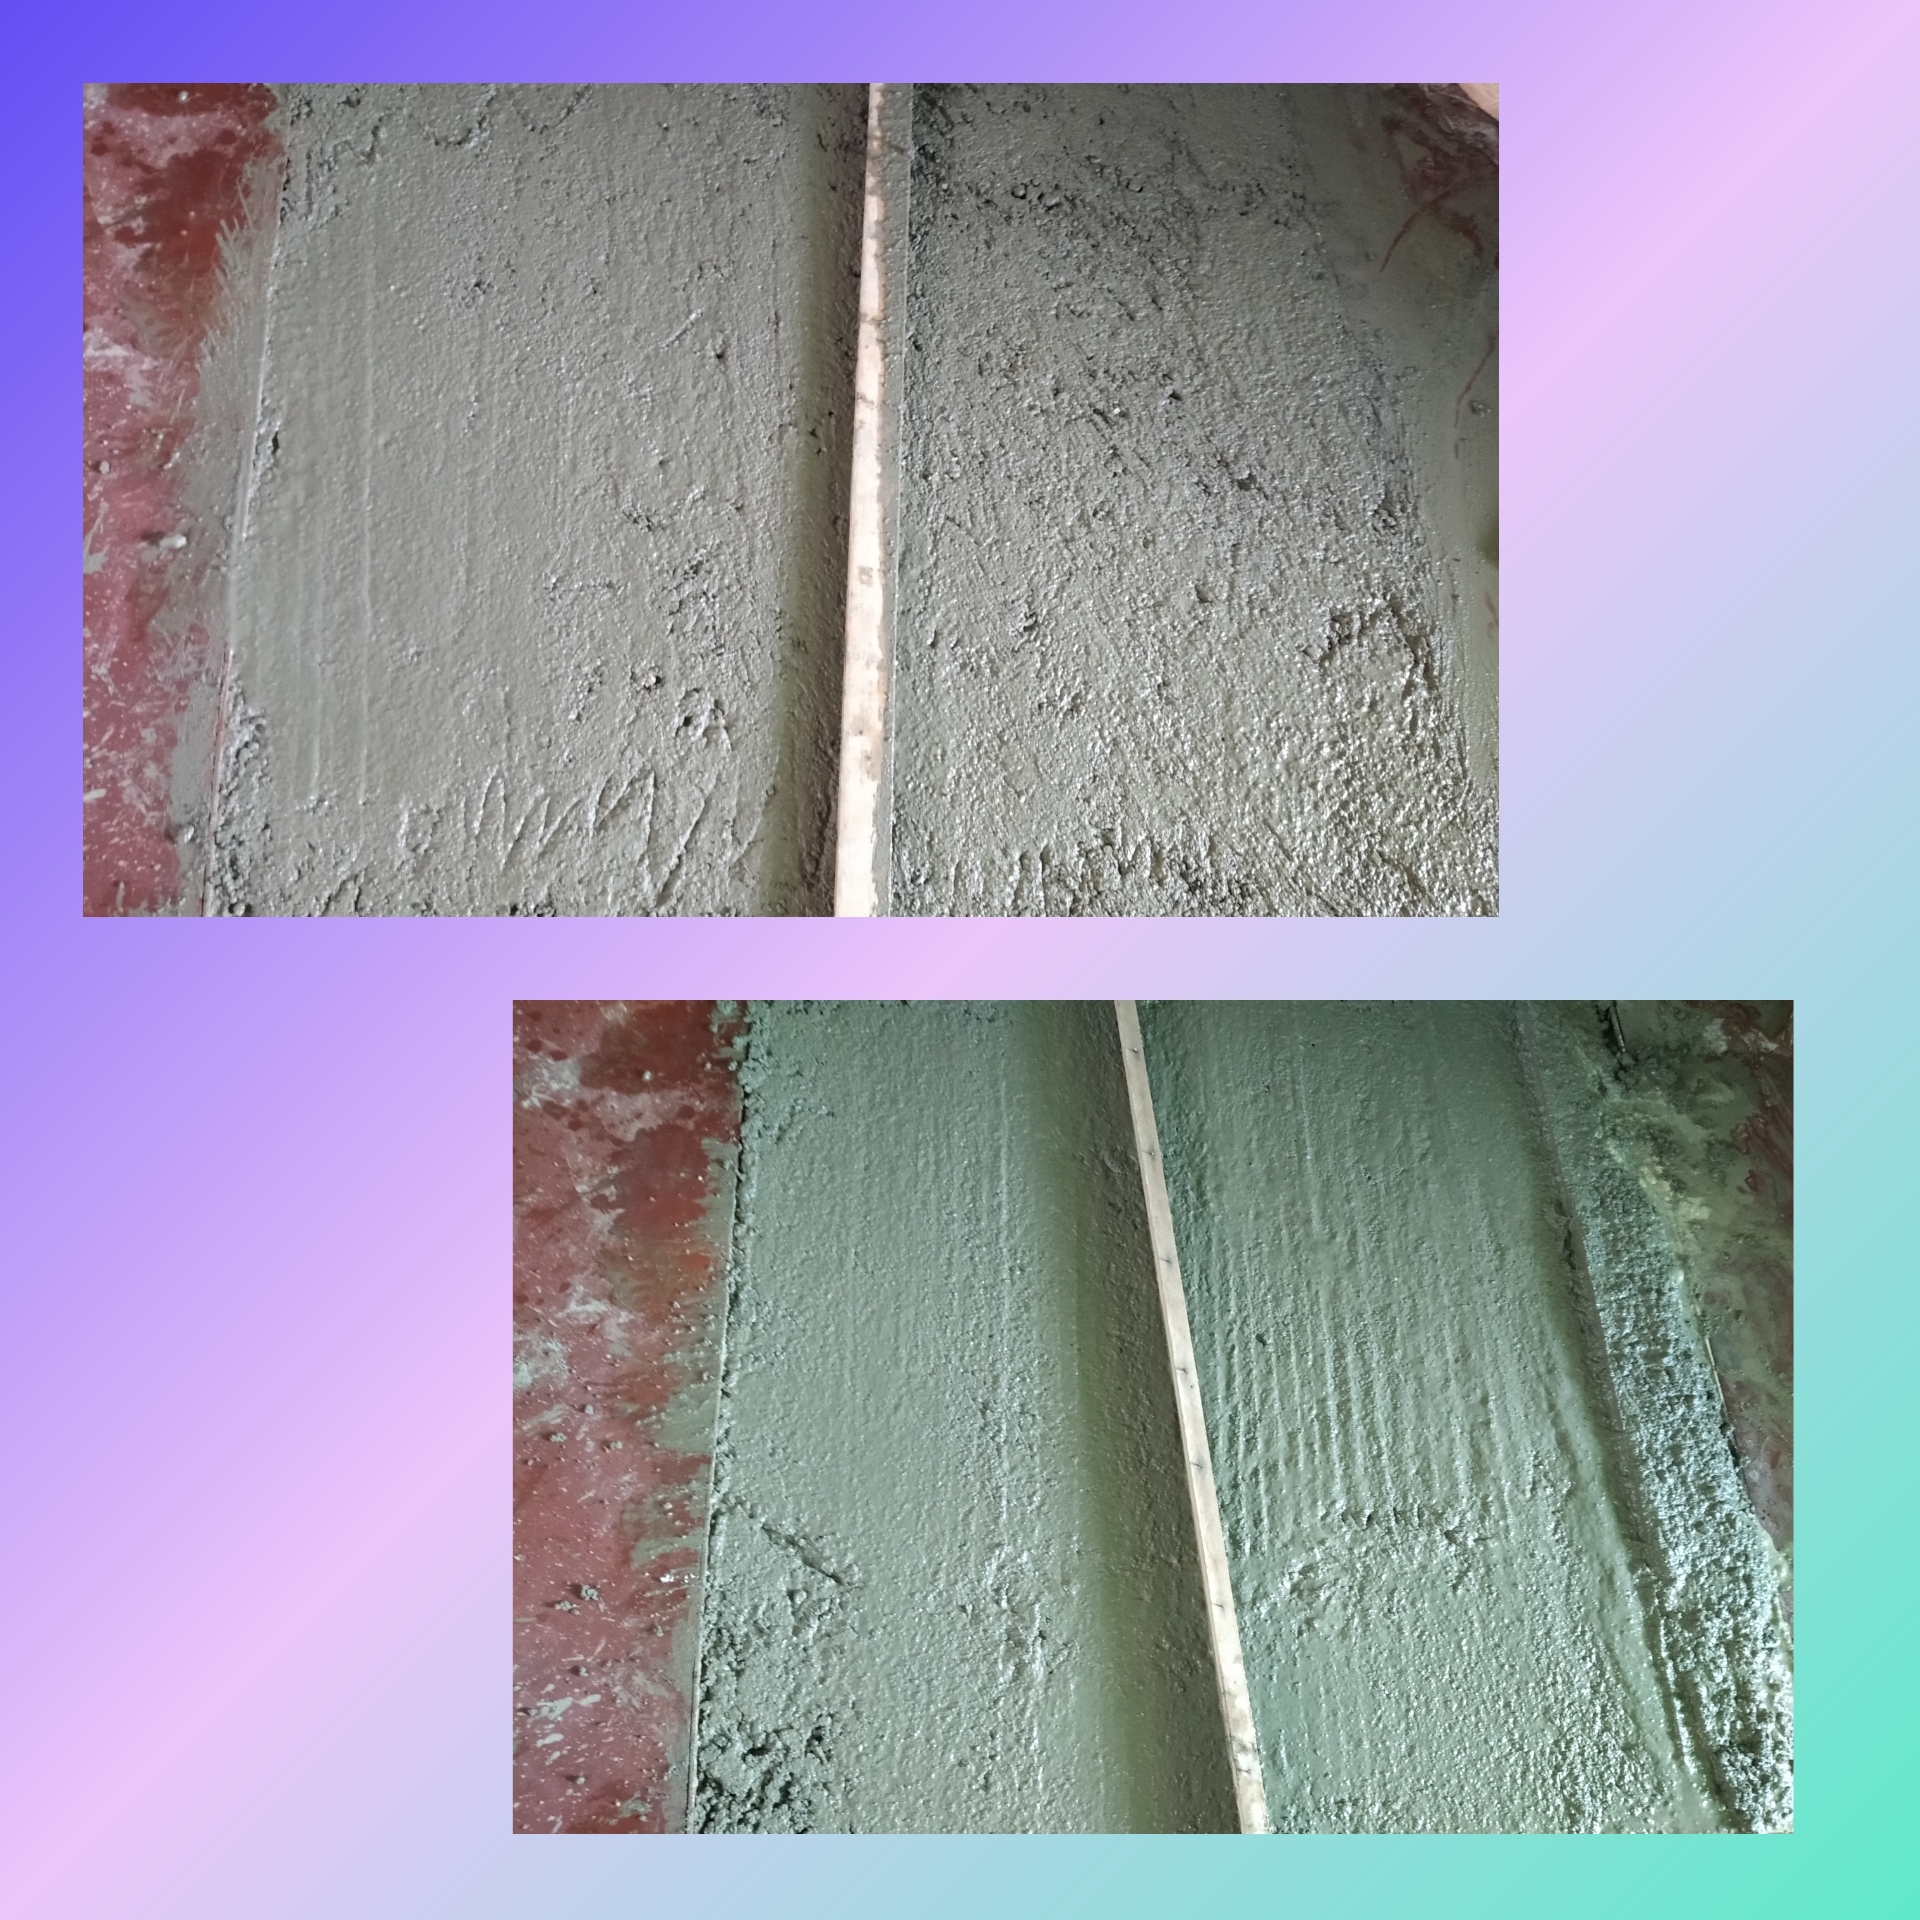
Step 5.Now with a long and thin board we are going to go from one end to the other to level the mixture and make it correctly the size of the painting.
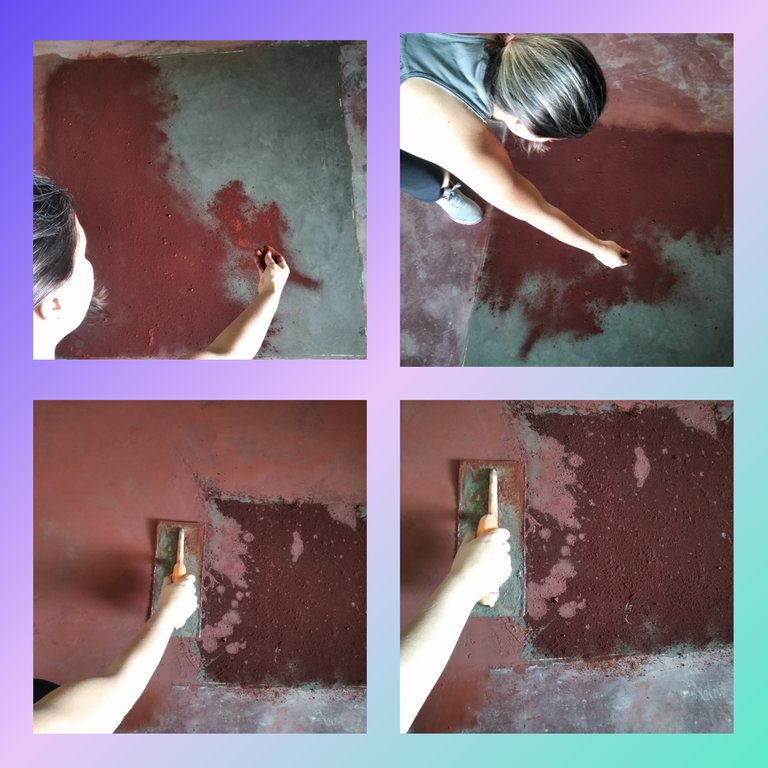
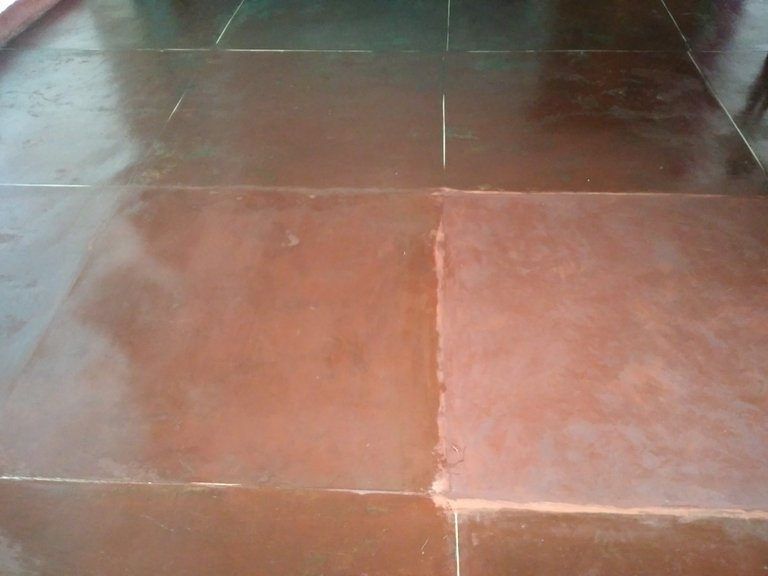
Step 6.This is the final step folks in fixing this floor. We take the red oxide and we are going to sprinkle it all over the painting, then with the help of the trowel we are going to polish it is a somewhat complex process where the red color is integrated giving a better appearance to the floor, this process requires time and patience is like when we decorate a cake hehe we do it carefully so that it fits us well.

Presentación Final.
Final Presentation.
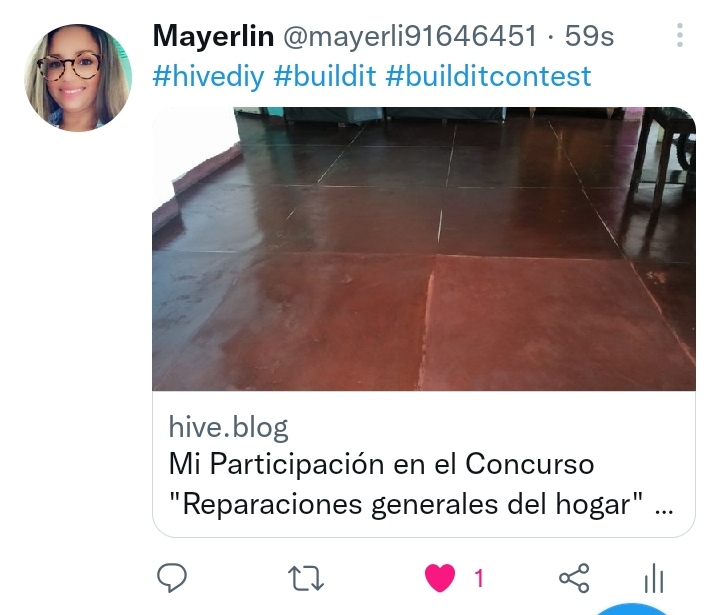
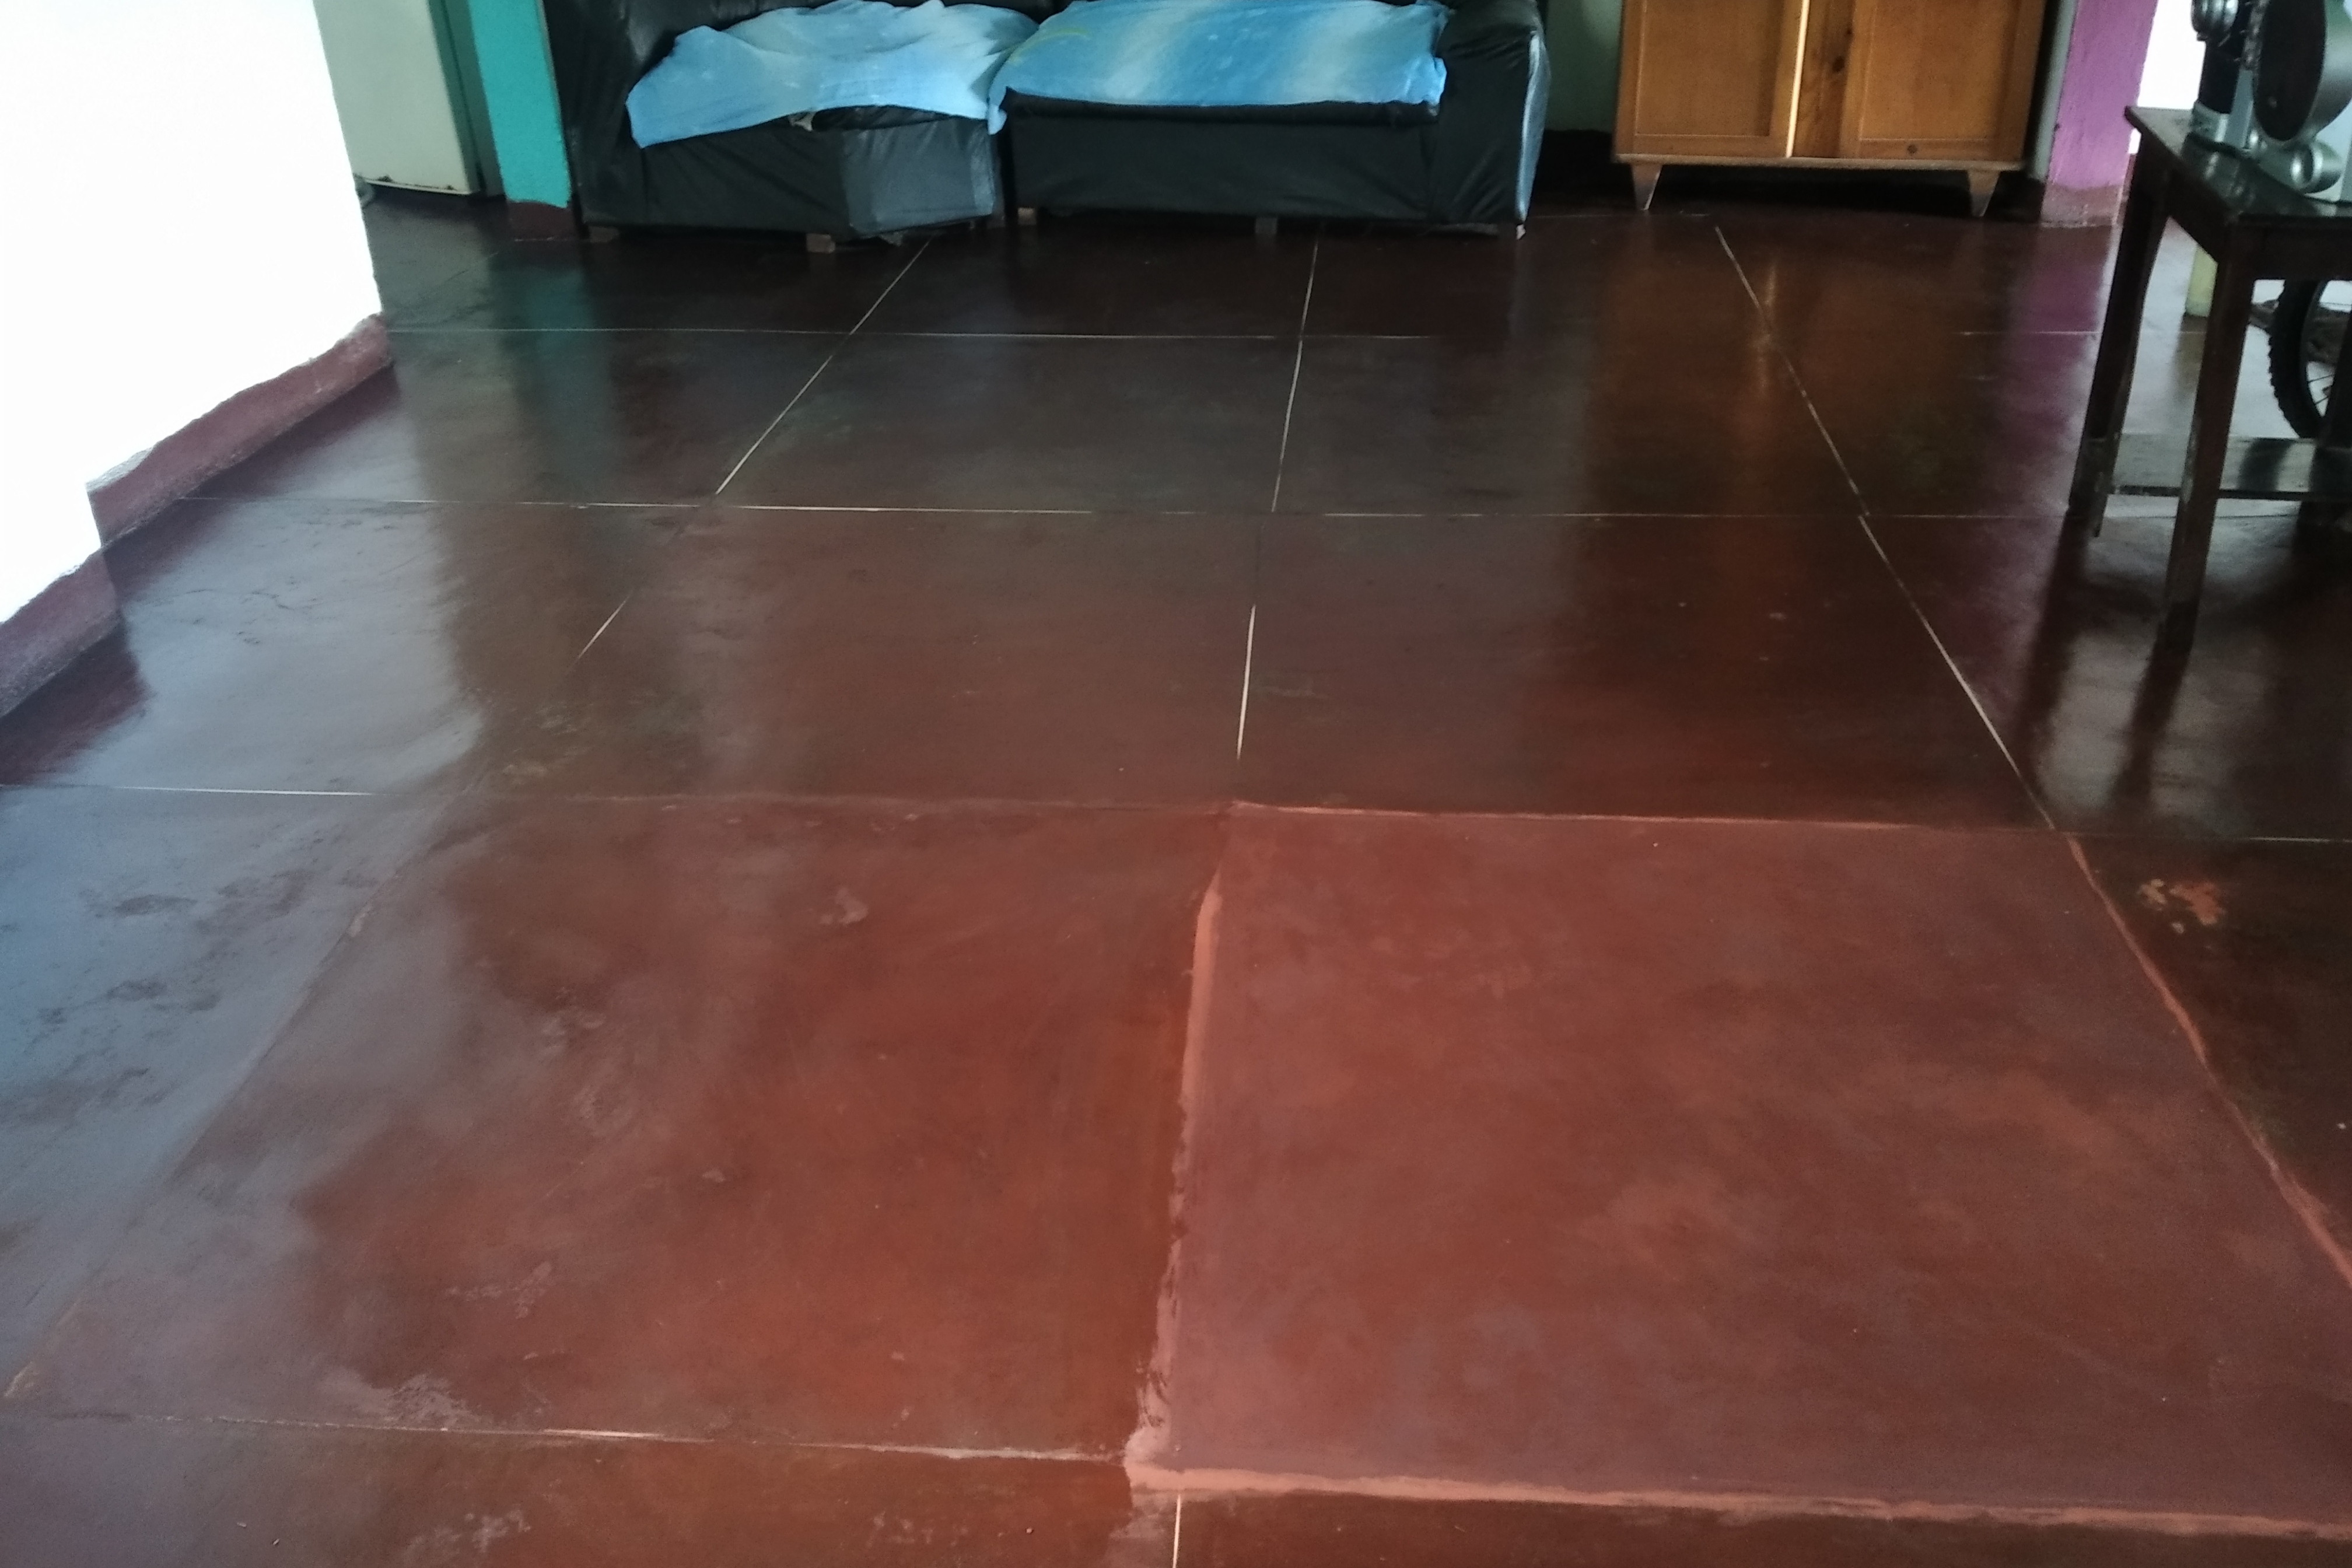
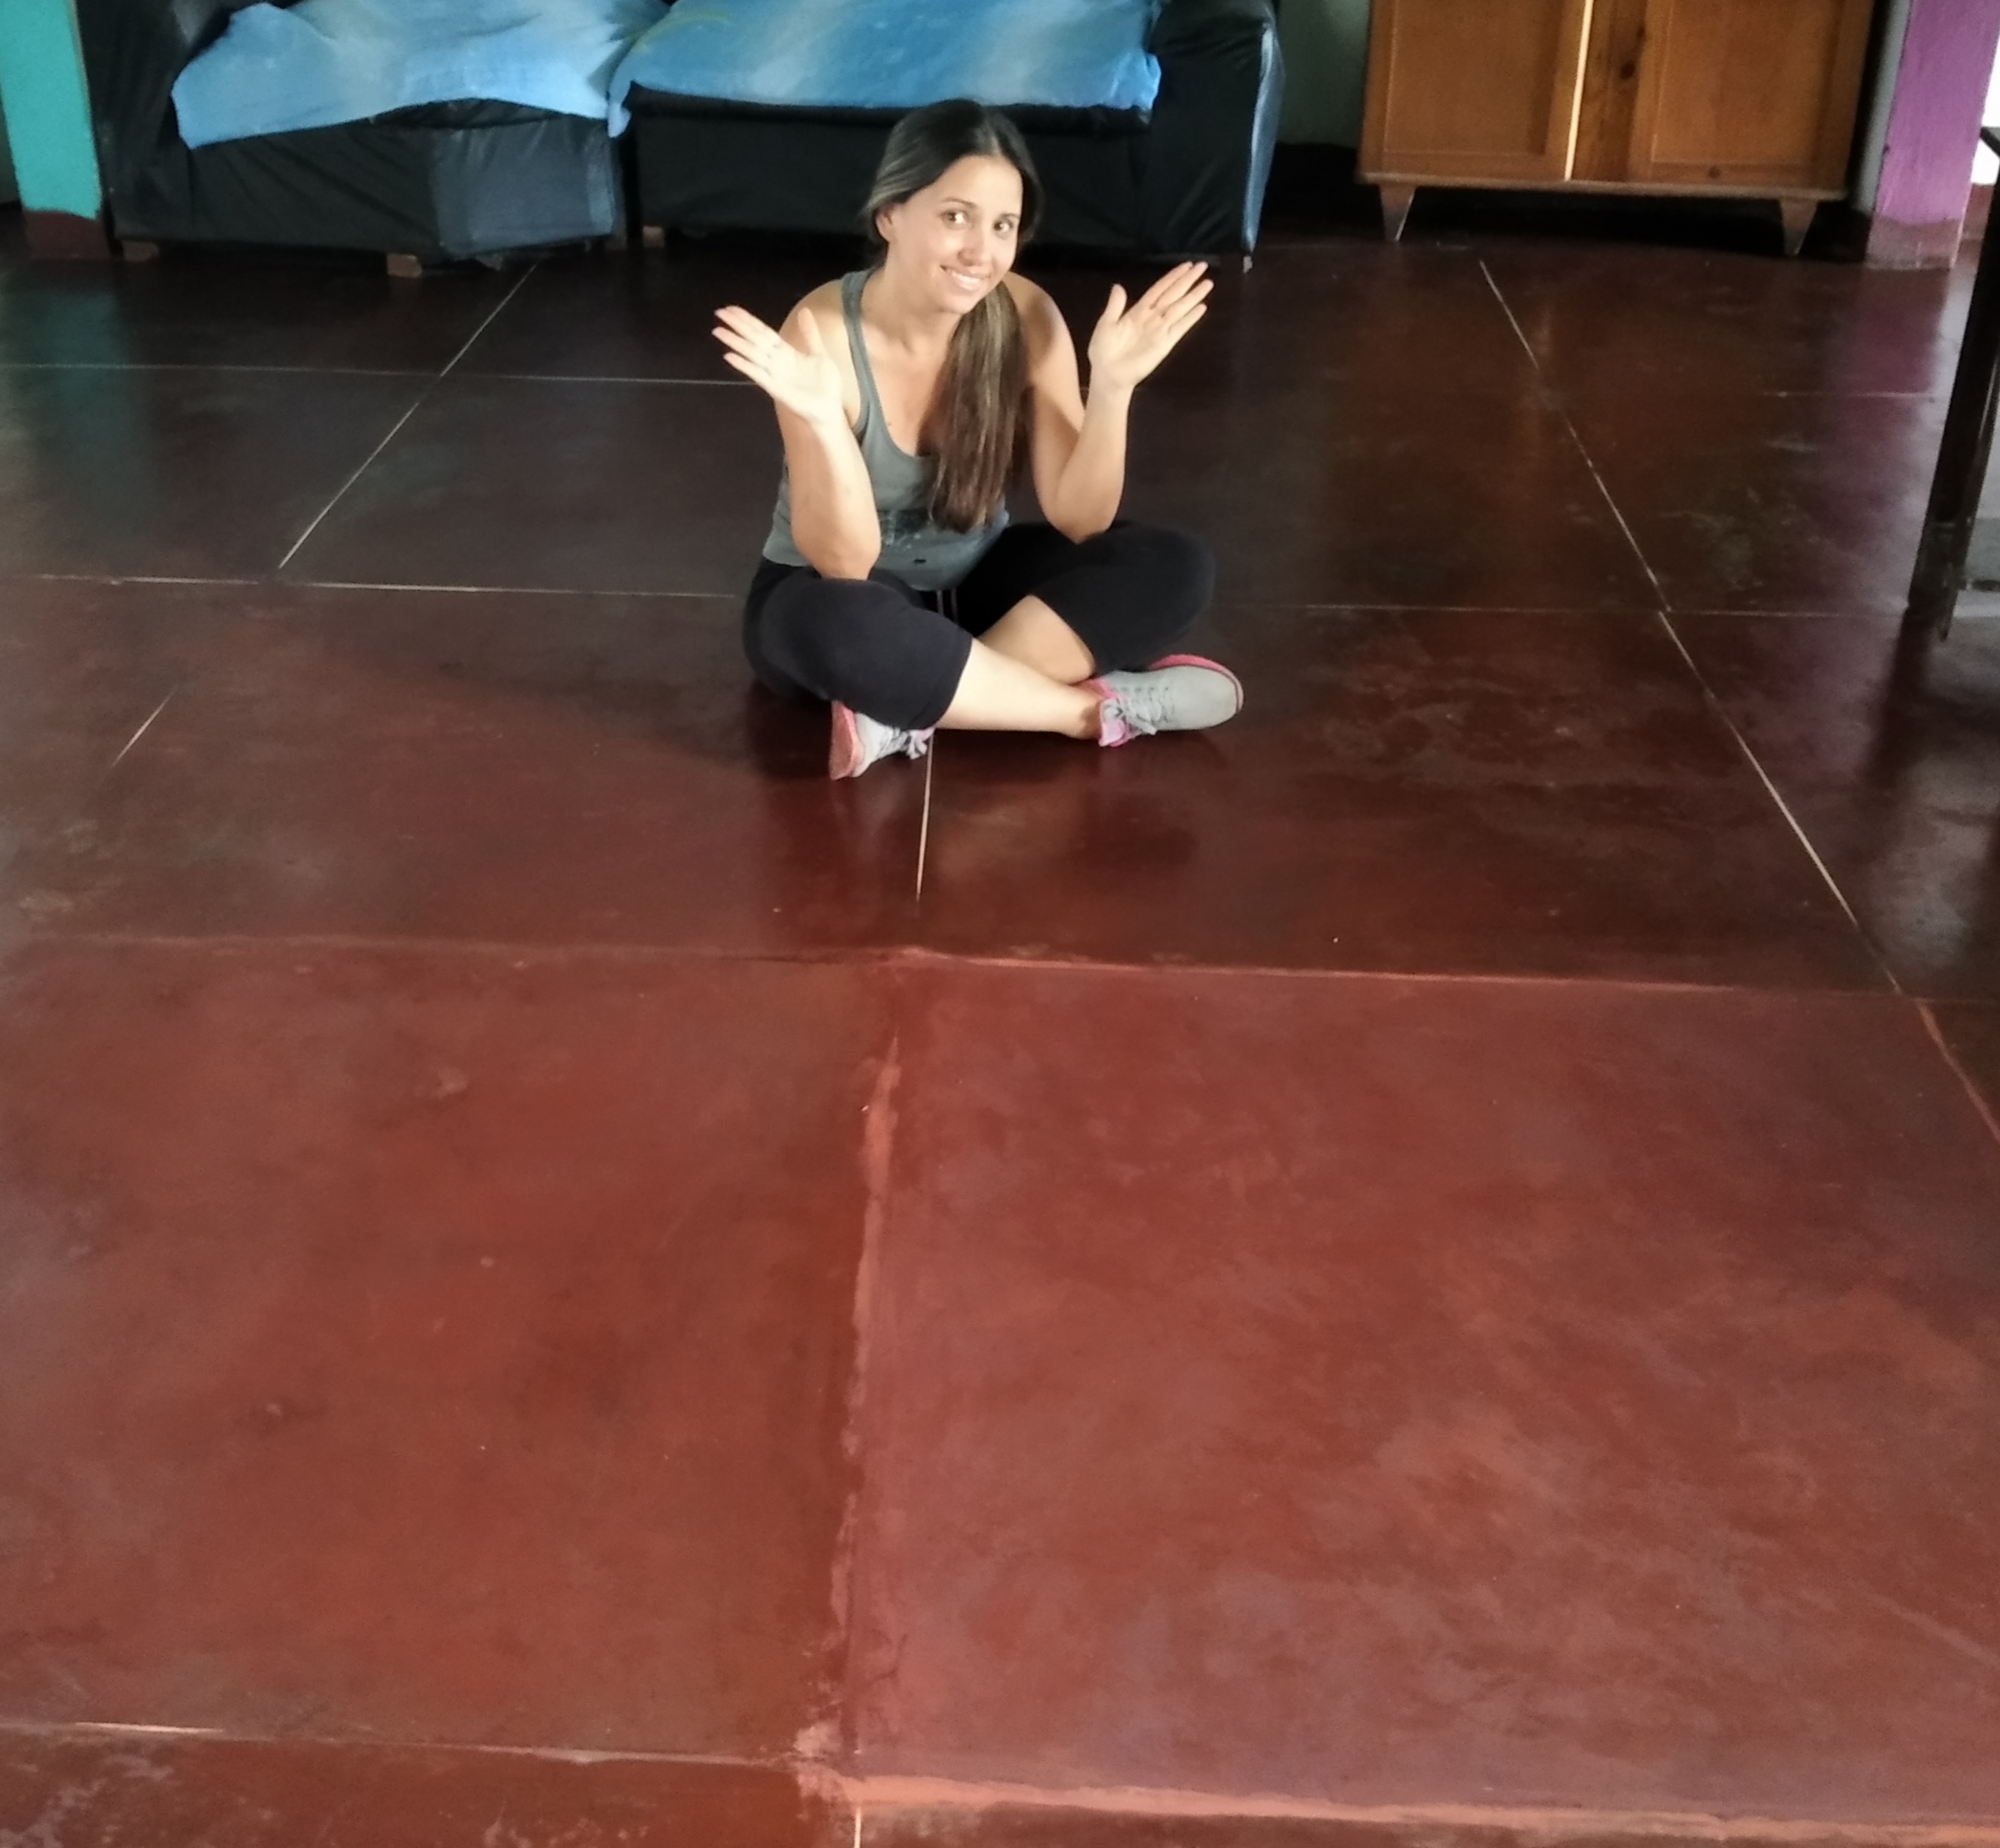
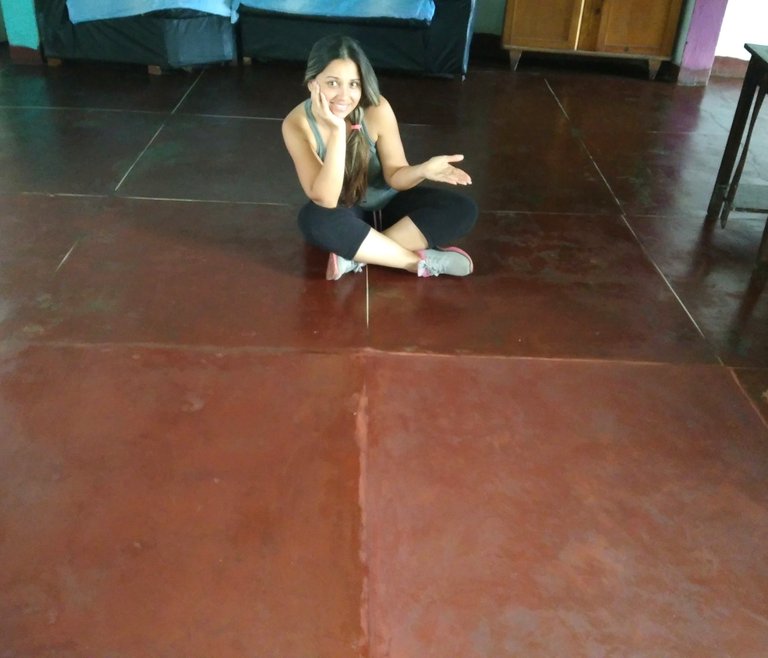
Friends, let's now see how this work turned out, carried out with a lot of dedication and attention, I hope you like the result obtained as much as I do, I am very happy to be able to achieve this spectacular change in the house where I live .


Here I attach a capture of my purchase of the 2,000 buidl as a requirement of this great contest.

Now I say goodbye, as always it was a pleasure for me to participate in this contest, in advance I thank the friends who read and visit me, they are very kind.

Nos vemos pronto amigos creativos. ❤️
See you soon creative friends. ❤️

