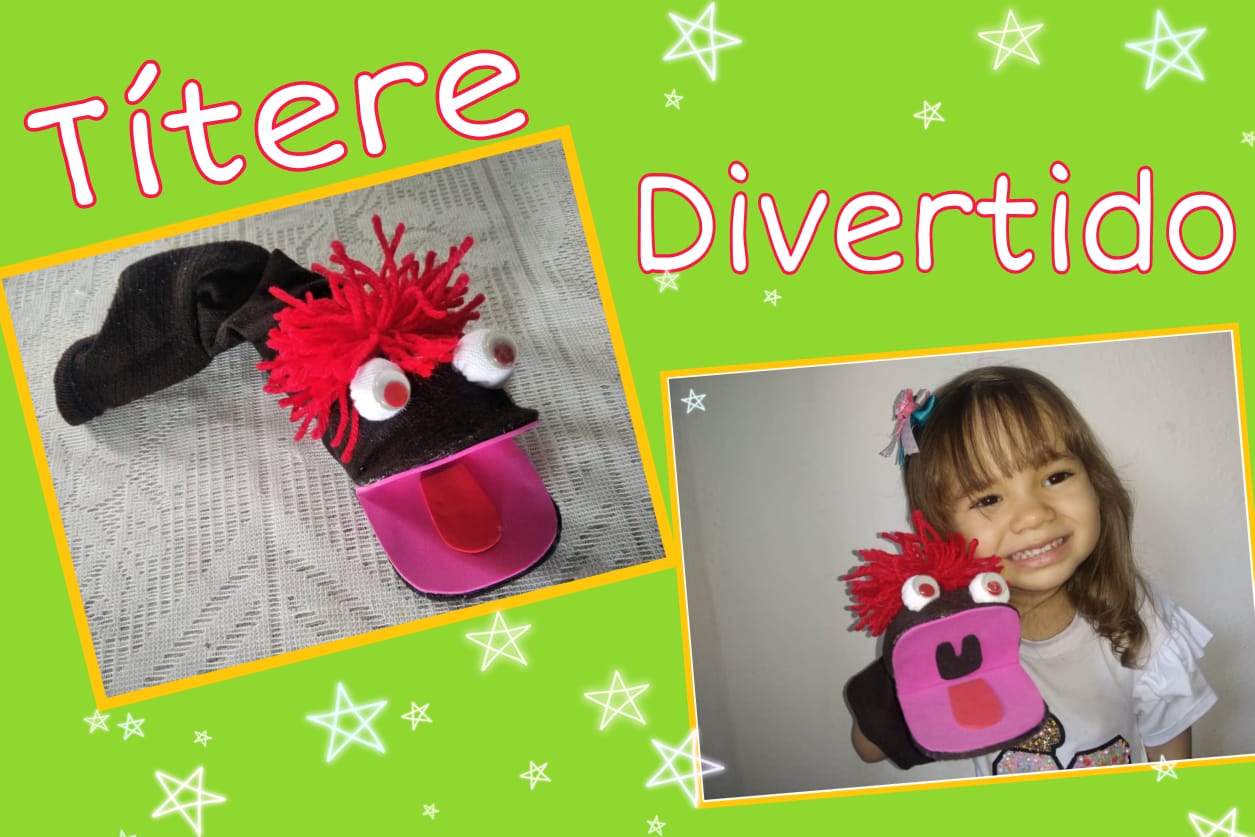
Buenos días mis queridos amigos de #Hivediy.
Good morning my dear #Hivediy friends.

I wish everyone is very well, full of life and health, today is Monday the beginning of the week and we must activate the engines since the days fly by and we don't even notice hehe, the day quickly arrives weekend again. Well friends, today I want to share with you a new craft that I have made for my 2-year-old daughter Nicole, she sees a cartoon of puppets, she is beginning to speak and she already says puppet, that's why I decided to make some for her.

Mostly I try to make my creations with recycled material, so I will use an old sock or stocking that I have at home without using and which lost its pair a long time ago, looking among some things stored for the I got it and it seemed perfect for me to make this fun and useful craft for my daughter, so she will have a way to entertain herself and with the help of the puppet I will continue to stimulate her vocabulary, which is scarce at the moment.
To make this puppet let's see the materials and tools I used.

Materiales y Herramientas.
Materials and Tools.
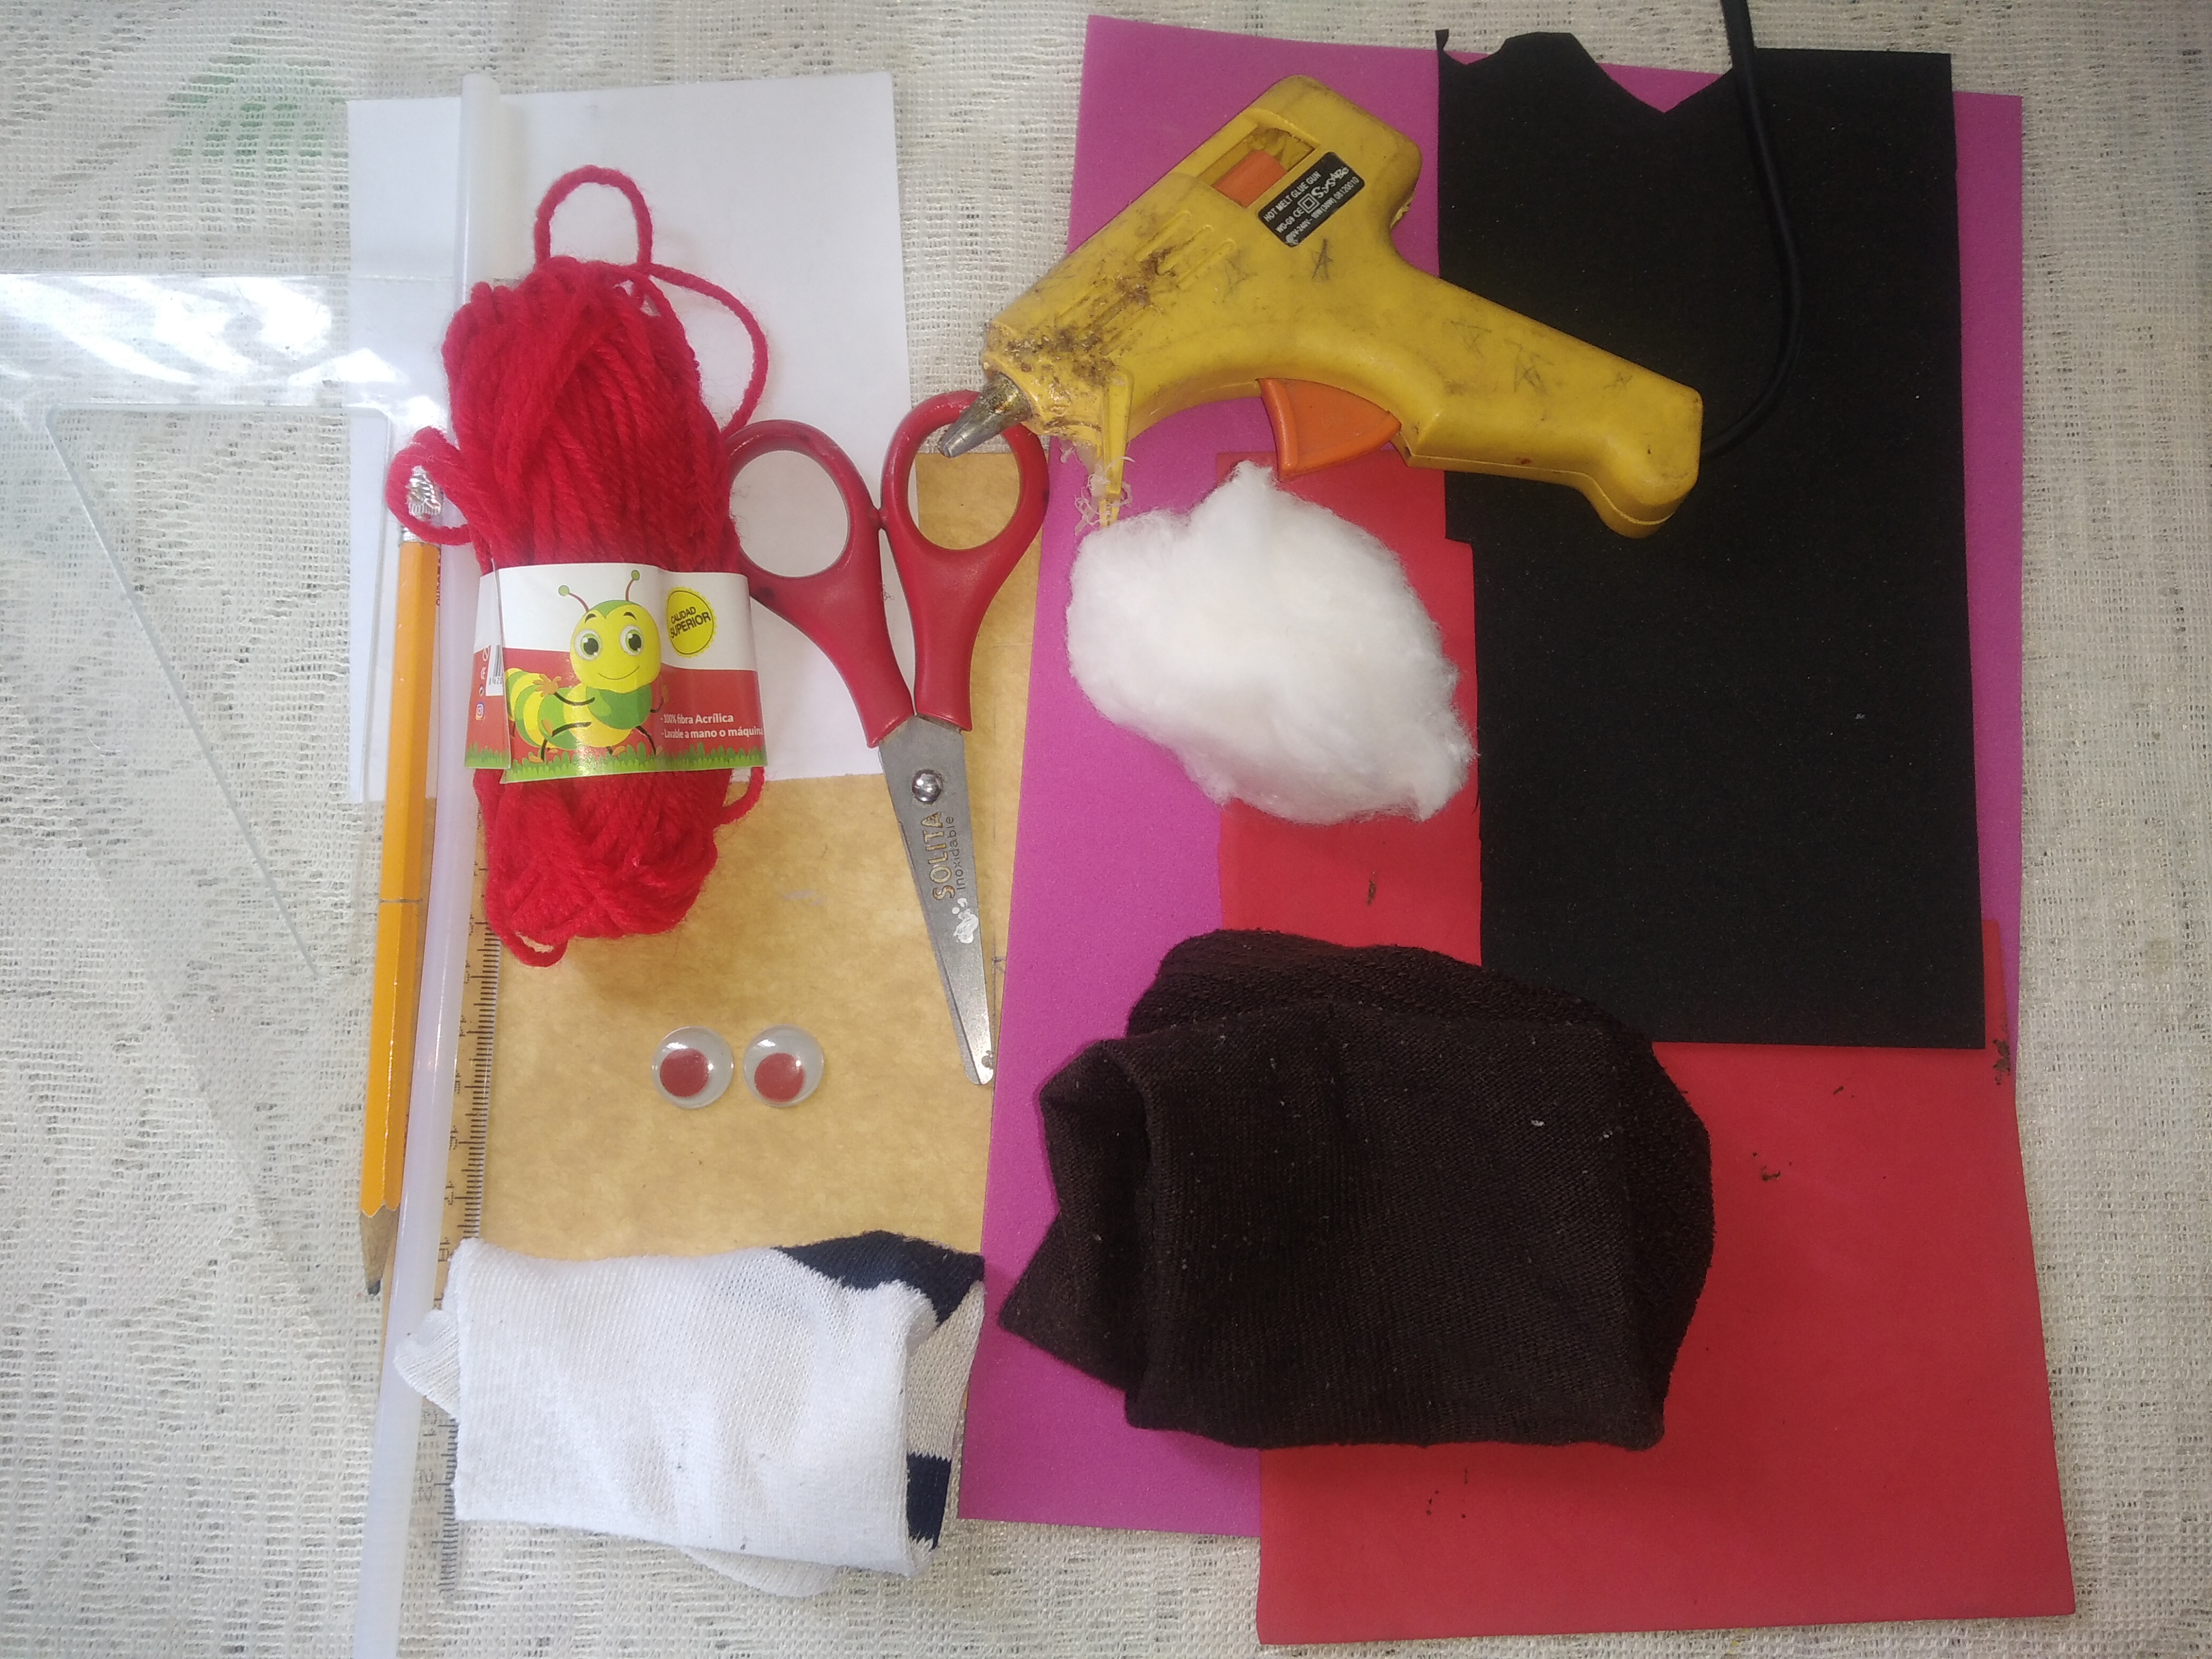
🧦 Medias viejas.
🧦 Foami fucsia, negro y rojo.
🧦 Estambre rojo.
🧦 Ojos movibles.
🧦 Algodón.
🧦 Relleno de almohada.
🧦 Pedazo de cartón suave.
🧦 Tijera.
🧦 Hilo y aguja.
🧦 Hoja blanca.
🧦 Lápiz de grafito.
🧦 Regla.
🧦 Pistola de silicón y silicón en barra.
🧦Old socks.
🧦 Foami fuchsia, black and red.
🧦 Red stamen.
🧦 Moveable eyes.
🧦 Cotton.
🧦 Pillow filling.
🧦 Piece of soft cardboard.
🧦 Scissor.
🧦 Thread and needle.
🧦 White sheet.
🧦 Graphite pencil.
🧦 Rule.
🧦 Silicone gun and silicone bar.
Now I will show you the procedure to make this puppet in detail for the smallest of the house, so that they have fun and have something to play with without much expense.

Elaboración del títere con calcetín viejo.
Making the puppet with an old sock.
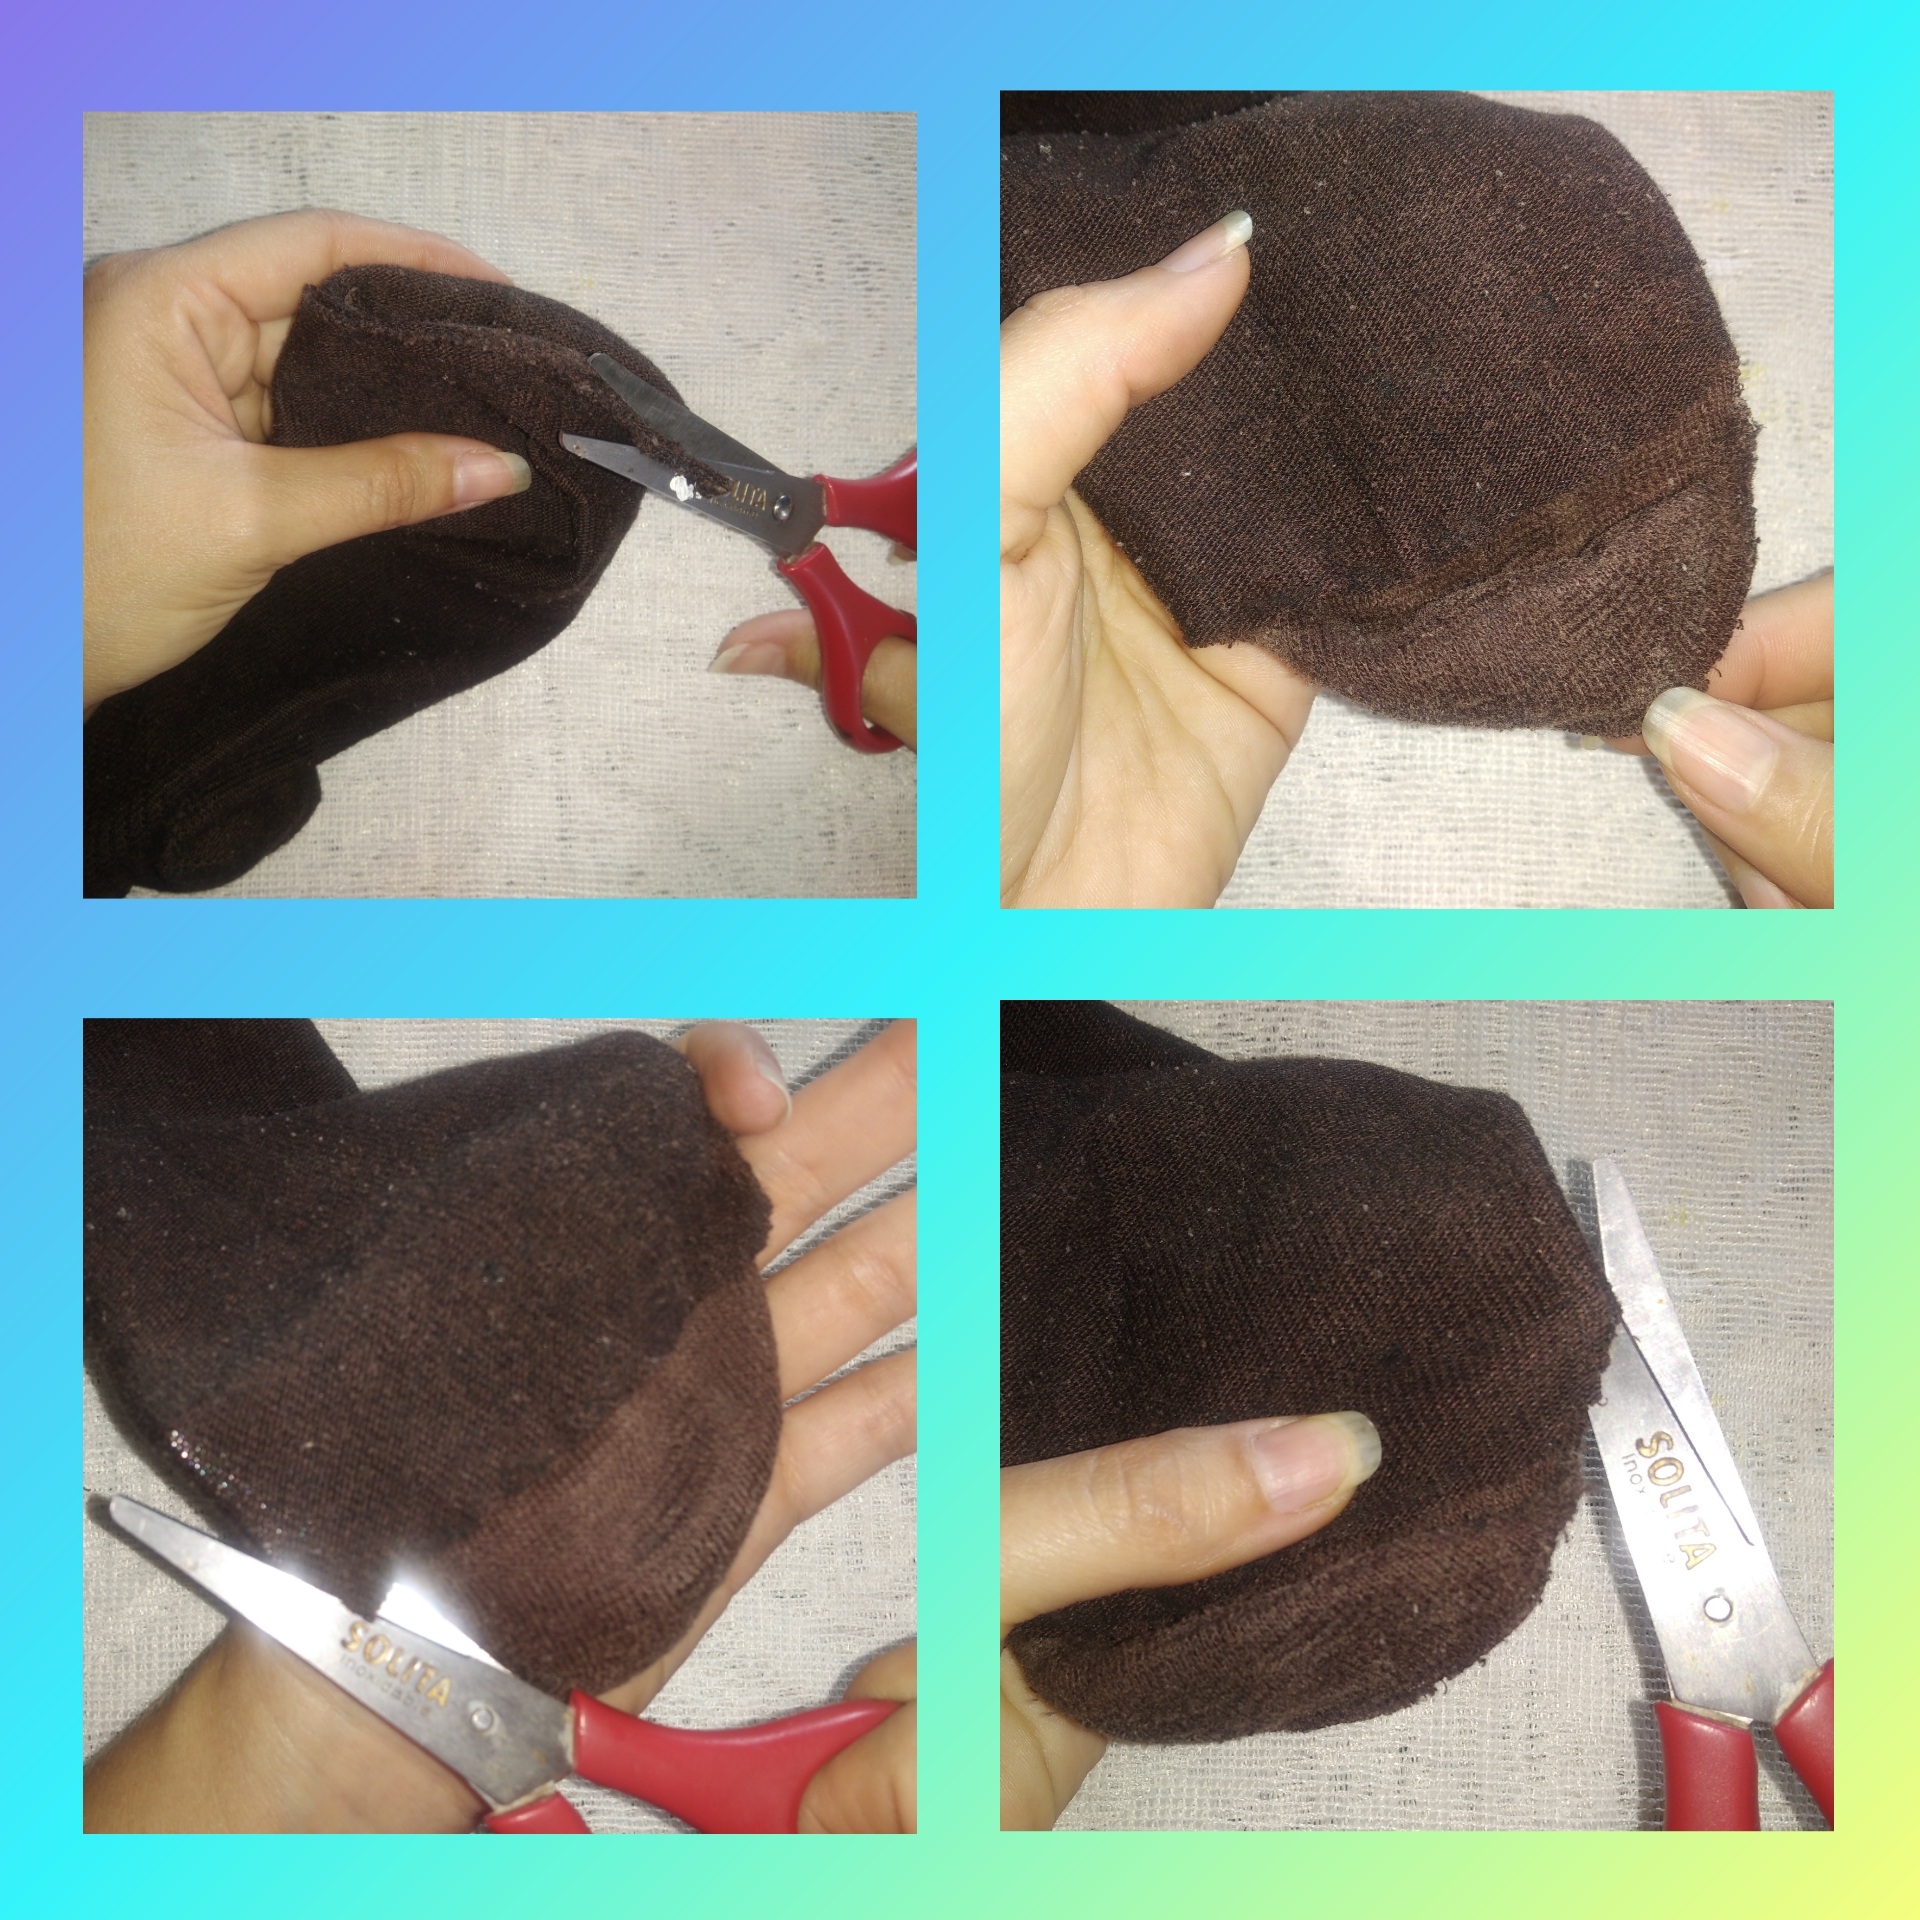
Step 1.We begin the elaboration of this puppet by taking the old sock and at the bottom where the fingers go, there is a seam for that seam we are going to cut, that is, we are going to remove it, then With the scissors we are going to make a cut to the sock on each side of approximately 2 cm.
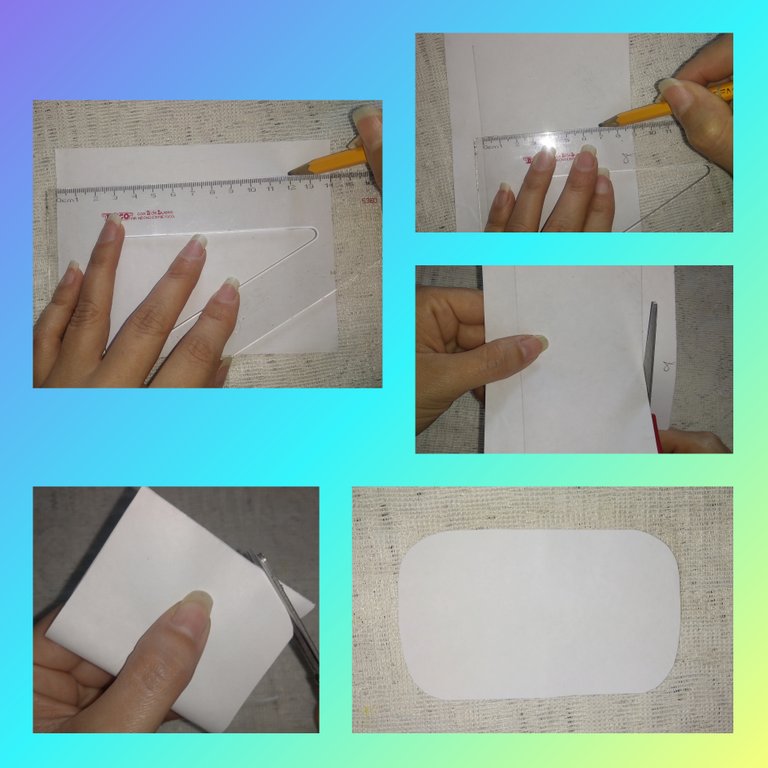
Step 2.Then for the second step we are going to take the white daughter and on it we are going to measure 12cm by 7 cm, we cut it, then we fold it in half and with the scissors we cut its ends in the shape oval.
Step 3.We are going to take out that mold that we got on the sheet, but on the cardboard, we draw it and then cut it out.
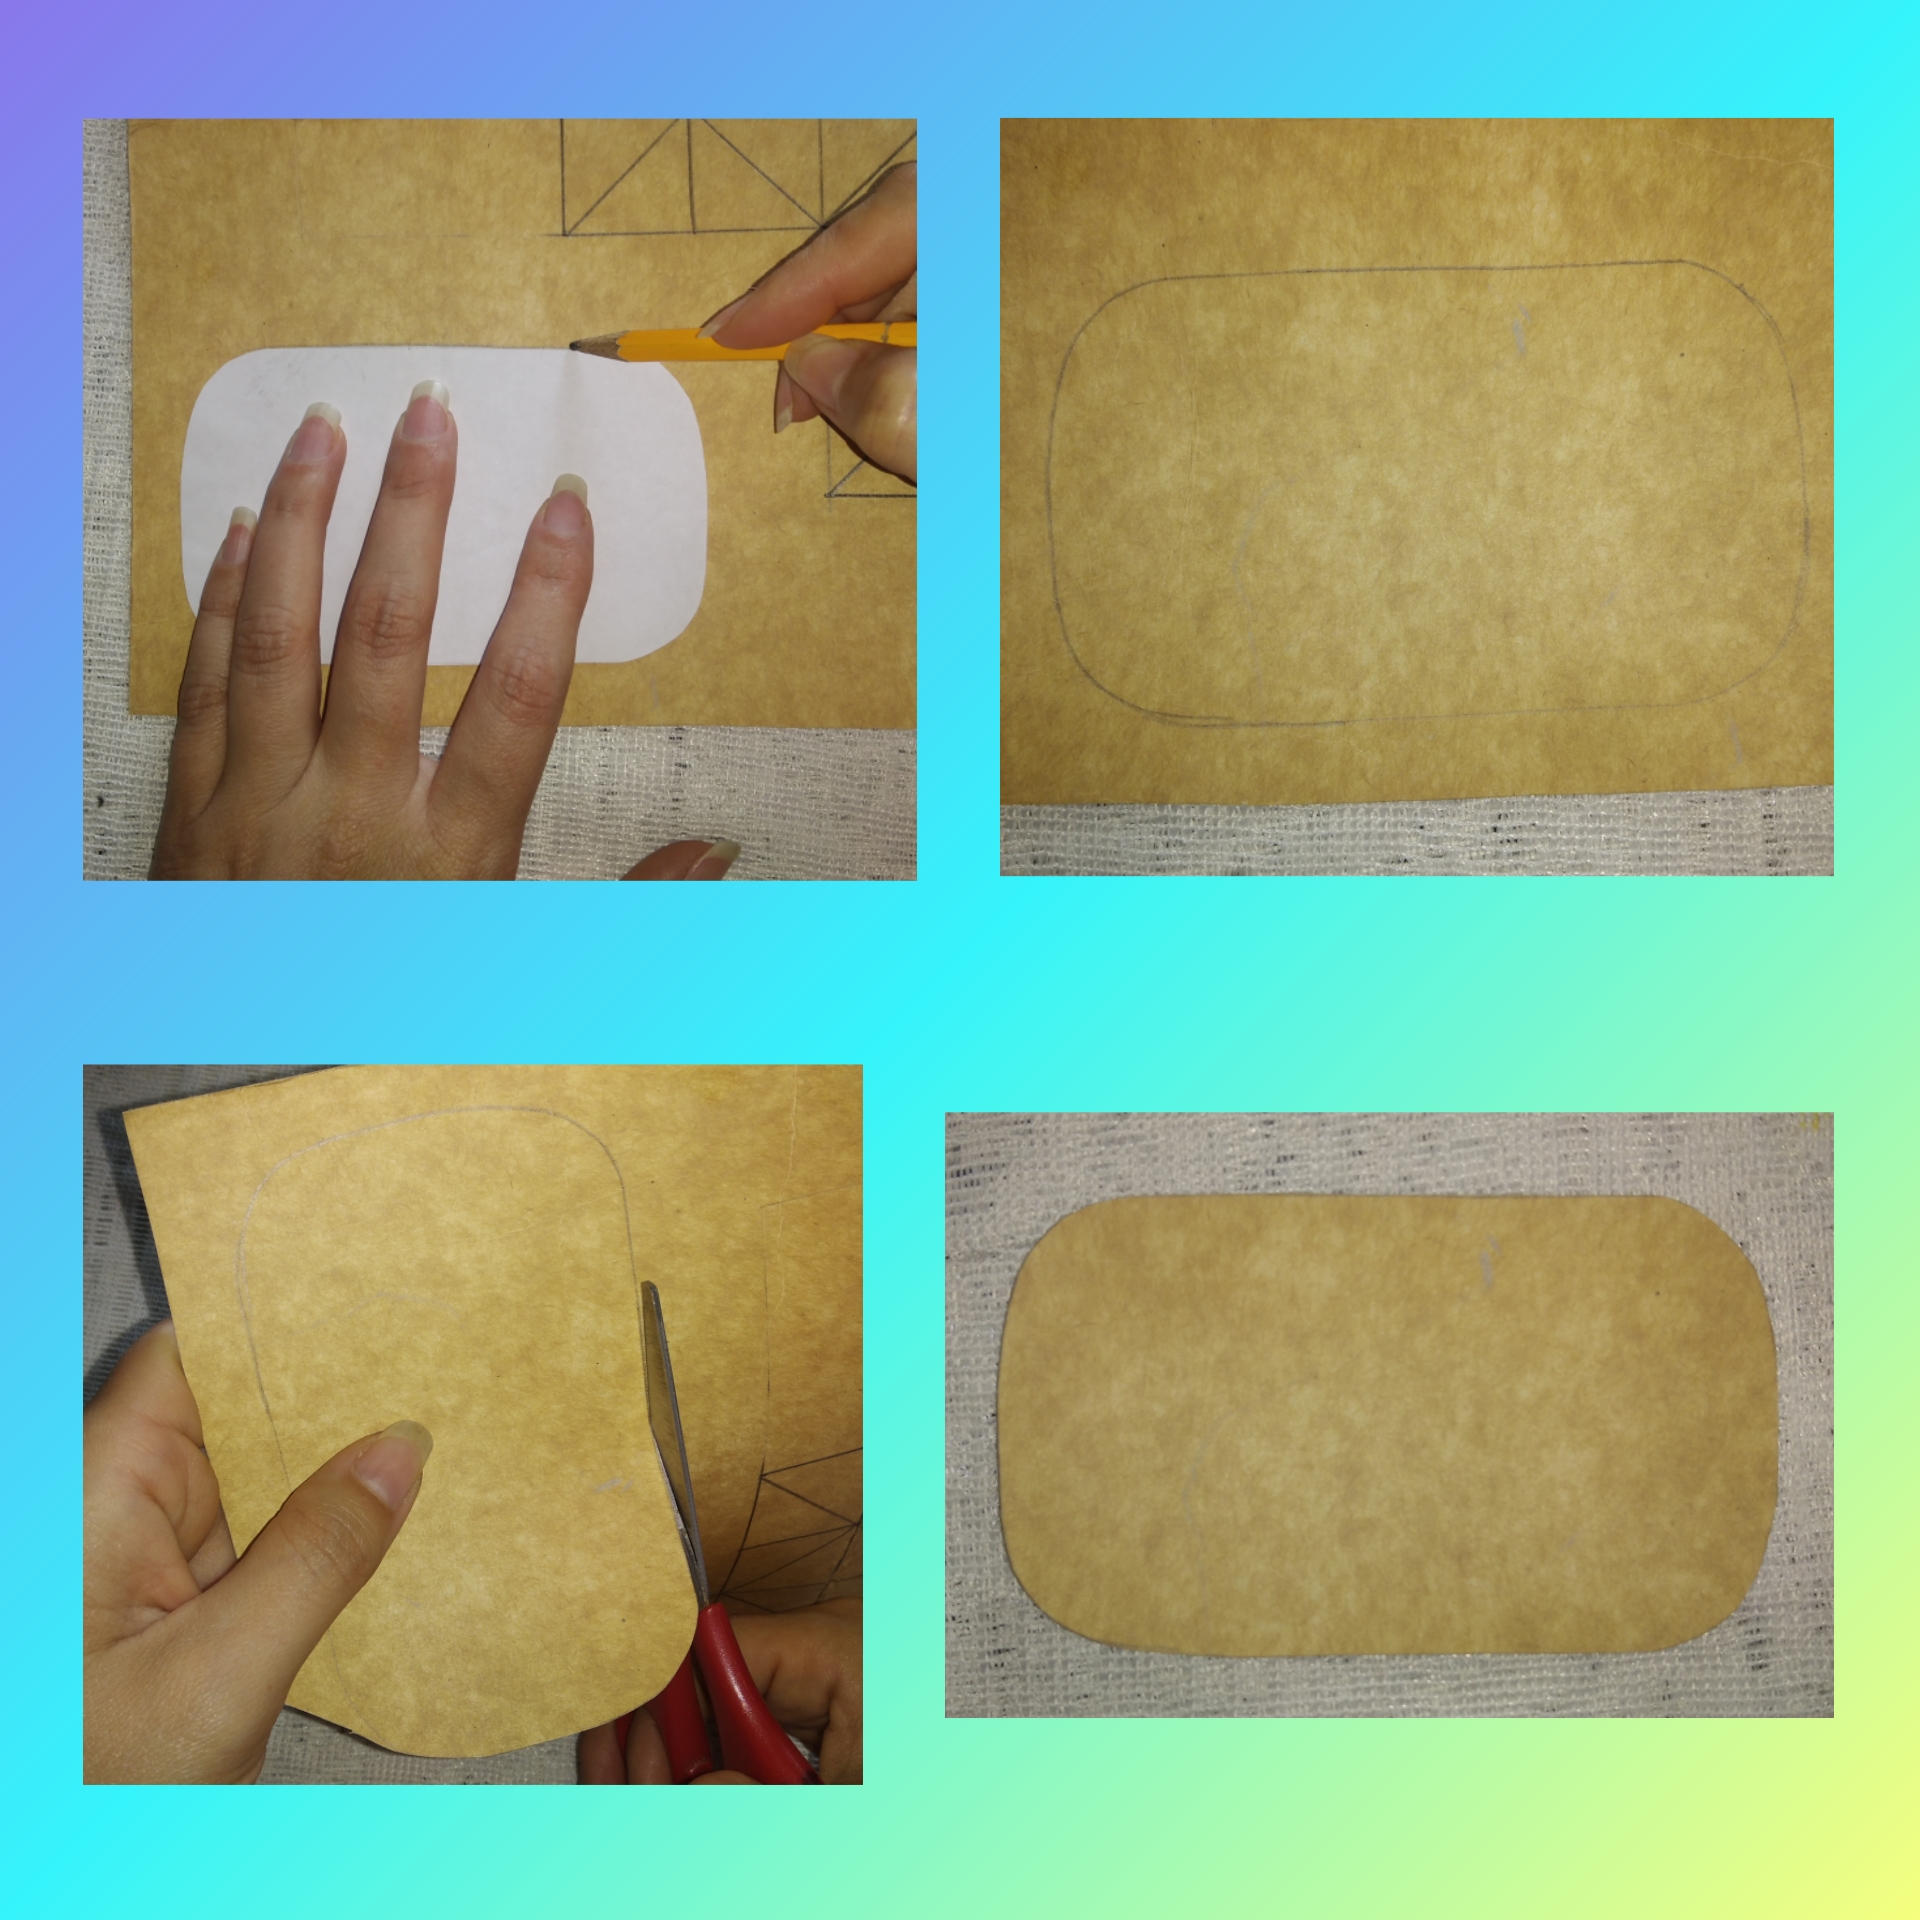
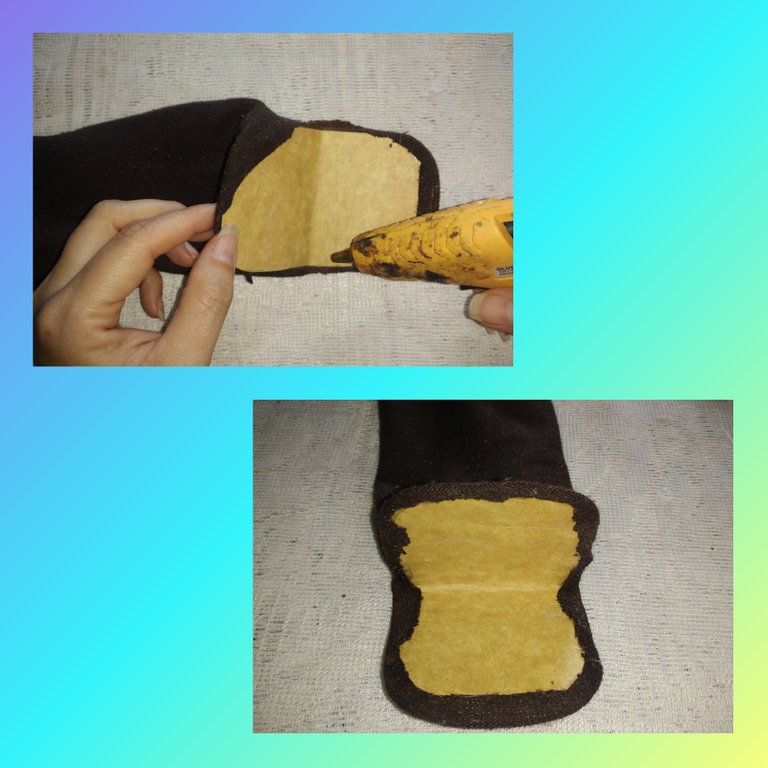
Step 4.Now we are going to attach it to the sock right through the opening that we made, there we place the cardboard and with a silicone bar we are gluing it and this will be the mouth of our puppet, we have already started to give it shape this easy and fun puppet.
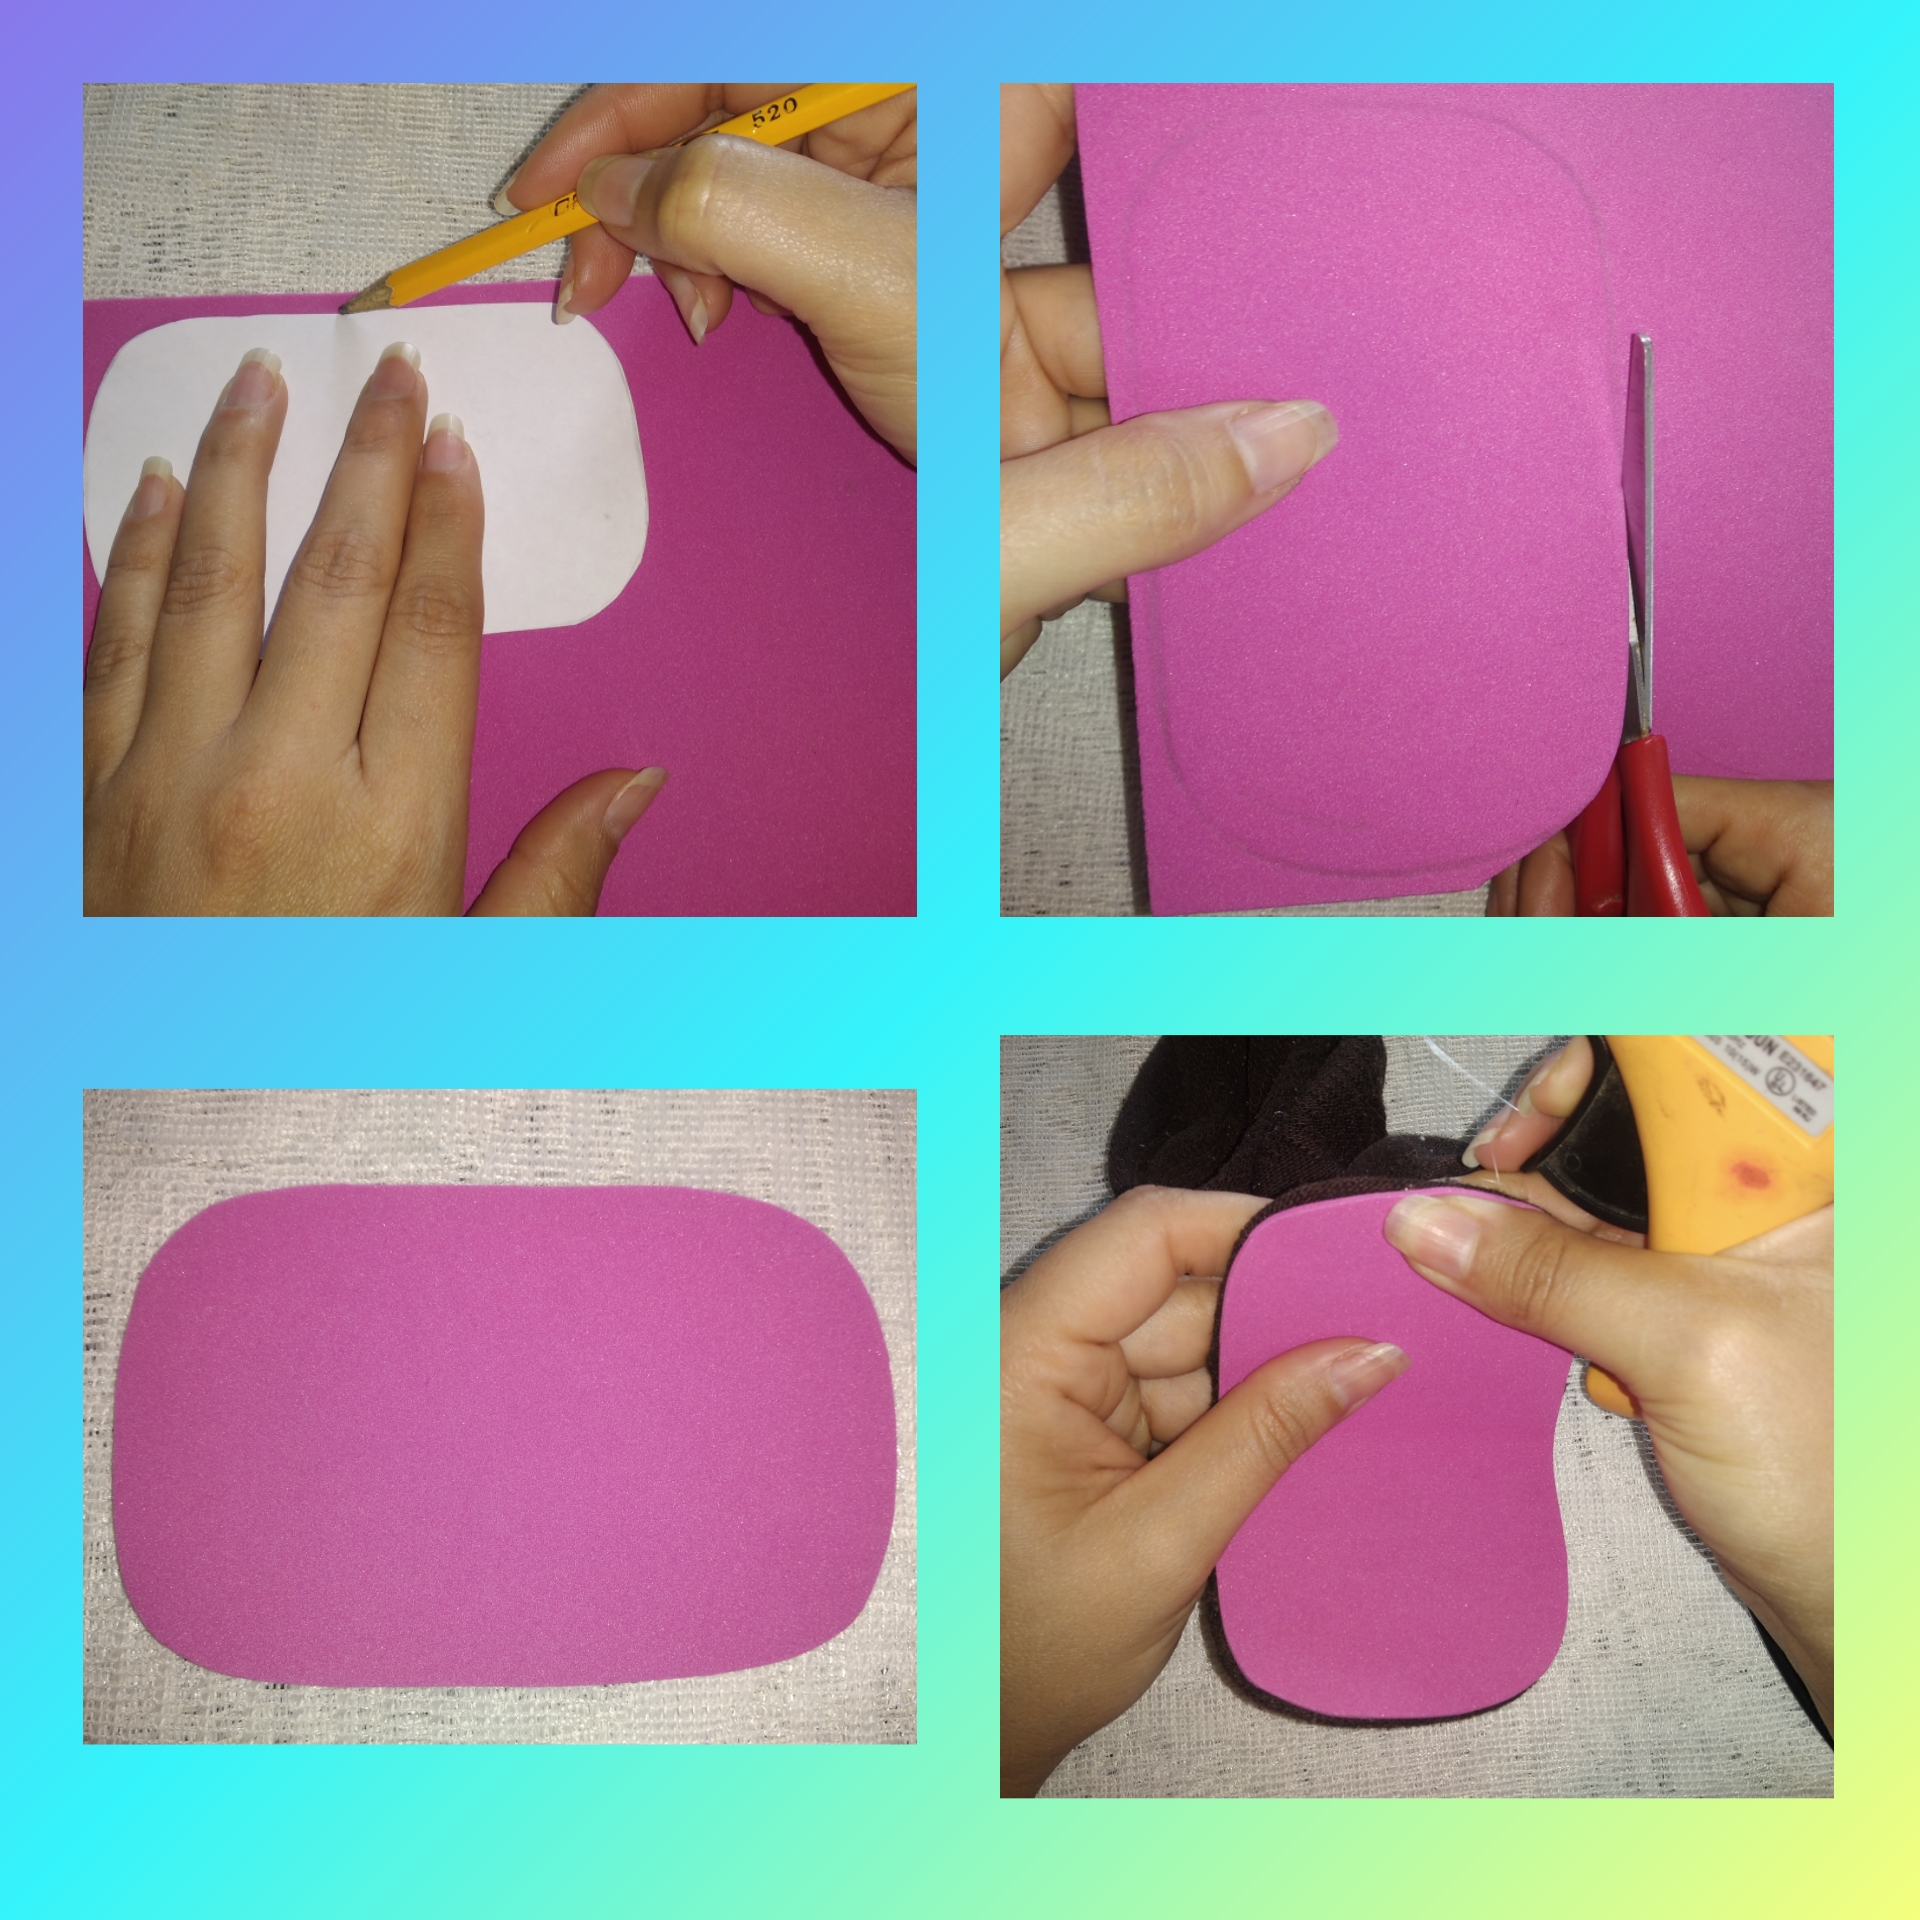
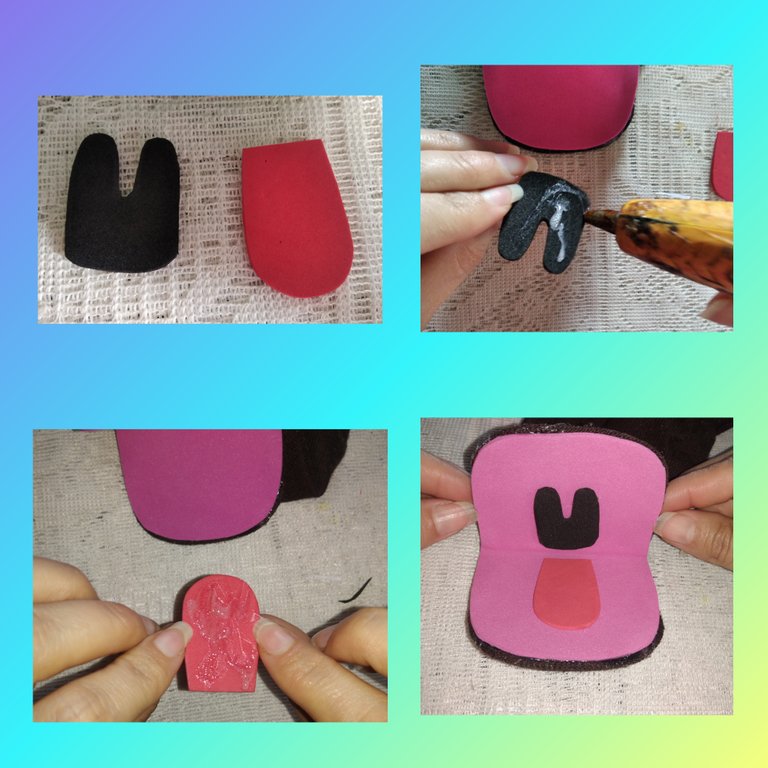
Step 5.With the mold that we obtained previously we are going to draw on the fuchsia foami this will be the inside of the puppet's mouth, with the silicone we glue it to the cardboard it will look like this.
Step 6.In hija blanca we will make the mold for the palate of this puppet, we measure with the ruler 3 cm by 2.5. With the pencil at the top we make the shape of the palate and cut it out. We take that mold and draw it on the black foami and with the scissors we cut it.
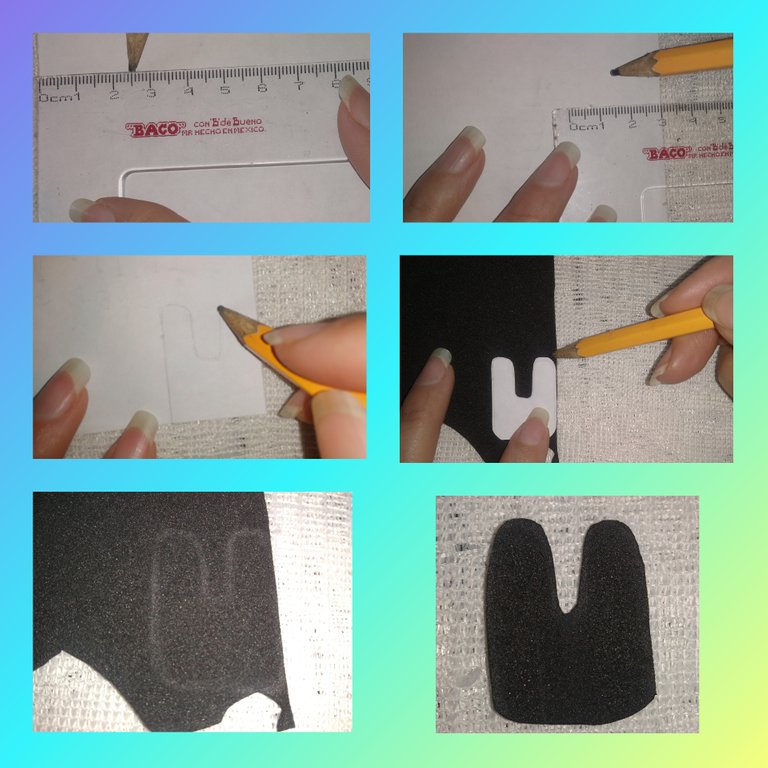
Step 7.Now we will make the puppet's tongue. In the same way on the white sheet we measure 3.5 cm by 2.5 cm, in one of its ends we draw it oval, we cut it.
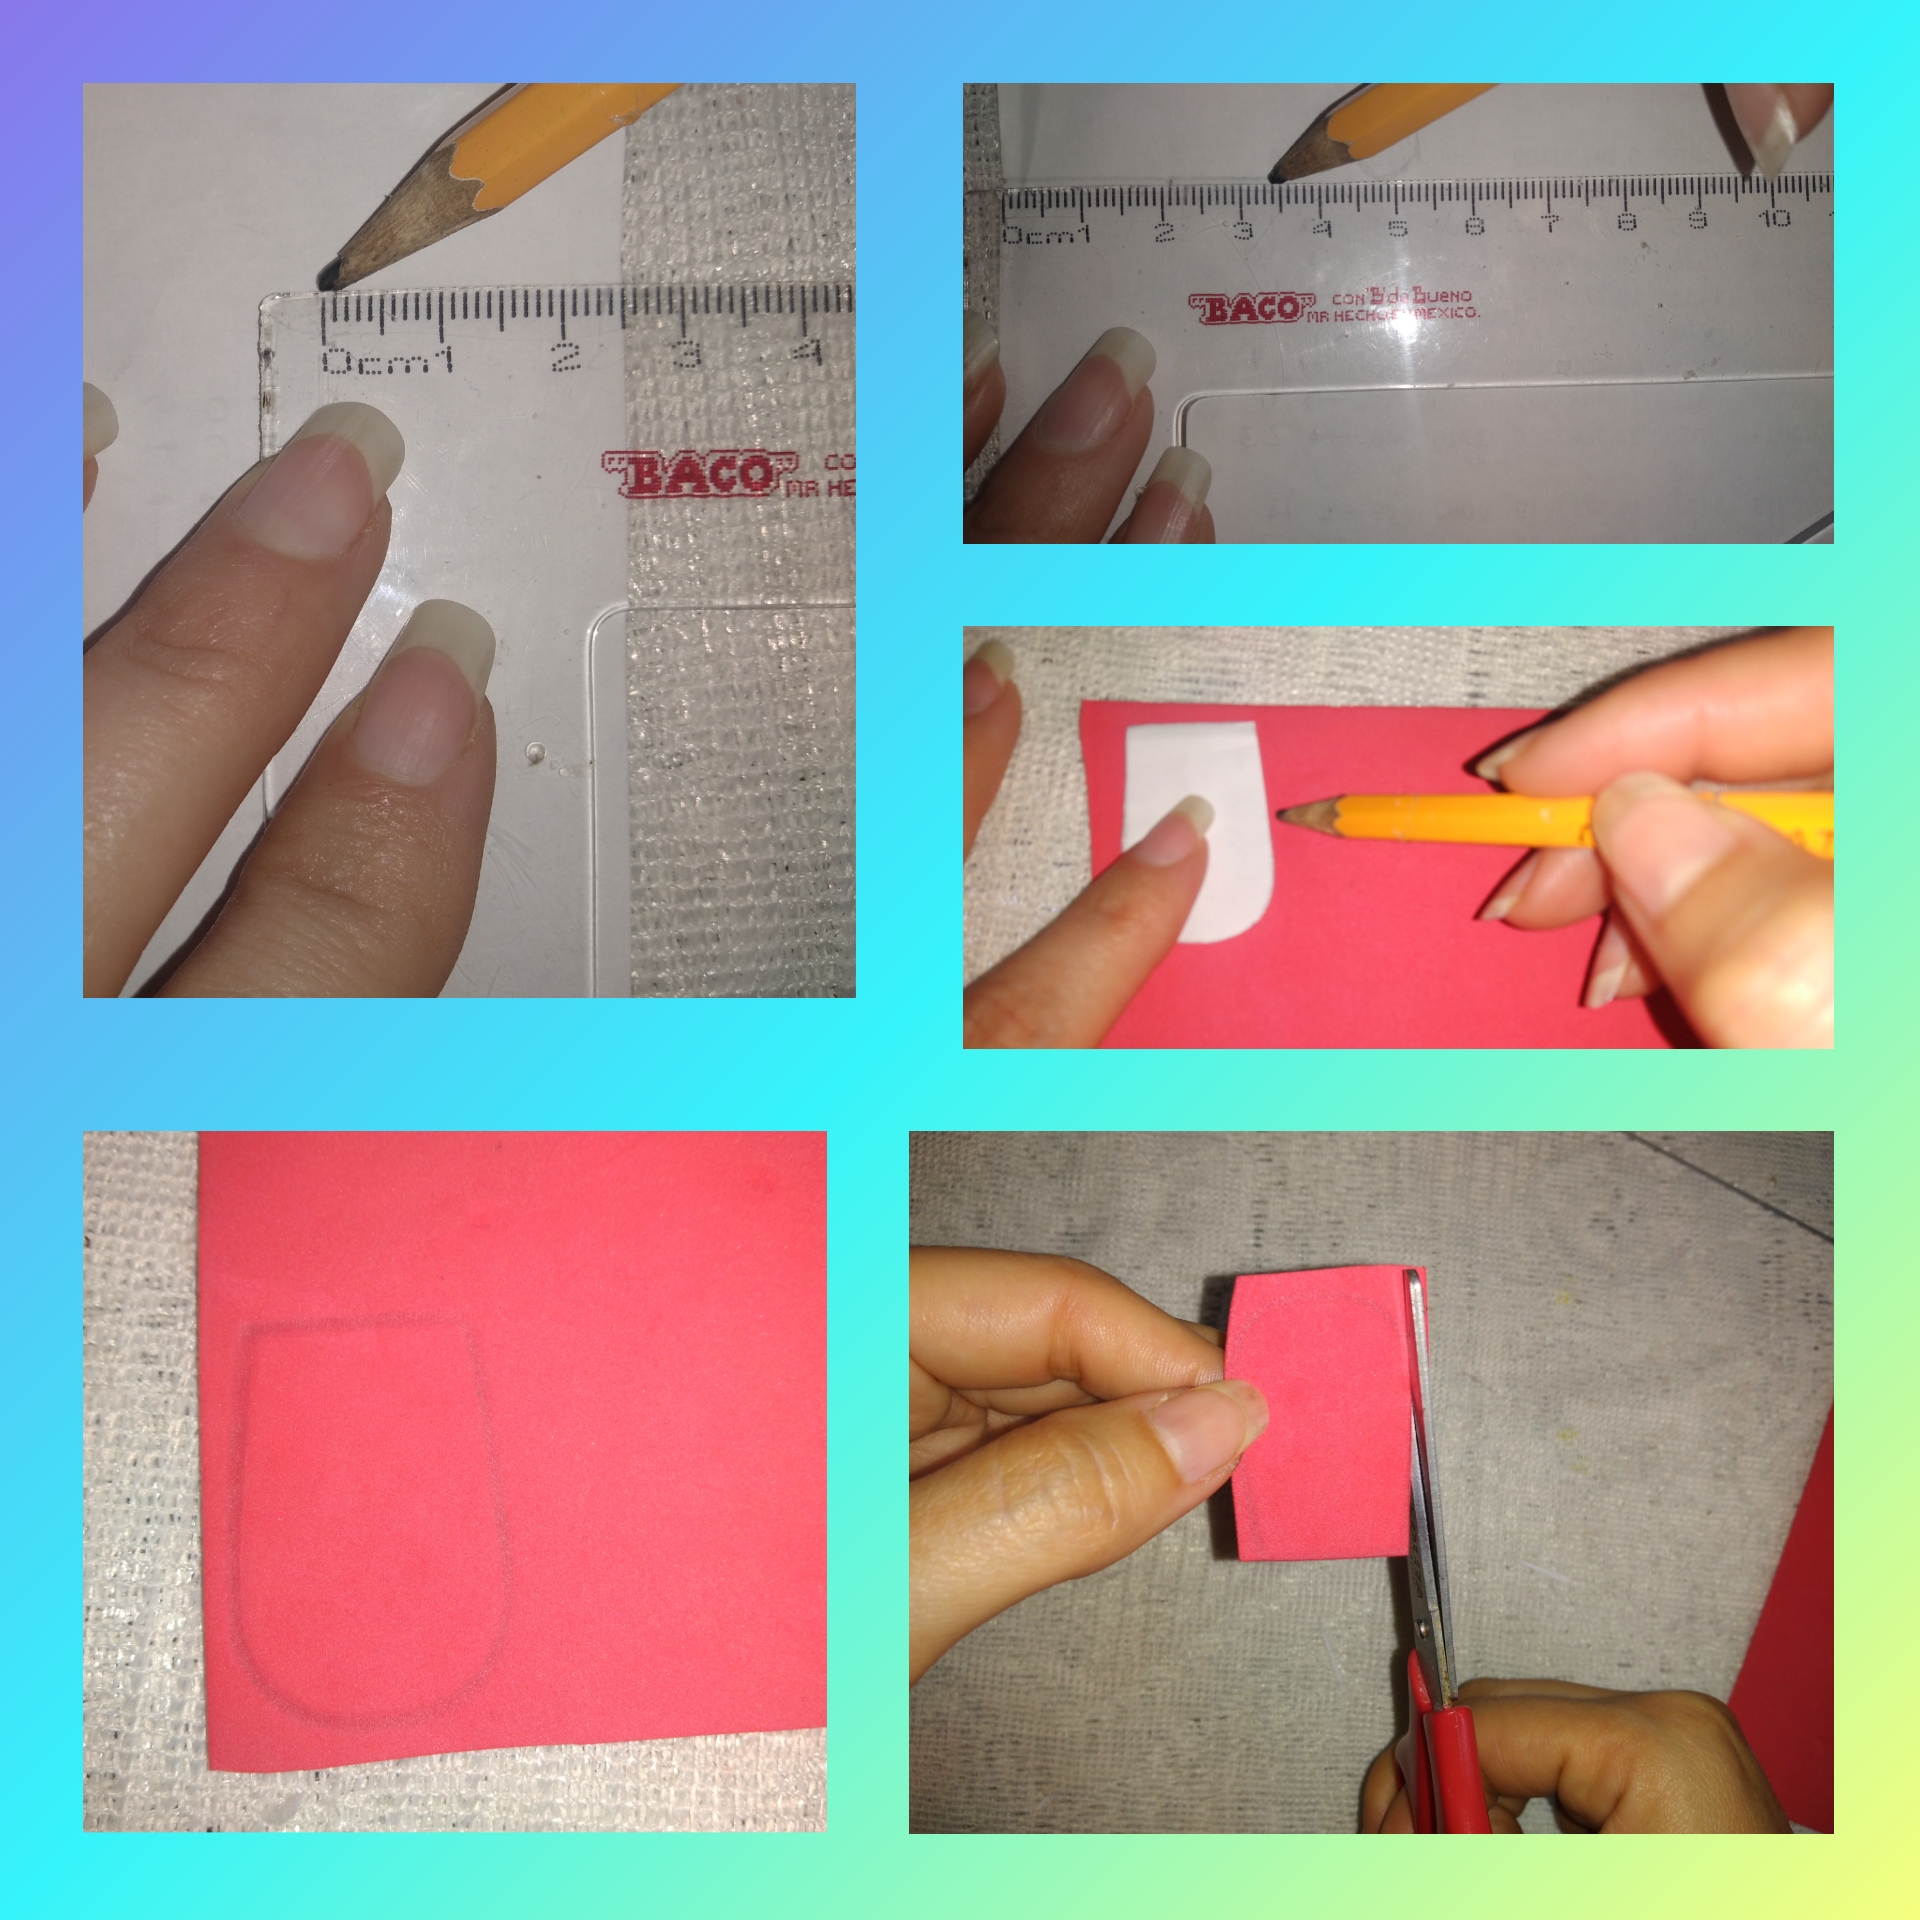
Step 8.When the palate and tongue of the puppet are ready, we proceed to glue them, we take the palate and put silicone on it and join the entire middle of the puppet on the upper part. Then the tongue is going to be placed at the same medium level as the palate but in the lower part of the puppet's mouth.
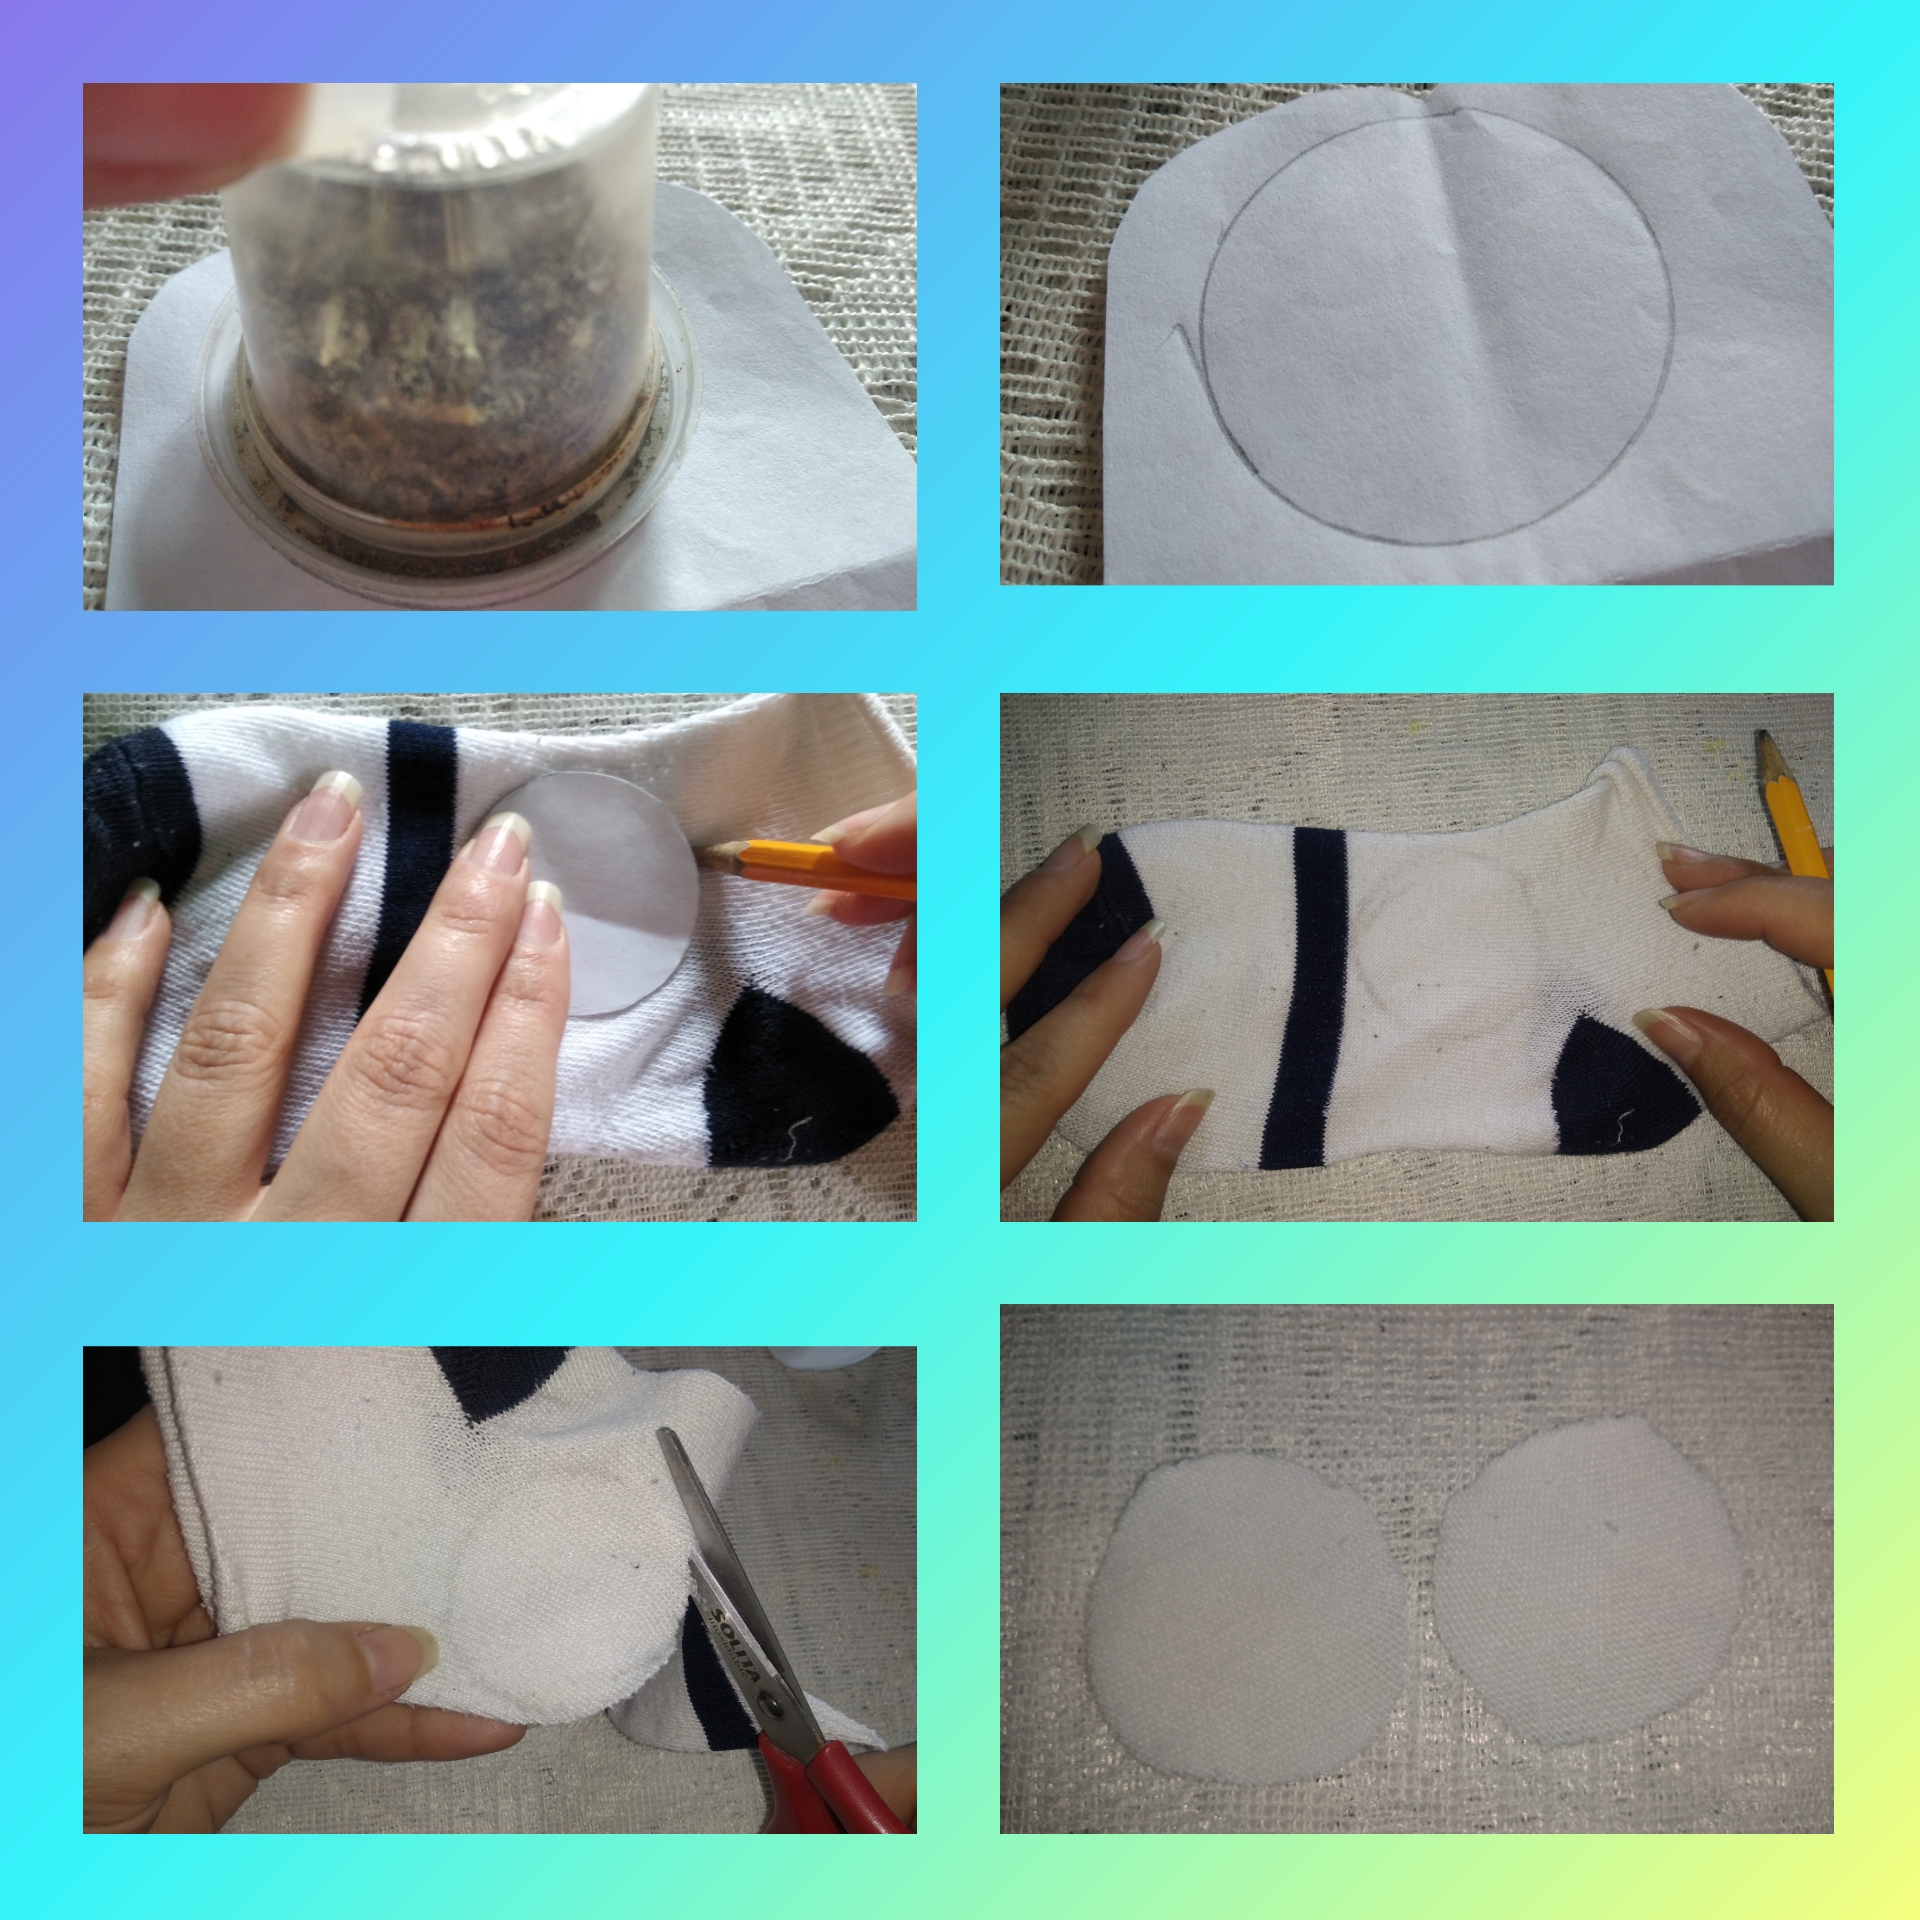
Step 9.Now we are going to make the eyes of this puppet. We begin by making the mold for the big eyes, we take a circle-shaped container and draw this circle on the white sheet, then place the mold on an old white stocking and draw a circle, cut along the entire edge and from this form we get the two white circles we need.
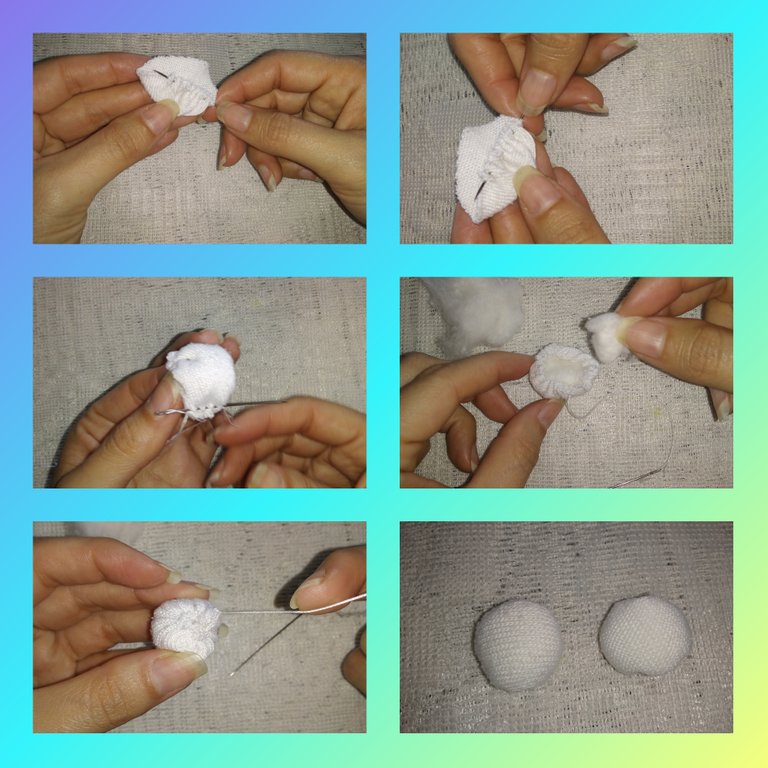
Step 10.With a needle and thread we are going to sew along the entire edge of the white circle of fabric, we are going to see that it forms like a little bag, before finishing joining the seam we are going to fill this with cotton little ball we made, then we're going to finish sewing. We apply this same step to the second circle of white fabric and in this way we form the second base of the puppet's eye.
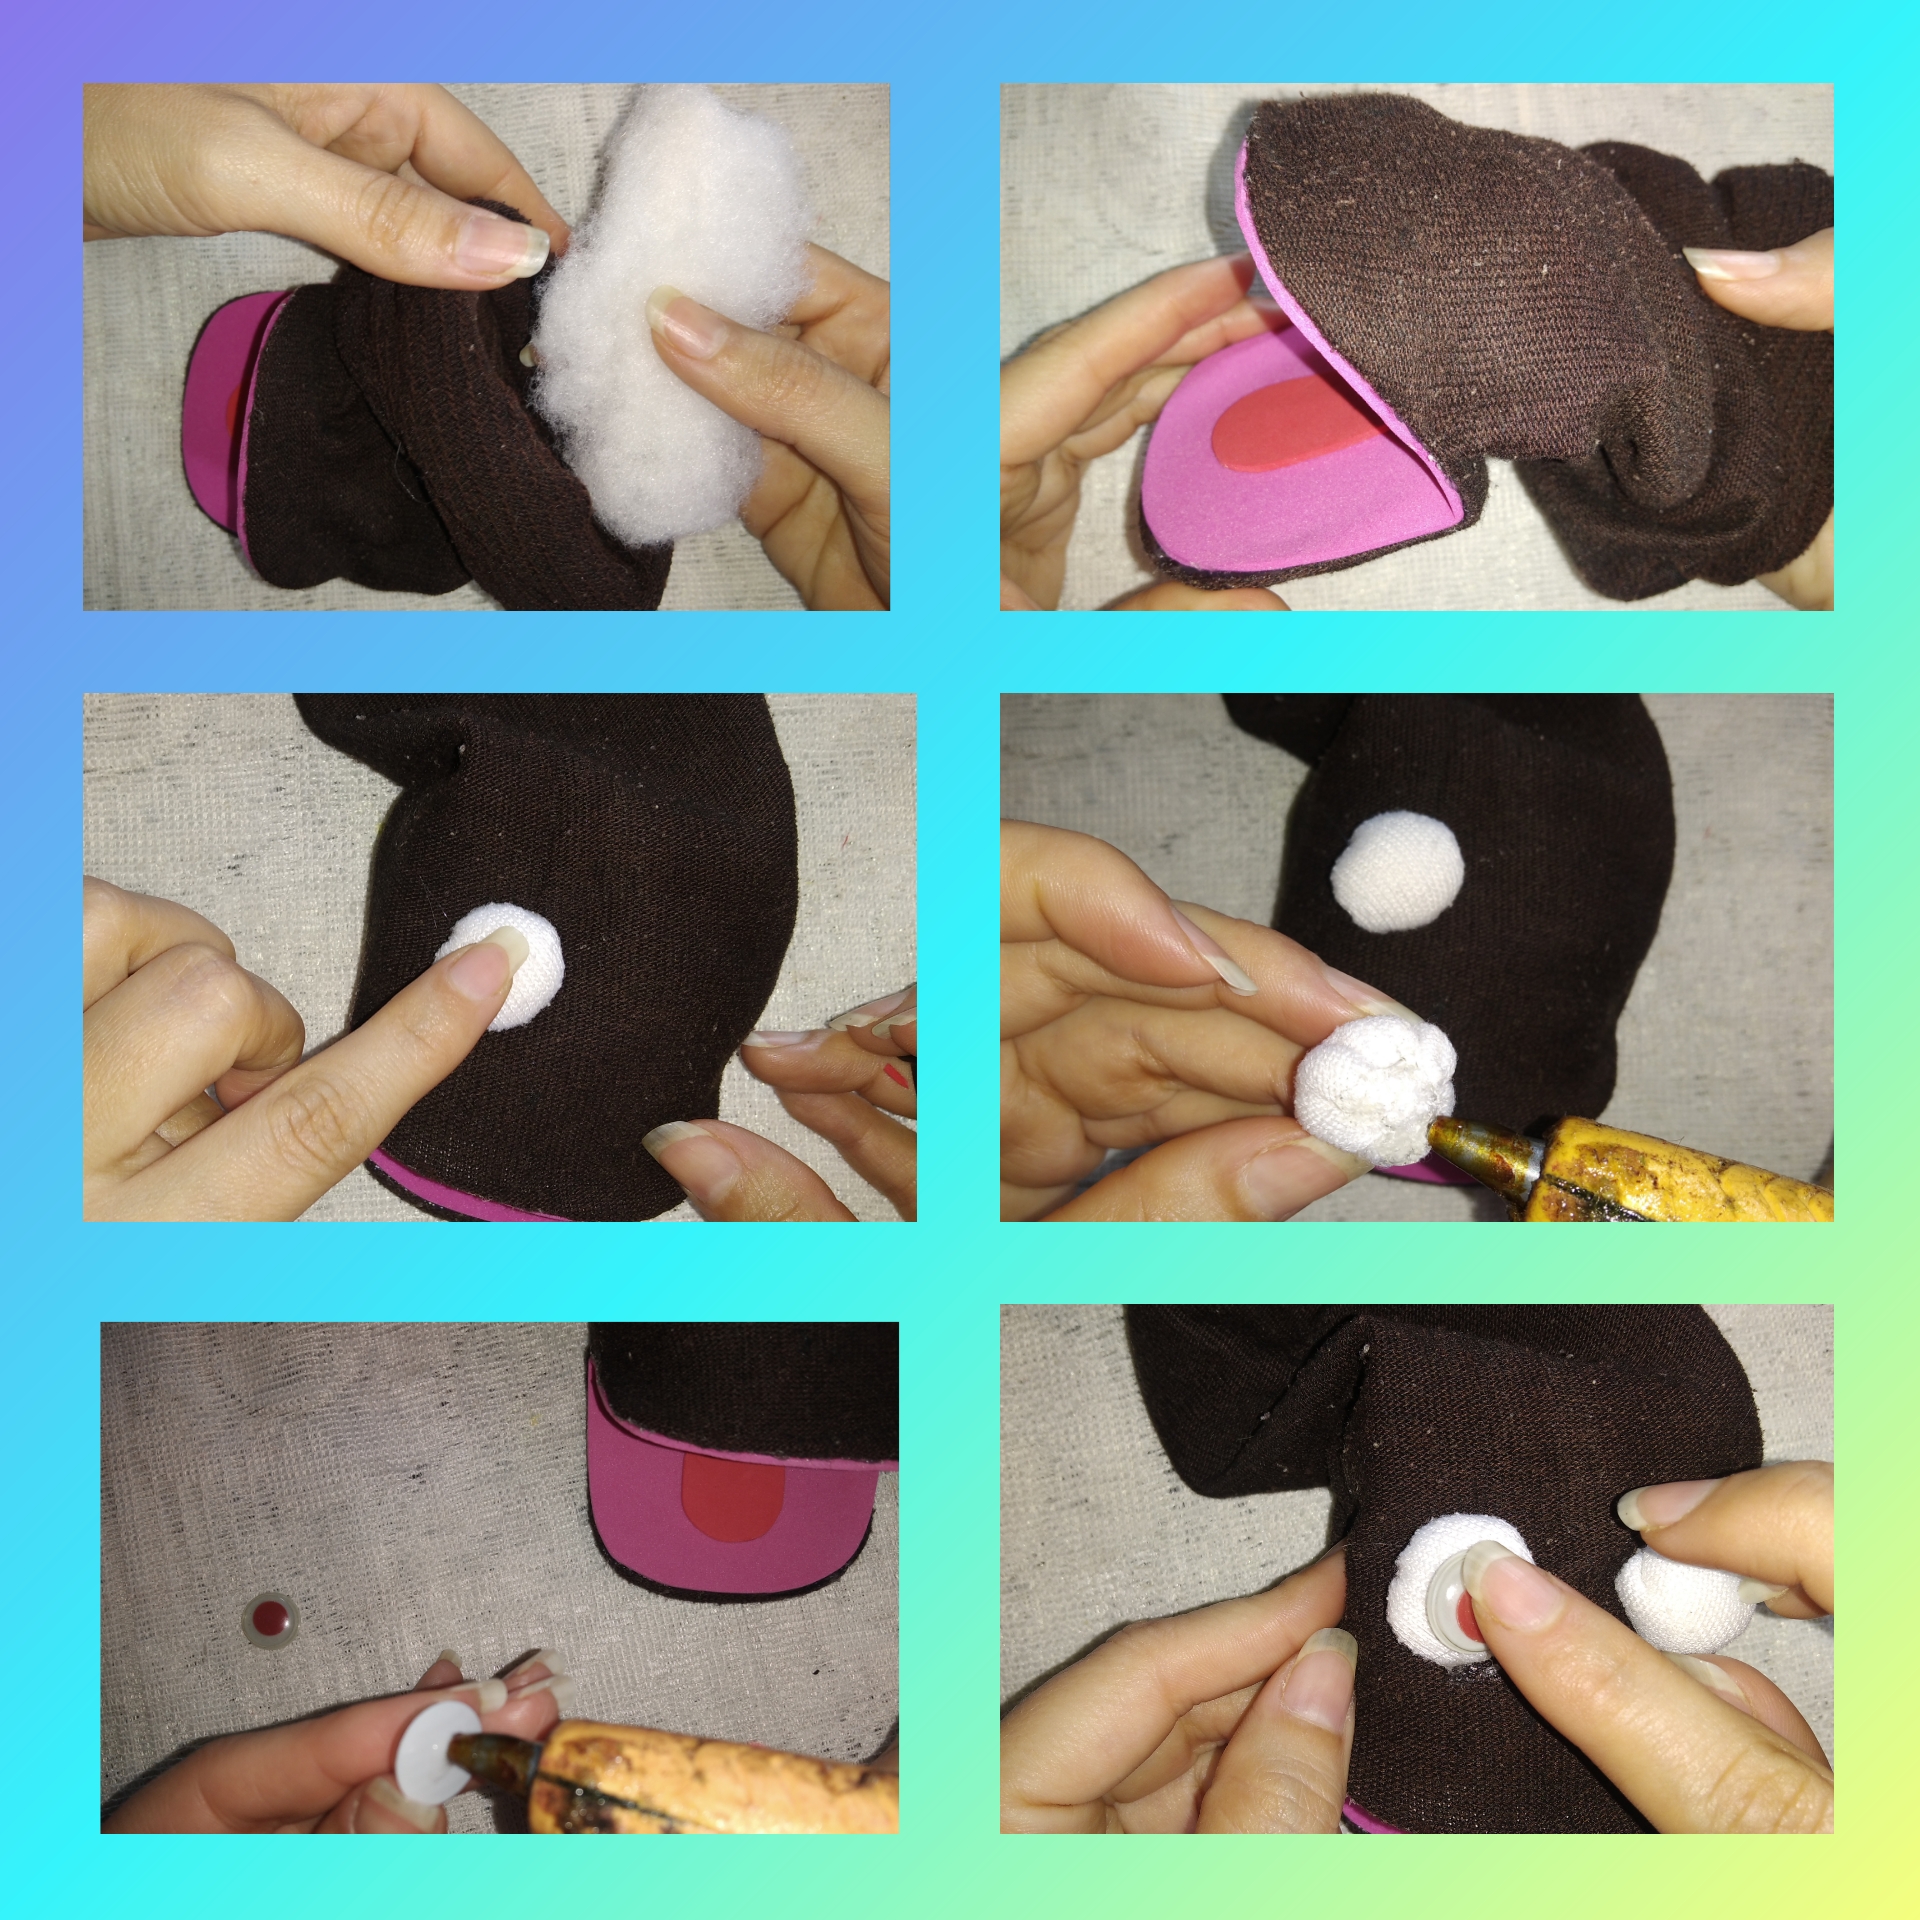
Step 11.We take the stuffing and we are going to place it on the upper part of the puppet to shape the head, then we are going to glue the balls of white cloth, on the face of the puppet on the right we place a ball and at the same level we place the other one on the left, then on each ball we are going to place the movable eyes, with silicone we glue each one in front of each ball.
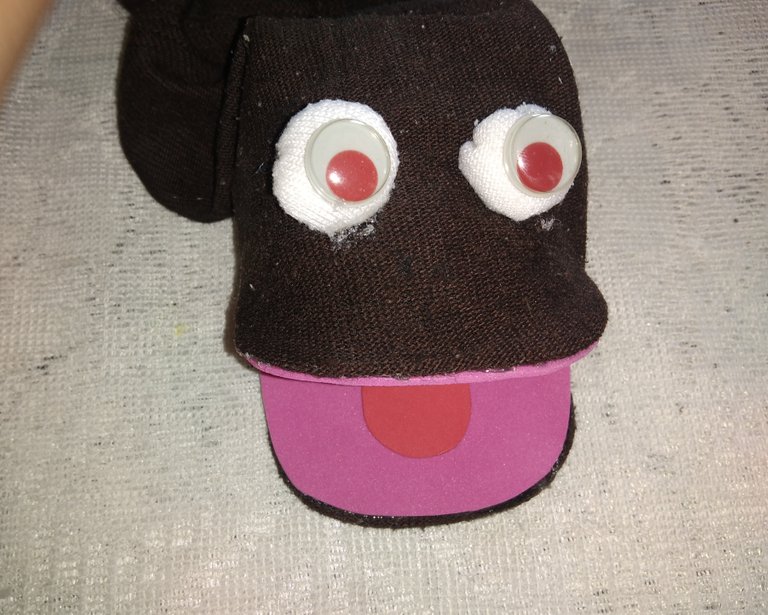
This is how the puppet is left. Now let's add hair.
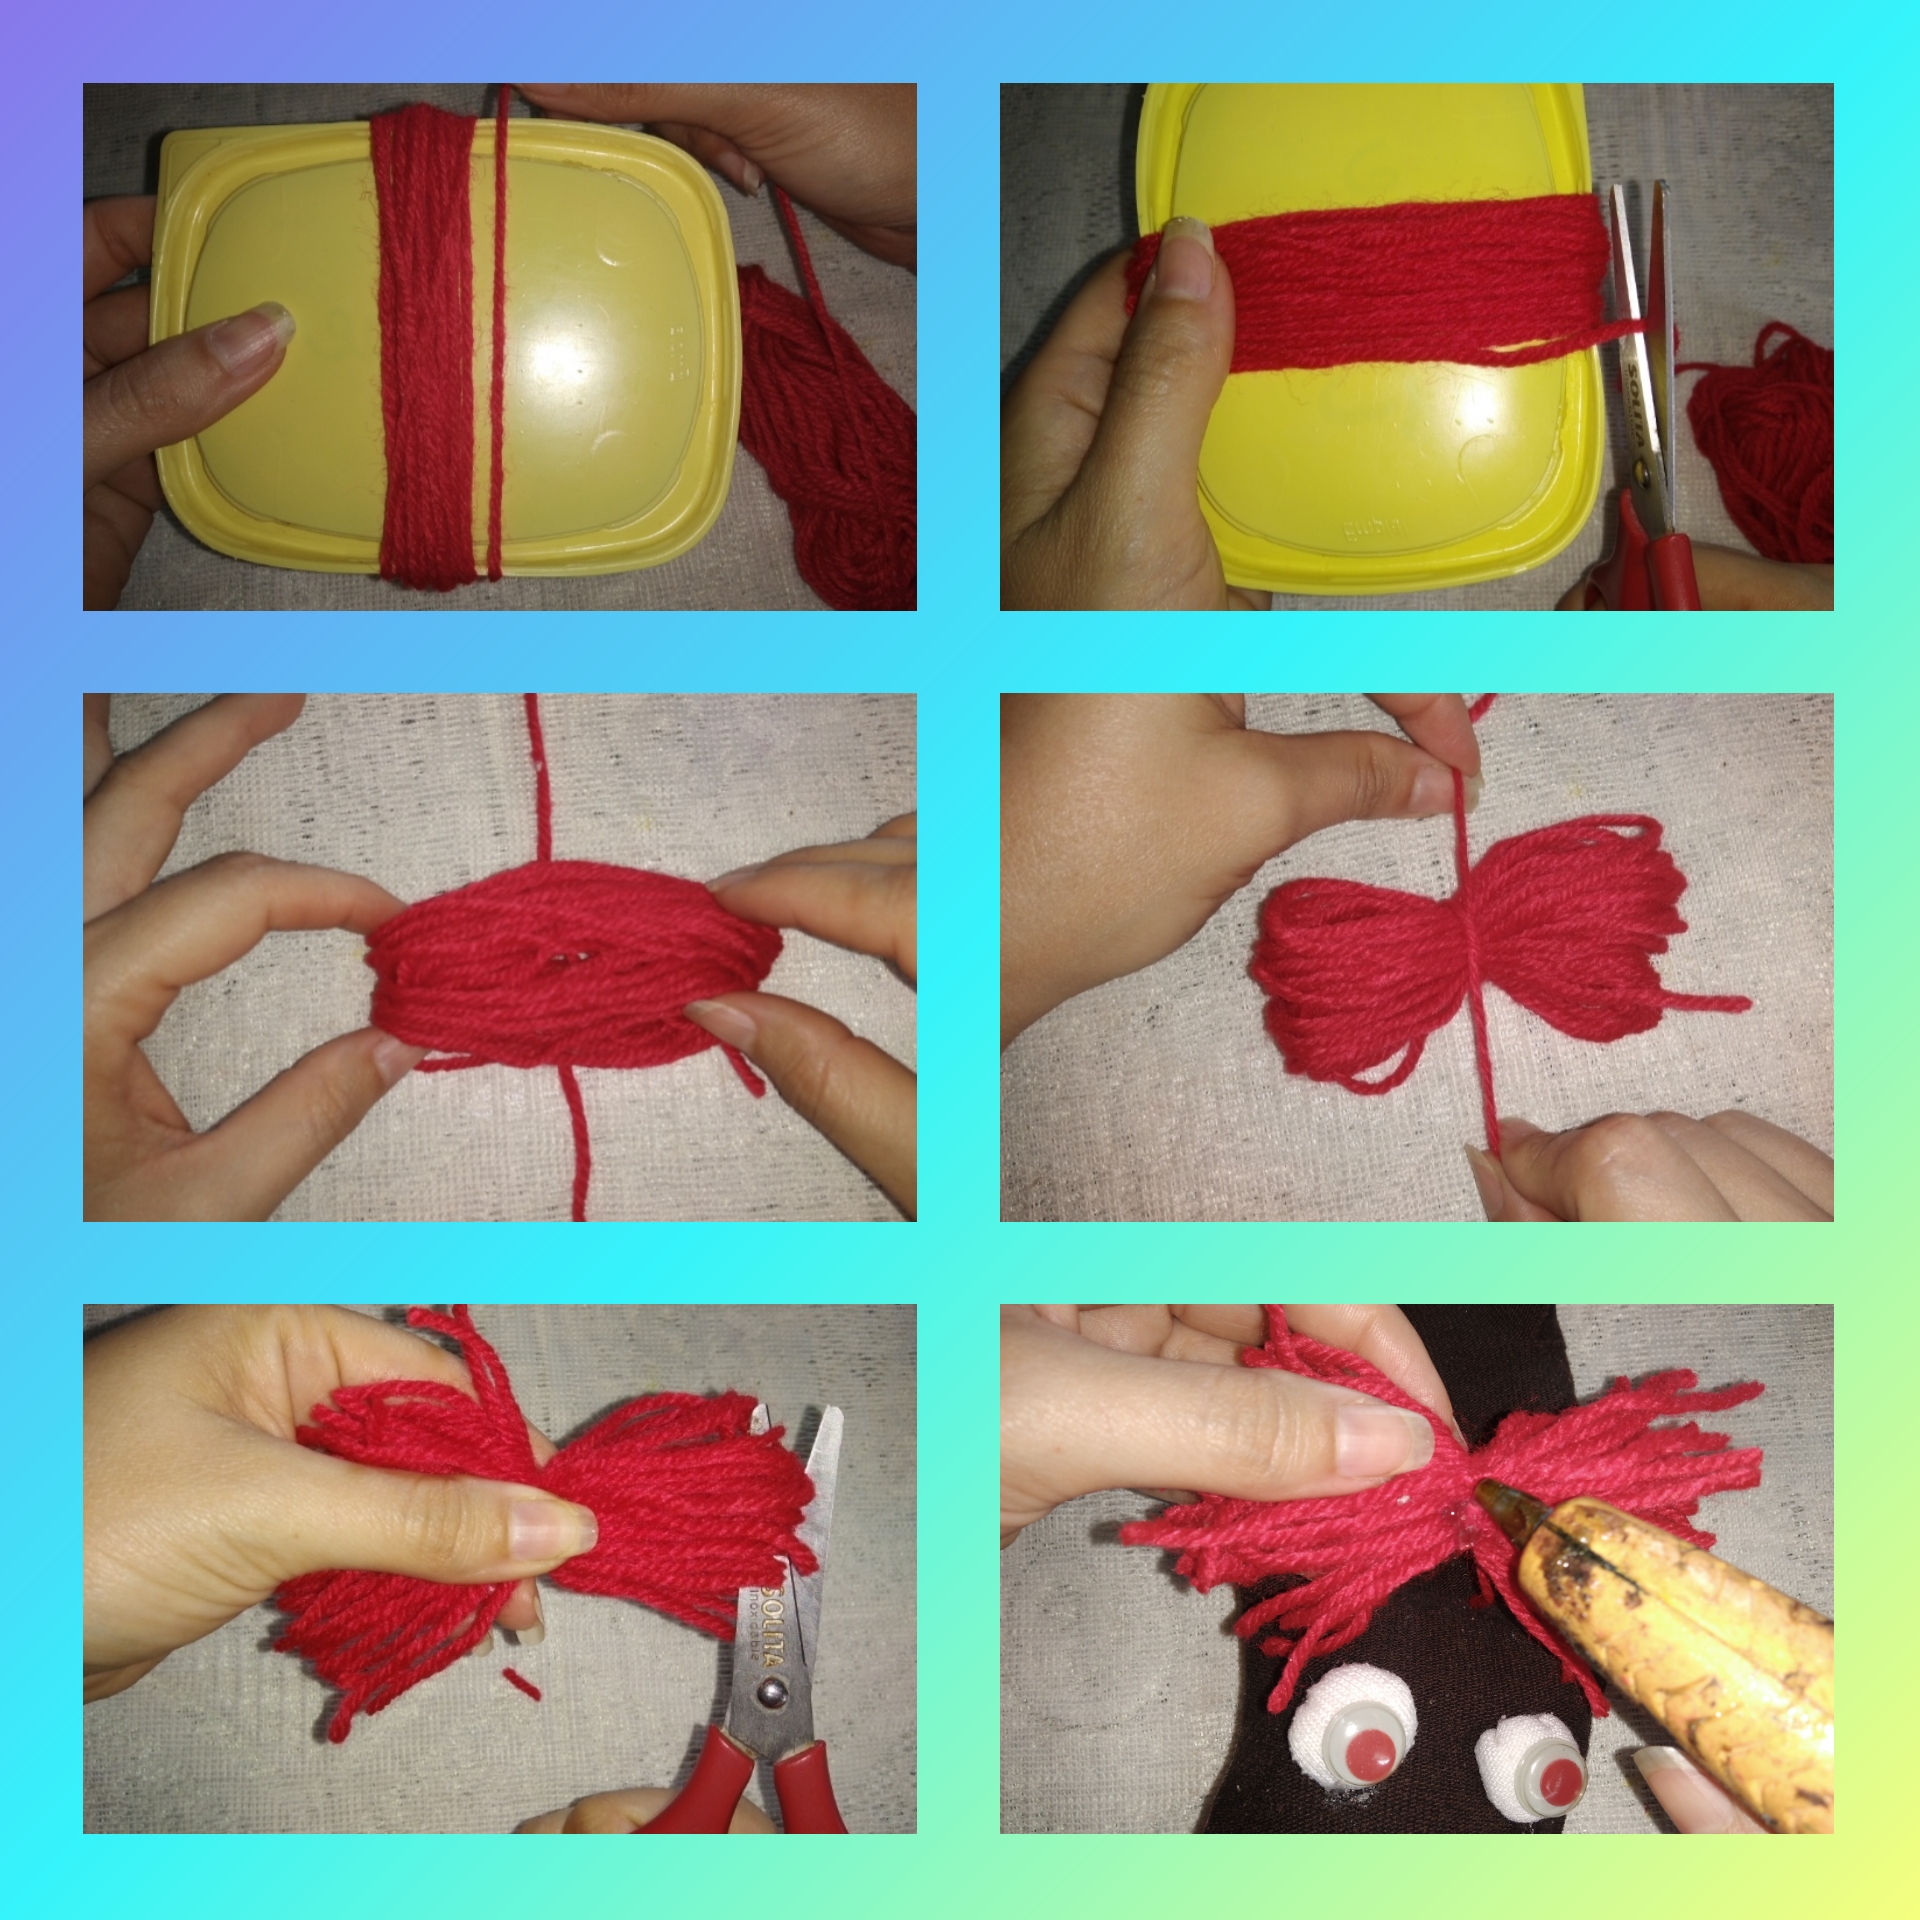
Step 12.I took a butter lid and started by putting the yarn through the middle of the lid, went around several times, then cut the yarn, removed it from the lid, put a strip of yarn below and then I tied it in the middle, with the scissors I cut the sides and the hair was ready, I placed silicone in the middle and glued it behind the eyes of the puppet.
Come with me to see the final result.

Resultado Final.
End Result.
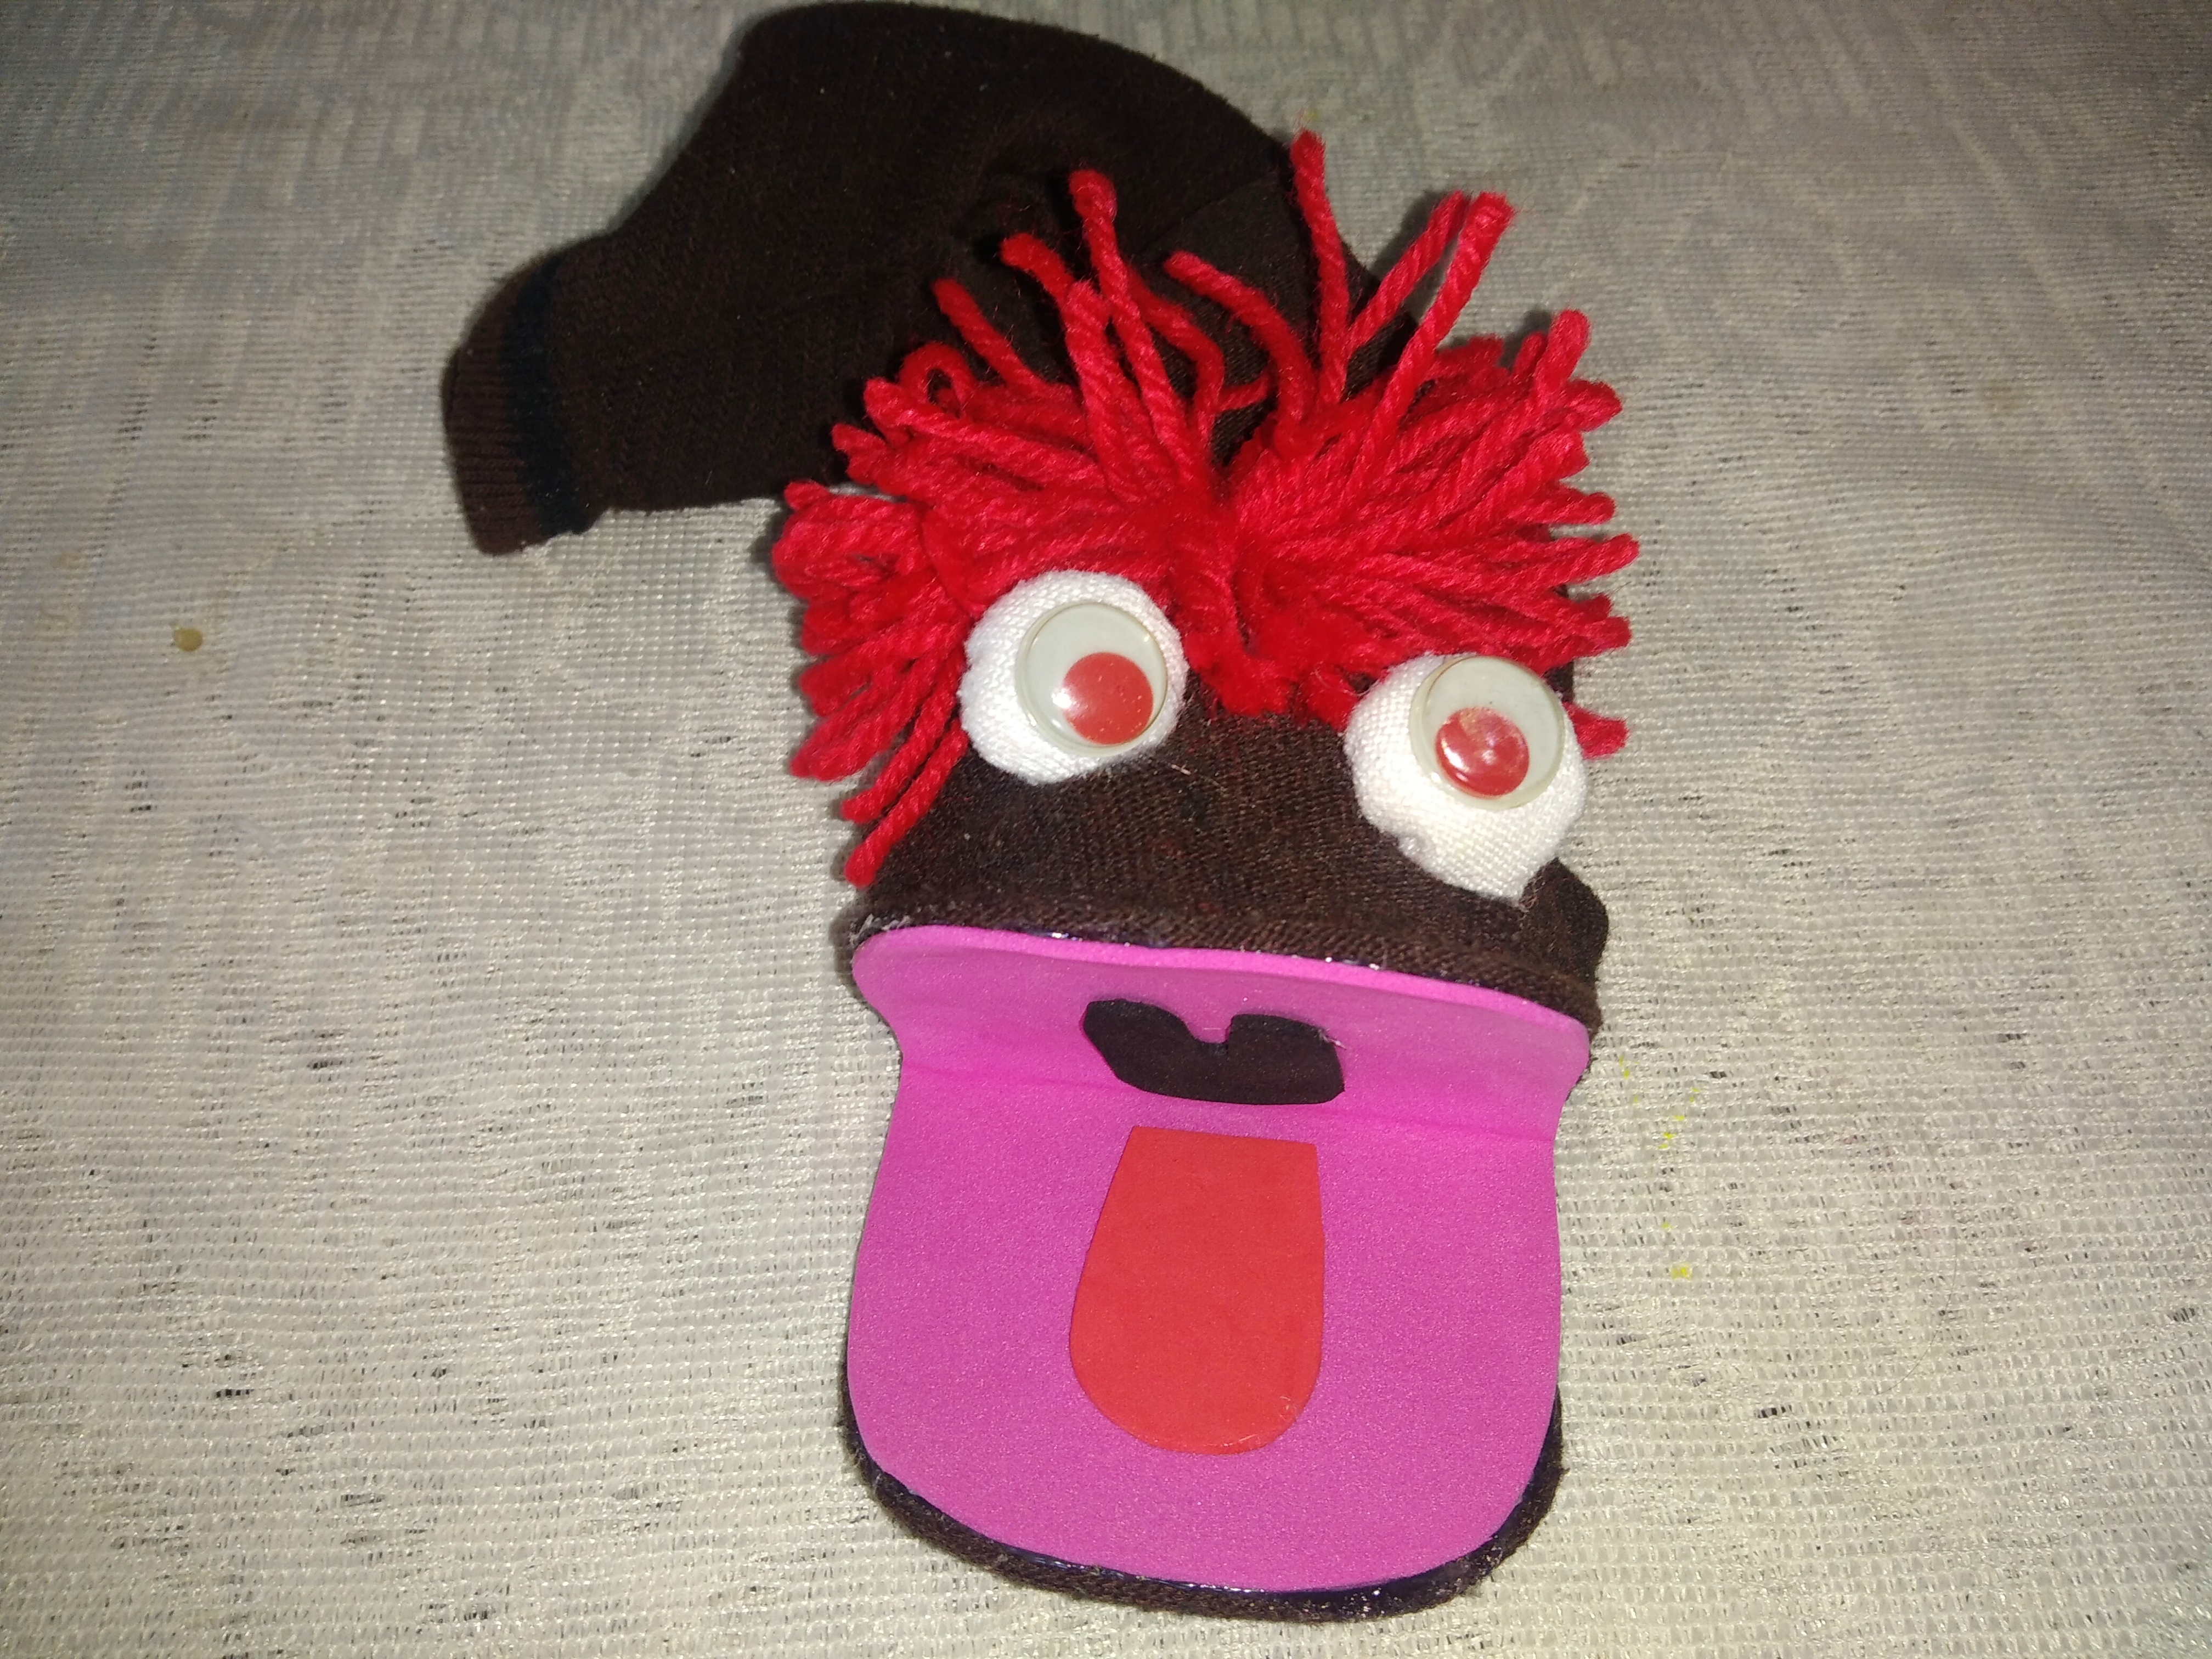
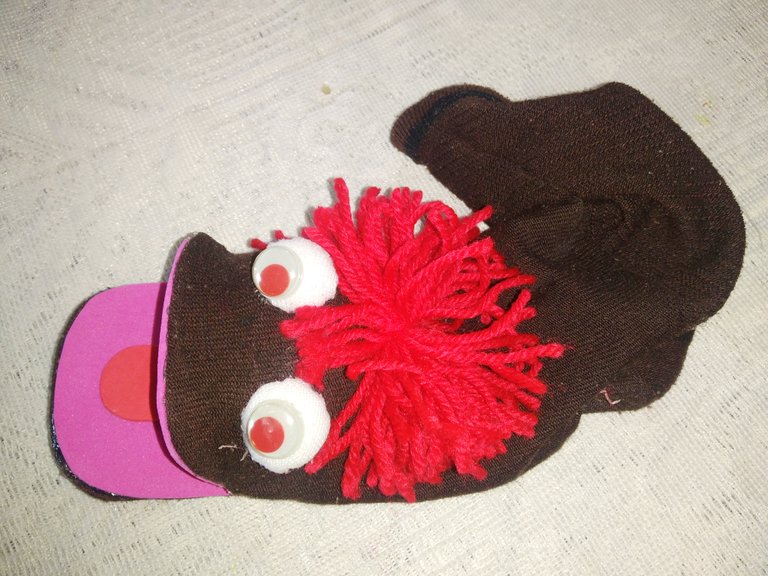
Hivers friends, as we already know, buying a toy for our children in a toy store is a luxury nowadays, I join the Diy movement that brings many benefits to our lives and that of our family as they are saving, the development of creativity, educating our children to be innovative.
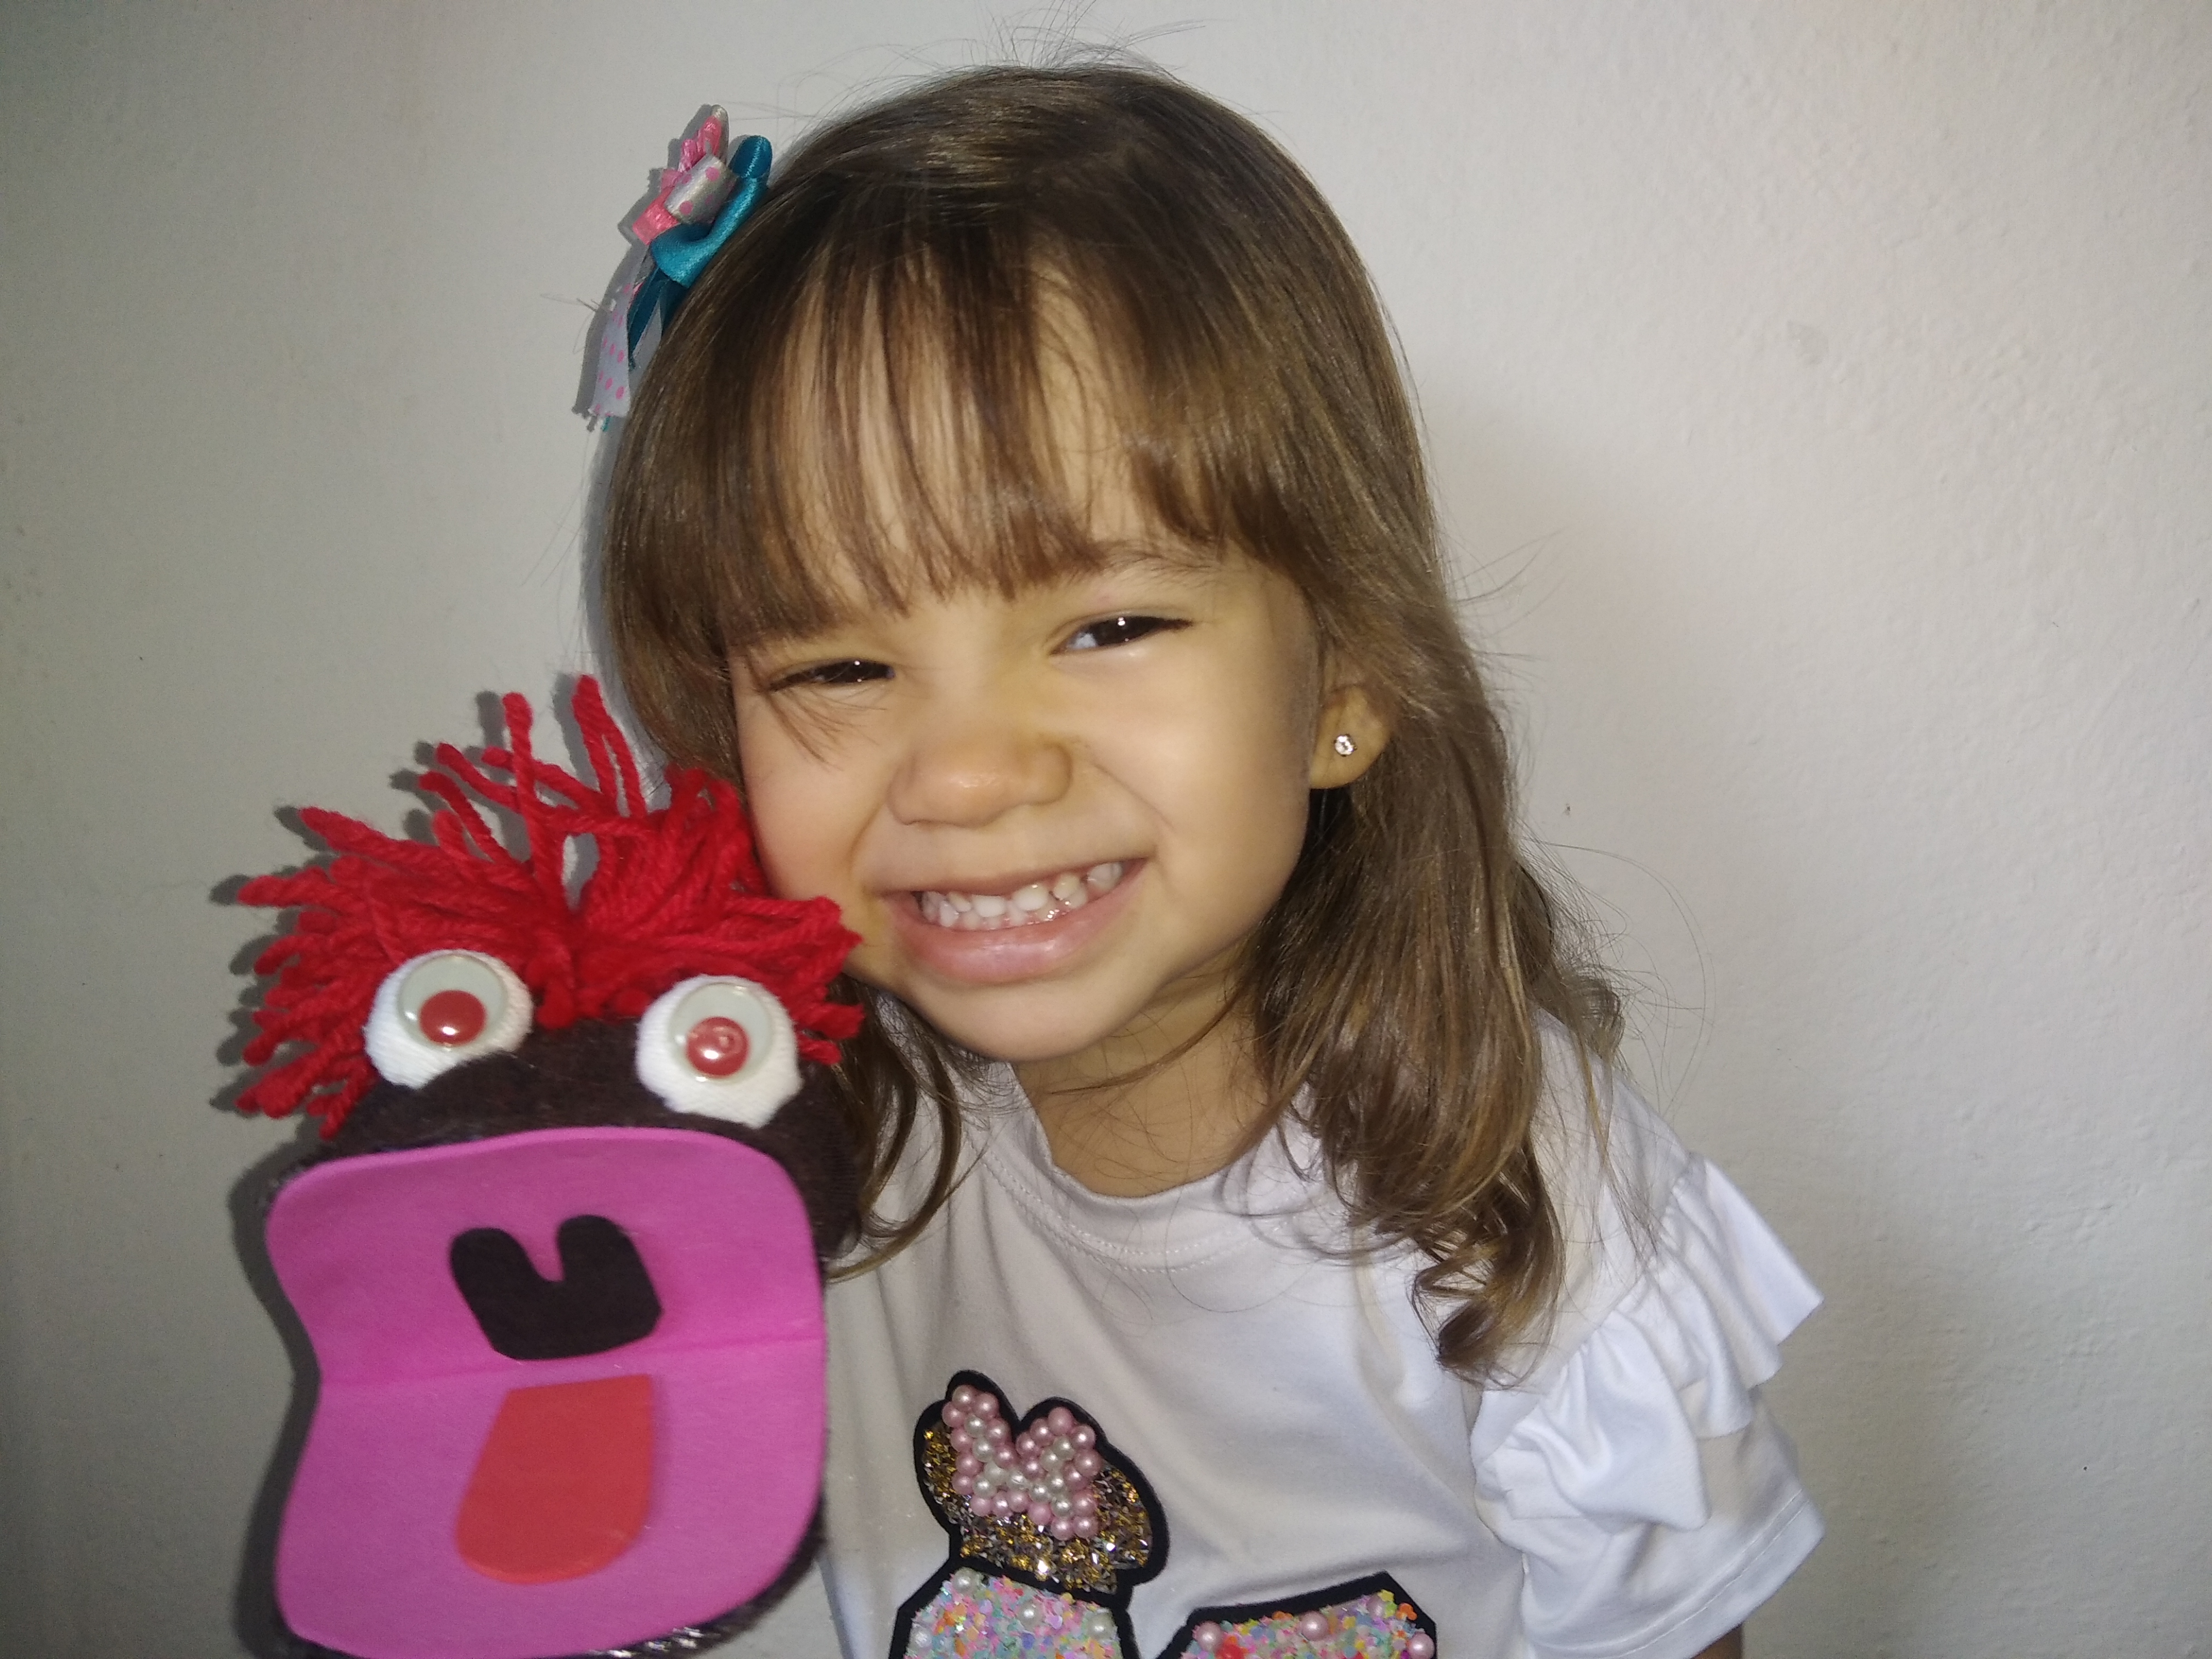
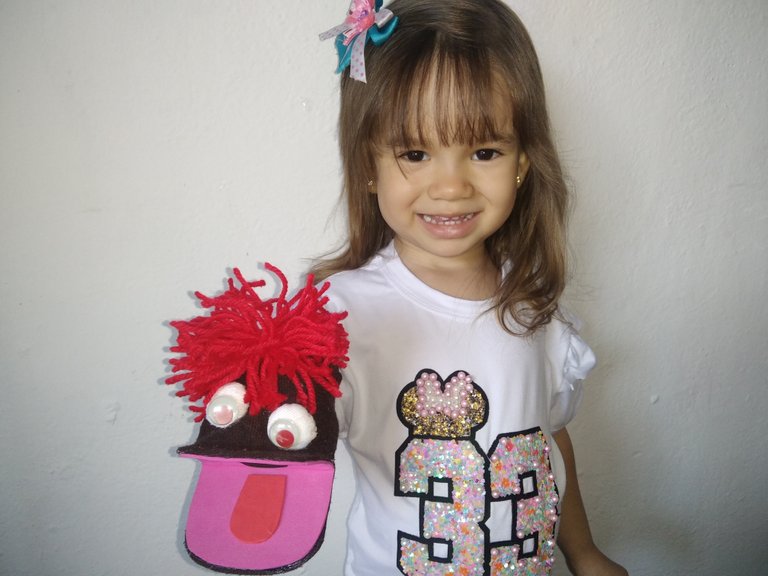
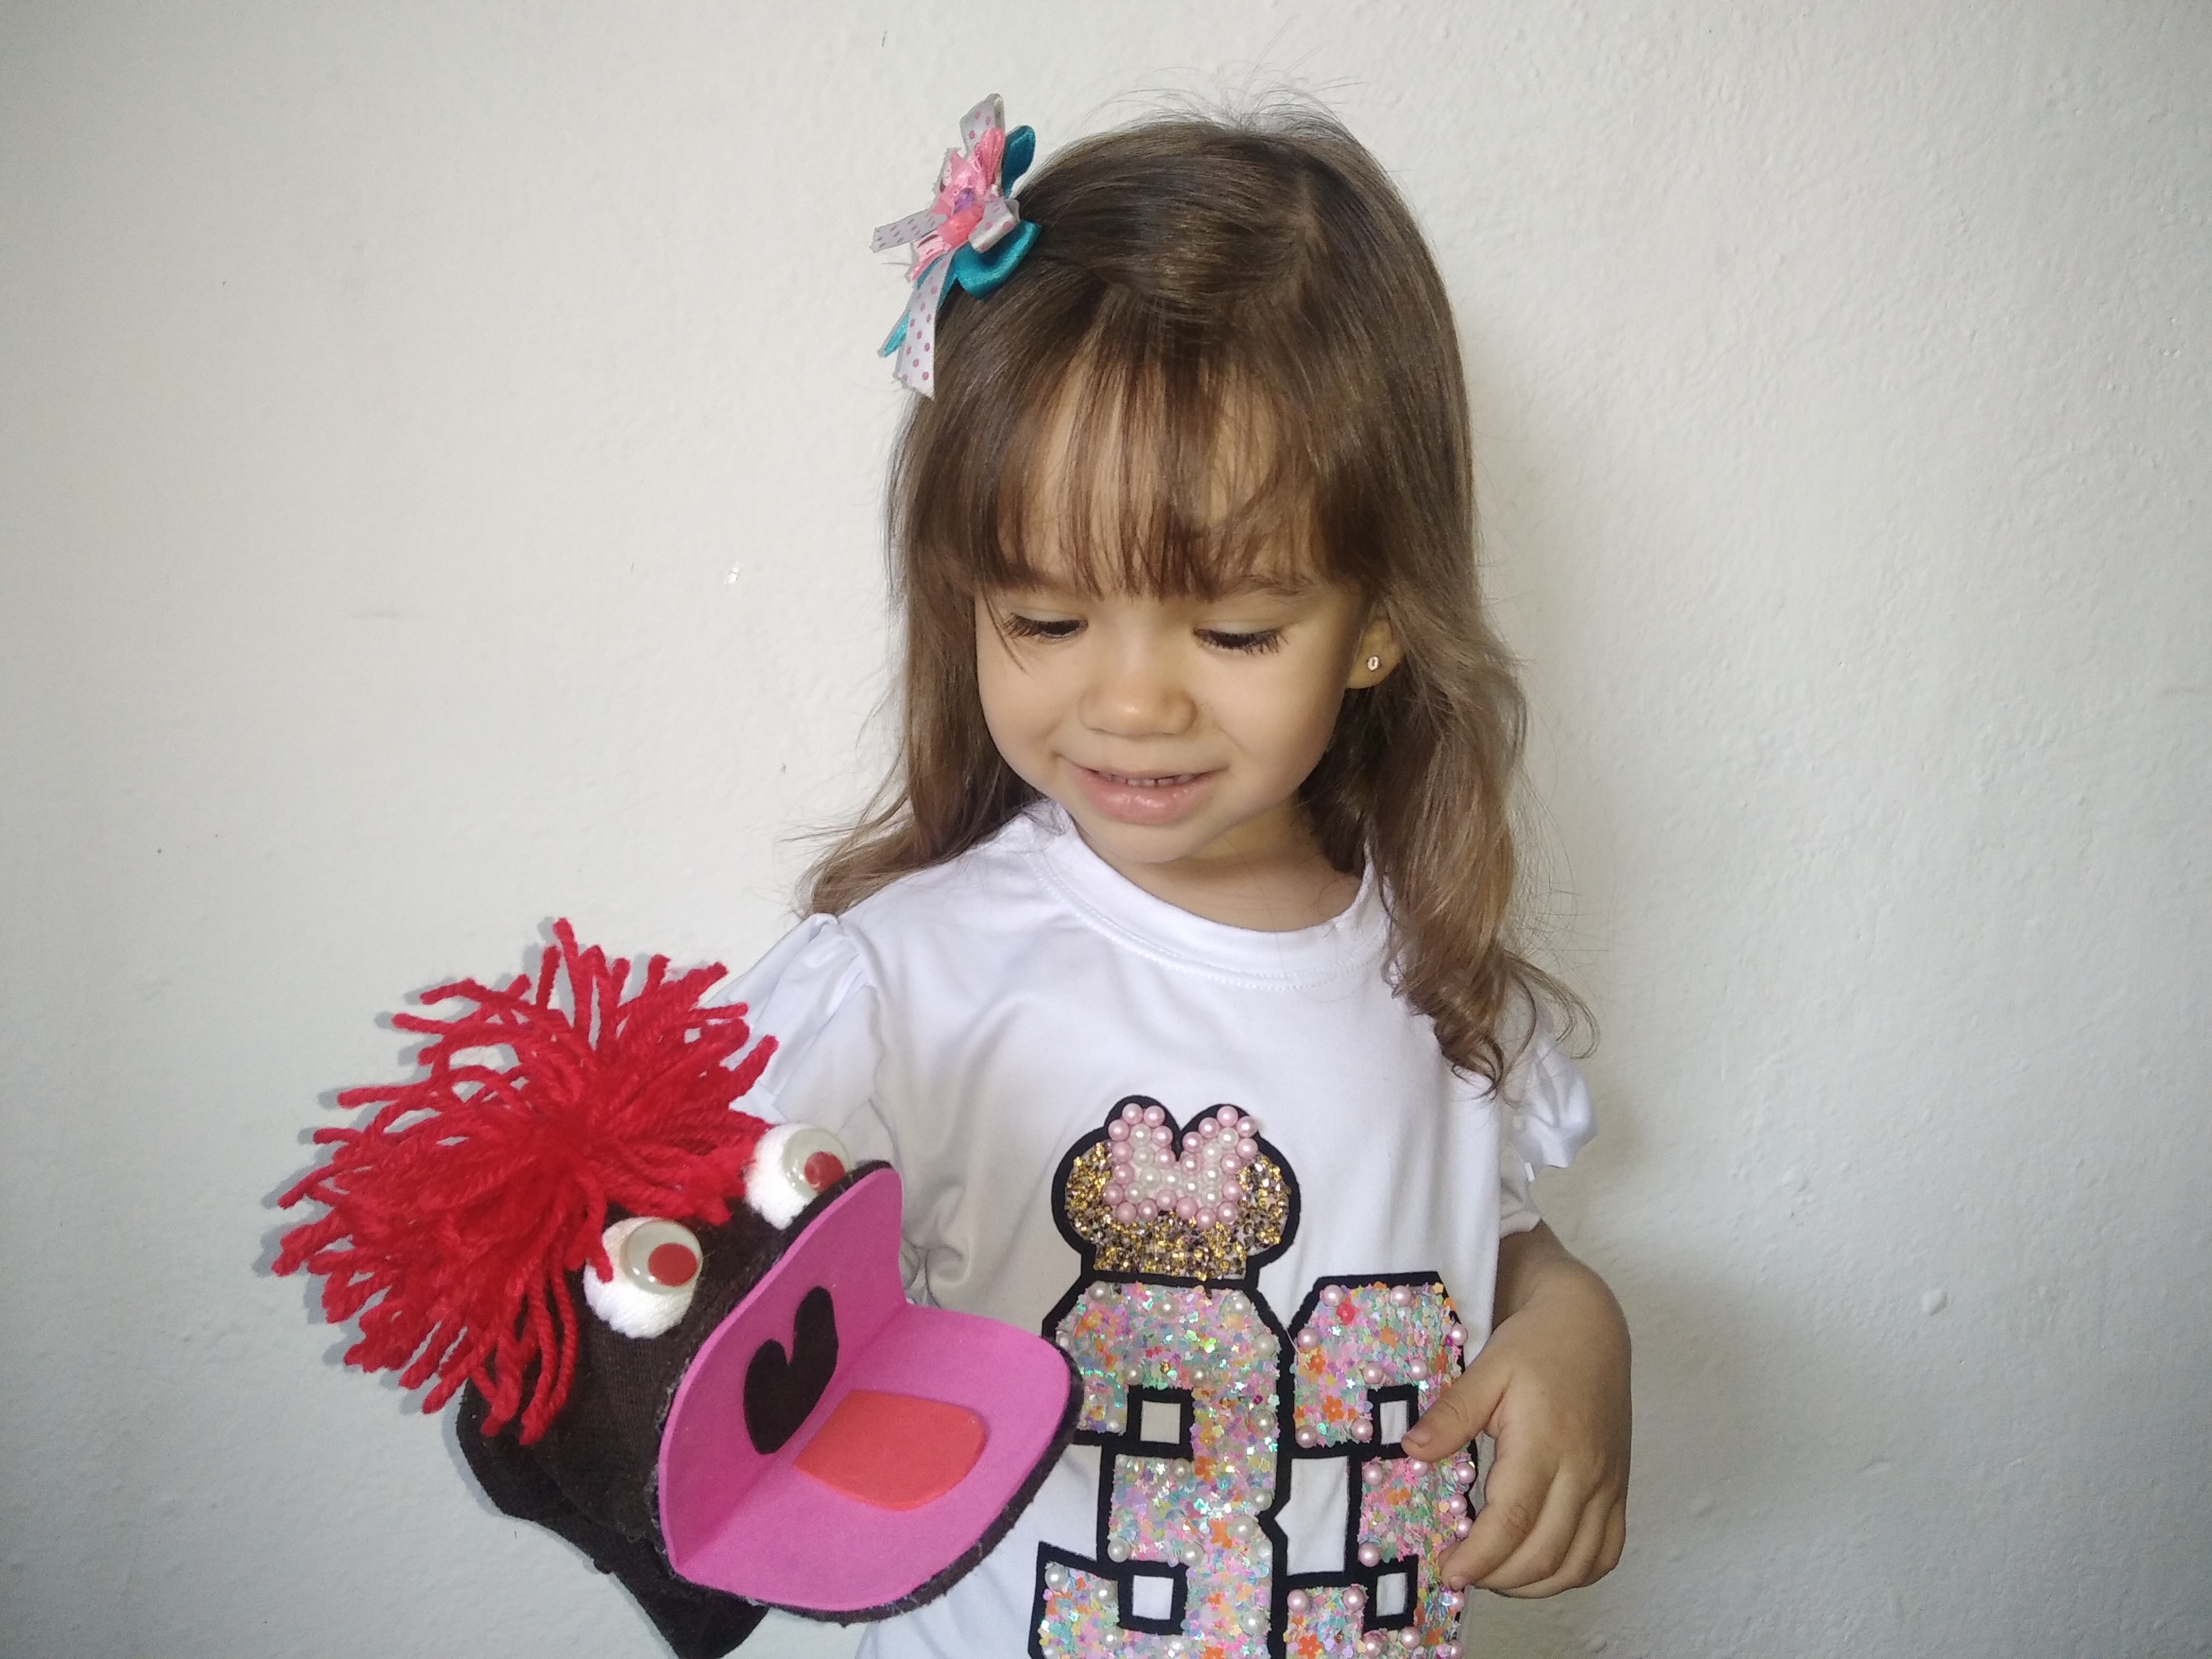
Well friends for now I say goodbye, I hope you like this cute and fun puppet, let's continue creating and in this way we support doing it ourselves. Thanks to the friends who read and comment on me, it is very important to me.

Nos vemos pronto en otra manualidad.👩🎨
See you soon in another craft.👩🎨
