Un saludo a todos. Hoy vengo con una nueva manualidad que no es muy complicada, es realmente bonita y da un gran toque de originalidad; con propósito de mi trabajo especial de grado, hice un birrete rosado como parte de la decoración y hoy quiero compartirlo con ustedes para que creen nuevas ideas a partir de esta, llenas de creatividad y estilo.
English Version
Greetings to all. Today I come with a new craft that is not very complicated, it is really pretty and gives a great touch of originality; for the purpose of my special degree work, I made a pink biretta as part of the decoration and today I want to share it with you so that you can create new ideas from this one, full of creativity and style.
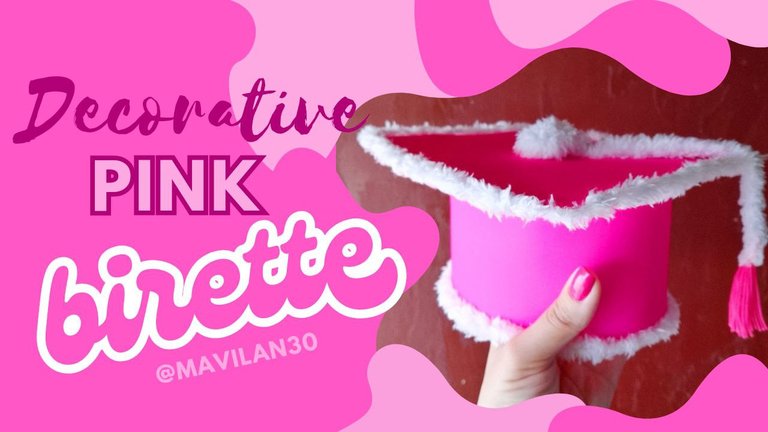
Imagen creada por mí en Canva / Image created by me in Canva
Materiales:
- Cartulina doble faz (del color de tu preferencia)
- Lápiz
- Tijeras
- Pegamento
- Tela de peluche
- Regla
- Silicón caliente
Procedimiento:
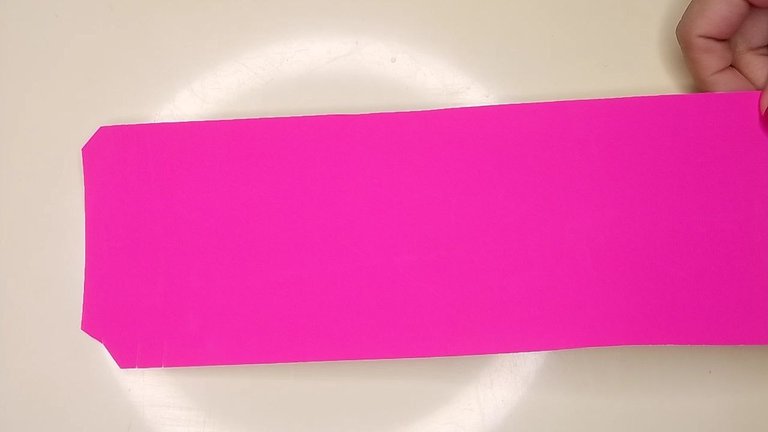
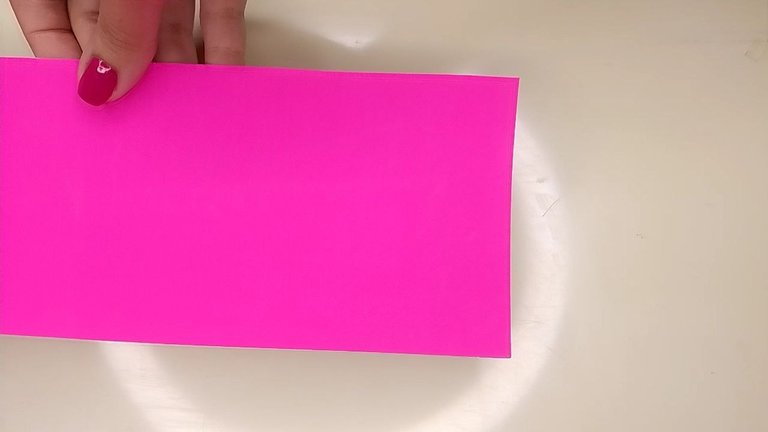
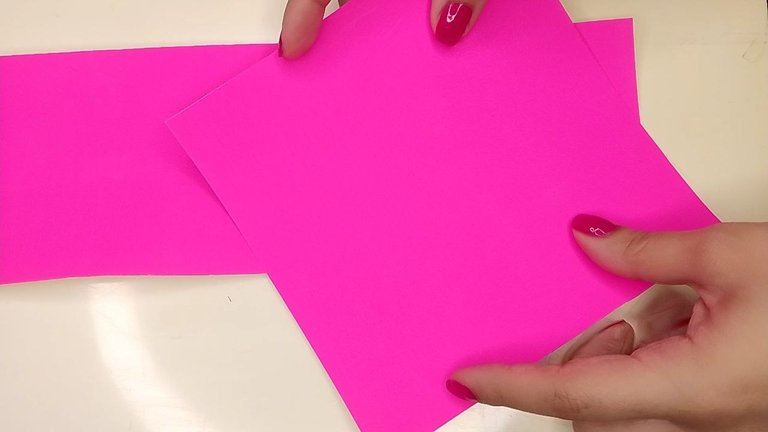
Iniciamos recortando un rectángulo cuya altura y largo dependerá del tamaño que desees tu birrete. Recuerda recortar una pestaña de uno de los extremos para facilitar el proceso al momento de pegar ambos lados. También recorta un par de cuadrados los suficientemente grandes para que quepa el cilindro que formará el rectángulo. Por supuesto, estas piezas las hemos trazado primero con ayuda del lápiz y la regla.
English VersionMaterials:
- Double-sided poster board (in the color of your choice)
- Pencil
- Scissors
- Glue
- Plush fabric
- Ruler
- Hot glue
Procedure:
We start by cutting out a rectangle whose height and length will depend on the size you want your biretta. Remember to cut a flange from one of the ends to make the process easier when gluing both sides. Also cut out a couple of squares large enough to fit the cylinder that will form the rectangle. Of course, we have traced these pieces first with the help of a pencil and ruler.
 |  |  |
|---|
En el lado más largo del rectángulo, haz pequeños cortes (de la misma altura todos) a distancias cortas, estos harán permitirán adherir esta pieza al cuadrado.
English Version
On the longer side of the rectangle, make small cuts (all of the same height) at short distances, these will allow you to adhere this piece to the square.
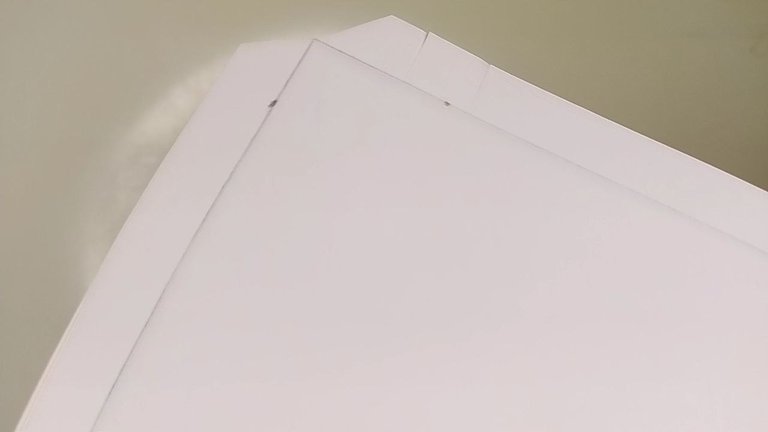
Haciendo cortes pequeños / Making small cuts
Añadiendo un poco del pegamento en la pestaña del extremo más angosto y esparciéndola uniformemente con un pincel o algún otro elemento, procedemos a pegar ambos lados. Sujeta bien por unos segundos con tus dedos para que no se separen luego, ya que esta cartulina tiende a volver a su posición original si no se espera lo suficiente.
English Version
Adding a little of the glue on the narrow end tab and spreading it evenly with a brush or some other element, we proceed to glue both sides. Hold well for a few seconds with your fingers so that they do not separate later, as this cardboard tends to return to its original position if you do not wait long enough.
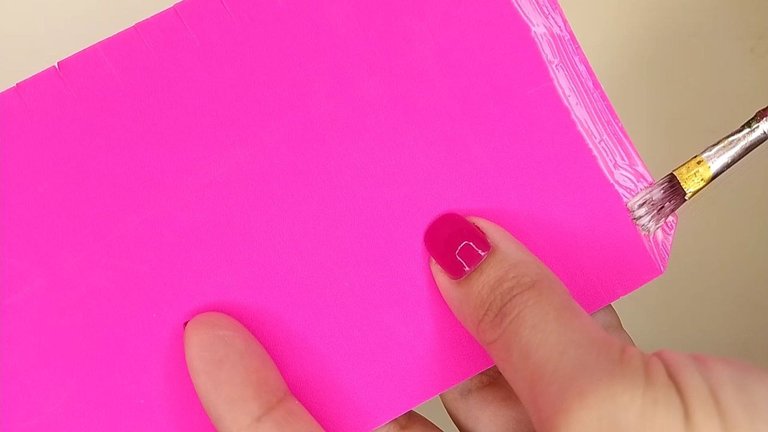 | 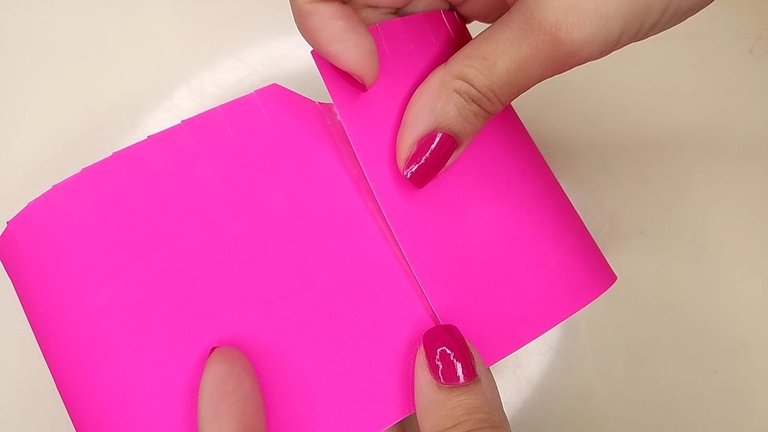 |
|---|
En este punto, el cilindro ya estaría listo, por lo que es momento de doblar todos esos cortes pequeños que hicimos anteriormente y así poder pegar a la siguiente pieza.
English Version
At this point, the cylinder would be ready, so it's time to fold all those small cuts we made earlier so we can glue it to the next piece.
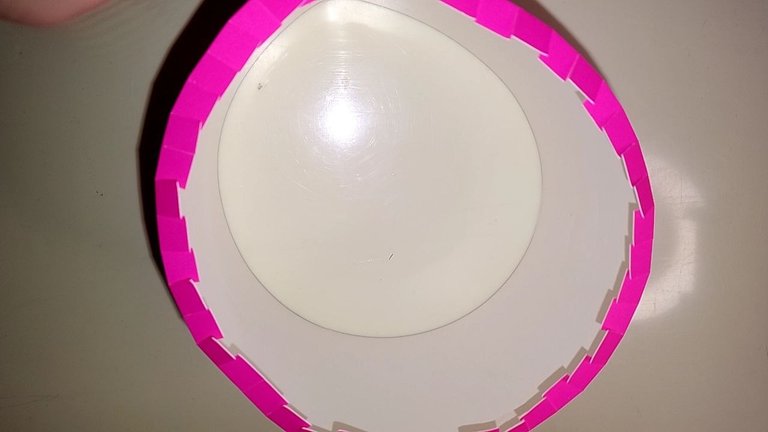
Pestañas pequeñas dobladas / Small bent eyelashes
Esparciendo una vez más pegamento, pero ahora sobre la superficie interna de una de los cuadrados, pegaremos con su igual, de modo que le de rigidez a esta pieza y por lo tanto mayor estabilidad a todo el conjunto. Yo lo he dejado bajo unos libros pesados unos minutos para asegurarme de que no se despegaran.
English Version
Spreading glue once again, but now on the inner surface of one of the squares, we will glue with its equal, so that it gives rigidity to this piece and therefore greater stability to the whole assembly. I have left it under some heavy books for a few minutes to make sure that they do not peel off.
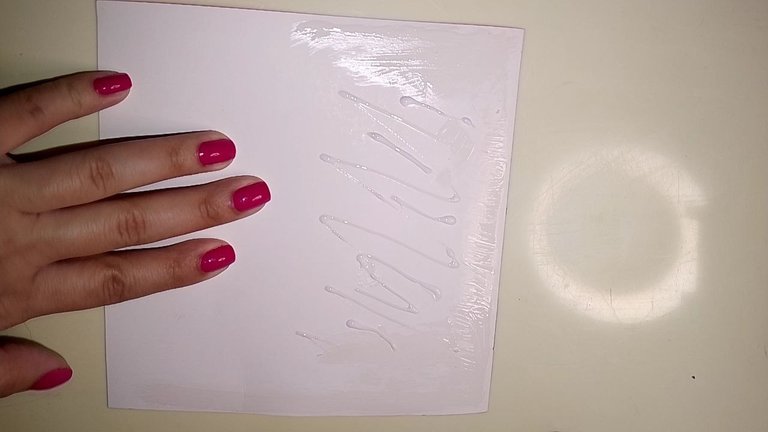
Añadiendo pegamento al cuadrado / Adding glue to the square
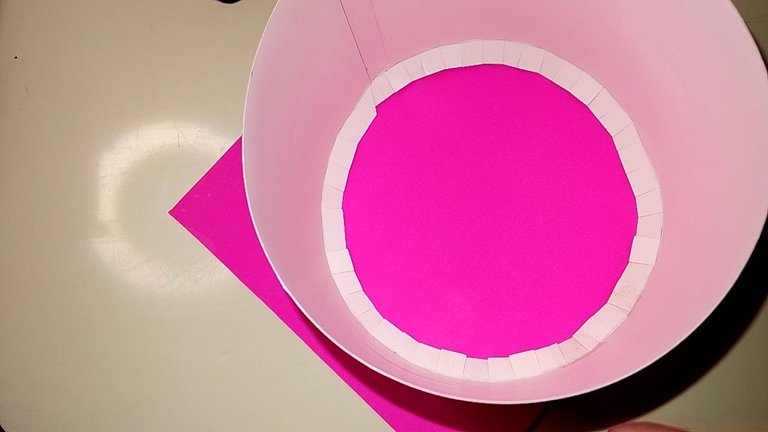
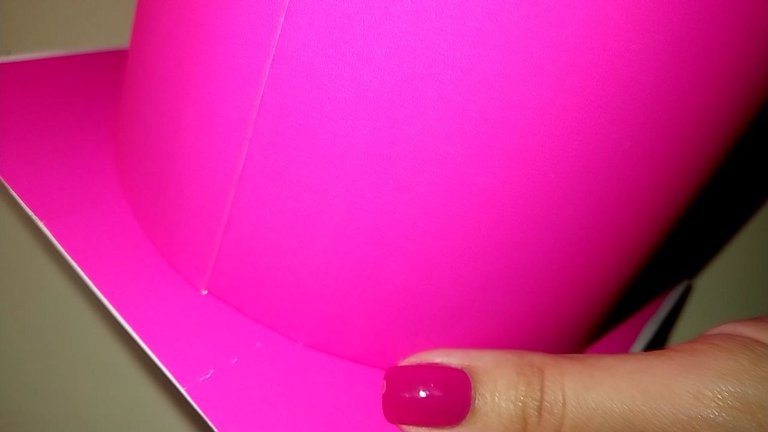
Cuando ya estuvo seco, con algo más de pegamento blanco, uní el cilindro y la pieza superior, logrando así la estructura principal del birrete.
English Version
When it was dry, with some more white glue, I joined the cylinder and the top piece, thus achieving the main structure of the biretta.
 |  |
|---|
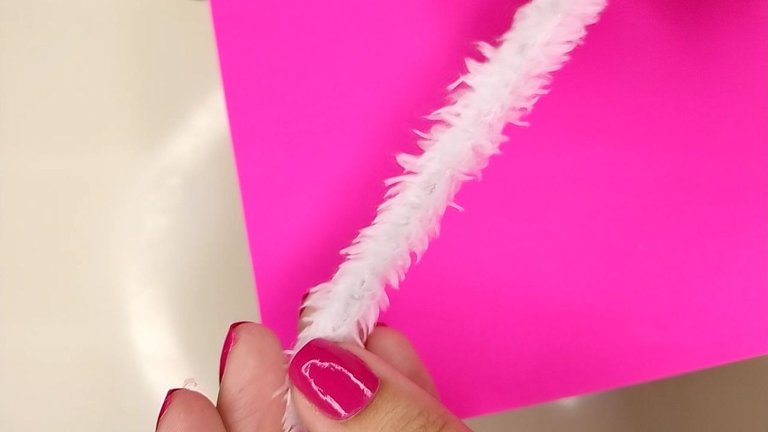
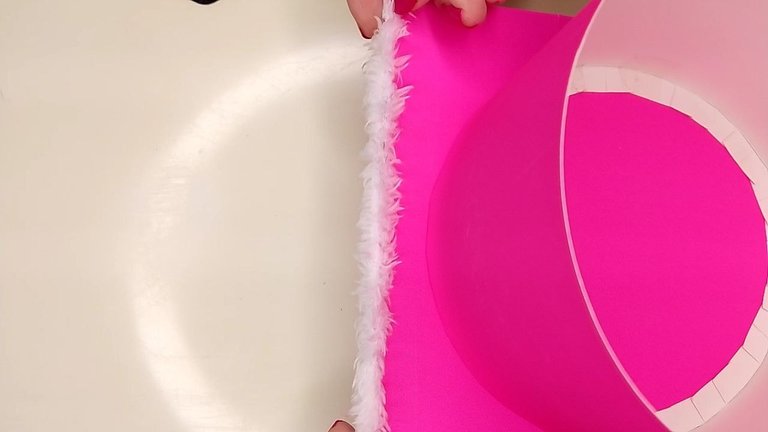
Por supuesto, esto no era suficiente para mí (risas), yo quería estilo, algo diferente, así que tomé un poco de la tela de peluche y recorté una tira fina de unos dos centímetros, la estiré un poco para que tomara esa posición como de cordón y con silicón caliente la pegué por todos los bordes.
English Version
Of course, this was not enough for me (laughs), I wanted style, something different, so I took some of the plush fabric and cut out a thin strip of about two centimeters, stretched it a bit so that it took that lace-like position and with hot silicone I glued it all around the edges.
 |  |
|---|
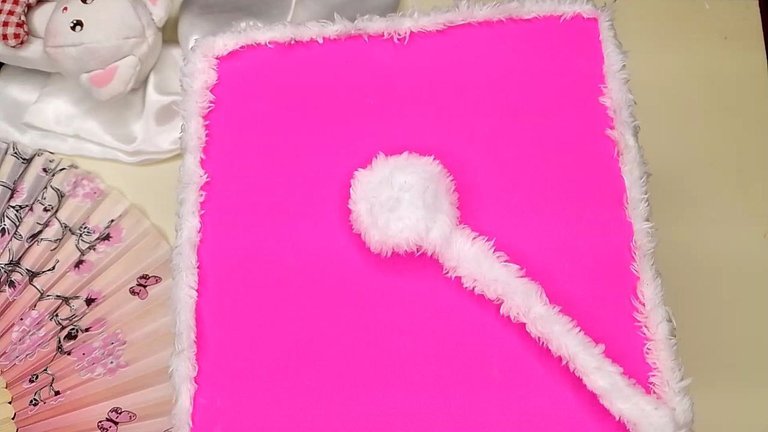
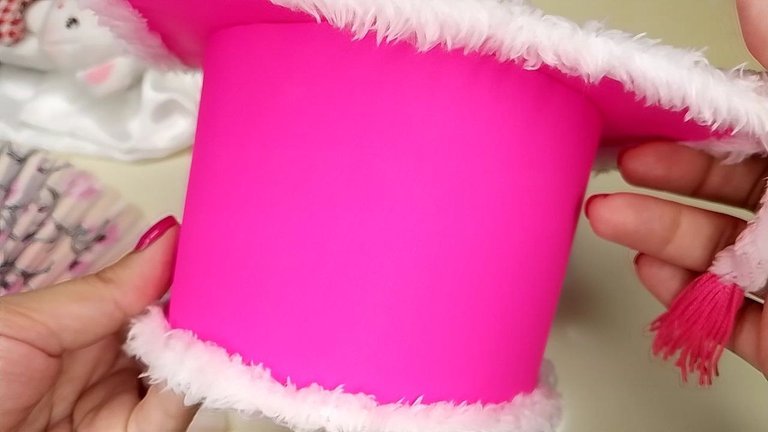
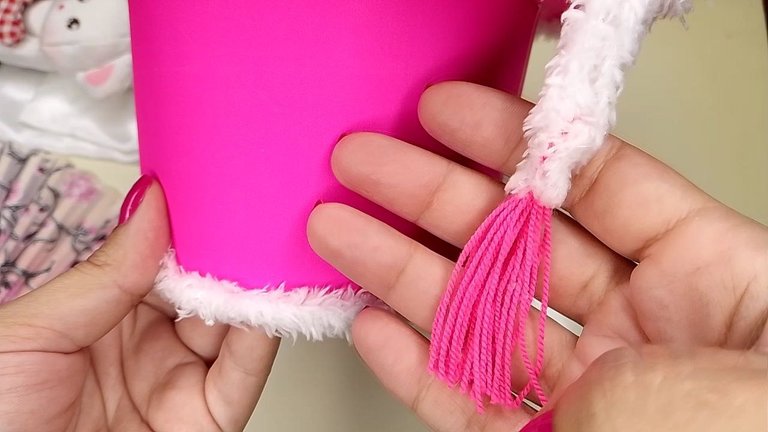
También quise hacer la cinta que cuelga con esta tela, por lo que para el centro lo que hice fue pegar la punta de la tira y empezar a girar el resto alrededor y asegurando con silicón caliente cada tanto, lo que dio un efecto de pompón y al extremo que cuelga le he agregado una pequeña borla que hice de hilo fucsia, esta también la adherí con silicón caliente.
English Version
I also wanted to make the ribbon that hangs with this fabric, so for the center what I did was to glue the tip of the strip and start twisting the rest around and securing with hot silicone every now and then, which gave a pompom effect and to the end that hangs I have added a small tassel that I made of fuchsia thread, this I also adhered with hot silicone.
 |  |  |
|---|
Este ha sido el resultado final:
English Version
This was the final result:
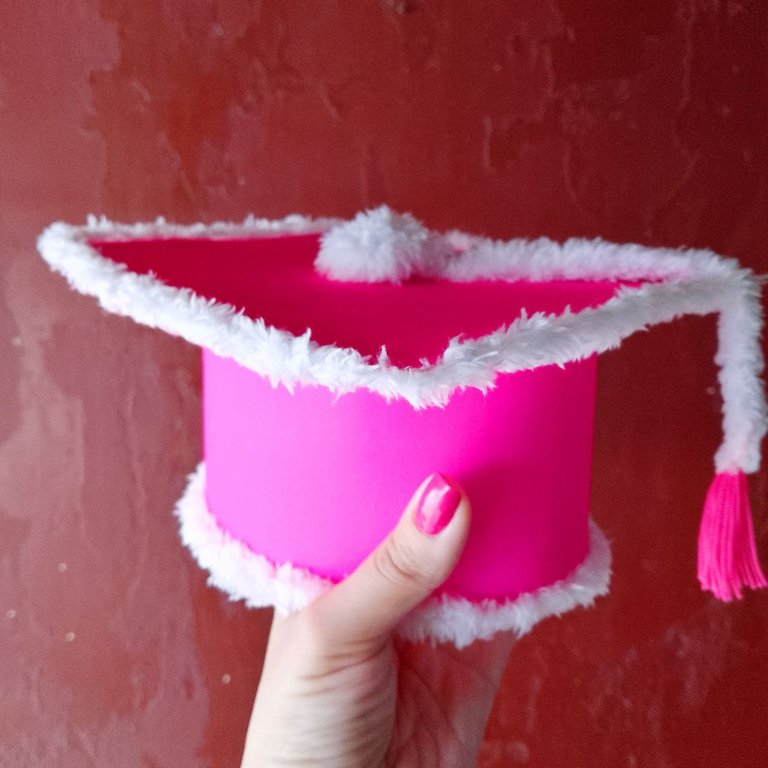
Resultado final / Final result
Comentarios finales:
Pienso que esta manualidad es realmente versátil, porque cada quien puede agregarle su toque personal, que va desde la elección de color para el birrete hasta los elementos para decorarlos, pienso que perfectamente el pompón de arriba podría sustituirse por un lazo coquette por ejemplo y se vería genial o tal vez agregar algún patrón de figuras a la cartulina o escritos significativos para el graduando, las posibilidades en verdad son infinitas.
Además, dependiendo el tamaño en que se haga puede tener distintas utilidades, puede ser en tamaño real y usarlo en una fiesta, o como decoración como fue mi caso, pero también pueden ser pequeños como tapa de alguna cajita o un topper de algún regalo.
Final comments:
I think this craft is really versatile, because everyone can add their personal touch, ranging from the choice of color for the cap to the elements to decorate them, I think that perfectly the pompom on top could be replaced by a coquette bow for example and it would look great or maybe add some pattern of figures to the cardboard or meaningful writings for the graduate, the possibilities are really endless.
Also, depending on the size in which it is made it can have different uses, it can be in real size and use it at a party, or as decoration as was my case, but they can also be small as a lid for a box or a topper for a gift.
Si quieres saber cómo se vio con el resto de la decoración, puedes ver mi post anterior My thesys defense (esp/eng)
¿Te gustaría saber cómo hace un topper para torta con tema de graduando? Puedes verlo en Making a graduating topper (eng/esp)
English Version
If you want to know how it looked with the rest of the decoration, you can see my previous post My thesys defense (esp/eng).
Would you like to know how to make a graduating themed cake topper? You can see it in Making a graduating topper (eng/eng)
Fotografías propias, tomadas con mi Tecno Spark 10C.
Traducido al inglés con DeepL. English Version
Own photographs, taken with my Tecno Spark 10C.
Translated to English with DeepL.

Banner creado por mí en Canva / Banner made by me in Canva


