Greetings to all. Today I bring a new design of floral tendrils where the protagonist is the blue color. What I like most about this model is that although the blue is the most striking, it makes a very nice balance with the other colors of the leaves, other flowers and the same white base. Don't miss this interesting process and learn how to make your own floral tendrils with cold porcelain.
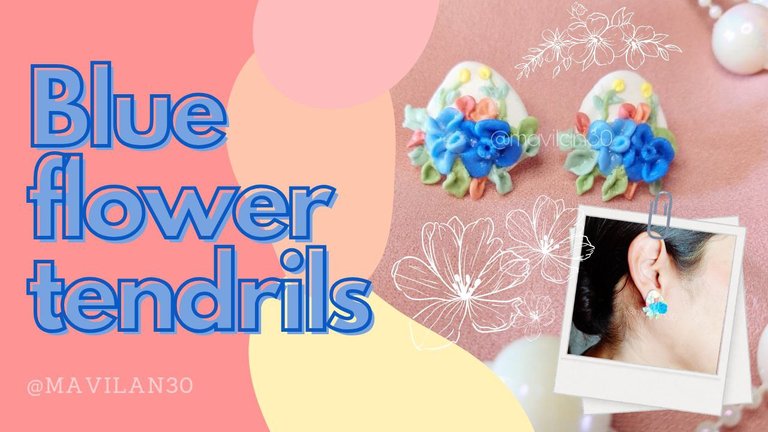
Imagen creada por mí en Canva / Image created by me in Canva
Materiales:
- Porcelana fría
- Pintura al frío (para teñir la porcelana fría)
- Regla
- Aceite
- Cúter
- Herramientas como palillos, agujas o pinceles
- Pegamento blanco escolar
- Lápiz
- Papel
Procedimiento:
Iniciamos con un boceto, yo lo he hecho con lápiz de grafito y papel bond. Mi idea inicial era que en la parte inferior estuviesen dos flores grandes y que de ellas salieran pequeñas ramificaciones y hojas.
English VersionMaterials:
- Cold porcelain
- Cold paint (for staining the cold porcelain)
- Ruler
- Oil
- Cutter
- Tools such as toothpicks, needles or paintbrushes
- White school glue
- Pencil
- Paper
Procedure:
We start with a sketch, I made it with graphite pencil and bond paper. My initial idea was that in the lower part there would be two big flowers and that from them would come out small branches and leaves.
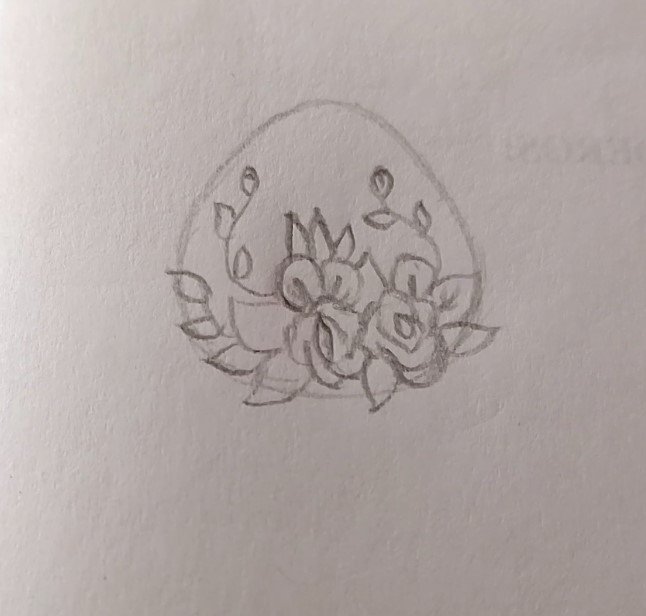
Boceto / sketch
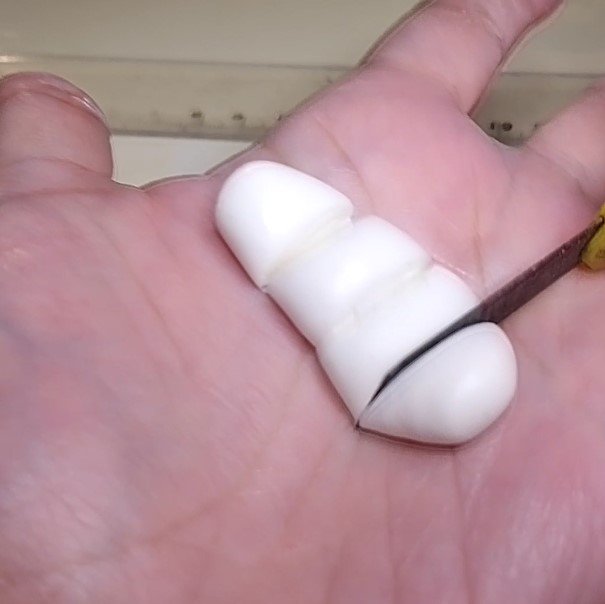
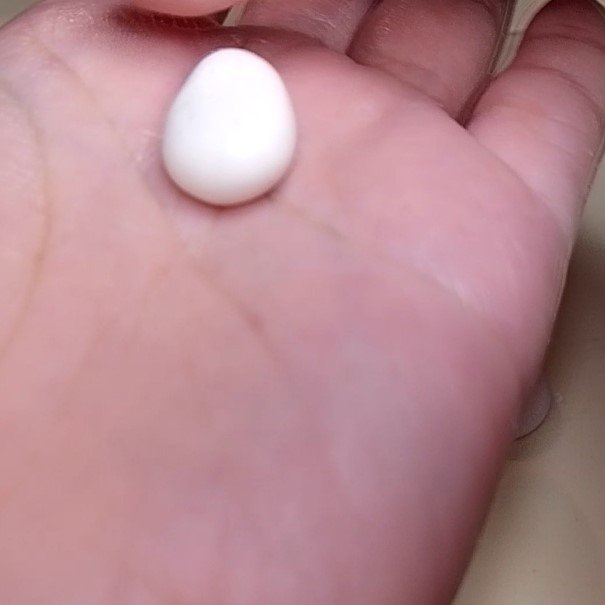
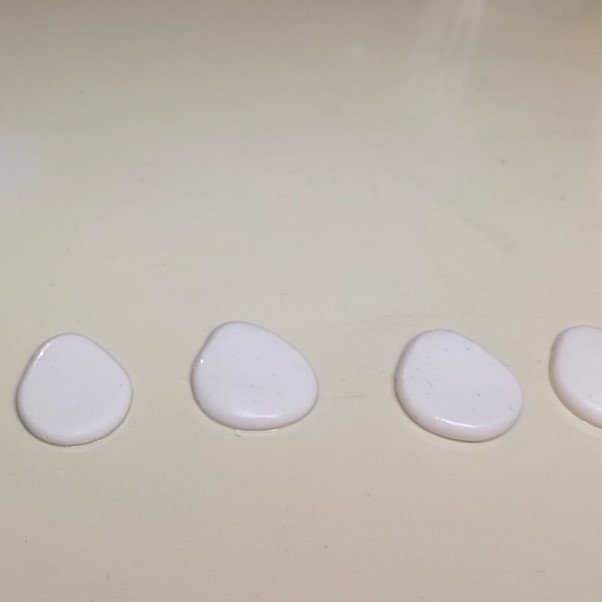
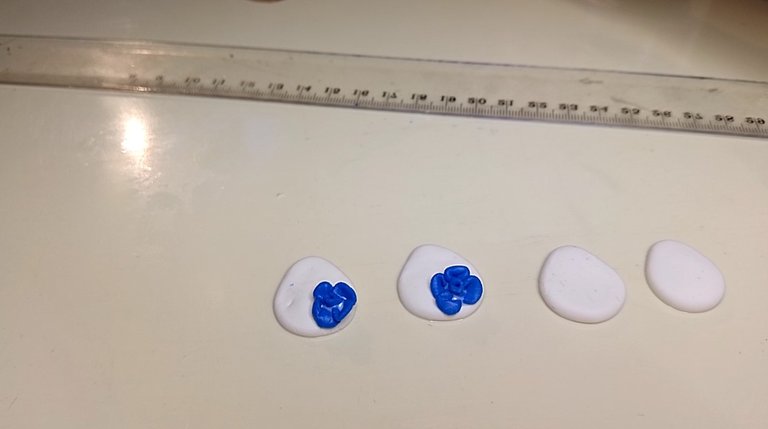
Así que procedemos con lo que será la base del zarcillo. Elegí color blanco para poder emplear todos los colores que deseaba y además para que no les robara protagonismo a las flores. Así que tomo cuatro porciones iguales (cuatro, porque haría dos pares de zarcillos diferentes, pero hoy solo les mostraré uno de los modelos), a cada porción le doy forma de gota y los coloco sobre la superficie de trabajo previamente enaceitada para evitar que se adhiera el material. Finalmente aplano estas formas con ayuda de la regla que también ha sido enaceitada.
English Version
So we proceed with what will be the base of the tendril. I chose white so that I could use all the colors I wanted and also so that it would not steal the limelight from the flowers. So I take four equal portions (four, because I would make two different pairs of tendrils, but today I will only show you one of the models), I give each portion a drop shape and place them on the work surface previously oiled to prevent the material from sticking. Finally I flatten these shapes with the help of the ruler that has also been oiled.
 |  |  |
|---|
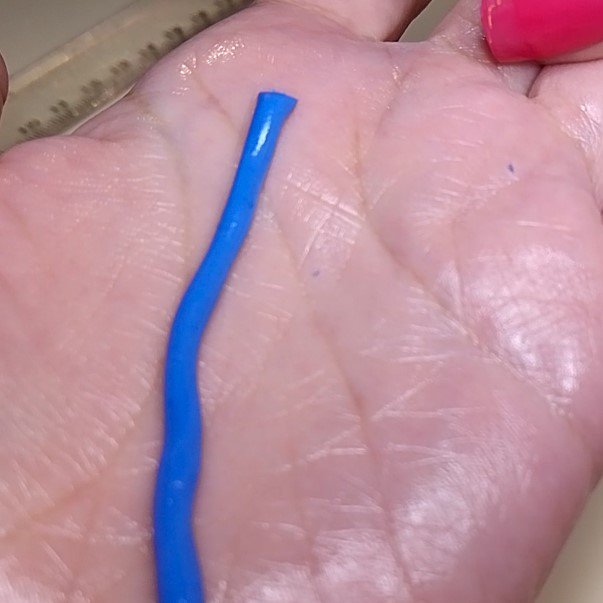
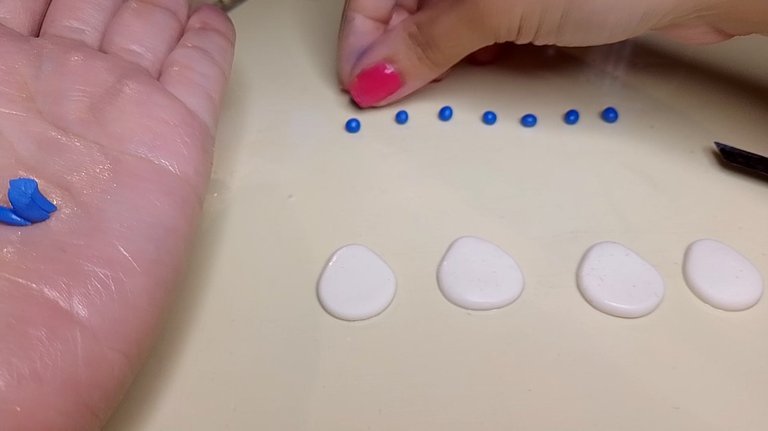
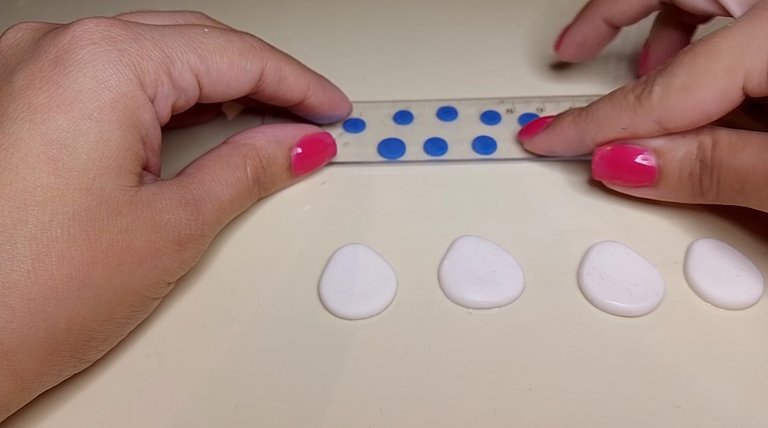
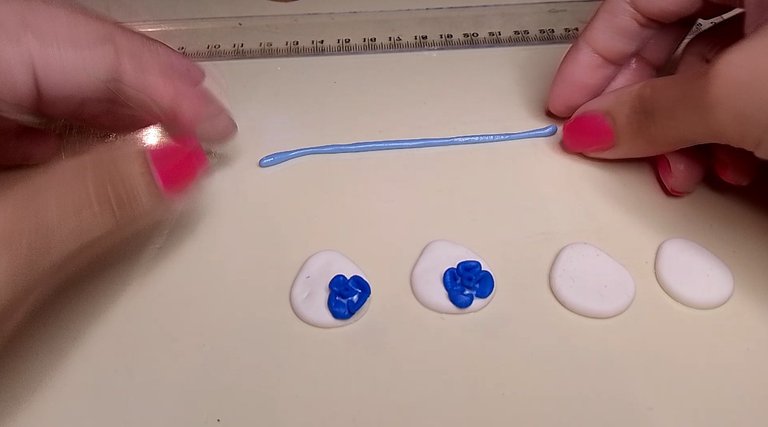
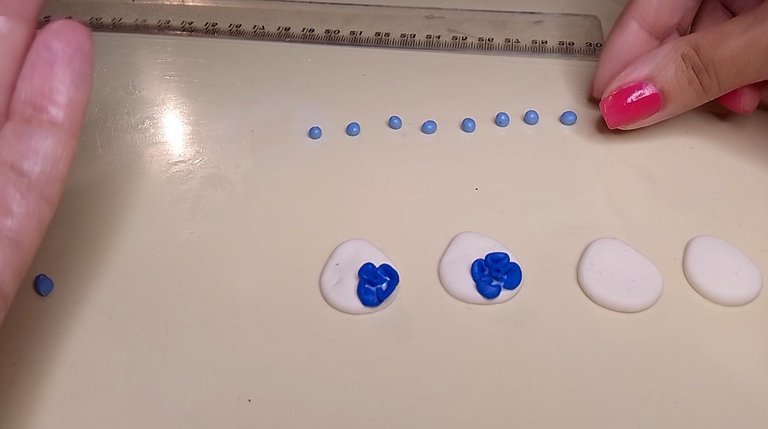
Ahora, haremos la primera de las flores principales, una de un azul muy llamativo. Para ello, haremos un cilindro delgado, lo dividiremos en pequeñas porciones y éstas, las volveremos esferitas que aplanaremos con la regla.
English Version
Now, we will make the first of the main flowers, a very striking blue one. To do this, we will make a thin cylinder, divide it into small portions and turn them into little spheres that we will flatten with the ruler.
 |  |  |
|---|
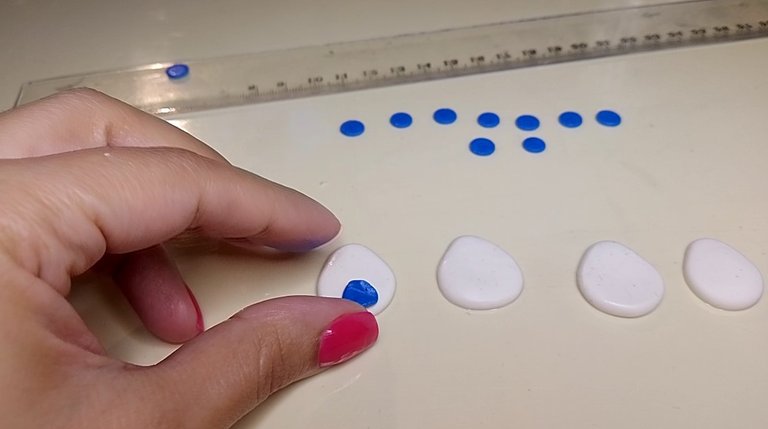
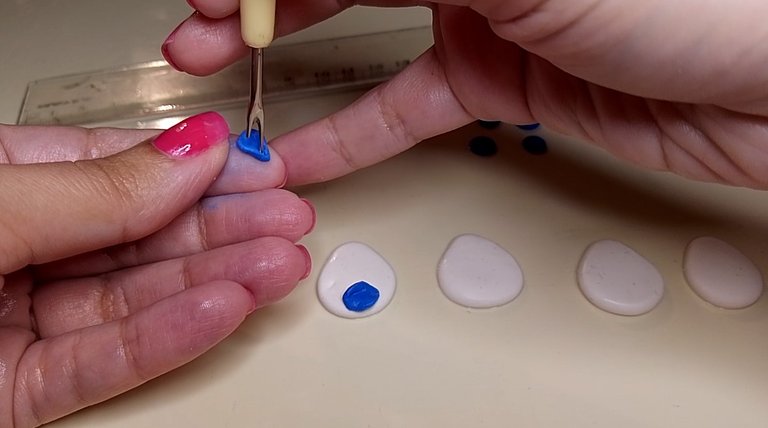
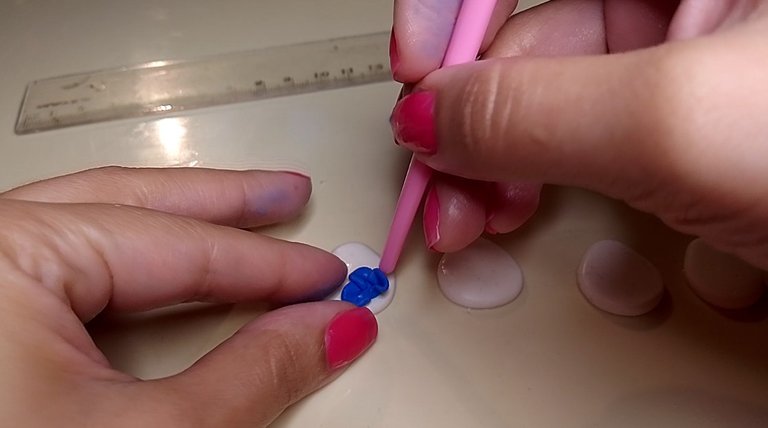
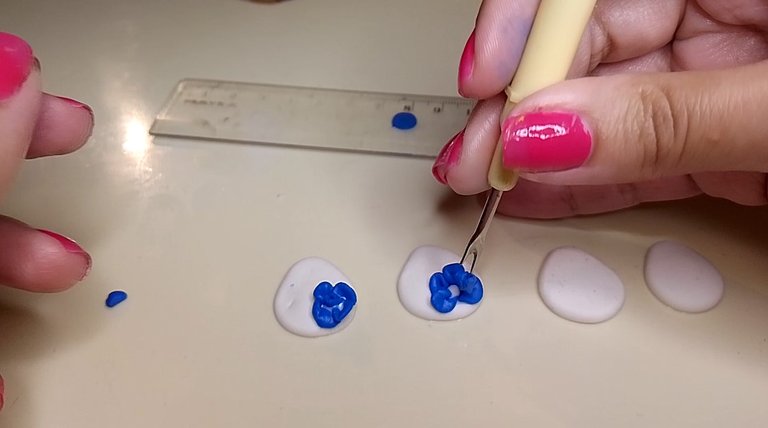
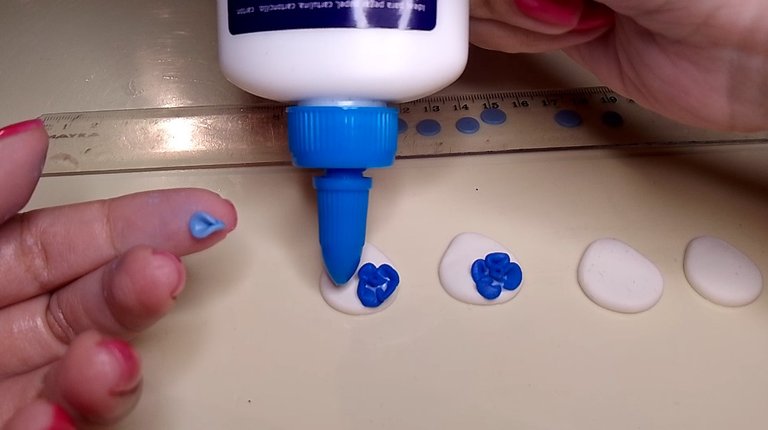
Tomaremos uno de los círculos planos, presionaremos con los dedos juntando un poco uno de sus lados y lo posicionaremos donde deseamos en la base blanca, donde habremos colocado un poco de pegamento previamente. Repetiremos esto cuatro veces, formando una flor de cuatro pétalos. Para el centro de la flor, añadiremos un poco de pegamento y tomando uno de los círculos planos, le daremos una forma como “envolviéndose a sí mismo”, de modo que quedará un poco como un cono de helado y con ayuda de una aguja o palillo o similar, lo adherimos al centro de la flor. Esto lo haremos para ambas piezas.
English Version
We will take one of the flat circles, press one of its sides together with our fingers and place it where we want it on the white base, where we will have previously put some glue. Repeat this four times, forming a flower with four petals. For the center of the flower, we will add a little glue and taking one of the flat circles, we will give it a shape like “wrapping itself”, so that it will be a bit like an ice cream cone and with the help of a needle or toothpick or similar, we will adhere it to the center of the flower. We will do this for both pieces.
 |  |  |  |
|---|
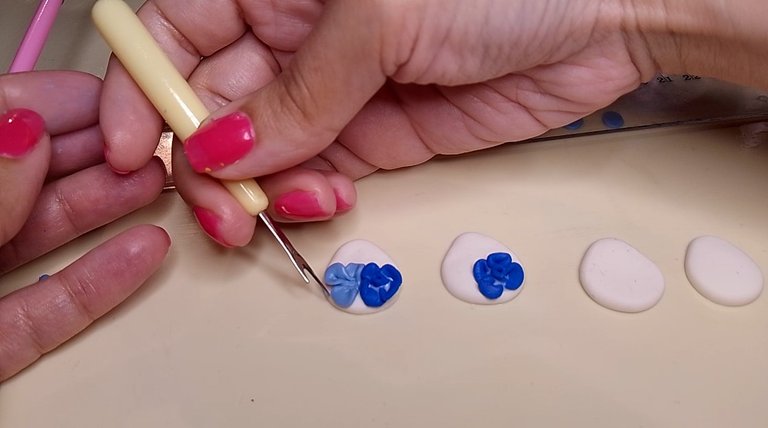
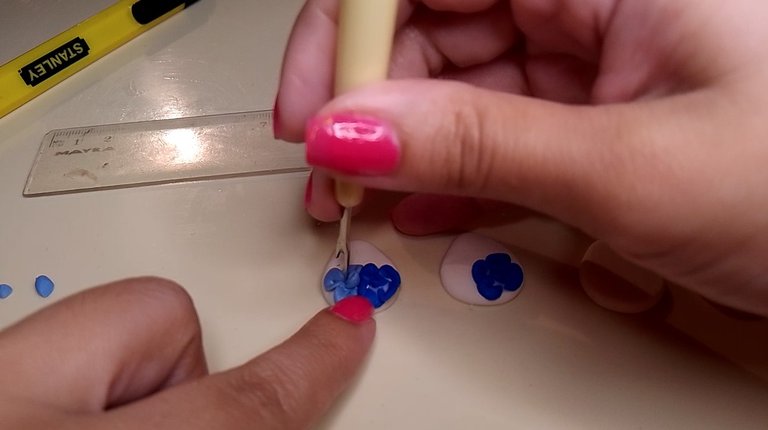
También colocaremos una flor de un azul más claro junto a la primera, seguiremos el mismo proceso anterior, pero esta solo tendrá tres pétalos y su centro, puesto que se desea crear el efecto de que el cuarto pétalo se encuentra tras la primera flor.
English Version
We will also place a lighter blue flower next to the first one, following the same process as before, but this one will only have three petals and its center, since we want to create the effect that the fourth petal is behind the first flower.
 |  |  |  |  |  |
|---|
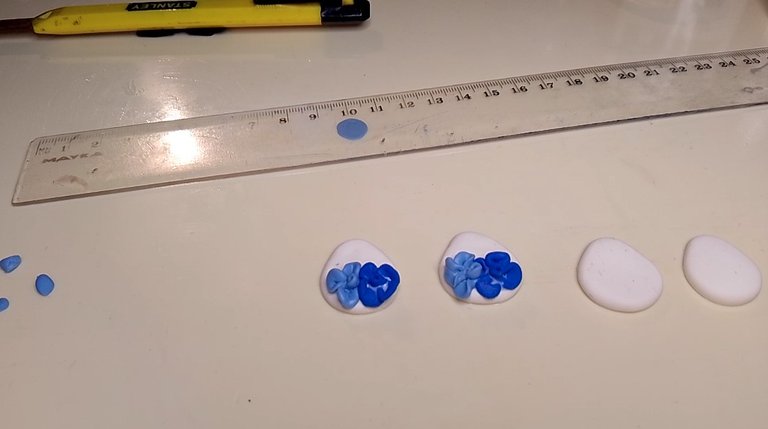
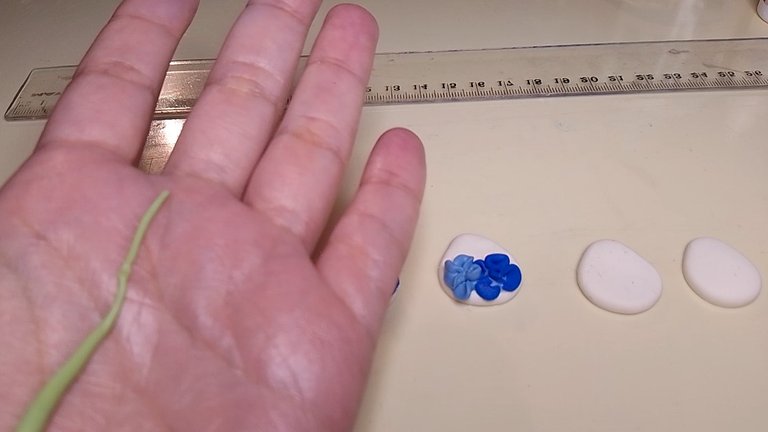
Es momento de crear algunas ramificaciones y para ello elegí un color verde/amarillo. Así que daremos forma a la masa, haciendo una tira muy pero muy fina, puesto que el zarcillo es un elemento pequeño, cortamos la porción que necesitamos y añadiendo algo de pegamento en la superficie de la base, colocamos y acomodamos con ayuda del palillo (yo también estuve usando esa herramienta para cortar costuras, pero no recuerdo su nombre). Además, empecé a agregar hojas alrededor de las flores con este mismo verde.
English Version
It's time to create some ramifications and for this I chose a green/yellow color. So we will shape the dough, making a very very thin strip, since the tendril is a small element, we cut the portion we need and adding some glue on the surface of the base, we place and arrange with the help of the toothpick (I was also using that tool to cut seams, but I don't remember its name). In addition, I started to add leaves around the flowers with this same green.
 |  |
|---|
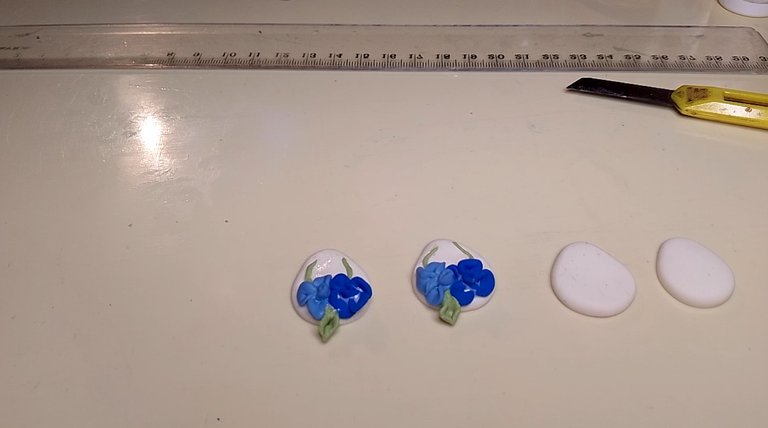
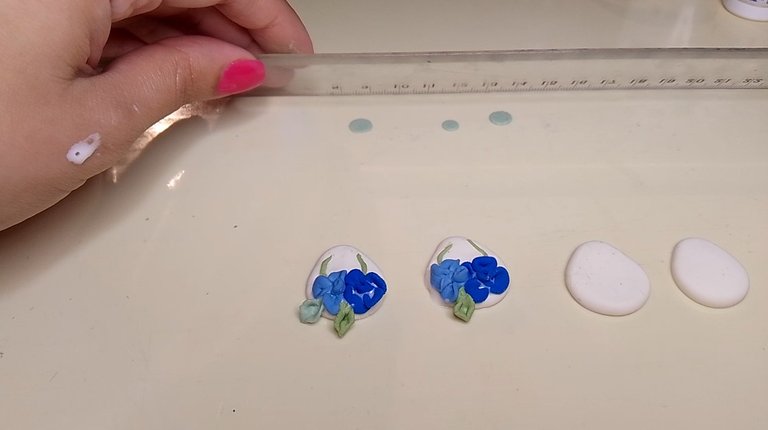
También añadí algunas hojas de otro tono de verde, uno más azulado. El procedimiento para hacer hojas es el mismo que usamos antes para hacer pétalos, solo que en este caso, juntamos no solo uno de los lados, si no también el extremo opuesto, de modo que logremos darle esa forma con picos característica de algunas hojas.
English Version
I also added some leaves in another shade of green, a more bluish one. The procedure to make leaves is the same as we used before to make petals, only in this case, we put together not only one of the sides, but also the opposite end, so that we get that spiky shape characteristic of some leaves.
 |  |
|---|
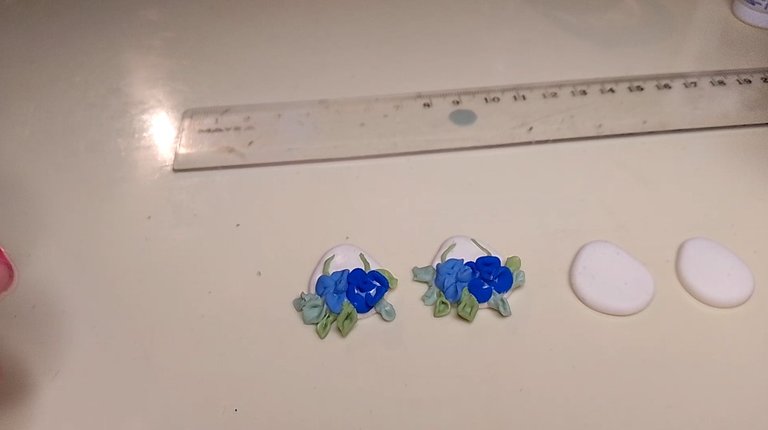
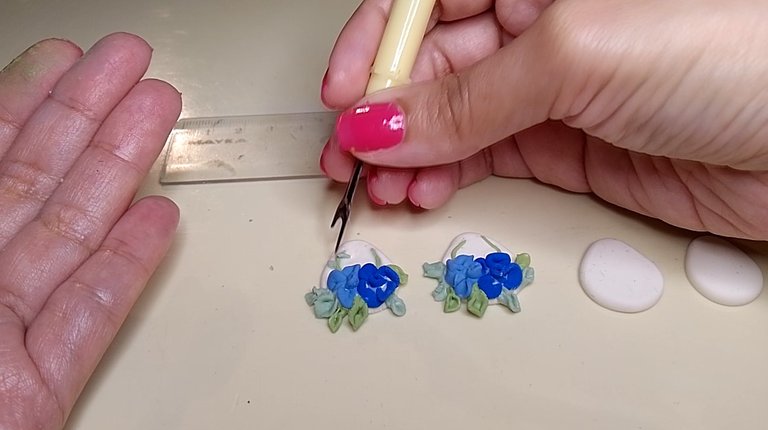
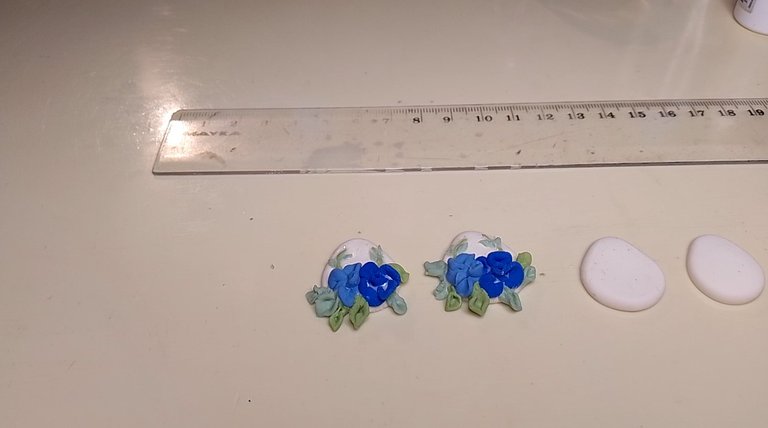
También quise agregar hojas diminutas a las ramificaciones. Para estas no hacemos el paso de aplanar con la regla porque son tan pequeñas que solo basta con darles la forma puntiaguda y presionarlas con la herramienta sobre el lugar donde deseamos que estén.
English Version
I also wanted to add tiny leaves to the branches. For these we don't do the flattening step with the ruler because they are so small that we just need to give them the pointed shape and press them with the tool on the place where we want them to be.
 |  |  |
|---|
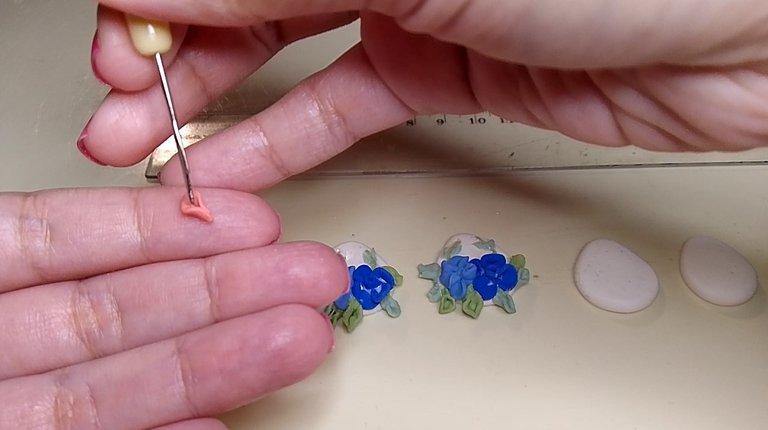
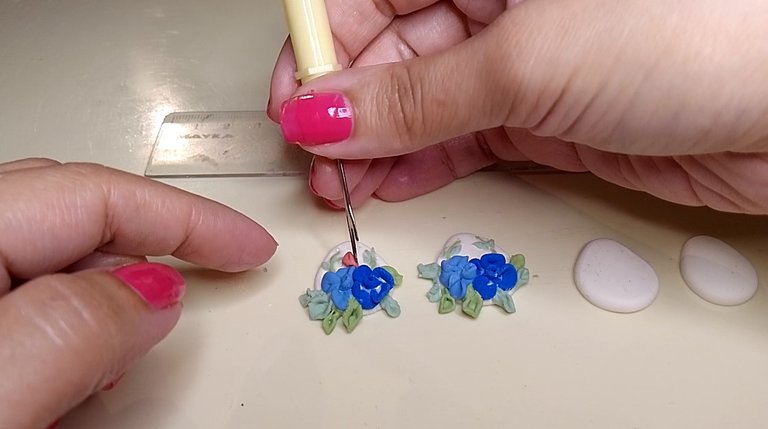
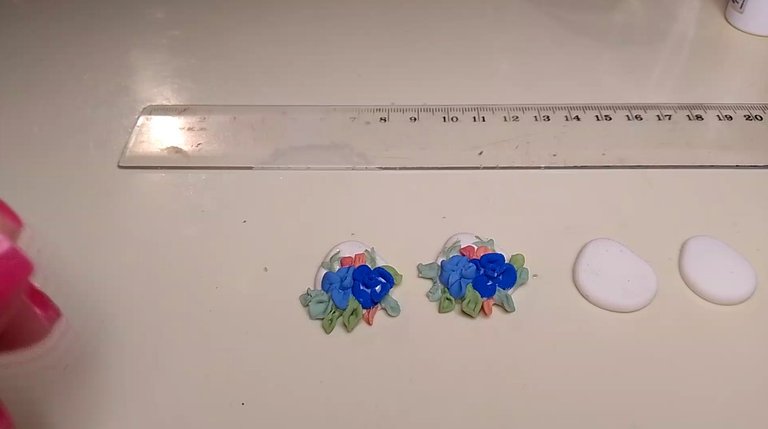
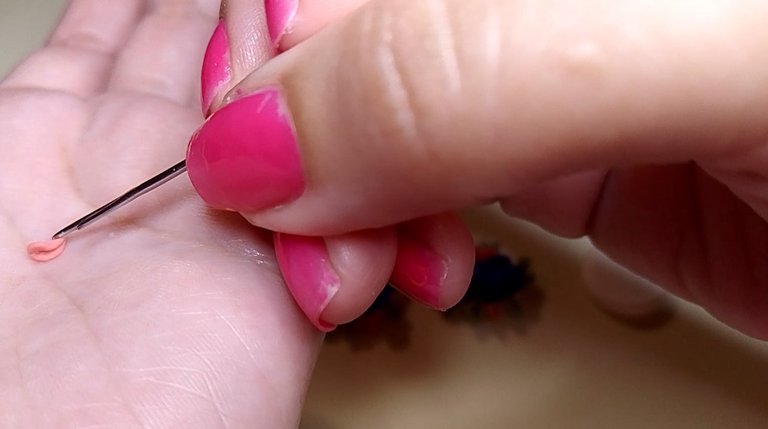
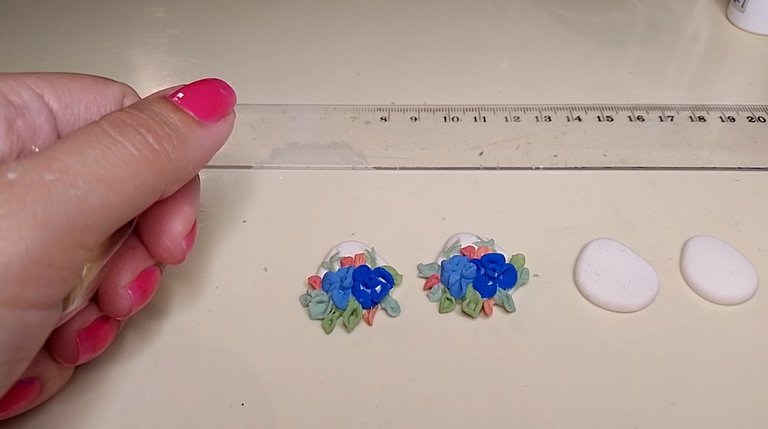
Siempre es bueno dar algunos toques de color extra, hace que todo resalte más, así que tomé dos tonos más, uno rojizo y otro más naranja y empecé a colocar pequeñas flores en lugares estratégicos. El procedimiento para hacer estas flores pequeñas es el mismo que para hacer el centro de las flores azules.
English Version
It's always good to give some extra touches of color, it makes everything stand out more, so I took two more shades, one reddish and one more orange and started placing small flowers in strategic places. The procedure for making these small flowers is the same as for making the center of the blue flowers.
 |  |  |  |  |
|---|
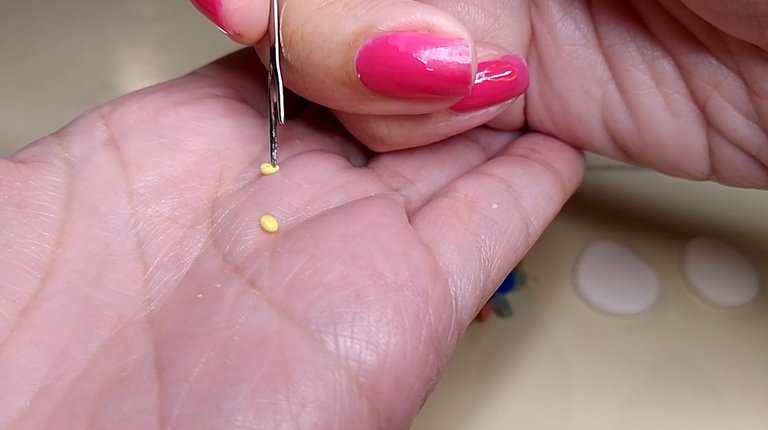
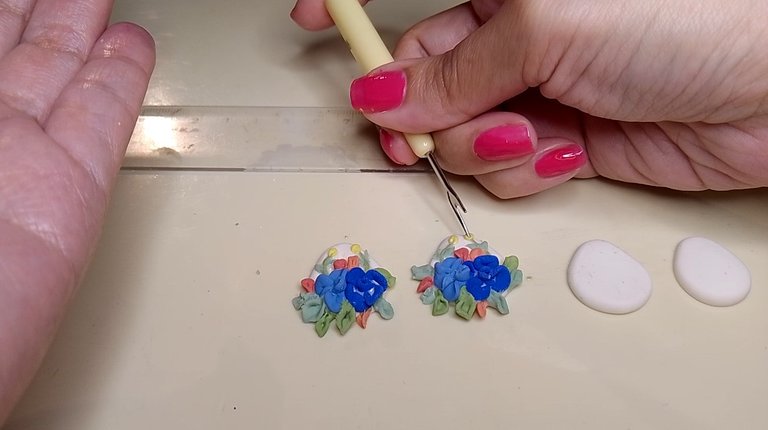
Finalmente, he seleccionado el color amarillo para los pequeños botones de flor que coronan lo alto de las ramificaciones. Como pueden ver en las imágenes, haremos unas esferas diminutas y pinchándolas con la herramienta, las posicionamos y presionamos un poco para que queden con esa muesca que da la sensación de volumen.
English Version
Finally, I have selected the yellow color for the small flower buds that crown the top of the branches. As you can see in the images, we will make some tiny spheres and by clicking them with the tool, we position them and press them a little so that they have that notch that gives the sensation of volume.
 |  |
|---|
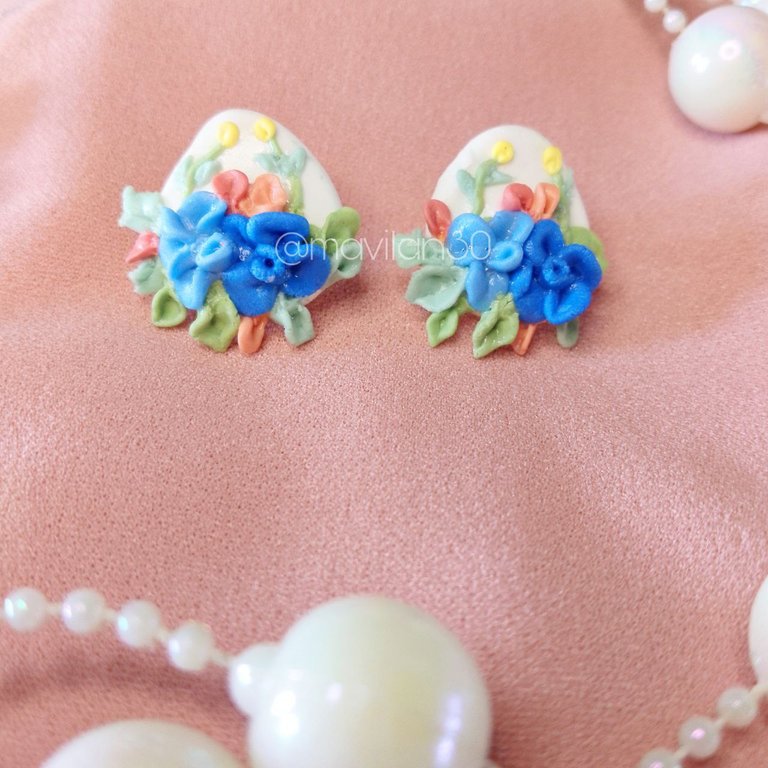
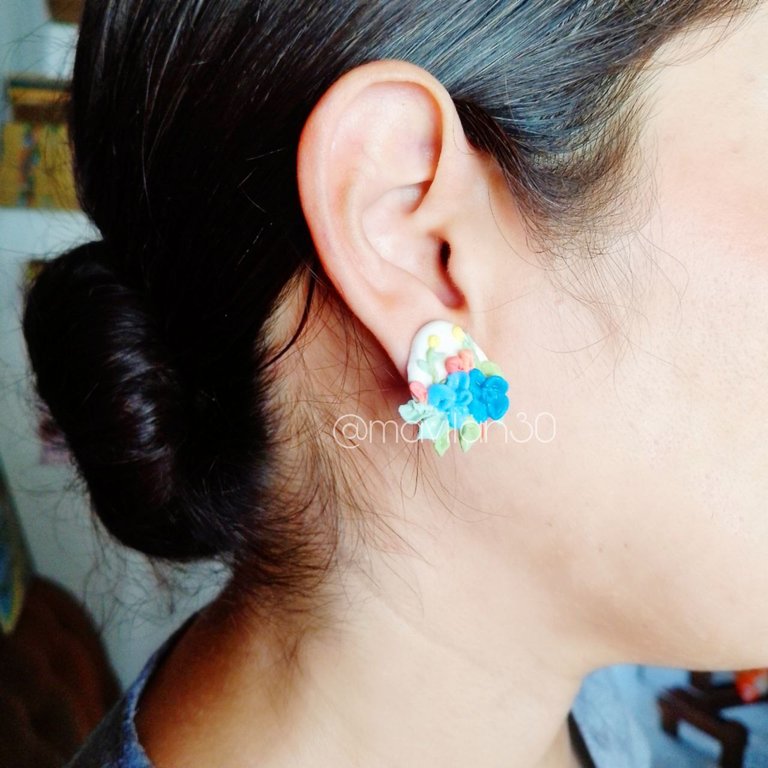
Y este es el resultado:
English Version
And this is the result:
 |  |
|---|
¡Muchas gracias por leerme!
Thank you so much for reading me!
Fotografías propias, tomadas con mi Tecno Spark 10C.
Traducido al inglés con DeepL. English Version
Own photographs, taken with my Tecno Spark 10C.
Translated to English with DeepL.

Banner creado por mí en Canva / Banner made by me in Canva

