Un saludo a todos. Hace unas semanas mi novio estaría de vacaciones y como quería que fueran especiales y diferentes a nuestros días comunes, se me ocurrió hacer una ruleta con distintas actividades que nos gustaría hacer juntos y es así como hoy quiero compartirles mi ruleta de actividades para parejas, así que si quieres ver el proceso para hacerla, sigue leyendo.
English Version
Greetings to all. A few weeks ago my boyfriend would be on vacation and as I wanted them to be special and different from our common days, I thought of making a roulette with different activities that we would like to do together and that's how today I want to share with you my roulette of activities for couples, so if you want to see the process to make it, keep reading.
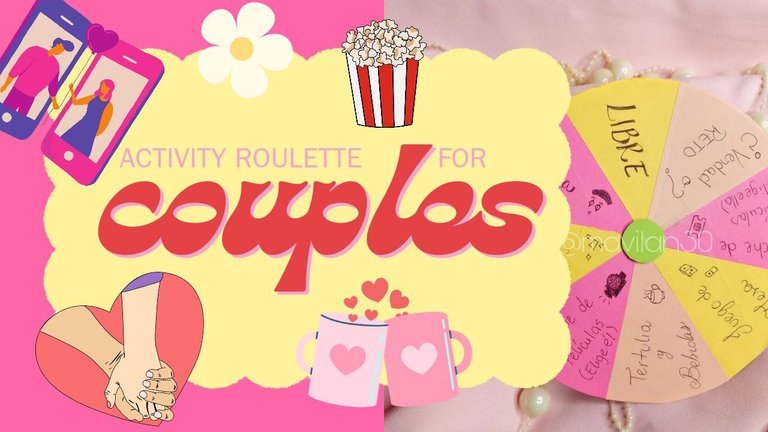
Imagen creada por mí en Canva / Image created by me in Canva
Materiales:
- Cartón
- Pegamento
- Cartulina
- Papel de colores
- Pegamento blanco
- Lápiz
- Regla
- Compás o elemento circular
- Dremel
- Silicón caliente
- Tijeras
Proceso:
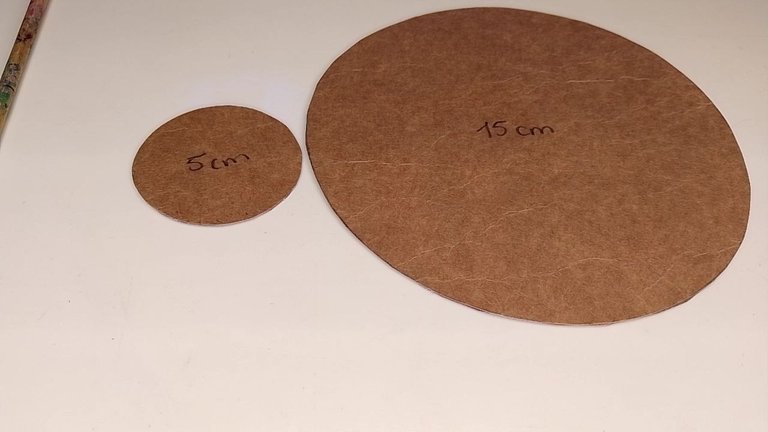
Lo primero que necesitaremos serán cuatro circunferencias, dos serán de 15 cm y dos de 5 cm. Estas circunferencias las he realizado con ayuda de un tazón y un vasito, pero también puede hacerse con un compás.
English VersionMaterials:
- Cardboard
- Glue
- Cardboard
- Colored paper
- White glue
- Pencil
- Ruler
- Compass or circular element
- Dremel
- Hot glue
- Scissors
Process:
The first thing we will need will be four circumferences, two will be 15 cm and two will be 5 cm. I have made these circles with the help of a bowl and a small glass, but you can also make them with a compass.
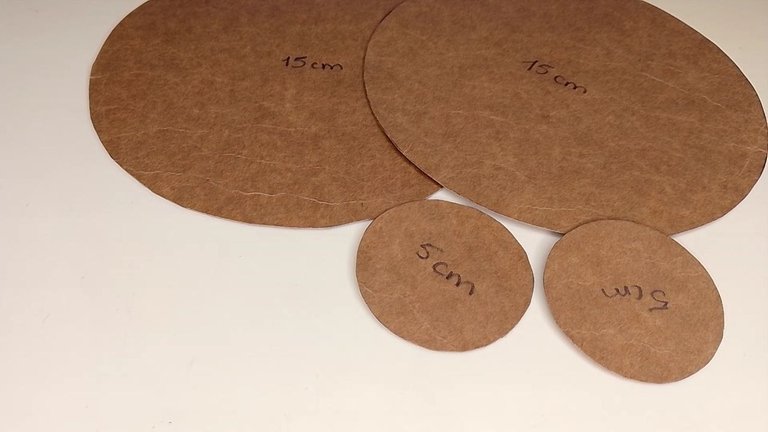
Círculos / Circles
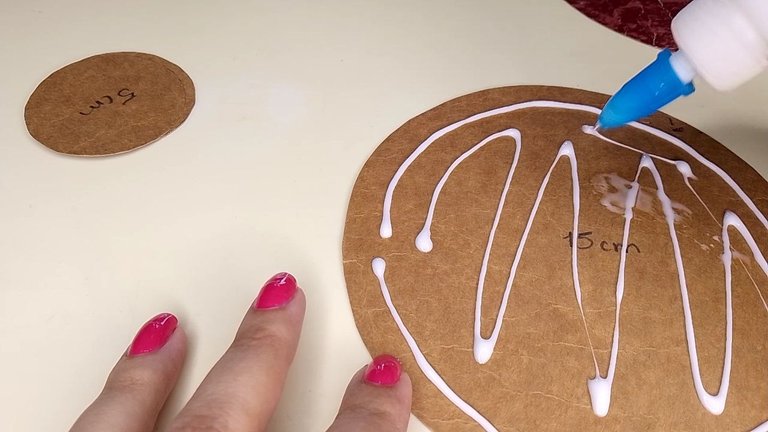
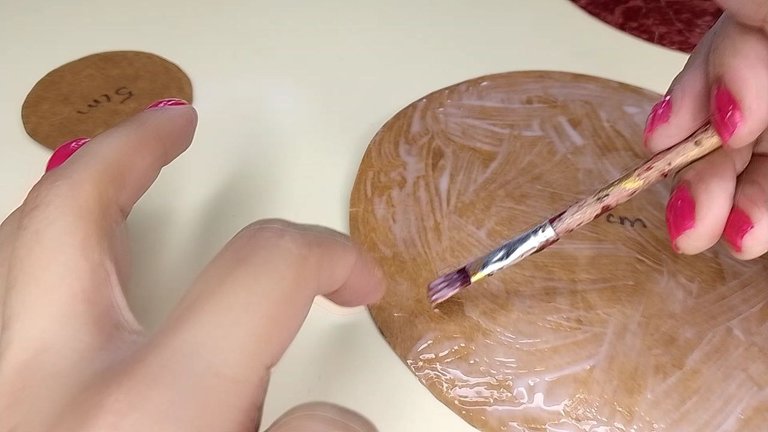
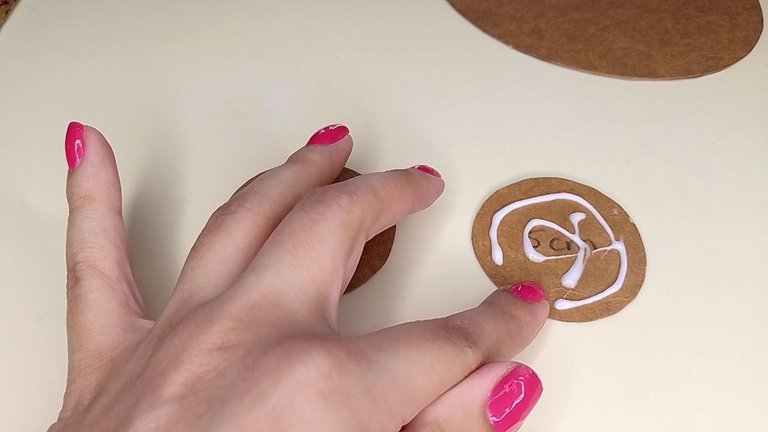
Así que agregué pegamento a uno de los círculos de 15 cm, lo esparcí muy bien con mi pincel y adherí su pareja correspondiente. Repetí este paso para el círculo de 5 cm. Yo lo he hecho de esta manera porque tomé el cartón de una carpeta marrón que reciclé y necesitaba que tuviera mayor rigidez, pero tú puedes emplear un cartón más grueso directamente y así utilizarías un solo círculo de cada tamaño.
English Version
So I added glue to one of the 15 cm circles, spread it very well with my brush and adhered its corresponding pair. I repeated this step for the 5 cm circle. I have done it this way because I took the cardboard from a brown folder I recycled and I needed it to have more rigidity, but you can use a thicker cardboard directly and you would use only one circle of each size.
 |  |  |  |
|---|
Ahora, con ayuda de mi confiable tazón (risas) hago una circunferencia una vez más pero en un papel de reciclaje, éste mismo debemos dividirlo en partes iguales de acuerdo al número de actividades que deseamos colocar en la ruleta.
English Version
Now, with the help of my trusty bowl (laughs) I make a circumference once again but on a piece of recycling paper, which we must divide into equal parts according to the number of activities we want to place in the roulette.
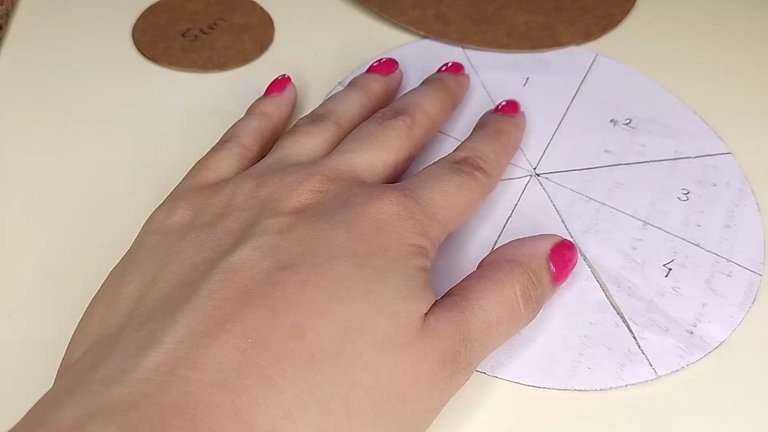
Porciones iguales / Equal portions
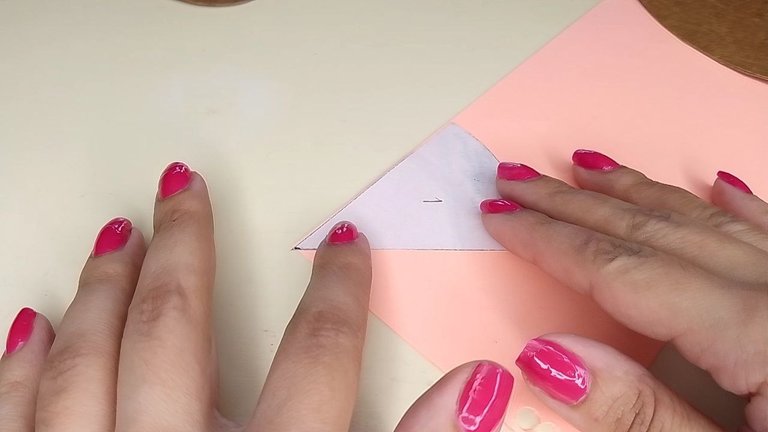
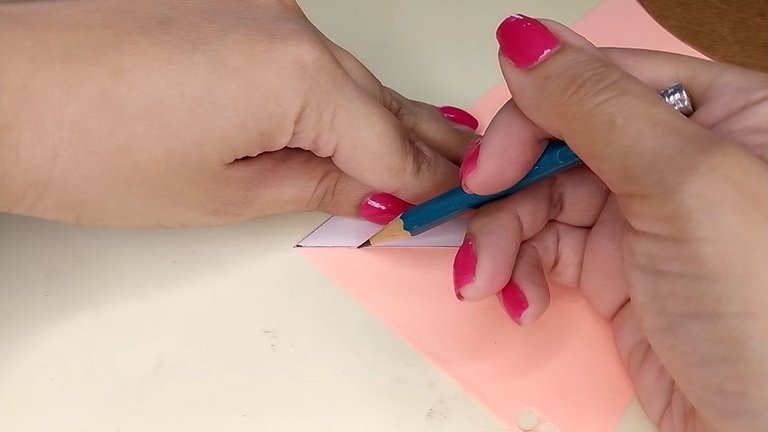
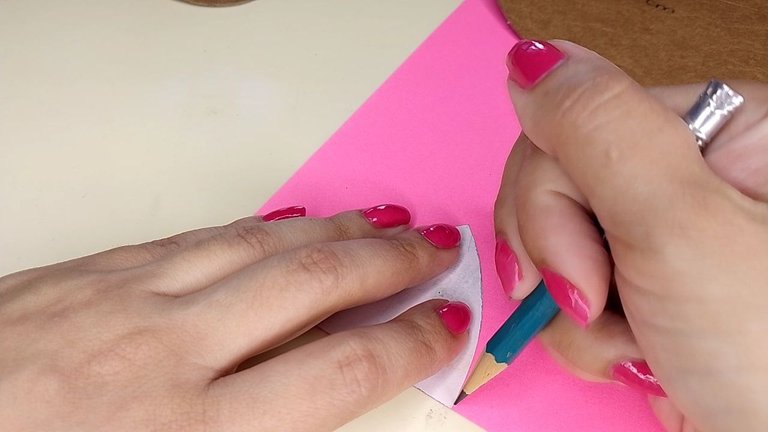
Recortamos uno de los triángulos (yo los he recortado todos pero no es necesario porque todos son del mismo tamaño) y usaremos al mismo como un patrón para marcar en las hojas de nuestros colores favoritos para esta manualidad.
English Version
We cut out one of the triangles (I have cut them all out but it is not necessary because they are all the same size) and we will use it as a pattern to mark on the sheets of our favorite colors for this craft.
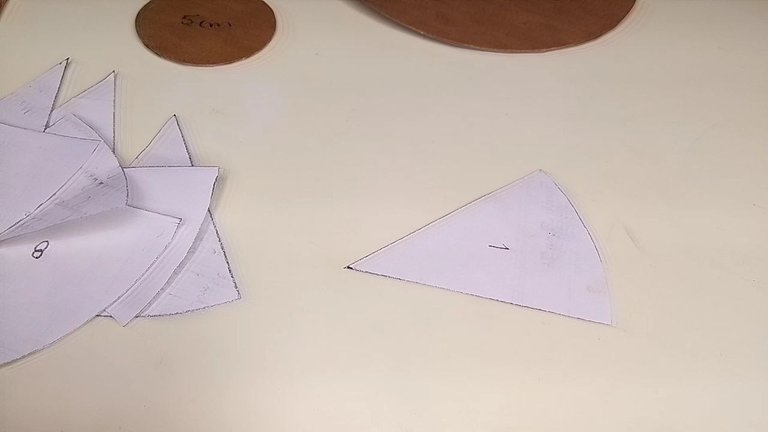
Patrón triangular / Triangular pattern
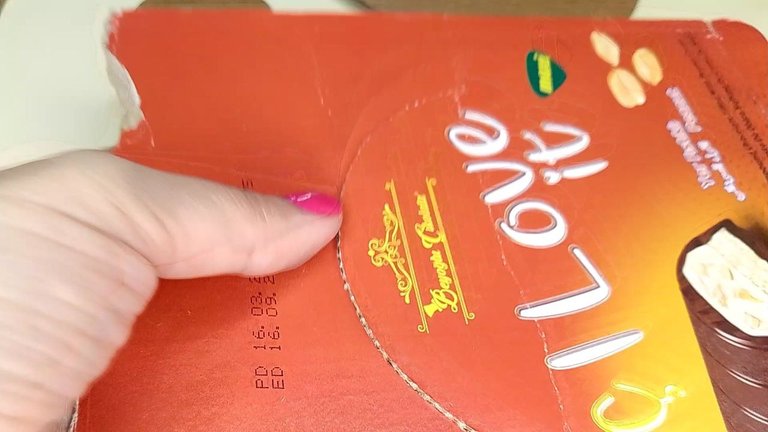
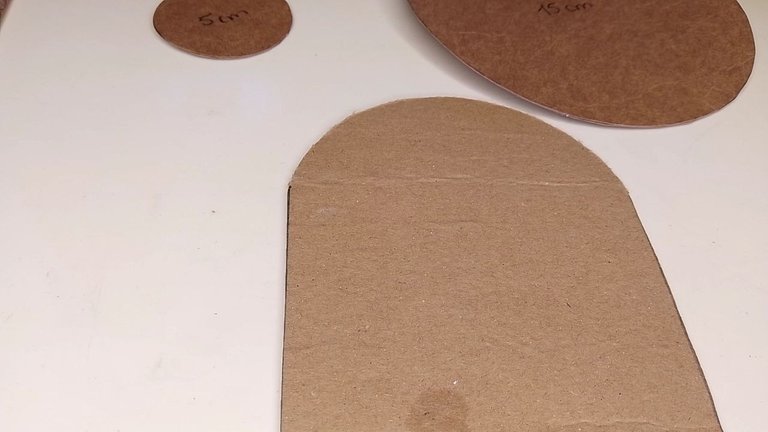
También debemos recortar una pieza más, de ésta irá sostenida la ruleta. En mi caso, seguí con el cartón reciclado y utilicé la tapa de una caja de dulces. Quise aprovechar la parte circular que ya traía por donde se sacaban los dulces y el resto lo recorté rectangular. Tiene unos 12 cm de alto.
English Version
We must also cut out one more piece, which will hold the roulette. In my case, I continued with recycled cardboard and used the lid of a candy box. I wanted to take advantage of the circular part that already had where the candy was taken out and the rest I cut it rectangular. It is about 12 cm high.
 |  |
|---|
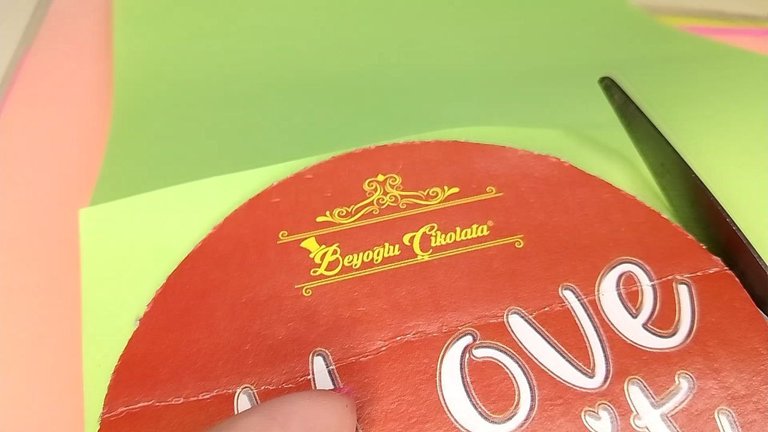
Es momento de forrar las piezas para que tengan colores bonitos, así que de nuevo, esparcimos uniformemente pegamento en la superficie de la pieza del arco y la pegamos sobre un papel verde llamativo y recortamos el excedente.
English Version
It's time to line the pieces to make them pretty colors, so again, we spread glue evenly on the surface of the bow piece and glue it onto a flashy green paper and trim the excess.
Forrando el arco / Lining the arch
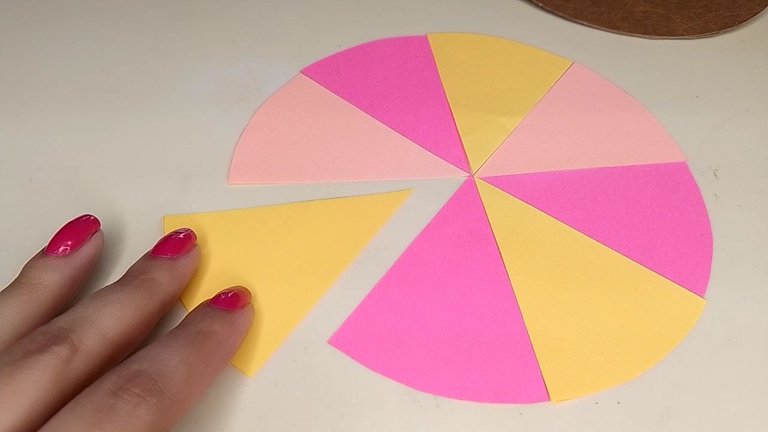
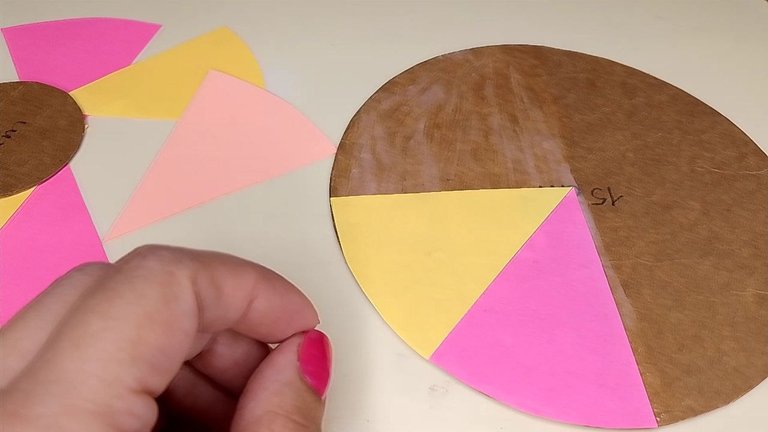
Así mismo, usamos el patrón triangular en distintos colores, recortamos y pegamos en el orden que más nos guste.
English Version
Likewise, we use the triangular pattern in different colors, cut out and glue in the order we like.
 |  |  |  |  |  |
|---|
También recortamos un pequeño círculo de unos 2 cm y lo forramos con papel verde.
English Version
We also cut out a small circle of about 2 cm and line it with green paper.
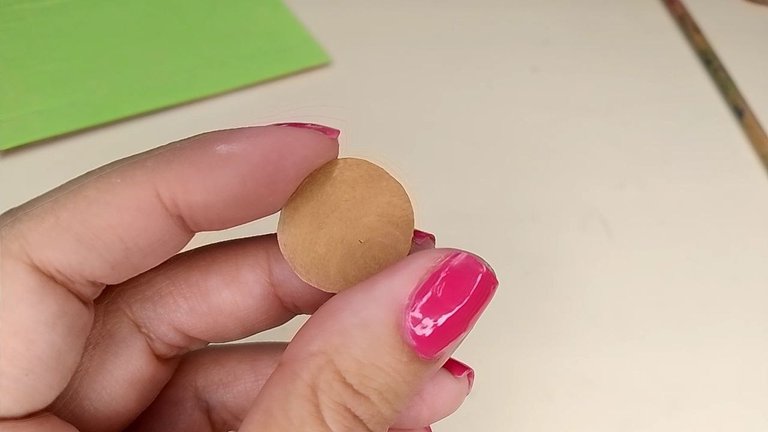
Círculo pequeño / Small circle
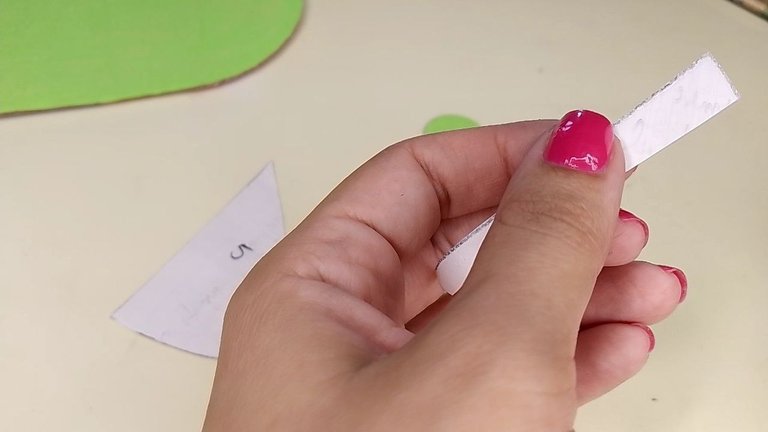
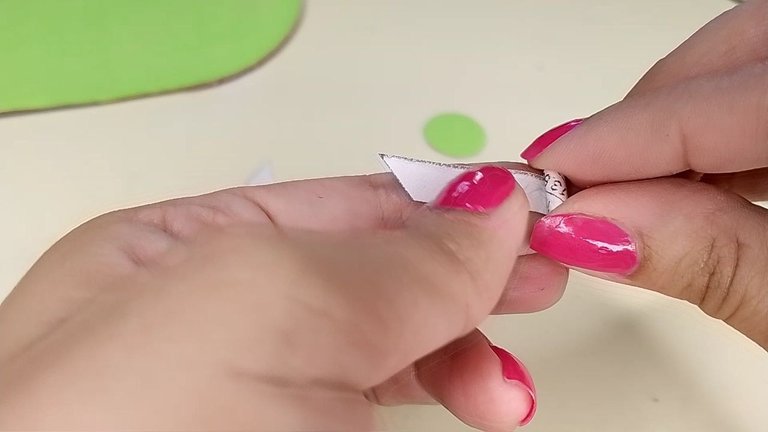
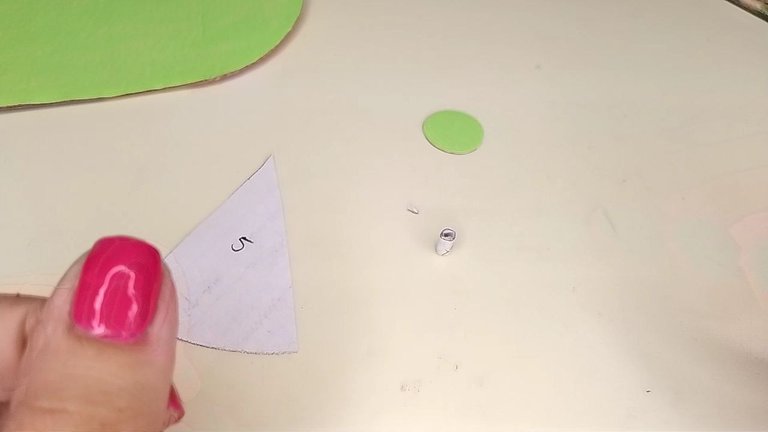
Además, con una pequeña tira de papel formaremos un cilindro. Añade un poco de pegamento en el extremo final para que no se deshaga.
English Version
In addition, with a small strip of paper we will form a cylinder. Add a little glue at the end to prevent it from unraveling.
 |  |  |
|---|
Es hora de abrir algunos agujeros, yo he usado un dremel pero tú puedes usar cualquier elemento puntiagudo, como un clavo por ejemplo y perforamos el arco que hace de base y el centro del círculo grande.
English Version
It is time to open some holes, I have used a dremel but you can use any pointed element, like a nail for example and we pierce the arc that makes the base and the center of the big circle.
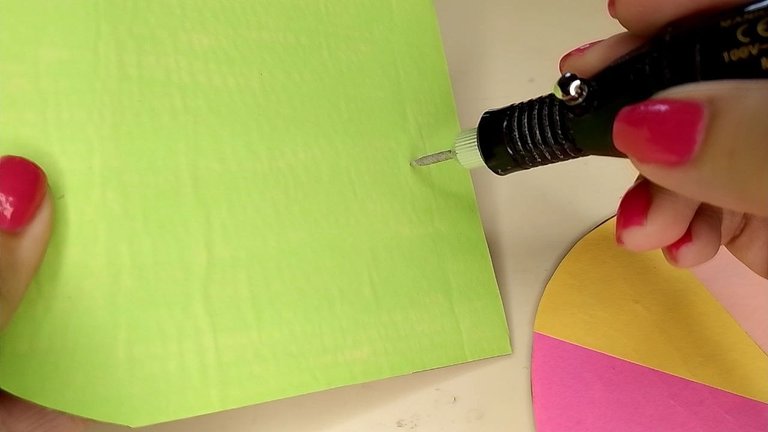
Usando el dremel / Using the dremel
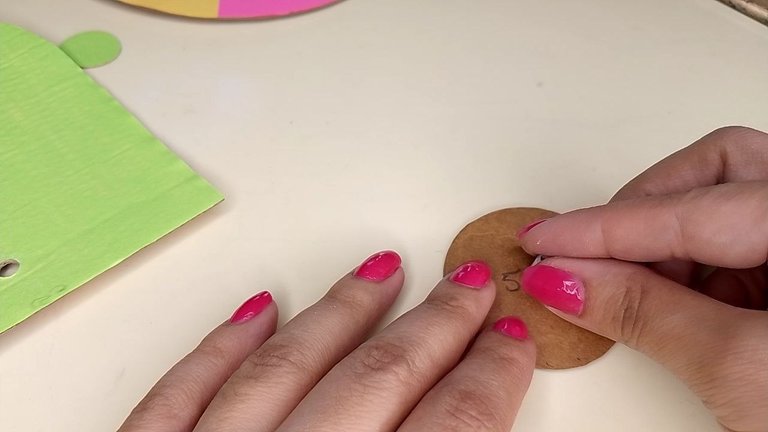
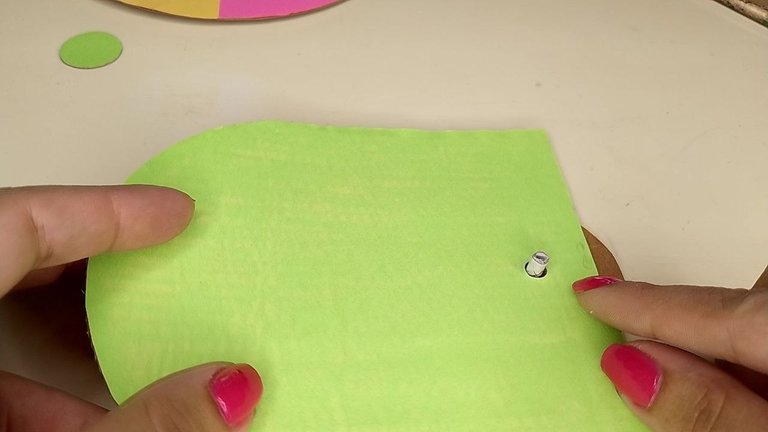
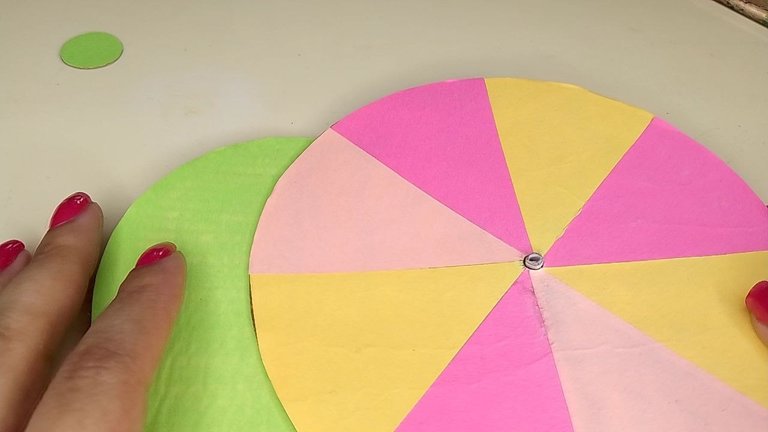
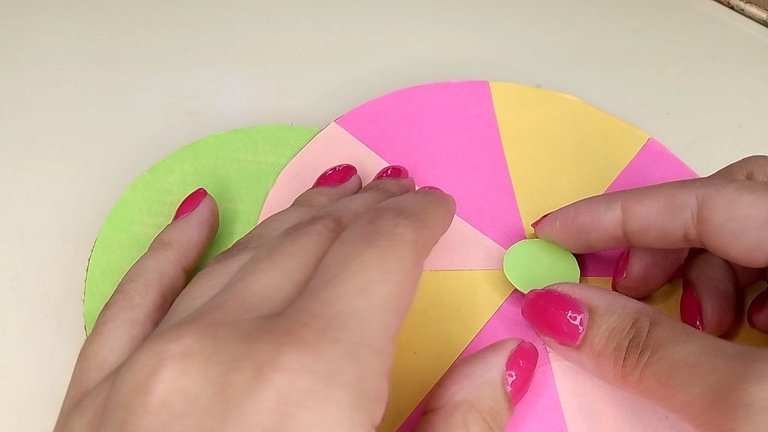
Ahora sí, mi parte favorita, el ensamblaje -se emociona- te dejo el orden a continuación:
English Version
Now, my favorite part, the assembly -she gets excited- I'll leave you the order below:
 |  |  |  |
|---|
Recuerda que el cilindro de papel va pegado a los dos círculos externos, el de 5 y 2 cm respectivamente. Debes agregar una flecha en el extremo libre, esta es la que marcará cuál es la actividad ganadora, yo la hice en forma de corazón con brillitos para que sea bien llamativo porque aquí somos fanáticas del brillo (risas) y así se ve todo junto:
English Version
Remember that the paper cylinder is glued to the two outer circles, the 5 and 2 cm respectively. You must add an arrow at the free end, this is the one that will mark which is the winning activity, I made it in the shape of a heart with glitter to be very striking because here we are fans of glitter (laughs) and so it looks all together:
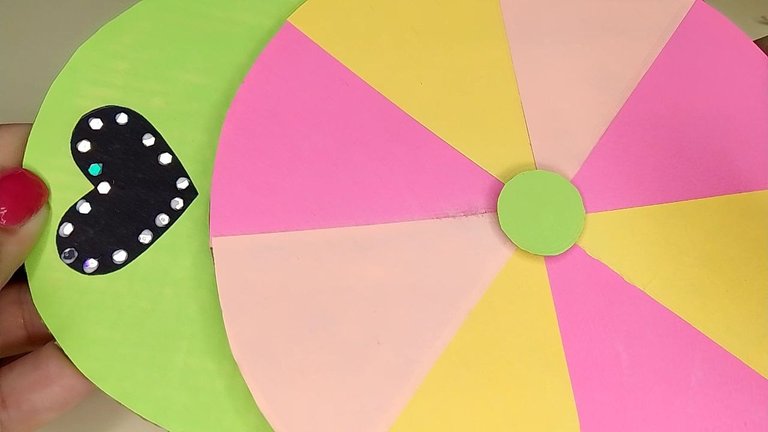
Ensamblado / Assembly
Agrega las actividades que más te gusten, yo he colocado estas ¿cuáles colocarías tú?
English Version
Add the activities that you like the most, I have placed these, which ones would you place?
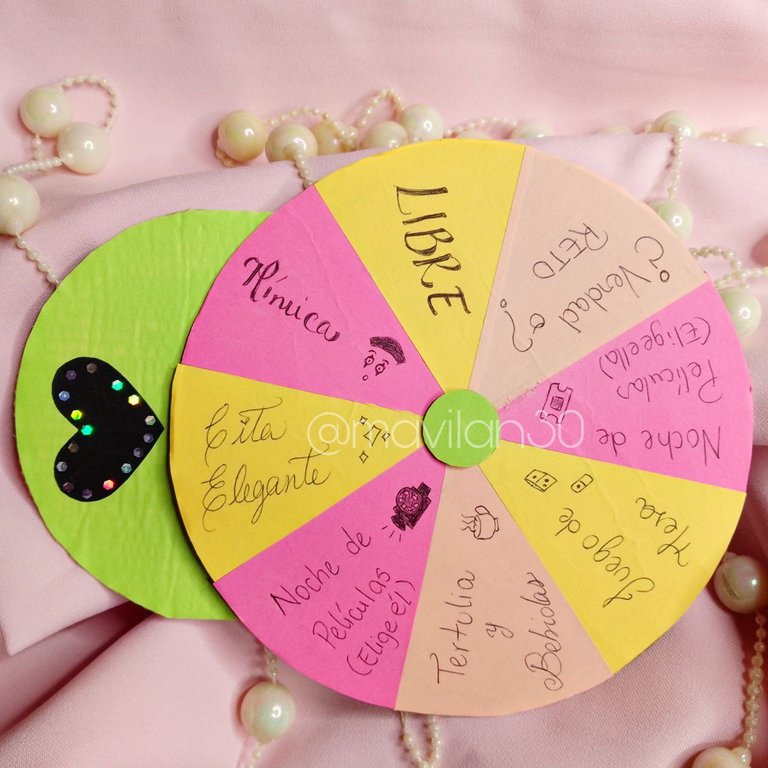
Resultado final / Final result
Comentarios finales:
- Para dividir la circunferencia no coloqué los pasos porque la verdad lo hice “a ojo” soy muy buena distribuyendo espacios de manera simétrica así sin más, pero te explico por acá cómo hacerlo porque sé que es una habilidad un tanto rara (risas). Solo debes dividir los 360 grados de la circunferencia entre el número de partes que deseas que tenga la ruleta y luego con ayuda de un transportador, marcar ese ángulo una primera vez y a partir de esa marca, volver a trazar esa misma distancia, hazlo de manera consecutiva hasta llegar al inicio y listo.
- Esta ruleta es para parejas pero también puedes modificar las actividades en ellas para hacerlas con amigos o tu familia.
Final comments:
- To divide the circumference I didn't put the steps because the truth is I did it “by eye” I'm very good at distributing spaces symmetrically just like that, but I'll explain here how to do it because I know it's a somewhat rare skill (laughs). You just have to divide the 360 degrees of the circumference by the number of parts you want the roulette to have and then with the help of a protractor, mark that angle the first time and from that mark, retrace that same distance, do it consecutively until you get to the beginning and that's it.
- This roulette is for couples but you can also modify the activities in them to make them with friends or your family.
¡Muchas gracias por leerme!
Thank you so much for reading me!
Fotografías propias, tomadas con mi Tecno Spark 10C.
Traducido al inglés con DeepL. English Version
Own photographs, taken with my Tecno Spark 10C.
Translated to English with DeepL.

Banner creado por mí en Canva / Banner made by me in Canva

