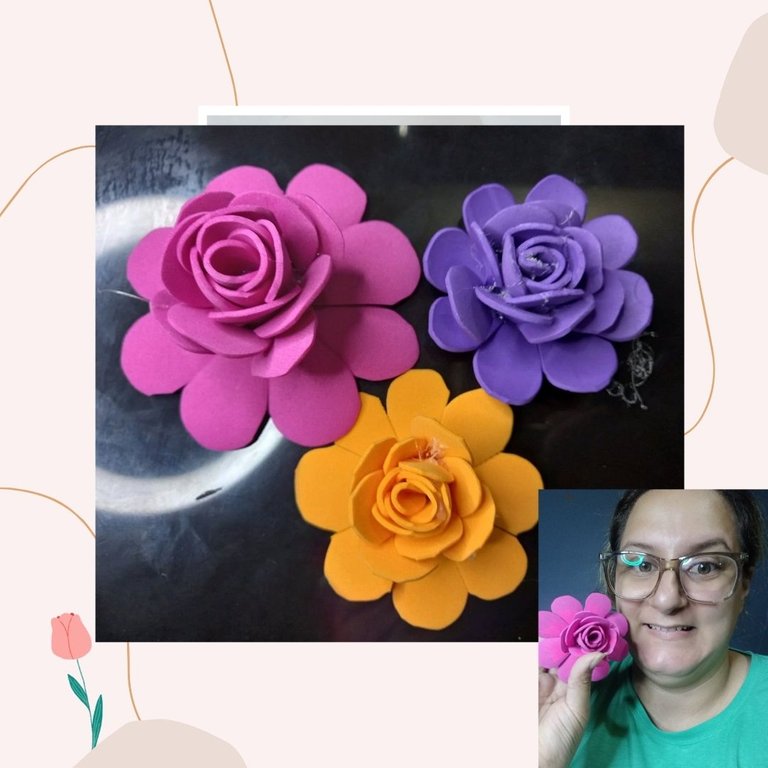

Las manualidades siempre han sido unas de las actividades que realizo donde me ayuda a fijar mi atención y concentración, soy una persona hiperactiva y mantenerme “tranquila” resulta bastante difícil. Durante el día realizo diversas actividades que mantienen mi mente ocupada y las manualidades han estado presente durante mucho tiempo.
Aunque he dejado de postear manualidades en mi Blog, siempre me gusta disfrutar del contenido relacionado a este tema ya que, acá puedes encontrar tutoriales tan bien documentados que fácilmente pueden solucionarte el día. Hace bastante tiempo me uní a esta comunidad pero, no había posteado ningún tema. Hoy he querido hacer un paso a paso sencillo, fácil y muy útil si deseas elaborar rosas en foami, espero puedas disfrutarlo a continuación.

Crafts have always been one of the activities that I do where it helps me to fix my attention and concentration, I am a hyperactive person and keeping myself "quiet" is quite difficult. During the day I do various activities that keep my mind busy and crafts have been around for a long time.
Although I have stopped posting crafts in my Blog, I always enjoy the content related to this topic because, here you can find tutorials so well documented that can easily solve your day. I joined this community a long time ago but, I had not posted any topic. Today I wanted to make a simple, easy and very useful step by step if you want to make roses in foami, I hope you can enjoy it below.
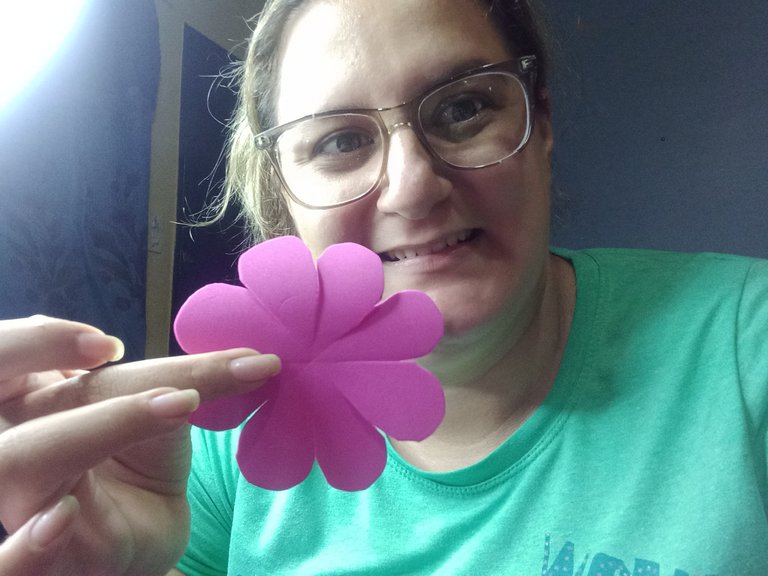
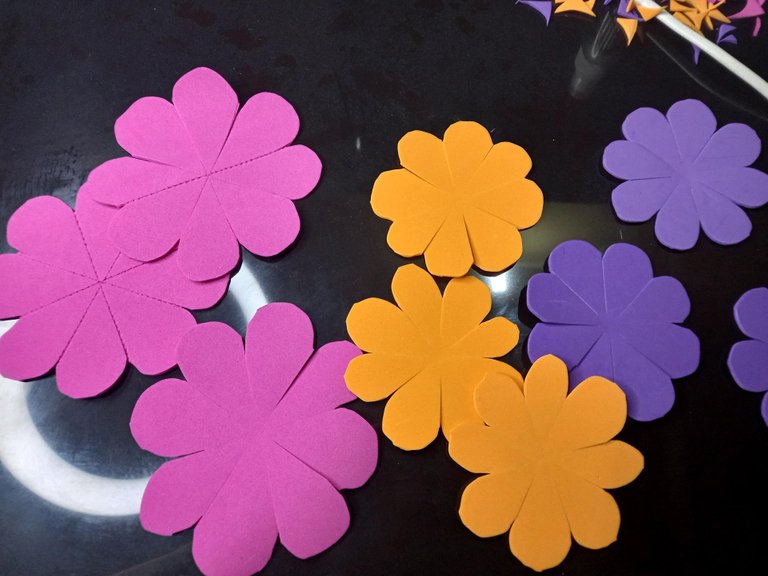
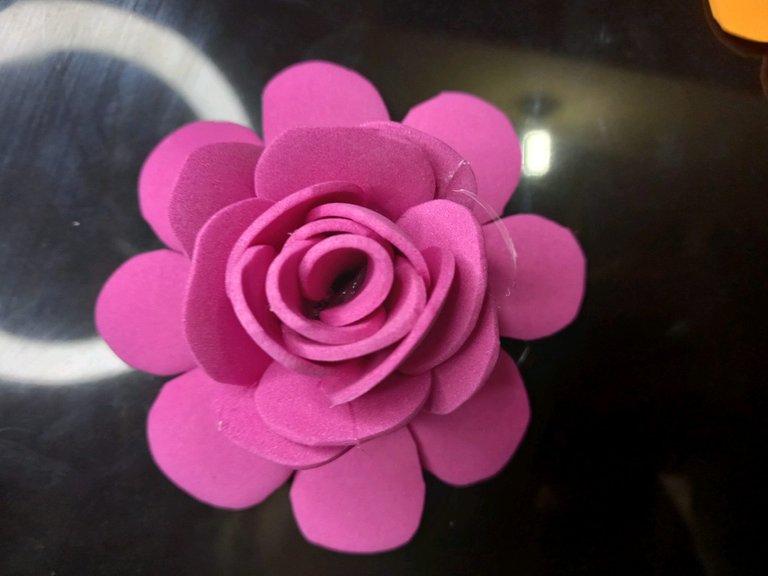
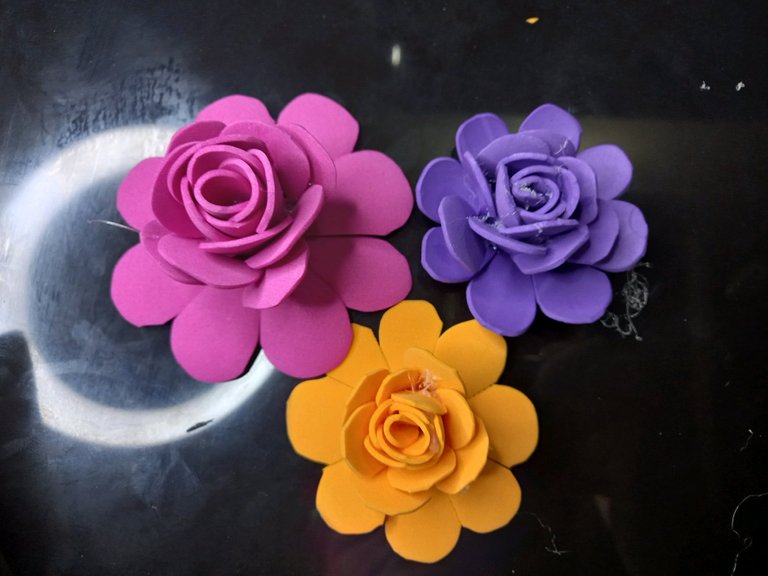
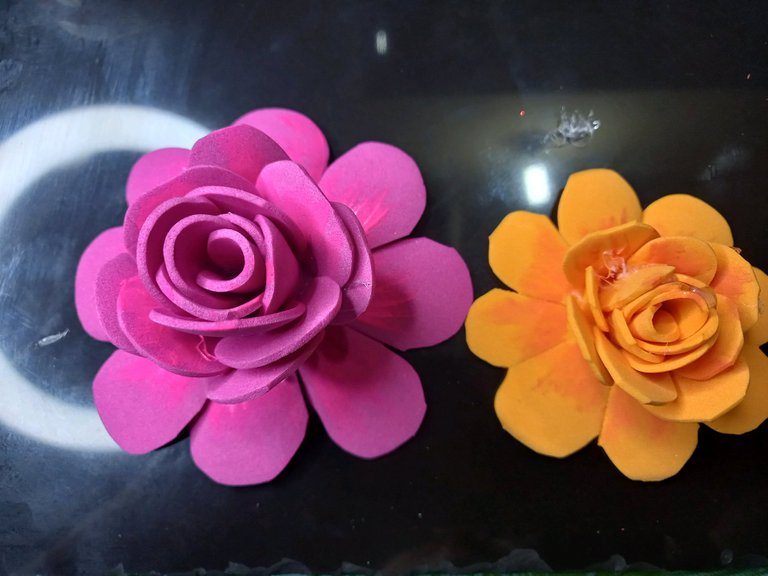
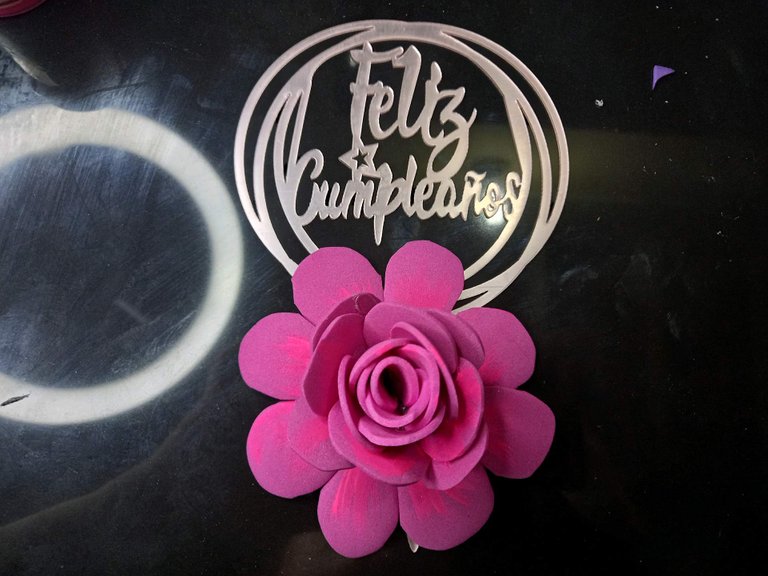
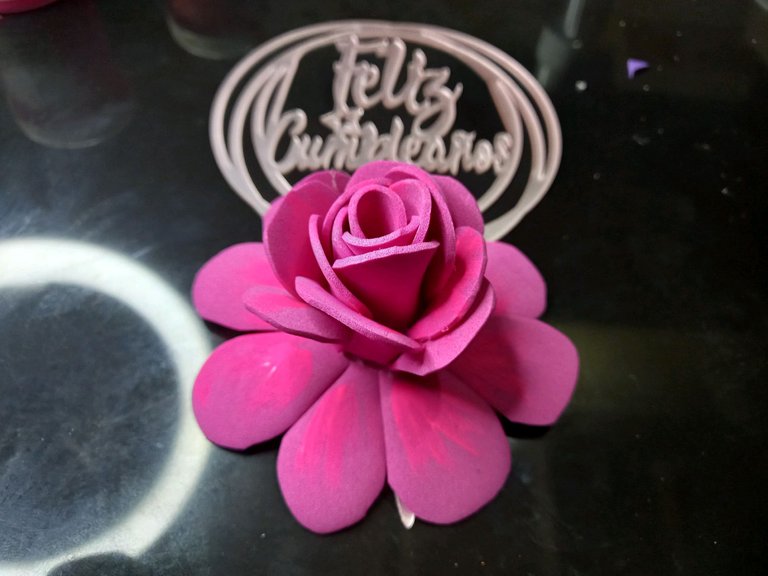
Estas rosas son muy prácticas y puedes hacerlas del color de tu preferencia, además puedes usar los recortes sobrantes de alguna otra manualidad que hayas realizado.
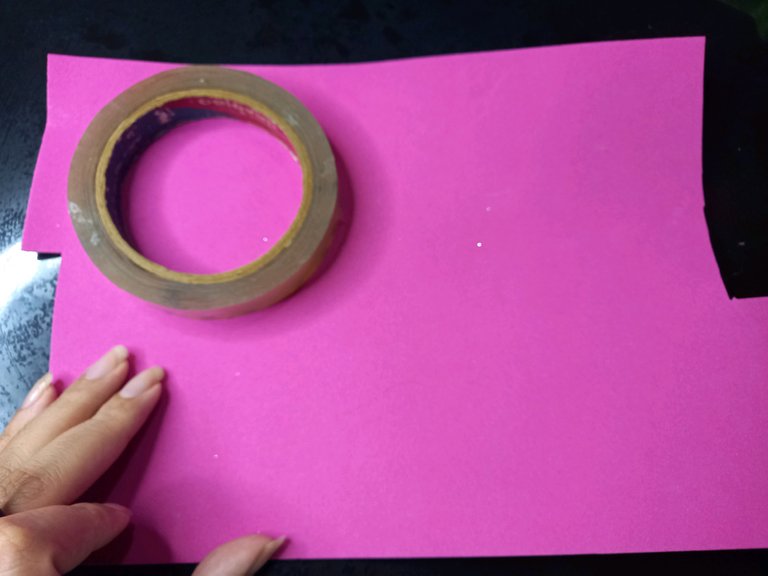
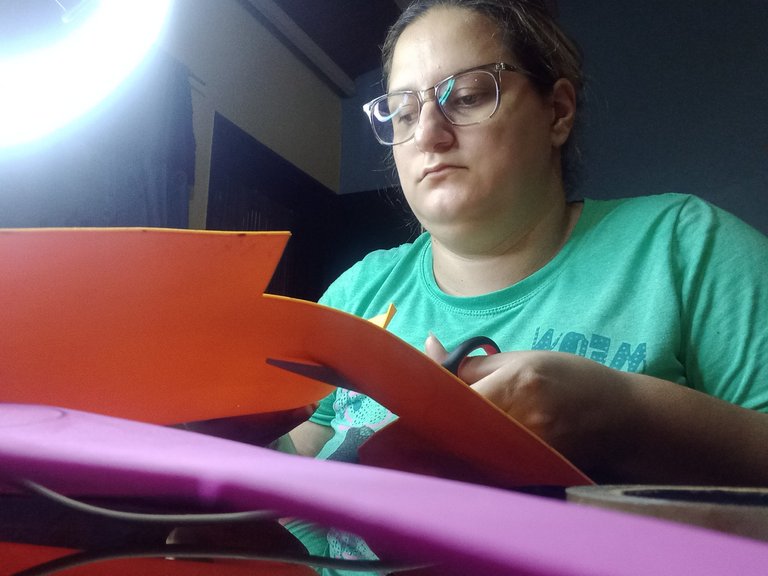
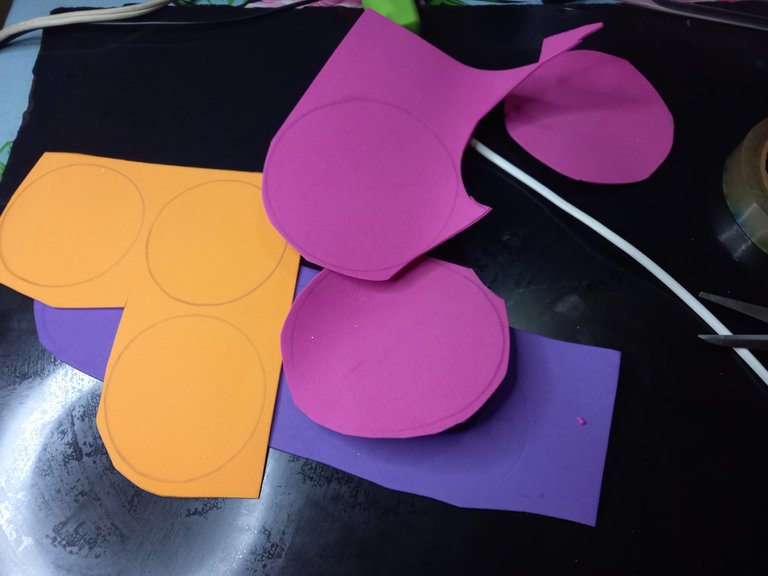
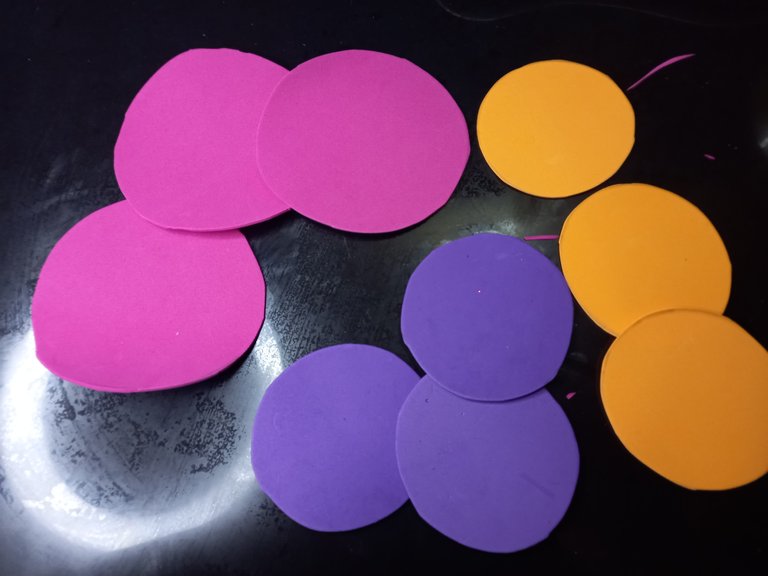
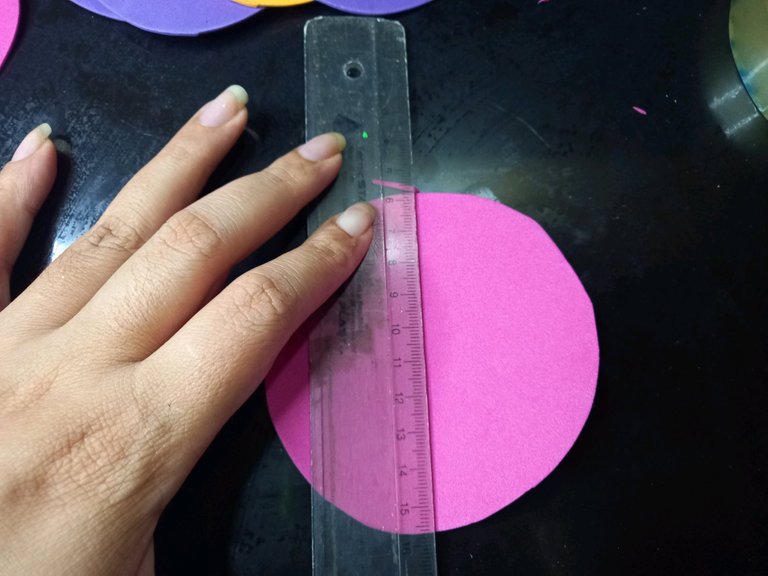
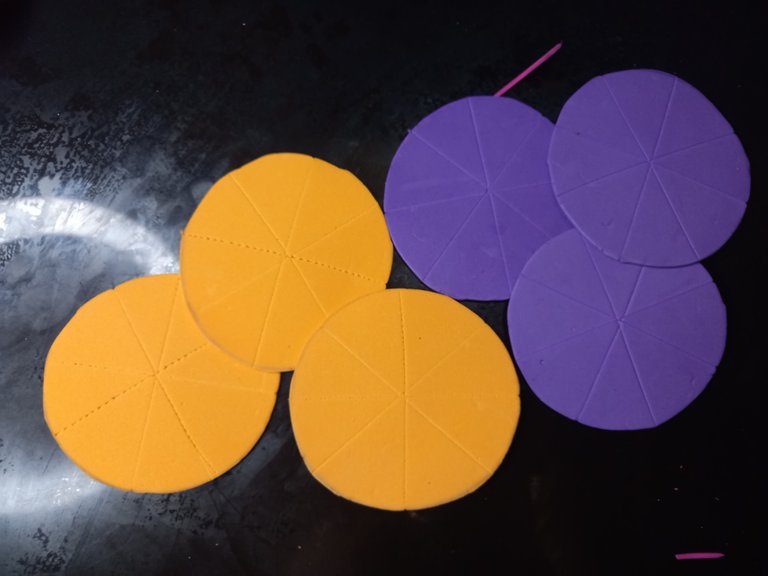
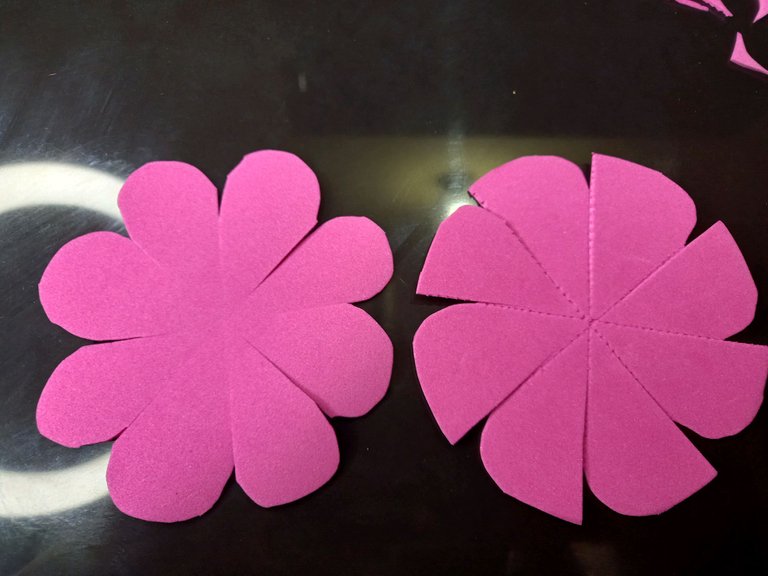
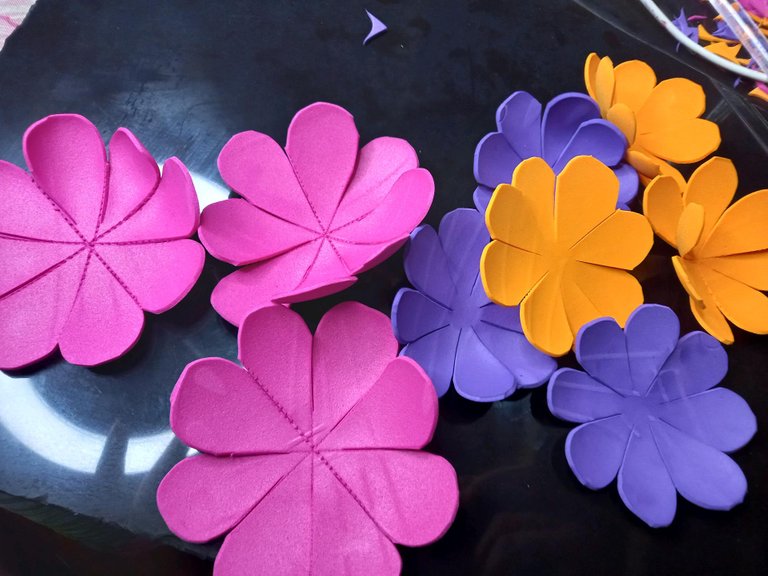
• Marcamos 3 círculos del mismo diámetro, puedes usar un compás o algo con la figura ya definida seguramente se te hará más fácil.
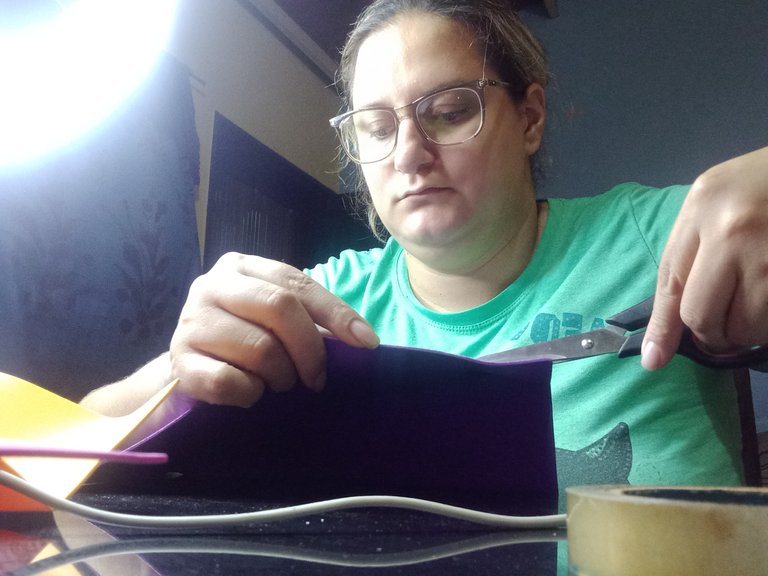
• Recorta cada círculo con trazos largos.
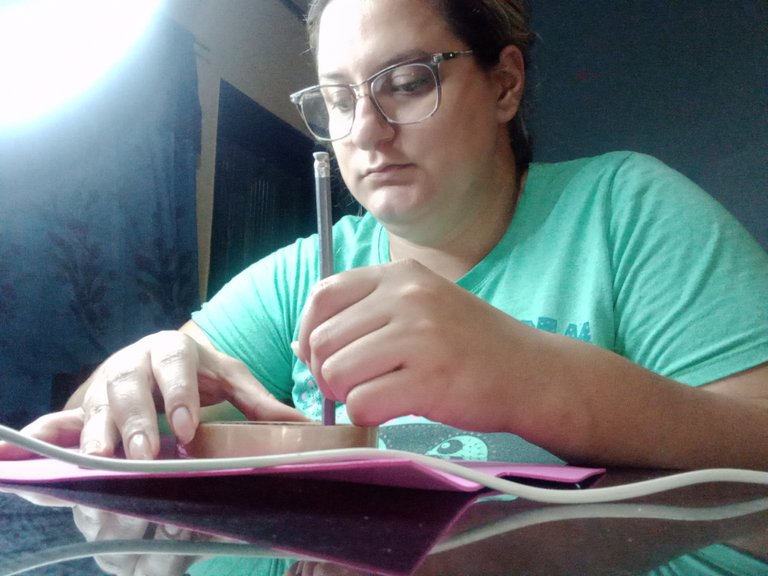
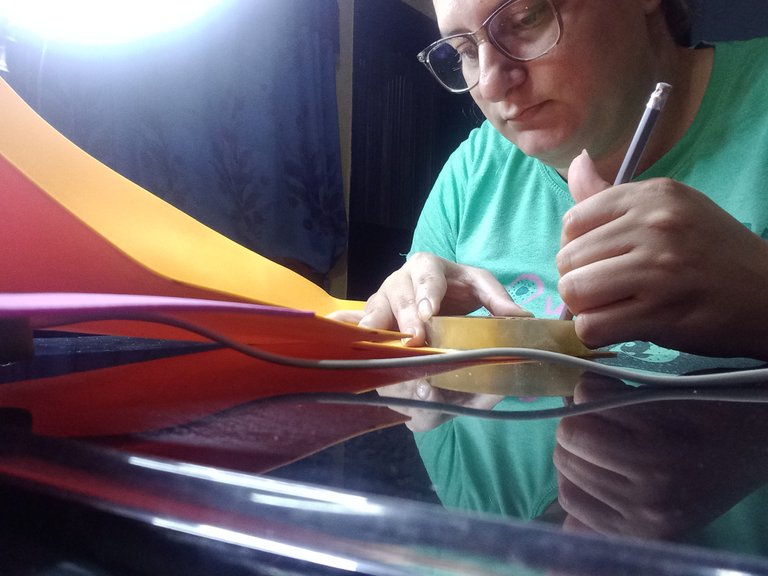
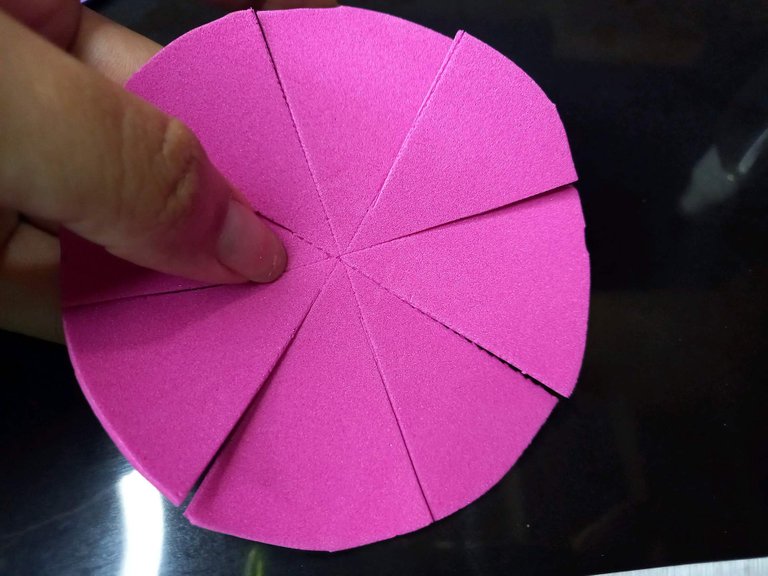
• Una vez listos cada círculo, con un palito de madera y con una regla marca cada línea del compartimiento interno. Mientras más rayas hagas tendrás más pétalos.
• Recorta cada línea marcada sin llegar al centro
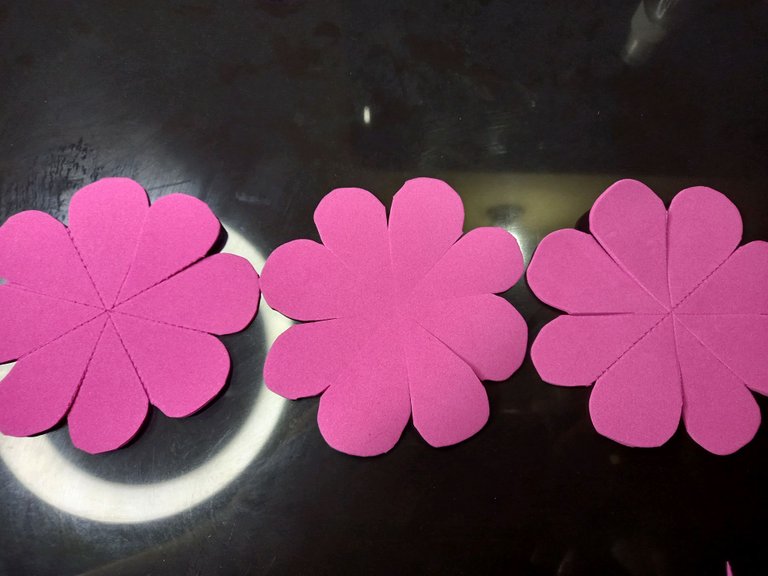
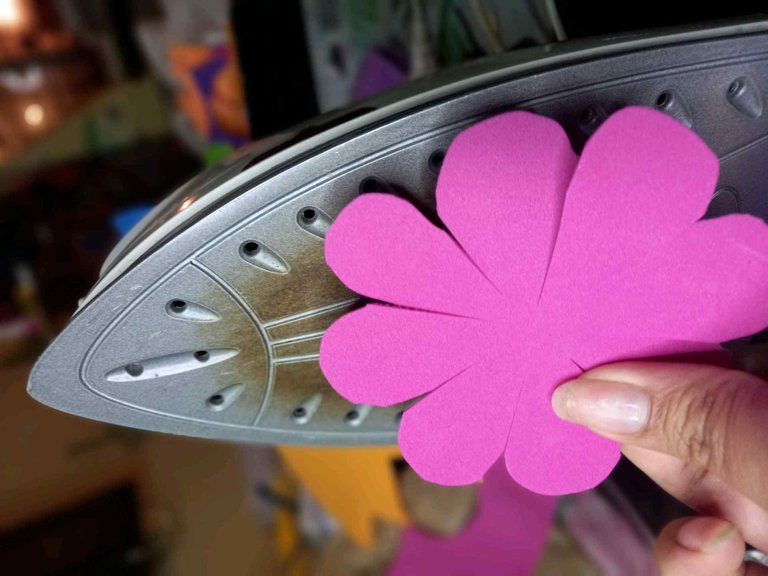
• Con la ayuda de una plancha y con mucho cuidado damos calor al foami para lograr brillo y relieve en el foami. Colocamos el circulo ya recortado durante 5 segundos y retiramos.
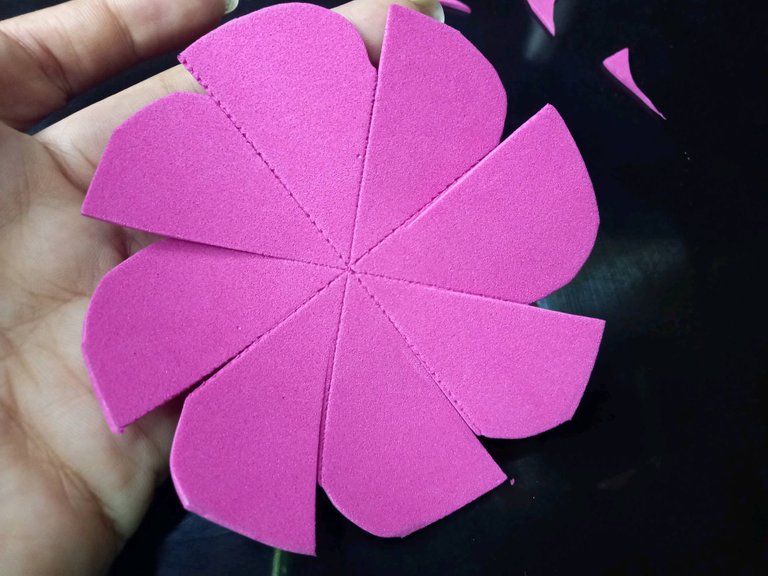
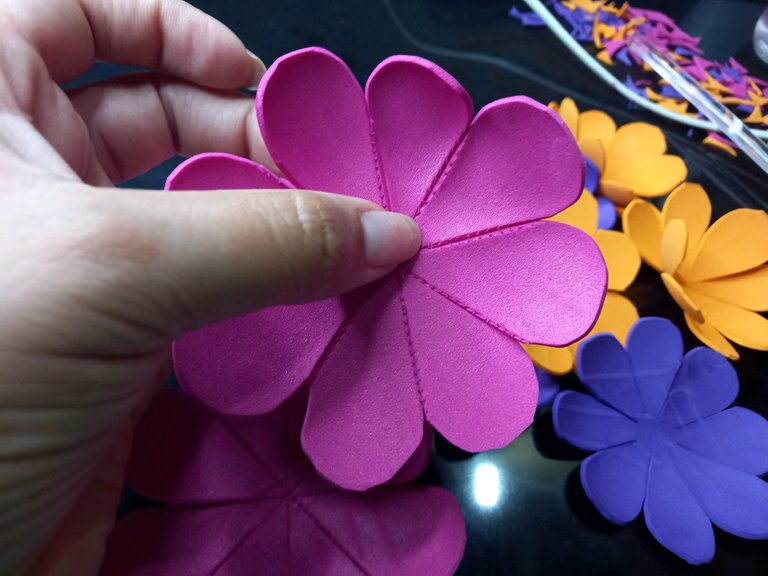
• Seguidamente, damos forma a cada pétalo, preferiblemente ovalado de adentro hacia afuera.
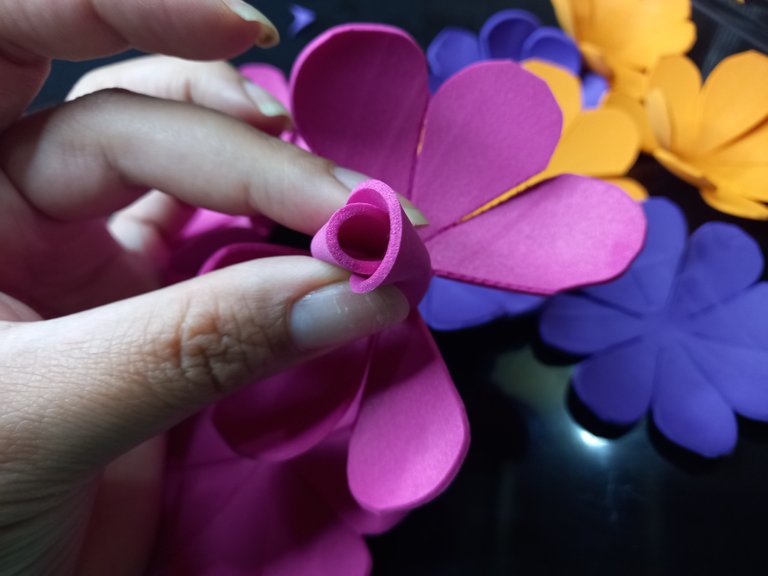
• Repetimos el procedimiento anterior por ambos lados y encada círculo.
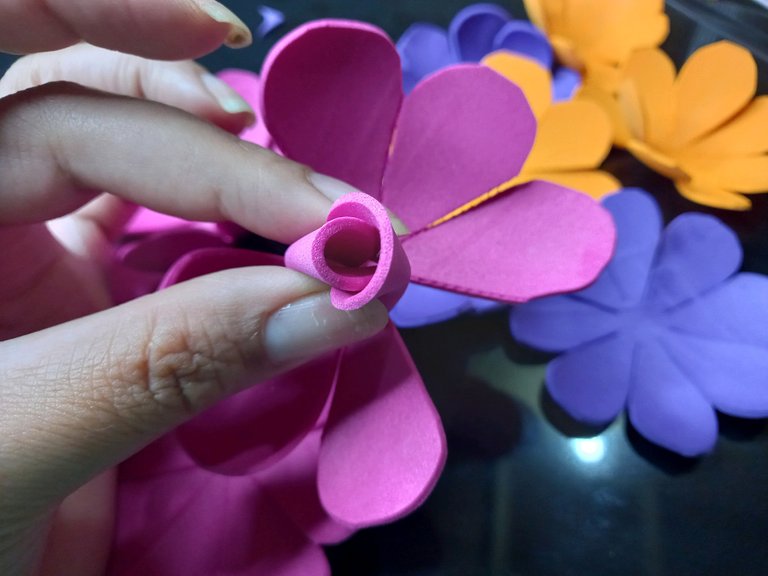
• Comenzamos a dar forma armando el centro de la rosa, lo logramos pegando pétalos en sentido contrario.
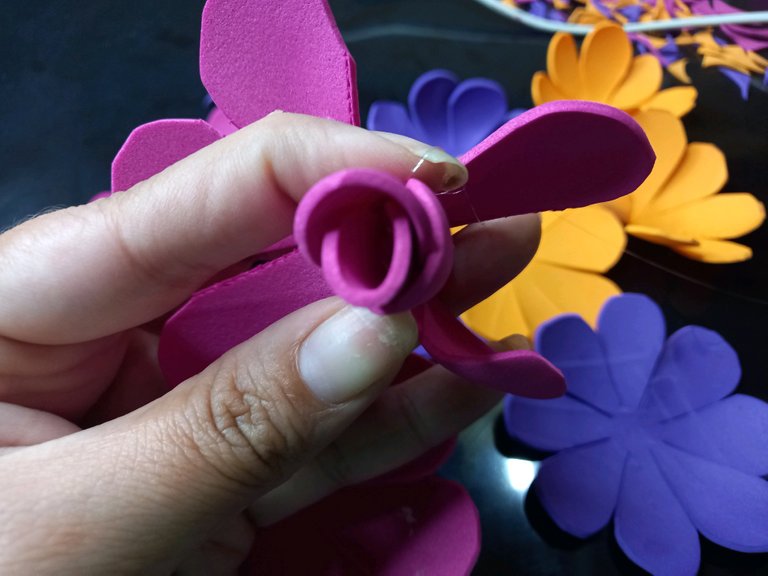
• Continuamos siguiendo el paso guía (anterior) hasta pegar todos los pétalos.
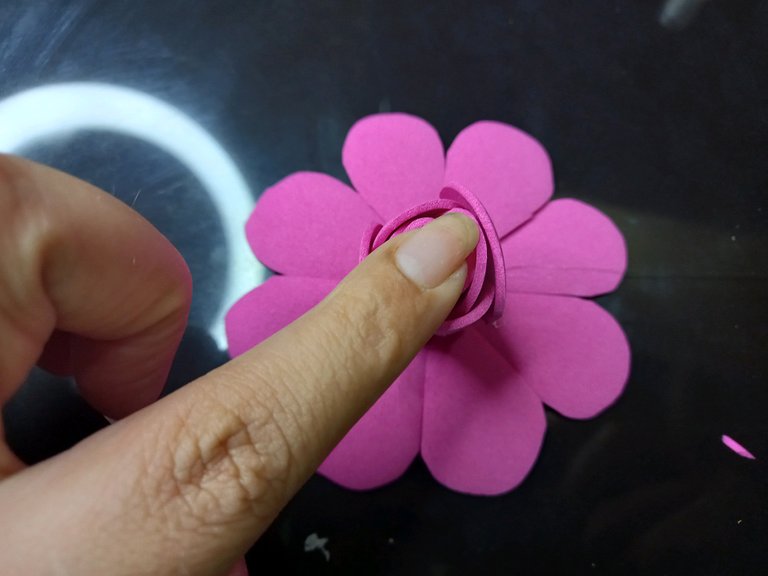
• El próximo circulo repetimos el procedimiento anterior sin llegar hasta arriba cada pétalo.
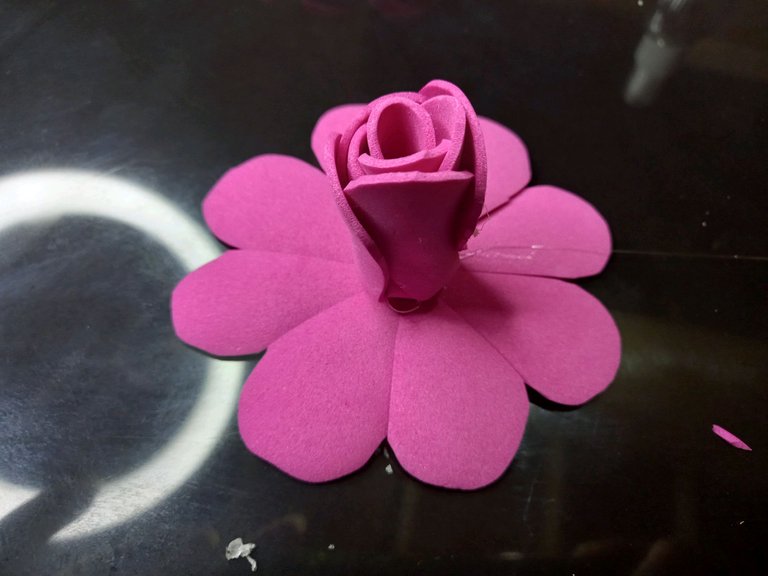
• El ultimo circulo lo pegamos en sentido contrario al quemado de la plancha.
These roses are very practical and you can make them in the color of your choice, you can also use the leftover cuttings from any other craft you have done.
- Mark 3 circles of the same diameter, you can use a compass or something with the figure already defined, it will surely be easier.
- Cut out each circle with long strokes.
- Once each circle is ready, with a wooden stick and a ruler mark each line of the inner compartment. The more lines you make, the more petals you will have.
- Cut out each marked line without reaching the center.
- With the help of an iron and carefully heat the foami to achieve shine and relief in the foami. Place the cut circle for 5 seconds and remove it.
- Next, shape each petal, preferably oval from the inside out.
- Repeat the above procedure on both sides and on each circle.
- We start shaping the center of the rose by gluing petals in the opposite direction.
- We continue following the guide step (above) until we glue all the petals.
- The next circle we repeat the previous procedure without reaching the top of each petal.
- The last circle we glue in the opposite direction to the burning of the plate.


Todas las imágenes son de mi propiedad.
Utilicé traductor DeepL versión gratuita
Imágenes, separadores, banner hechos en Canva
Contenido original de @marytp20