¡Hola, comunidad de Hive Diy! Hoy estoy bastante feliz porque al fin me he atrevido a compartir contenido desde esta comunidad. Les cuento que hace un par de días tomé la decisión de iniciar un Bullet Journal, para los que no saben qué esto pues simplemente se trata de una especie de agenda donde puedes plasmar -de forma bastante creativa- tus objetivos del mes, lista de tareas pendientes e incluso puedes hacer un seguimiento de tus emociones diarias. En pocas palabras este es un sistema de organización y de registro diaria que puedes terminar personalizando como quieras y puedes incluir la información que más desees.
Yo he decidido emplearlo, además de sistema de organización, como una forma para darle rienda suelta a mi creatividad y así, en lugar de estar realizando dibujos o collages aislados, puedo reunir todo eso en un mismo lugar. Pero bien, en esta publicación sólo les mostraré el paso a paso de cómo decoré la página inicial de lo que será mi Bullet Journal, pues dado que aún nos encontramos a cinco días para que finalice el mes de Marzo no tenía sentido realizar una planificación para este mes y tampoco quería adelantarme demasiado a realizar una planificación para Abril, así que sólo me dediqué a realizar una linda portada, que lograra motivarme lo suficiente pues es lo primero que siempre me encontraré al abrir mi agenda.
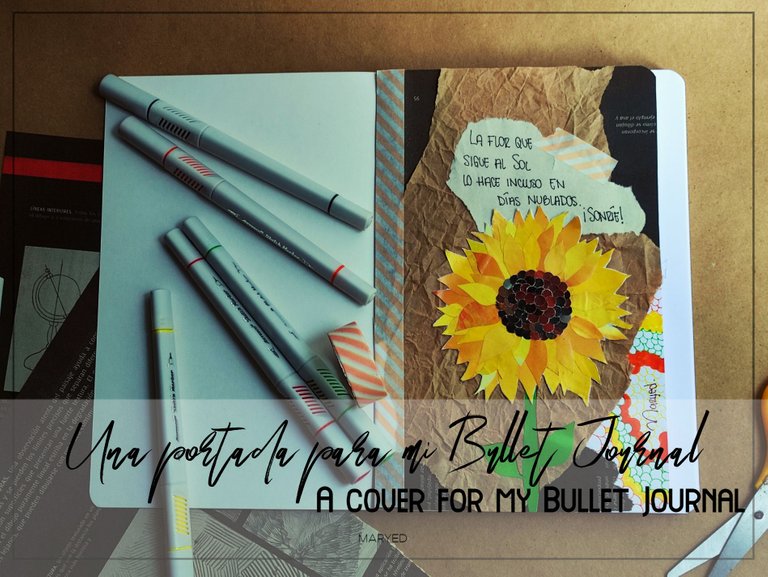
Para esta portada realicé un collage de mi flor favorita: el girasol y apliqué un poco la técnica de scrapbooking en toda la página principal. Quería que fuese algo lindo y llamativo, pero que a la vez no estuviese tan saturado de demasiados elementos. Cabe destacar que algunos de los elementos que empleé son reciclables como por ejemplo, la hoja donde realicé el boceto de la flor, las revistas y la bolsa de papel marrón. Pero bien, sin más qué decir, a continuación les comparto el paso a paso de cómo elaboré una portada para mi Bullet Journal.
Hello, Hive Diy community! Today I am quite happy because I have finally dared to share content from this community. I tell you that a couple of days ago I made the decision to start a Bullet Journal, for those who don't know what this is, it's simply a kind of diary where you can capture -quite creatively- your goals for the month, to-do list and you can even keep track of your daily emotions. In a few words, this is a system of organization and daily record that you can end up customizing as you want and you can include the information you want.
I have decided to use it, as well as an organizational system, as a way to give free rein to my creativity and so, instead of making isolated drawings or collages, I can gather all that in one place. But well, in this publication I will only show you the step by step of how I decorated the initial page of what will be my Bullet Journal, since we are still five days away from the end of March, it didn't make sense to make a plan for this month and I didn't want to get too far ahead to make a plan for April, so I only dedicated myself to make a nice cover, that could motivate me enough since it is the first thing that I will always find when I open my agenda.
For this cover I made a collage of my favorite flower: the sunflower and I applied a little bit of scrapbooking technique all over the main page. I wanted it to be cute and eye-catching, but at the same time not so saturated with too many elements. It is worth mentioning that some of the elements I used are recyclable, for example, the sheet where I made the flower sketch, the magazines and the brown paper bag. Well, without further ado, here is the step-by-step of how I made a cover for my Bullet Journal.

Materiales
Materials
✔ Revistas
✔ Hojas reciclables
✔ Cinta adhesiva con estampado (Whasi-Tape)
✔ Bolsa de papel
✔ Pega en barra y líquida
✔ Tijera, cúter, lápiz
✔ Bolígrafo o marcador negro de punta fina
✔ Magazines
✔ Recyclable sheets
✔ Adhesive tape with embossing (Whasi-Tape)
✔ Paper bag
✔ Glue stick and liquid glue.
✔ Scissors, cutter, pencil
✔ Black ballpoint pen or black fine tip marker

Girasol en collage
Sunflower in collage
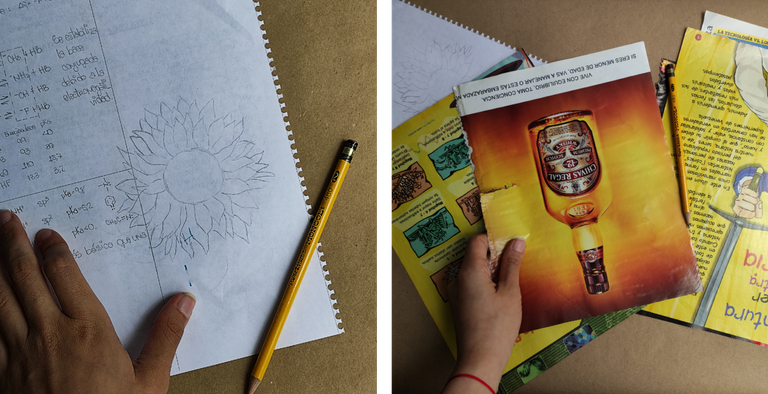
Cada vez que me dispongo a realizar un collage, el primer paso que ejecuto es dibujar el boceto de la figura que deseo plasmar. Esto siempre suelo hacerlo en una hoja ya usada, pues el fin es tener algunas líneas guías para luego comenzar a pegar los trozos de papel y no perderme en el camino.
Cuando ya tengo mi boceto listo, entonces comienzo a ojear revista por revista para ir seleccionando hojas con los colores que emplearé. Siempre suelo emplear tonos diferentes de un mismo color para que el collage no resulte demasiado lineal y pueda distinguirse lo que intento plasmar sin que resulte ser demasiado saturado para la vista.
Whenever I am about to make a collage, the first step I take is to draw the sketch of the figure I want to capture. I always do this on a used sheet of paper, because the purpose is to have some guide lines so that I can start gluing the pieces of paper together and not get lost on the way.
When I have my sketch ready, then I start looking through magazine by magazine to go selecting sheets with the colors I will use. I always use different tones of the same color so that the collage is not too linear and what I am trying to capture can be distinguished without being too saturated for the eye.
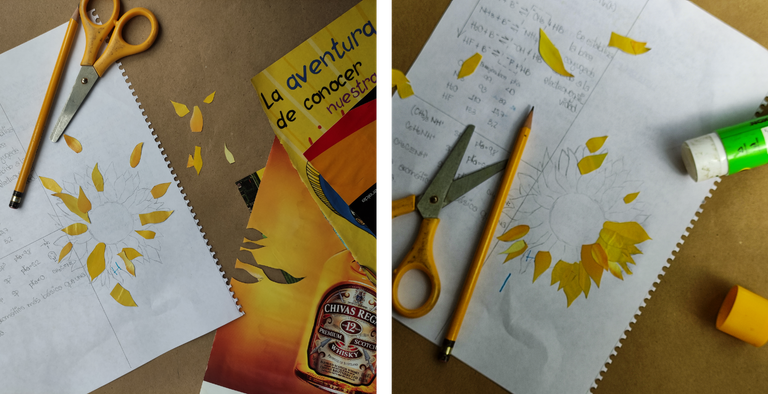
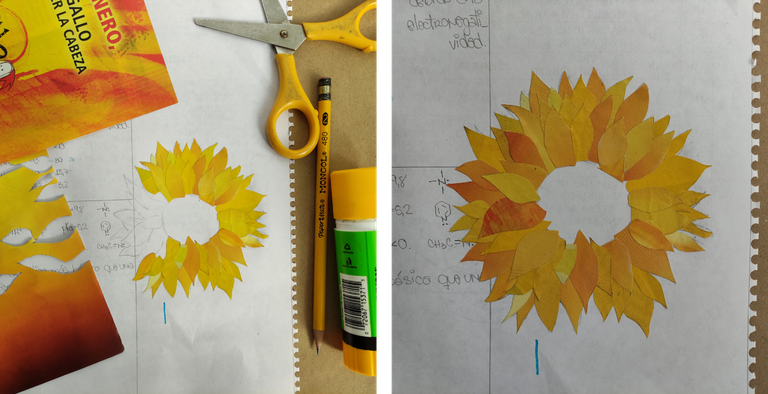
En la mayoría de los collages que realizo, suelo rasgar el papel pero en este caso, al tratarse de las hojas de una flor, no podía hacer lo mismo, así que fui dibujando la forma de las hojas del girasol, de diferentes tamaños, sobre los papeles de revista. Los recorté tratando de quedaran lo más prolijos posible y luego comencé a pegarlos sobre las líneas guías.
In most of the collages I make, I usually tear the paper, but in this case, being the leaves of a flower, I couldn't do the same, so I drew the shape of the sunflower leaves, in different sizes, on the magazine papers. I cut them out trying to make them as neat as possible and then I started to glue them on the guide lines.
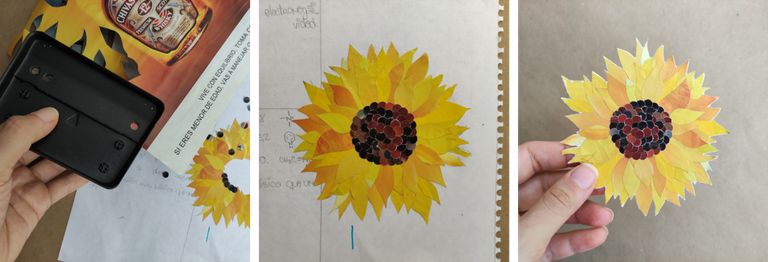
Ahora, para realizar la parte central, tomé un abre huecos para obtener trocitos perfectamente redondos y del mismo tamaño de papeles de tonalidades oscuras: negro y marrón. Me pareció que se vería bonito si empleaba distintos tonos de marrón junto con el negro en lugar de un sólo color oscuro, ¡el resultado me ha parecido genial!
Luego de terminar la parte central del girasol, procedí con la parte que menos me gusta: recortar la figura. Aunque en realidad, luego de varios cortes probé hacerlo con un cúter y sí que resultó menos engorroso y tedioso.
Now, to make the central part, I took a hole opener to get perfectly round and same size pieces of dark shades of paper: black and brown. I thought it would look nice if I used different shades of brown together with the black instead of just one dark color, and I think the result is great!
After finishing the central part of the sunflower, I proceeded with the part I like the least: cut out the figure. Although actually, after several cuts I tried doing it with a cutter and it did turn out to be less cumbersome and tedious.

Armando la página inicial
Building the home page
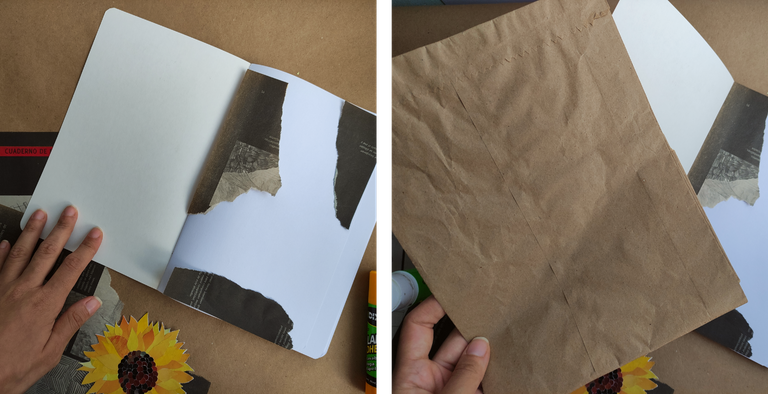
Con la figura central lista, procedí con el "fondo" de mi página principal. Rasgué algunas páginas de color negro de una revista y las pegué en las esquinas superior y la parte inferior de la página. Tomé una de estas bolsas de papel marrón que tenía guardada desde hace tiempo porque sabía que sería útil para algo.
With the center figure ready, I proceeded with the "background" of my main page. I tore some black colored pages from a magazine and glued them to the top and bottom corners of the page. I took one of these brown paper bags that I'd had in storage for some time because I knew it would come in handy for something.
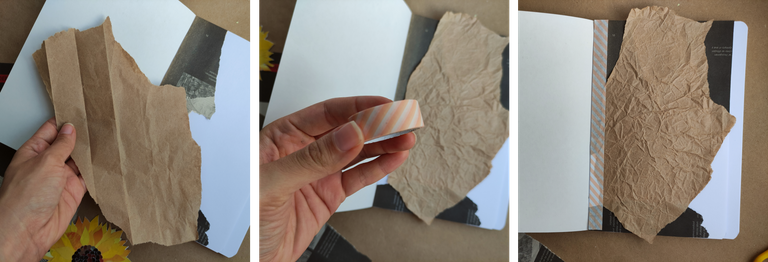
Rasgué una parte de la bolsa de papel marrón y la arrugué para darle un efecto más genial. Luego la pegué con suficiente pega líquida. También decoré uno de los laterales de la hoja con Washi-Tape, que no es más que cinta adhesiva decorativa. Yo, particularmente, amo el Washi-Tape. Diría que es uno de mis utensilios de papelería favoritos porque le dan un toque hermoso y sutil a lo que sea que te dispongas a elaborar. Además, de que no sólo los hay estampados, también existen escarchados y con texturas.
I ripped a part of the brown paper bag and crumpled it up to give it a cooler effect. Then I glued it with enough liquid glue. I also decorated one of the sides of the sheet with Washi-Tape, which is nothing more than decorative tape. I particularly love Washi-Tape. I'd say it's one of my favorite stationery tools because they add a beautiful and subtle touch to whatever you're about to make. Plus, not only are there patterned ones, but also frosted and textured ones.
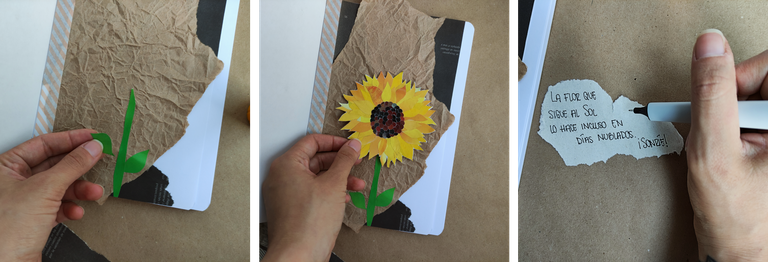
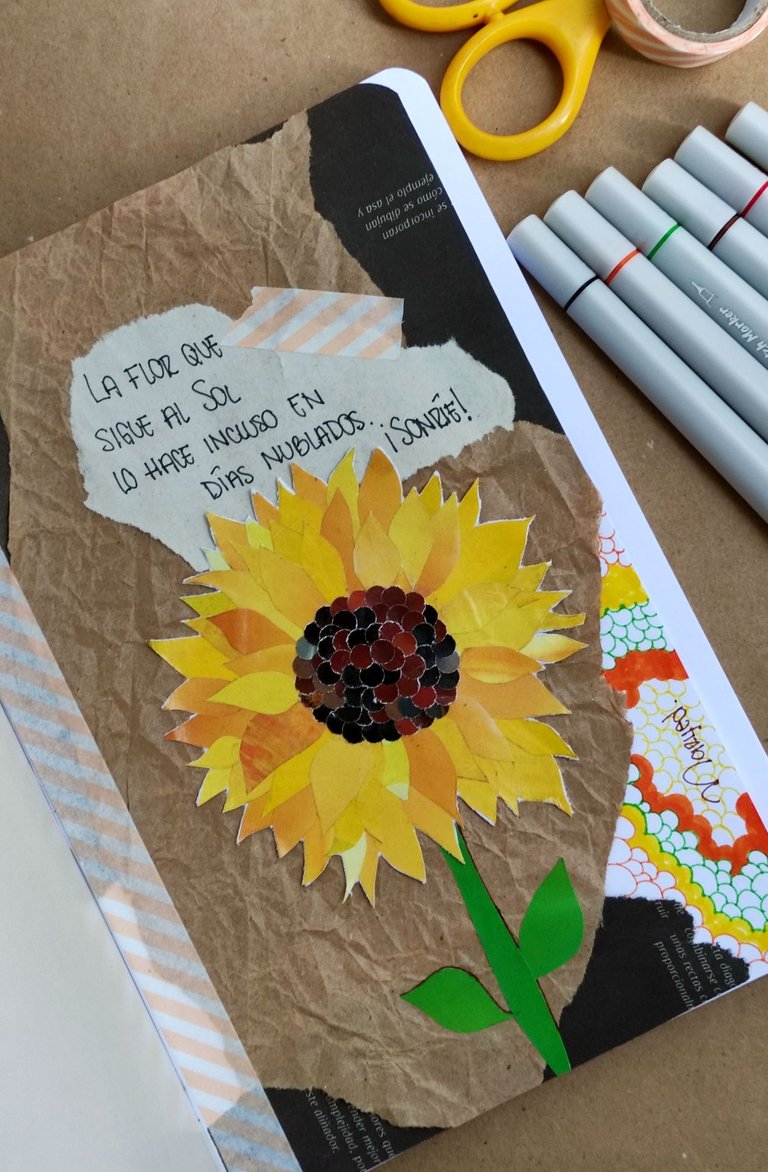
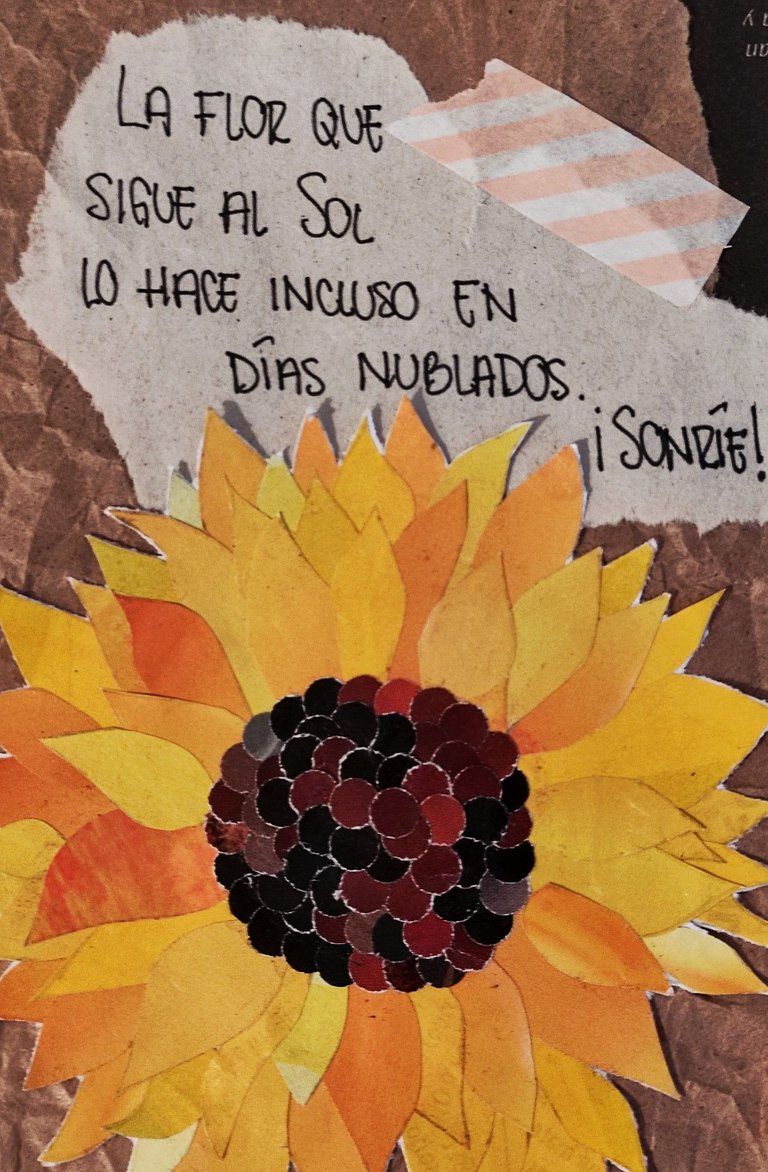
Con la página casi terminada, recorté en papel de revista verde el tallo de mi flor y dos hojas de diferente tamaño. Pegué el girasol y, por último, en un trozo de papel rasgado escribí una linda frase cuya intención es que, cada vez que abra mi pequeño diario, me recuerde que siempre es posible ver un pequeño rayo de luz entre tanta oscuridad. La verdad es que para mí esta frase en particular dice mucho con tan pocas palabras.
With the page almost finished, I cut out of green magazine paper the stem of my flower and two leaves of different sizes. I glued the sunflower and, finally, on a torn piece of paper I wrote a nice sentence whose intention is that, every time I open my little diary, it reminds me that it is always possible to see a small ray of light among so much darkness. The truth is that for me this particular sentence says a lot with so few words.

Resultados
Results
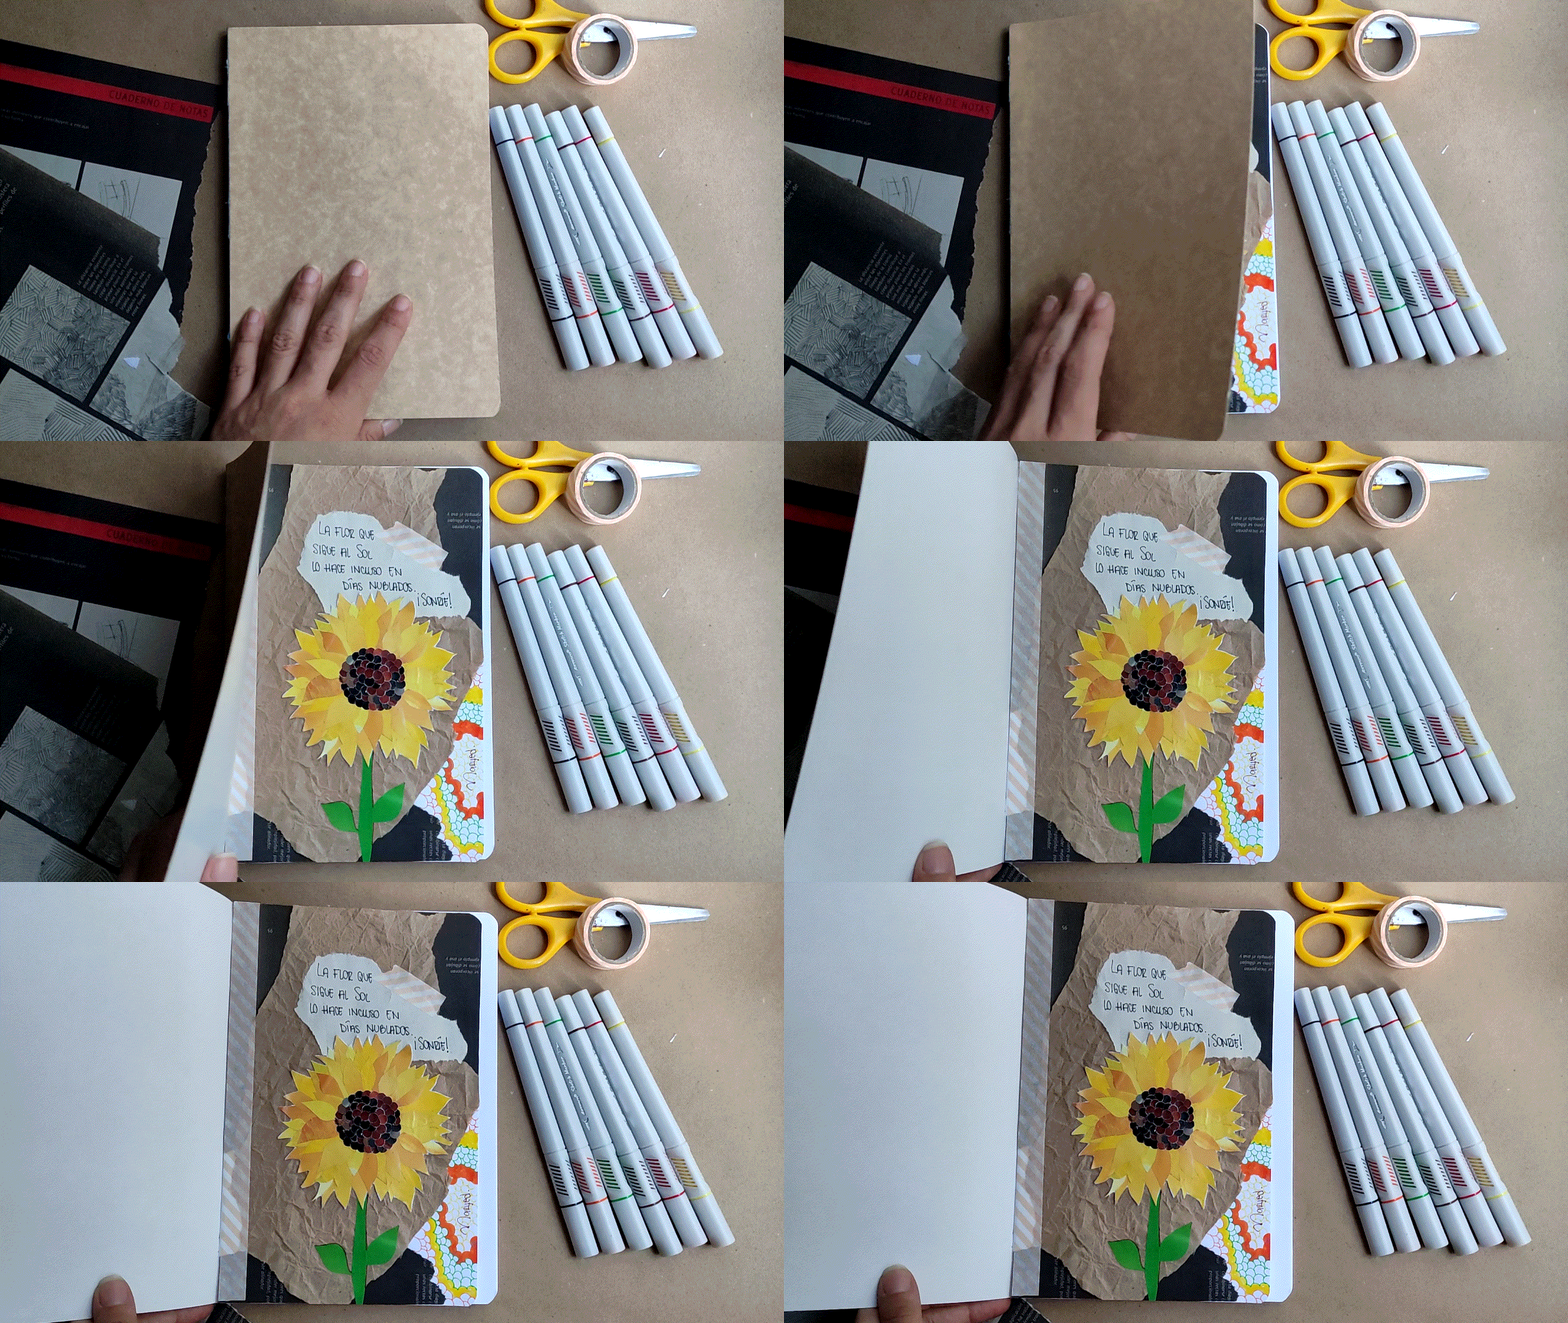
El tema con los collages es que no tienes que seguir un patrón estricto, simplemente no hay reglas de lo que debes hacer o no debes hacer. Yo diría que la única regla es que dejes volar tu creatividad libremente y te diviertas mientras rasgas y cortas trocitos de papel.
Como les comenté al inicio, aún no he realizado mi planificación del mes de Abril en mi Bullet Journal, pero mi intención es mostrarles un poco del paso a paso cuando comience a llevar acabo dicha tarea. Además, también les daré algunos tips y recomendaciones que podrán ser de utilidad al momento de querer iniciar un Bullet Journal.
The thing about collages is that you don't have to follow a strict pattern, there are simply no rules of what you should or shouldn't do. I would say the only rule is to let your creativity run free and have fun while tearing and cutting little pieces of paper.
As I mentioned at the beginning, I have not yet done my April planning in my Bullet Journal, but my intention is to show you a little bit of the step by step when I start to do it. In addition, I will also give you some tips and recommendations that may be useful when you want to start a Bullet Journal.

Gracias por leer esta publicación. ¡Hasta la próxima!
Thanks for reading this post. See you next time!

✎ Edición por | Edition by: @maryed, Pixlr Photo Editor & Canva.com
✂ Separador | Separator: Separadores de texto para Blog
Translated with www.DeepL.com/Translator (free version)


