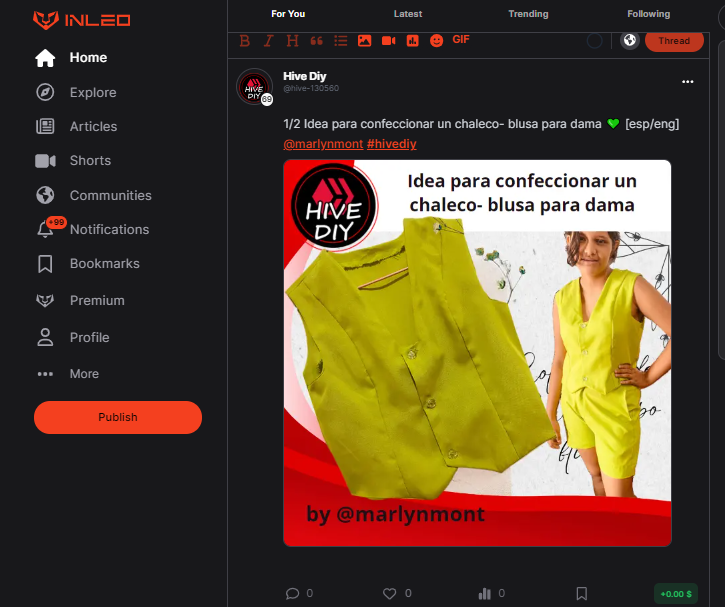
Feliz domingo queridos amigos de Hive Diy ❤️
Como costureras creo que siempre nos ataca la curiosidad de saber cómo se hacen las prendas, sobre todo esas que nos gustan mucho, desde hace días he visto que están muy de moda las blusas tipo chaleco, así que me puse manos a la obra y hoy quiero mostrarles una forma de hacer este lindo modelo de chaleco, lindo y muy práctico para diferentes estilos, ven y te muestro como lo hice:
Happy Sunday dear friends of Hive Diy! ❤️
As seamstresses, I think we are always curious to know how clothes are made, especially those that we really like. For a few days now I have seen that vest-type blouses are very fashionable, so I got to work and today I want to show you a way to make this cute vest model, cute and very practical for different styles, come and I will show you how I did it:
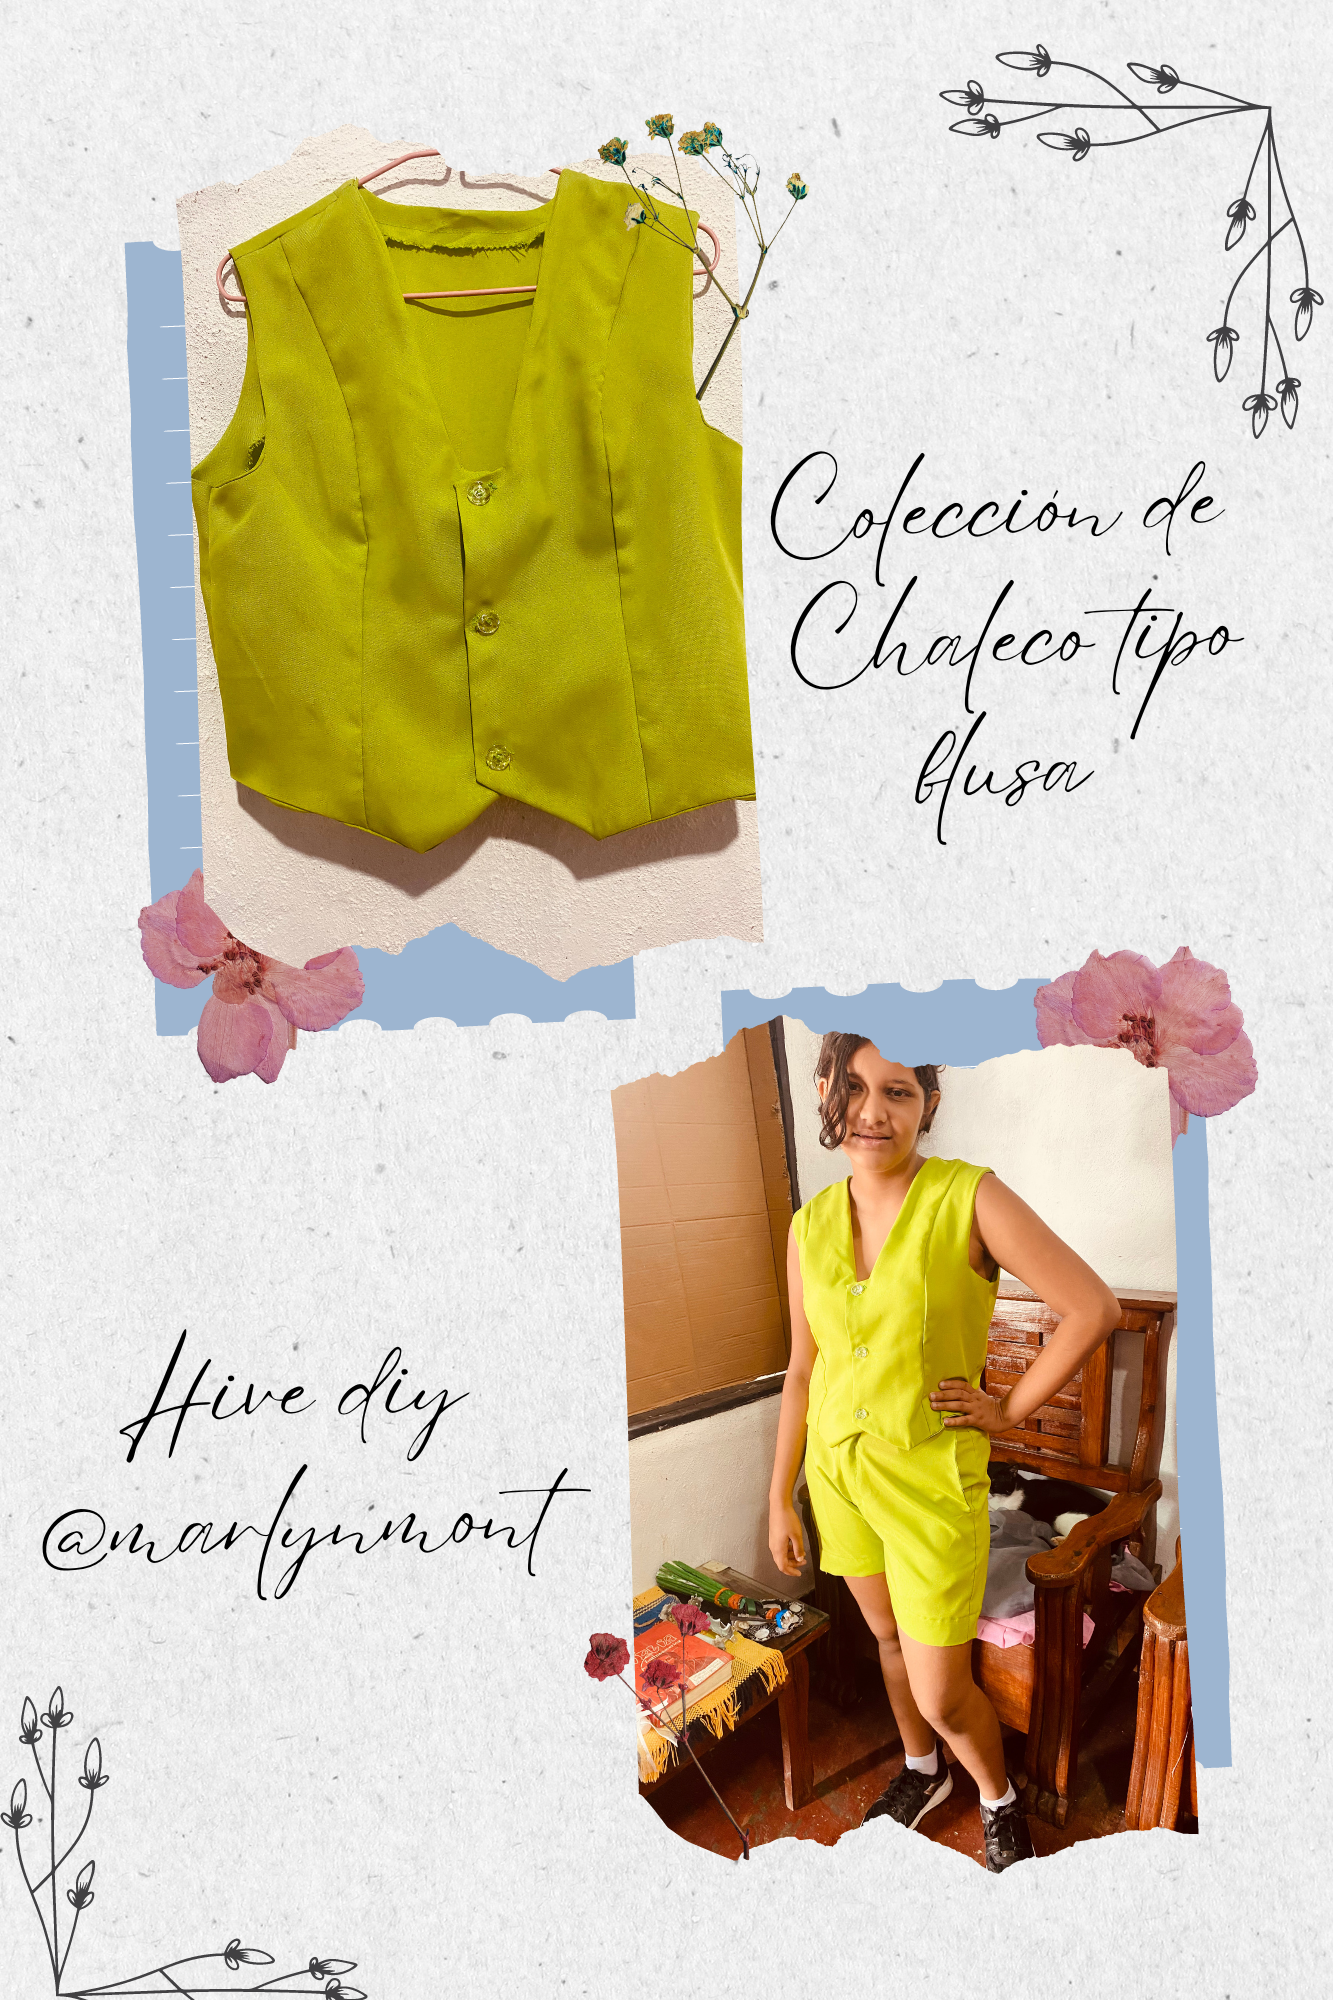
MATERIALES
MATERIALS
Siempre me ha gustado diseñarme mis propias prendas, ya que al hacerlas nosotras mismas nos quedan a nuestra medida y a nuestro gusto, toda mi vida he practicado la costura y actualmente estoy haciendo un curso de patronaje y partiendo del patrón básico podemos diseñar muchísimos tipos de prenda, también he buscado un poco de ayuda en internet para hacer las modificaciones respectivas al patrón principal y aquí les comparto el resultado de cómo hice este lindo chaleco, los materiales a utilizar son:
- papel para hacer el patrón principal
- tela de su preferencia
- tijeras, lápiz, tiza para marcar la tela.
- máquina de coser
- Hilo
I have always liked to design my own clothes, since when we make them ourselves they are tailored to our size and taste. I have practiced sewing all my life and I am currently taking a pattern making course and starting from the basic pattern we can design many types of garments. I have also looked for a little help on the internet to make the respective modifications to the main pattern and here I share with you the result of how I made this cute vest. The materials to use are:
- paper to make the main pattern
- fabric of your choice
- scissors, pencil, chalk to mark the fabric.
- sewing machine
- thread
PASO A PASO
STEP BY STEP
Las medidas que utilizaré para este chaleco son las de mi hija las cuales son:
Ancho de espalda 37 cm
Contorno de busto 92 cm
Largo detalle 46 cm
Alto de pinza 27 cm
contorno de cintura 82 cm
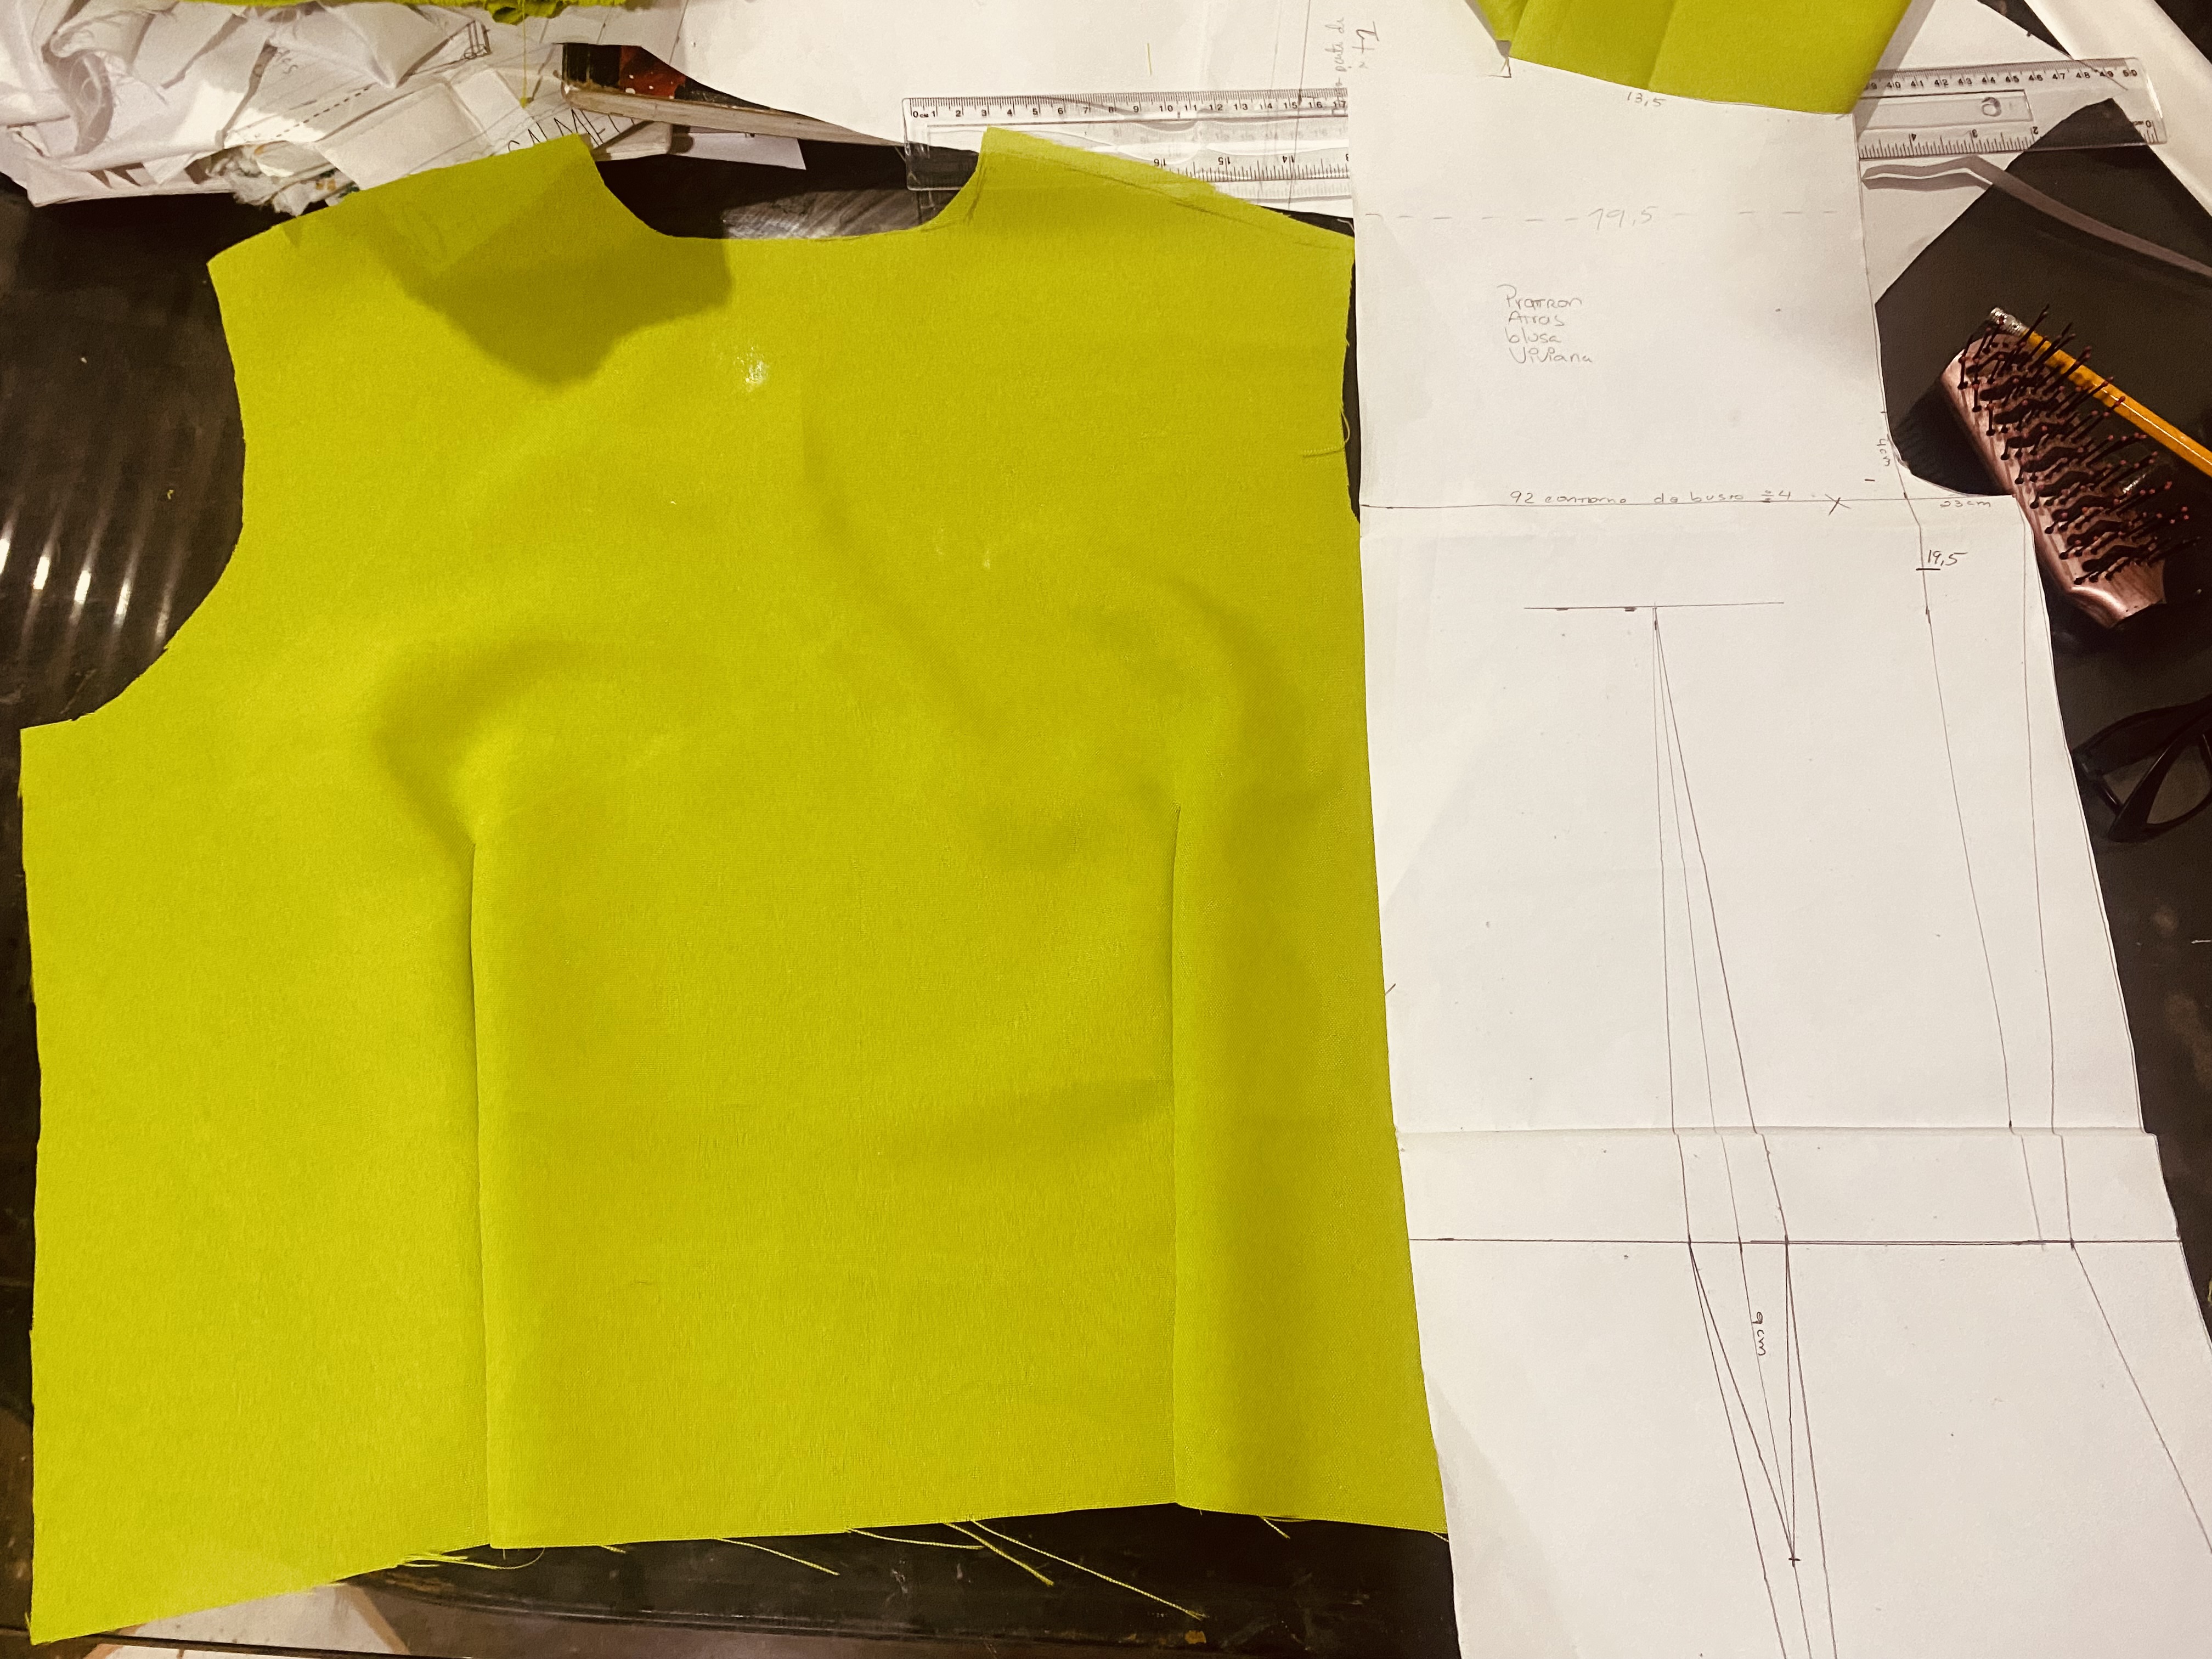
Con este modelo vamos a trabajar con el patrón sólo hasta la medida de cintura, el patrón de atrás de la blusa será tal cual nos da el patrón Basico principal, para dibujar los patrones sobre nuestras prendas vamos a aumentar 3 cm en un costado en la parte de la manga sólo 1 cm, en el hombro 1 cm y en la parte del escote sólo medio centímetro.
The measurements I will use for this vest are those of my daughter, which are:
Back width 37 cm
Bust circumference 92 cm
Detail length 46 cm
Height of dart 27 cm
Waist circumference 82 cmWith this model we are going to work with the pattern only up to the waist measurement, the pattern on the back of the blouse will be exactly as given in the main Basic pattern, to draw the patterns on our garments we are going to increase 3 cm on one side in the sleeve area only 1 cm, on the shoulder 1 cm and on the neckline area only half a centimetre.
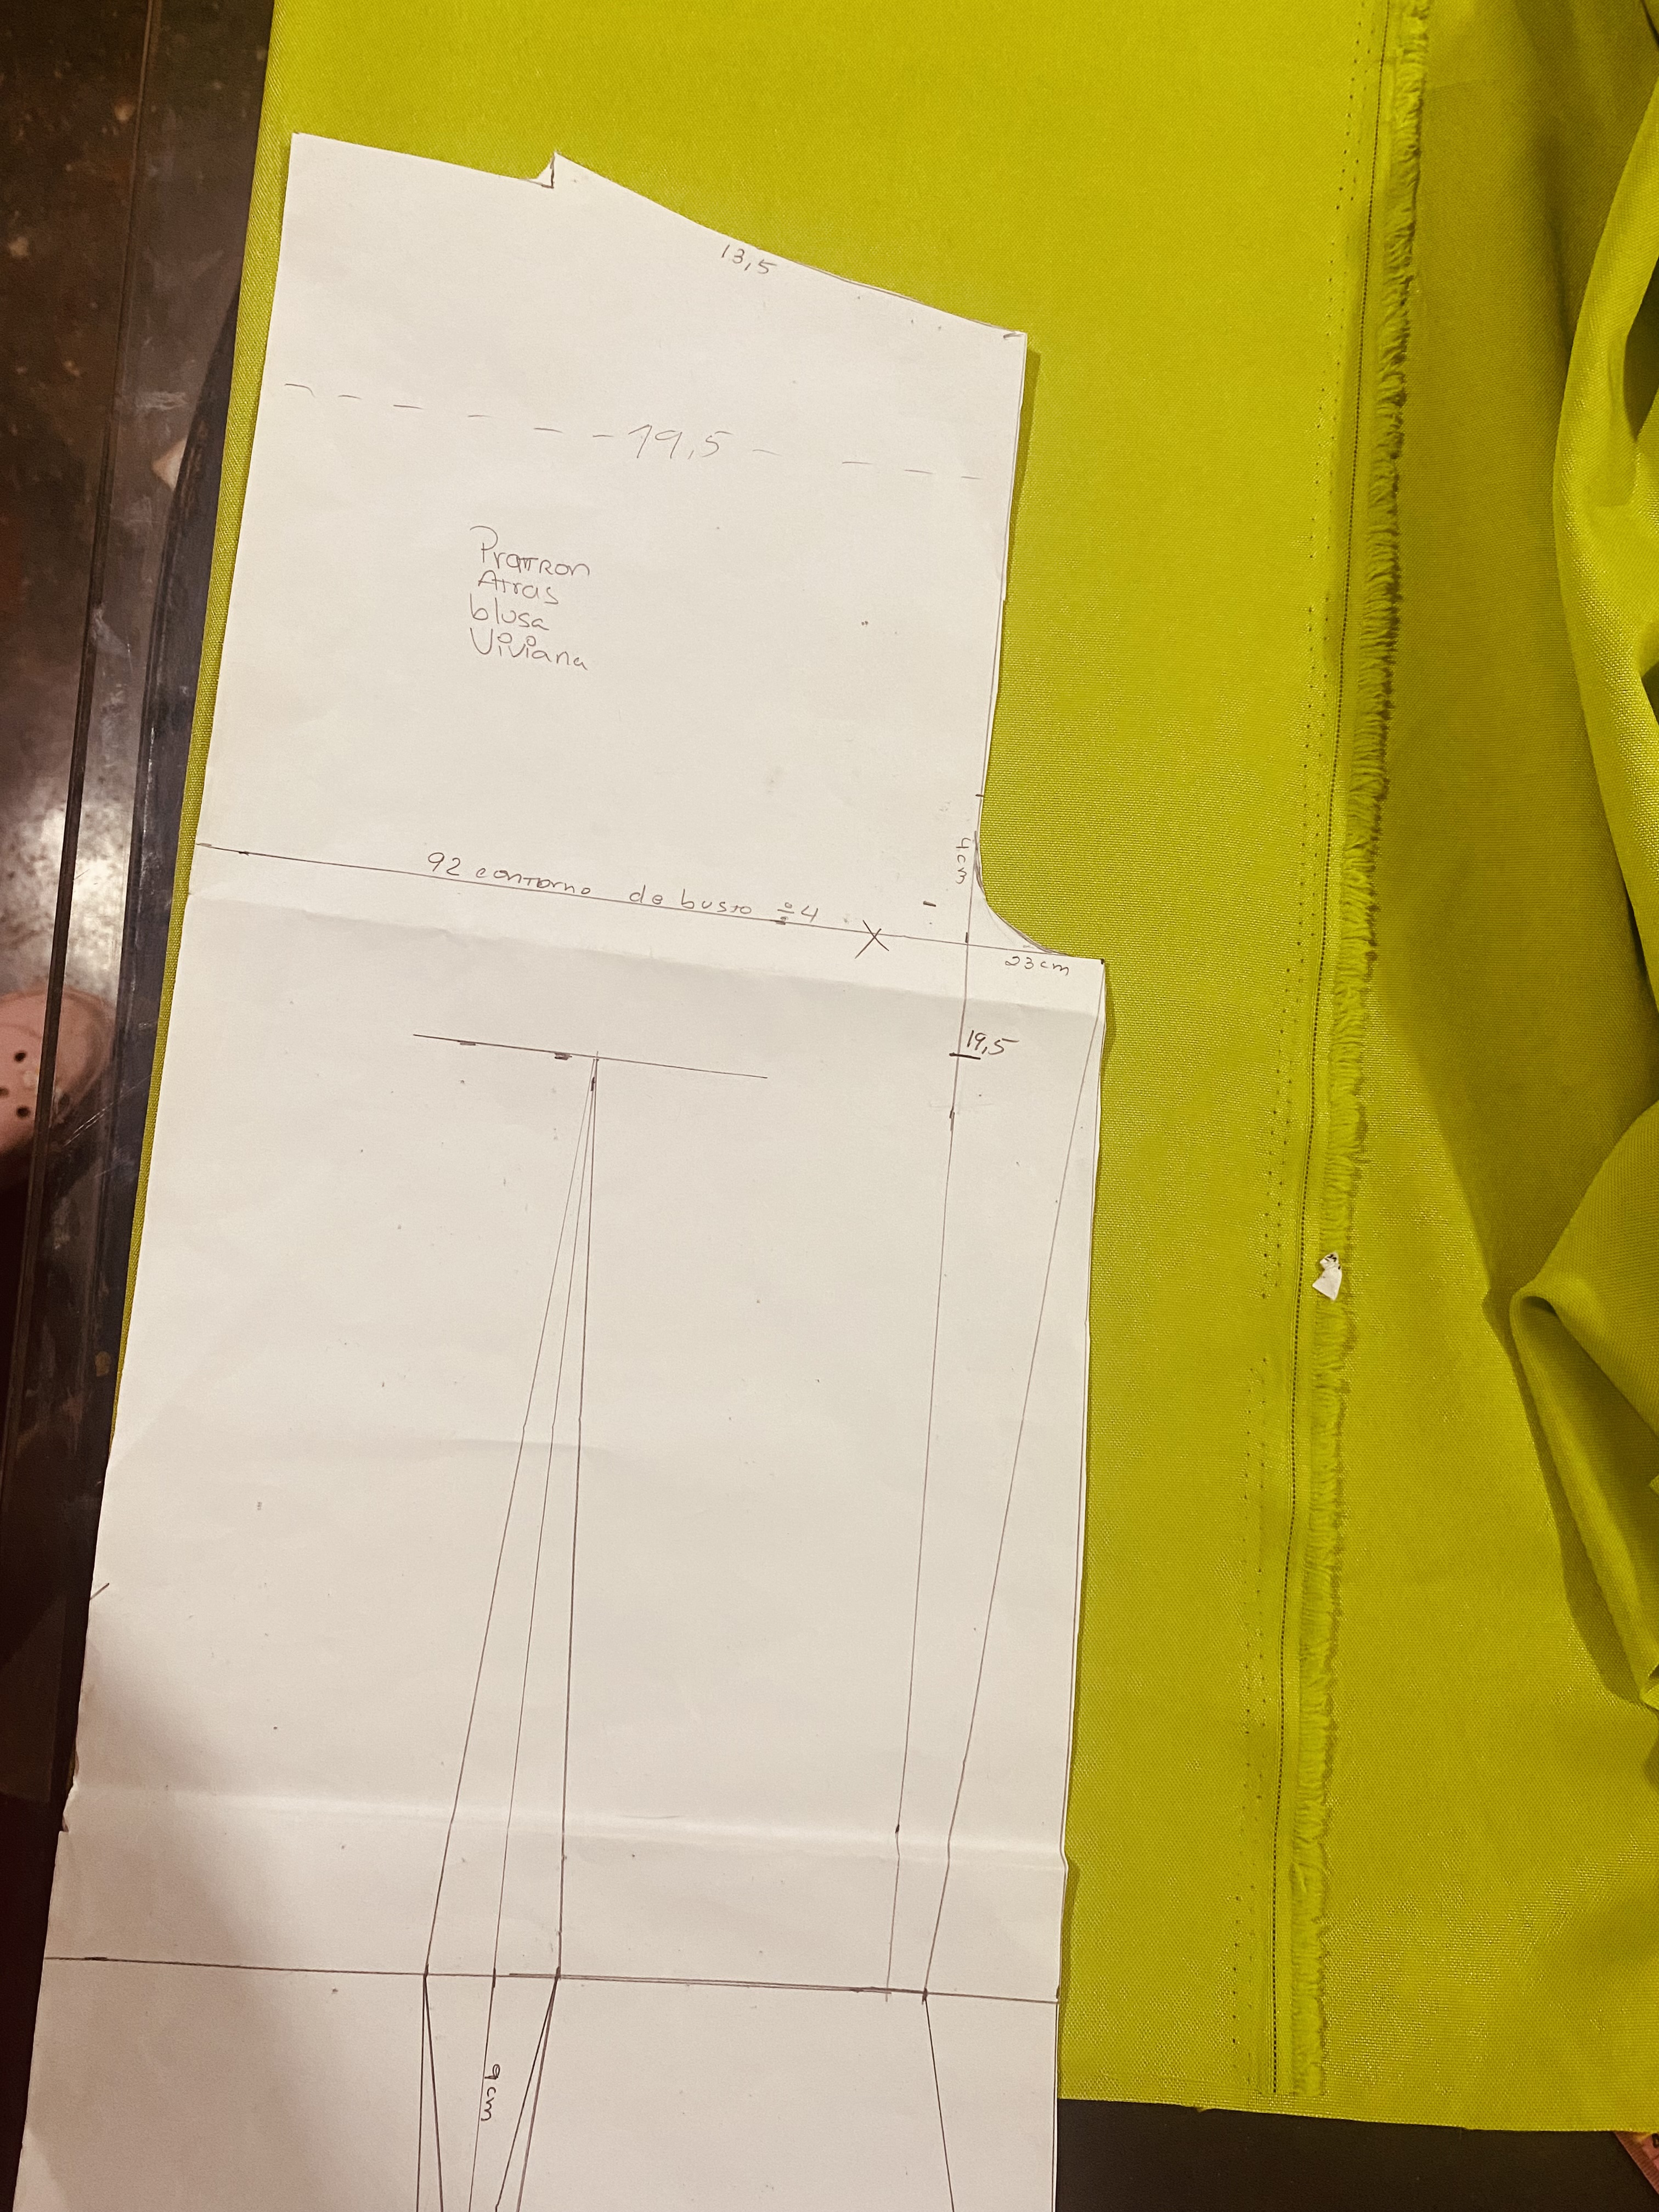
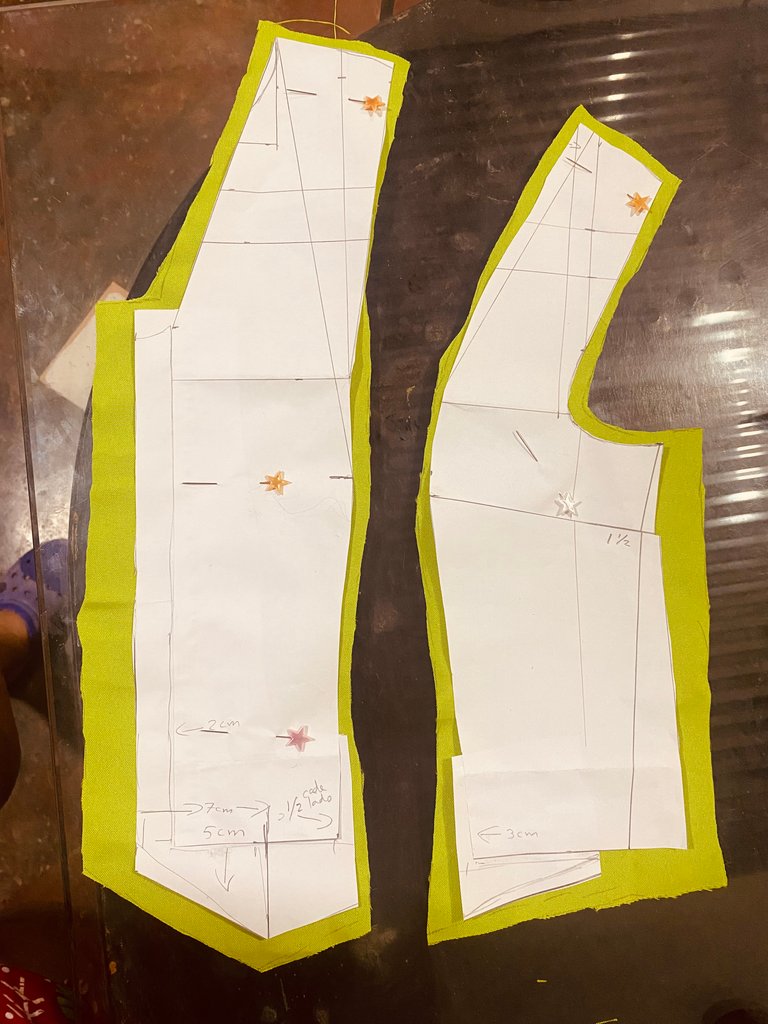
Ahora vamos con el patrón delantero , Éste llevará varias modificaciones, en la esquina inferior dejamos una distancia de 5 cm y bajamos 5 cm para Darle la forma triangular en la parte inferior del patrón, para la botonera le vamos a hacer un aumento de 2 cm, El patrón principal lleva una pinza en la parte superior del hombro que da hasta la altura del contorno de busto de esta pinza continuaremos hasta hacer otra pinza hasta la parte inferior la cual será de 3 cm de ancha, para poder darle bonita forma al contorno de busto vamos a hacerle una pinza igual de 3 cm por un costado, en mis imágenes les muestro como debe quedar el patrón.
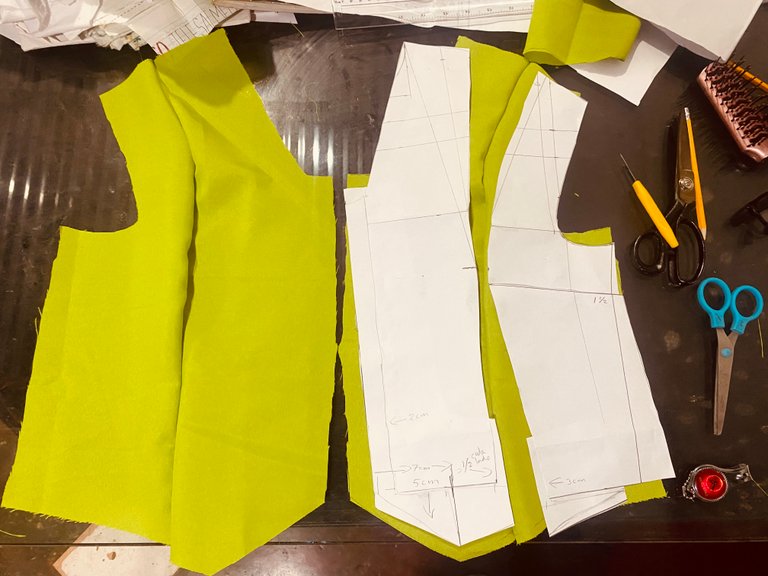
Cortaremos dos piezas de cada molde del patrón delantero, del patrón trasero doblaremos la tela a la mitad y colocamos el patrón sobre la tela y cortamos
Now we go with the front pattern, this will have several modifications, in the lower corner we leave a distance of 5 cm and we go down 5 cm to give it the triangular shape in the lower part of the pattern, for the buttonhole we are going to make an increase of 2 cm, The main pattern has a dart in the upper part of the shoulder that goes up to the height of the bust contour of this dart we will continue until we make another dart to the lower part which will be 3 cm wide, in order to give it a nice shape to the bust contour we are going to make an equal dart of 3 cm on one side, in my images I show you how the pattern should be.
We will cut two pieces of each pattern of the front pattern, from the back pattern we will fold the fabric in half and place the pattern on the fabric and cut
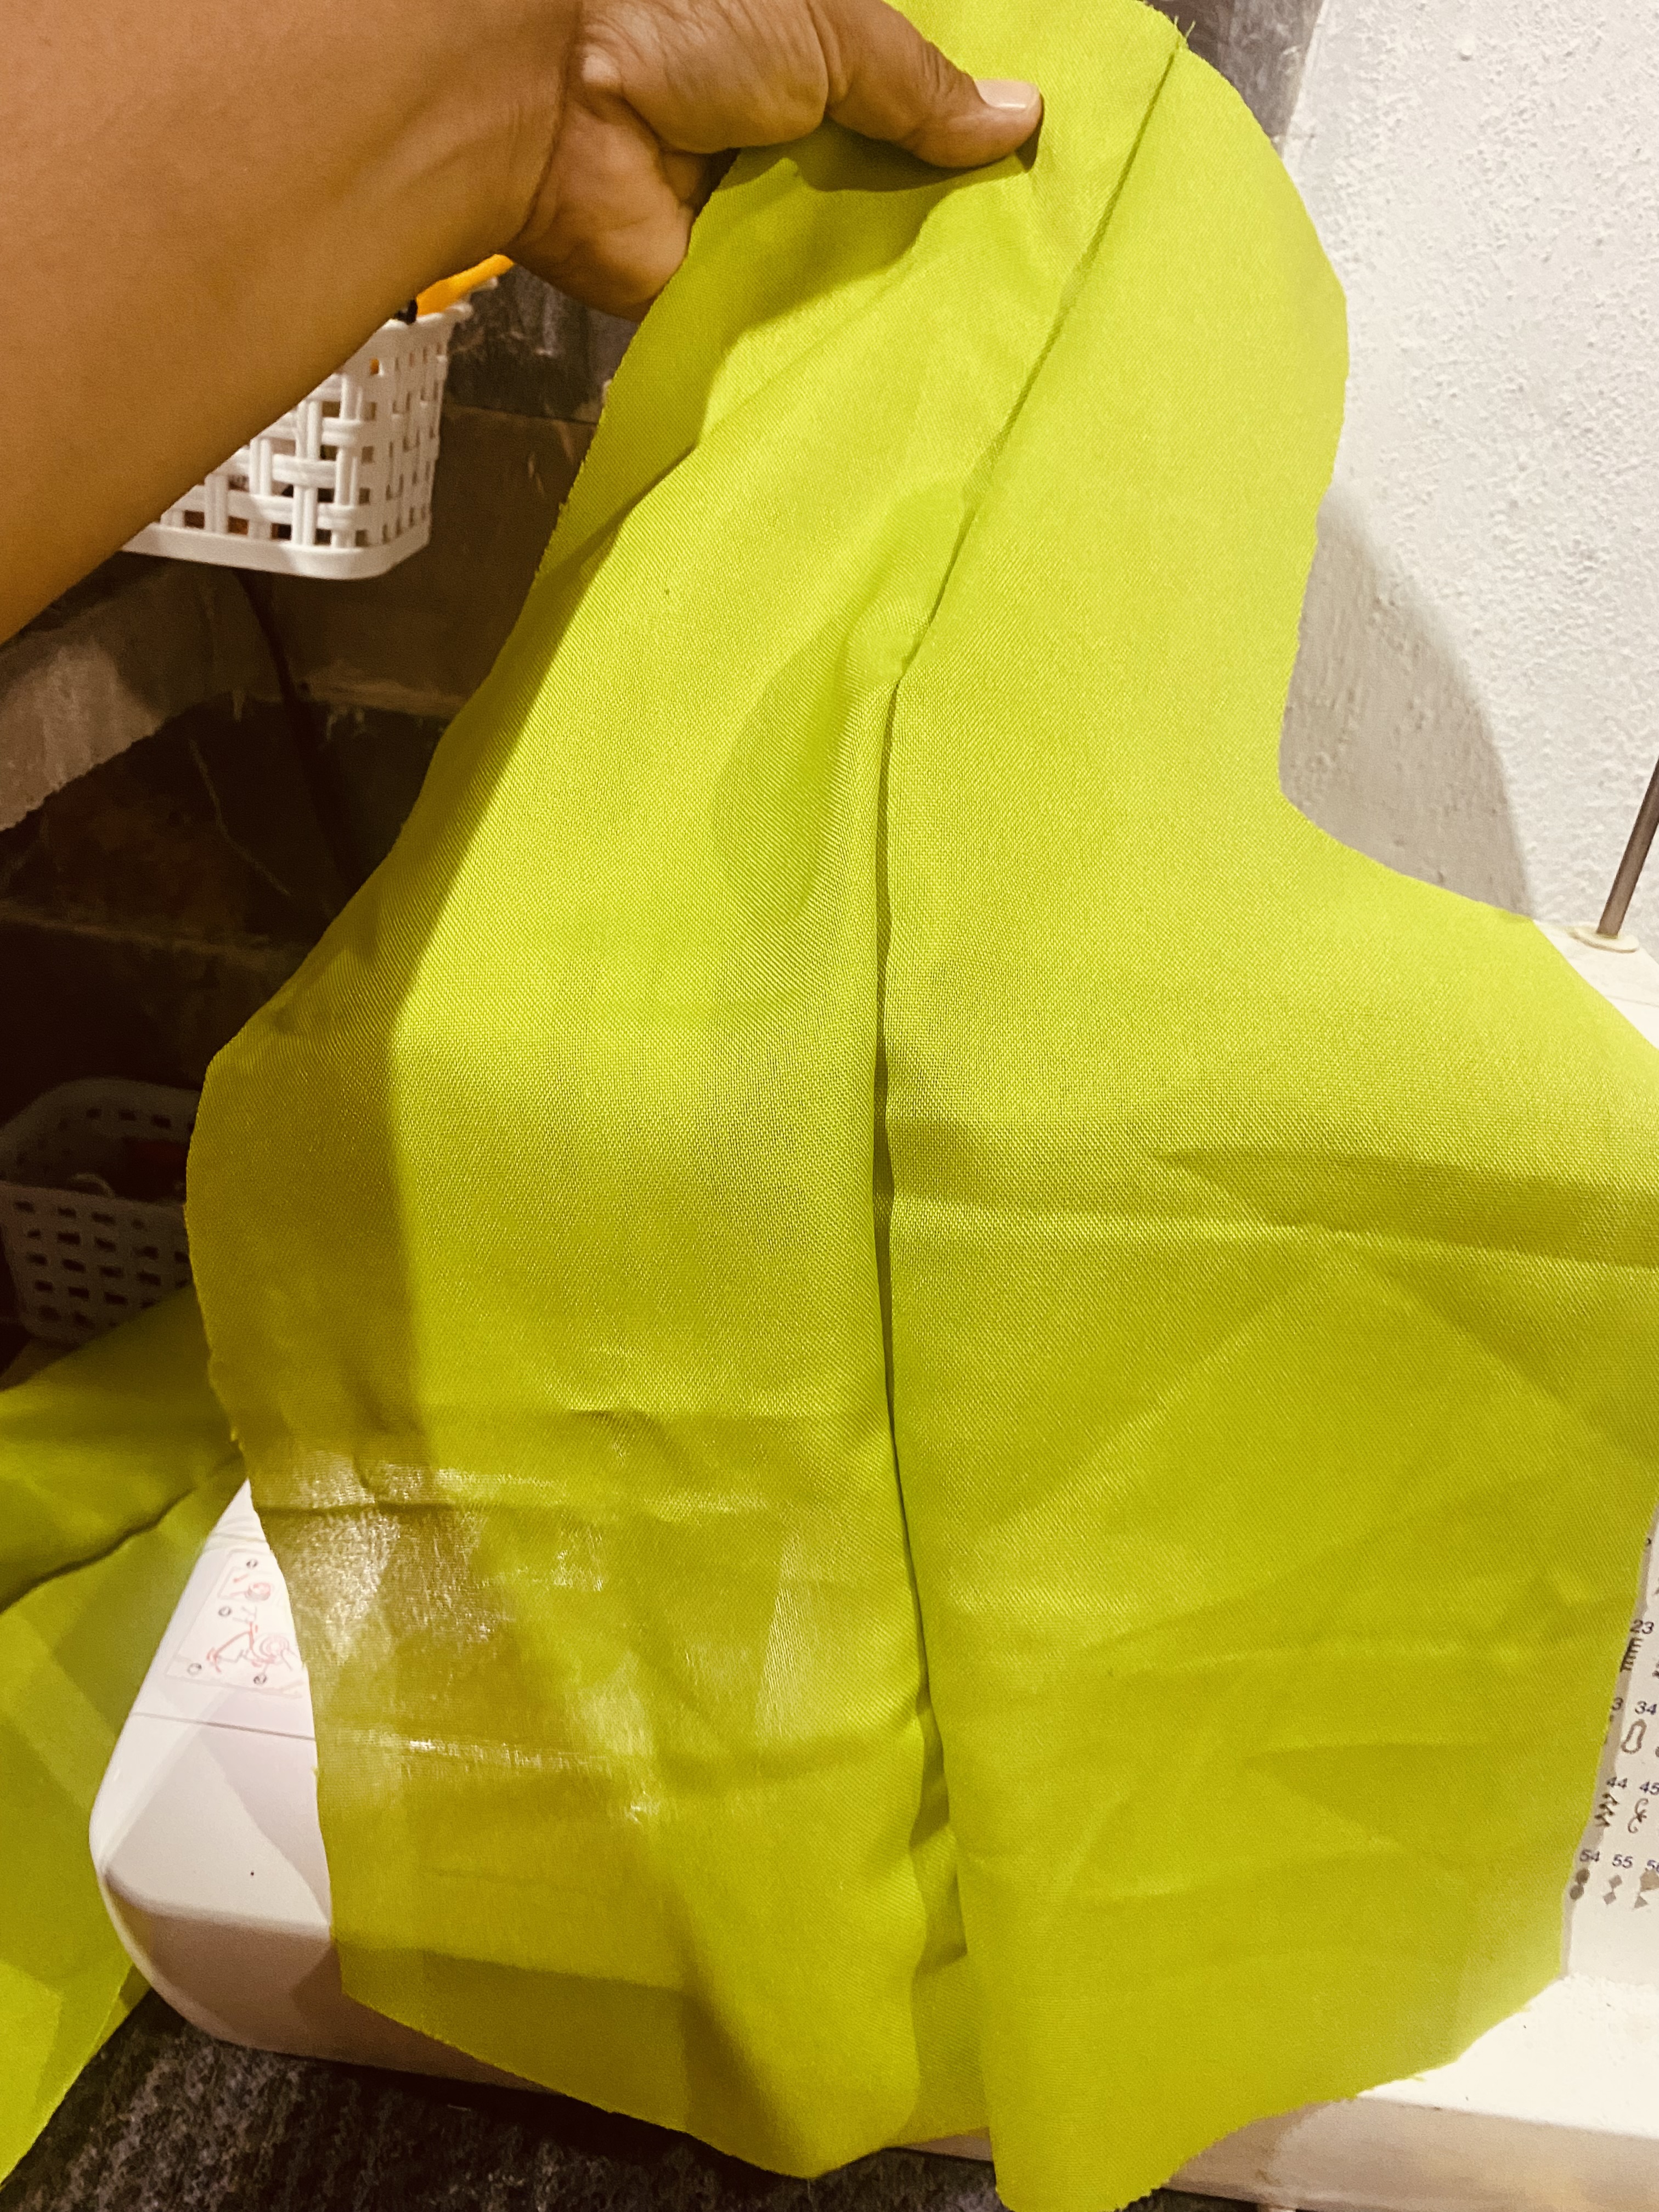
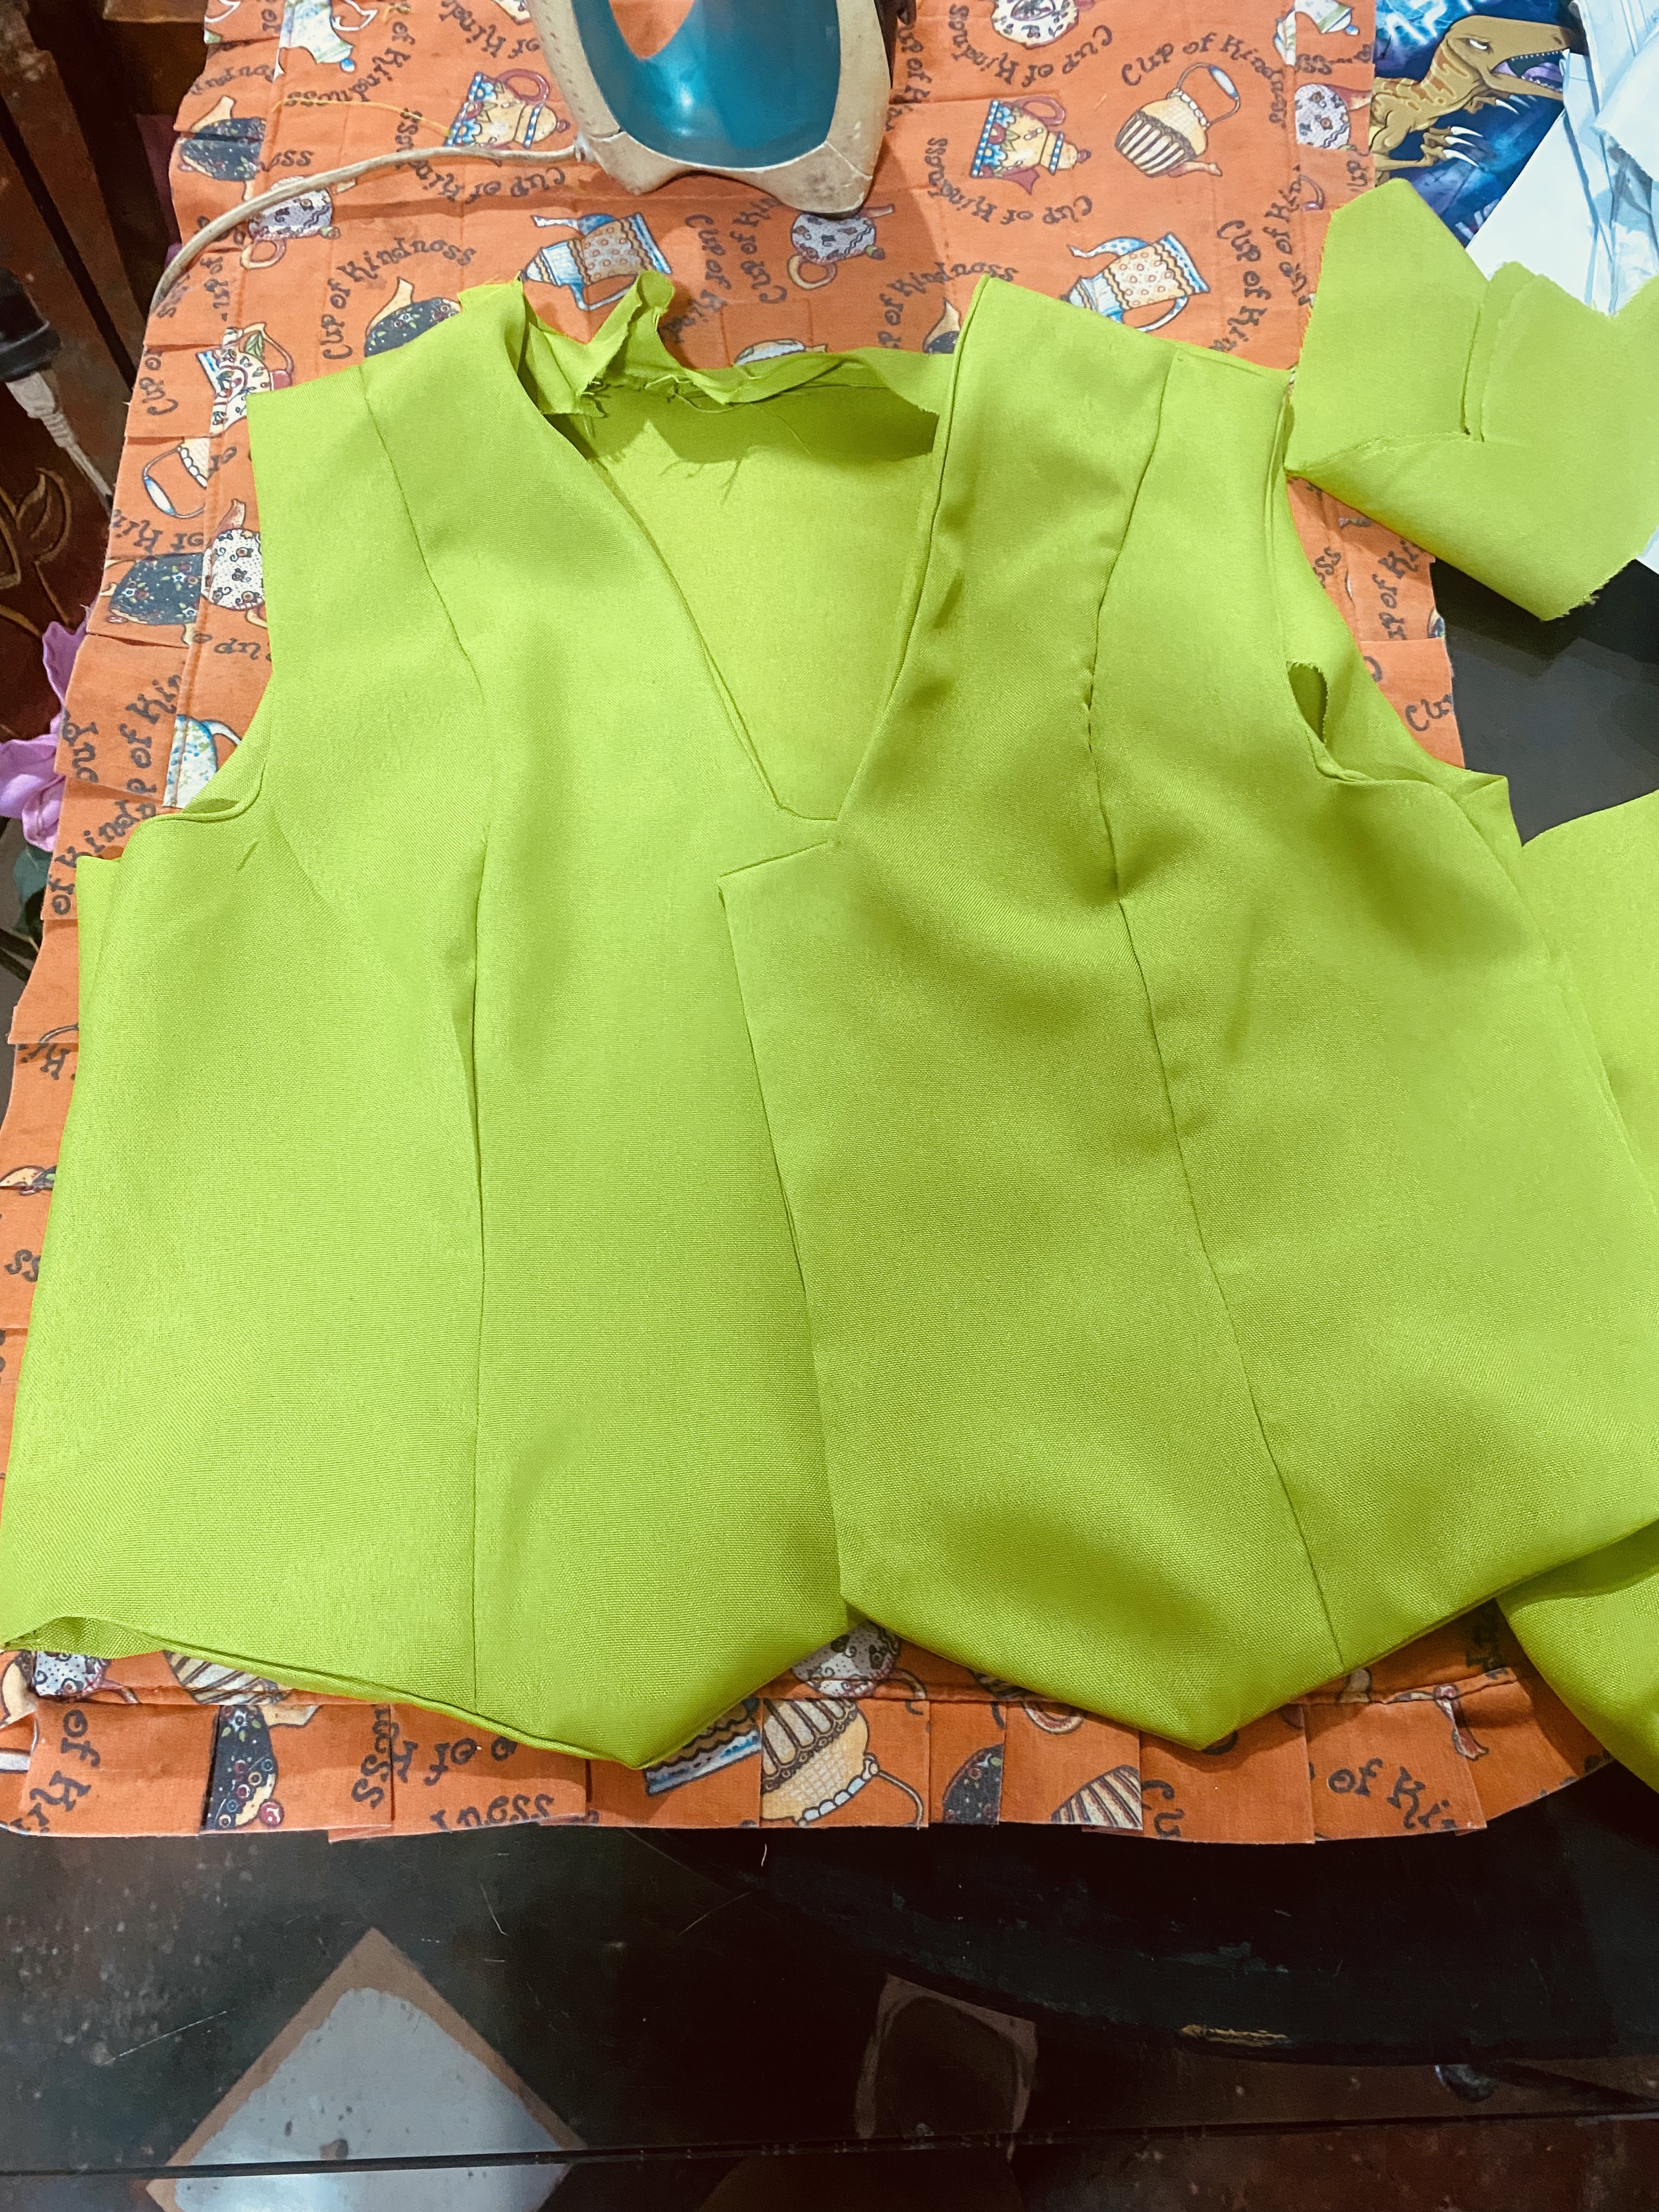
Para comenzar a coser uniremos las piezas delanteras tomamos una de cada modelo y unimos por el centro dejando una distancia de medio centímetro, a la pieza De atrás vamos a hacerle las pinzas, esto lo haremos doblando a la mitad y luego doblamos cada mitad en otra mitad hacemos la pinza de 3 cm de ancha por 22 cm de altura, luego unimos por los hombros uniendo todas las piezas.
To start sewing we will join the front pieces, take one of each model and join them down the center leaving a distance of half a centimeter. We will make the darts for the back piece, we will do this by folding it in half and then folding each half into the other half, making the dart 3 cm wide by 22 cm high, then we join at the shoulders, joining all the pieces.
 |  |
|---|---|
 | 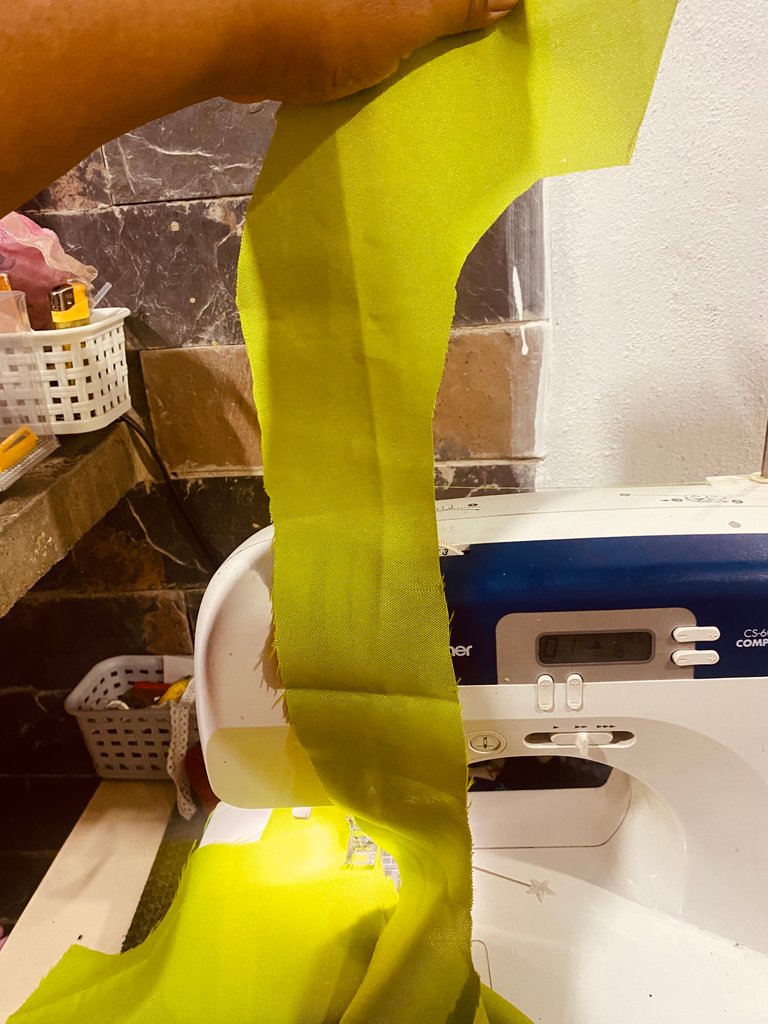 |
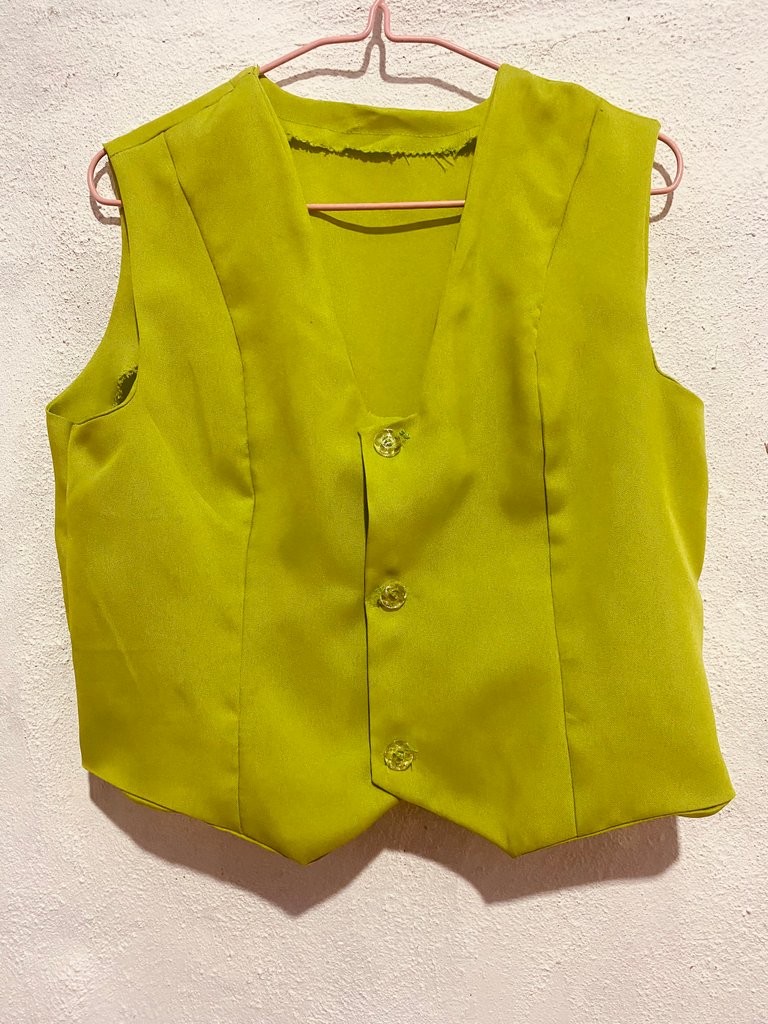
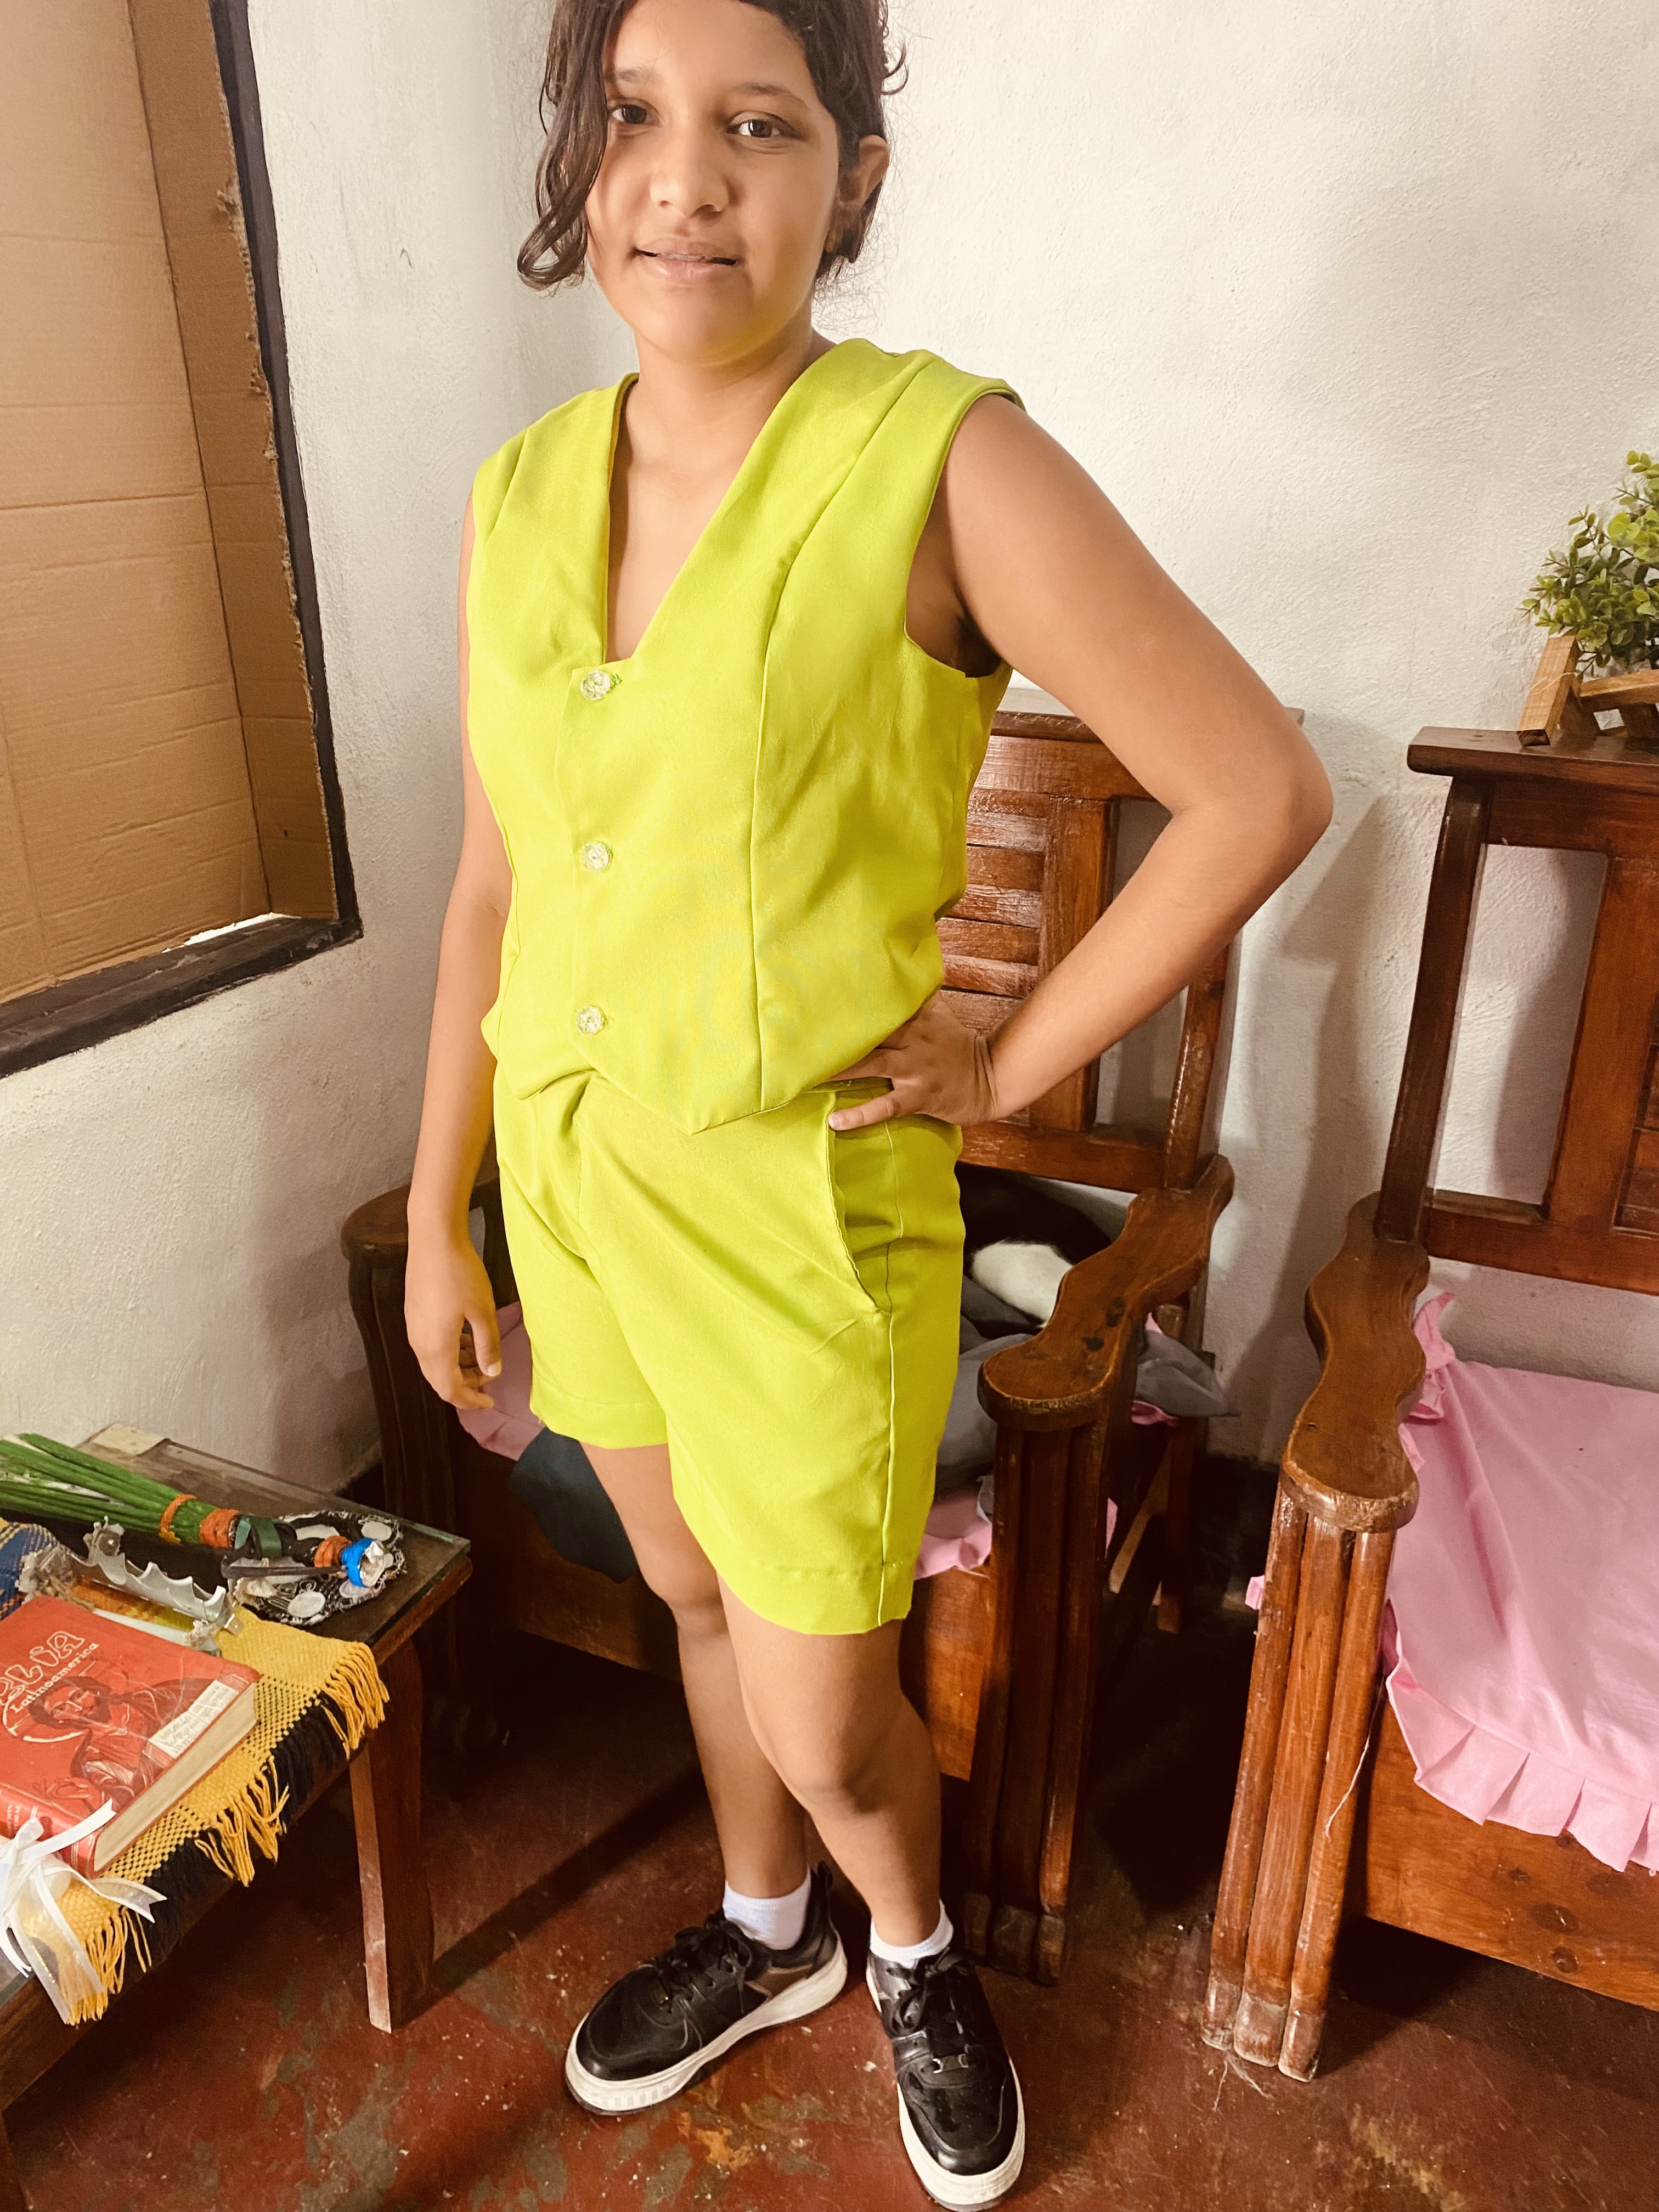
Para las orillas recorté tiras de tela de 4 cm de ancha y le coloqué por todas las orillas luego uni con costura por los costados, estas orillas debemos pasarle costura o bastearlas para evitar que se abran, luego planchamos bien, también le hice los ojales y le pegué los botones y así está Listo este lindo chaleco tipo blusa para dama espero les haya gustado 😊
For the edges I cut out 4cm wide strips of fabric and placed them along all the edges then sewed them together along the sides. These edges must be sewn or hemmed to prevent them from opening, then ironed well. I also made the buttonholes and glued the buttons on and that's it. This cute blouse-style vest for women is ready. I hope you liked it 😊
 |  |
|---|
Pasito a pasito vamos aprendiendo lo que es el tema con los patrones, si quieres saber cómo se hace el patrón principal en mi perfil encontrarás un post explicando cómo se deben tomar las medidas y cómo hacer este patrón, el diseño de este chaleco me encantó espero que ustedes también les guste, me despido por hoy deseándoles muchos éxitos y bendiciones, hasta otra oportunidad 💚
Step by step we are learning what the subject is with the patterns, if you want to know how to make the main pattern in my profile you will find a post explaining how to take the measurements and how to make this pattern, I loved the design of this vest I hope you like it too, I say goodbye for today wishing you many successes and blessings, until another opportunity 💚
Las fotos aquí compartidas son de mi propiedad tomadas con mi teléfono iPhone 11, la edición fue hecha en Canva, para el inglé utilicé el traductor de Google.

