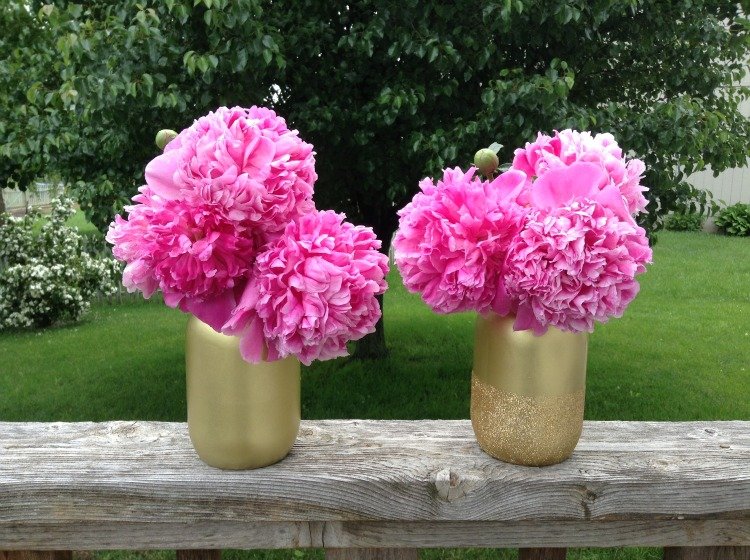
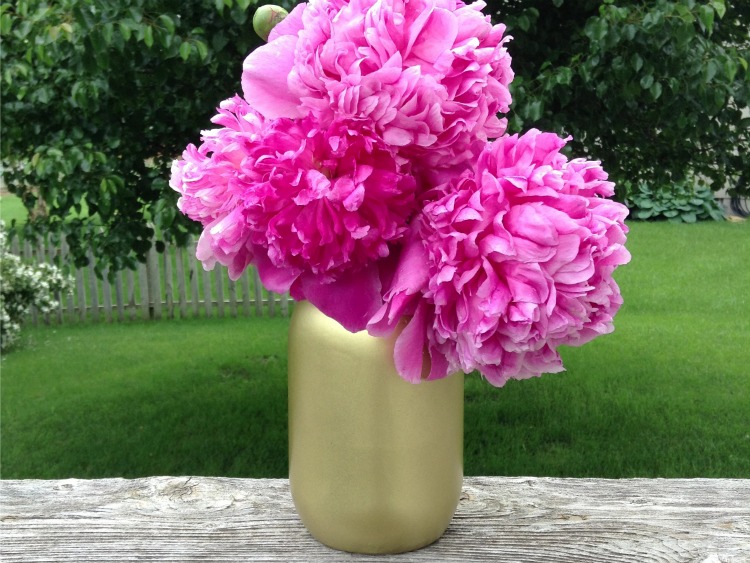
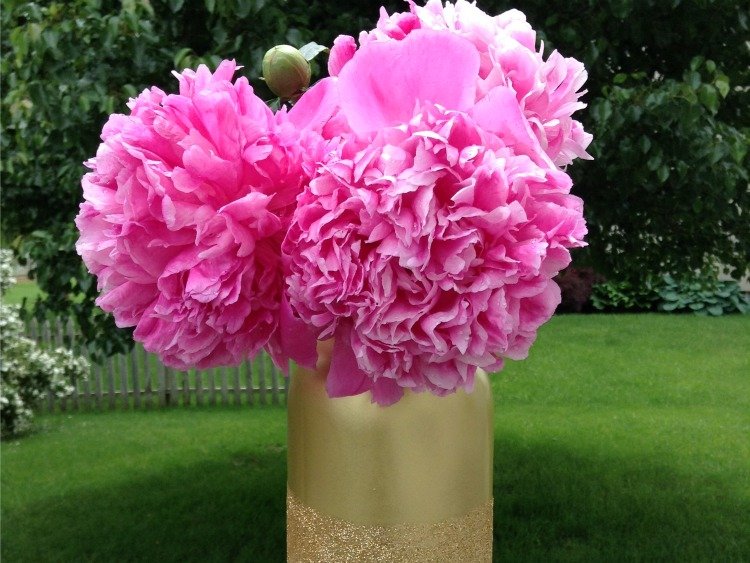
Hello friends. Today I wanted to share a tutorial with you on how I transformed mason jars into these lovely golden vases.
I bought the mason jars at Michael’s, which happens to be my favorite crafting store of all time. Seriously, I end up shopping there at least once a week. Anyways, I walked out with two mason jars, gold glitter, a sponge brush, and some Mod Podge — all for only $17. This was a relatively cheap project and makes for super easy clean-up.
First, I wiped down both of the mason jars to make sure there wasn’t any lint or small dirt particles. I then placed them upside down on a piece of cardboard and gave my spraypaint can a few good shakes. Make sure you’re spraying outside or in a well-vented area!
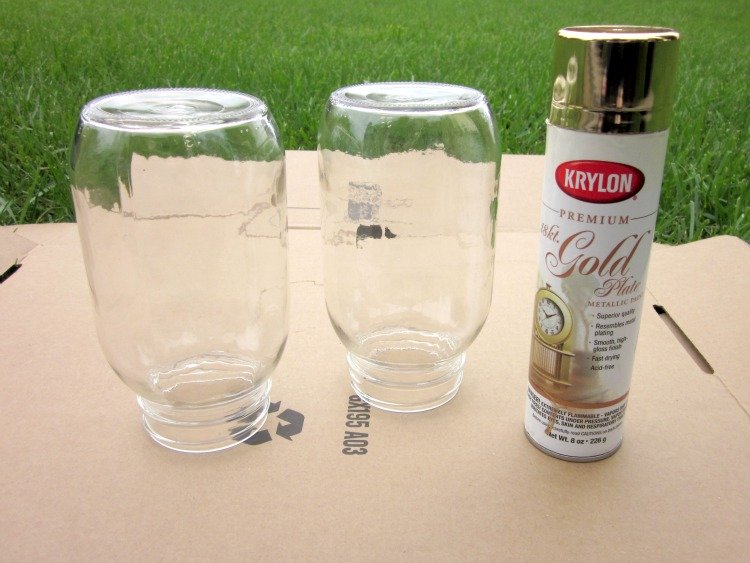
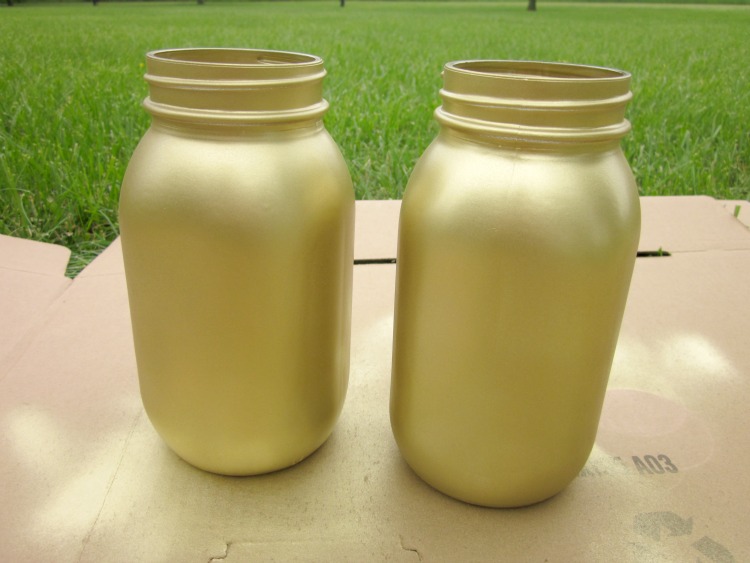
I gave each jar a light coat and waited about 5 minutes for it to dry. Then I gave them each another coat of paint. After that, I picked each jar up (using an old glove) and lightly sprayed any areas that were still a little see through. Then just leave the jars sit for about 30-45 minutes to ensure they’re completely dry.
Now here’s where it gets messy…it’s time to add the gold glitter to your jars! Like I said above, I did this project outside so there was no clean-up. I do NOT recommend doing the glitter on your kitchen table because you WILL get glitter all over the place…even if you try really hard not to. You’ll notice in the photos below that there’s glitter all over the wooden stairs and you should have seen the grass.
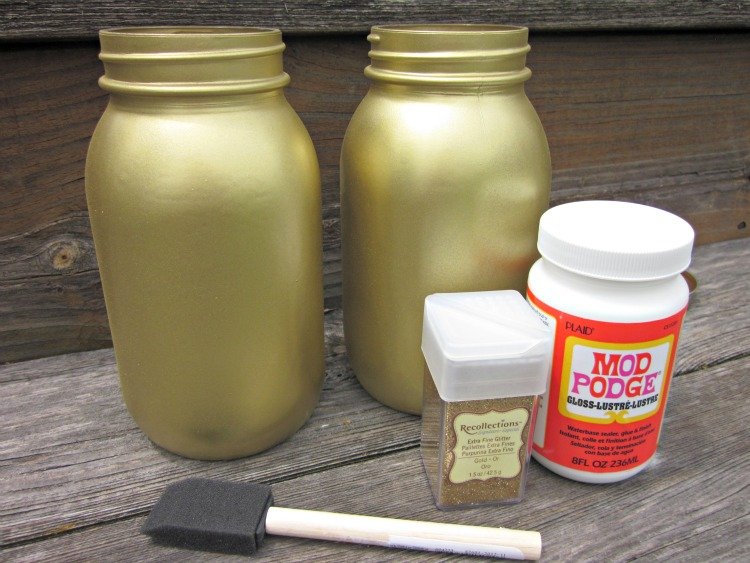
I applied the Mod Podge with the sponge brush in vertical strokes directly onto the jar. I did about three strokes at a time, then added some glitter, and shook the jar around a little bit to make sure it was all covered. If there were bare spots, I added a bit more glitter. I worked my way around the jar doing only a few strokes at a time so the Mod Podge wouldn’t dry out.
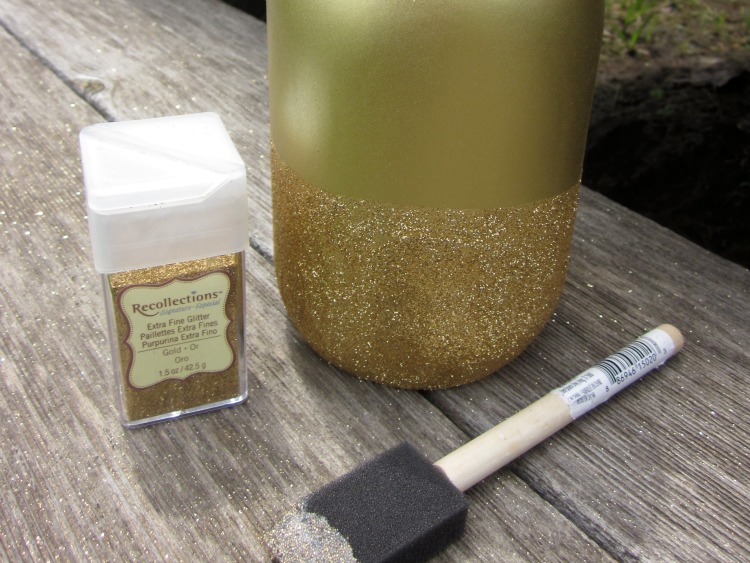
Once all the glitter was on the jar (and all over the wooden stairs), I took a paper towel and lightly brushed some of the glitter off. You don’t have to do this but I didn’t want any of those loose glitter flecks falling off later on. I let it stand for a few minutes before placing my glittered jar back on the cardboard. I sprayed the entire jar (but you can choose just to do the glittered section) with glossy sealant so that the glitter would stay put. After I saw all the glitter outside, I knew that couldn’t happen inside when using my vases.
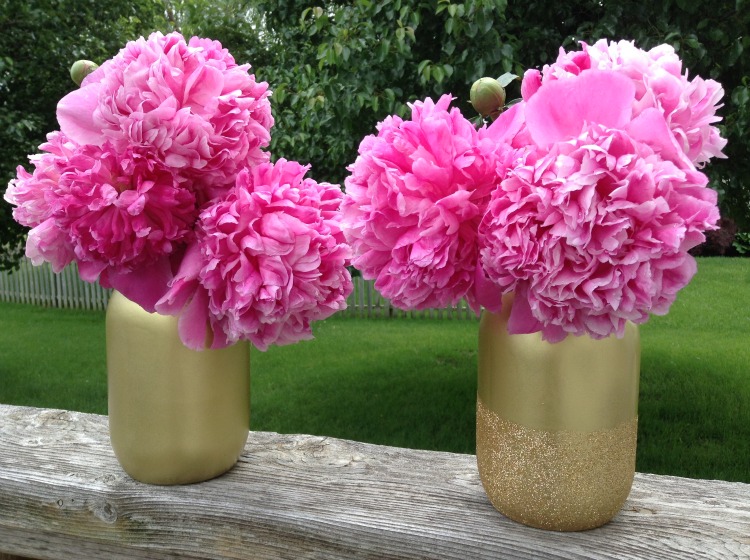
After all of that glittery mess, I decided that I wanted to leave one of my jars solid gold. I chose not to spray sealant on it, but you totally can if you want an extra glossy look. To finish off both my jars, I went into our garden and found that our peony bush had bloomed! I took a handful of freshly-cut stems and arranged little bouquets of peonies in each jar.
Peony season is almost over so I plan on admiring these for as long as I can. Then I’ll probably switch them out for some fresh herbs or succulents. You could even use these jars to hold your makeup brushes in a fashionable way. The possibilites of what you can do with these gold jars are truly endless. There’s no reason why you shouldn’t make a few for your home!
