Hola hola! Espero se encuentren bien queridos miembros de la comunidad Hive Diy, saludos a todos en este miércoles cargado de actividad y nuevas ideas para crear y compartir, me siento contenta ya que el día de hoy estuve en el centro comprando algunos materiales para nuevas manualidades, además ya que estamos entrando en época navideña es justo y necesario, siempre que voy por algunas cosas quiero todo jajaja.
Hello hello! I hope you are well, dear members of the Hive Diy community, greetings to everyone on this Wednesday full of activity and new ideas to create and share, I feel happy since today I was at the center buying some materials for new crafts, in addition Since we are entering the Christmas season it is fair and necessary, whenever I go to get some things I want everything hahaha.
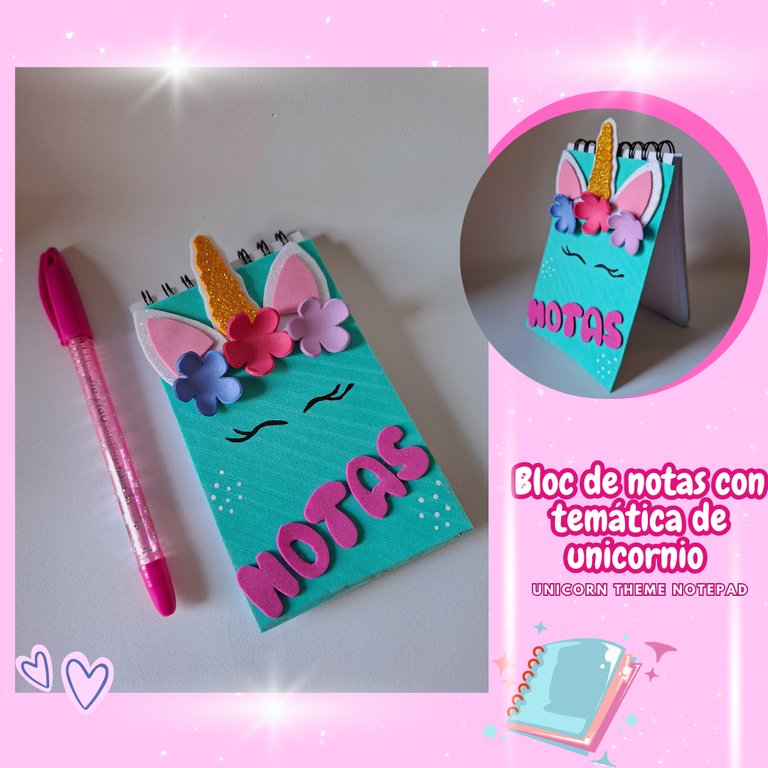
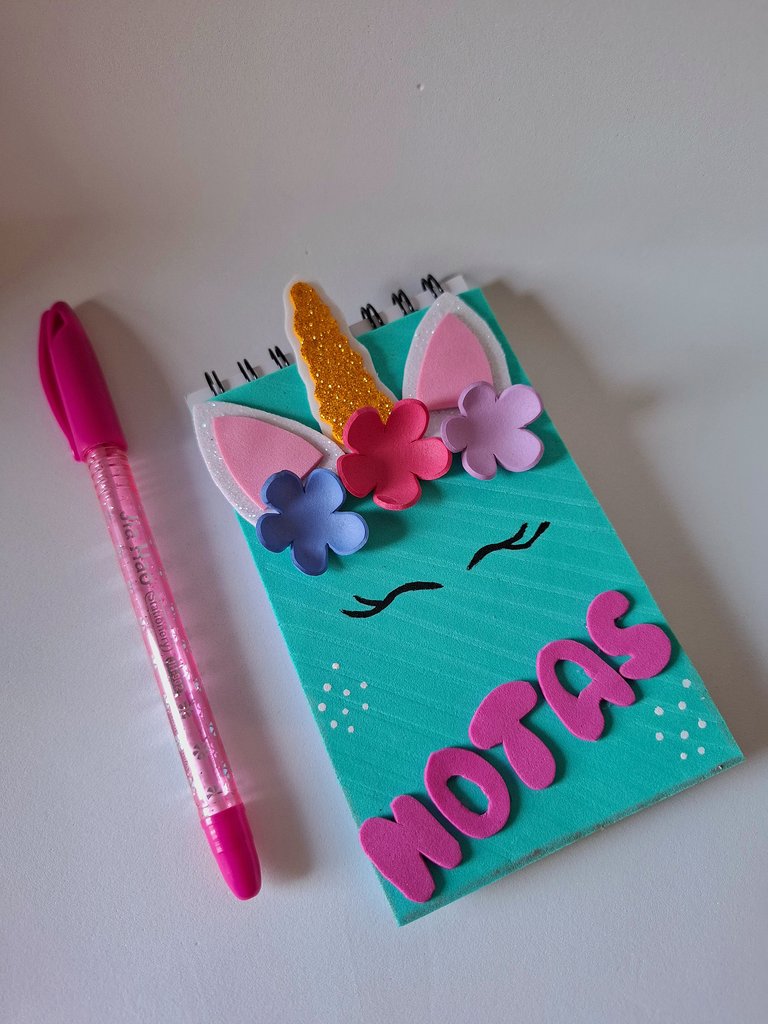
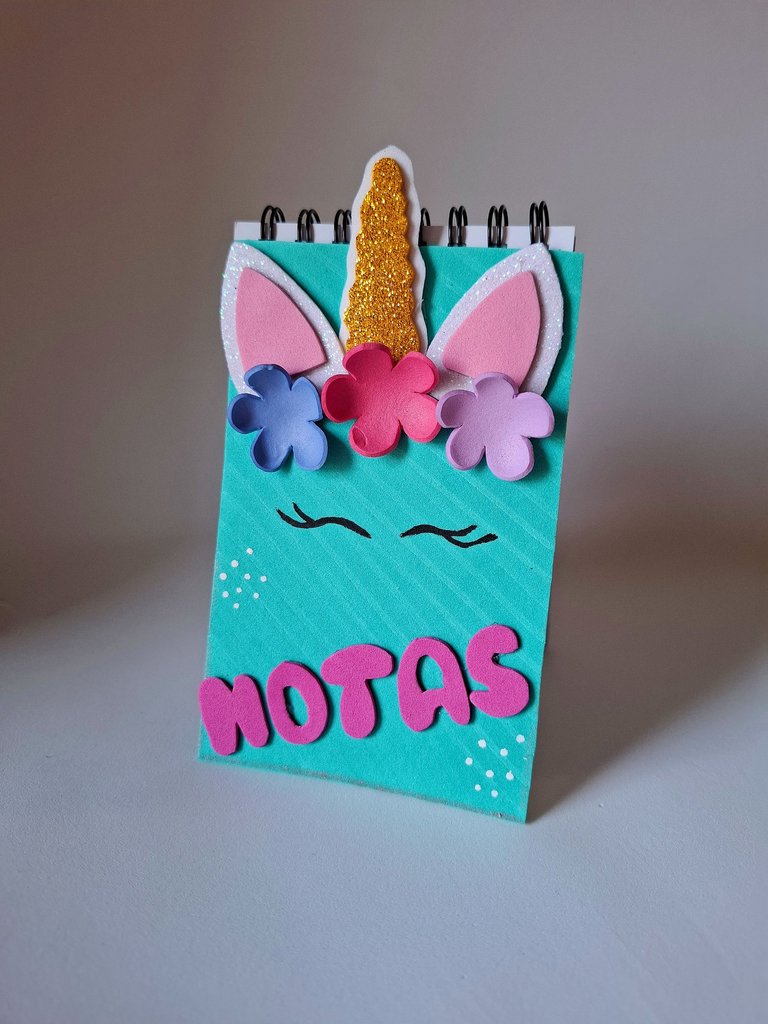
En esta ocasión les comparto una linda transformación de un bloc de notas simple a uno más colorido y femenino, escogí el tema de unicornio y me encantó, ideal para cargar en el bolso o también sería un lindo detalle para niña, una buena idea para escribir algún apunte importante que debe realizar. A continuación les muestro el paso a paso.
On this occasion I share with you a beautiful transformation from a simple notepad to a more colorful and feminine one, I chose the unicorn theme and I loved it, ideal to carry in your bag or it would also be a nice detail for a girl, a good idea to write some important note that you should make. Below I show you the step by step.

Materiales:
💜Foami turquesa.
💜Foami fucsia.
💜Foami rosa claro.
💜Foami blanco.
💜Foami dorado.
💜Foami azul cielo.
💜Pintura blanca.
💜Pintura negra.
💜Palillo.
💜Tijera.
💜Silicón.
💜Lápiz
💜Papel.
Materials:
Turquoise foam.
Fuchsia foami.
Light pink foami.
White foam.
Golden foam.
Sky blue foami.
White paint.
Black paint.
Toothpick.
Scissors.
Silicone.
Pencil
Paper.

Paso a paso / Step by step
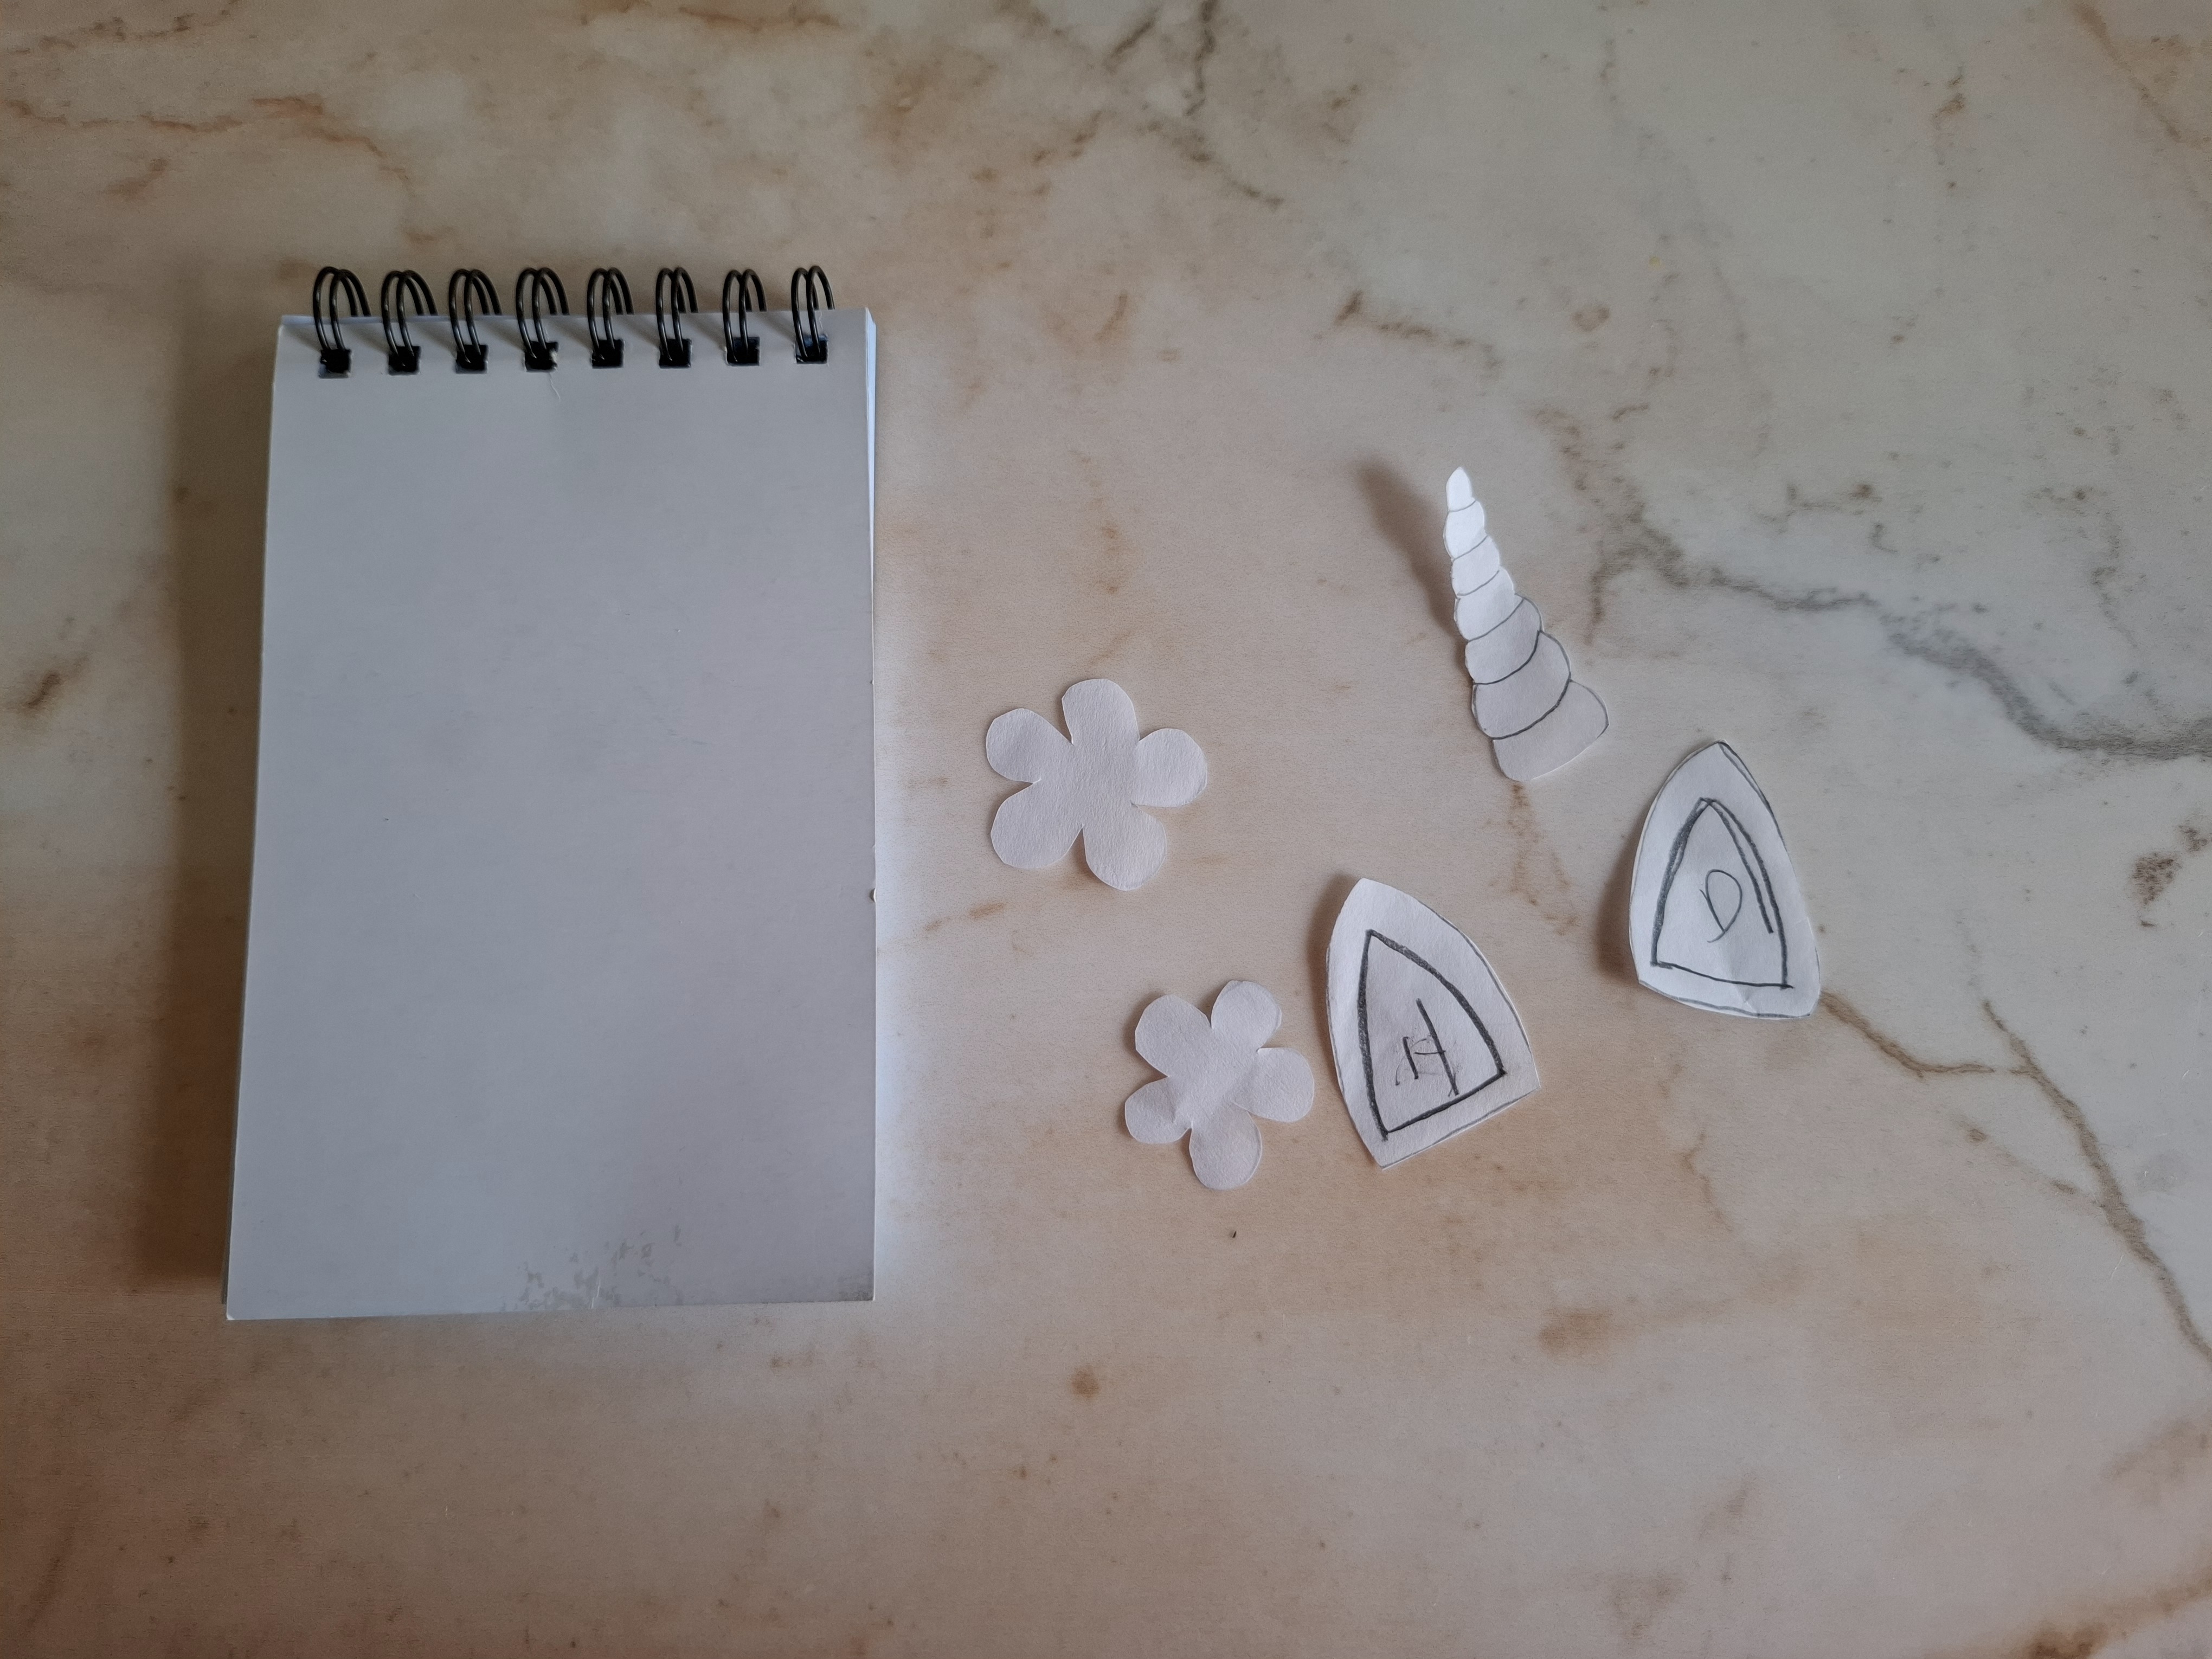
El primer paso se trata de dibujar las partes de la figura de unicornio en una hoja en blanco, como lo es orejas, cuerno, flores, letras.
The first step is to draw the parts of the unicorn figure on a blank sheet of paper, such as ears, horn, flowers, letters.

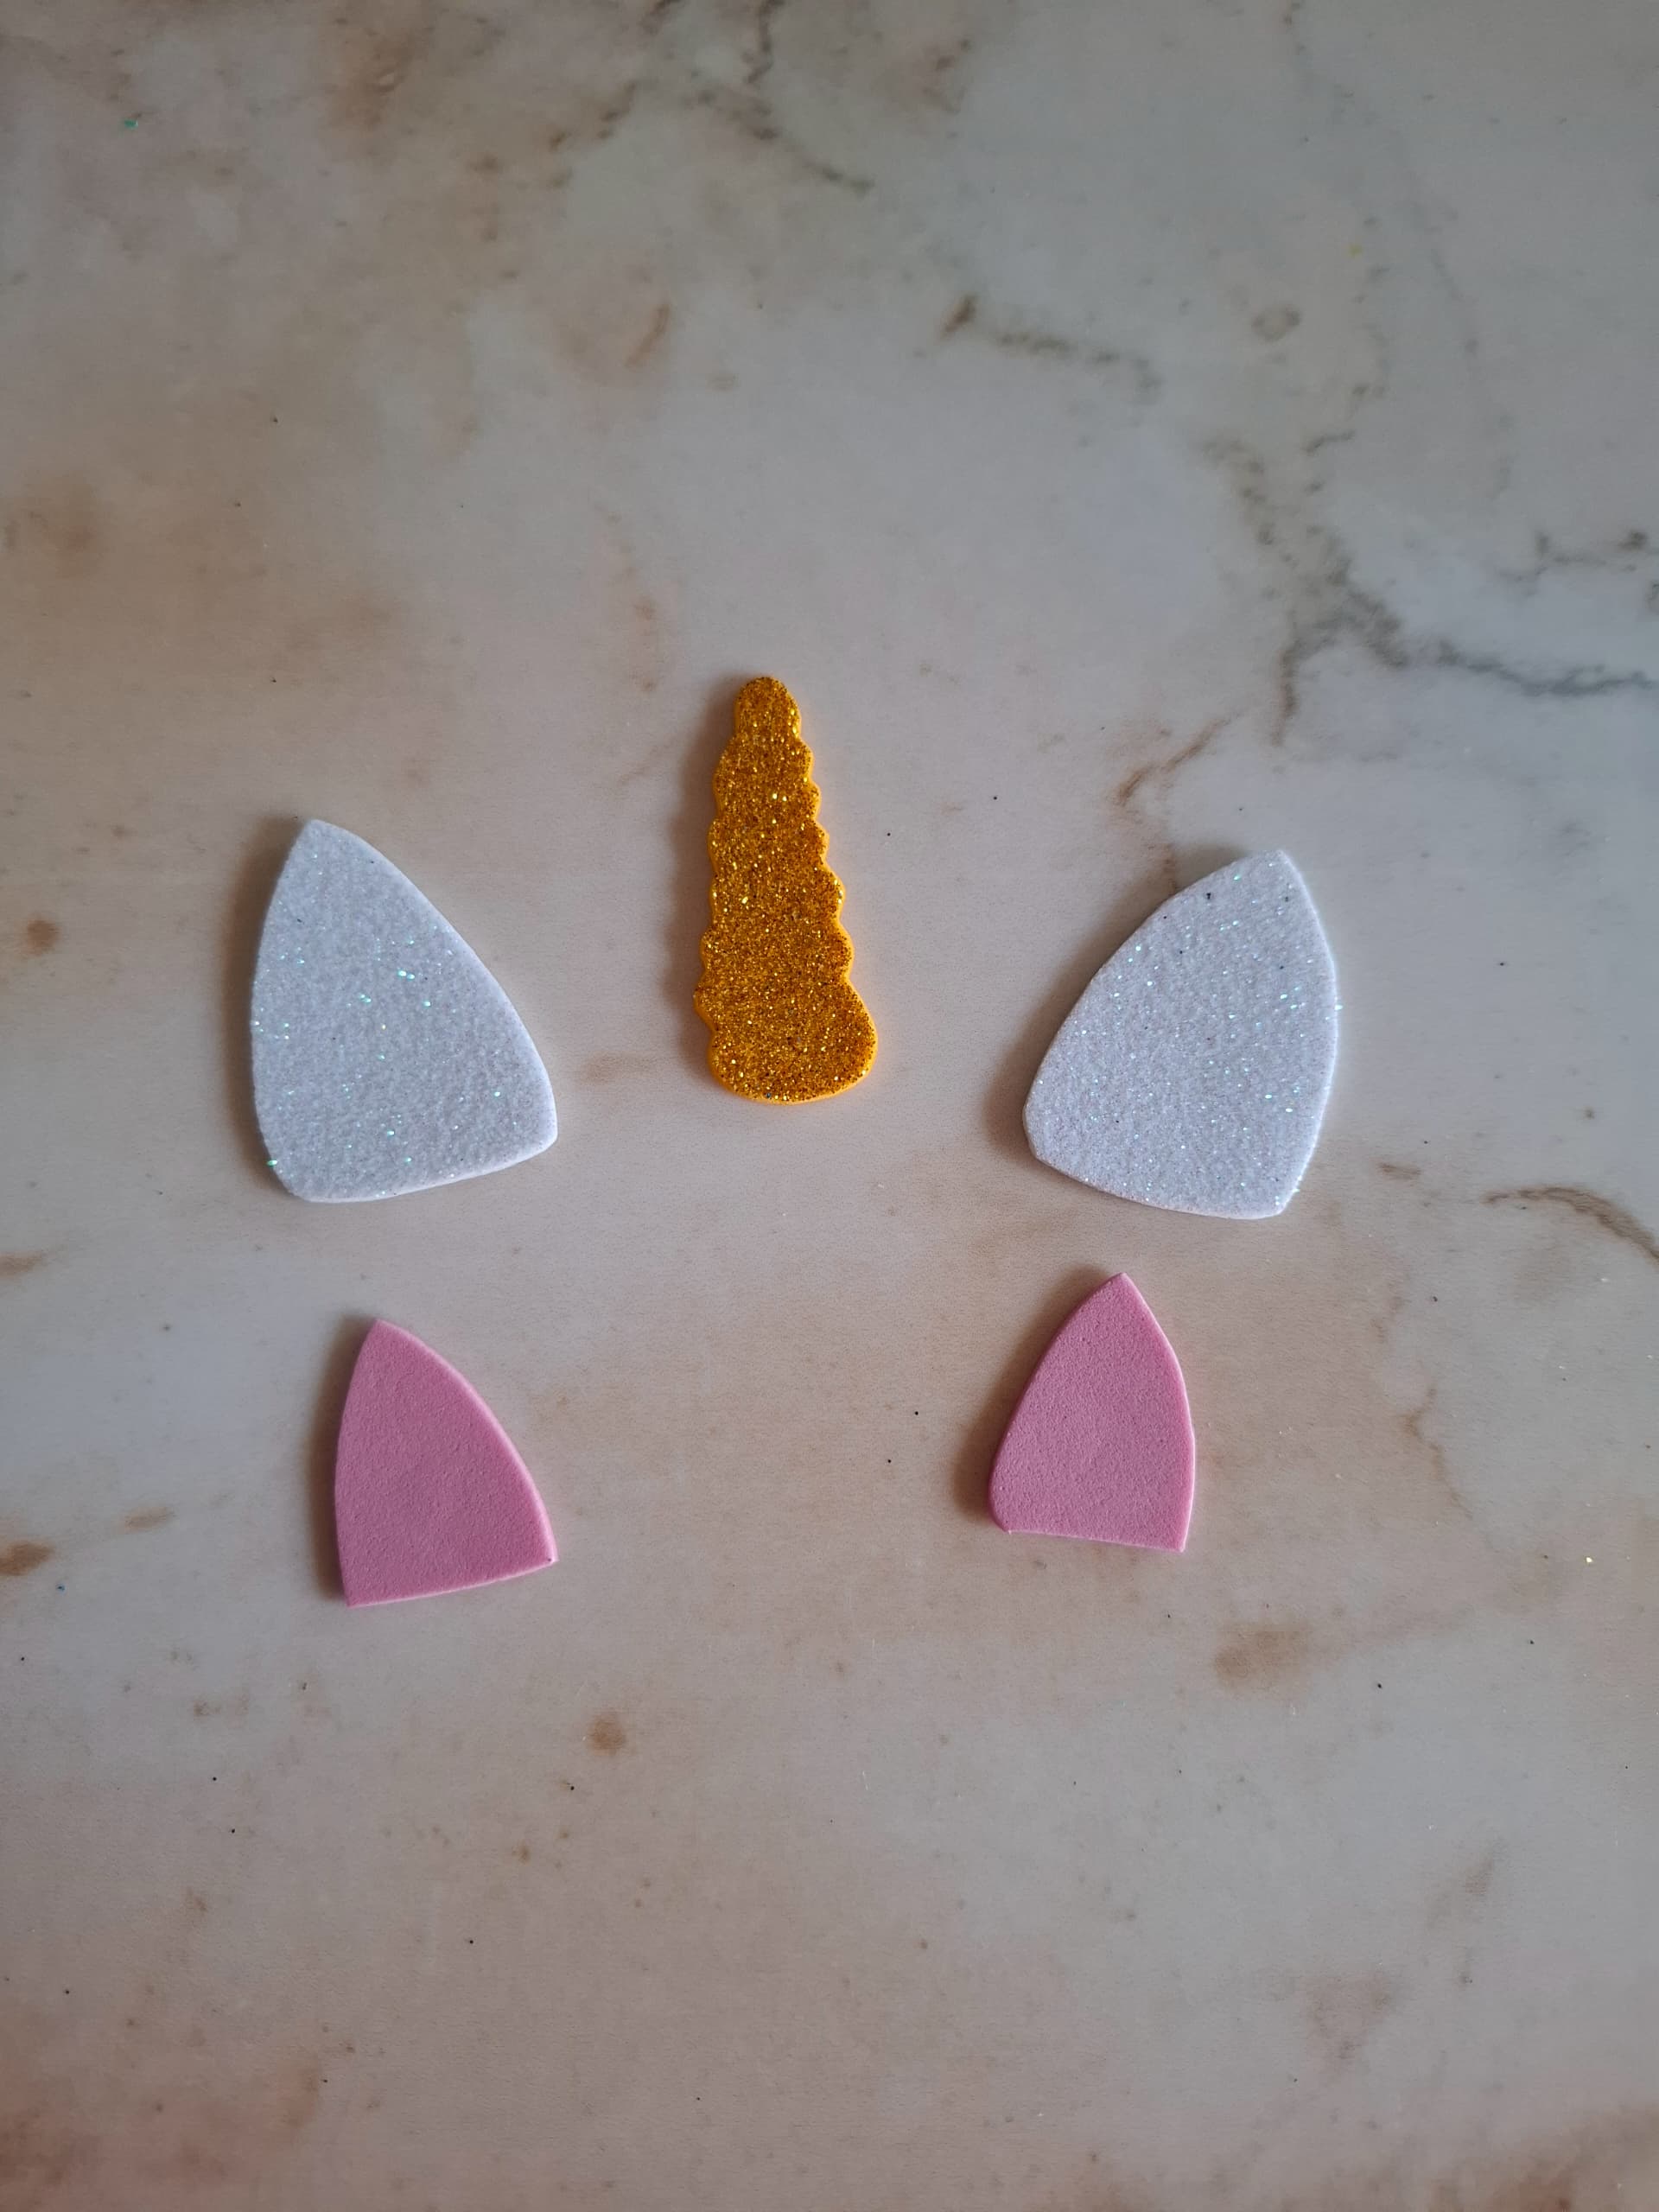
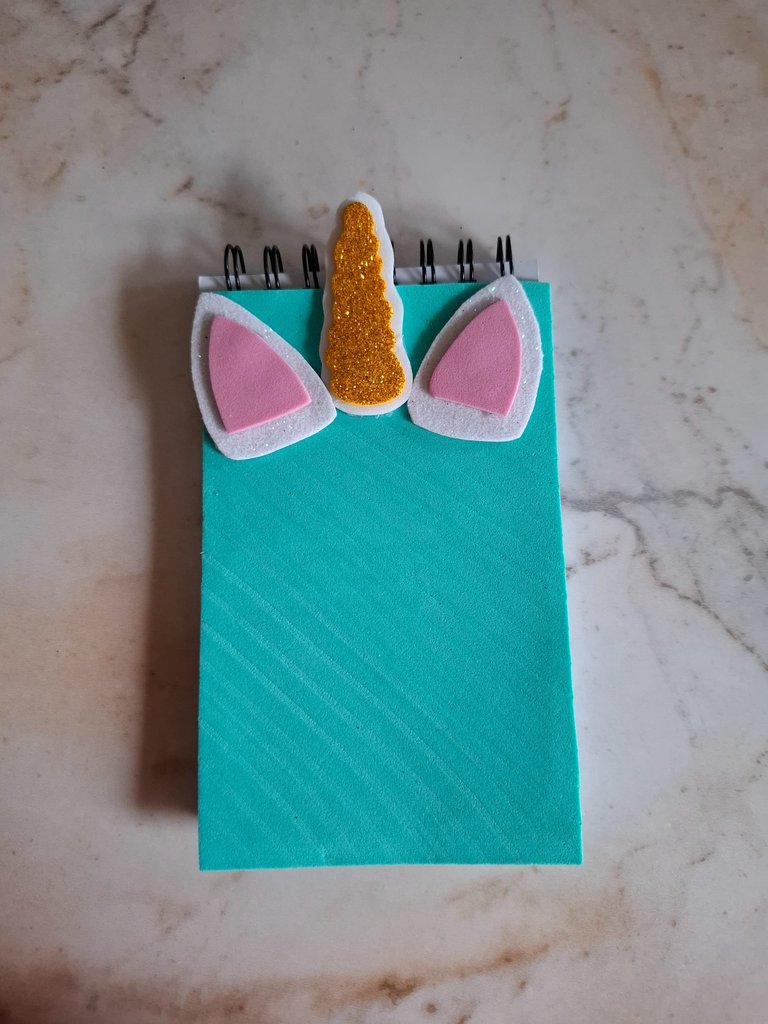
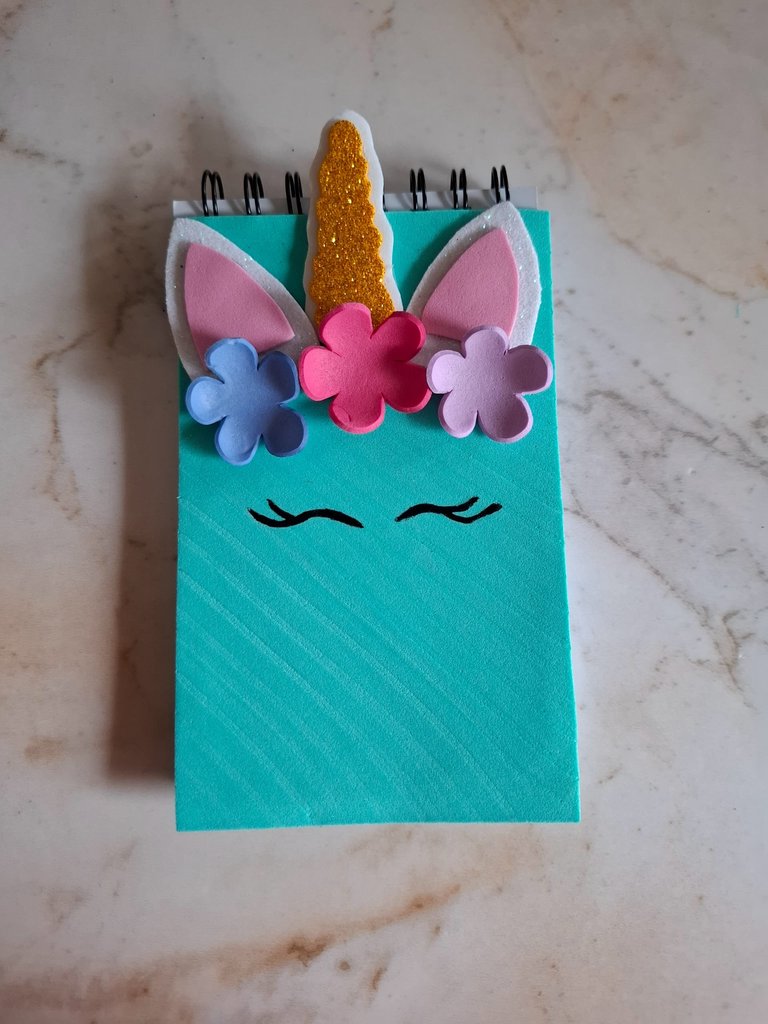
El siguiente paso es pasar al foami los moldes que realizamos, realicé tres flores una en color azul claro, fucsia y morado, a cada una les apliqué calor con una plancha, luego las orejas en foami rosa con fondo blanco escarchado.
The next step is to transfer the molds we made to the foam. I made three flowers, one in light blue, fuchsia and purple. I applied heat to each one with an iron, then the ears in pink foam with a frosty white background.
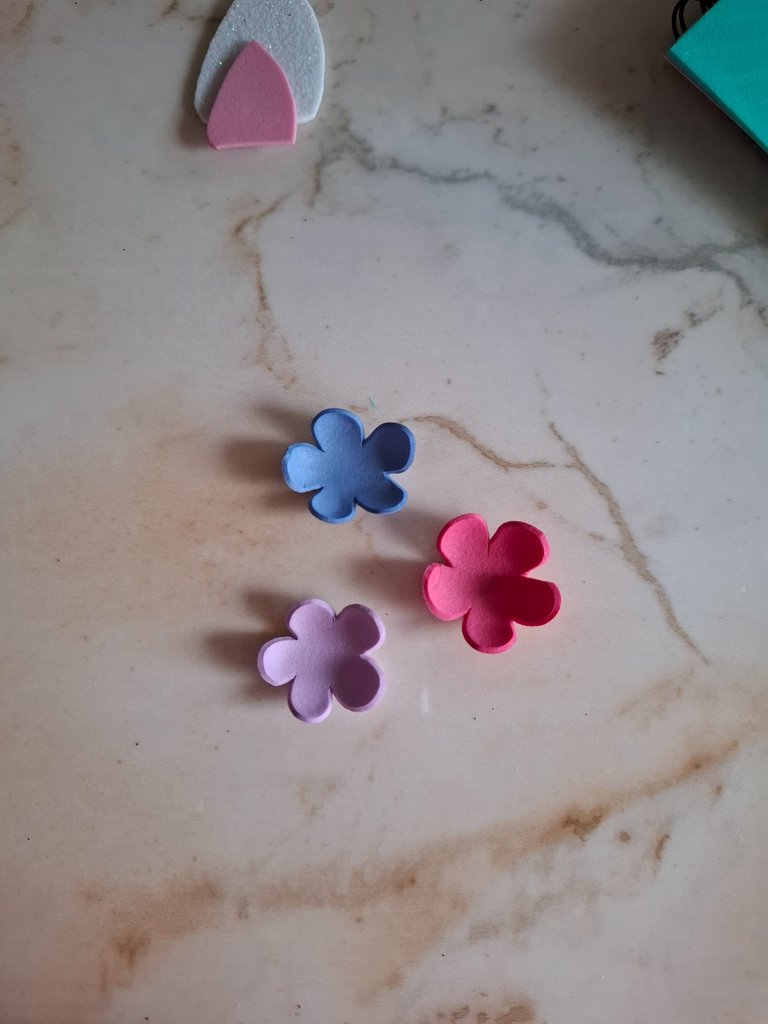

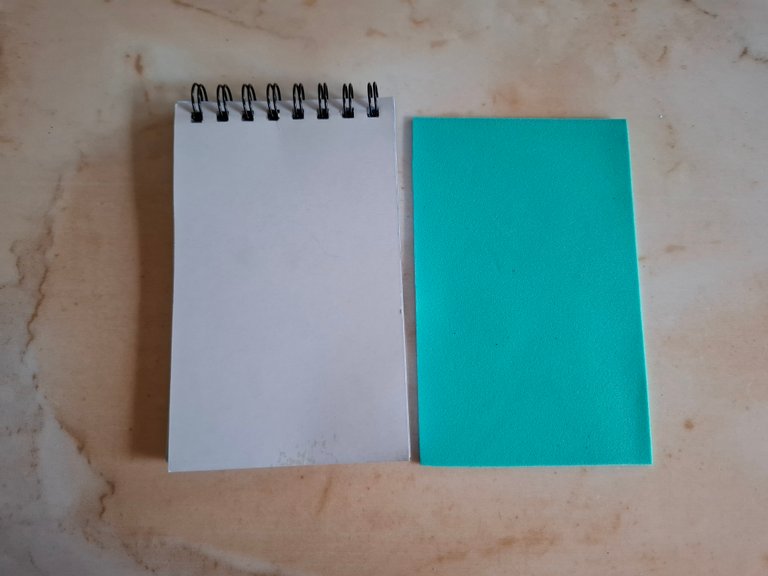
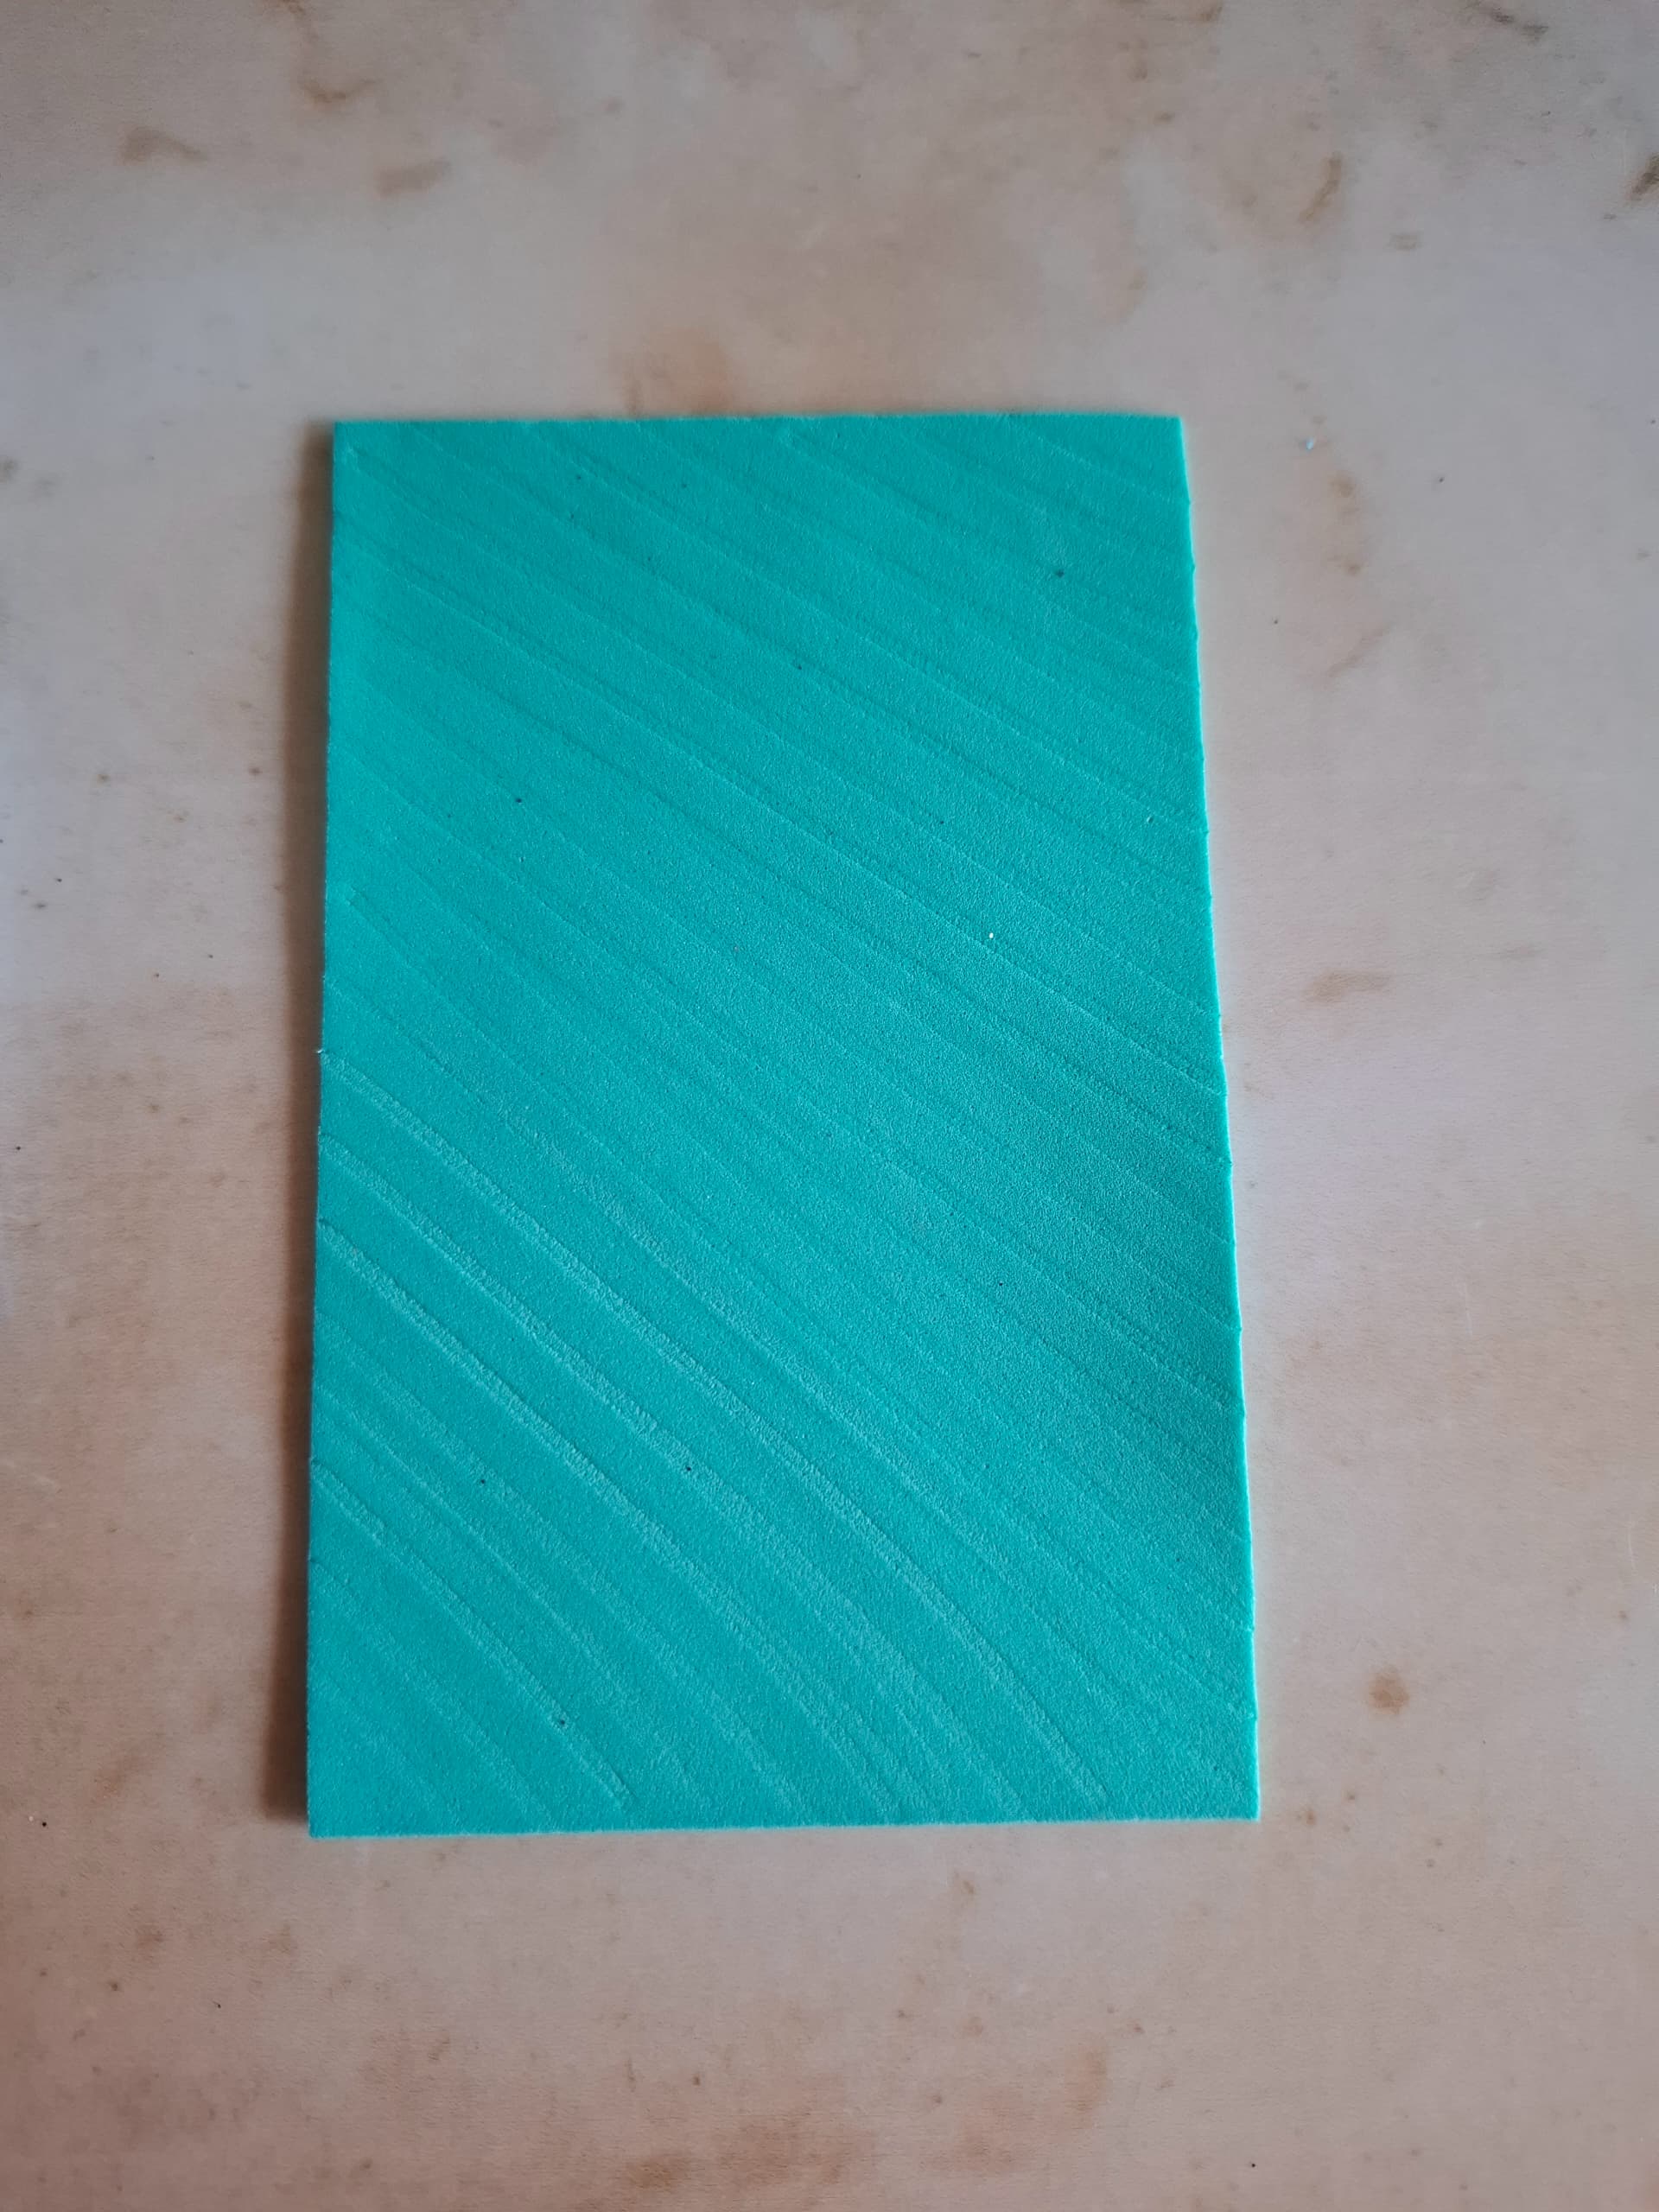
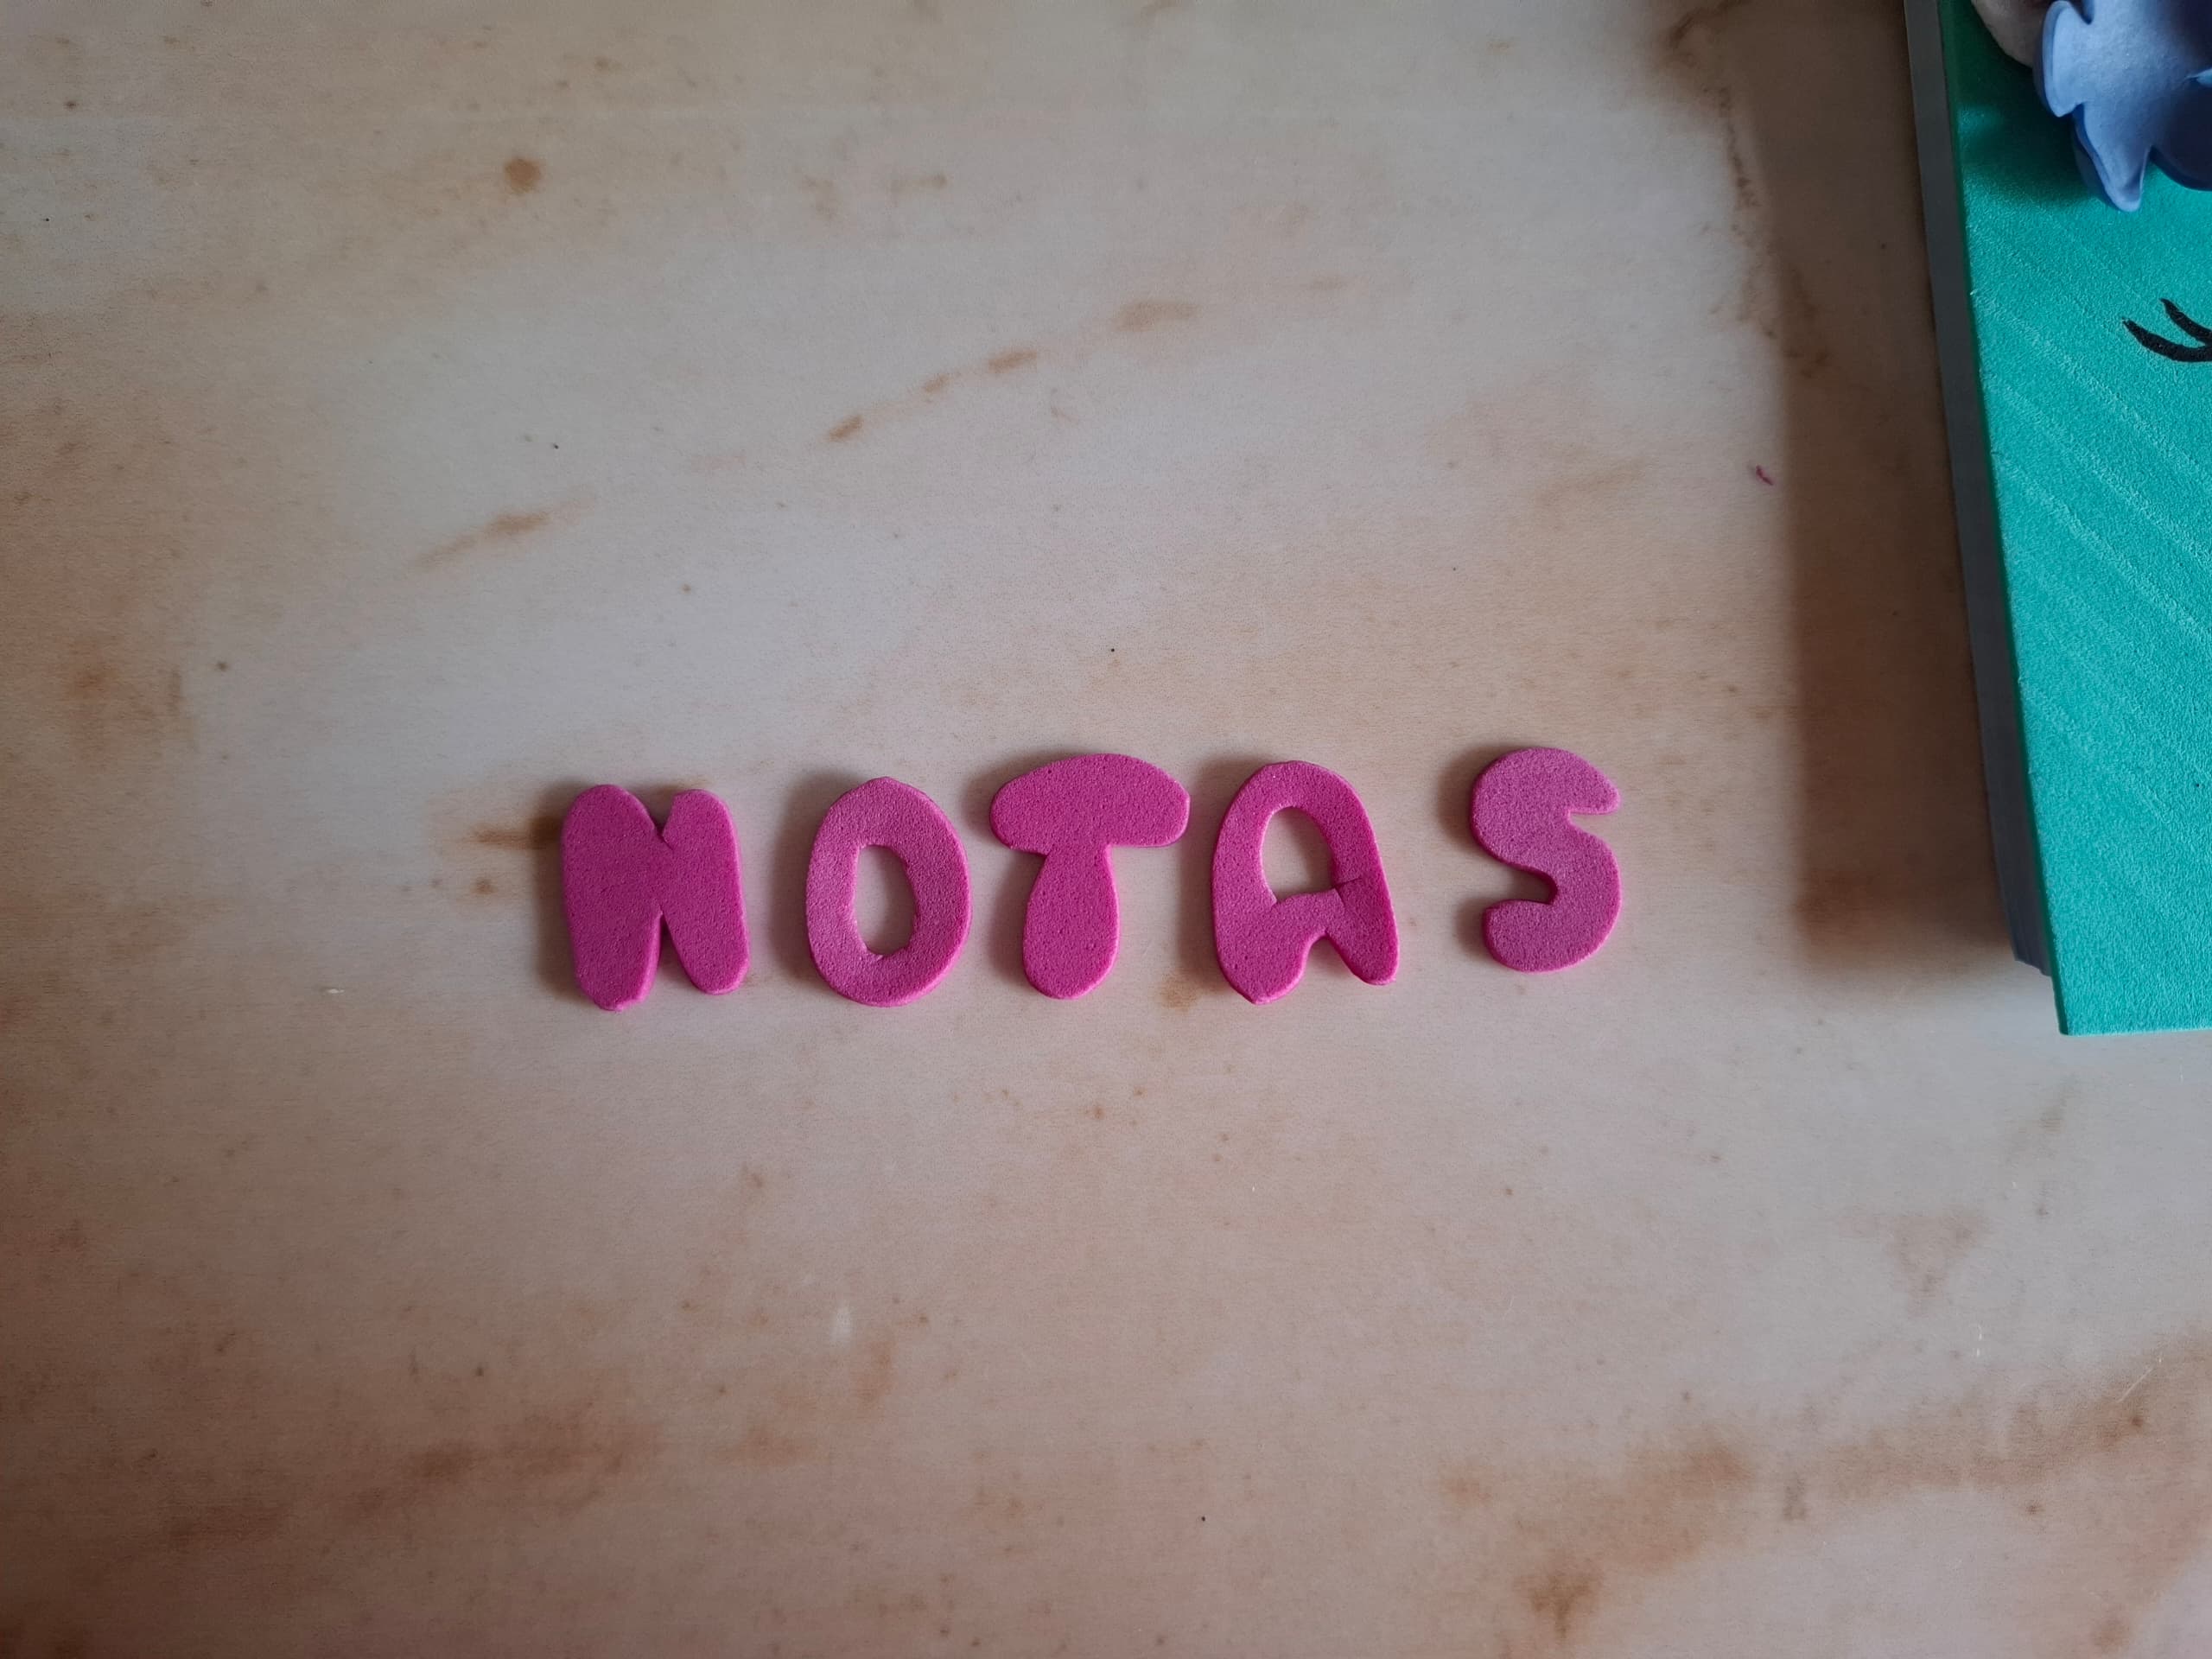
Realicé el cuerno en foami dorado escarchado, también con un fondo blanco, las letras en foami color fucsia, ahora voy a tomar el foami turquesa y voy a tomar la medida del bloc, cortamos y pegamos con silicón, para realizar las rayas claras que se ven sobre el foami de fondo utilicé las puntas de un tenedor sobre él.
I made the horn in frosty gold foam, also with a white background, the letters in fuchsia foam, now I am going to take the turquoise foam and I am going to take the size of the pad, we cut and glue with silicone, to make the clear stripes that are See on the background foam I used the tips of a fork on it.

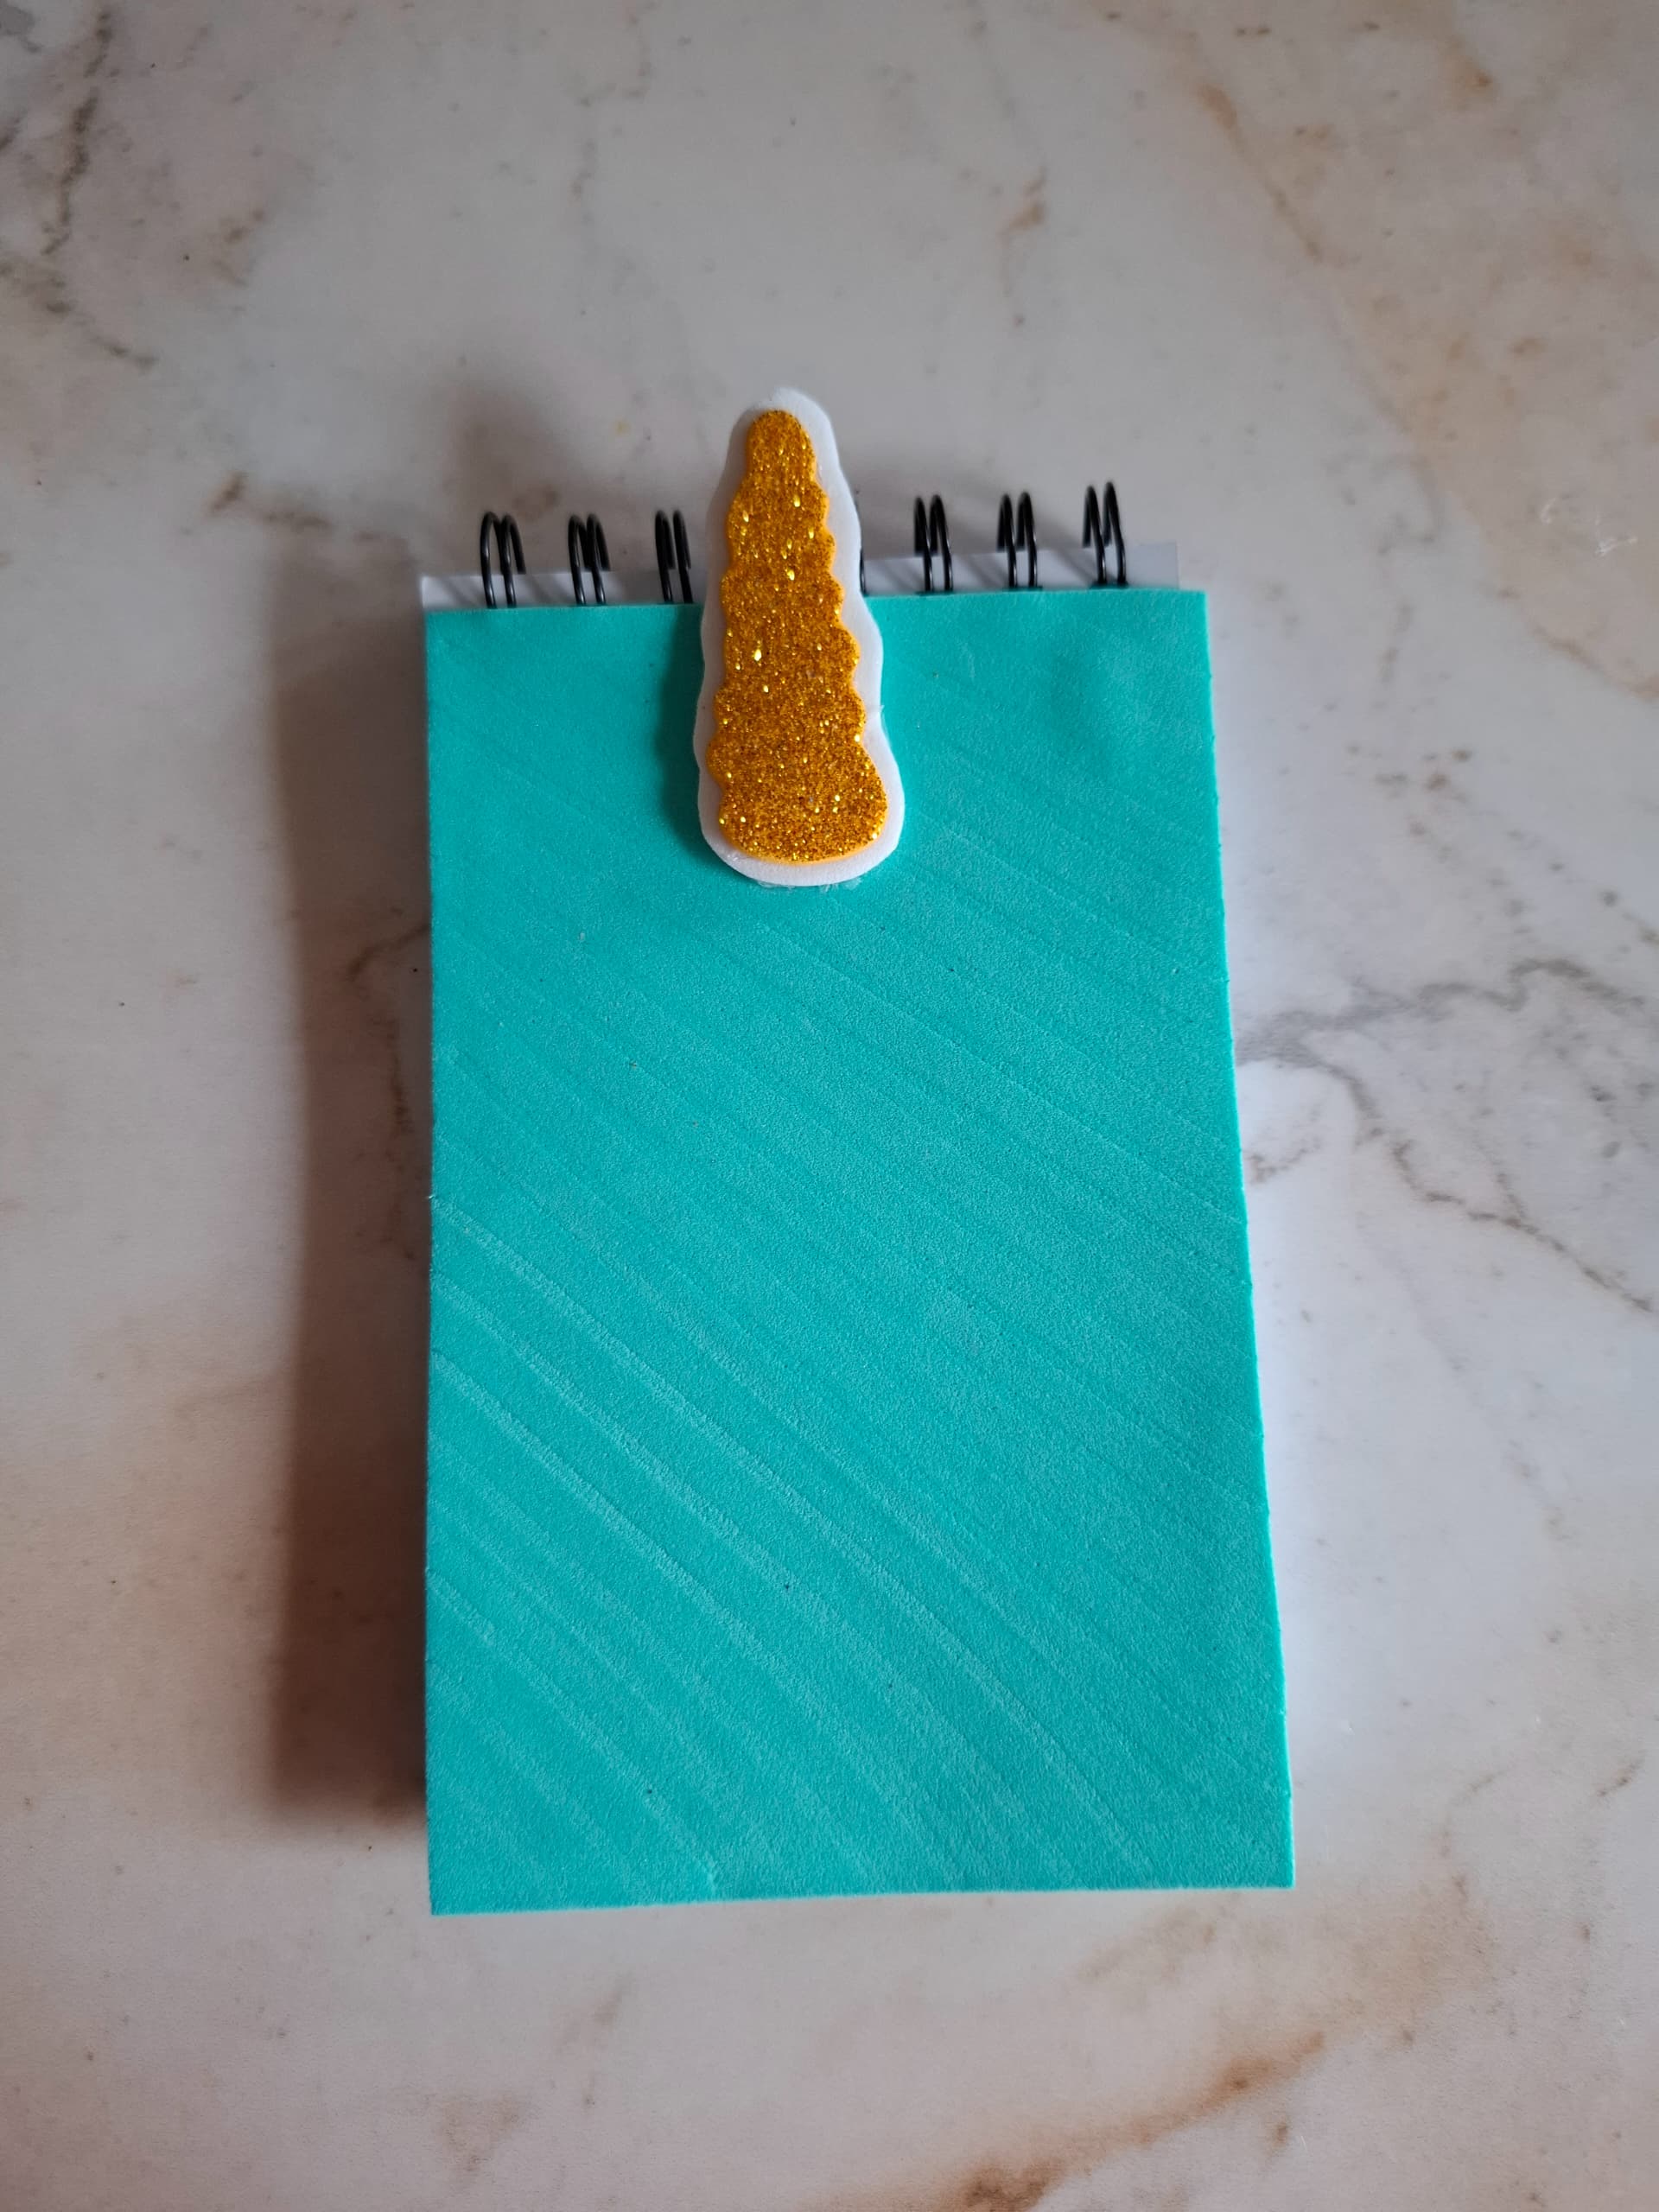
El siguiente paso es comenzar a pegar las partes de la figura, en la parte superior, en la parte inferior las letras, realicé los ojos con pintura negra, y hacia los lados puntos de color blanco.
The next step is to start gluing the parts of the figure, at the top, at the bottom the letters, I made the eyes with black paint, and white dots on the sides.

Una forma súper sencilla y bonita de decorar libretas que no usamos ya sea porque no gusta el diseño original, espero les haya gustado, y puedan realizarla si gusta en algún momento, agradecida por el apoyo, nos vemos en una próxima oportunidad con más ideas creativas.
A super simple and beautiful way to decorate notebooks that we don't use either because we don't like the original design, I hope you liked it, and you can do it if you like at some point, grateful for the support, see you next time with more creative ideas .


Contenido original. - original content.
Los separadores y banner fueron realizados en Canva. - The dividers and banner were made in Canva.
Las fotografias son tomadas con mi teléfono Redmi Note 11s y editadas en PicsArt - The photographs are taken with my Redmi Note 11s phone and edited in PicsArt.
Traducción de: Google traductor - Translation of: Google translator.
