
Felíz viernes comunidad Hive Diy, saludos a todos los miembros creativos de la comunidad, espero se encuentren bien y que hayan cumplido sus objetivos de la semana, comienza el fin de semana ideal para distraerse en familia o realizando otras actividades que nos ayuden a liberar el estrés acumulado de la semana, una buena opción también es realizar manualidades.
Happy Friday Hive Diy community, greetings to all the creative members of the community, I hope you are well and that you have met your goals for the week, the ideal weekend begins to have fun with your family or do other activities that help us release the energy. accumulated stress of the week, a good option is also to do crafts.
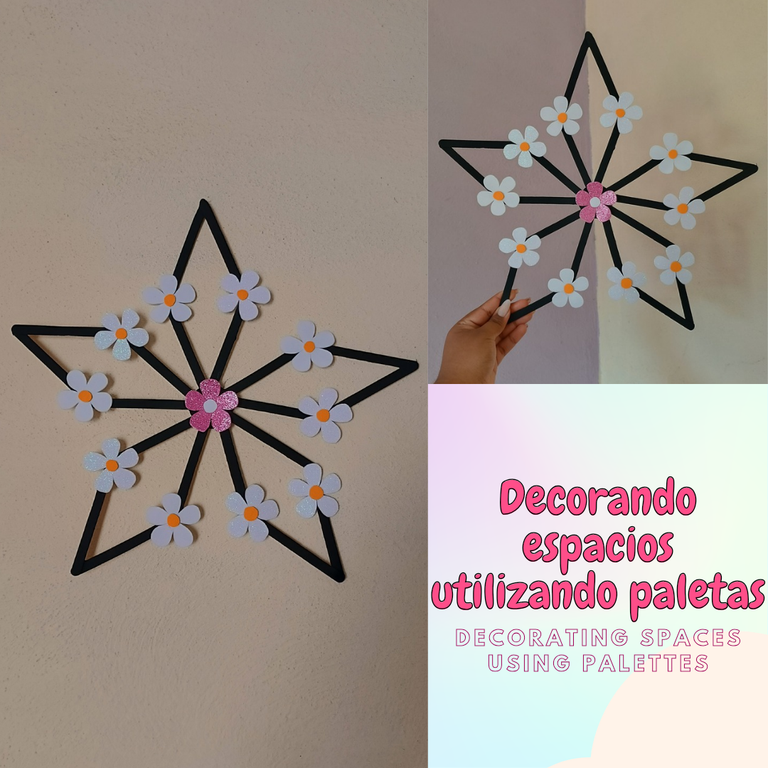
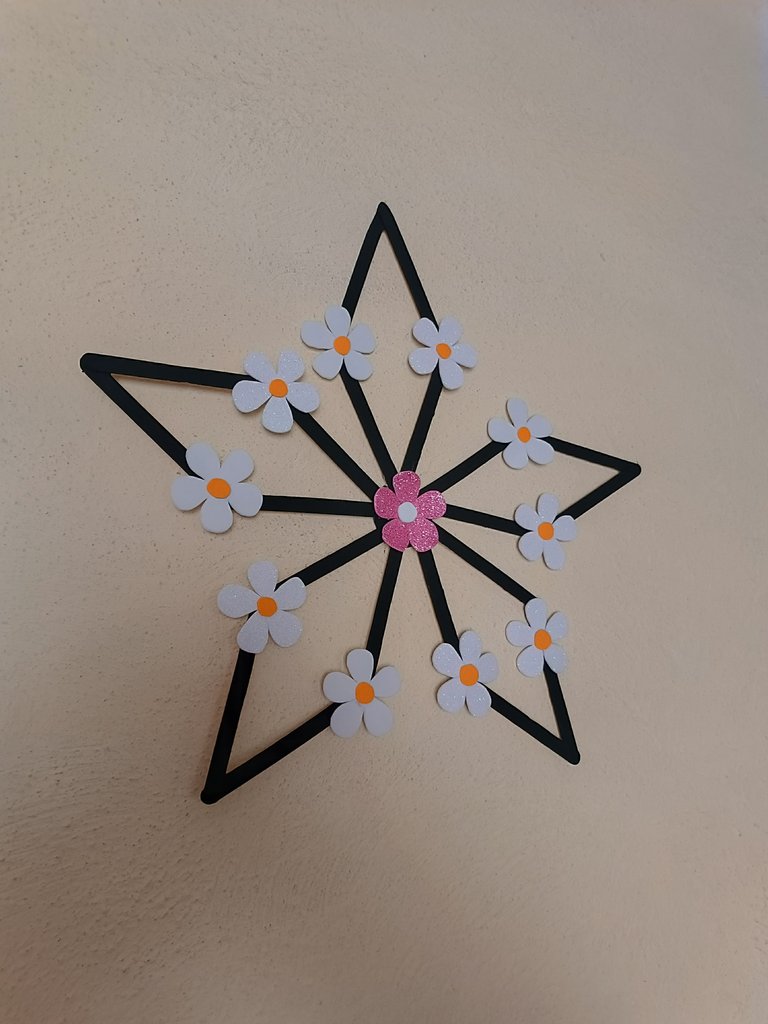
En ésta ocasión les comparto una idea de decoración con paletas de helado con detalles de flores en foami, fácil y económico de realizar ya que no gastamos muchos materiales y las flores se pueden realizar con retazos de foami, con ésta decoración de pared puedes ocupar algún espacio vacío dando un toque creativo a tu hogar, a continuación les muestro los materiales y el paso a paso.
On this occasion I share with you a decoration idea with ice cream popsicles with details of foam flowers, easy and economical to make since we do not use many materials and the flowers can be made with pieces of foam, with this wall decoration you can take up some space. empty space giving a creative touch to your home, below I show you the materials and the step by step.

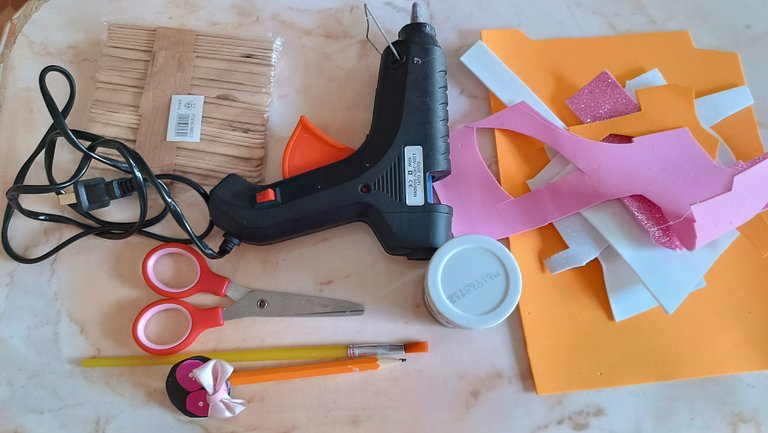
Materiales:
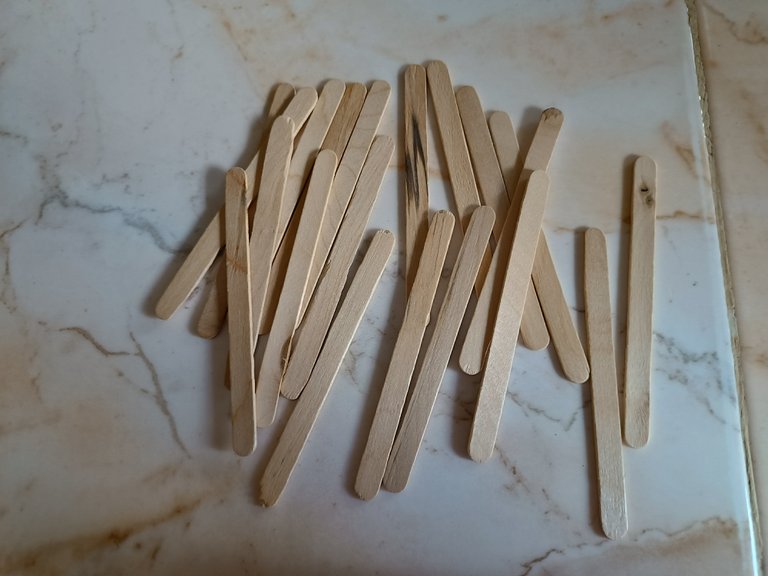
🌼20 paletas de helado.
🌼Pintura color negro.
🌼Pincel.
🌼Foami blanco escarchado y simple.
🌼Foami rosa escarchado.
🌼Foami amarillo.
🌼Silicón.
🌼Lápiz.
🌼Tijera.
Materials:
20 ice cream popsicles.
Black paint.
Brush.
Simple frosty white foam.
Frosty pink foami.
Yellow foam.
Silicone.
Pencil.
Scissors.

Paso a paso / Step by step
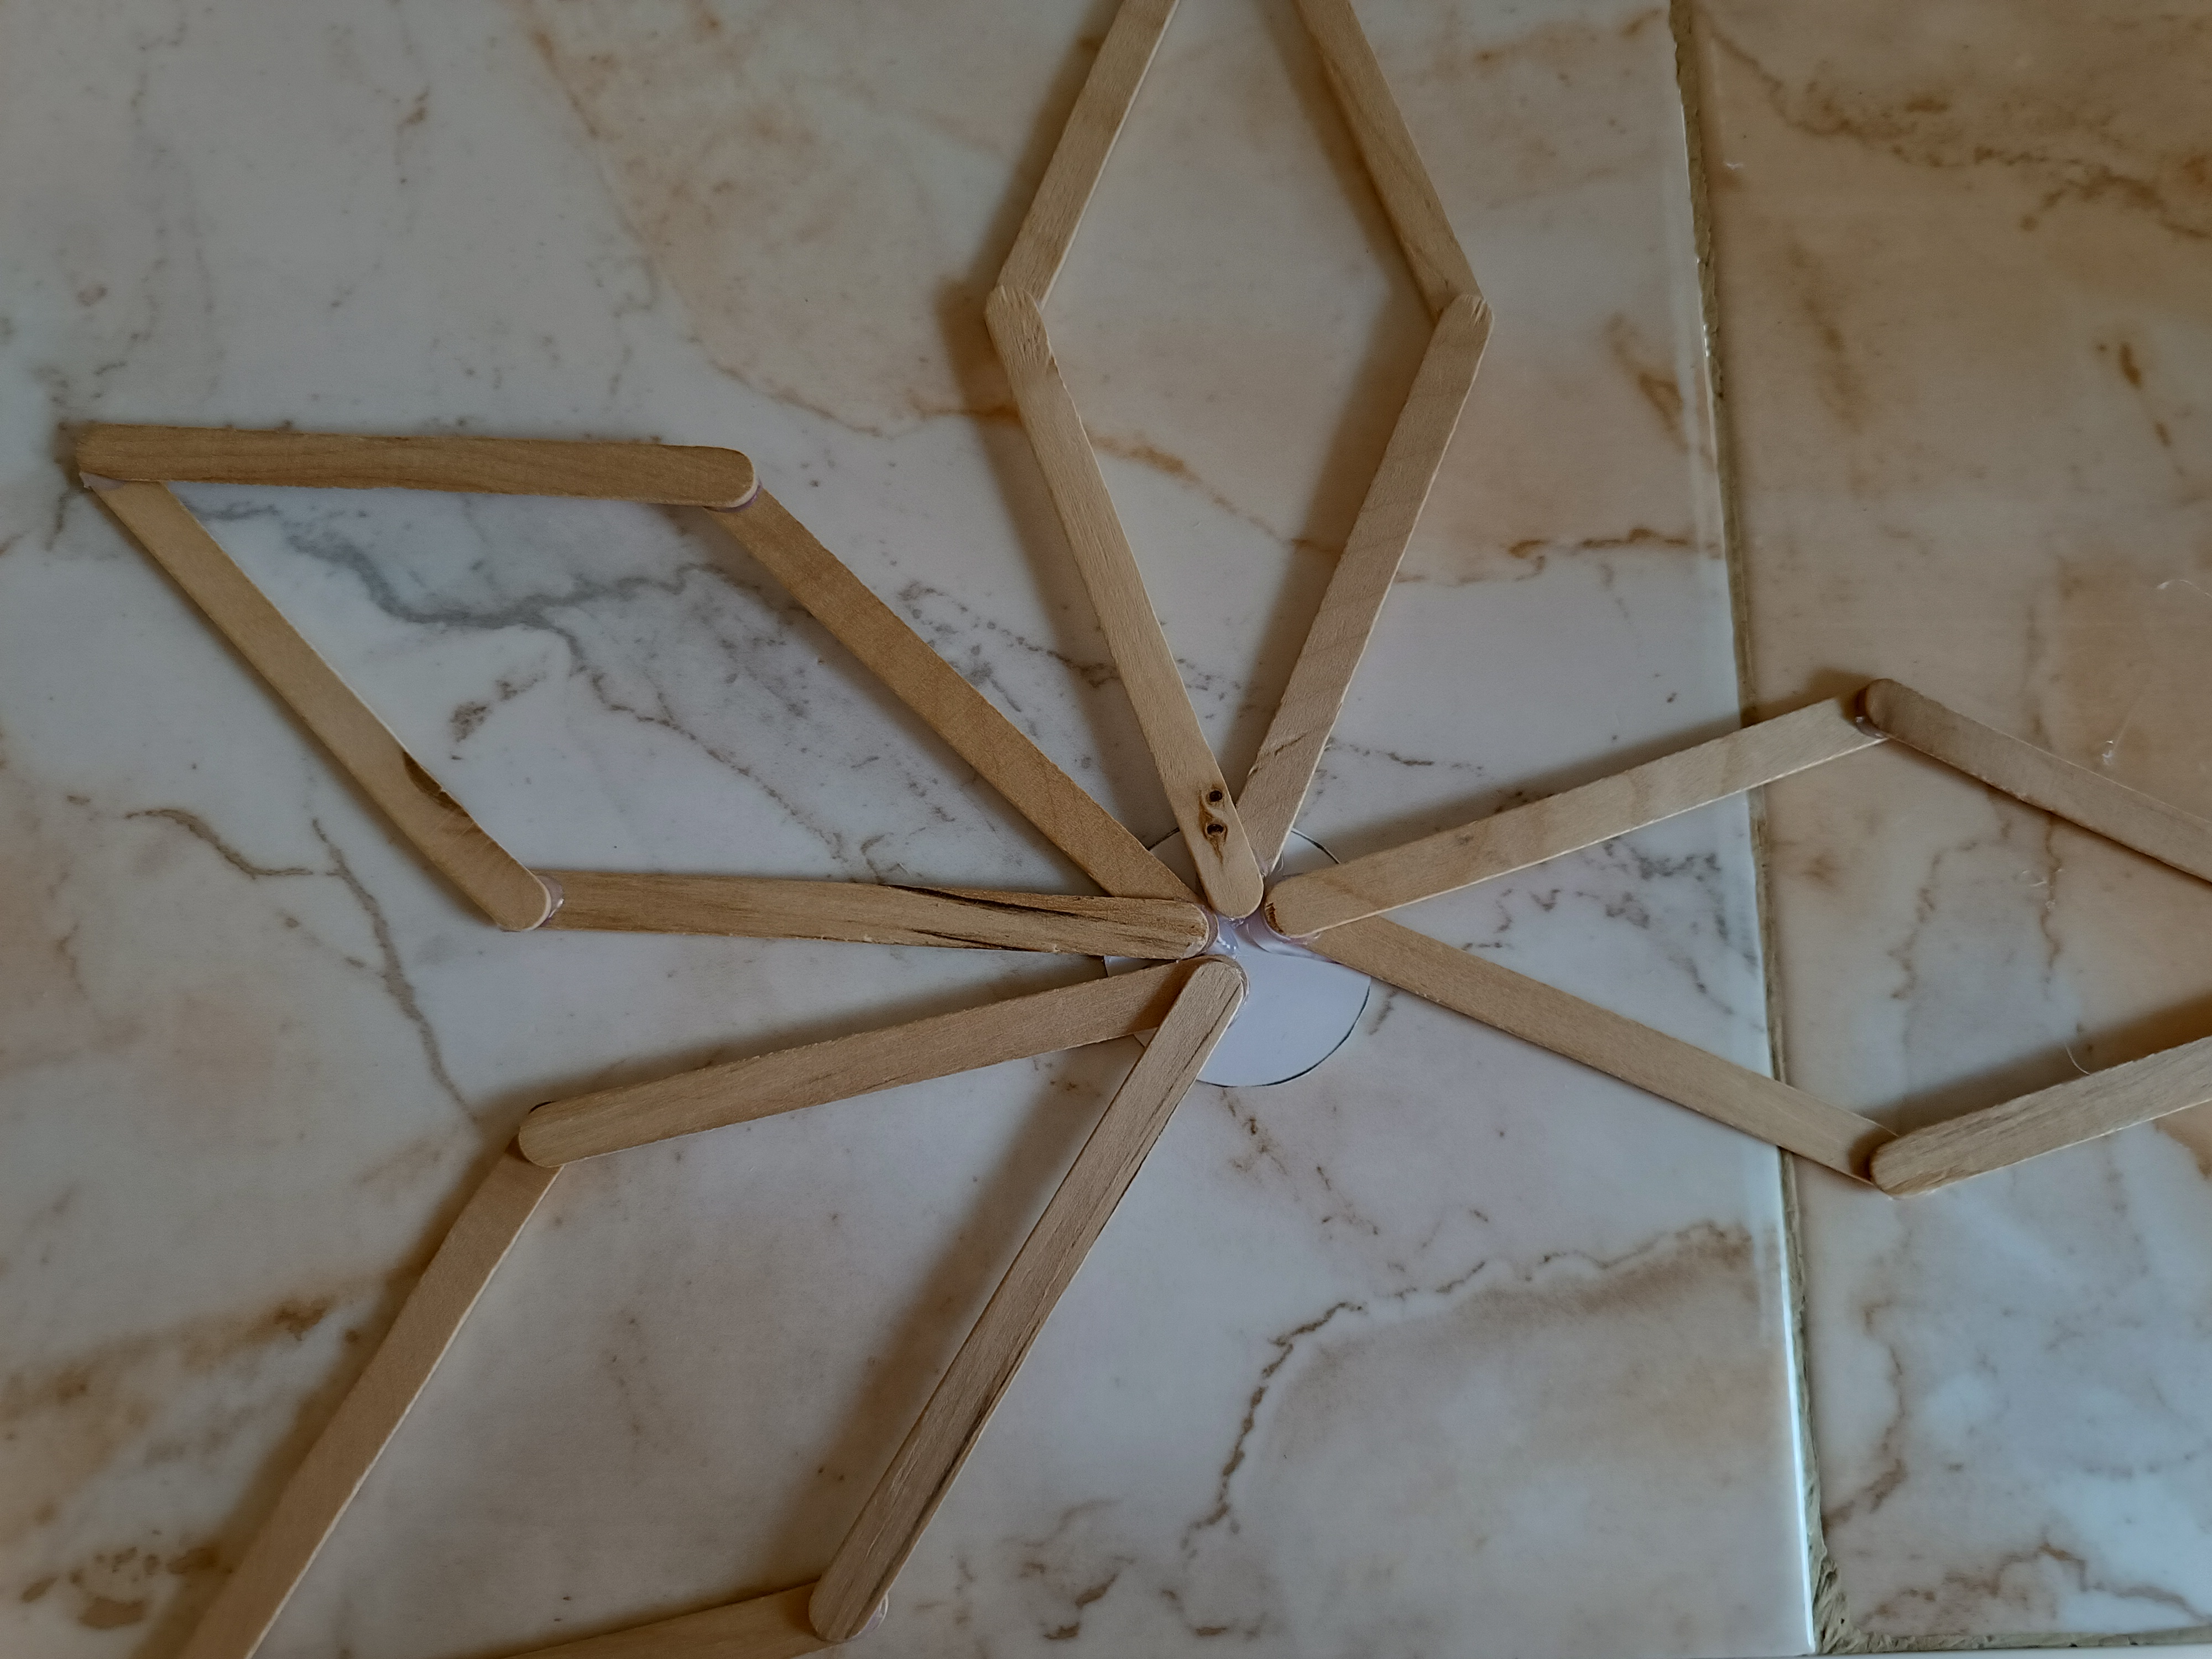
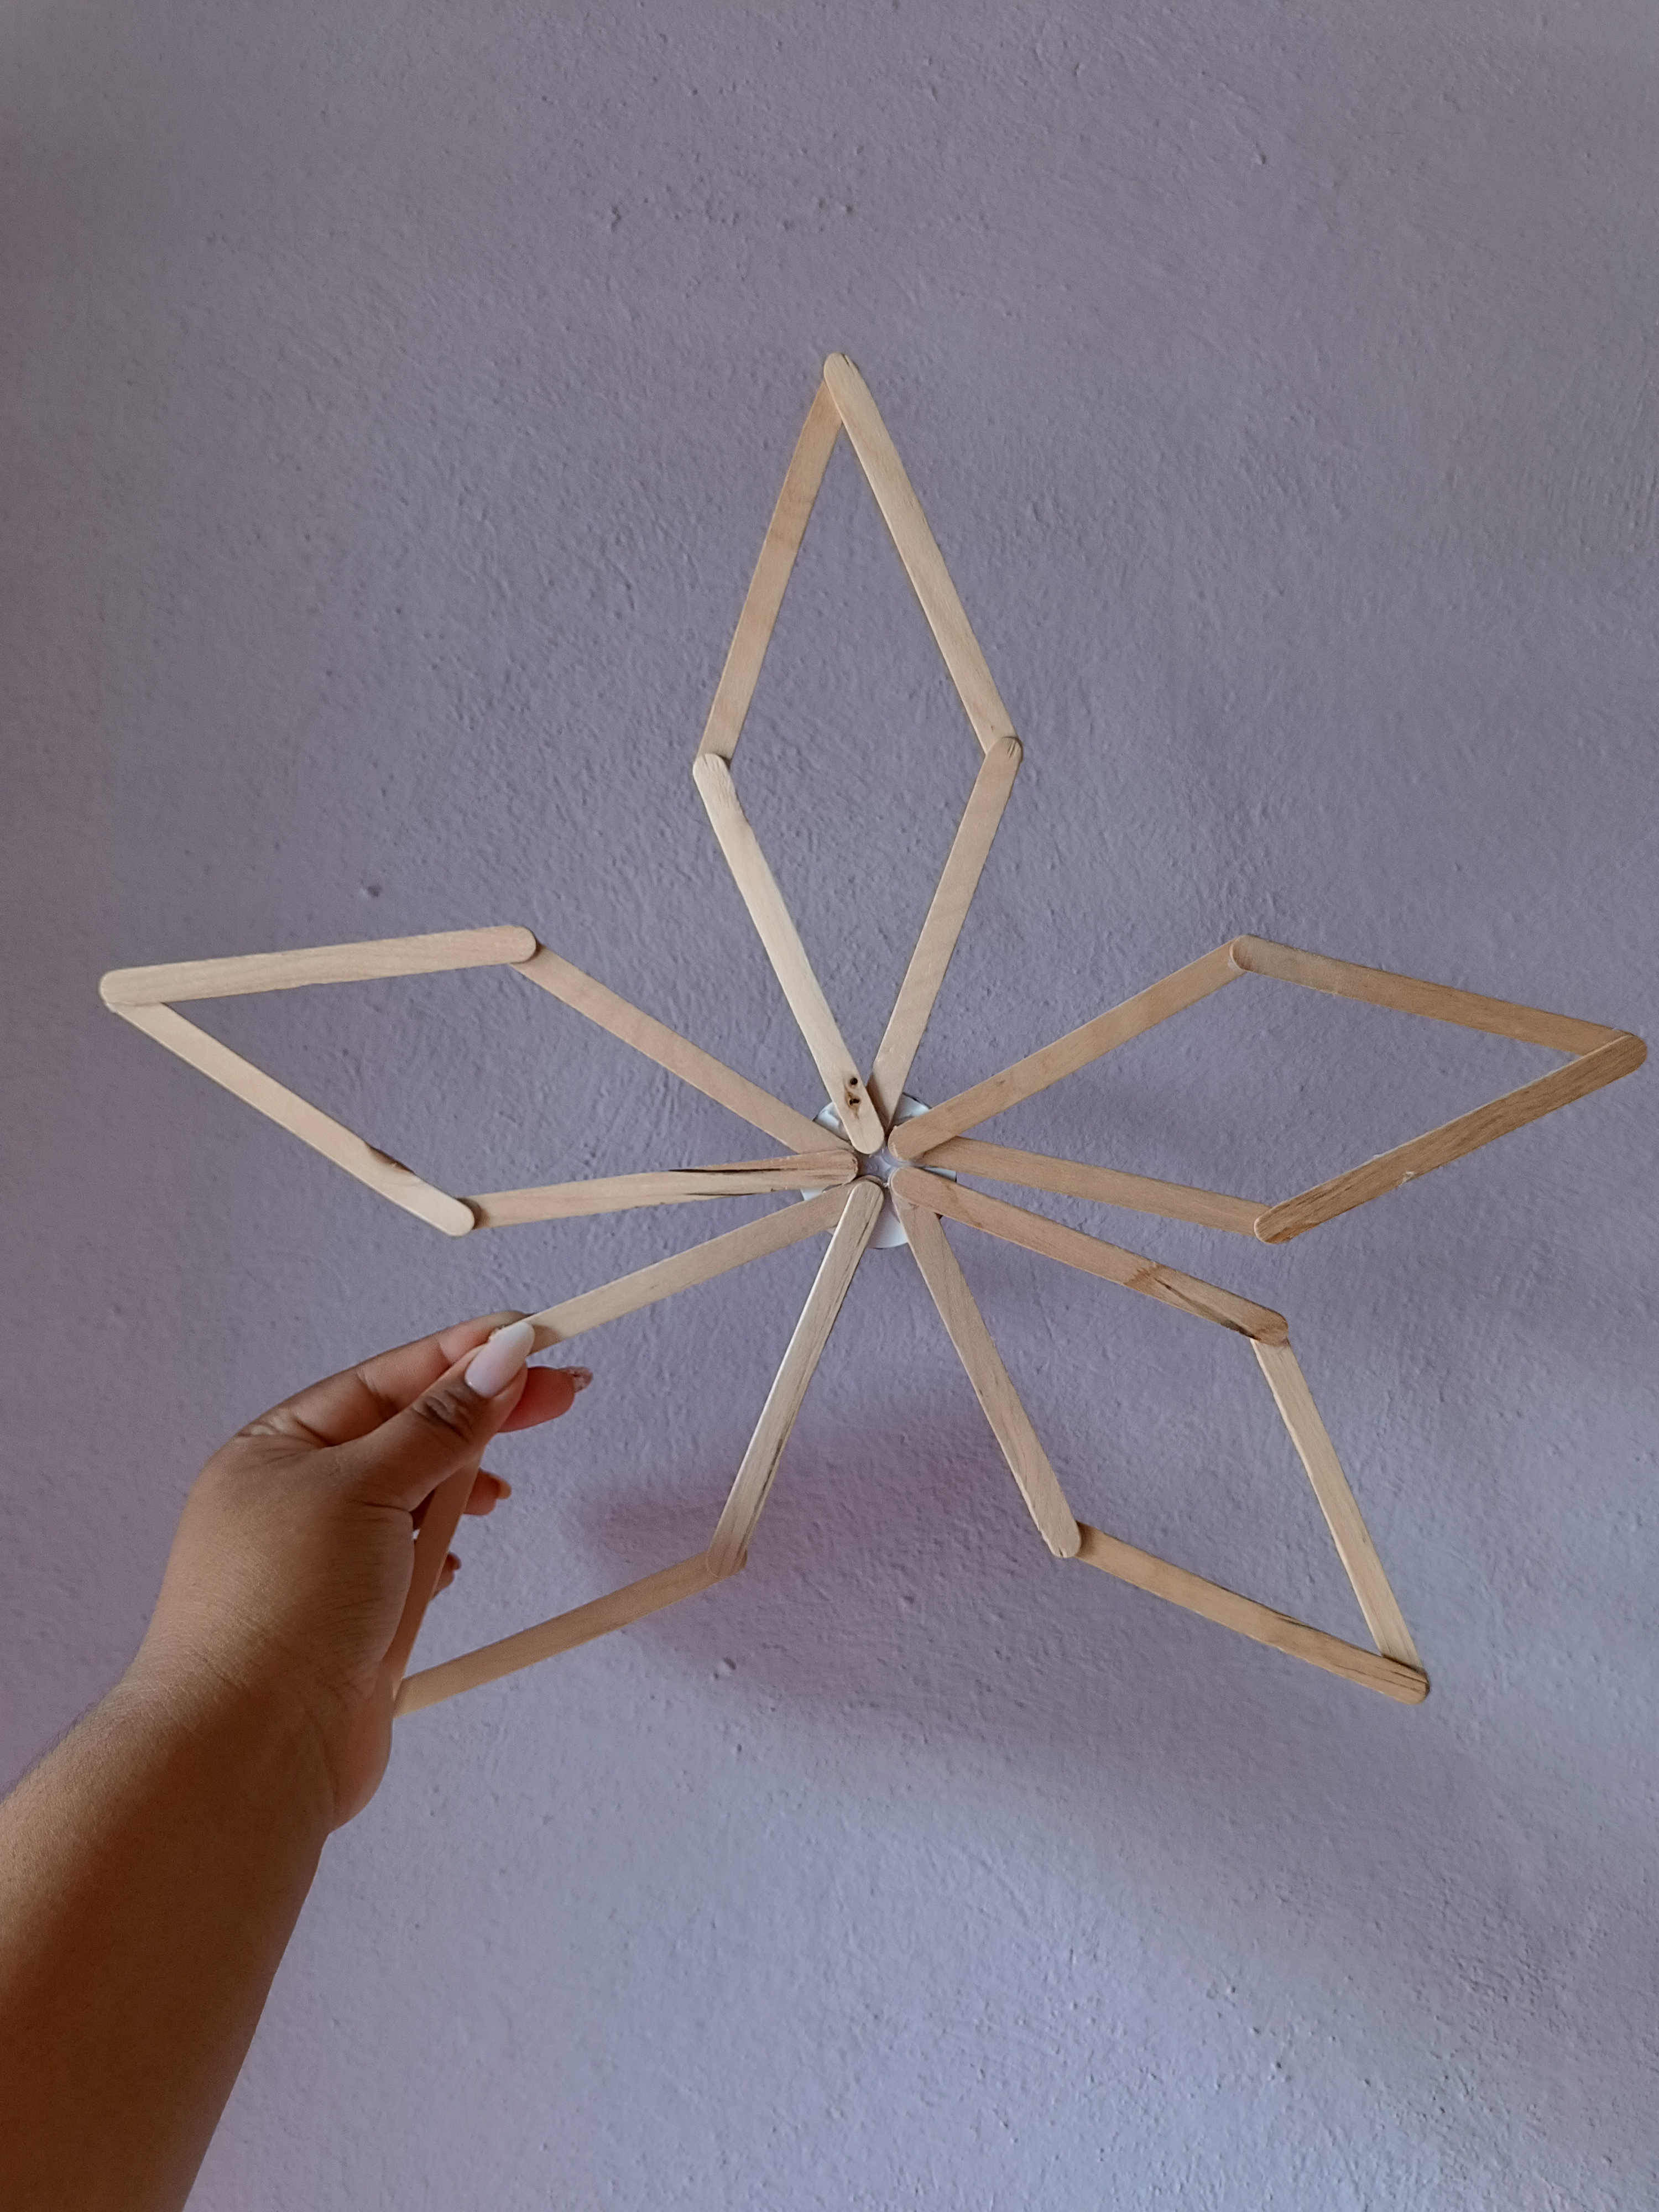
El primer paso se trata de comenzar a pegar las paletas, primero unimos dos paletas en forma de triángulo, luego unimos dos más en la parte inferior, este paso lo voy a realizar cuatro veces más.
The first step is about starting to glue the pallets, first we join two pallets in a triangle shape, then we join two more at the bottom, I am going to do this step four more times.

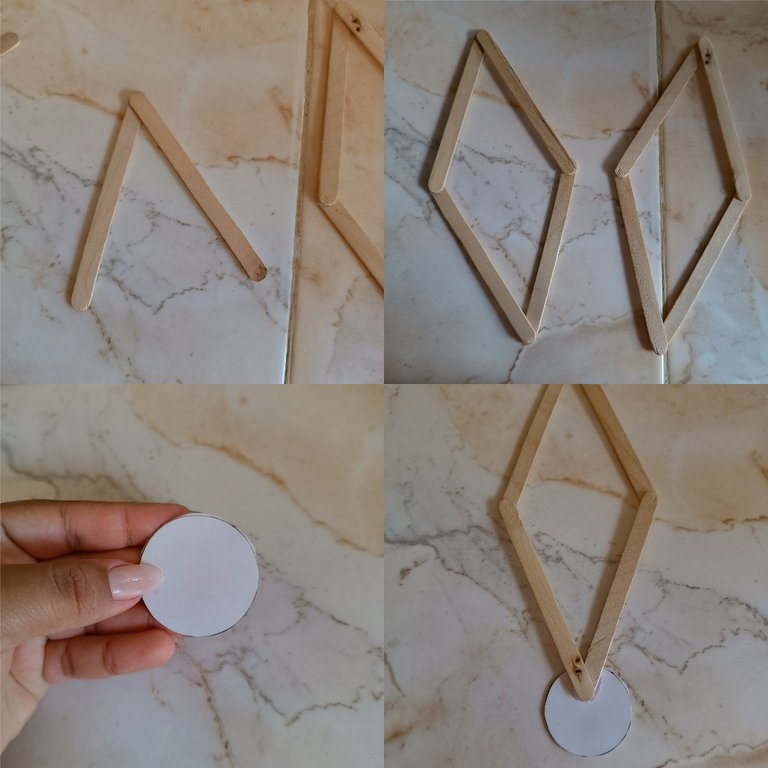
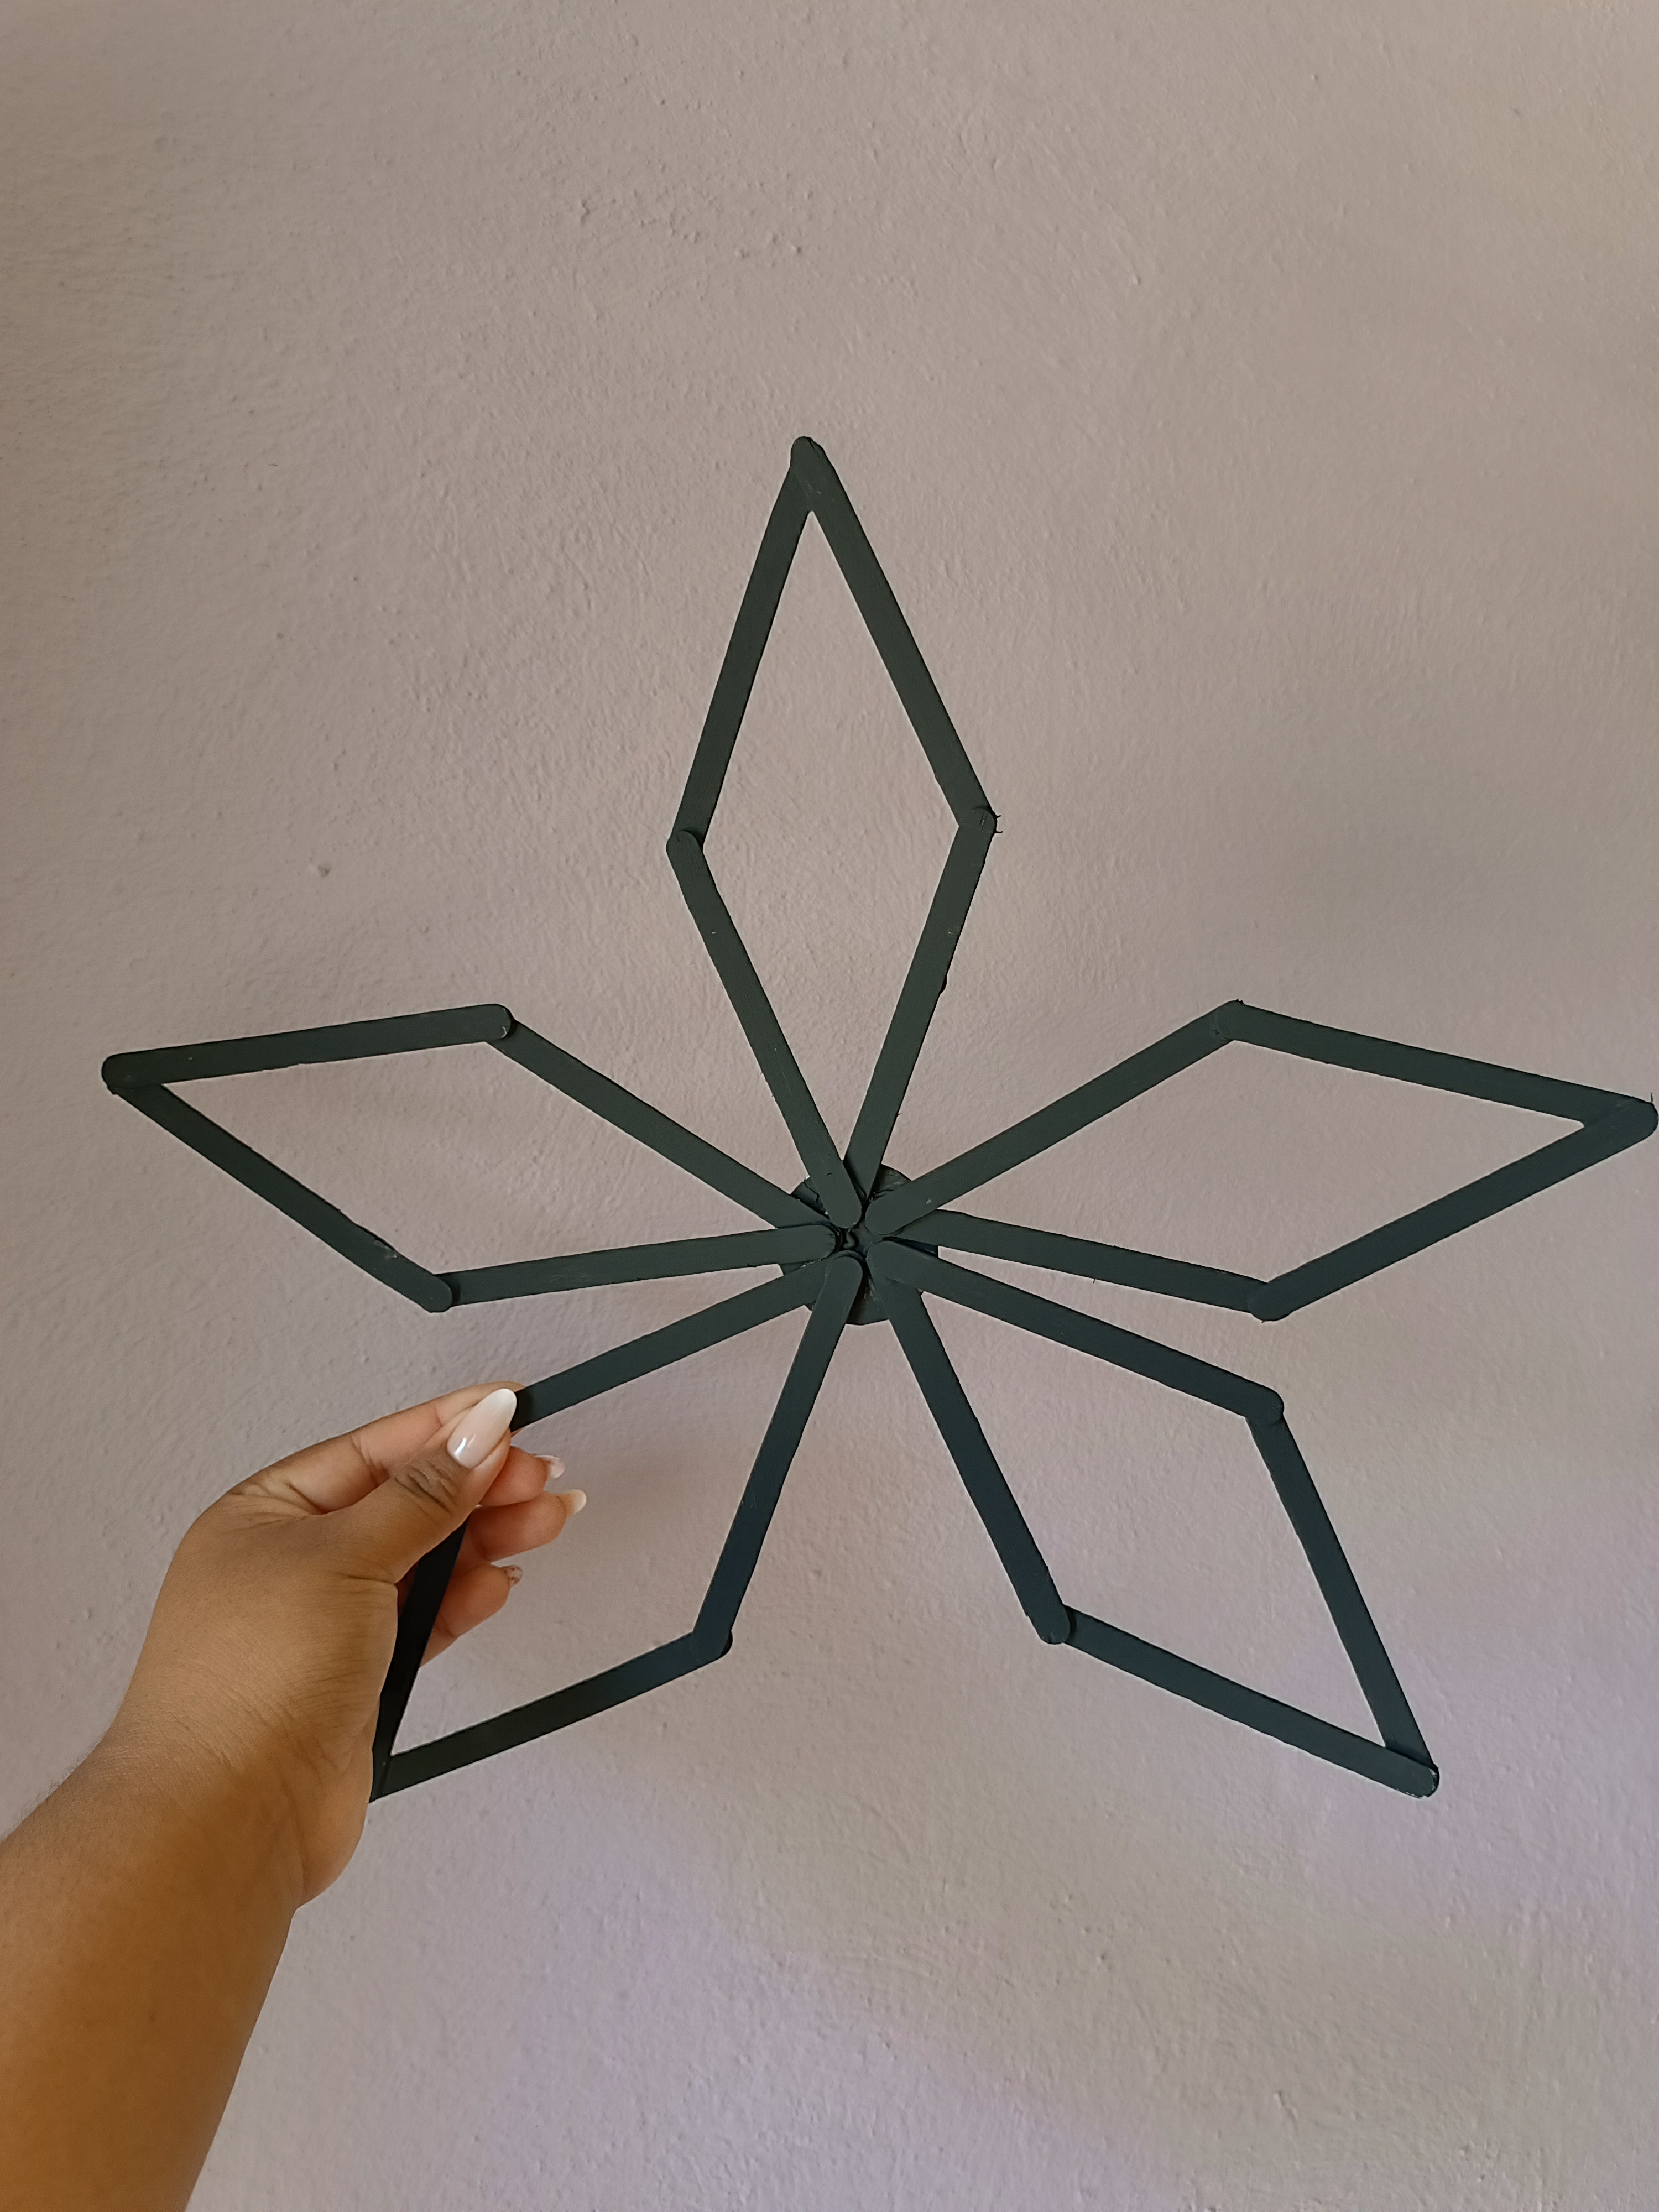
El siguiente paso es cortar un círculo de cartón, y voy a ir pegando las figuras, debe quedar en forma de estrella, ahora voy a pintar de color negro, puedes aplicar varias capas si es necesario para mayor cobertura.
The next step is to cut a cardboard circle, and I am going to glue the figures, it should be in the shape of a star, now I am going to paint black, you can apply several layers if necessary for greater coverage.

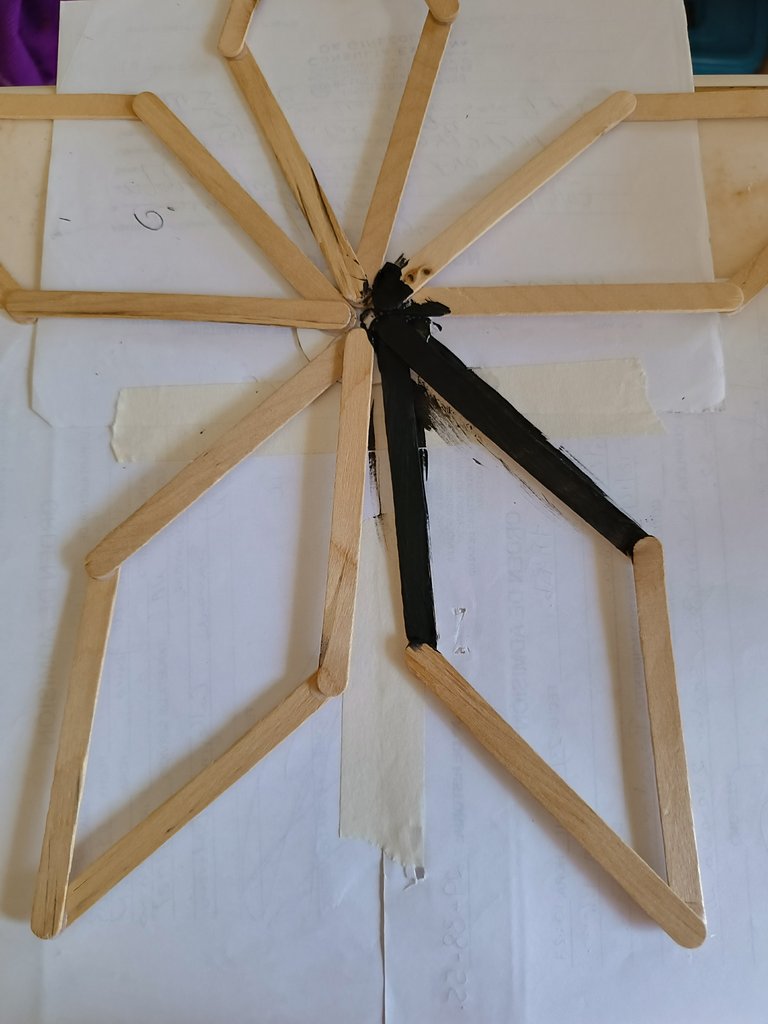
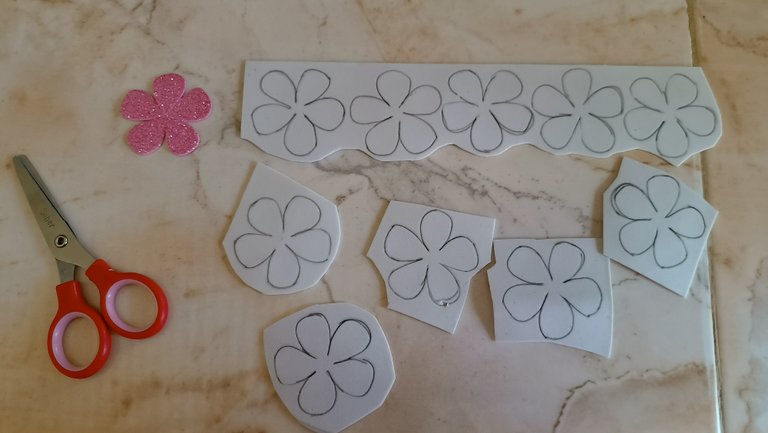
Mientras se seca comenzamos a realizar las flores en foami blanco simple y escarchado, también voy a realizar una flor en foami rosa escarchado, en medio coloqué un círculo color amarillo a las flores amarillas y blanco a la flor color rosa.
While it dries we begin to make the flowers in simple and frosty white foam, I am also going to make a flower in frosty pink foam, in the middle I placed a yellow circle for the yellow flowers and white for the pink flower.

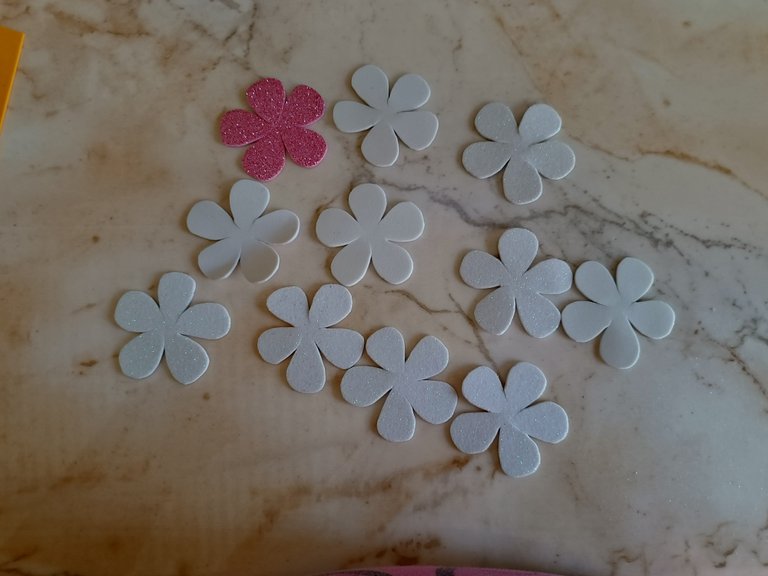
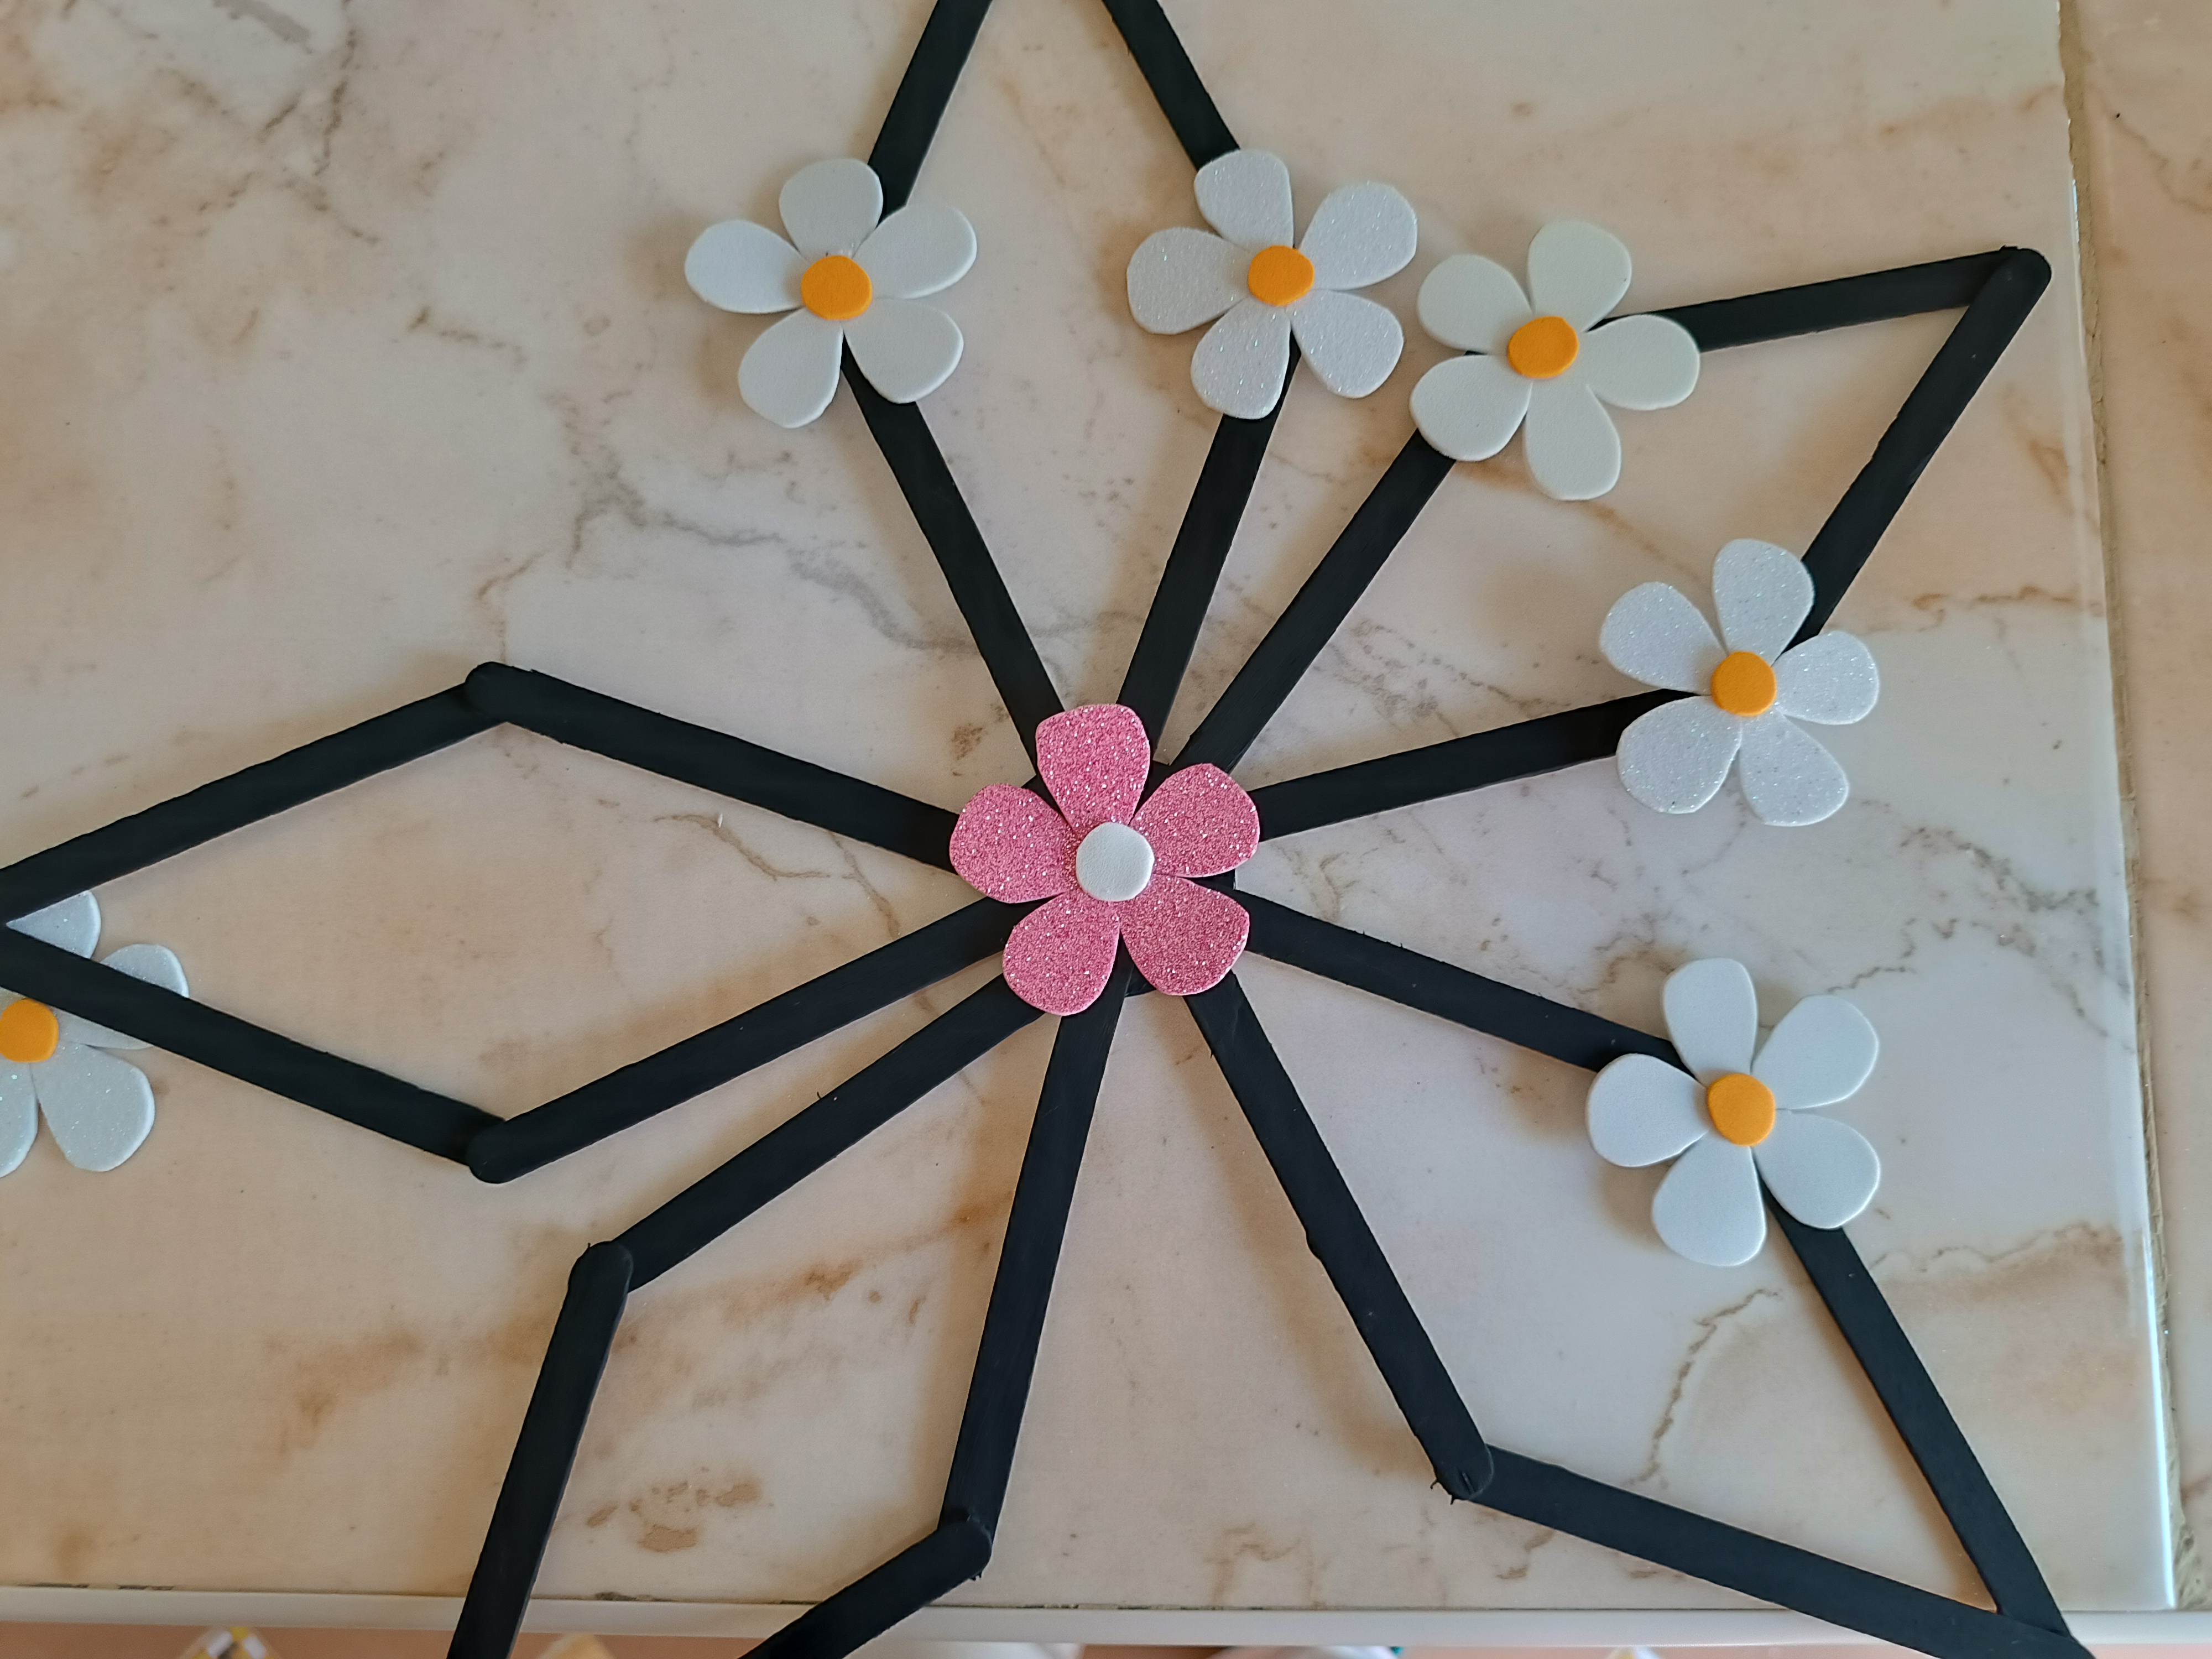
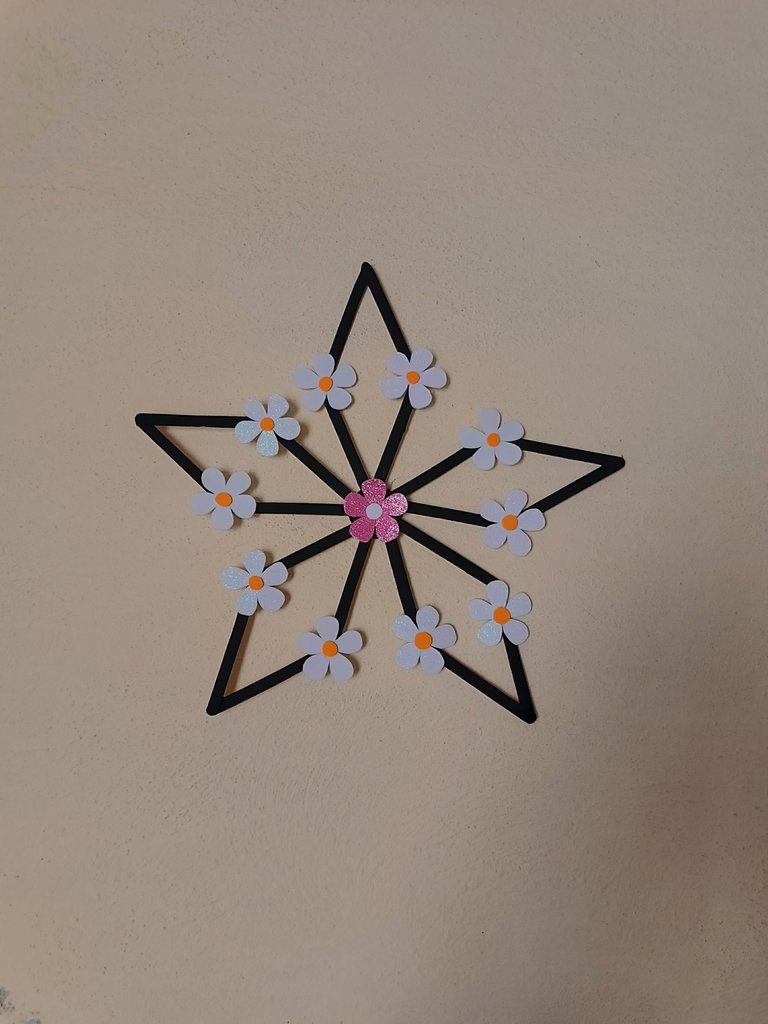
Ubiqué las flores blancas en forma circular y la flor color rosa en medio, de ésta forma hemos culminado este adorno para pared, queda super lindo y resalta en la pared, puedes jugar con los colores de acuerdo a como quieras combinar tanto el color de las paletas y de las flores, espero les haya gustado.
I placed the white flowers in a circular shape and the pink flower in the middle, in this way we have completed this wall decoration, it looks super cute and stands out on the wall, you can play with the colors according to how you want to combine both the color of the palettes and flowers, I hope you liked them.


Muchas gracias por visitar mi publicación, nos vemos en una próxima oportunidad con más ideas creativas.
Thank you very much for visiting my publication, see you next time with more creative ideas.



Contenido original. - original content.
Los separadores y banner fueron realizados en Canva. - The dividers and banner were made in Canva.
Las fotografias son tomadas con mi teléfono Redmi Note 11s y editadas en PicsArt - The photographs are taken with my Redmi Note 11s phone and edited in PicsArt.
Traducción de: Google traductor - Translation of: Google translator.
