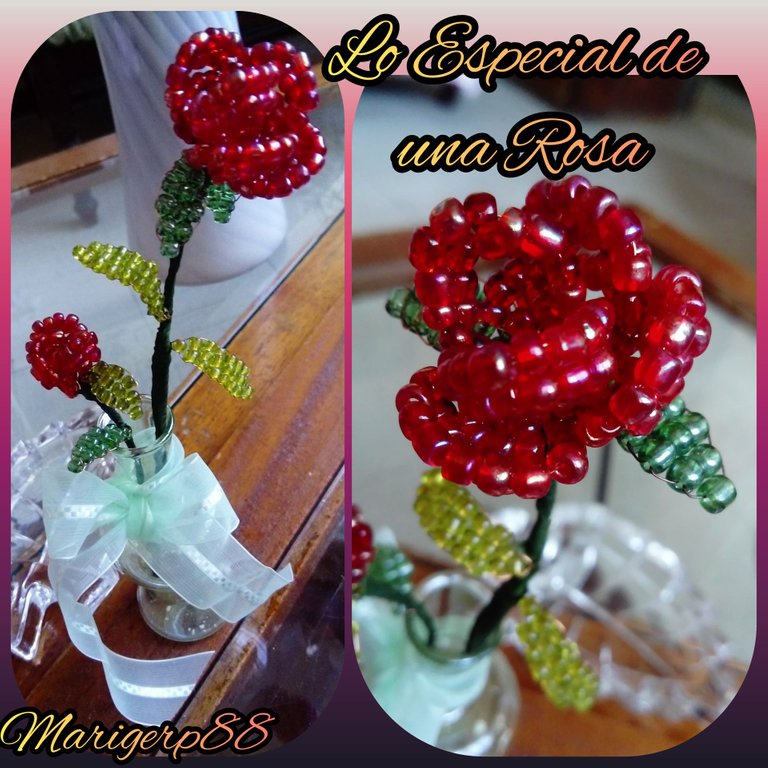
Hola queridos hivers, me alegra saludarlos, me encuentro por aquí en esta creativa comunidad muy entusiasmada de participar en el Concurso Primavera, que nos trae una propuesta muy alegre, colorida y fresca como las que nos regalan las flores , donde en todas sus formas y colores tienen un gran valor por representar la belleza de la naturaleza.
Recordé que en una ocasión realize unas lindas flores rojas hechas de mostacillas rojas y verdes, además de alambres de manualidades, debo decir que todo en cuanto a piedras y mostacillas son materiales con los que disfruto elaborar manualidades por obtener bonitos resultados, a la vez que se mantienen llamativas y relucientes por mucho tiempo.
Esta fue una idea que tuve en un momento dado, para tener un detalle especial en un día de las madres, donde realize varias de ellas para que acompañaran los regalos con este símbolo de cariño.

Lo más bonito por parte de mi mamá, hermana y mi tía, fue recibirlas con un gesto de sorpresa y a la vez de alegría al tenerla en sus manos, valorandolo además como un bonito adorno en un lugar muy propio para tenerlo cerca. Es de resaltar que lo más valioso de las flores es que tienen la virtud de dar felicidad a quien las recibe y más aún si es realizada para demostrar cariño y afecto.
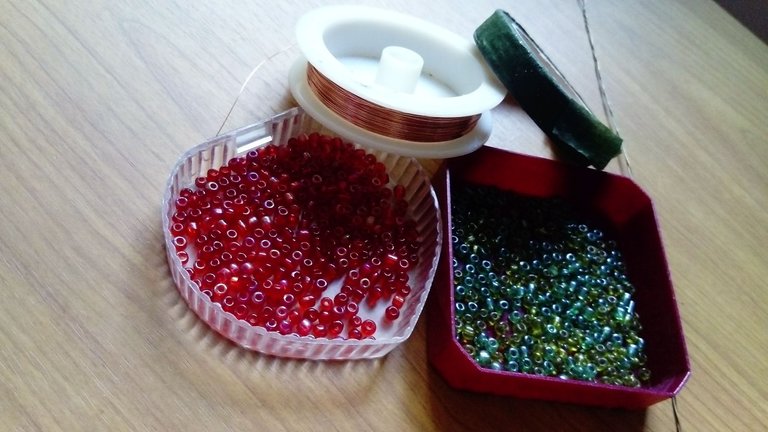
Aquí les muestro los materiales que utilice para realizar esta flor, la cual tiene un procedimiento muy sencillo, donde solo bastará repetir el proceso en cada hilera para ir formando los pétalos.
Vamos a necesitar lo siguiente:
Mostacillas grandes rojo y verde
Hilo de Alambre
Alambre un poco fuerte para el tallo de la flor
Cinta verde Floratex (forrar el tallo)
Las mostacillas con las cuales realize estas flores son más grandes que las habituales, las llamadas mostacillon.
Procedimiento🌹🌹
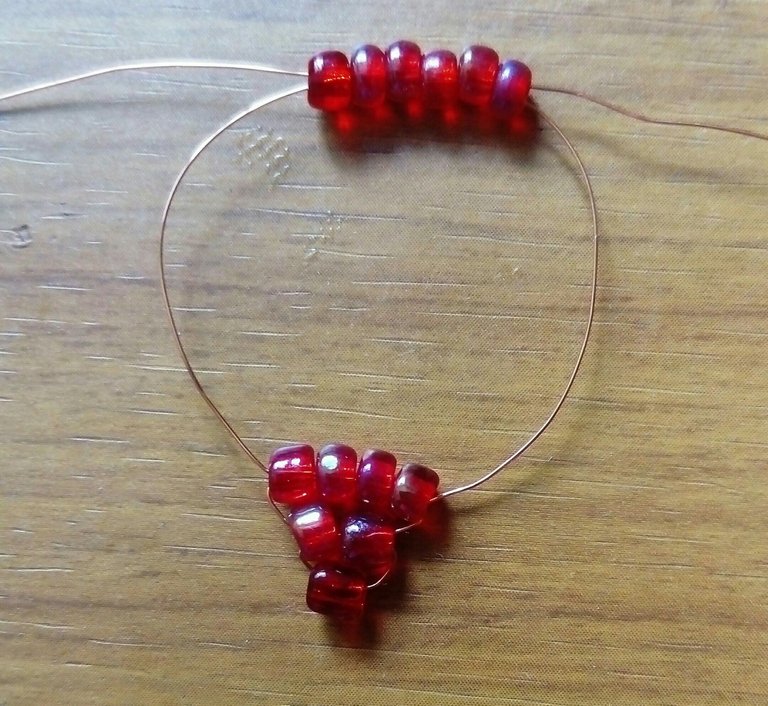
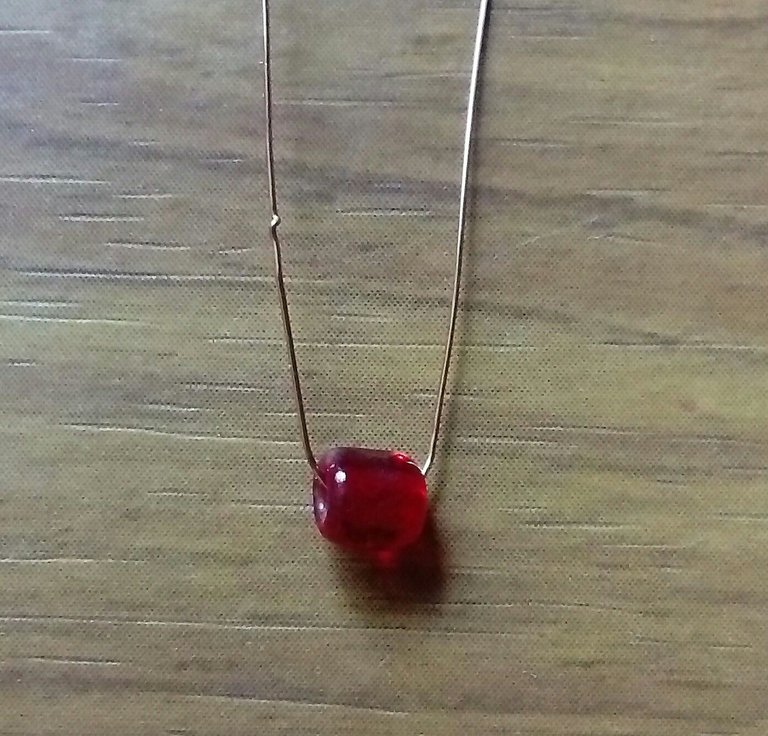
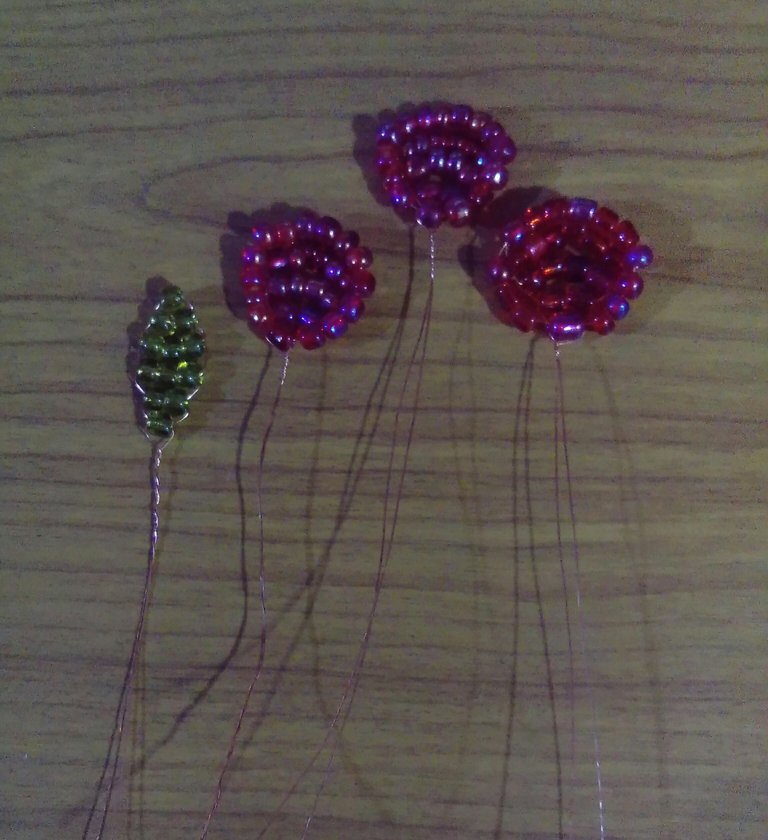
Se corta 30 ctms de hilo de alambre y se coloca una mostacilla roja en el centro.
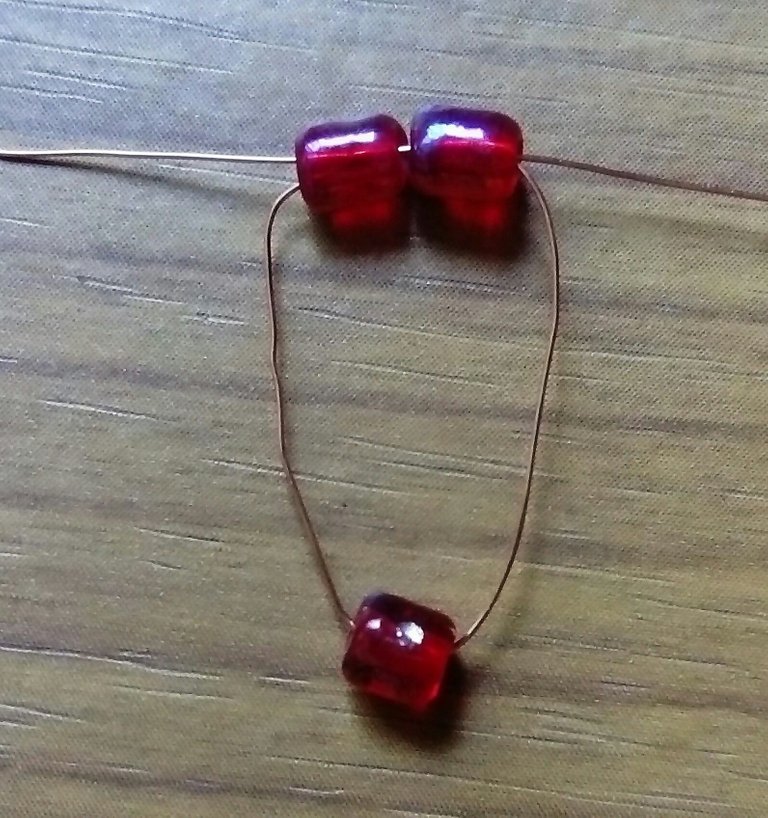
Luego dos mostacilla más por uno de los alambres y se cruza con el alambre del otro lado.
Se continúa, colocando esta vez cuatro mostacillas por un lado y se vuelve a cruzar.
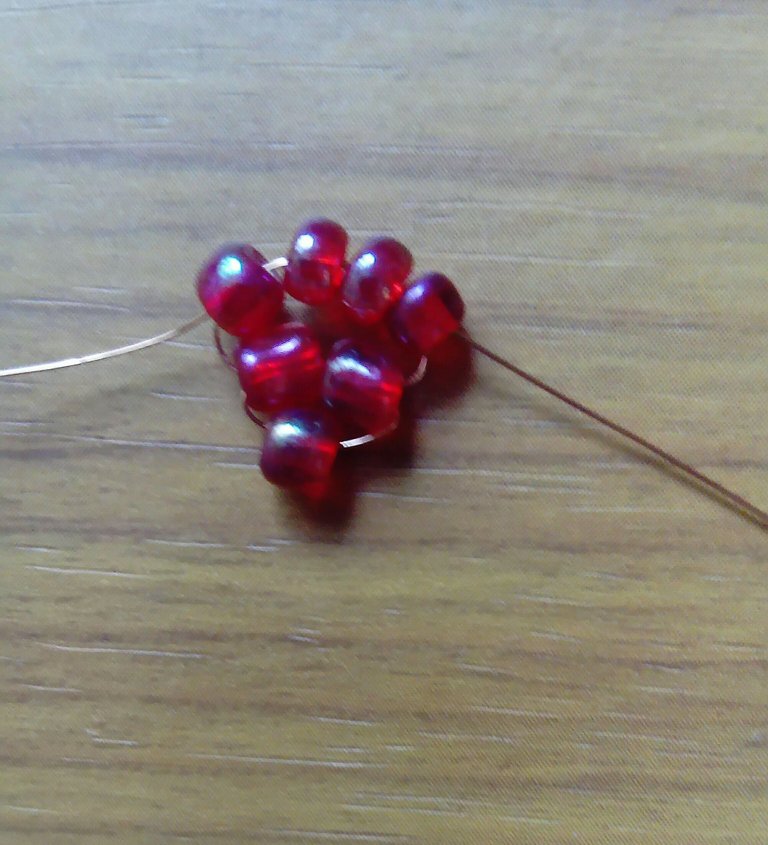
Se repite este paso dos veces más, con la diferencia que se colocarán seis mostacillas.
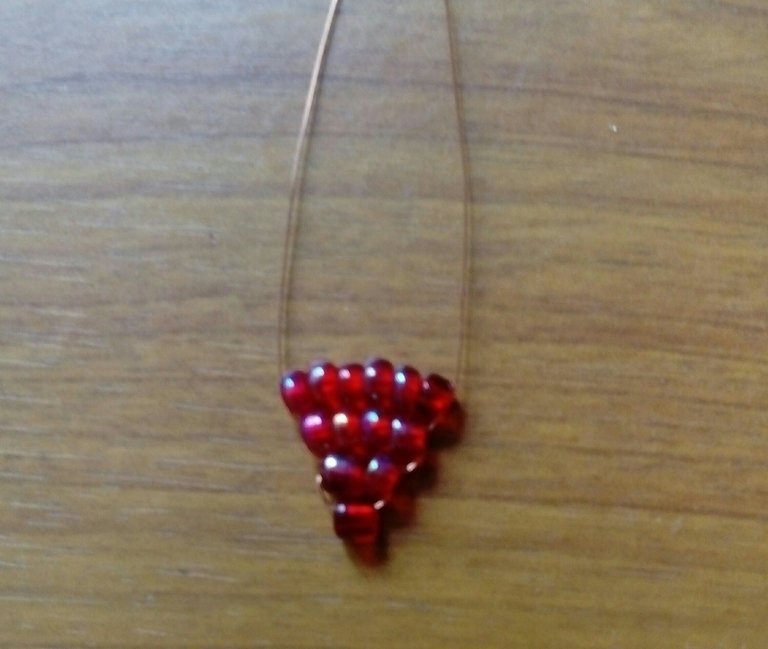
Por cada lado se colocan cuatro mostacillas y se cruzan los alambres por la primera mostacilla con que iniciamos para tener el primer pétalo.
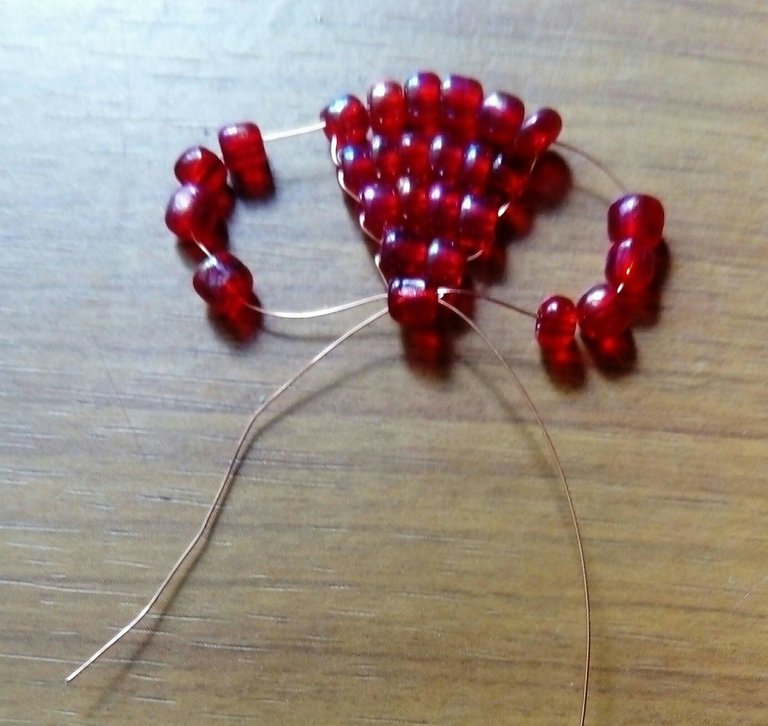
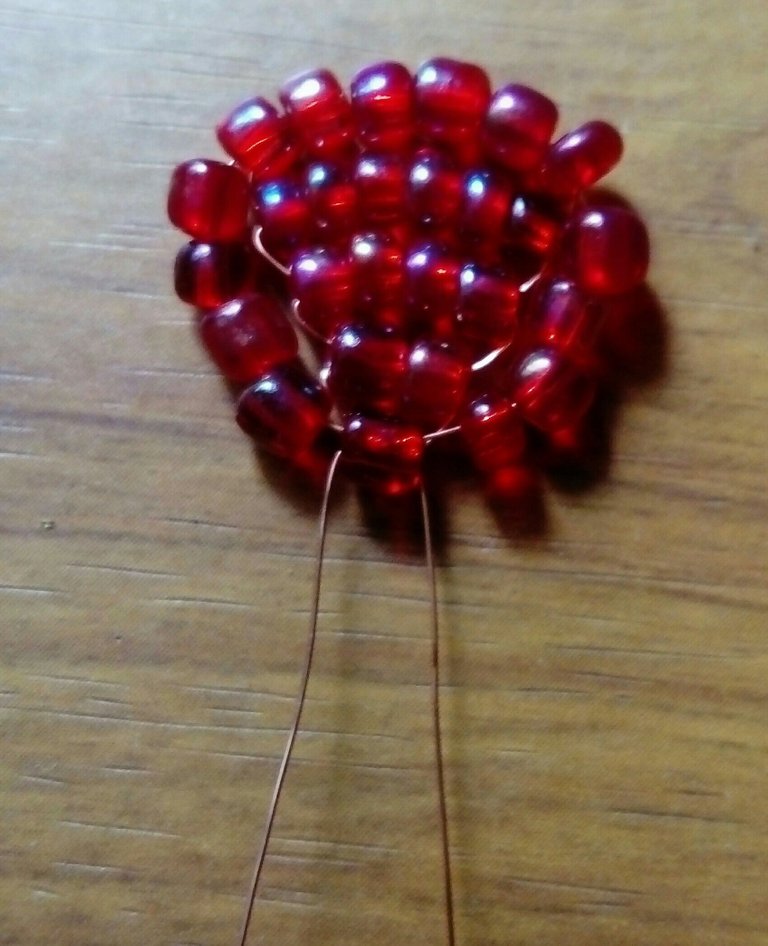
Se realizarán cuatro pétalos adicionales, los cuales formarán esta rosa.
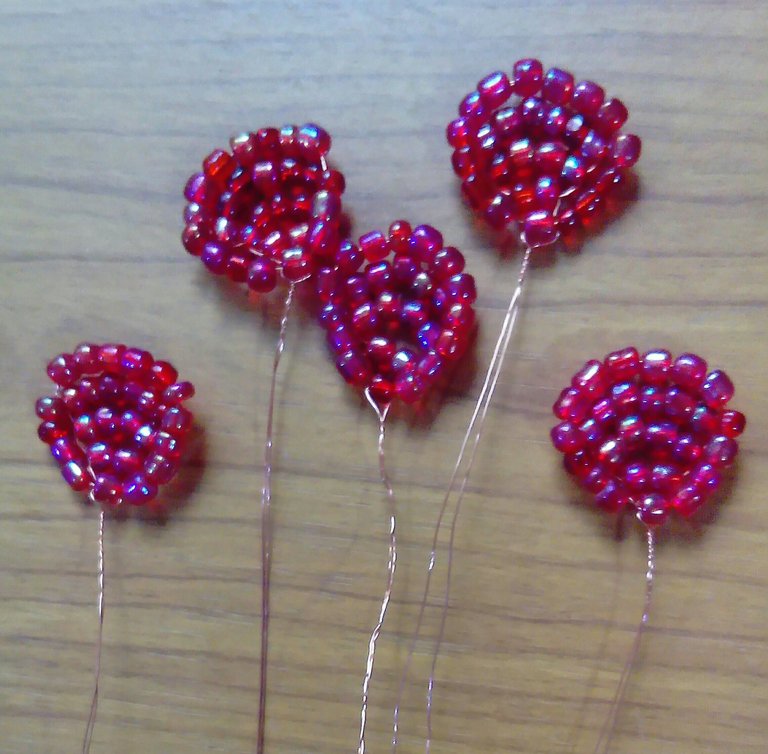
Las Hojas🍂🍂
Para realizar las hojitas que acompañaran estas rosas, básicamente es el mismo procedimiento de los pétalos, lo que lo diferencia es el numero de mostacillas a utilizar, donde se inicia cortando 20 ctms de alambre y se coloca una mostacilla en el centro de color verde.
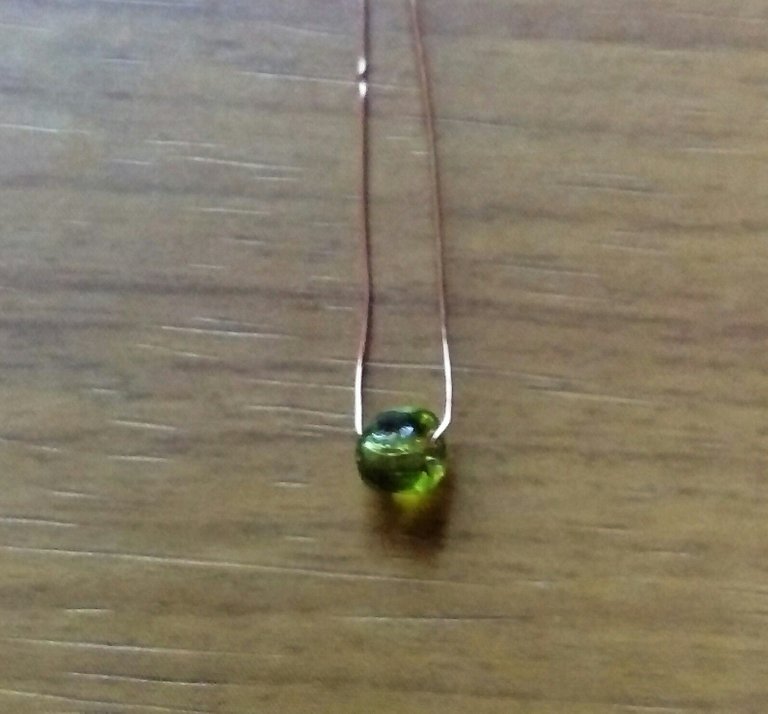
Se continúa colocando dos mostacilla por uno de los alambres para cruzar con el de al lado, se repite dos veces más este paso, con la diferencia que se insertarán tres mostacillas.
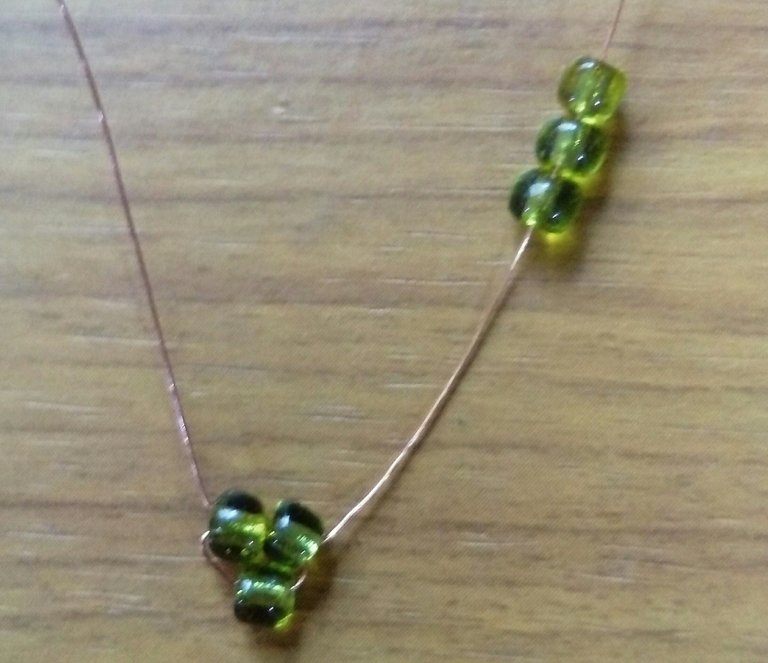
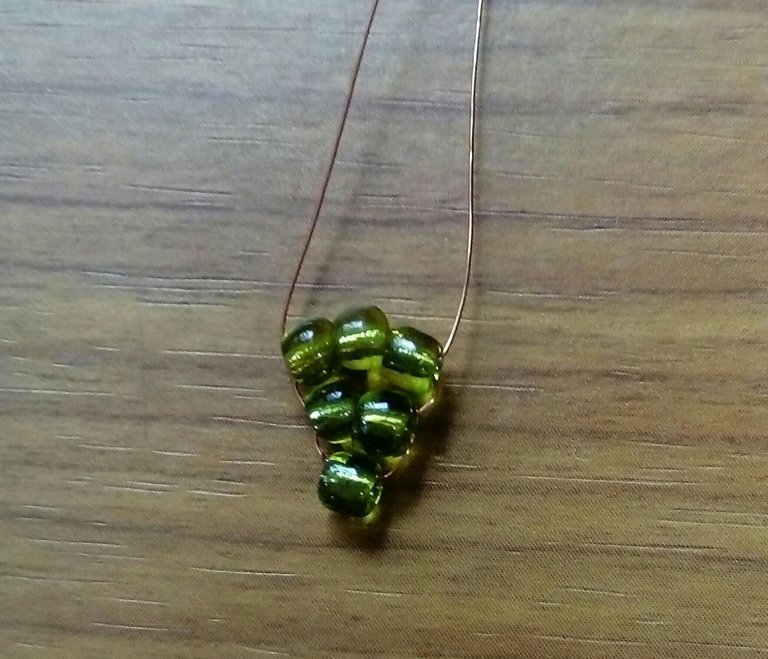
Luego se colocan dos mostacillas, y para finalizar se cruza por una más.
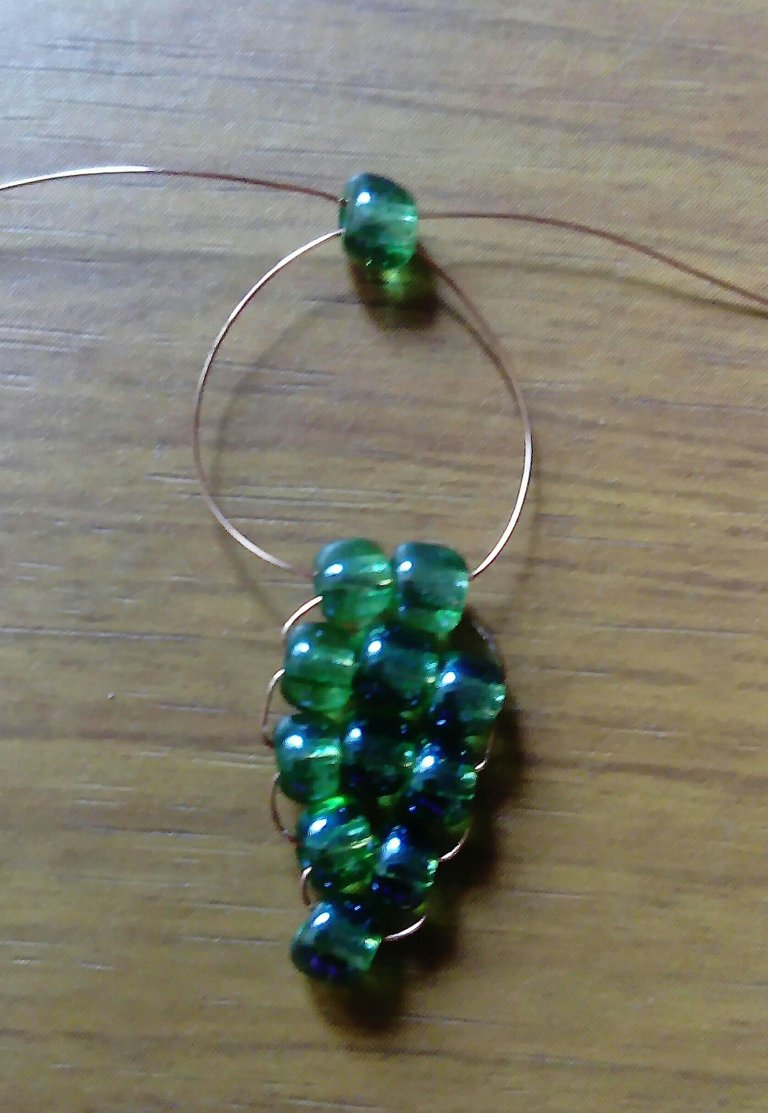
Así quedan estas hojas, las cuales se realizarán varias de ellas.
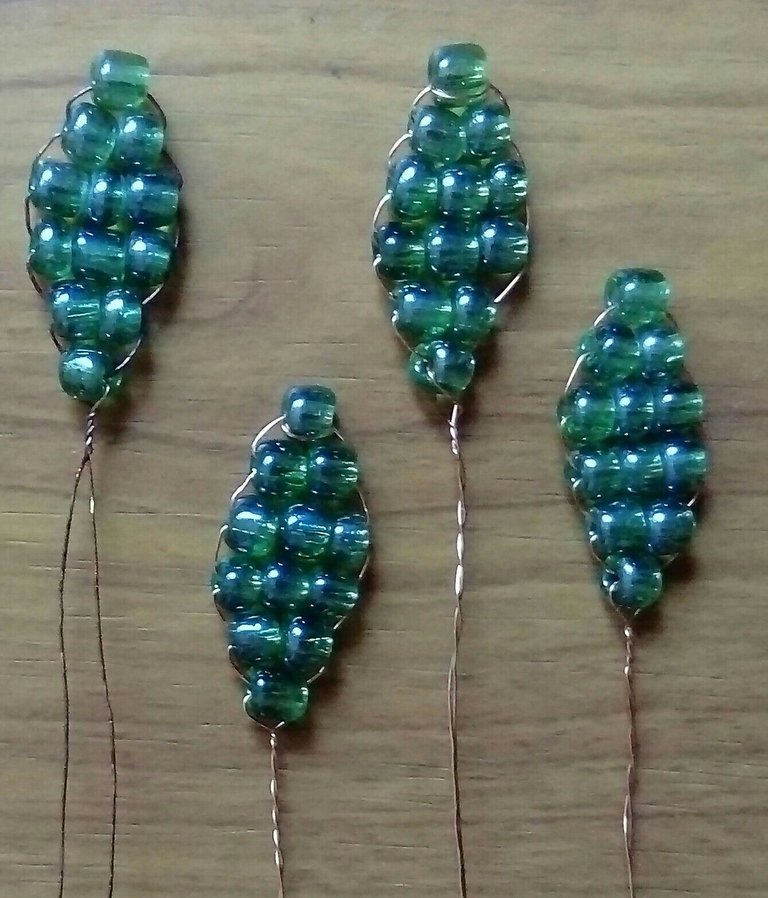
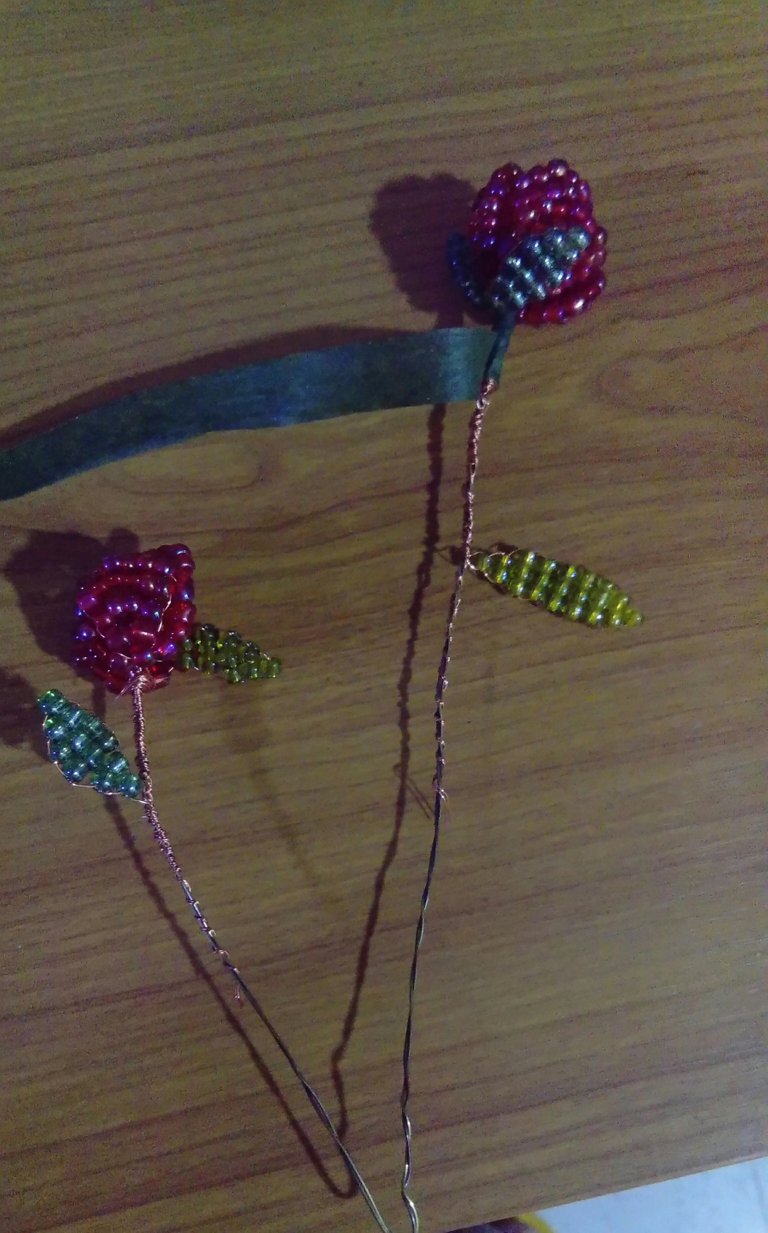
Para armar la rosa se dispone de un alambre fuerte, porque este será el tallo, empezamos colocando dos hojitas en un extremo del alambre, el cual se hará enrollando el hilo de alambre sobrante de las hojitas alrededor del tallo.
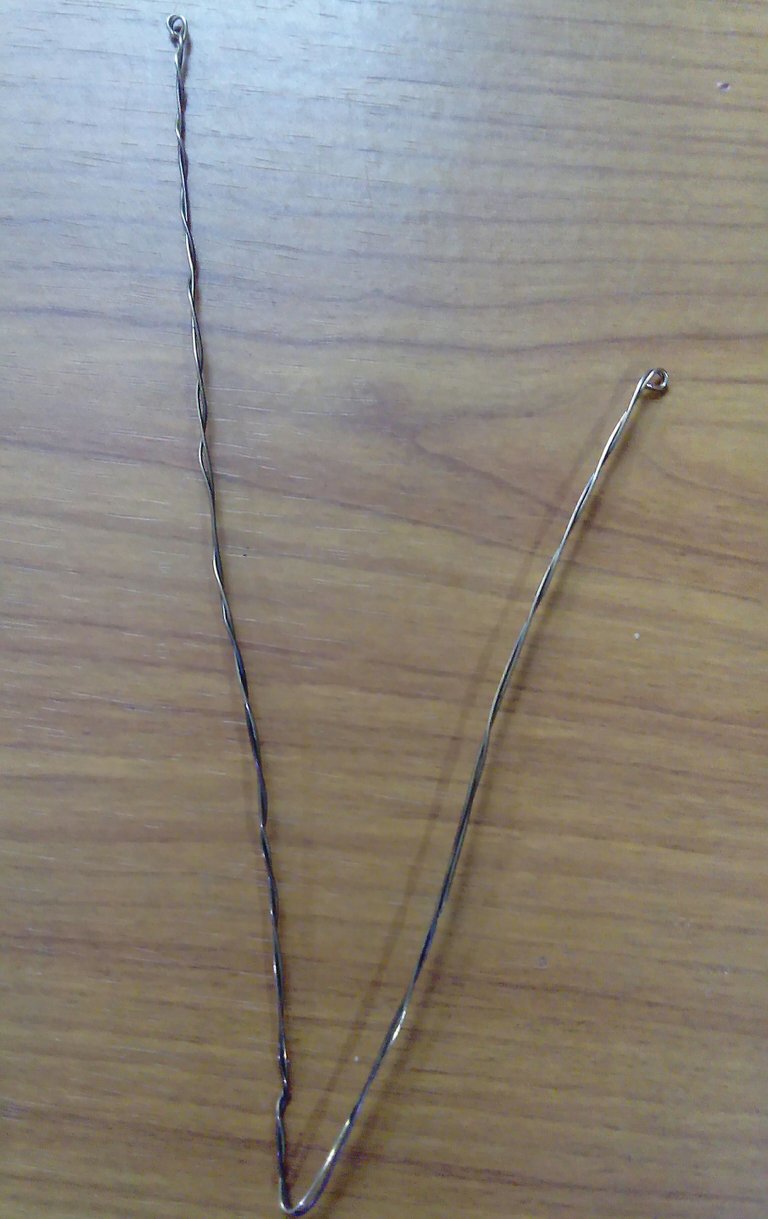
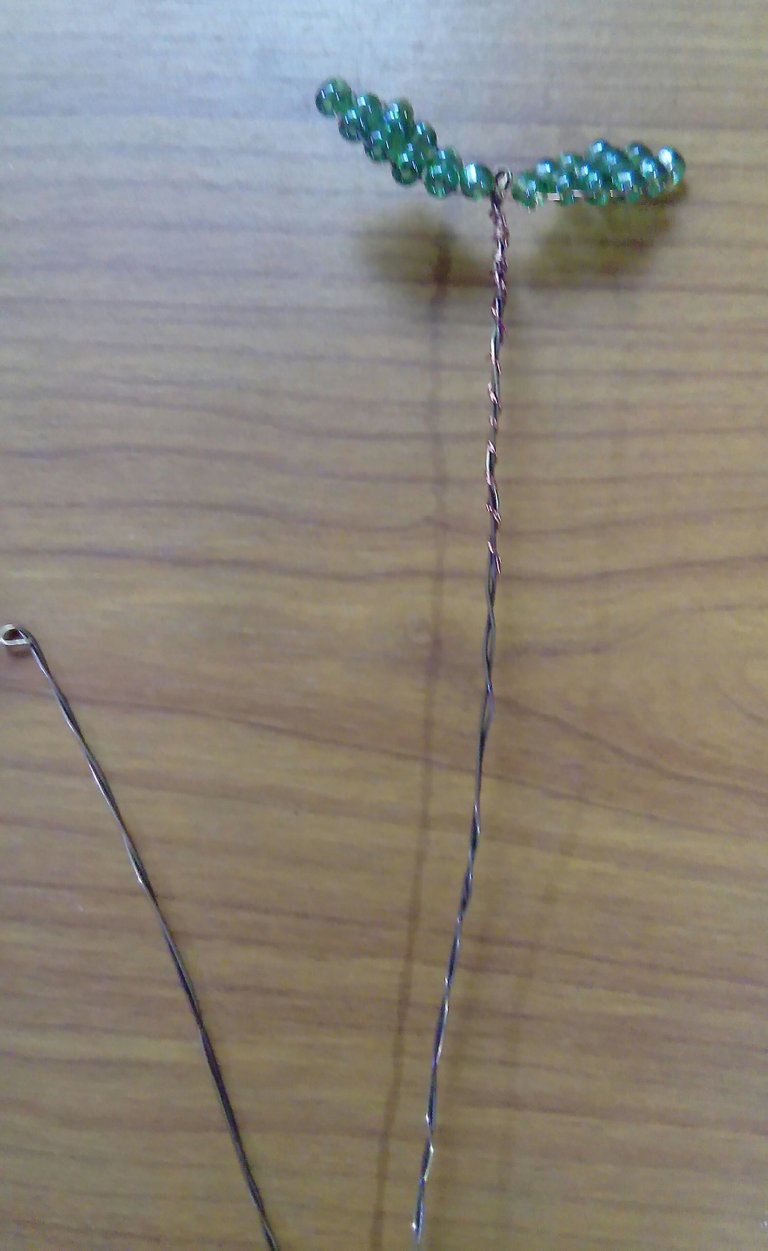
Seguidamente vamos colocando los pétalos, en la cual se le dará vueltas a el alambre sobrante que acompaña cada pétalo alrededor del tallo, a medida que van situándose se van acomodando para dar una forma bonita.
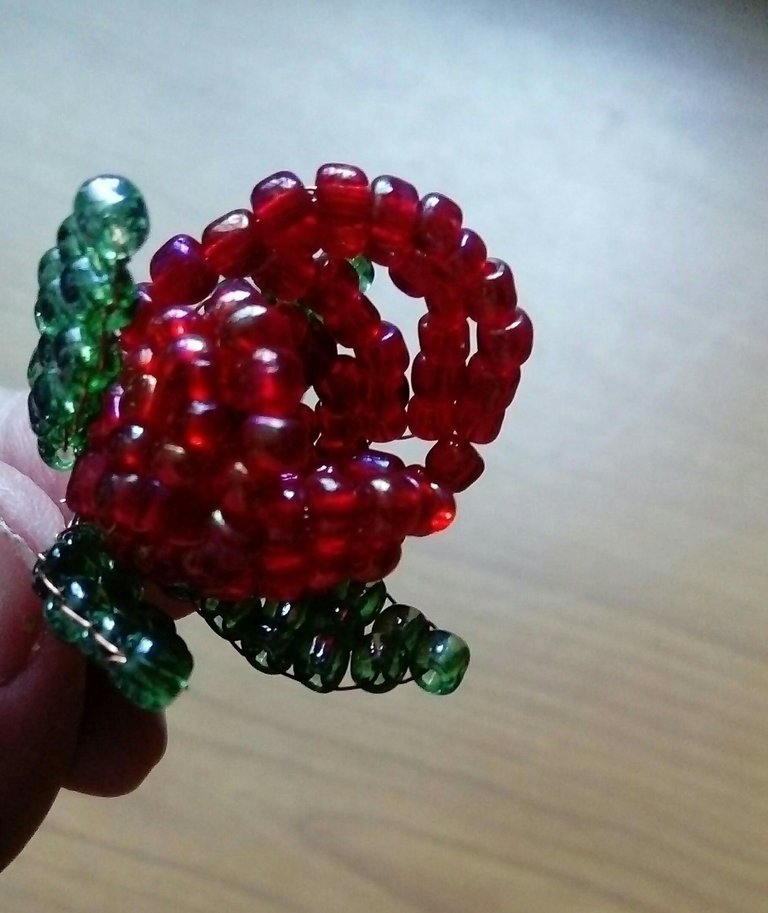
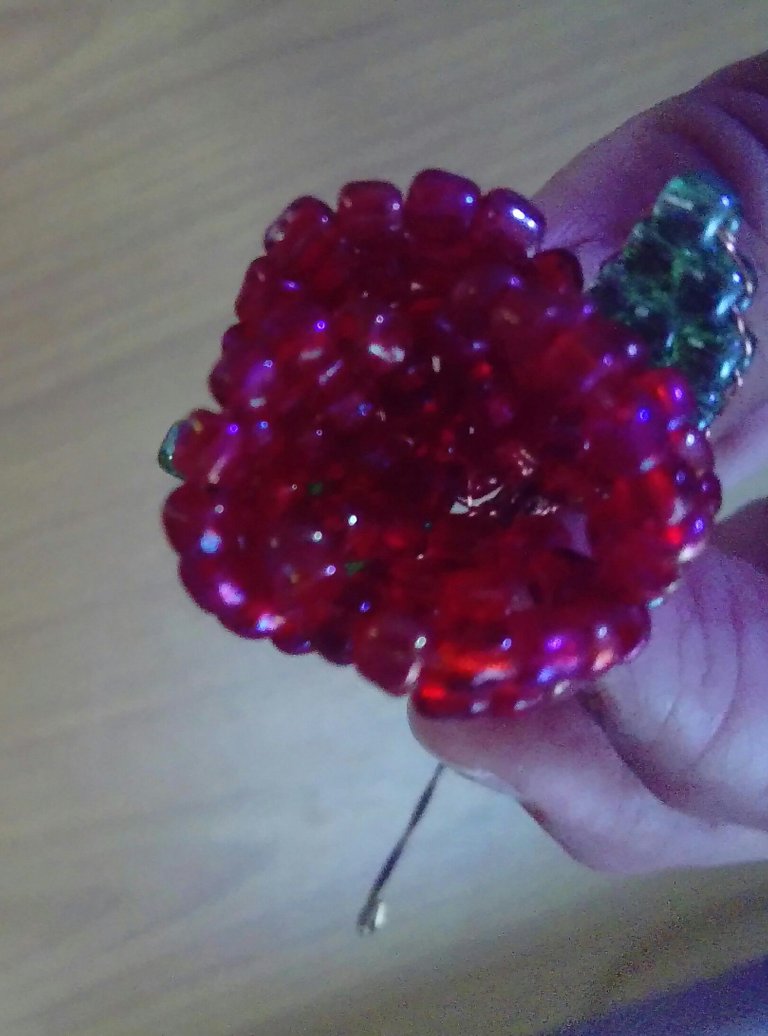
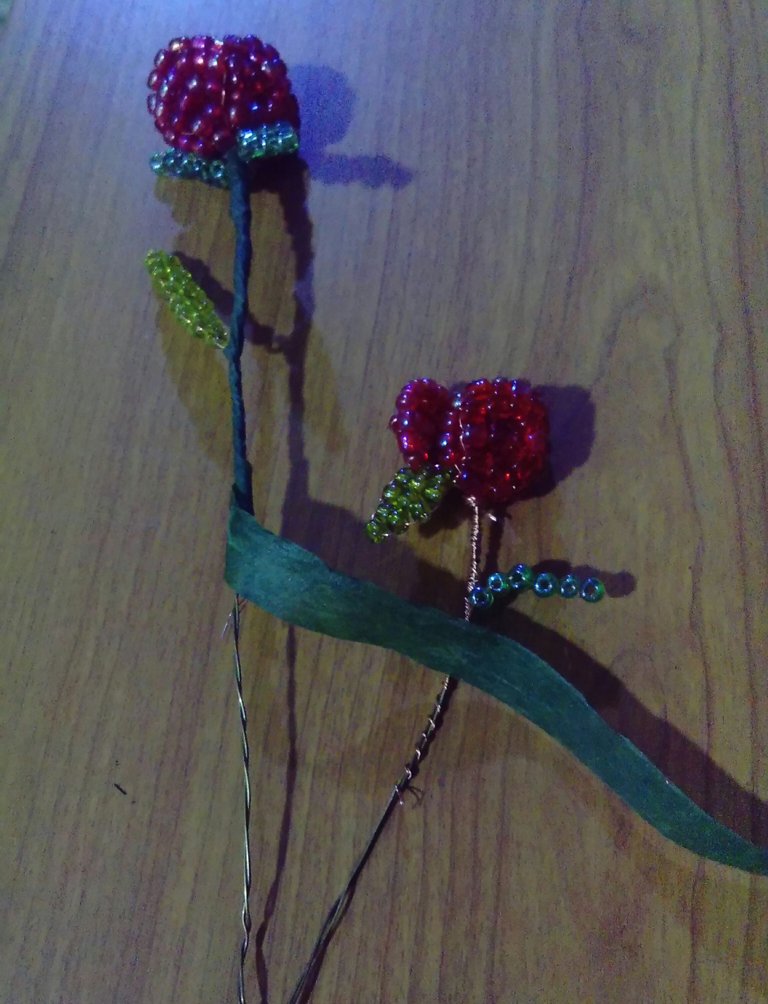
Al colocarle los cinco pétalos, se colocan hojitas en el tallo, además realize una rosa tipo capullo para colocarla al lado, la cual, se hace disminuyendo el numero de mostacillas en las hileras de los pétalos para tenerlos mas pequeños. Para este capullo elabore tres pétalos.
Así me fue quedando este arreglo, donde los pétalos los iba ubicando dando forma de flores, al igual que las hojitas a lo largo del tallo, para finalizar se forra todo el alambre con cinta verde de floristería.
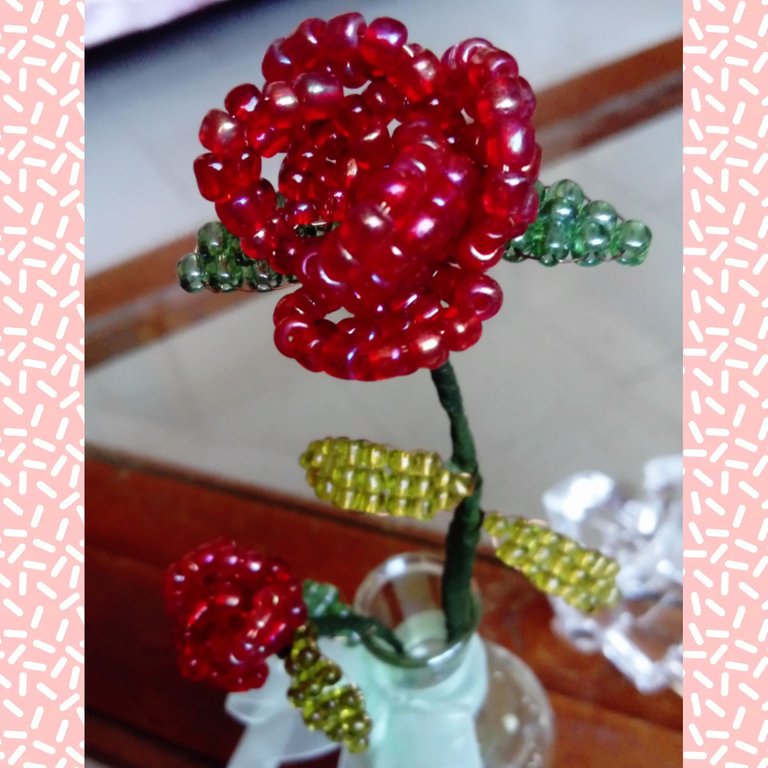
Esta es una manualidad de fácil elaboración, donde estas rosas las pueden hacer de los colores y tamaño que prefieran, con solo agregar más hileras a los pétalos las obtienen de mayor tamaño, aprovechando la ocasión quiero invitar a las Amigas @leidimar y @ramisey para que compartan sus habilidades en este estupendo concurso. Hasta otra próxima oportunidad amigos, gracias por visitar mi publicación ✨🌹✨
🌹CONTENT IN ENGLISH🌹

Hello dear hivers, I am happy to greet you, I am here in this creative community very excited to participate in the Spring Contest, which brings us a very cheerful, colorful and fresh proposal as the flowers give us, where in all its forms and colors have a great value for representing the beauty of nature.
I remembered that on one occasion I made some beautiful red flowers made of red and green beads, in addition to craft wires, I must say that all in terms of stones and beads are materials with which I enjoy making crafts to obtain beautiful results, while they remain bright and shiny for a long time.
This was an idea that I had at a given moment, to have a special detail on Mother's Day, where I made several of them to accompany the gifts with this symbol of affection.

The nicest thing on the part of my mother, sister and my aunt, was to receive them with a gesture of surprise and at the same time of joy to have it in their hands, valuing it also as a nice decoration in a very own place to have it near. It is worth noting that the most valuable thing about flowers is that they have the virtue of giving happiness to those who receive them and even more so if it is done to show affection and affection.
Here I show you the materials I used to make this flower, which has a very simple procedure, where it will only be enough to repeat the process in each row to form the petals.
We will need the following:
Large red and green beads
Wire thread
Slightly strong wire for flower stems
Floratex green ribbon (to line the stem)
The beads with which these flowers are made are larger than the usual ones, the so-called mostacillon.
Procedure🌹🌹
Cut 30 cm of wire and place a red bead in the center.


Then two more beads are placed on one of the wires and crossed with the wire on the other side.
Continue, this time placing four beads on one side and cross again.

This step is repeated two more times, with the difference that six beads will be placed.
Four beads are placed on each side and the wires are crossed through the first bead we started with to have the first petal.


Four additional petals will be made, which will form this rose.

The Leaves🍂🍂
To make the leaves that will accompany these roses, basically is the same procedure of the petals, what makes the difference is the number of beads to use, where you start cutting 20 ctms of wire and place a bead in the center of green color.

Continue placing two beads on one of the wires to cross with the wire next to it, repeating this step two more times, with the difference that three beads will be inserted.


Then two beads are placed, and finally crossed by one more bead.

This is how these sheets are left, and several of them will be made.

To assemble the rose we have a strong wire, because this will be the stem, we start by placing two leaves at one end of the wire, which will be made by winding the wire thread left over from the leaves around the stem.


Then we will place the petals, in which we will turn the excess wire that accompanies each petal around the stem, as they are placed they will be accommodated to give a nice shape.


When placing the five petals, place leaves on the stem, also make a rose bud to place next to it, which is done by decreasing the number of beads in the rows of petals to have them smaller. For this bud I made three petals.

This is how this arrangement turned out, where I placed the petals in the shape of flowers, as well as the leaves along the stem, and finally I covered the whole wire with green florist's tape.


This is an easy craft, where these roses can be made in the colors and size you prefer, just by adding more rows to the petals you get them larger, taking this opportunity I want to invite my friends @leidimar and @ramisey to share their skills in this great contest. Until next time friends, thanks for visiting my publication. ✨🌹✨
Fotos tomada por|Photos taken by @marigerp88
Dispositivo|Device|Sony Xperia
Traducción con|Traslación with Deepl
Fotos editadas en: |Photos edited in | App InShot
