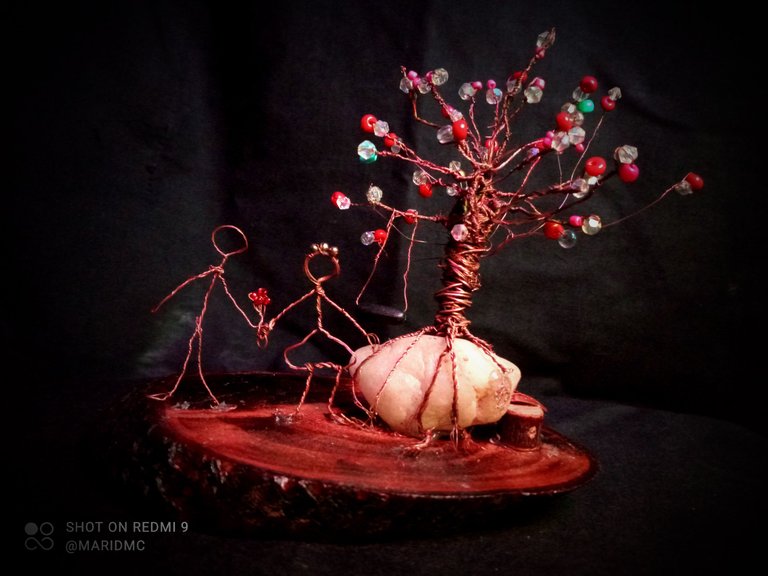
Muchos meses de ausencia en cuanto a manualidades, no porque carezca de gusto para realizarlas, sino por el tiempo que estas conllevan y además soy de las que esperan a la musa que despierta la inspiración.
Llevaba varias semanas pensando en hacer algo, tenía una idea en mi mente y fue el día lunes que dije: ¡Manos a la obra!
La idea que tenía al inicio para nada fue lo que resultó al final, sin embargo dejare de tanto hablar y el proceso les empezaré a mostrar...😁
Primera vez que trabajo con alambre, así que mi destreza es nivel 0.
¡Empecemos!
Many months of absence in terms of crafts, not because I lack the taste to do them, but because of the time involved and I am also one of those who wait for the muse that awakens inspiration.
I had been thinking about doing something for several weeks, I had an idea in my mind and it was on Monday that I said: "Let's do it!
The idea I had at the beginning was not at all what turned out in the end, however I will stop talking so much and the process I will start to show you...😁
First time working with wire, so my skill is level 0.
Let's get started!

MATERIALES // MATERIALS

Para el árbol, dependiendo de tu gusto, necesitarás:
Alambre de cobre.
Mostacilla del color de tu preferencia.
Trozo de palo del tamaño de preferencia. (Opcional)
Una piedra de base para fijar el árbol.
Para la pareja necesitarás:
Alambre de cobre.
Mostacilla.
Para fijar el árbol y la pareja:
Un trozo de madera o superficie plana de preferencia.
Silicon en barra.
For the tree, depending on your taste, you will need:
Copper wire.
Mostacilla, depending on your taste.
Piece of stick of the size of your choice. (Optional)
A base stone to fix the tree.
For the pairing you will need:
Copper wire.
Mostacilla.
To fix the tree and the couple:
A piece of wood or flat surface preferably.
Silicon stick.

PROCESO // PROCESS

Paso #01
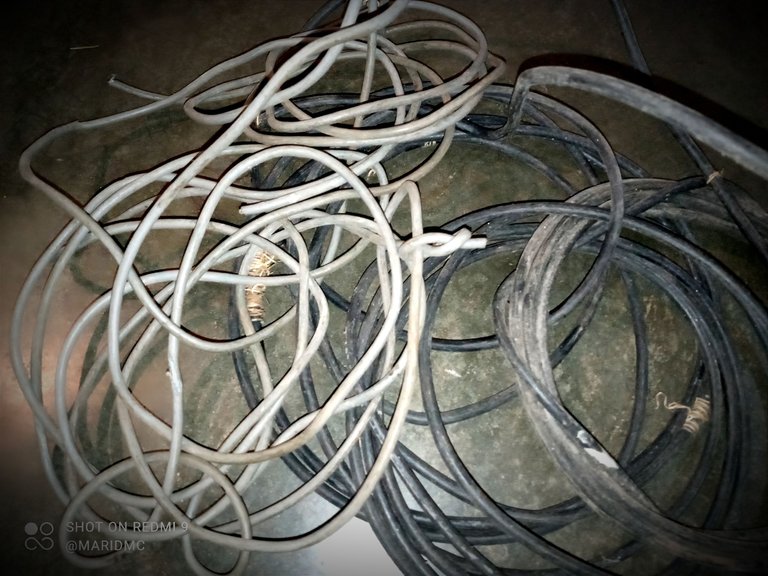
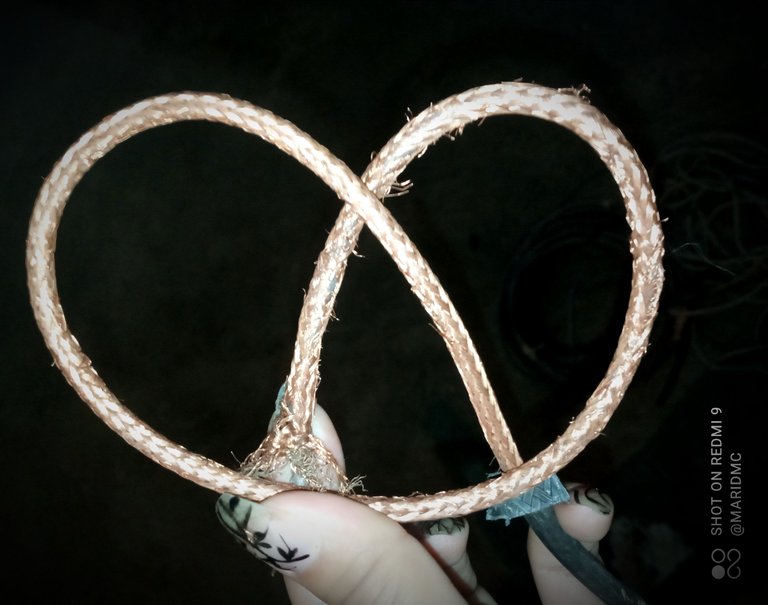
Lo más trabajoso de todo, es este proceso... Pelar el cable para conseguir el alambre de cobre.
En mi caso tenía varios metros de cable de TV. Tiene bastante alambre pero la dificultad para sacarlo también es grande.
Es un material duro.
Para esto, use tijeras y piquetas.
Se me fue todo el día del lunes haciendo esto.
No sé si es que soy demasiado lenta o esto era demasiado difícil. (O ambas) 😁
Step # 01
The most laborious of all is this process... Stripping the cable to get the copper wire.
In my case I had several meters of TV cable. It has enough wire but the difficulty to get it out is also great.
It is a hard material.
For this, I used scissors and pickaxes.
I spent all day Monday doing this.
I don't know if it's just that I'm too slow or this was too hard. (Or both) 😁
PASO # 02
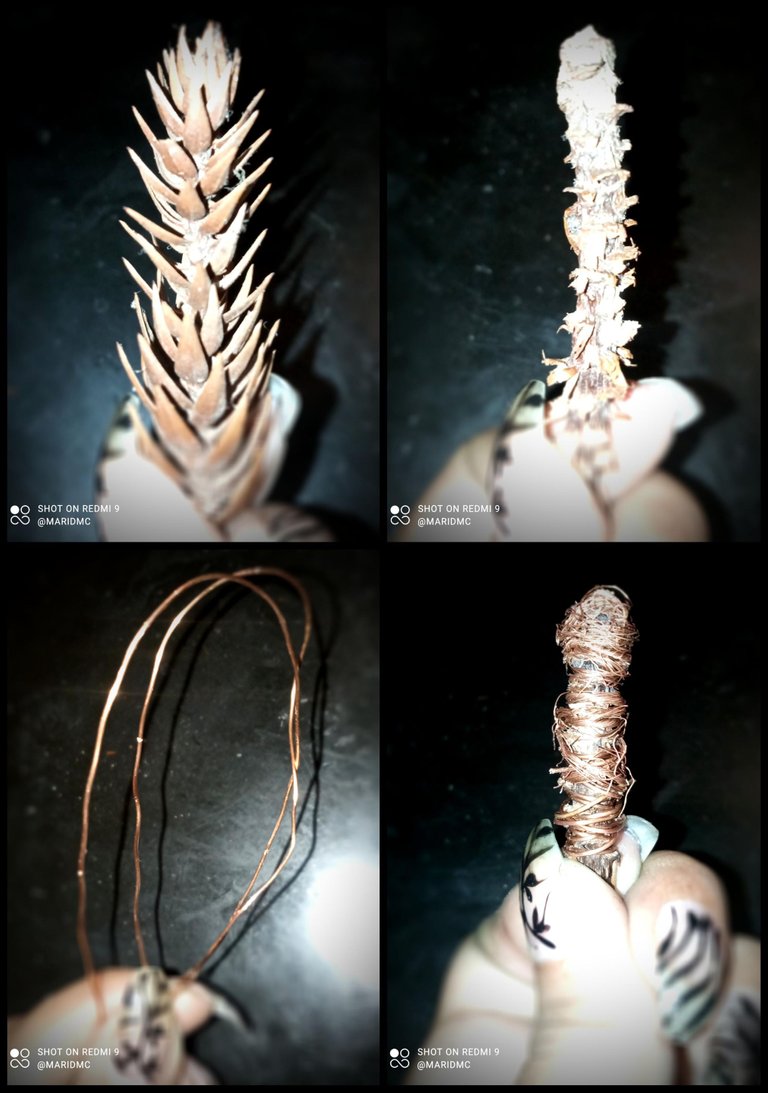
Luego de tener todo el alambre de cobre desenredado y listo para usar, me centré en empezar por el árbol.
Conseguí un trozo pequeño de una rama, le quite las hojas, y lo usé como tronco.
Lo forre con el alambre.
STEP #03
After I had all the copper wire untangled and ready to use, I focused on starting with the tree.
I got a small piece of a branch, removed the leaves, and used it as the trunk.
I lined it with the wire
PASO # 03
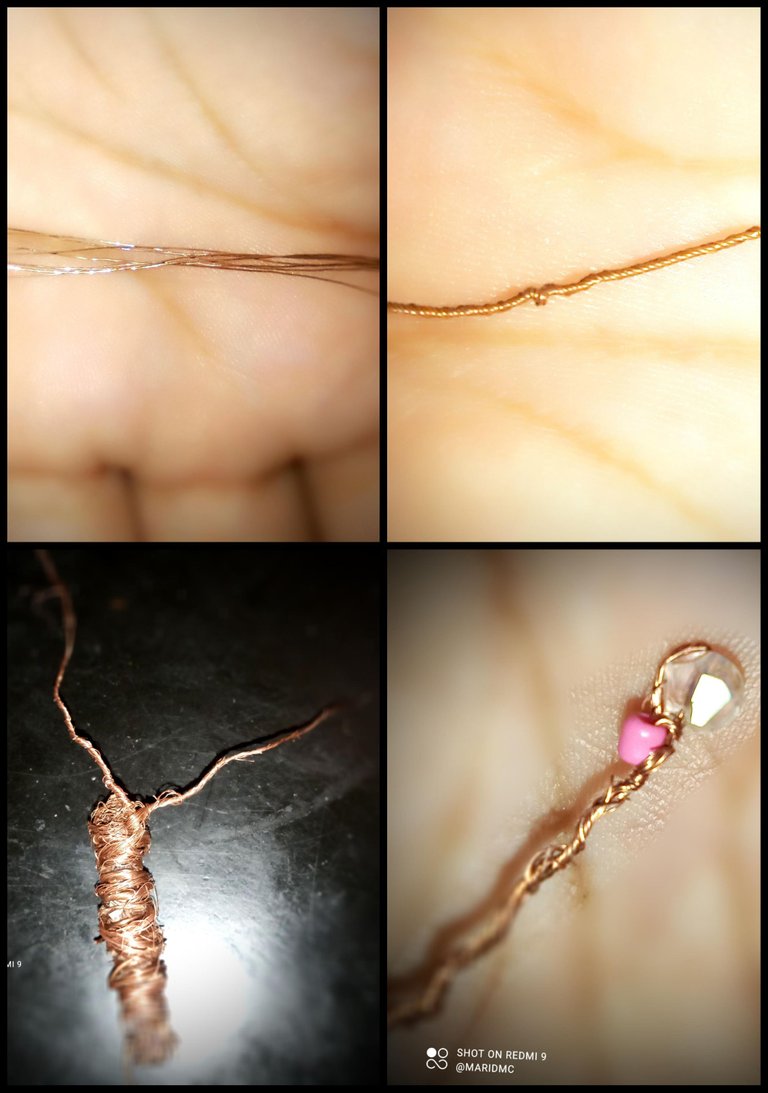
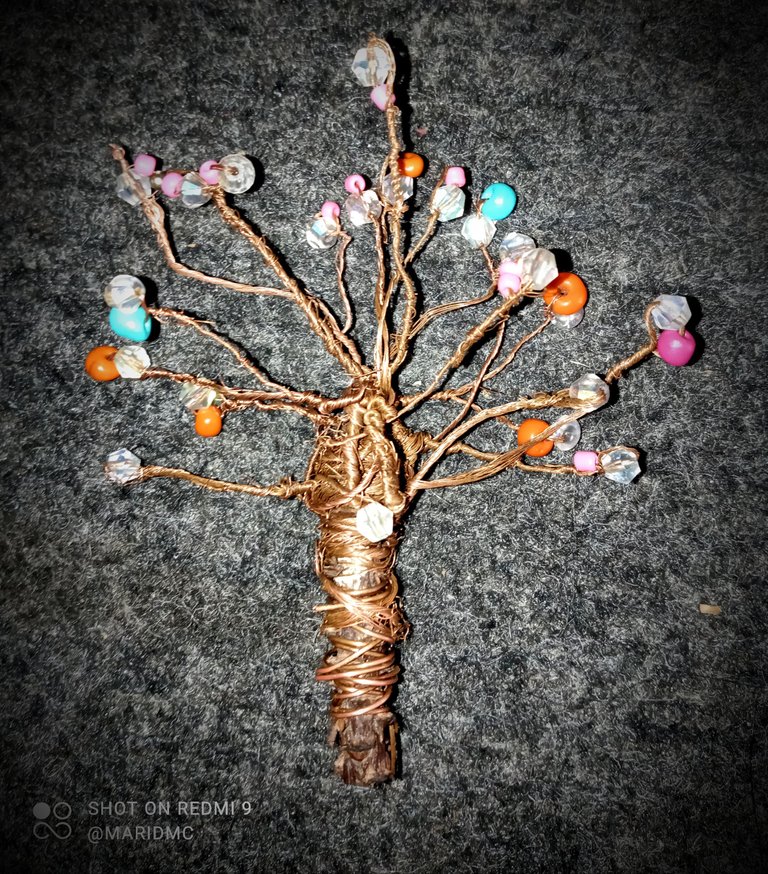
Empecé con lo que serían las ramas de mi árbol. Al inicio quería un bonsai, pero me salió un árbol de guayaba 🤭😁. Así lo bauticé.
Para ello usé los alambres y los fui entorchando, en la punta del mismo tomaba 2 tipos de piedra y las colocaba, mostacilla y algunas piedras de swarovski y hacia el amarre final para que no se cayeran.
Así fui haciendo con todas las ramas, hasta tenerlo tan tupido como quería.
STEP # 03
I started with what would be the branches of my tree. At first I wanted a bonsai, but it turned out to be a guava tree 🤭😁. That's how I named it.
For this I used the wires and I was twisting them, at the tip I took 2 types of stone and placed them, clay and some swarovski stones and made the final tie so that they would not fall.
I did this with all the branches, until I had it as thick as I wanted.
PASO # 04
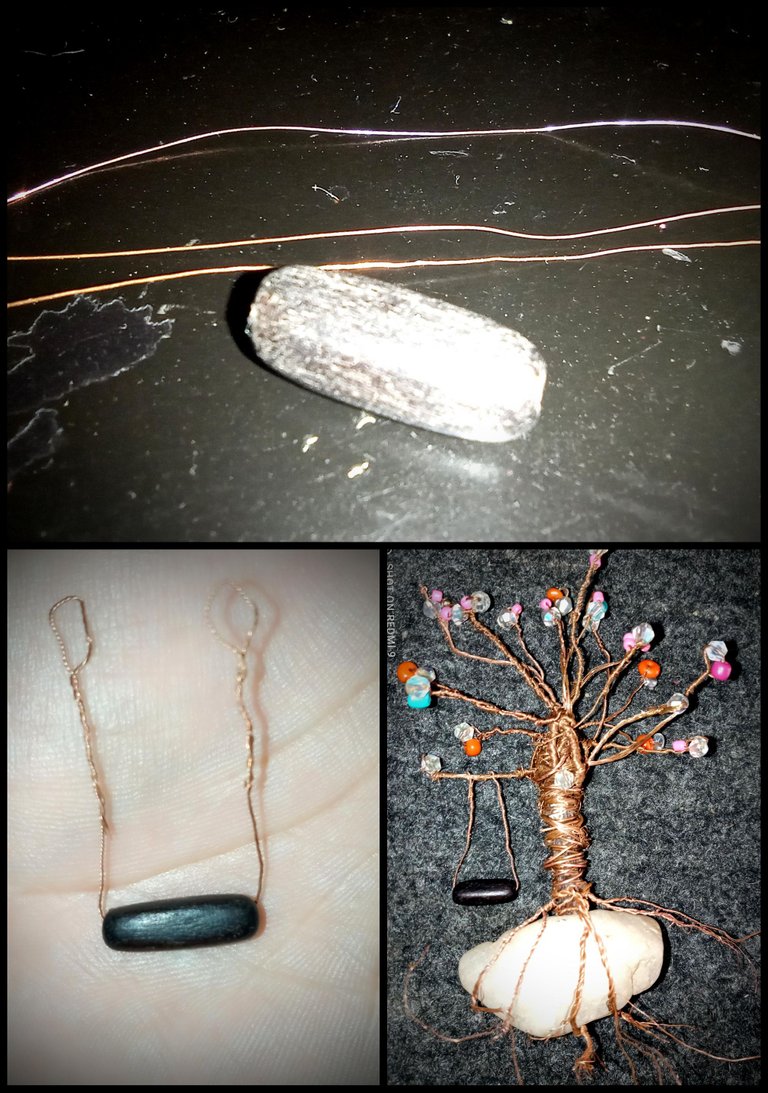
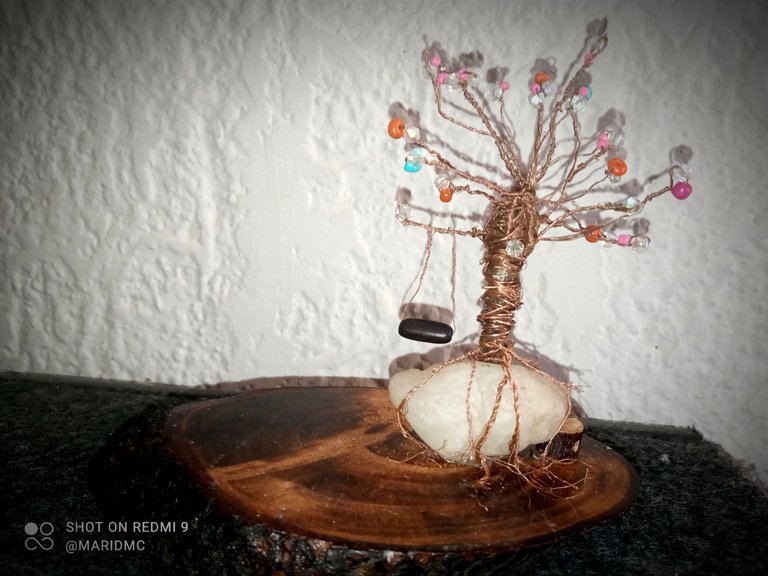
Quise hacer un pequeño columpio en el árbol, para ello usé una pieza de madera, la atravesé con los alambres y luego coloque en una de las ramas del árbol.
Posteriormente, tome más alambre, lo entorché e hice lo que serían las raíces que saldrían del árbol para sujetar una piedra que colocaría al final.
STEP # 04
I wanted to make a small swing in the tree, for this I used a piece of wood, crossed it with the wires and then placed it on one of the branches of the tree.
Later, I took more wire, twisted it and made what would be the roots that would come out of the tree to hold a stone that I would place at the end.
PASO # 05
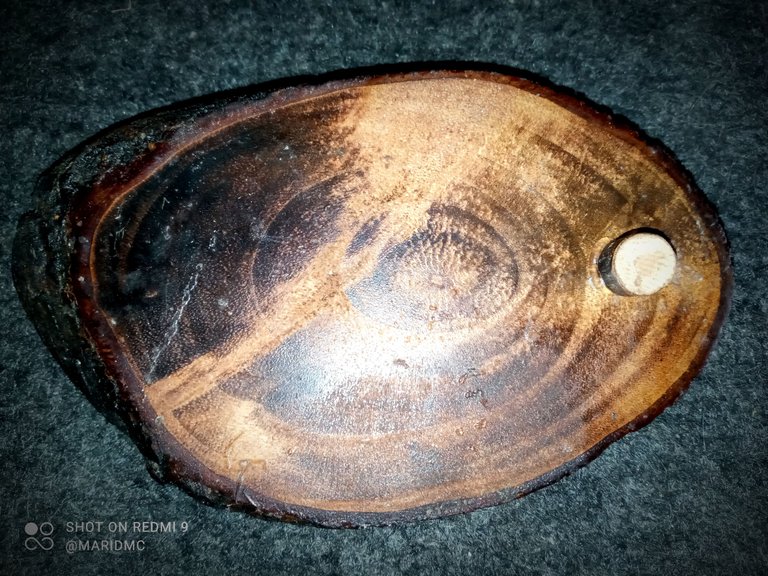
Conseguí una superficie de madera (reciclada de un viejo adorno que ya no adornaba 😜) la limpié muy bien y dejé lista para fijar el árbol.
Para esto use Silicon en barra.
Mi árbol estaba listo.
Sin embargo veía que algo más faltaba.
Así que decidí trabajar un poco más y opté probar hacer una pareja.
STEP # 05
I got a wooden surface (recycled from an old ornament that no longer adorned 😜) cleaned it very well and left it ready to fix the tree.
For this I used silicon stick.
My tree was ready.
However I could see that something else was missing.
So I decided to work a bit more and decided to try making a couple.
PASO # 06
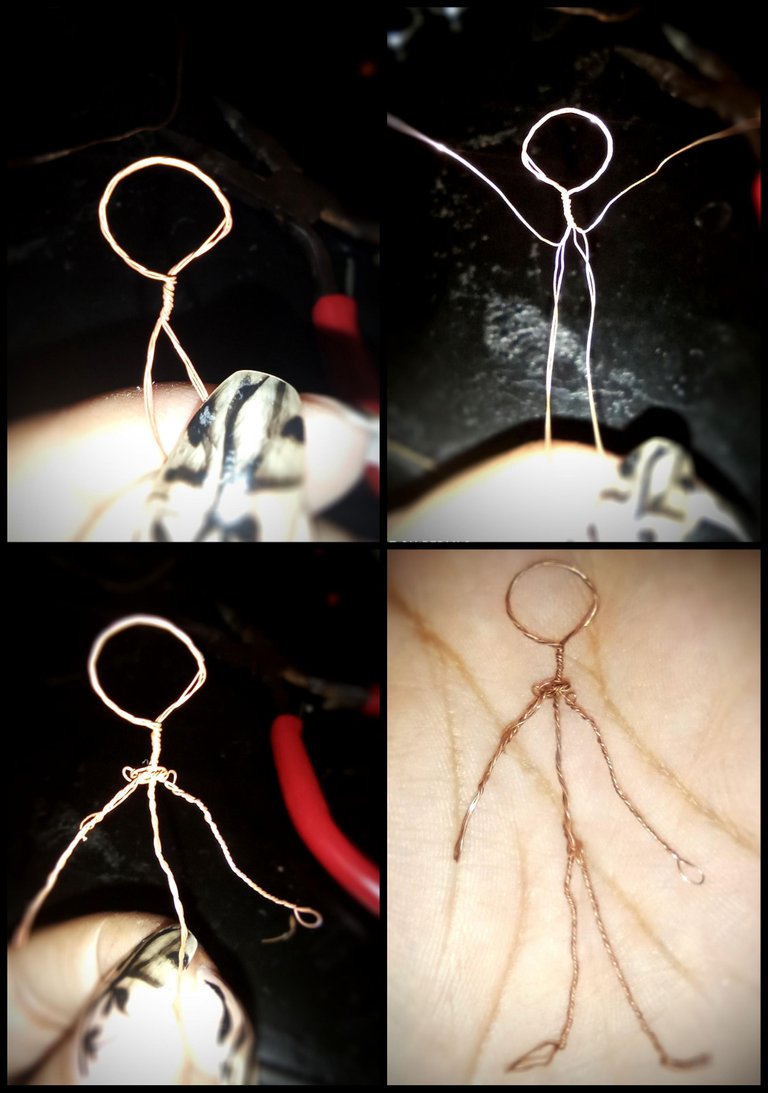
Tome 4 tiras de alambre...
Empecé haciendo lo que sería la cabeza del hombre, seguidamente separé 2 alambres que serían los brazos, luego entorché para hacer el tronco y finalicé con las piernas.
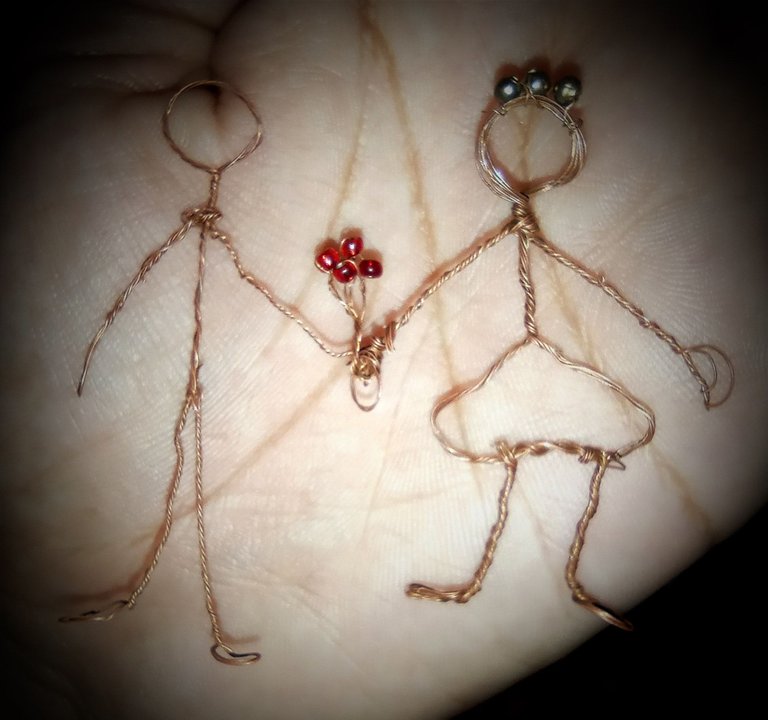
El mismo procedimiento hice con la mujer. Con la diferencia que hice un vestido y apliqué detalles en mostacilla.
Por último y para darle un toque romántico, hice un diminuto ramillete de flores, con alambre y mostacilla color roja.
Entrelace sus manos y finalmente fijé en la base de madera junto al árbol.
STEP # 06
Take 4 strips of wire...
I started making what would be the head of the man, then I separated 2 wires that would be the arms, then I twisted to make the trunk and finished with the legs.
I did the same procedure with the woman. With the difference that I made a dress and applied details in clay.
Finally and to give it a romantic touch, I made a tiny bouquet of flowers, with wire and red clay.
I intertwined her hands and finally attached it to the wooden base next to the tree.

RESULTADO FINAL
FINAL RESULT

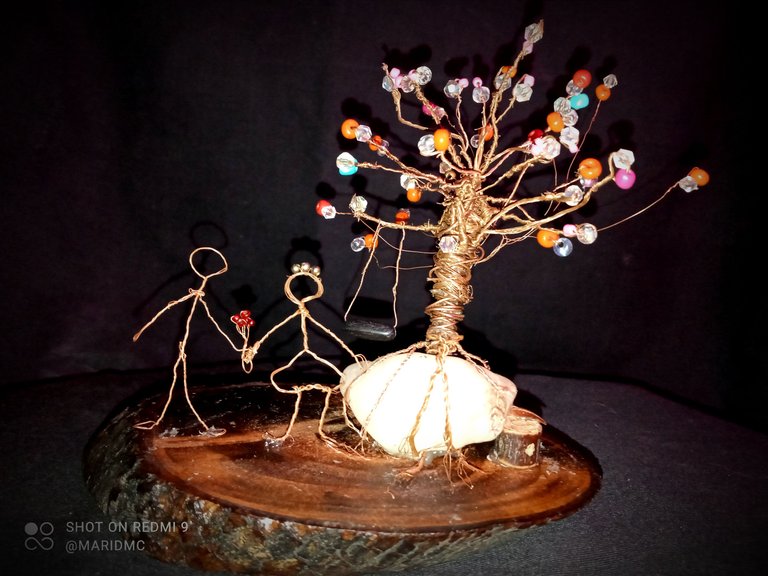
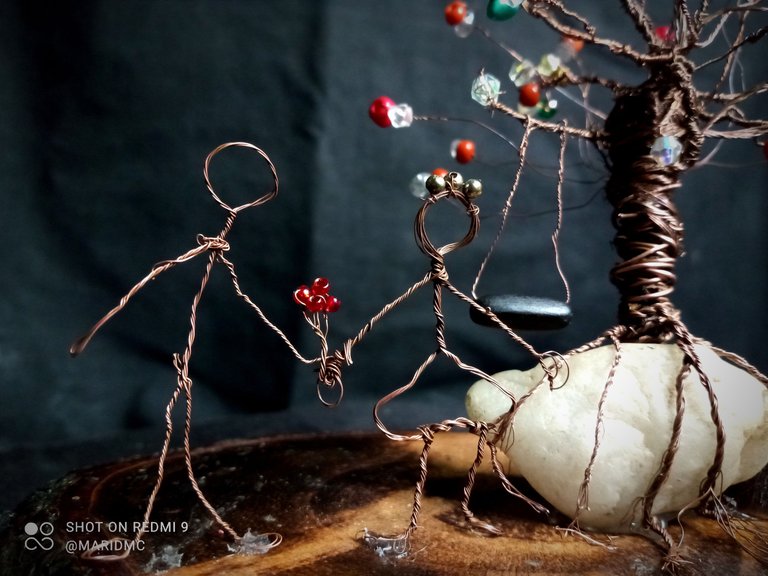
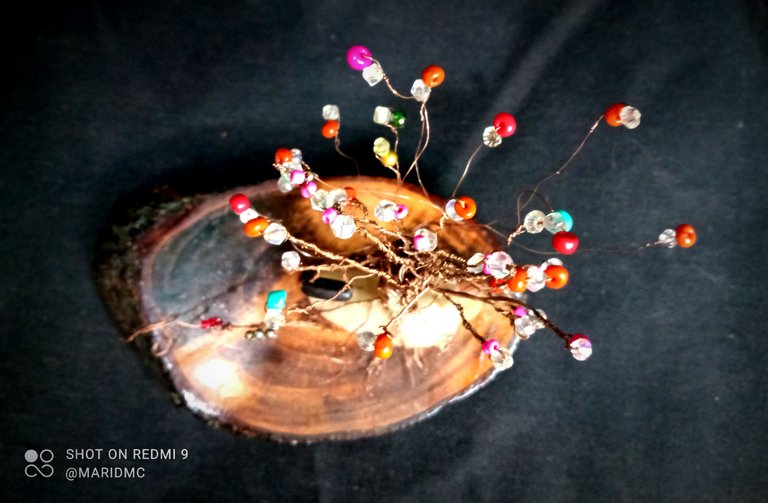
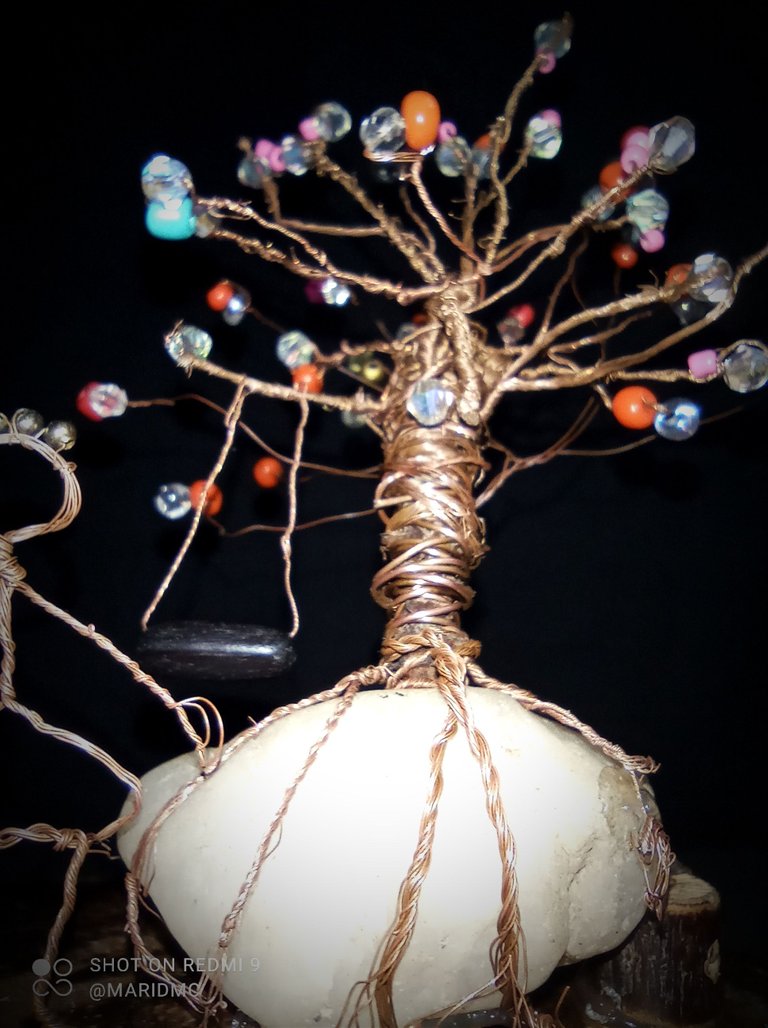
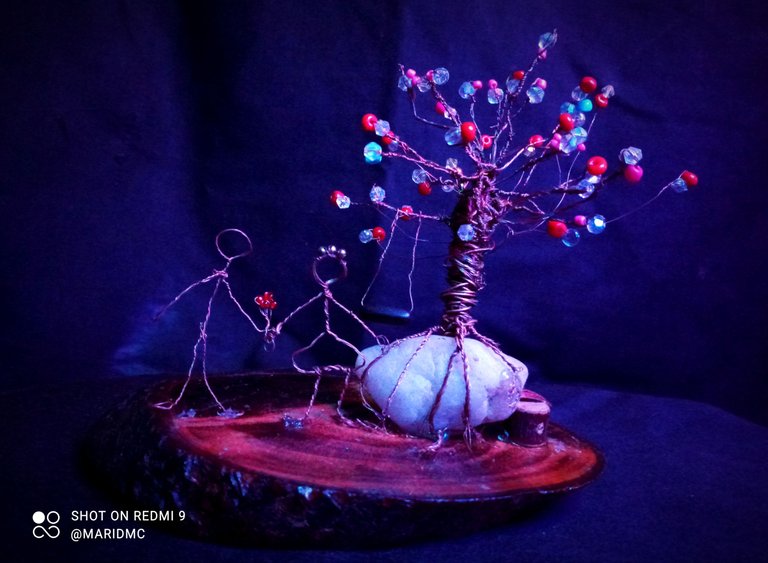
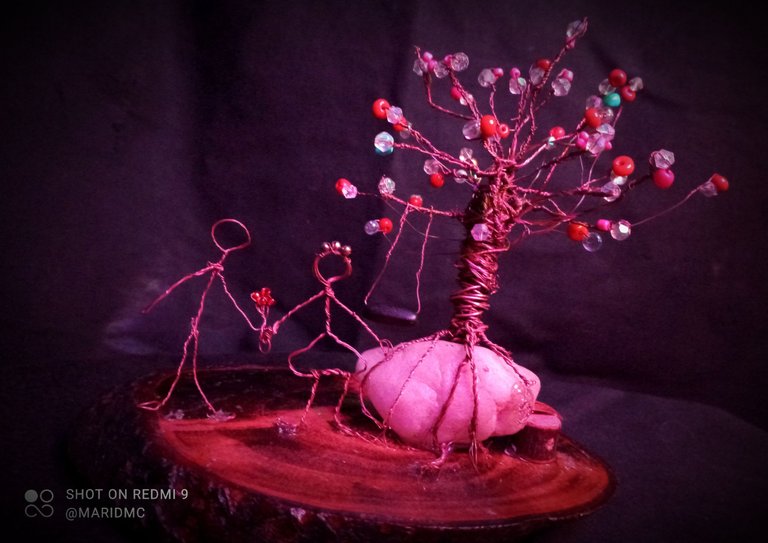
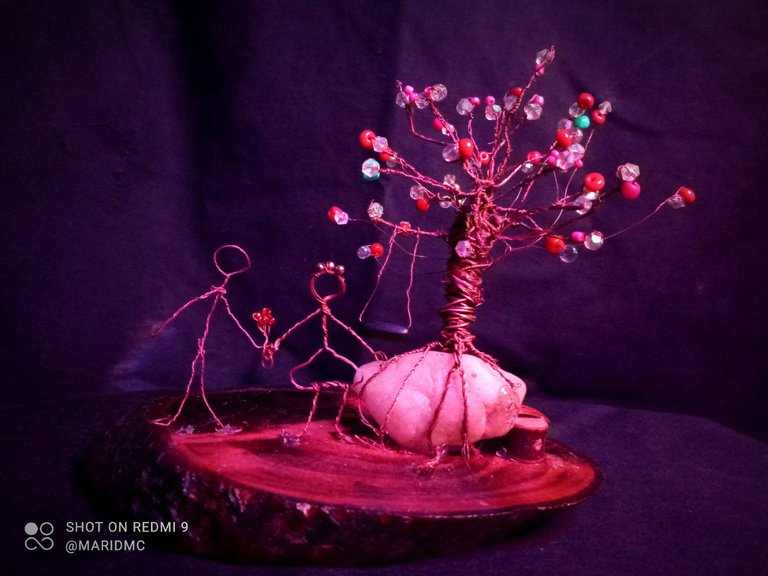
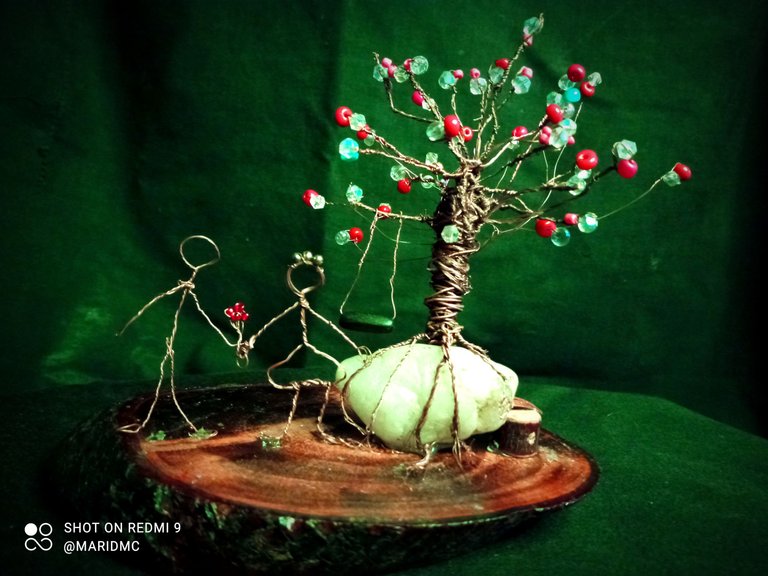
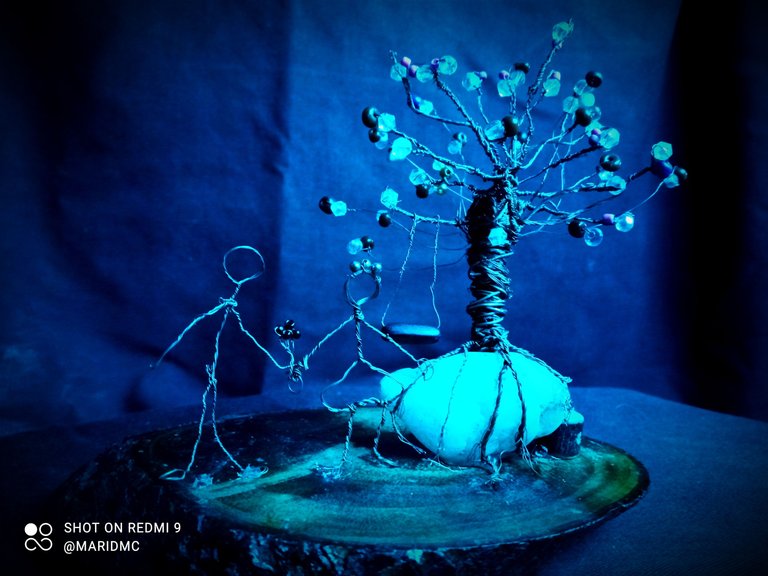
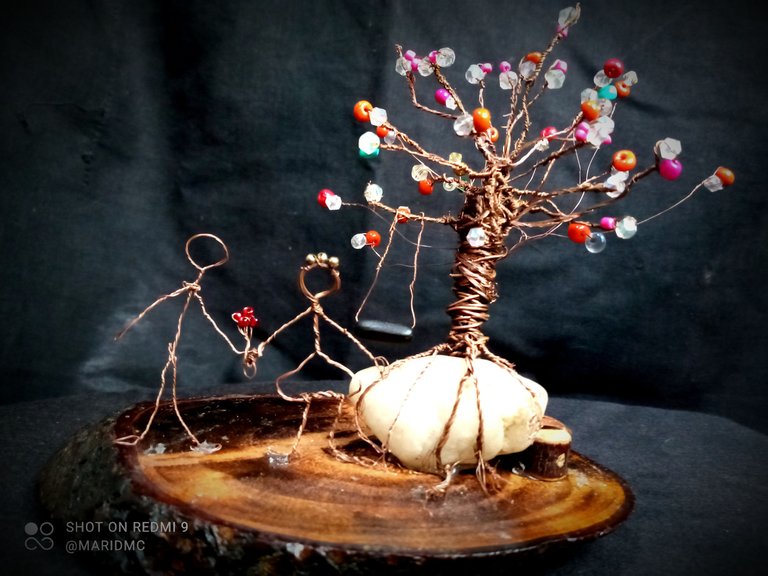
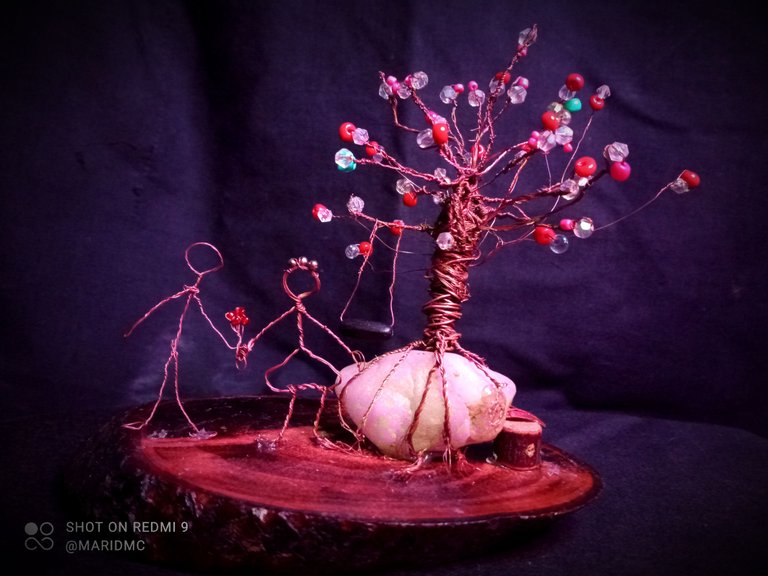

Esta ha sido una de las manualidades que más tiempo me ha llevado realizar. 3 días dedicados, pero finalmente el resultado fue de mi total agrado.
No quedo para nada parecida a mi idea principal, sin embargo lo improvisado en ocasiones resulta más.
Obviamente siempre hay detalles que mejorar, pero sobre la marcha se corregirán.
Lo cierto es que me gustó trabajar con alambre, esto despertó en mí muchas ideas más que espero próximamente realizar y compartir con ustedes.
Gracias por dedicar de su valioso tiempo a léerme, espero sea de su agrado mi post de hoy. Fue realizado con cariño, entrega y amor.
Un gran abrazo, me despido hasta otra ocasión. 😉
This has been one of the crafts that took me the longest time to make. 3 days, but finally the result was to my total liking.
It was not at all similar to my main idea, but sometimes improvisation is better.
Obviously there are always details to improve, but they will be corrected as we go along.
The truth is that I enjoyed working with wire, this awakened in me many more ideas that I hope to realize and share with you soon.
Thank you for dedicating your valuable time to read me, I hope you like today's post. It was made with affection, dedication and love.
A big hug, I say goodbye until another time 😉.

CRÉDITOS // CREDITS
- Traductor: Deepl Traductor.
- Edición de fotografía: Básico, editor original de mi teléfono celular Redmi 9.
- Banners: Propio. Realizado desde Pic arts.
- Efectos de color en Fotografías: Con luces de color.
- Imágenes y texto de mí autoría y propiedad.
- Translator: Deepl Translator.
- Photo editing: Basic, original editor of my Redmi 9 cell phone.
- Banners: Own. Made from Pic arts.
- Photo color effects: With colored lights.
- Images and text of my authorship and property.


