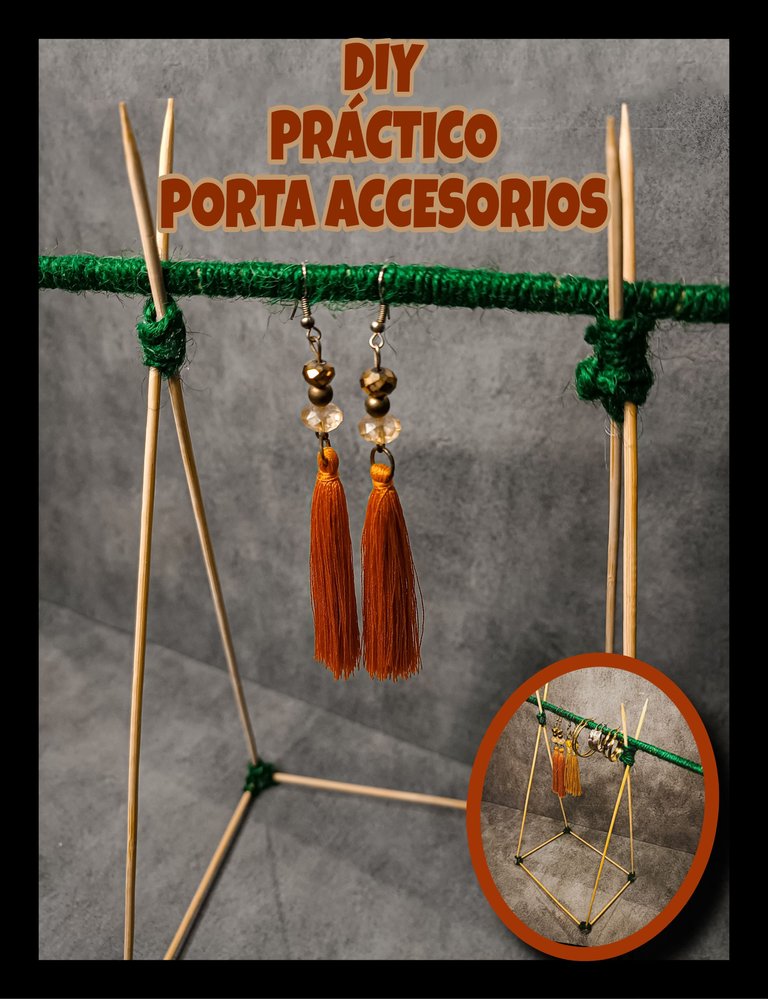
Hice un operativo limpieza en la mesita donde guardo mis accesorios, me di cuenta que necesitaba un organizador urgente, así que se me ocurrió que yo misma podía hacerlo.
Tenía varias ideas en mente, finalmente busque alguna inspiración en Pinterest y conseguí darle mejor forma a lo que imaginaba, por lo que me puse manos a la obra.
Fue muy muy fácil de realizar, aquí les cuento los materiales que usé y el procedimiento:
I did a cleaning operation in the table where I keep my accessories, I realized that I needed an organizer urgently, so it occurred to me that I could do it myself.
I had several ideas in mind, finally I looked for some inspiration on Pinterest and I managed to give a better shape to what I imagined, so I got down to work.
It was very easy to make, here I tell you the materials I used and the procedure:
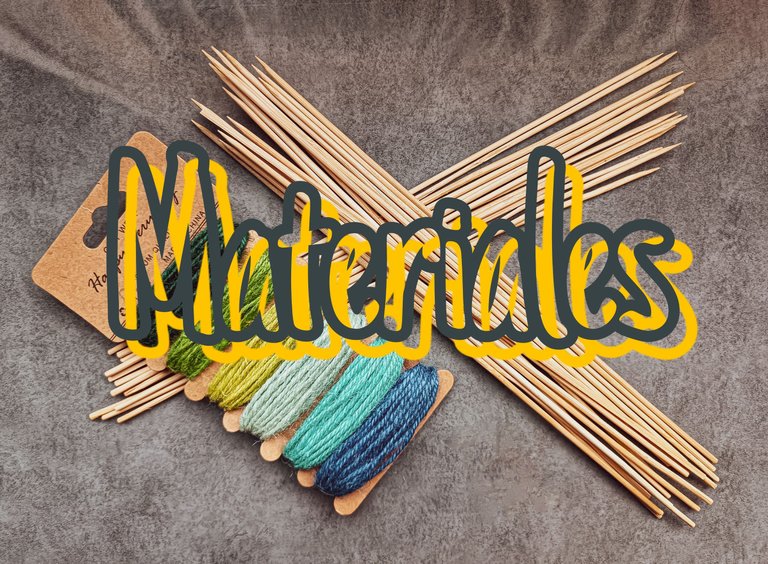
| •Palillos de Madera | •Silicon | •Yute o Mecatillo |
|---|---|---|
| •Wooden chopsticks | •Silicon | •Jute or Mecatillo |
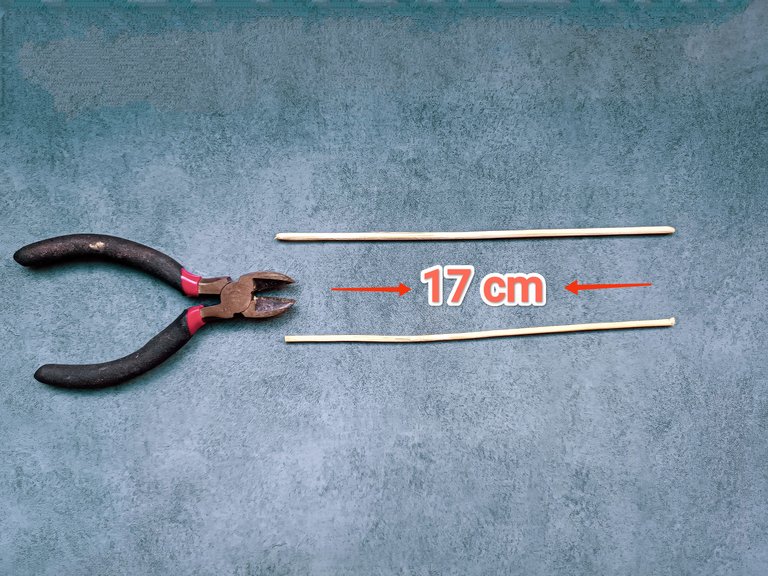
Empecé cortando los palillos de madera, quería formar un rectángulo que sería la base del porta accesorios, para darle un poco de firmeza.
Para esto corté 2 pequeños de 12 centímetros y 2 más grandes de 17 centímetros.
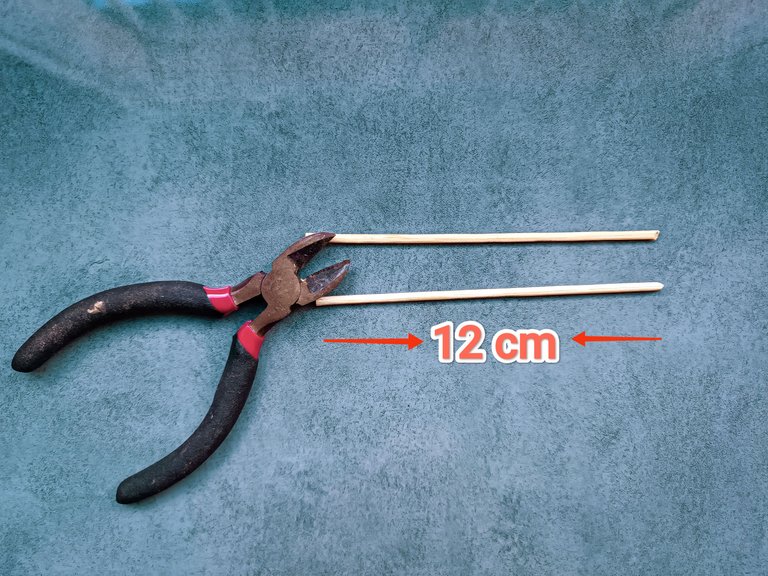
I started by cutting the wooden sticks, I wanted to form a rectangle that would be the base of the accessory holder, to give it some firmness.
For this I cut 2 small ones of 12 centimeters and 2 larger ones of 17 centimeters.
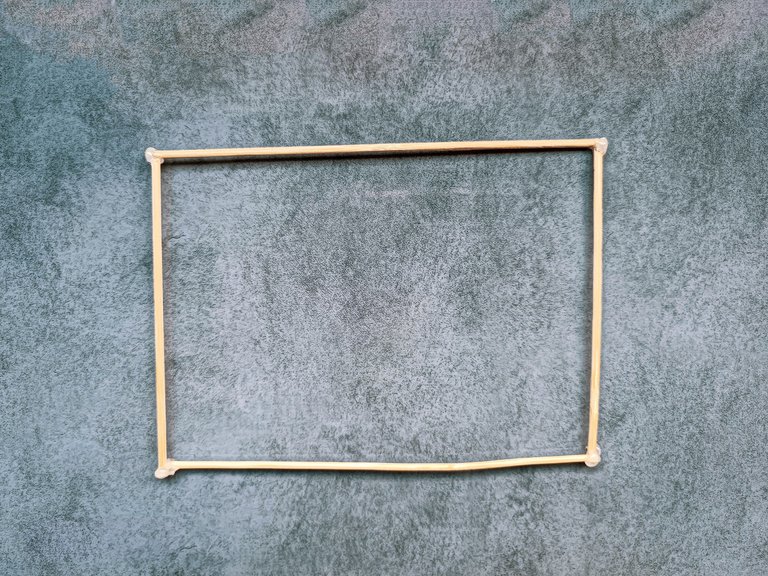
Con esto formamos un rectángulo (el mío quedó un poco choreto 🥹). Unimos los palillos que cortamos con silicon caliente.
With this we form a rectangle (mine was a little flat 🥹). We join the sticks we cut with hot silicon.
El siguiente paso era unir los palitos que servirían de columnas. Para esto previamente medí que tan abiertos los quería y posteriormente apliqué un punto de Silicon para fijarlos, en forma de X.
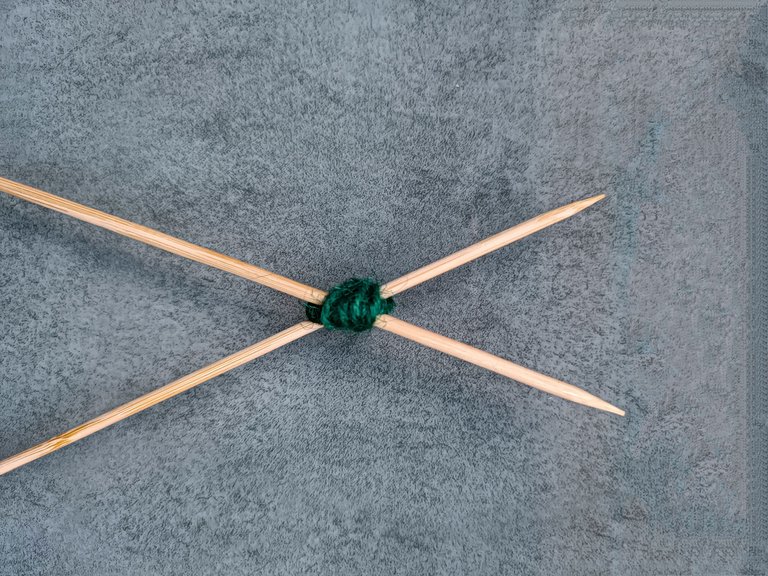
Luego para más rigidez, coloqué un poco de yute en la unión.
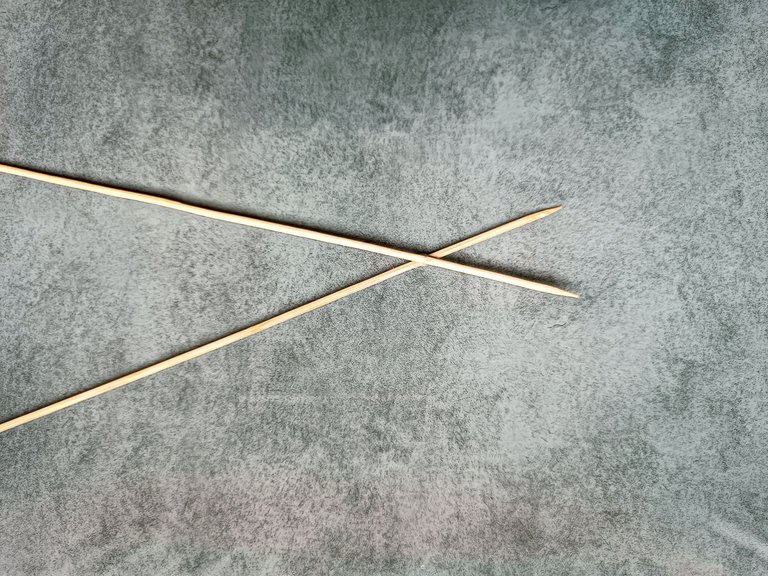
The next step was to join the sticks that would serve as columns. To do this, I first measured how open I wanted them to be and then applied a dot of silicon to fix them in an X shape.
Then for more rigidity, I put some jute on the joint.
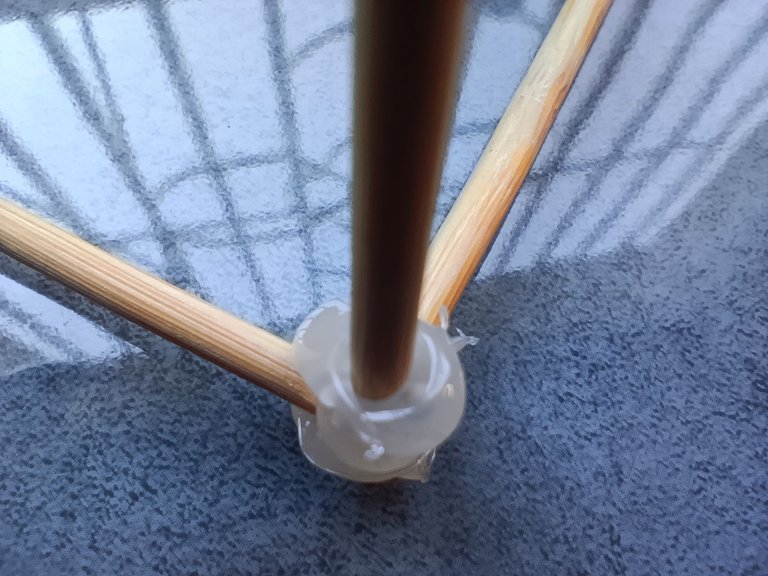
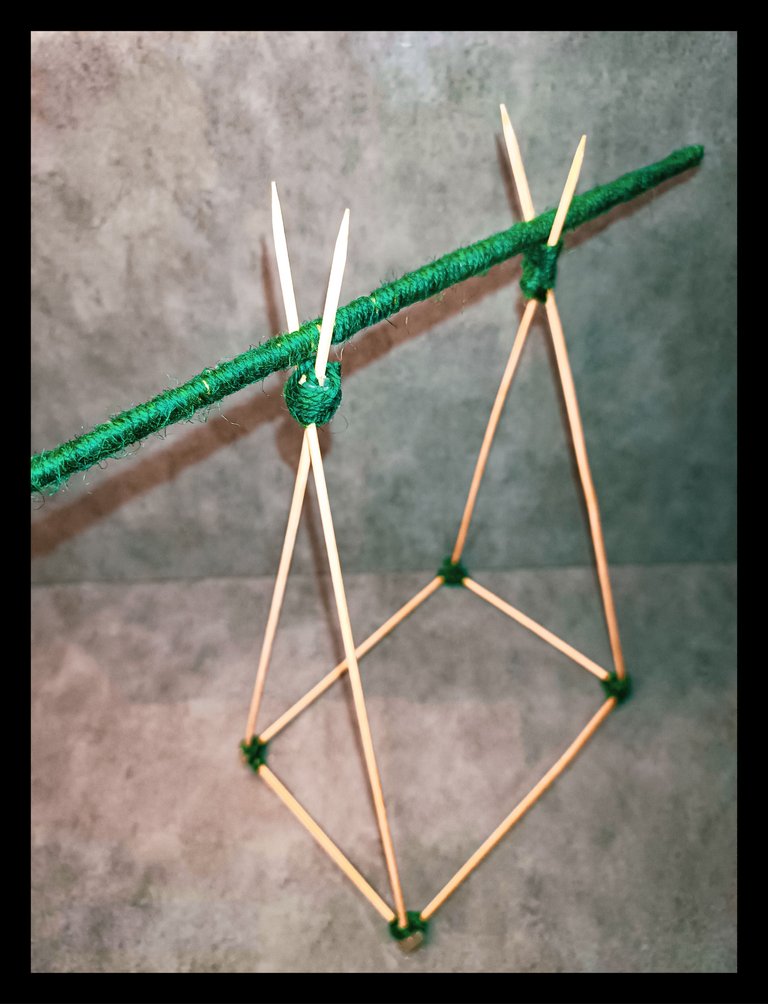
Como próximo paso, uni las columnas de palillo a la base, con silicon. Pero quería reforzar esos puntos. Por lo que usé yute he hice nudos fuertes sobre los puntos de pega.
Repetí el mísmo procedimiento en los 4 costados.
As a next step, I attached the toothpick columns to the base with silicone. But I wanted to reinforce those points. So I used jute and made strong knots on the glue points.
I repeated the same procedure on the 4 sides.
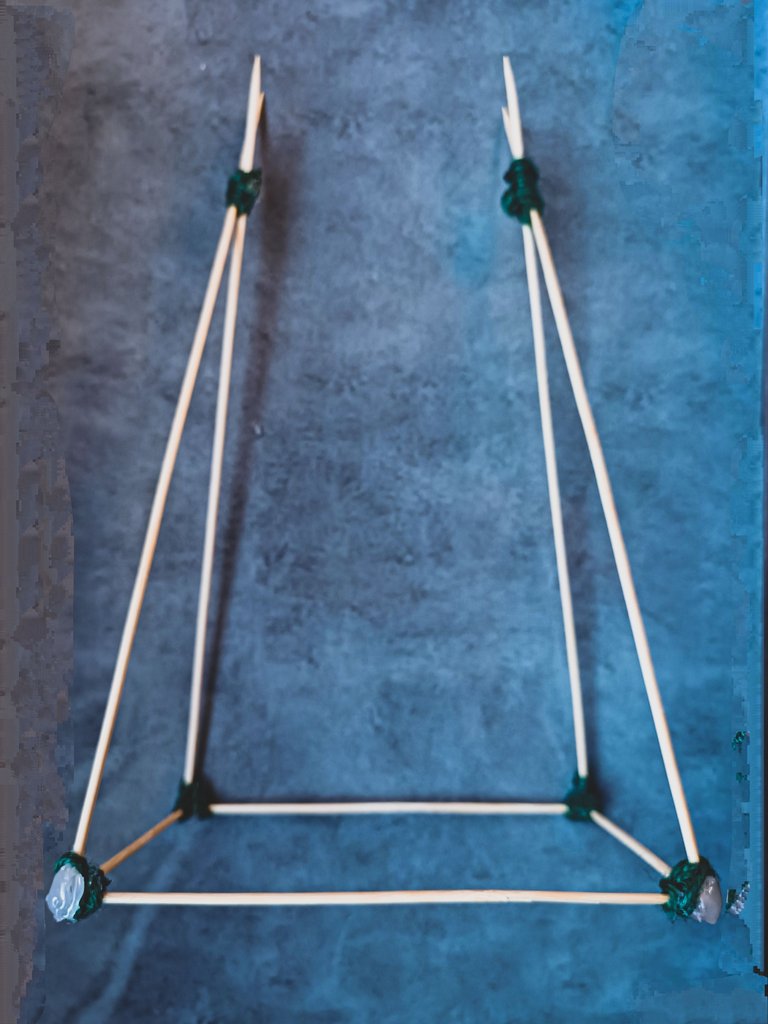
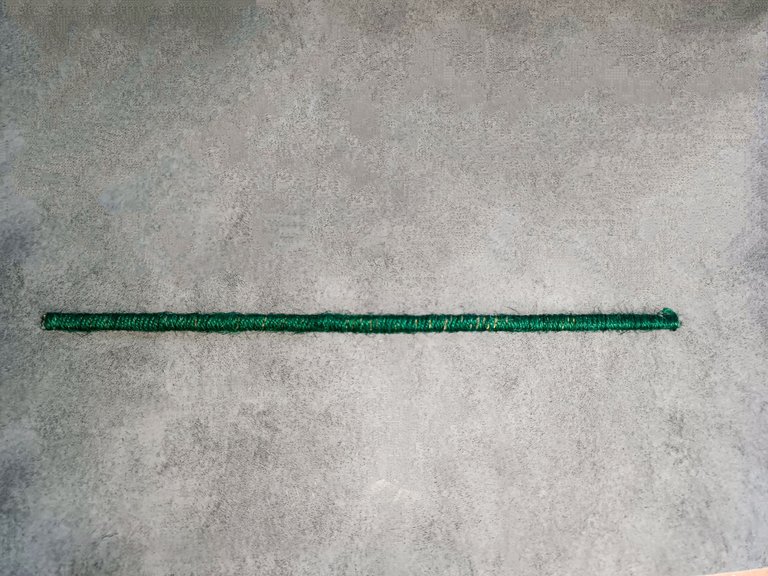
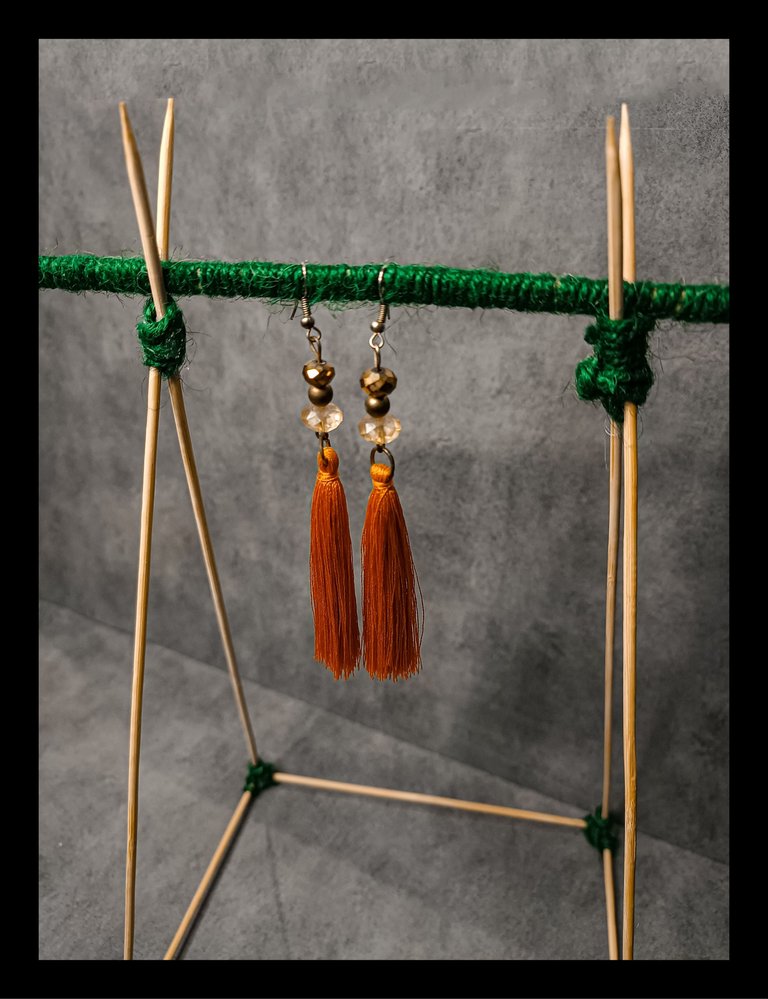
Como último paso, decidí forrar con yute del mismo color, el palillo que atravesaría ambas columnas... No era necesario, pero eso aportaría un poquito de elegancia cuando colocara las prendas 😁.
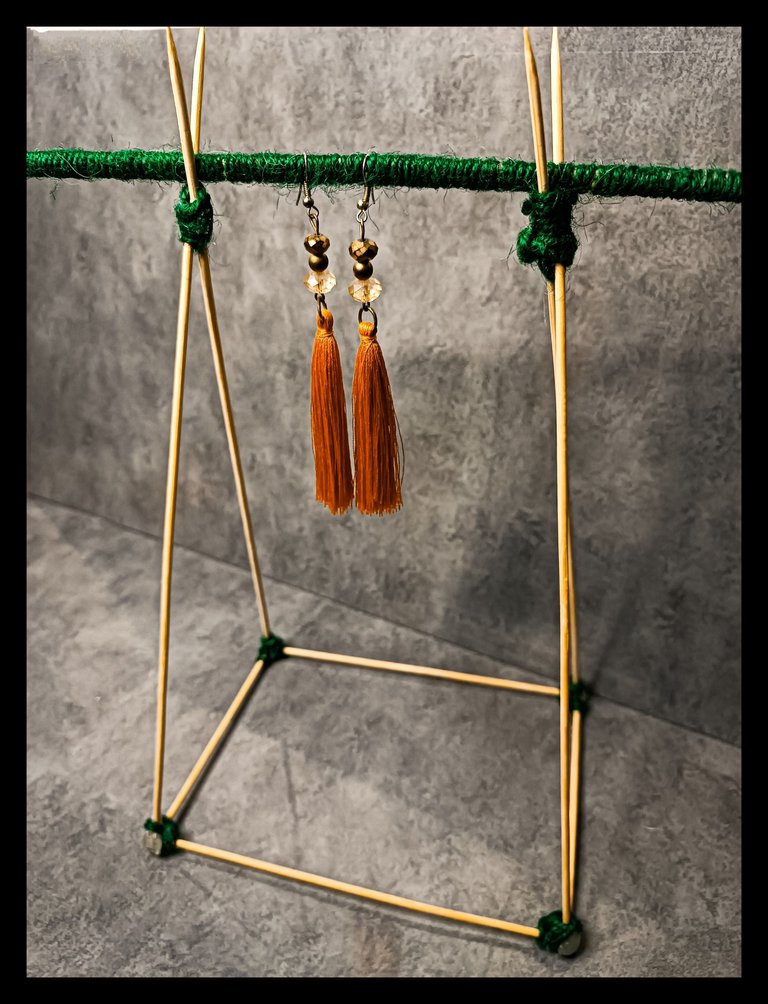
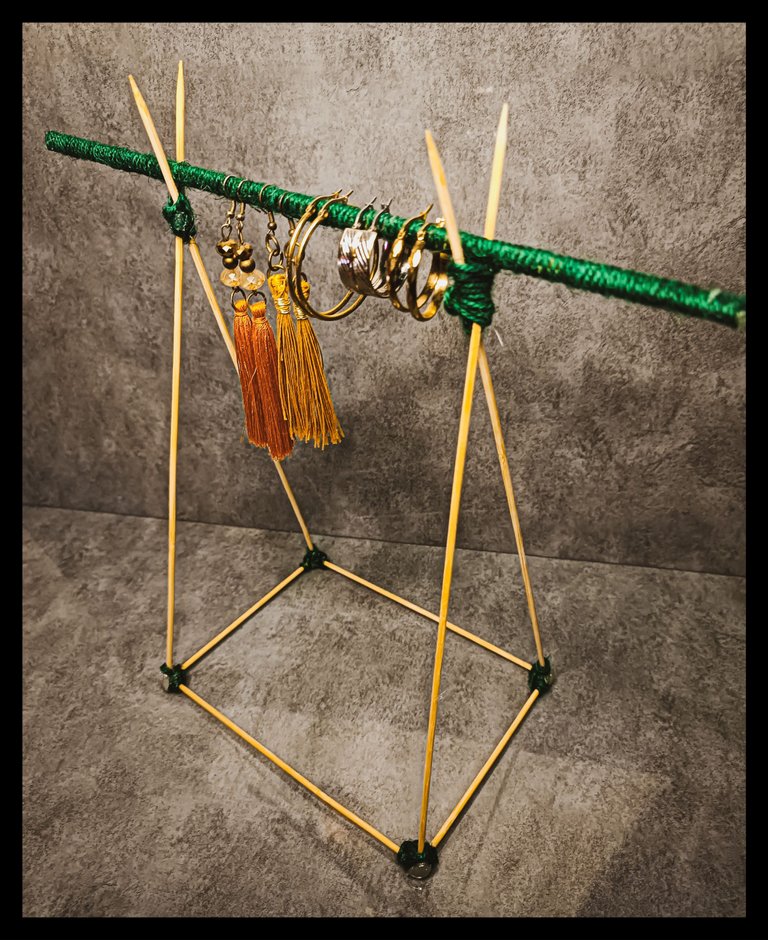
Con estos fáciles pasos y poquísimos materiales conseguí hacer un práctico porta accesorios... Y el resultado me pareció muy lindo además de la comodidad para colocar por ejemplo mis cadenas, algunos anillos y zarcillos con gancho de anzuelo.
As a last step, I decided to line with jute of the same color, the stick that would cross both columns.... It wasn't necessary, but it would add a little bit of elegance when placing the garments 😁.
With these easy steps and very few materials I managed to make a practical accessory holder.... And I found the result very nice besides the convenience to place for example my chains, some rings and earrings with hook hooks.
RESULTADO // RESULTS
Ahora intentaré hacer un porta anillos, este tipo de organizadores son muy prácticos, pues nos permiten mantener en orden nuestras prendas, así como un mejor cuidado... Sin contar que nos facilitan el trabajo cuando vamos saliendo apuradas y no encontramos lo que nos queremos poner 😁.
Espero les haya beneficiado un poco la manera como creé este organizador. Me despido con cariño hasta un próximo post ☺️🙌.
Now I will try to make a ring holder, this kind of organizers are very practical, because they allow us to keep our clothes in order, as well as a better care .... Not to mention that they make our work easier when we go out in a hurry and we can't find what we want to wear 😁.
I hope you have benefited a little from the way I created this organizer. I bid you a fond farewell until a future post ☺️🙌.
