Saludos y bendiciones apreciados amigos de la comunidad de Hive Diy, es un gusto compartir mi nuevo proyecto con todos ustedes, para esta ocasión les mostraré como hice un hermoso Portalápices con motivo de cactus, con rollo de papel reciclado, estan juntos es una como hembra y otro de varón, son muy faciles de hacer y vamos a tener nuestros lápices y colores organizados.
Greetings and blessings, appreciated friends of the Hive Diy community, it is a pleasure to share my new project with all of you, for this occasion I will show you how I made a beautiful pencil holder with a cactus motif, with a roll of recycled paper, they are together like a female and another for a boy, they are very easy to make and we will have our pencils and colors organized.

Diy: Hermoso Portalápices con motivo de Cactus y material reciclado 🌵♻️
Materiales
2 tubos de papel reciclado
Cartón reciclado
Cartulina verde
Lápiz
Pintura al frio verde claro
Pincel
Silicón frío
Tijera
Marcador negro, verde y rosado
Diy: Beautiful Pencil Holder with Cactus motif and recycled material 🌵♻️
Materials
2 tubes of recycled paper
Recycled carton
Green cardboard
Pencil
Light green cold paint
Brush
Cold sylicon
Scissors
Black, green and pink marker

Procedimiento
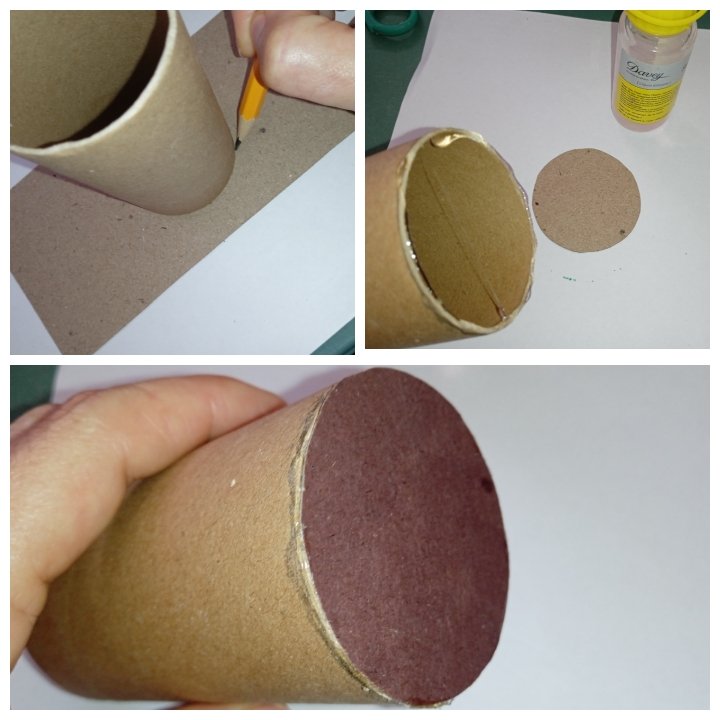
1.Como primer paso vamos a tomar un tubo de papel, colocamos sobre el cartón reciclado y marcamos dos círculos con el lápiz, recortamos, agregamos silicon en el borde del tubo y pegamos al círculo, dejar secar.
Procedure
1.As a first step we are going to take a paper tube, place it on the recycled cardboard and mark two circles with the pencil, cut it out, add silicone to the edge of the tube and glue it to the circle, let it dry.

2.Luego pintamos con la pintura frío verde todo el tubo de papel, dejamos secar muy bien.
2.Then we painted the entire paper tube with cold green paint and let it dry very well.

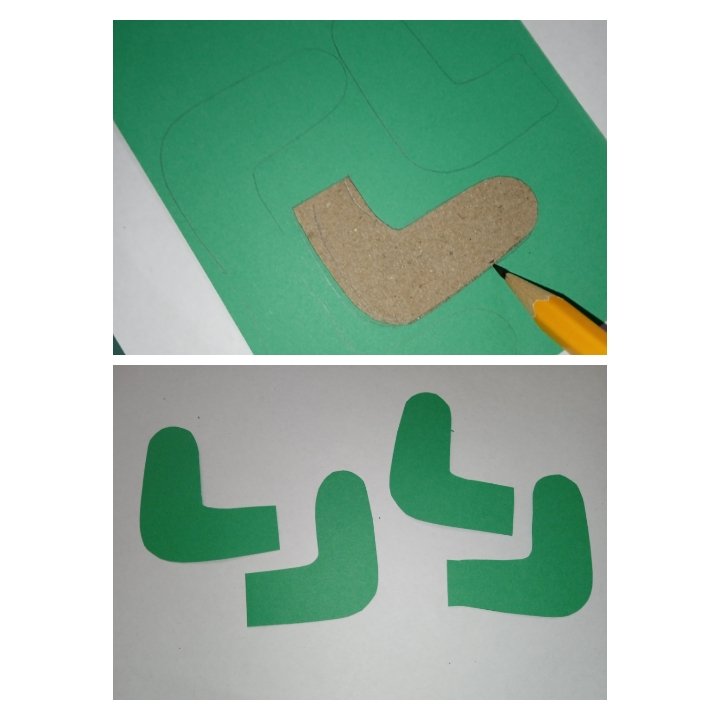
- Después vamos a sacar las ramas de los cactus, para ello lo trazamos en la cartulina verde de la siguiente forma y recortamos.
- Next we are going to take out the branches of the cacti, to do this we trace them on the green cardboard in the following way and cut them out.

Luego hacemos con el marcador verde líneas punteadas, la cual van a simular las espinas, esto lo vamos a hacer tanto en el cuerpo como la rama de los cactus.
Then we make dotted lines with the green marker, which will simulate the thorns. We are going to do this on both the body and the branch of the cactus.

5.Seguidamente pegamos las ramas a los lados del tubo o cuerpo del cactus.
5.Next we glue the branches to the sides of the tube or body of the cactus.

- Por último pintamos con el marcador negro los ojitos,boca y de rosado las mejillas.
- Finally, we paint the eyes, mouth, and pink cheeks with the black marker.

Listo!
Ready!


Hasta aquí mi Proyecto de este día, espero les haya gustado, muchas gracias por el apoyo brindado. Saludos 🌵♻️
So Project for this day, I hope you liked it, thank you very much for the support. Greetings
Todas las imágenes son de mi autoria por @mariarodriguez, tomadas especialmente para esta publicación.
All images are my own by @mariarodriguez, taken especially for this publication.
