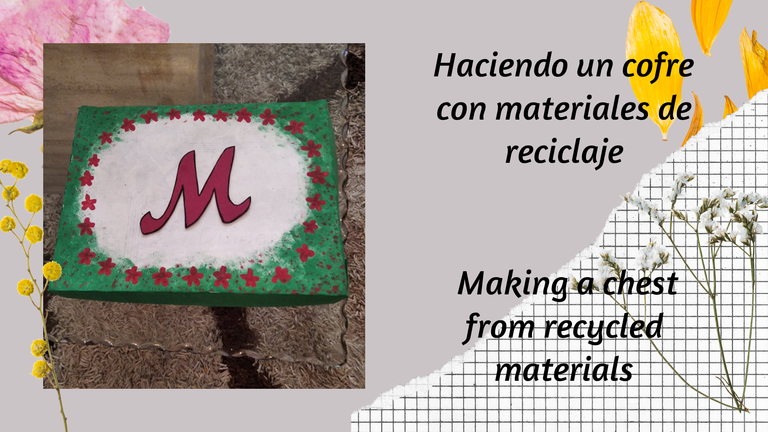
Hola gente bonita de hive, el día de hoy les quiero enseñar como hice este lindo cofre para guardar cositas con materiales de reciclaje, es muy fácil y rápido de hacer, espero que el resultado les guste tanto como a mi, sin más que decir, comencemos!!
Hello beautiful people of hive, today I want to show you how I made this nice chest to store things with recycled materials, it is very easy and quick to make, I hope you like the result as much as I do, without more to say, let's start!

| Materiales | Materials |
|---|---|
| Lápiz | Pencil |
| Foami | Foami |
| Tijera | Scissors |
| Silicón | Silicone |
| Pintura | Paingting |
| Cartulina | Cardboard |
| Caja de cartón | Cardboard box |

- Paso 1:
Comenzamos marcando la caja en la cartulina para forrarla por dentro.
- Step 1:
We start by marking the box on the cardstock to line the inside.

- Paso 2:
Cortamos las tiras que vamos a pegar en la parte de adentro y en la tapa.
- Step 2:
We cut the strips that we are going to glue on the inside and the lid.


- Paso 3:
Pegamos todo a la caja.
- Step 3:
We glue everything to the box.


- Paso 4:
Pegamos dos tiras verticales y dos horizontales dentro de la caja.
- Step 4:
We glue two vertical and two horizontal strips inside the box.


- Paso 5:
En la parte de afuera de la tapa comence a pintarlo de blanco y de verde por el resto de la caja, en las orillas le agregue verde.
- Step 5:
On the outside of the lid I started painting it white and green for the back of the box, on the edges I added green.


- Paso 6:
Con color rojo hice unas flores alrededor dela tapa y en foami hice la letra "M" y la pegue.
- Step 6:
With red color I made some flowers around the lid and in foami I made the letter "M" and glued it.


FINAL RESULT


All photos are my own


