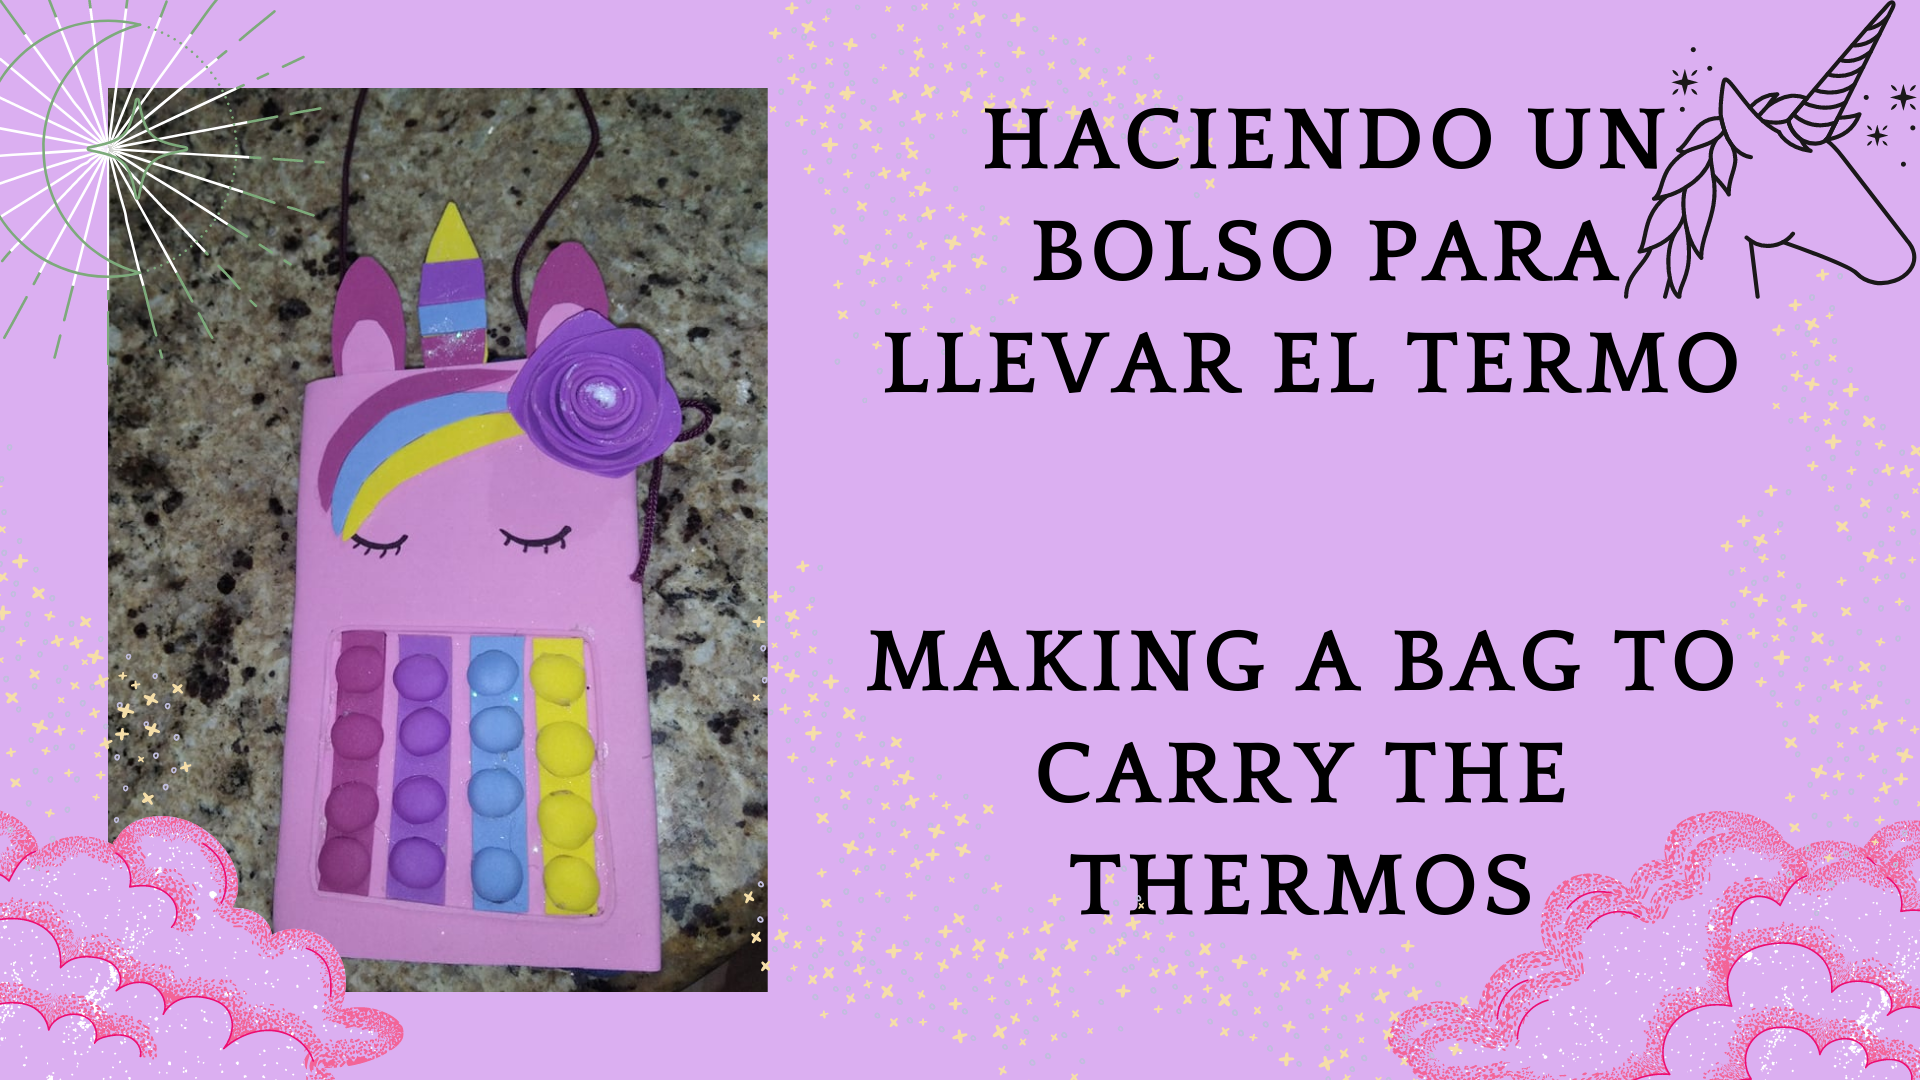
Hola gente bonita de hive, el día de hoy les quiero enseñar como hice este lindo bolso perfecto para llevar el termo de agua para todos lados, la verdad es muy rápido y fácil de hacer espero que el resultado les guste tanto como a mi, sin más que decir, comncemos!!
Hello beautiful people of hive, today I want to show you how I made this cute bag perfect for carrying the water thermos everywhere, the truth is very quick and easy to do, I hope you like the result as much as I do, without more to say, let's start!

| Materiales | Materials |
|---|---|
| Tela | Fabric |
| Foami | Foami |
| Aguja | Needle |
| Silicón | Silicone |
| Marcador | Marker |
| Cartón | Cardboard |
| Hilo de coser | Sewing thread |

- Paso 1:
Comenzamos cortando la tela de un pantalón viejo, lo volteamos y cosemos por la parte de adentro dejando un espacio en el centro donde vamos a introducir una cuerda.
- Step 1:
We start by cutting the fabric from an old pant, flip it over and sew on the inside leaving a space in the center where we are going to insert a rope.


- Paso 2:
Vamos a cortar una tira de cartón del tamaño del bolso y le vamos a pegar foami.
- Step 2:
We are going to cut a strip of cardboard the size of the bag and glue foami to it.


- Paso 3:
Hacemo una tira fina con foami y lo pegamos, luego hacemos uno círculos de foami y lo ponmos encima de una plancha para que se abomben.
- Step 3:
We make a thin strip with foami and glue it, then we make one circles of foami and put it on top of an iron to make them bulge.


- Paso 4:
Pegamos los círculos de foami encima de una tira del mismo color y hacemos otras tiras curvas para pegarlas en la parte de arriba.
- Step 4:
We glue the foami circles on top of a strip of the same color and make other curved strips to glue on top.


- Paso 5:
Le hacemos las orejas el cuerno, una flor para decorar y los ojos, por ultimo pegamos todo al bolso.
- Step 5:
We make the ears, the horn, a flower to decorate and the eyes, finally we glue everything to the bag.


FINAL RESULT


All photos are my own