¡Saludos Comunidad Creativa! | ¡Greetings Creative Community!
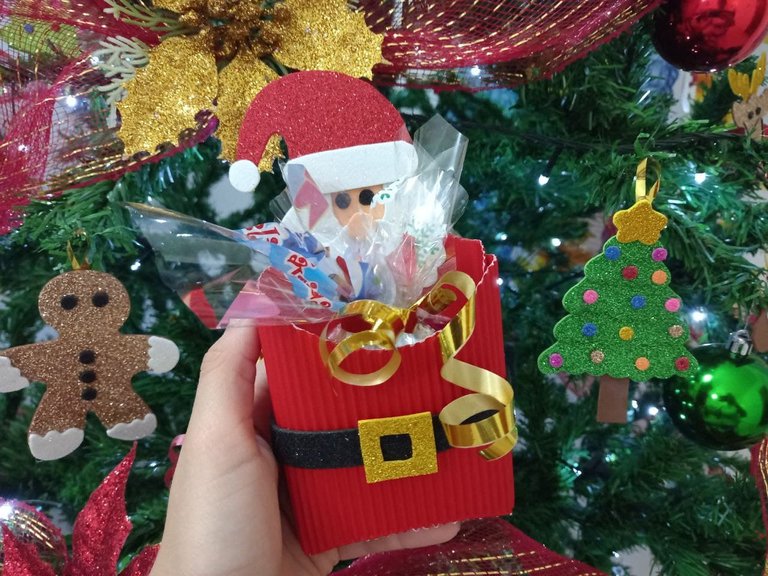
¡Feliz Domingo! En esta linda mañana quiero compartir con ustedes un nuevo tutorial, esta vez es para elaborar una linda cajita como la de papas fritas decorada de Santa Claus que puede ser utilizada como cotillón o dulcero y es ideal para regalar en navidad, en especial a los niños, espero que les guste esta idea y puedan recrearla en casa.
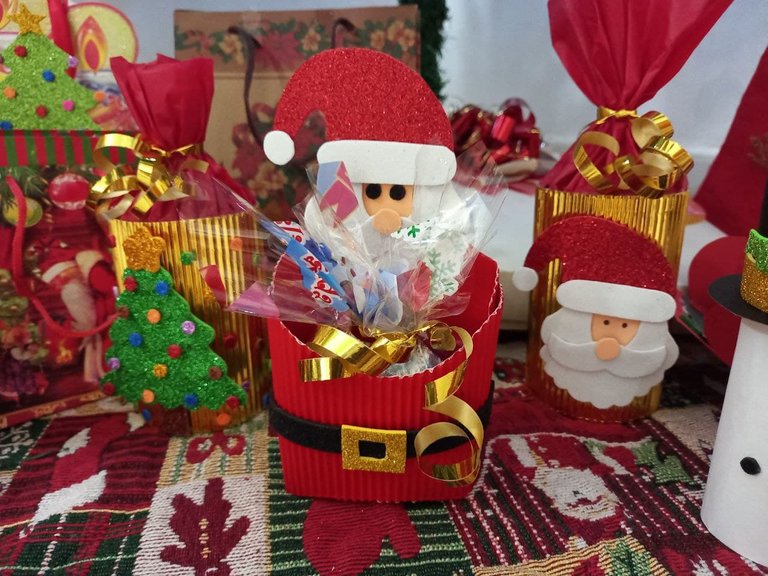
¡Happy Sunday! On this beautiful morning I want to share with you a new tutorial, this time it is to make a cute box like the potato chip decorated with Santa Claus that can be used as a party favors or candy and is ideal to give at Christmas, especially to children , I hope you like this idea and can recreate it at home.

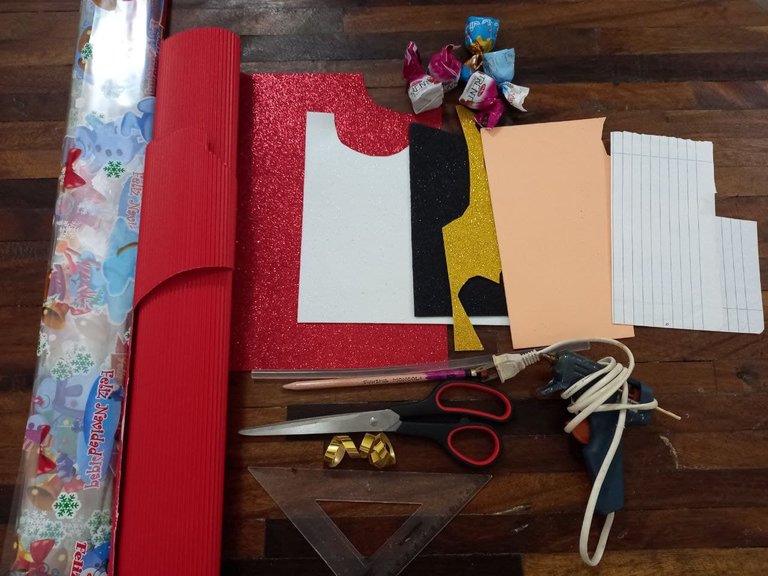
- Cartulina corrugada roja.
- Foami escarchado rojo.
- Foami escarchado blanco.
- Foami escarchado negro.
- Foami escarchado dorado.
- Foami color piel.
- Papel celofán con estampado navideño.
- Hoja de papel.
- Lápiz.
- Tijera.
- Regla.
- Silicón.
- Pistola de silicón.
- Cinta de papel.
- Dulces.
- Red corrugated cardboard.
- Red frosted foam.
- White frosted foam.
- Black frosted foam.
- Golden frosted foam.
- Skin color foam.
- Cellophane paper with Christmas print.
- Paper sheet.
- Pencil.
- Scissor.
- Rule.
- Silicone.
- Silicone gun.
- Paper tape.
- Sweet.

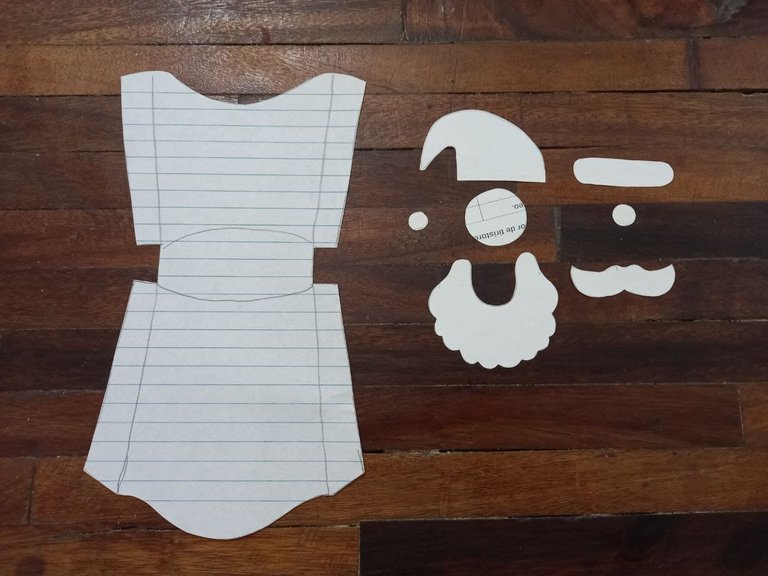
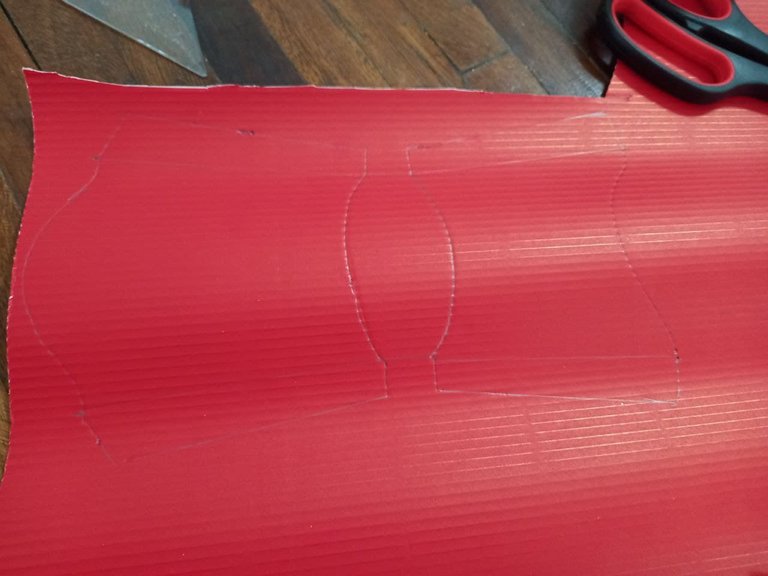
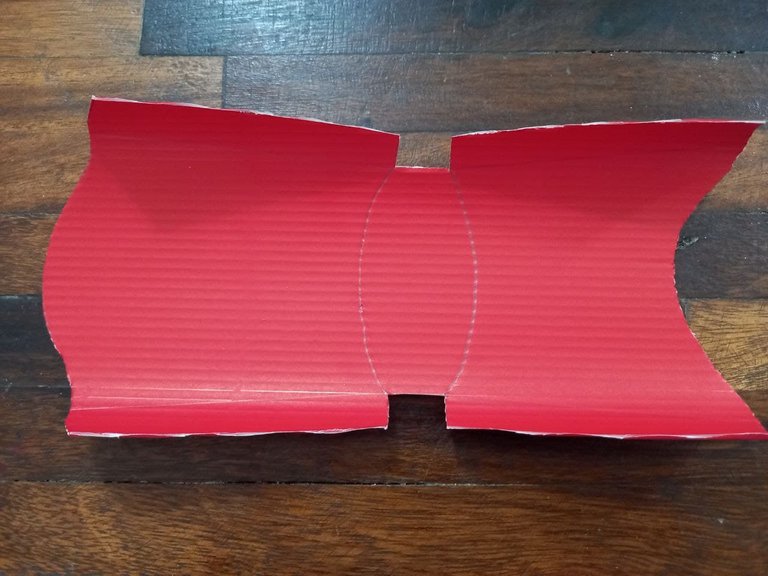
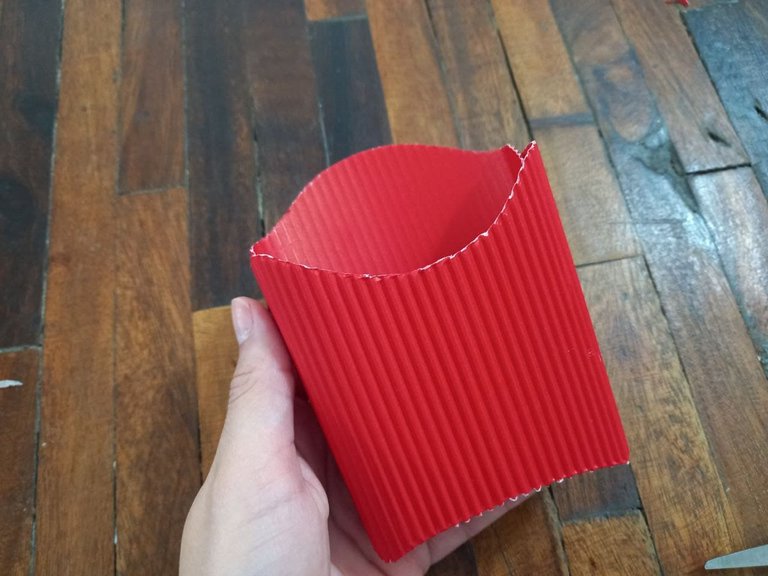
🎄 PASO 1. En la hoja de papel haremos el patrón de la cajita y también el de Santa Claus el cual tiene varias piezas, recortamos y pasamos primero el molde de la cajita a la cartulina corrugada roja y recortamos.
🎄 STEP 1. On the sheet of paper we will make the pattern of the box and also the one of Santa Claus which has several pieces, we cut and first pass the mold of the box to the red corrugated cardboard and cut it out.

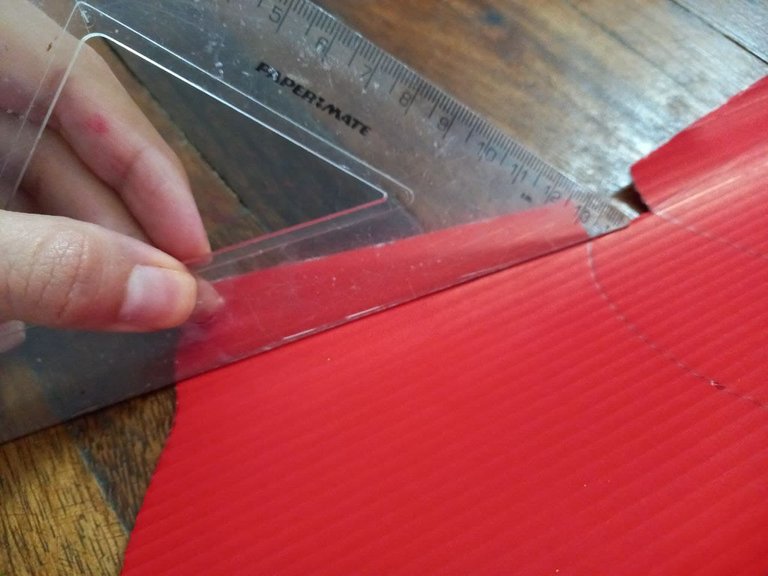
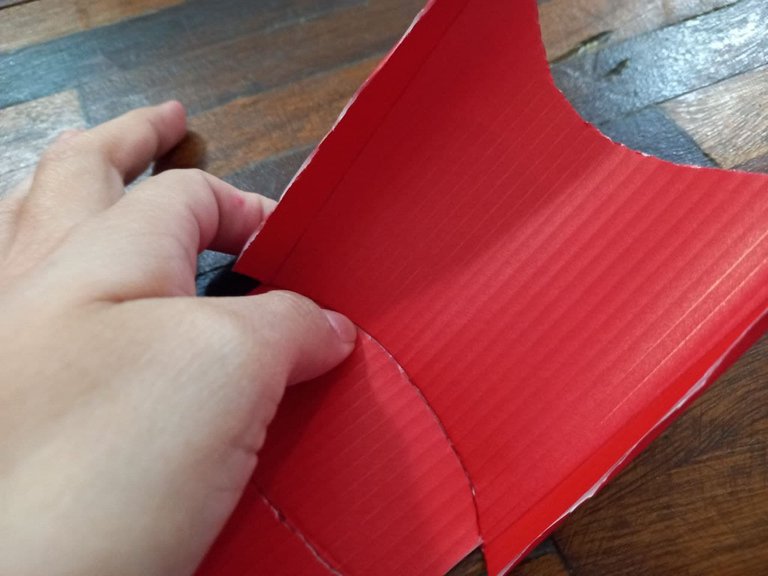
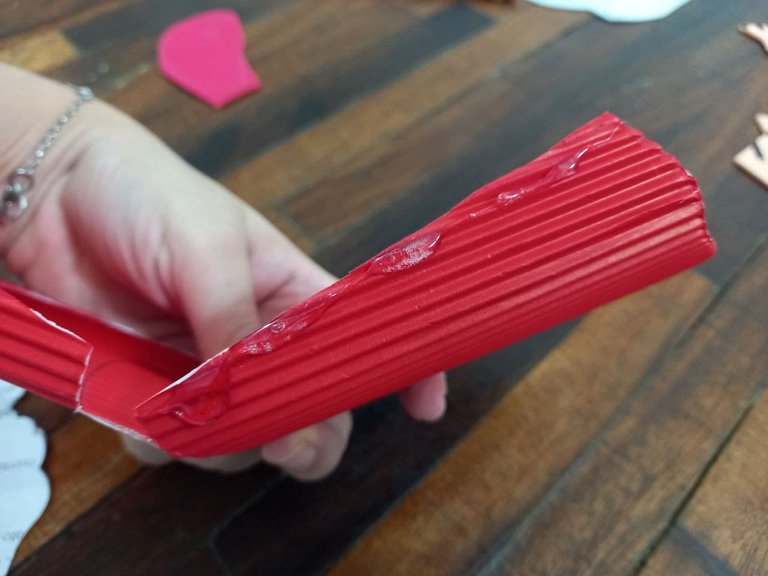
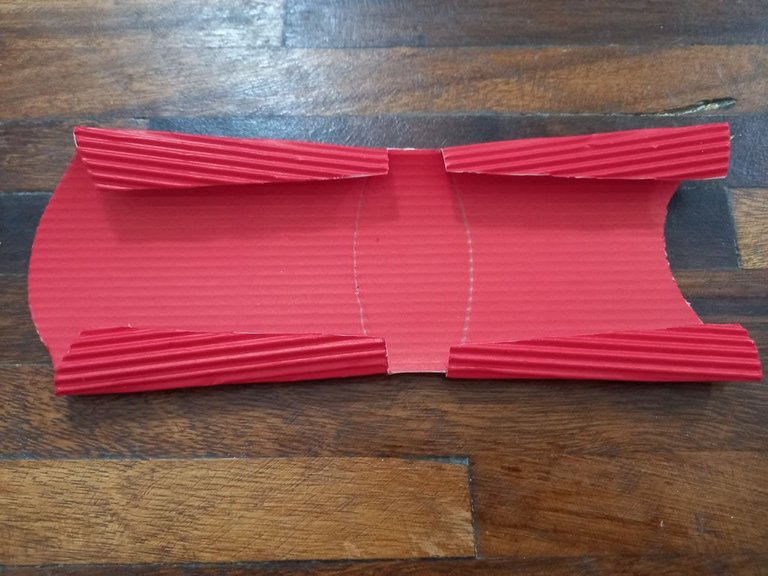
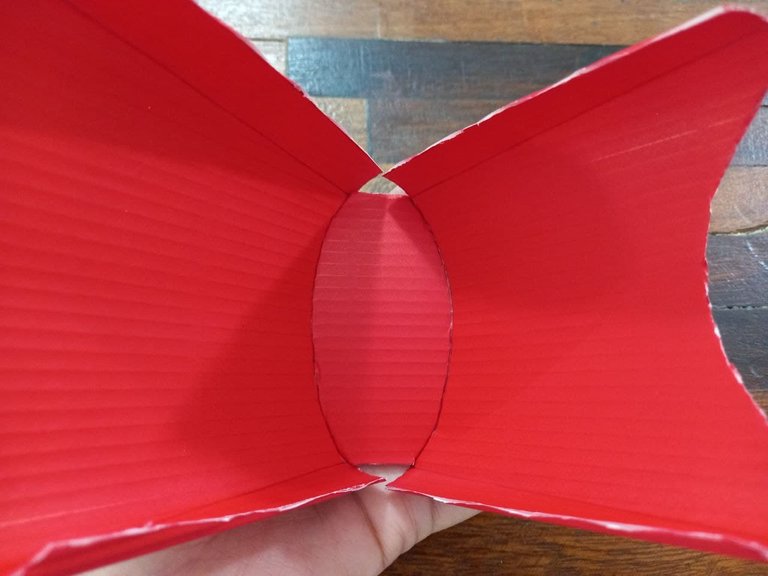
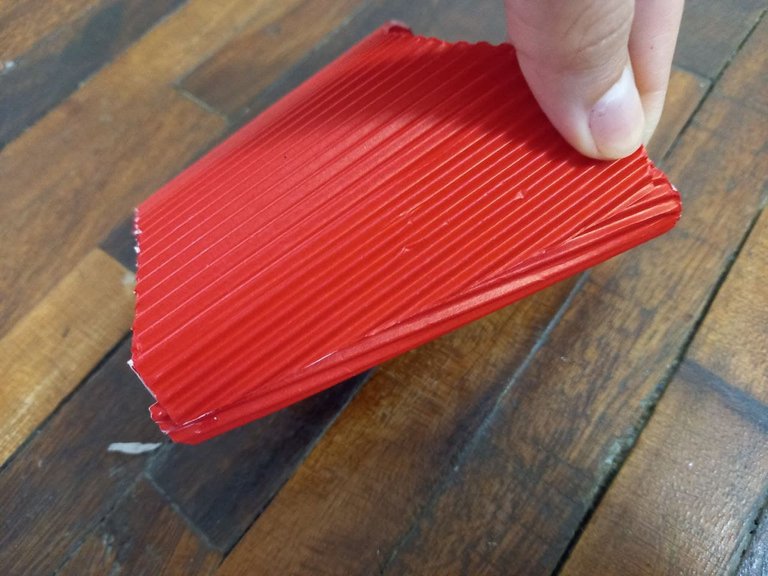
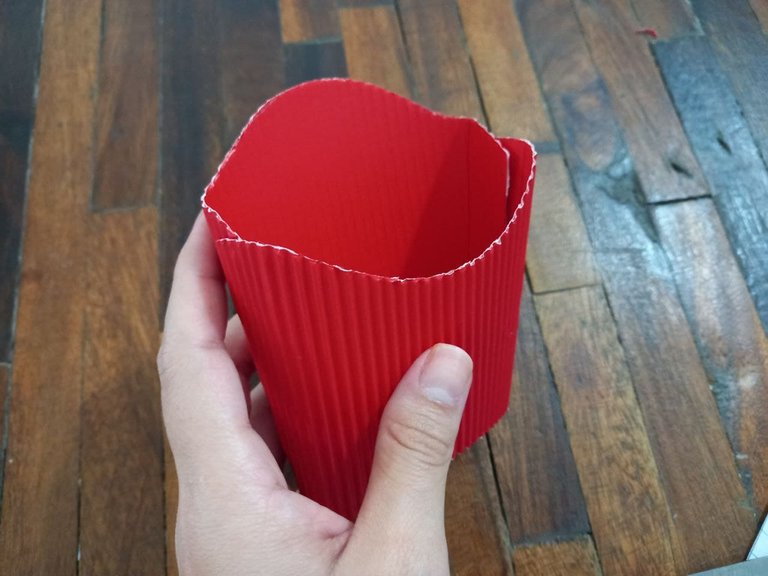
🎄 PASO 2. Con ayuda de la regla hacemos los 4 dobleces que tiene el molde a los lados y luego doblamos las 2 partes del centro, ahora vamos a pegar las solapas de los lados hasta unirlas y formar la cajita.
🎄 STEP 2. With the help of the ruler, we make the 4 folds that the mold has on the sides and then we fold the 2 parts of the center, now we are going to glue the flaps on the sides to join them and form the box.
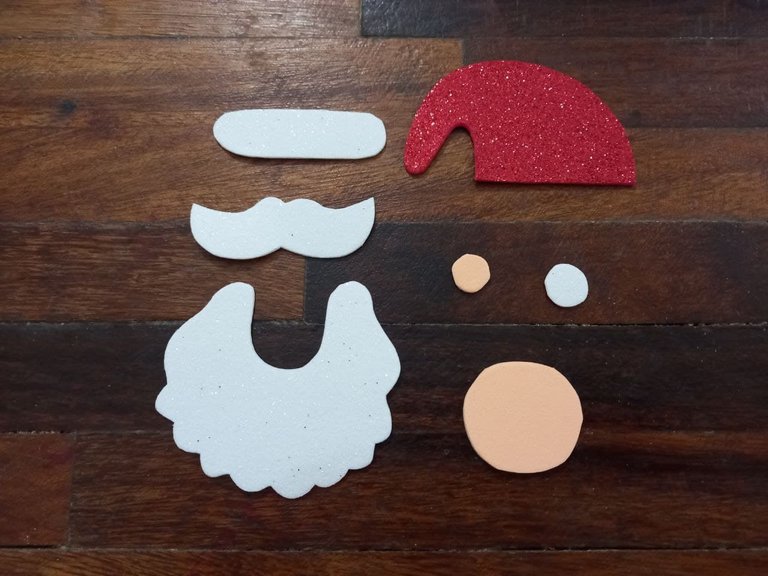
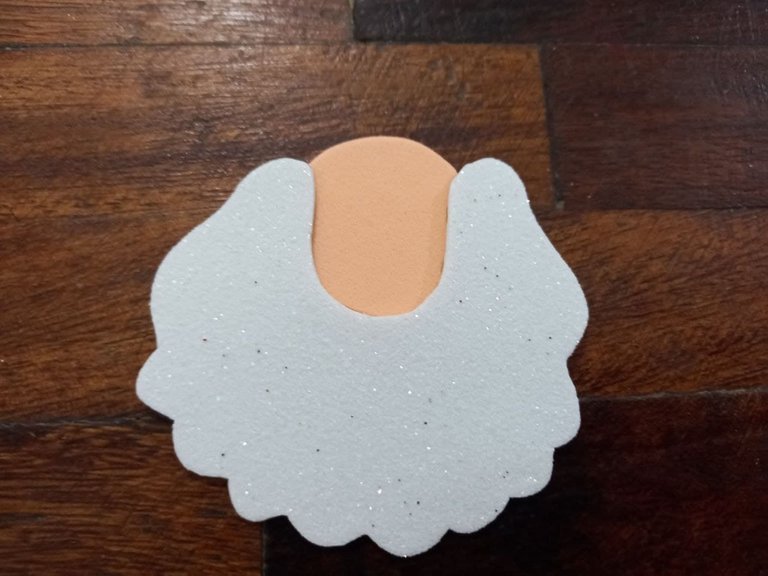
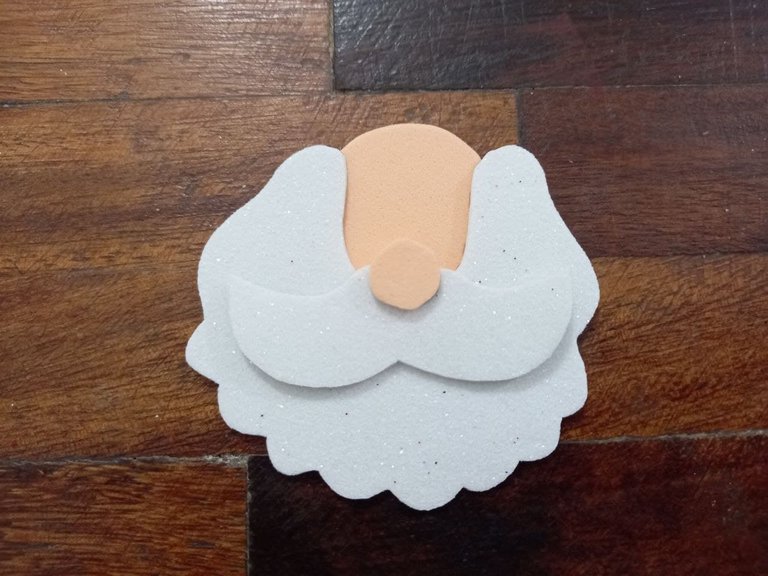
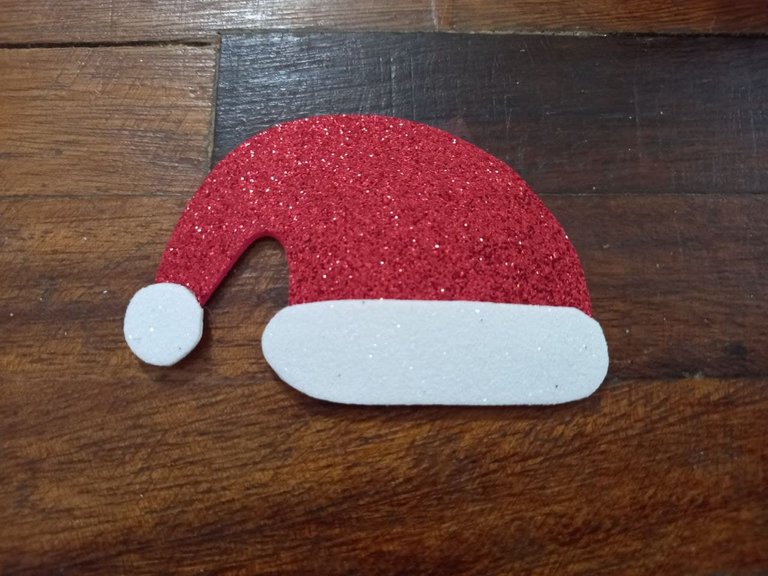
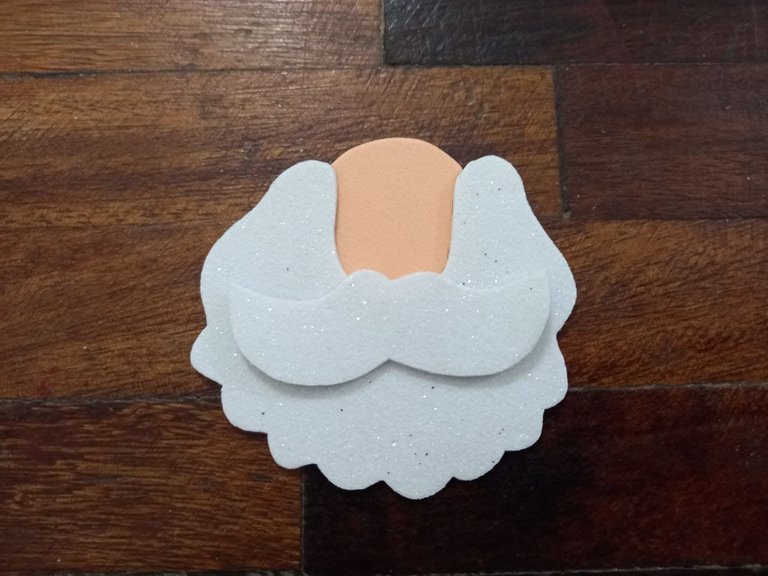
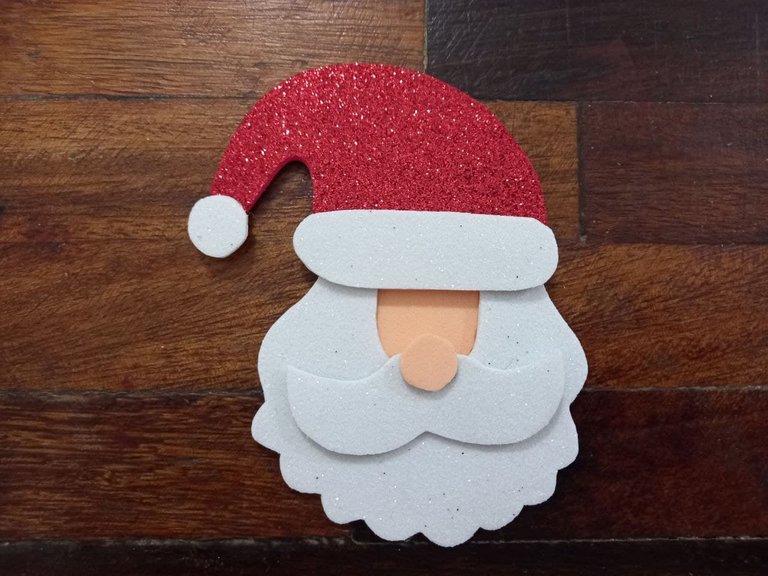
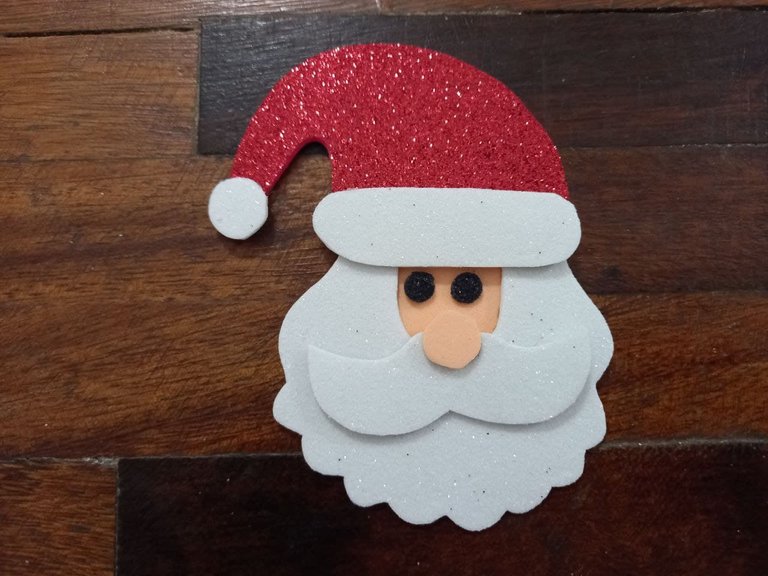
🎄 PASO 3. Ahora pasamos las piezas del Santa al foami en el color que corresponde y recortamos, luego comenzamos a armar al Santa, primero pegamos el borde blanco del sombrero en la orilla de este y el pompón en la punta, luego pegamos la barba sobre el rostro, el bigote sobre la barba y la nariz sobre el bigote, para finalizar pegamos el sombrero sobre la cabeza y dos círculos de foami negro en el lugar de los ojos.
🎄 STEP 3. Now we pass the pieces of the Santa to the foami in the corresponding color and cut, then we begin to assemble the Santa, first we glue the white edge of the hat on the edge of this and the pompom on the tip, Then we glue the beard on the face, the mustache on the beard and the nose on the mustache, finally we glue the hat on the head and two circles of black foam in the place of the eyes.
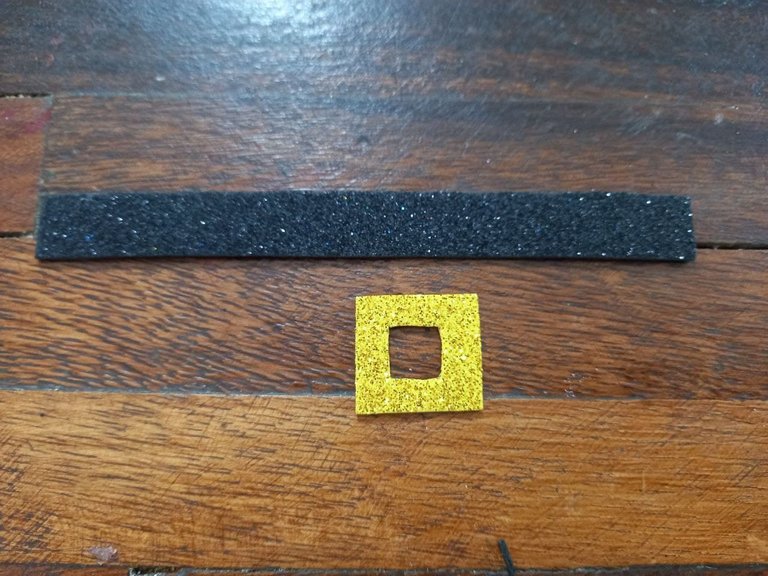
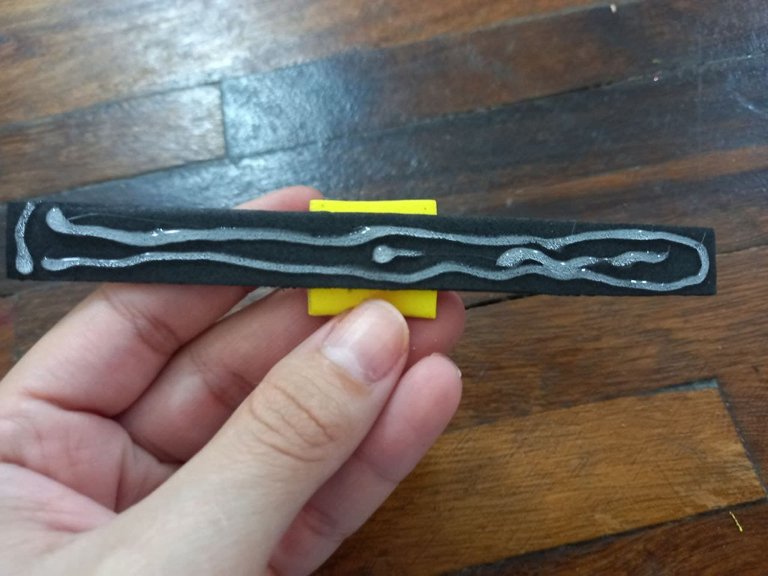
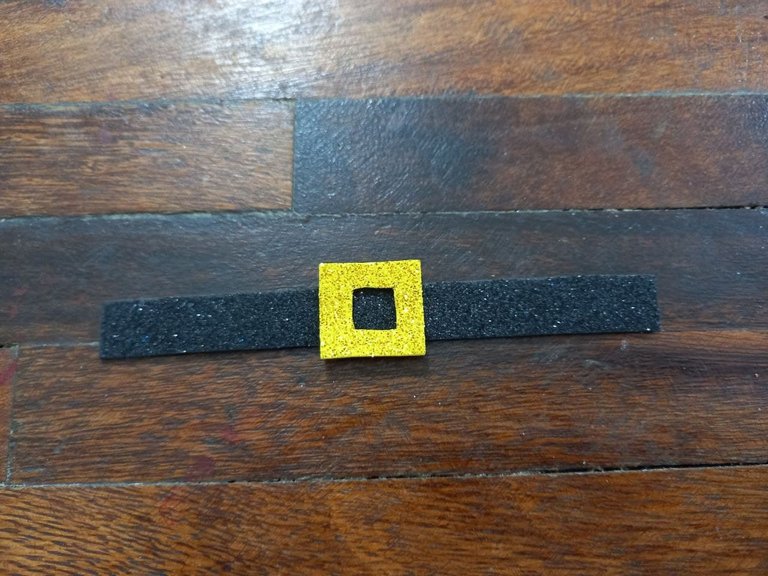
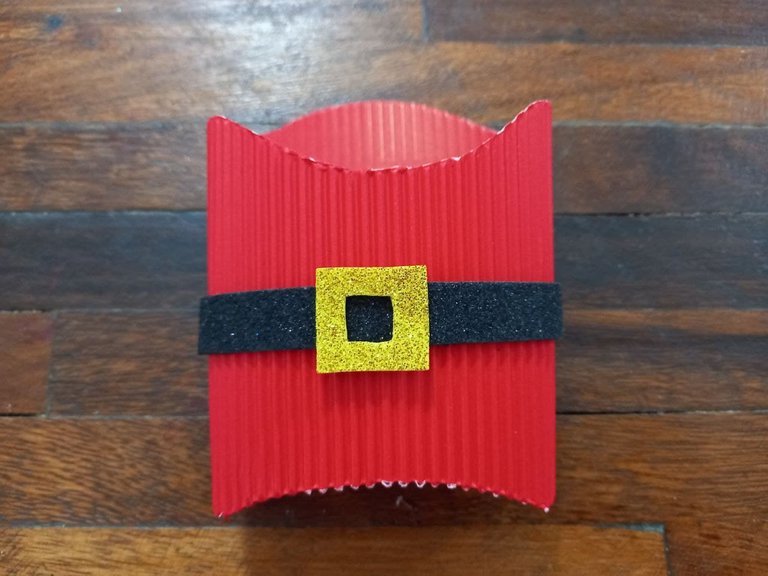
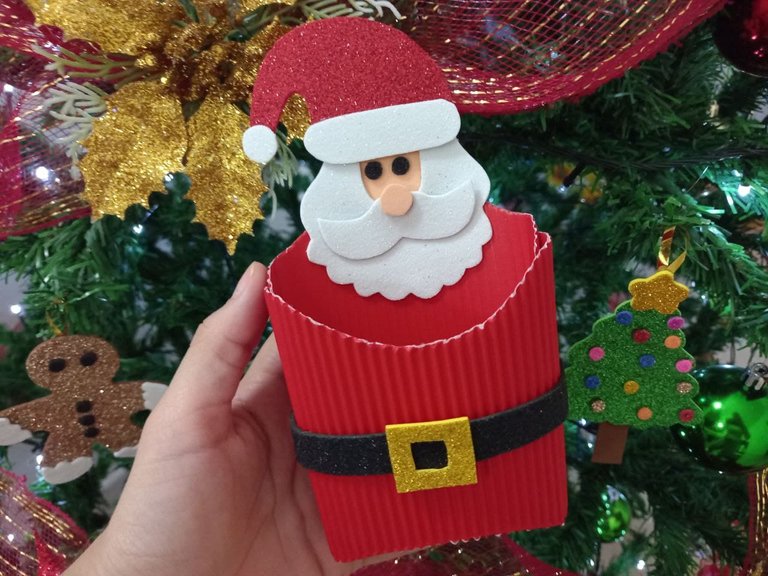
🎄 PASO 4. Cortamos una tira delgada de foami negro escarchado del tamaño justo que alcance a cubrir de lado a lado de la cajita, ese será el cinturón de Santa, también hacemos un cuadrado de foami escarchado dorado con centro hueco que será la hebilla del cinturón, pegamos la hebilla en el centro del cinturón y pegamos el cinturón en el centro de la cajita.
🎄 STEP 4. We cut a thin strip of frosted black foami of the right size that covers from side to side of the box, that will be Santa's belt, we also make a square of frosted gold foami with a hollow center that It will be the belt buckle, we glue the buckle in the center of the belt and glue the belt in the center of the box.

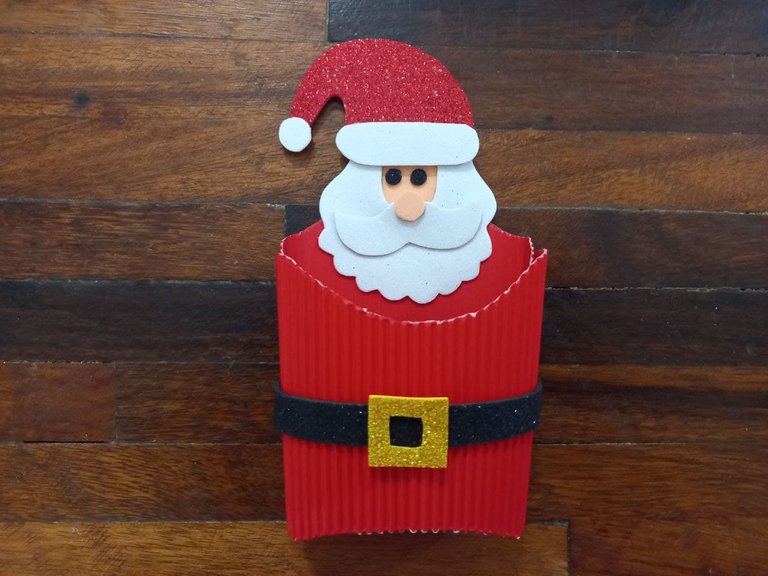
🎄 PASO 5. Ahora pegamos el Santa sobre la punta superior de la cajita.
🎄 STEP 5. Now we glue the Santa on the top tip of the box.

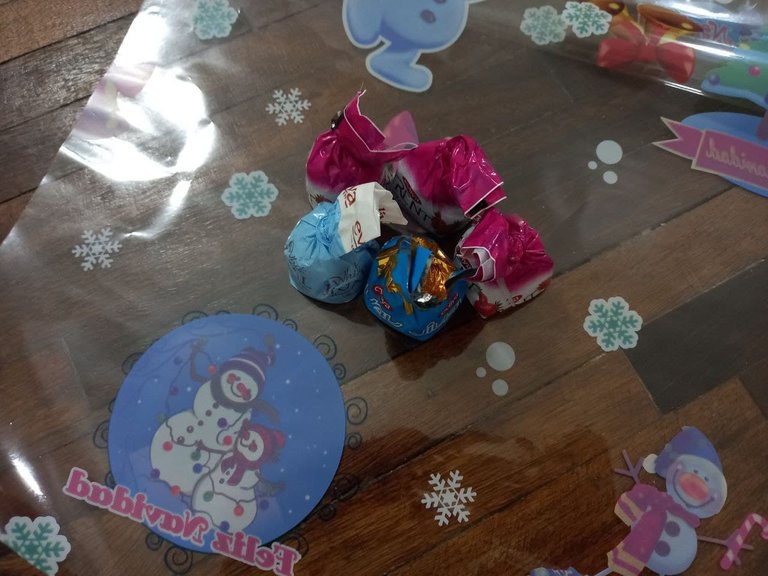
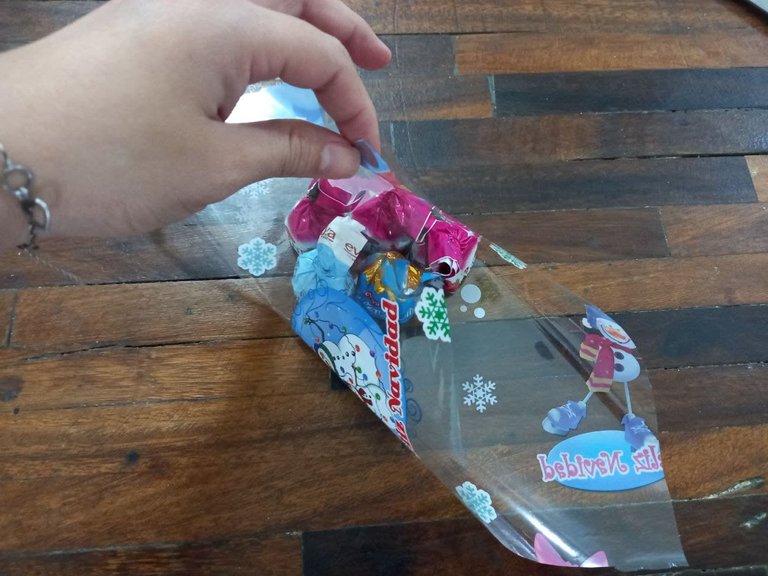
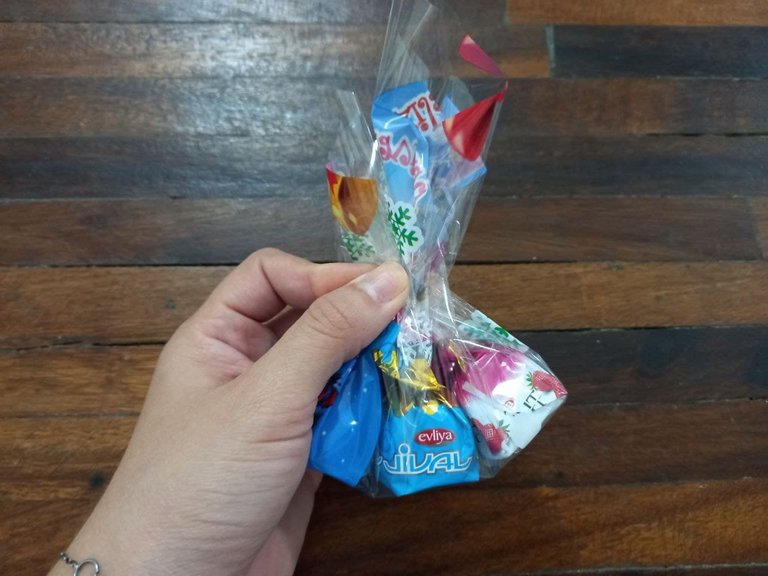
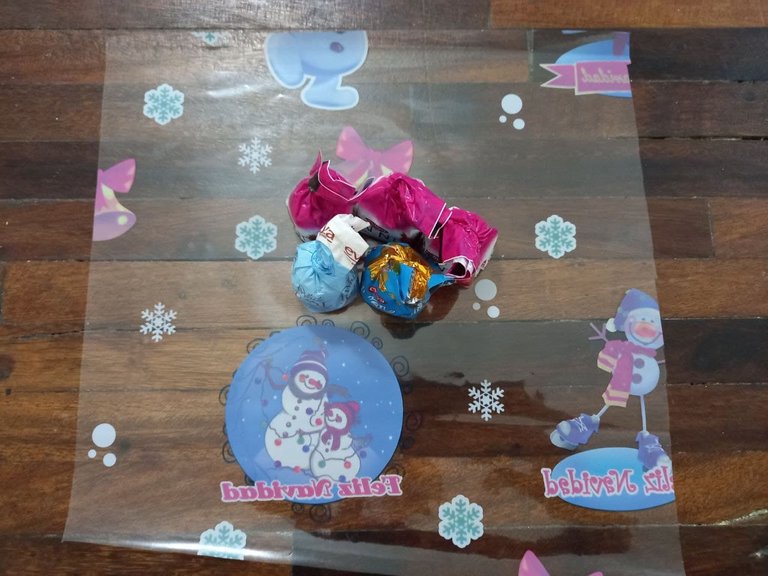
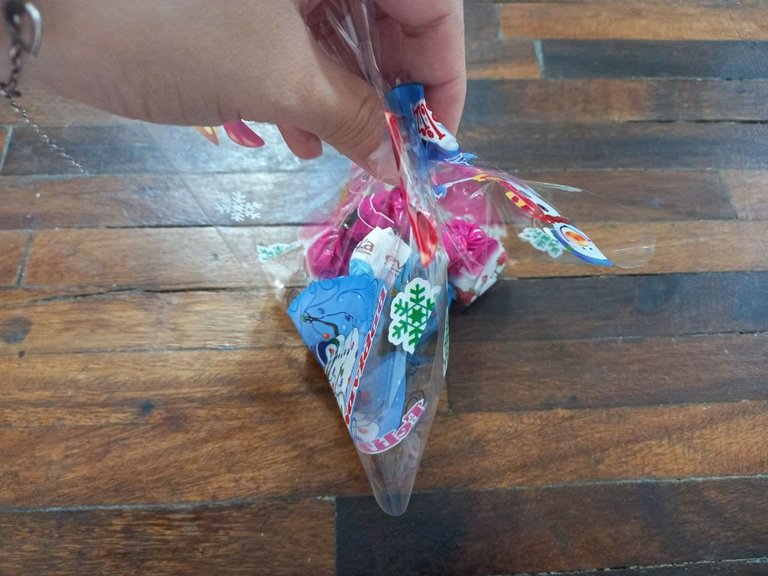
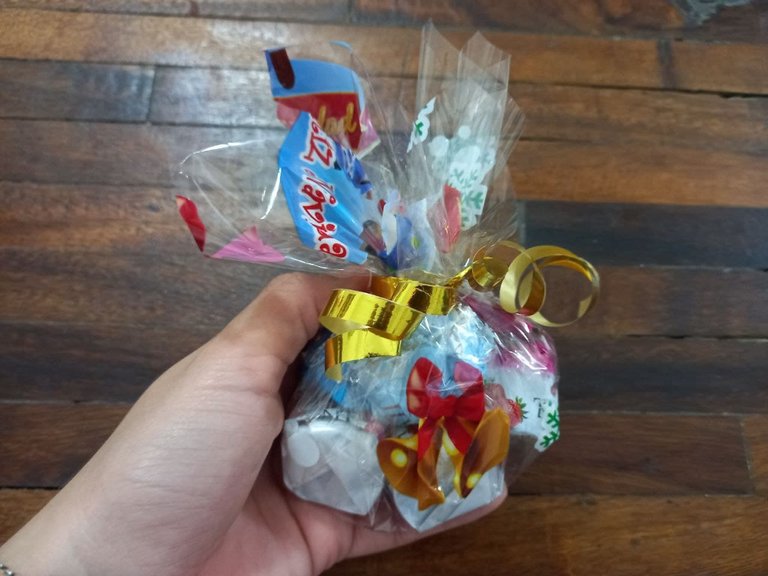
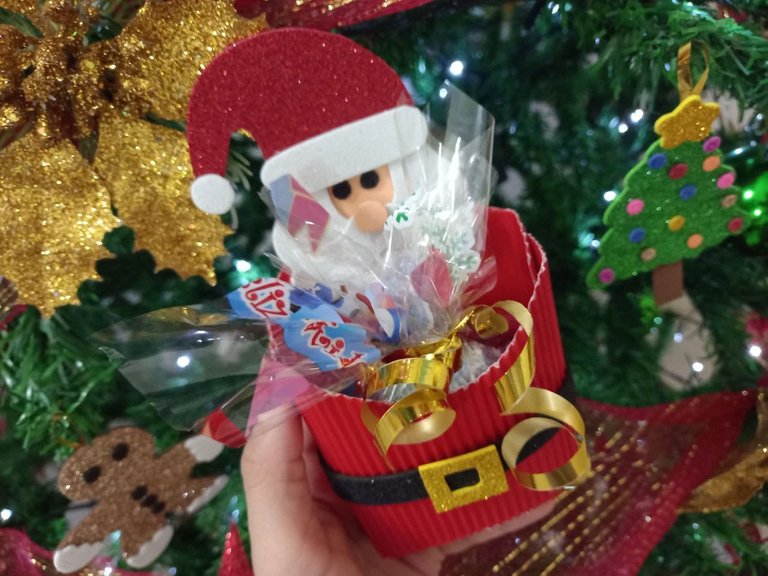
🎄 PASO 6. Colocamos los dulces sobre el papel celofán y dejamos 10 cm de espacio a los 4 lados, recortamos y tomamos 2 puntas del papel (diagonales) y las doblamos hacia adentro, luego las otras 2 puntas y las juntamos, colocamos la cinta de papel alrededor y hacemos un nudo.
🎄 STEP 6. We place the sweets on the cellophane paper and leave 10 cm of space on the 4 sides, cut and take 2 ends of the paper (diagonals) and fold them inwards, then the other 2 points and join them , we put the paper tape around and tie a knot.
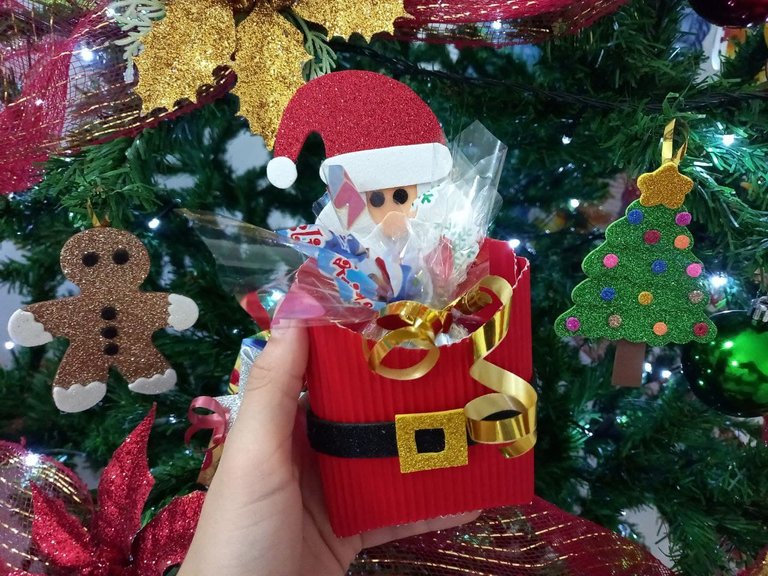
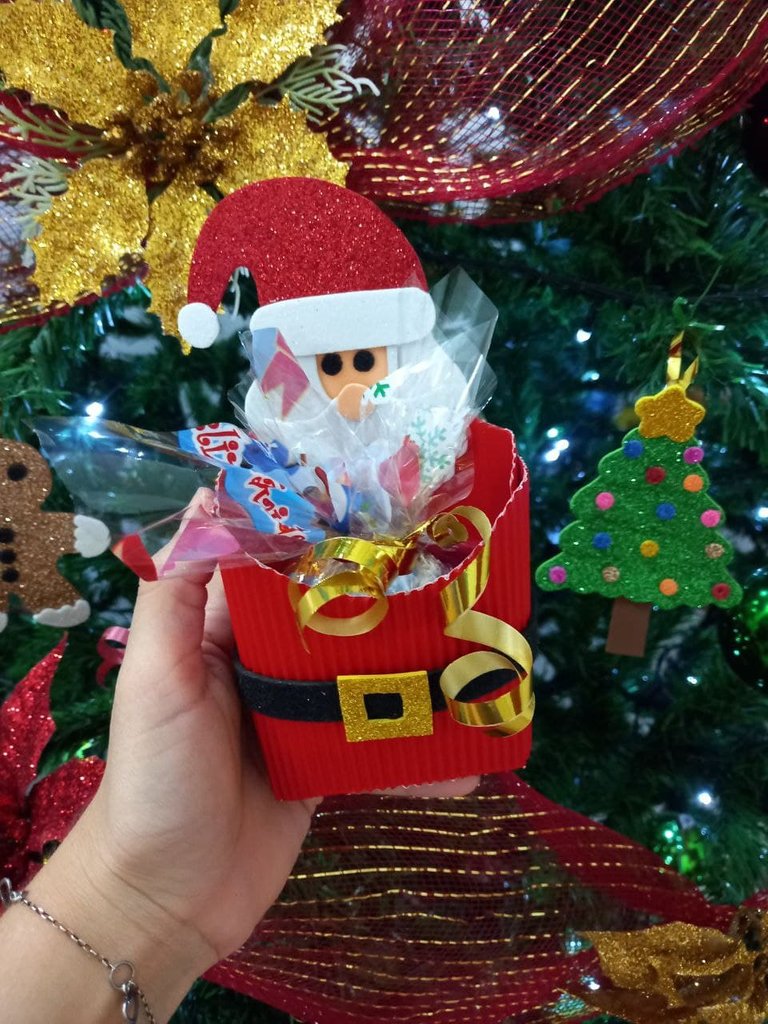
🎄 PASO 7. Ahora solo resta colocar los dulces dentro de la cajita y listo.
🎄 STEP 7. Now it only remains to place the sweets inside the box and that's it.
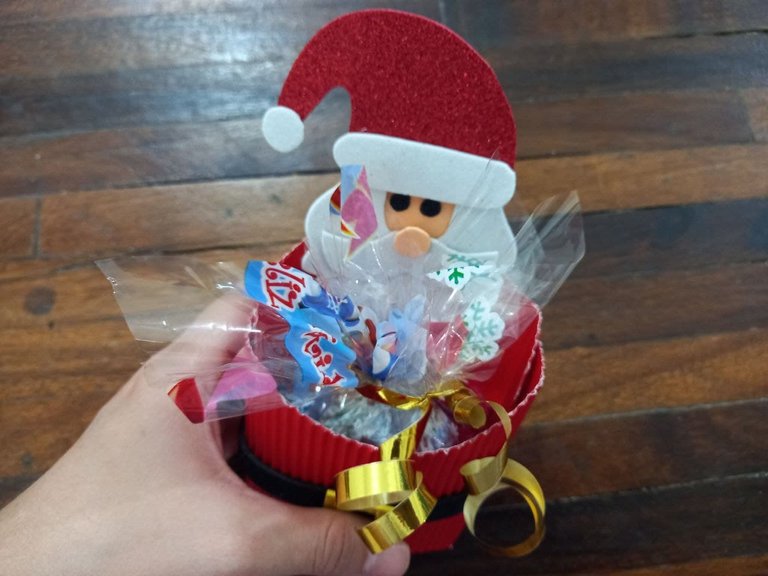
De esta manera tan sencilla tenemos lista nuestra linda cajita de Santa Claus para dulces para regalar a un ser especial, también podemos llenarla con cualquier otro objeto que queremos obsequiar, espero que les haya gustado y puedan utilizar esta idea para sus regalos de navidad.
In this simple way we have our cute Santa Claus box for sweets ready to give to a special being, we can also fill it with any other object that we want to give as a gift, I hope you liked it and can use this idea for your Christmas gifts.


Todas las fotografías son de mi propiedad.
Fotografías capturadas con mi Samsung Galaxy A12
Separador de texto elaborado en Canva.
Nos vemos en mi próxima publicación.
¡Tengan un feliz día!
All photographs are my property.
Photos captured with my Samsung Galaxy A12
Text separator made in Canva.
See you in my next post.
¡Have a happy day!