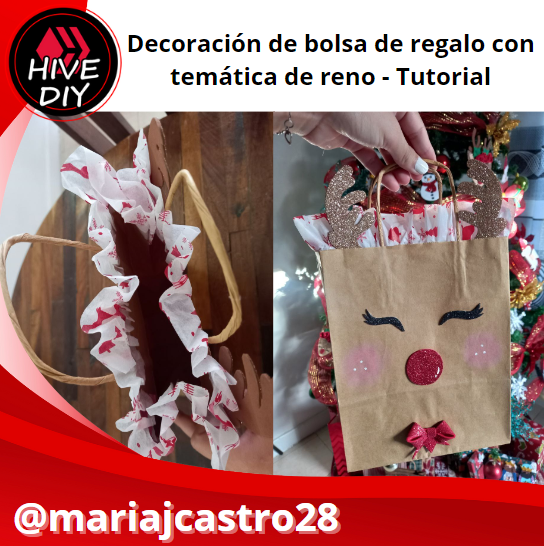
¡Feliz noche amigos de Hive Diy! Espero que se encuentren excelente. Hoy traigo a ustedes mi primer tutorial del año y aunque la época decembrina ya pasó no quería dejar de compartirles una de mis creaciones navideñas, esta fue la primera navidad de nuestra sobrina Amaya Victoria así que decidimos hacerle un obsequio y para que este fuera más especial me encargué de decorar una bolsita de papel con temática de reno para hacer su obsequio más lindo aun, por supuesto documenté el paso a paso de la decoración de la bolsita para compartirlo con ustedes y entre tantas cosas en mente había olvidado publicarlo, pero hoy ha llegado el día y aquí les dejo el tutorial, espero que les guste, sin más, ¡vamos a crear!
¡Happy night Hive Diy friends! I hope you are feeling excellent. Today I bring you my first tutorial of the year and although the Christmas season has passed, I did not want to stop sharing one of my Christmas creations, this was our niece Amaya Victoria's first Christmas so we decided to give her a gift and so that This was more special, I was in charge of decorating a reindeer-themed paper bag to make your gift even prettier, of course I documented the step by step of decorating the bag to share it with you and among so many things in mind I had forgotten to publish it , but today the day has come and here I leave you the tutorial, I hope you like it, without further ado, let's create!

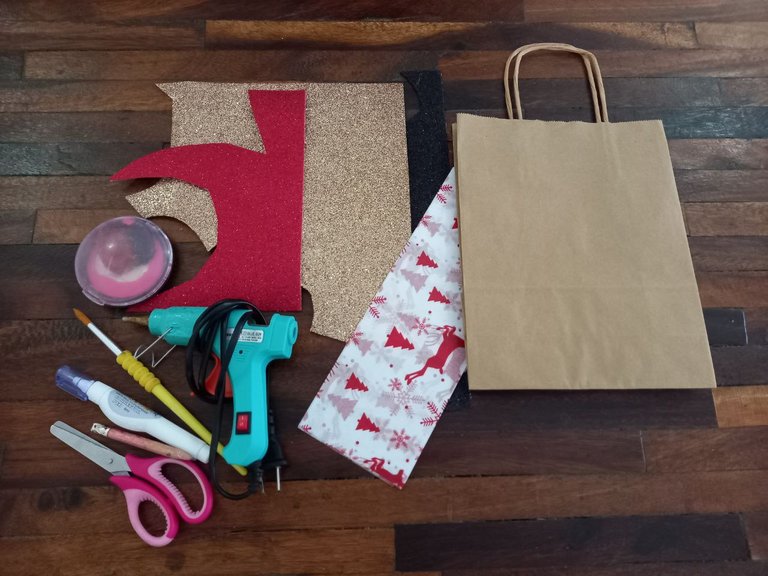
• Papel de seda con estampado navideño.
• Foami escarchado marrón, rojo y negro.
• Pintura blanca.
• Rubor.
• Silicón.
• Lápiz.
• Tijera.
• Tissue paper with Christmas print.
• Brown, red and black frosted foam.
• White paint.
• Blush.
• Silicone.
• Pencil.
• Scissors.

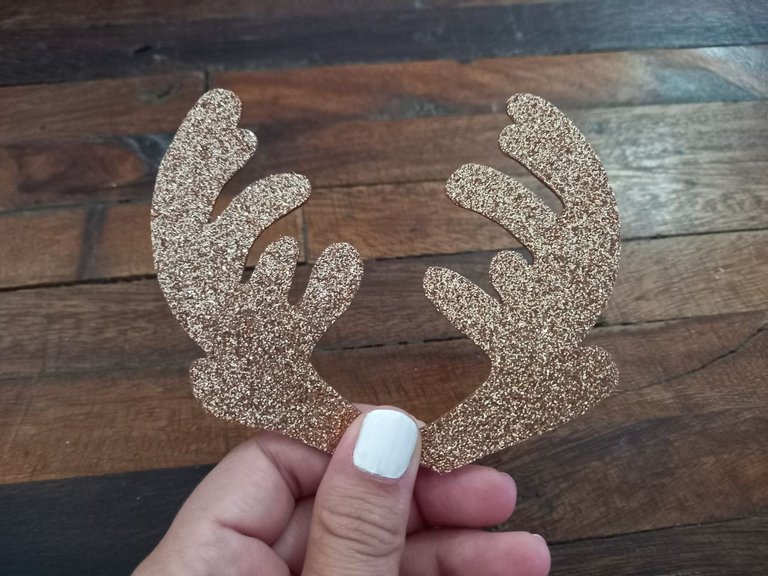
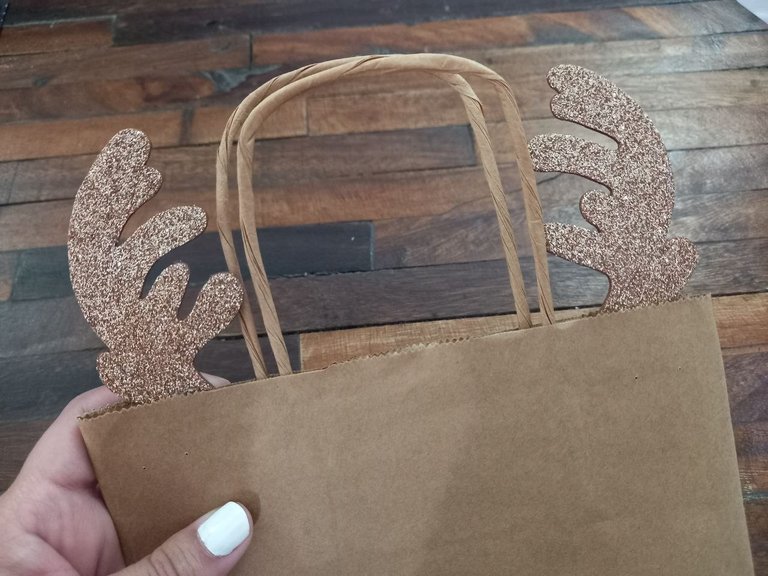
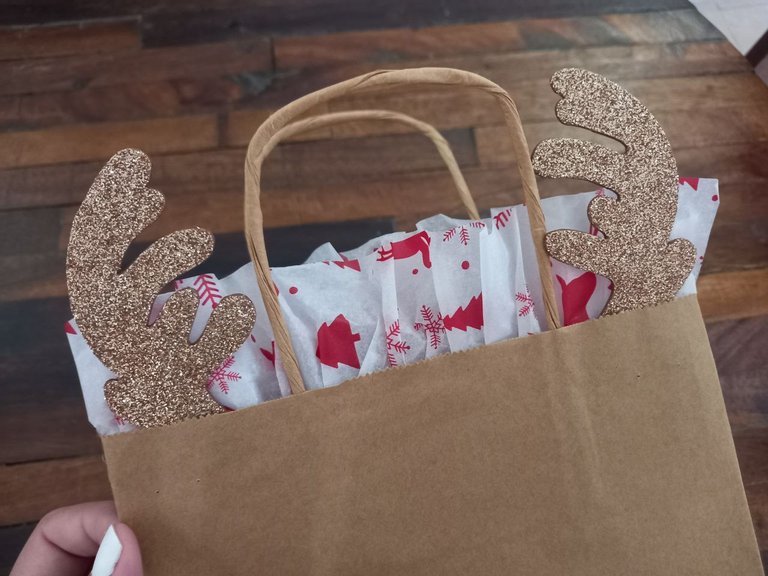
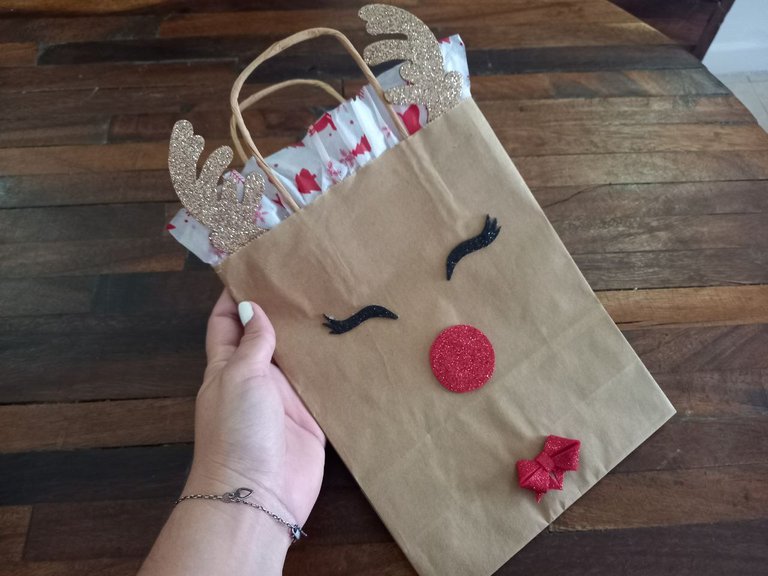
➮ PASO 1. Lo primero que hice fue hacer los cuernos del reno en foami escarchado marrón y recortar, luego los pegué en la parte superior interna de la bolsa de papel kraft, una de cada lado con la parte escarchada hacia el exterior.
➮ STEP 1. The first thing I did was make the reindeer antlers in brown frosted foam and cut them out, then I glued them to the top inside of the kraft paper bag, one on each side with the frosted part facing the abroad.

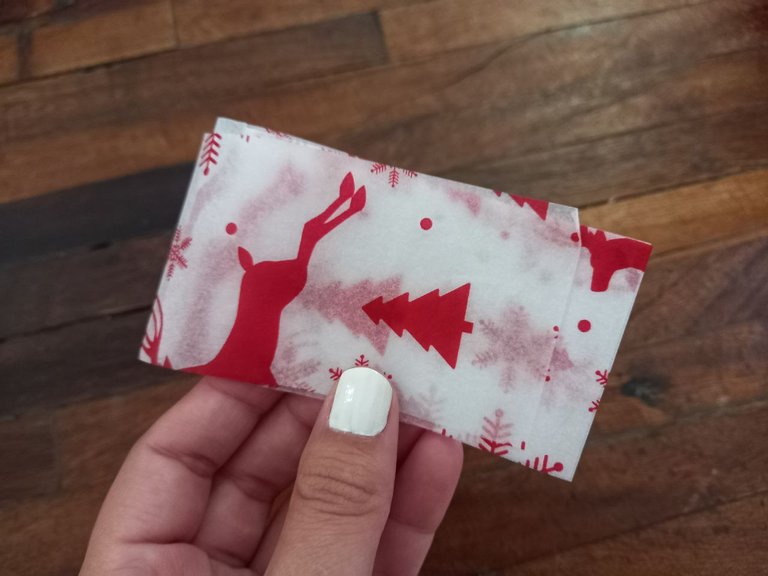
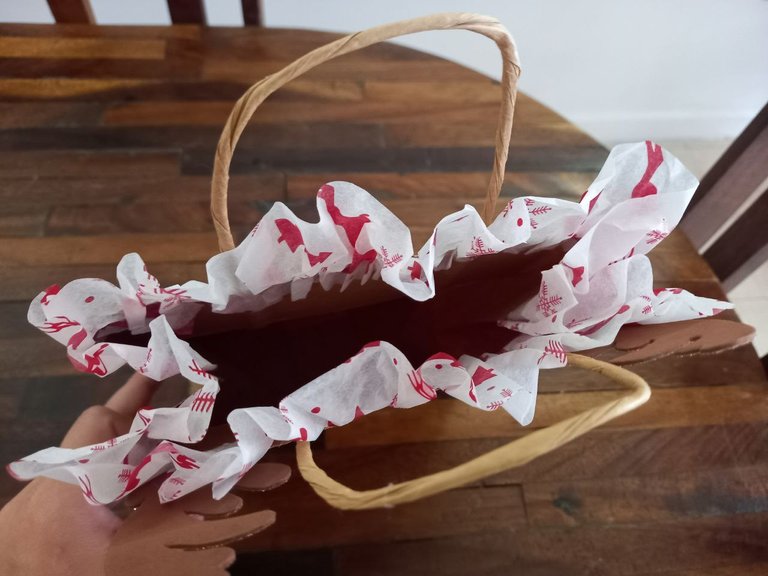
➮ PASO 2. Recorté una tira de papel de seda con estampado navideño de al menos unos 5 cm de ancho y con este decoré toda la orilla superior de la bolsa de papel arruchándolo un poco para darle un mejor aspecto.
➮ STEP 2. I cut out a strip of tissue paper with a Christmas print at least 5 cm wide and with this I decorated the entire upper edge of the paper bag, crumpling it a little to give it a better appearance.
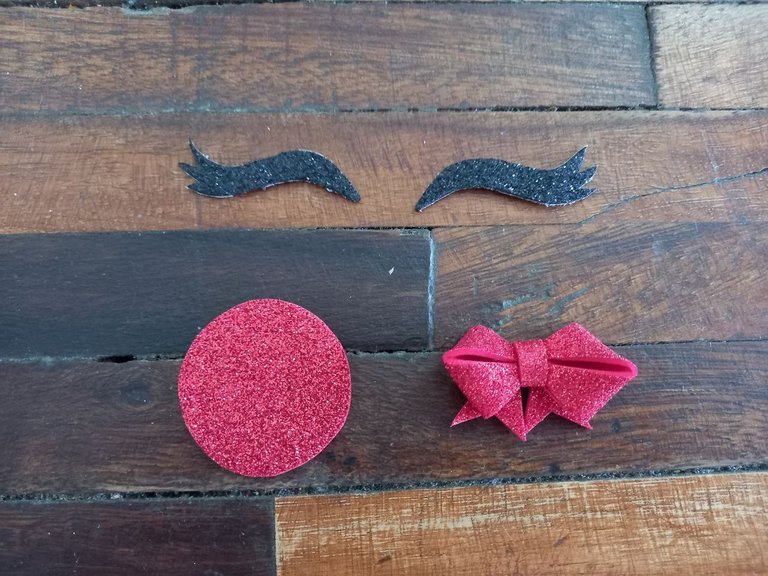
➮ PASO 3. Hice los ojos en foami escarchado negro y foami escarchado rojo hice un lazo (aquí el tutorial) y un circulo para usar como la nariz del reno, luego pegué todas estas piezas en la parte frontal de la bolsa situando la nariz en el centro, los ojos sobre la nariz (dejando una distancia prudente) y el lazo lo pegué en el centro de la parte inferior.
➮ STEP 3. I made the eyes in black frosted foam and red frosted foam, I made a bow (tutorial here) and a circle to use as the reindeer's nose, then I glued all these pieces to the front of the bag placing the nose in the center, the eyes above the nose (leaving a safe distance) and I glued the bow in the center of the bottom.
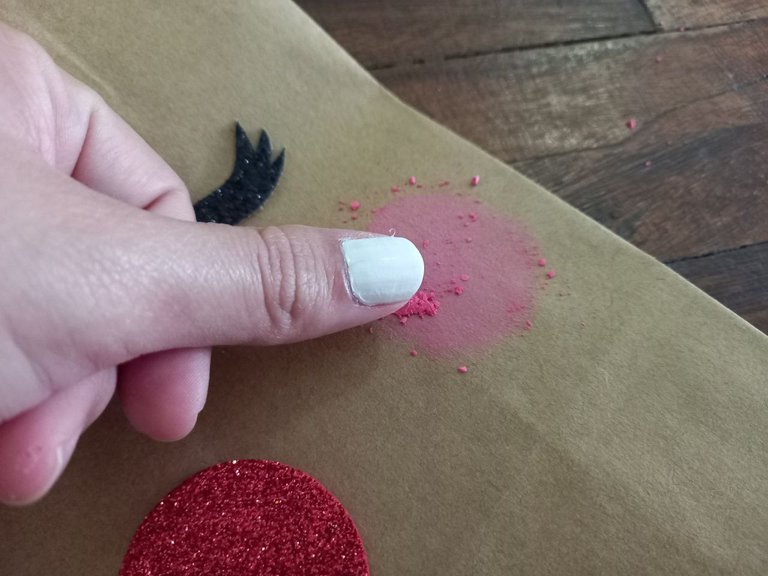
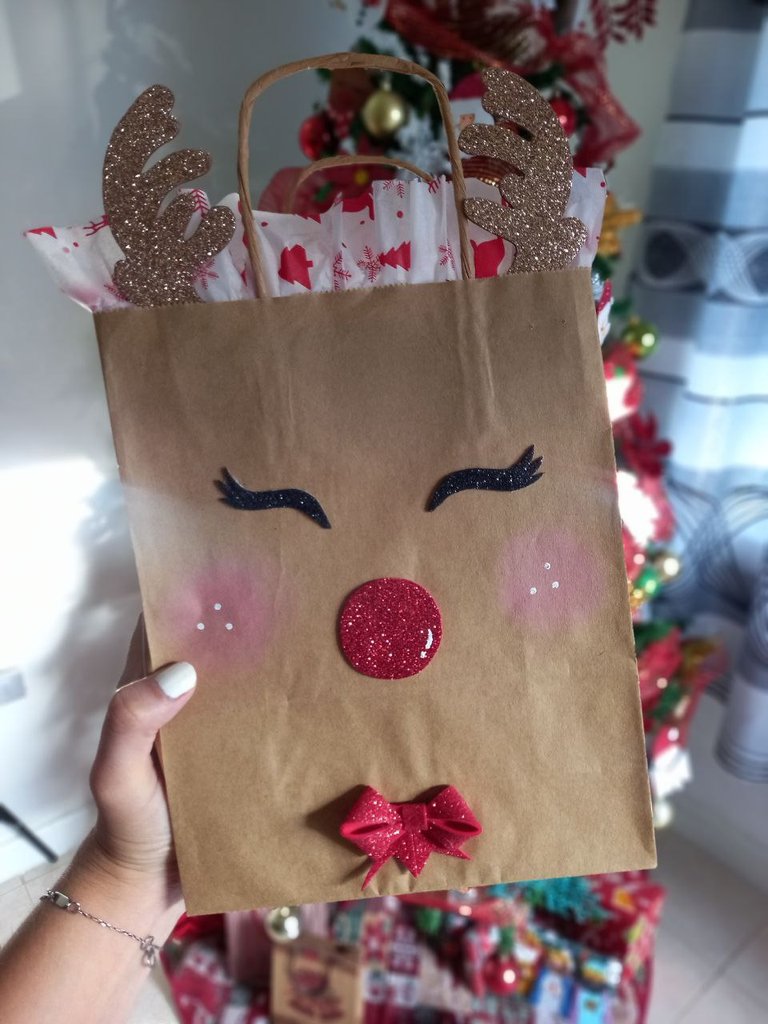
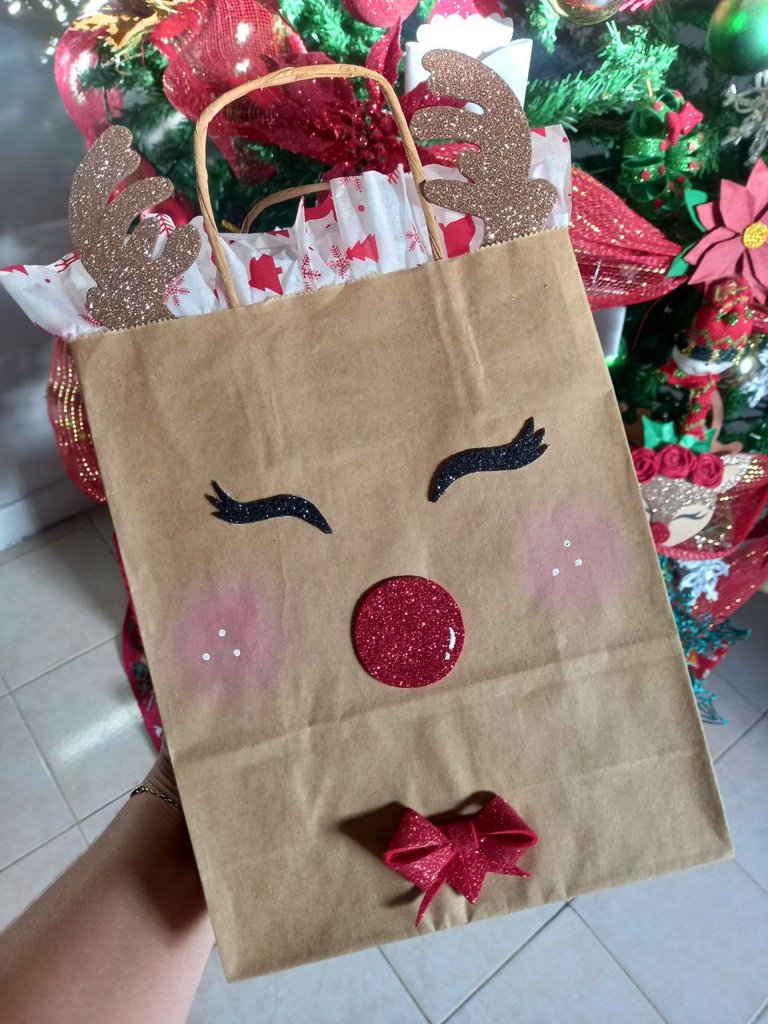
➮ PASO 4. Tomé un poco de rubor con mis dedos y lo apliqué sobre la bolsa de papel a los lados de la nariz para así formar las mejillas. Como último paso dibujé puntitos de pintura blanca en las mejillas y le hice un pequeño detalle a la nariz con la pintura finalizando así la elaboración de la bolsa temática.
➮ STEP 4. I took a little blush with my fingers and applied it to the paper bag on the sides of the nose to form the cheeks. As a last step, I drew dots of white paint on the cheeks and made a small detail on the nose with the paint, thus finishing the creation of the themed bag.

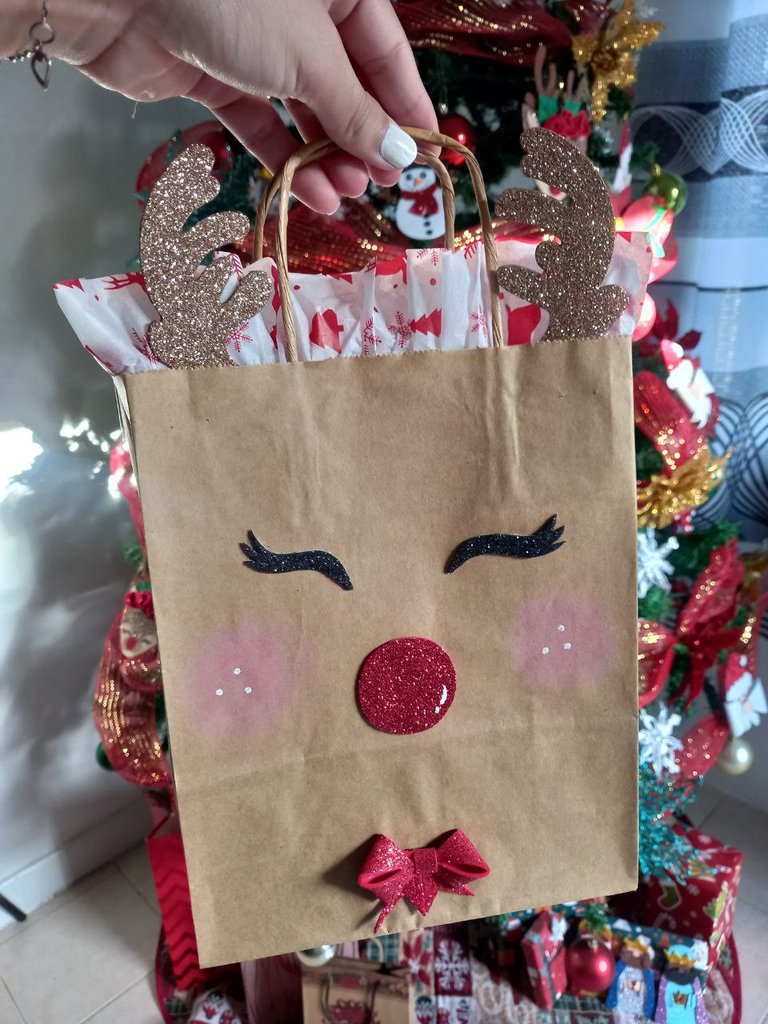
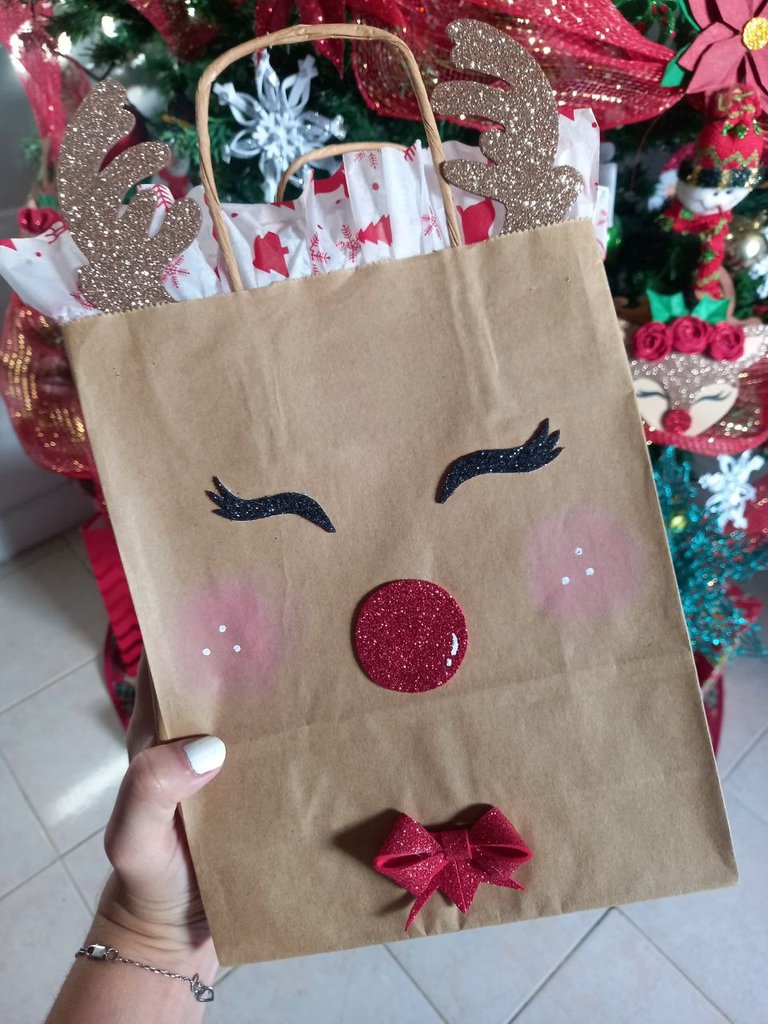
¡Y listo! De esta manera tan sencilla fue como decoré esta bolsita con temática de reno, pasando de ser una simple bolsa de papel kraft a una bolsa navideña ideal para dar los regalos en esa época tan linda, especialmente para los niños ya que su diseño es muy llamativo. Aunque Amaya aún está muy pequeña y no entiende ni siquiera el significado de la navidad ni de los regalos no queríamos dejar de participar en su primera navidad y no se me ocurrió mejor forma de hacerle su regalo que con esta linda bolsita personalizada especialmente para ella, espero que se la puedan conservar y estoy segura de que cuando sea más grande le gustará mucho. ¿Qué les pareció a ustedes? Gracias por pasar, espero que les haya gustado este tutorial, nos vemos pronto con una nueva idea creativa.
¡And ready! In this simple way, I decorated this reindeer-themed bag, going from being a simple kraft paper bag to a Christmas bag ideal for giving gifts during this beautiful time, especially for children since its design is very striking. . Although Amaya is still very little and does not even understand the meaning of Christmas or gifts, we did not want to stop participating in her first Christmas and I could not think of a better way to give her a gift than with this beautiful personalized bag especially for her, I hope they can keep it for him and I'm sure that when he's older he'll like it a lot. What did you think? Thanks for stopping by, I hope you liked this tutorial, see you soon with a new creative idea.

Todas las fotografías son de mi propiedad.
Fotografías capturadas con mi Samsung Galaxy A12
Separador de texto elaborado en Canva.
Nos vemos en mi próxima publicación.
¡Tengan un feliz día!
All photographs are my property.
Photos captured with my Samsung Galaxy A12
Text separator made in Canva.
See you in my next post.
¡Have a happy day!