¡Hola amigos creativos de Hive Diy! Espero que se encuentren muy bien, hoy paso por acá a compartir con ustedes un nuevo tutorial navideño y se trata de la elaboración de una linda corona navideña con temática de Santa Claus, resulta que el año pasado quise hacer esta corona para decorar mi casa pero entre tantas cosas no me dio tiempo, aun así hice muchos adornos pero la corona quedo inconclusa, solo llegué a reunir los materiales y al no poder hacerla deje esa tarea para este año, hace unos días recordé esa corona y me puse manos a la obra, solo que ya no recordaba la idea que tenía hace un año atrás y tuve que idearme de nuevo como sería, luego de hacerlo y tener los materiales en mano finalmente pude hacerla y quedó hermosa, hoy les mostraré el procedimiento y espero que les guste, sin más que añadir, ¡vamos a crear!
¡Hello creative friends of Hive Diy! I hope you are feeling very well, today I am stopping by to share with you a new Christmas tutorial and it is about making a cute Christmas wreath with a Santa Claus theme. It turns out that last year I wanted to make this wreath to decorate my house but Among so many things I didn't have time, I still made many decorations but the crown was unfinished, I only managed to gather the materials and since I couldn't do it I left that task for this year, a few days ago I remembered that crown and I got to work , only that I no longer remembered the idea I had a year ago and I had to think again about what it would be like, after doing it and having the materials in hand I was finally able to make it and it turned out beautiful, today I will show you the procedure and I hope you like it, Without further ado, let's create!

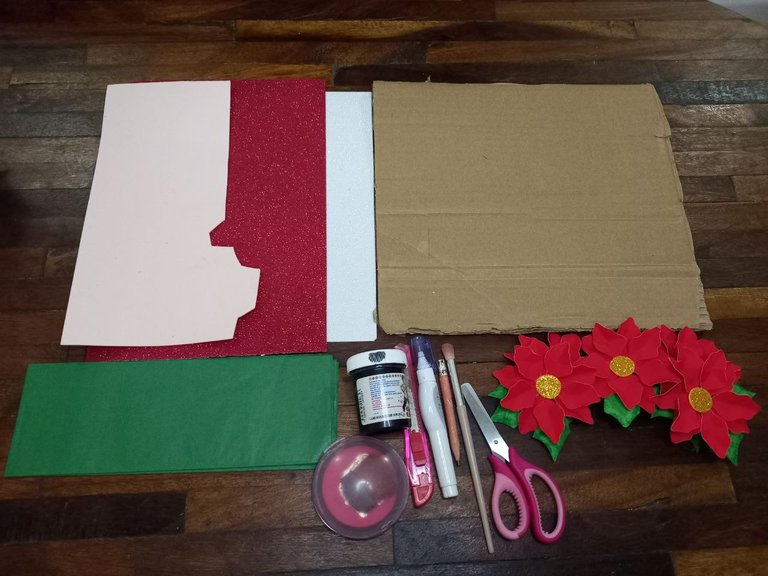
• Foami escarchado rojo y blanco.
• Pintura negra y blanca.
• Flores de pascua.
• Foami color piel.
• Cartón.
• Rubor.
• Pincel.
• Silicón.
• Lápiz.
• Tijera.
• Cutter.
• Red and white frosted foam.
• Black and white paint.
• Easter flowers.
• Skin-colored foami.
• Cardboard.
• Blush.
• Brush.
• Silicone.
• Pencil.
• Scissors.
• Cutter.

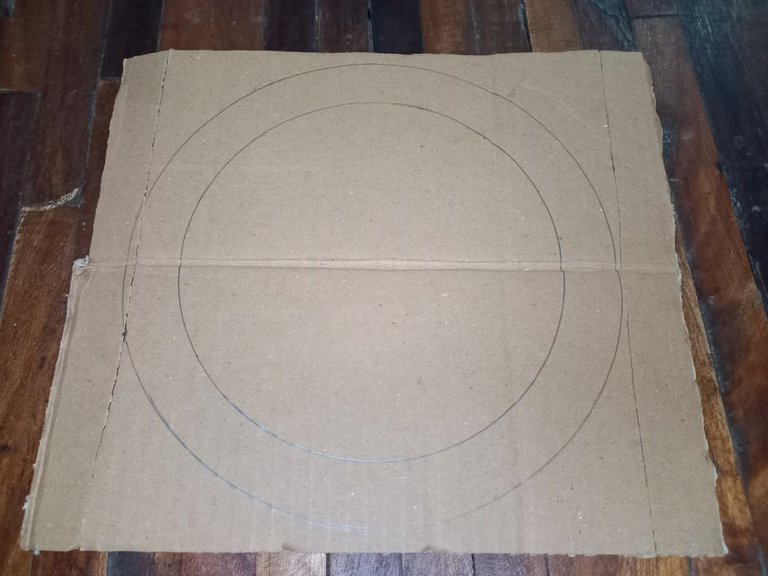
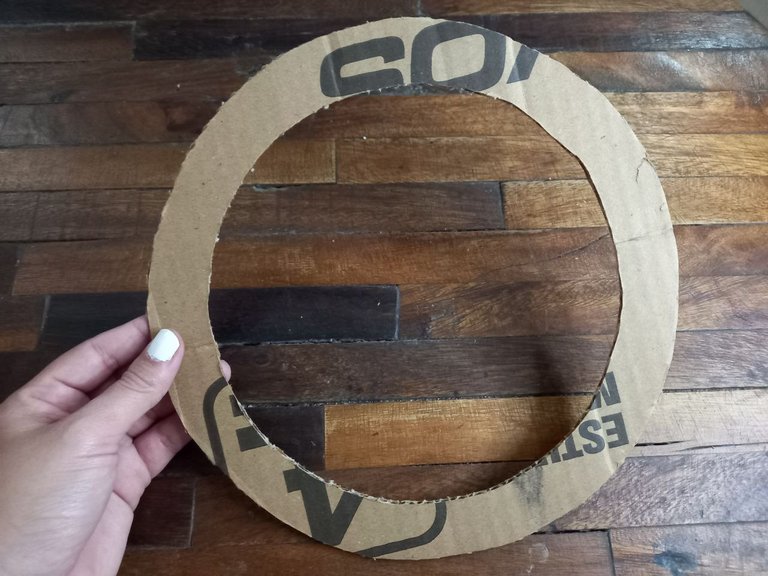
✨ PASO 1. Lo primero que hice fue dibujar un circulo en el cartón del tamaño que quería que fuera la corona navideña, luego con el cutter y la tijera recorté el cartón obteniendo mi base para la corona.
✨ STEP 1. The first thing I did was draw a circle on the cardboard the size I wanted the Christmas wreath to be, then with the cutter and scissors I cut out the cardboard obtaining my base for the wreath.

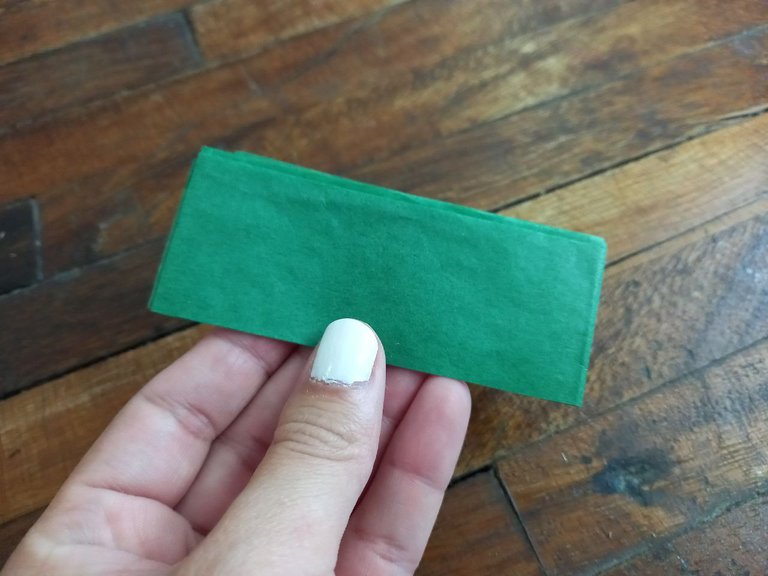
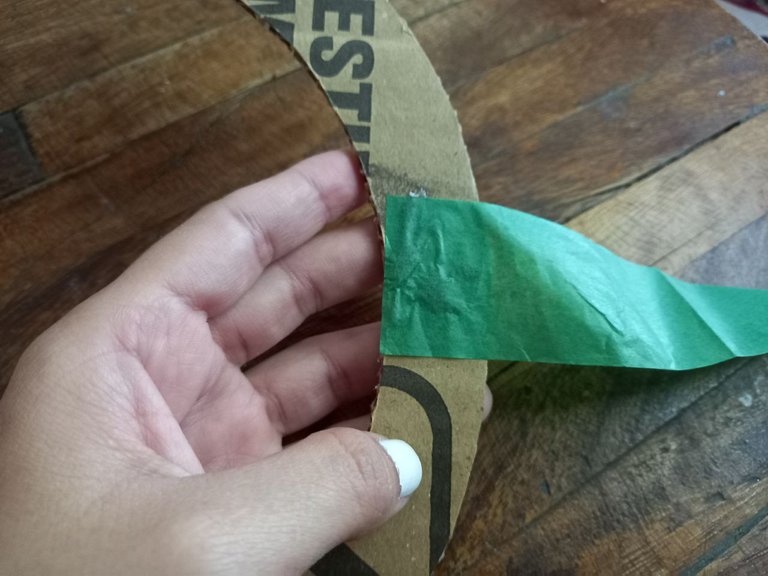
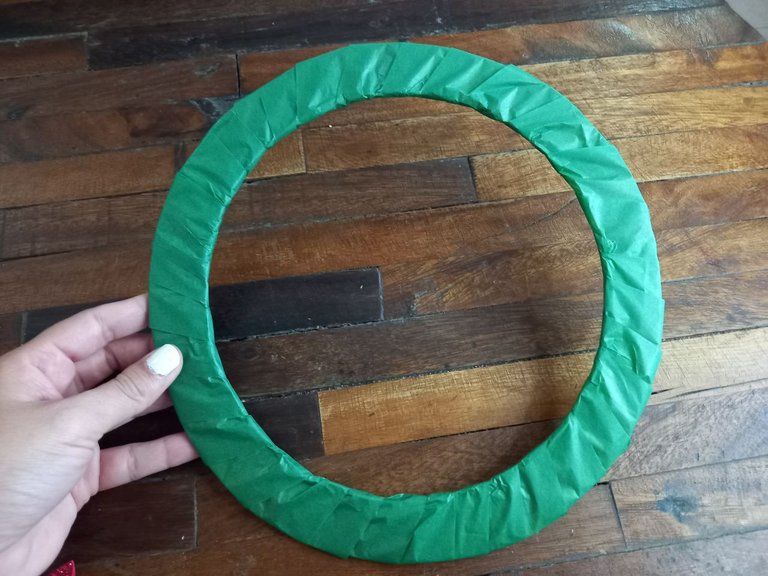
✨ PASO 2.Recorté una tira de papel de seda verde y con esta cubrí por completo toda la base de cartón.
✨ STEP 2.I cut out a strip of green tissue paper and with this I completely covered the entire cardboard base.
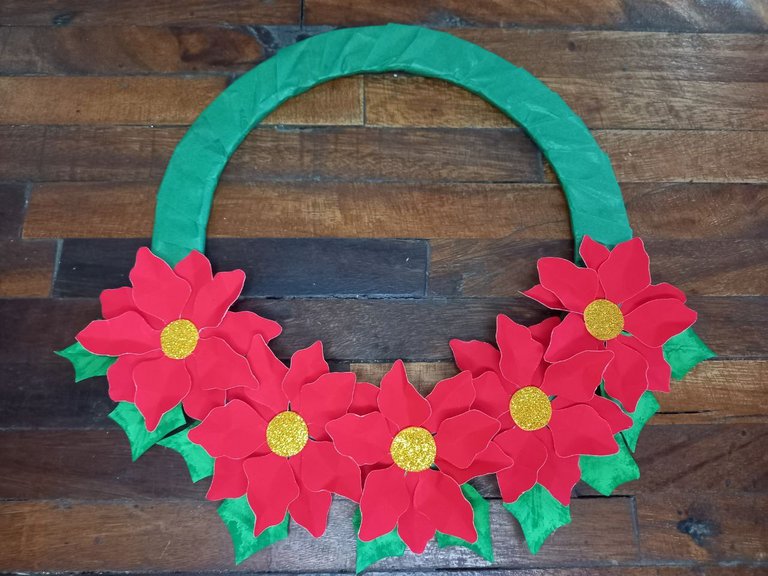
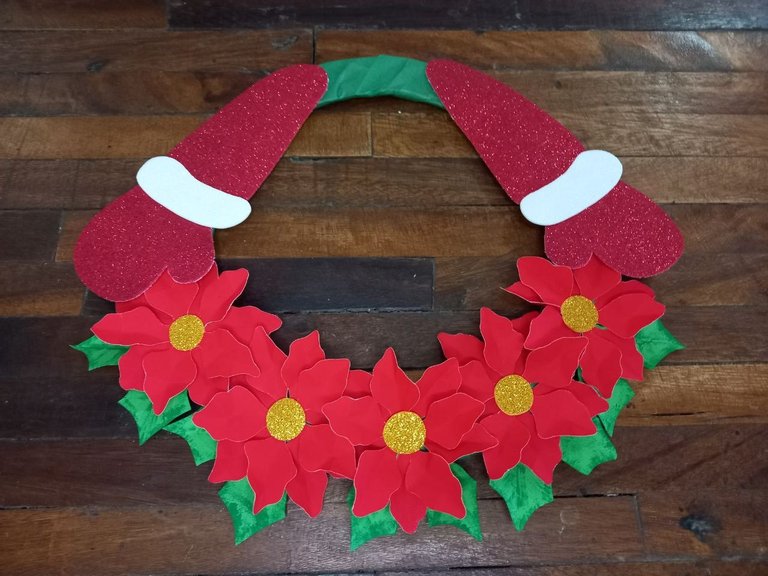
✨ PASO 3. Ya teniendo la base de la corona procedí a pegar en la parte inferior unas 5 flores de pascua de cartulina, dejando la parte superior libre para nuestro Santa Claus.
✨ STEP 3. Having the base of the crown, I proceeded to glue about 5 poinsettia flowers to the bottom of cardboard, leaving the top free for our Santa Claus.
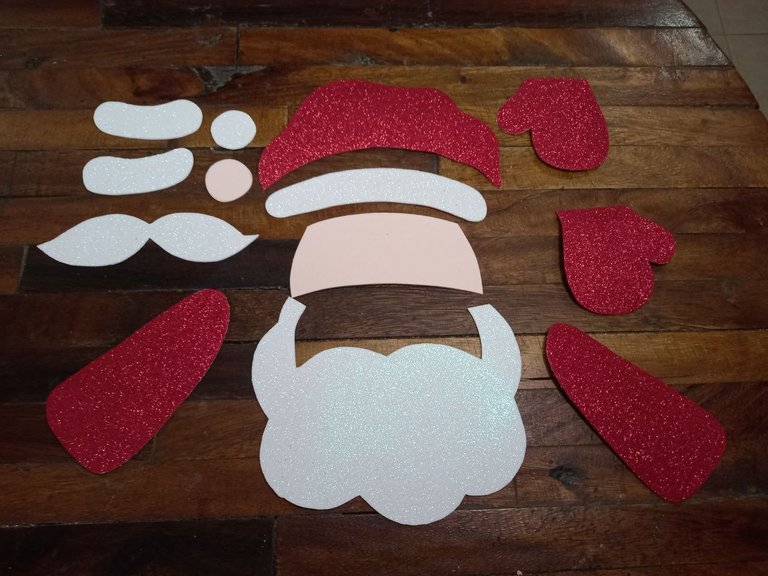
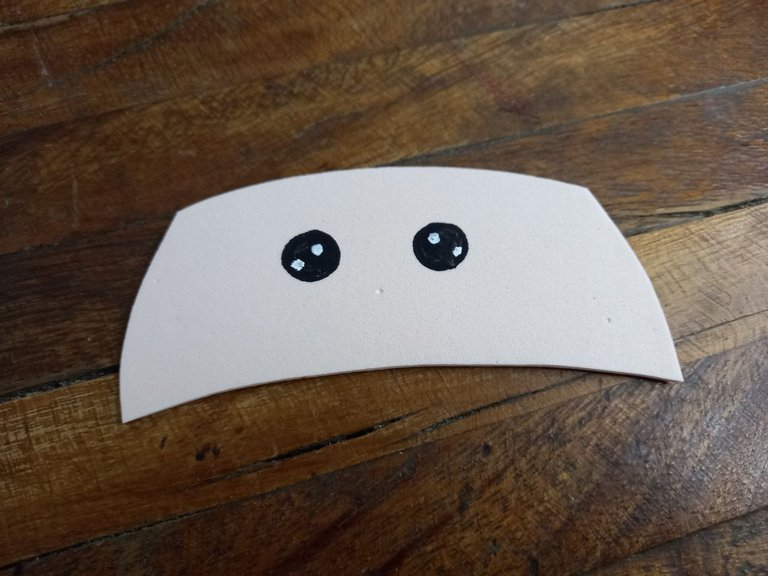
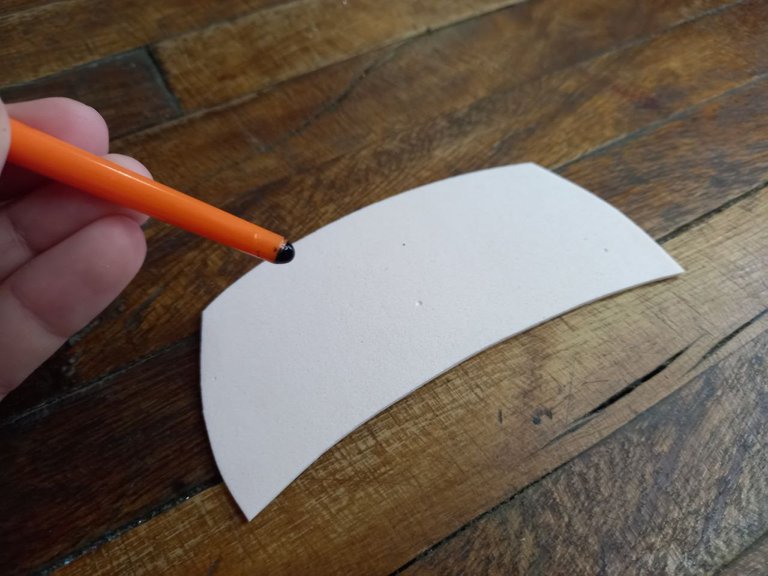
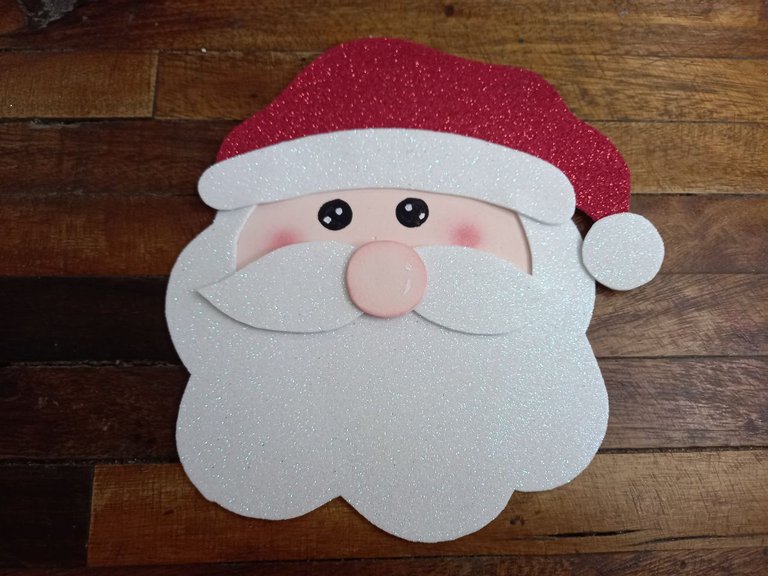
✨ PASO 4. Hice en foami las piezas del Santa Claus, cada una en su color correspondiente y recorté para luego unirlas comenzando por dibujar los ojos en la pieza del rostro, hice primero 2 círculos de pintar negra, dejé secar bien y luego le dibujé unos puntitos de color blanco, como detalle final tomé una pequeña brocha de maquillaje y le dibujé las mejillas con rubor, a su vez también apliqué rubor en el borde de la nariz para darle color.
✨ STEP 4. I made the Santa Claus pieces in foam, each one in its corresponding color and I cut them out and then joined them, starting by drawing the eyes on the face piece, first I made 2 circles of black paint, I let it dry well and then I drew some white dots, as a final detail I took a small makeup brush and drew the cheeks with blush, at the same time I also applied blush on the edge of the nose to give it color.

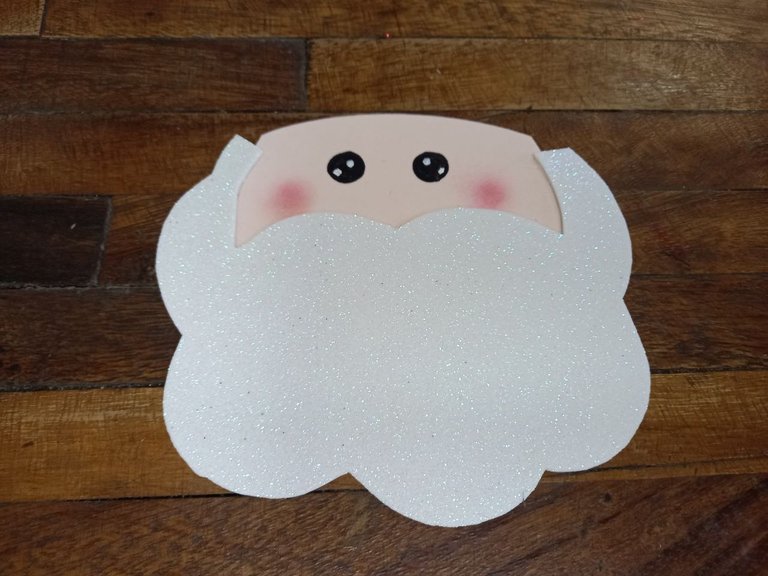
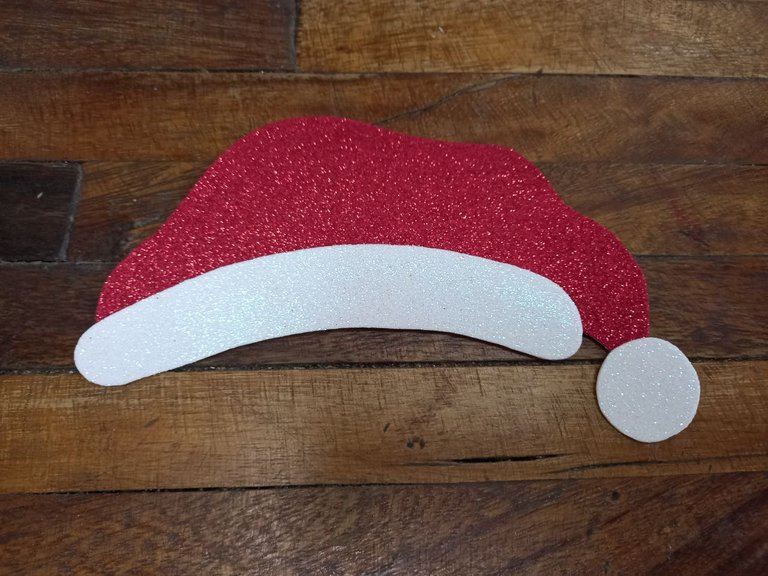
✨ PASO 5. Pegué la barba sobre el rostro, uní las piezas para formar el gorro de Santa y lo pegué en la parte superior del rostro, seguidamente pegué el bigote sobre la barba y justo en el centro de este pegué la nariz.
✨ STEP 5. I glued the beard on the face, joined the pieces to form the Santa hat and glued it on the upper part of the face, then I glued the mustache on the beard and right in the center of it I glued the nose.
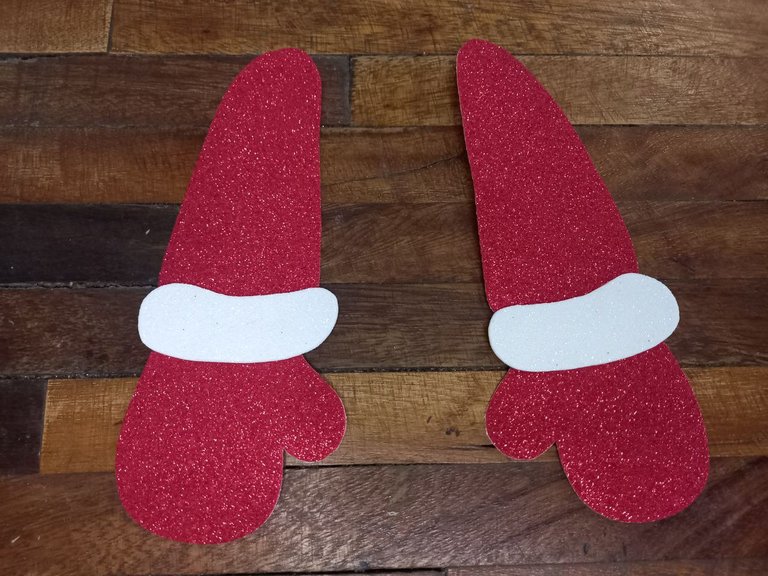
✨ PASO 6. Las últimas piezas en unir fueron las de los brazos y una vez que los formé pegué cada uno a un lado de la base de la corona y sobre las flores de pascua.
✨ STEP 6. The last pieces to join were the arms and once I formed them I glued each one to one side of the base of the crown and on the poinsettias.
✨ PASO 7. Por ultimo pegué el rostro de Santa Claus en la parte superior de la base de la corona cubriendo los extremos de los brazos.
✨ STEP 7. Finally I glued Santa Claus's face to the top of the base of the crown, covering the ends of the arms.
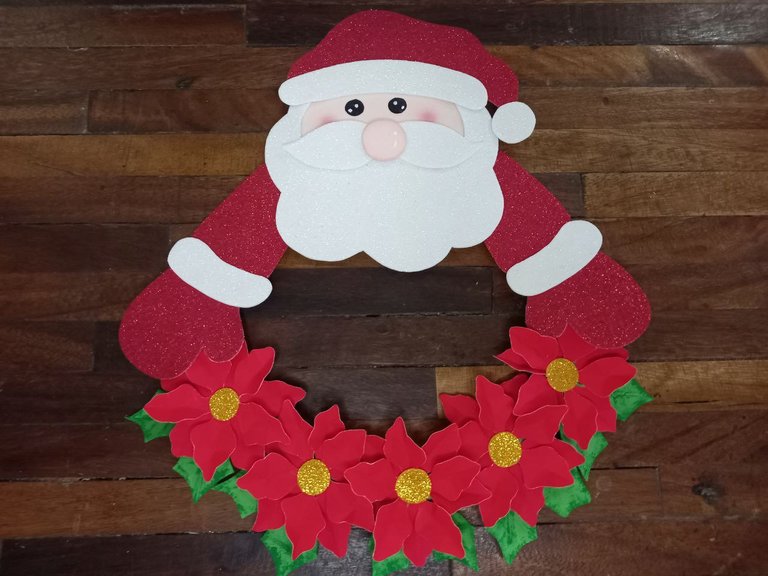
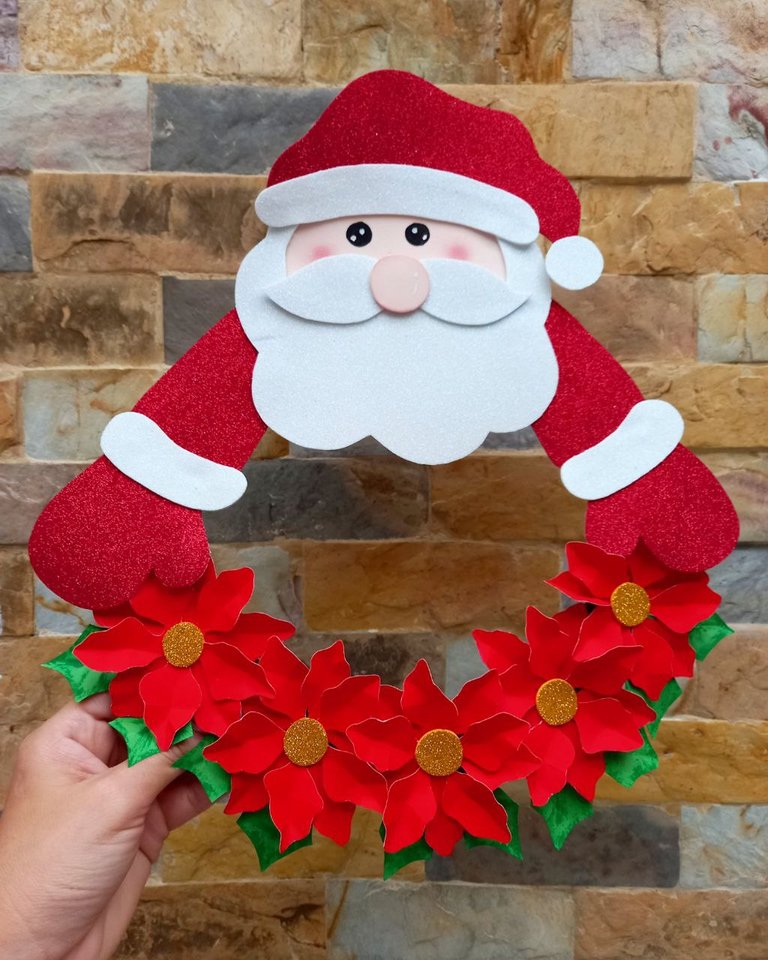
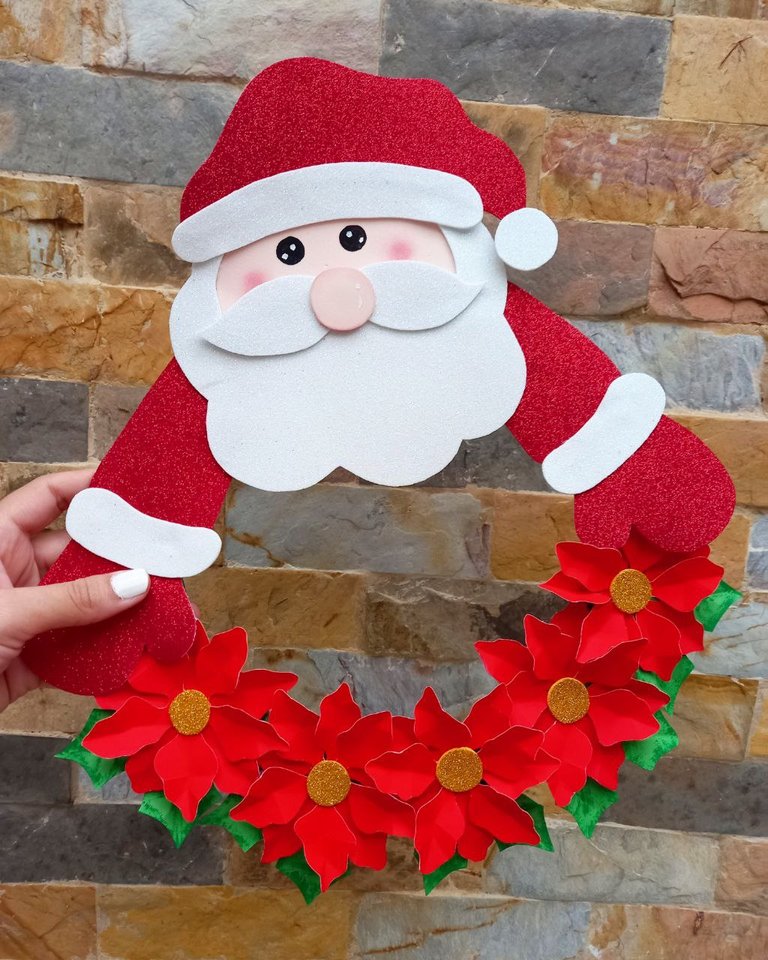
¡Y listo! De esta manera tan sencilla fue como elaboré esta linda corona navideña con flores de pascua y la figura de Santa Claus, la verdad tenía muchas ideas en mente de cómo hacer esta corona y esta fue la que más me agradó y ahora que está realizada me encanta, ahora tengo un nuevo adorno para decorar mi sala y luce hermoso ¿Qué les pareció a ustedes? Espero que les haya gustado esta idea y mi tutorial les sirva de guía para hacer su propia corona navideña en casa.
¡And ready! In this simple way I made this beautiful Christmas wreath with poinsettias and the figure of Santa Claus, the truth is I had many ideas in mind on how to make this wreath and this was the one I liked the most and now that it is made I love it , now I have a new ornament to decorate my living room and it looks beautiful. What did you think? I hope you liked this idea and my tutorial serves as a guide to making your own Christmas wreath at home.


Todas las fotografías son de mi propiedad.
Fotografías capturadas con mi Samsung Galaxy A12
Separador de texto elaborado en Canva.
Nos vemos en mi próxima publicación.
¡Tengan un feliz día!
All photographs are my property.
Photos captured with my Samsung Galaxy A12
Text separator made in Canva.
See you in my next post.
¡Have a happy day!