[SPN-ENG]Lindo reloj de pared hechos con materiales de provecho/Nice wall clock made with useful materials

Hola mi querida y linda comunidad de HIVE espero que esten bien todos en esta ocacion les estaré mostrando en el tutorial como realizar un lindo reloj de para ideal para decorar su espacio y de una manera rápida y sencilla de una vez les comento que las fotos que ven en este tutorial son tomadas por mi y mi telefono solo para ustedes espero que les guste
Hello my dear and beautiful HIVE community, I hope everyone is doing well on this occasion, I will be showing you in the tutorial how to make a beautiful clock to decorate your space quickly and easily. come in this tutorial they are taken by me and my phone just for you I hope you like it
**MATERIALES
**
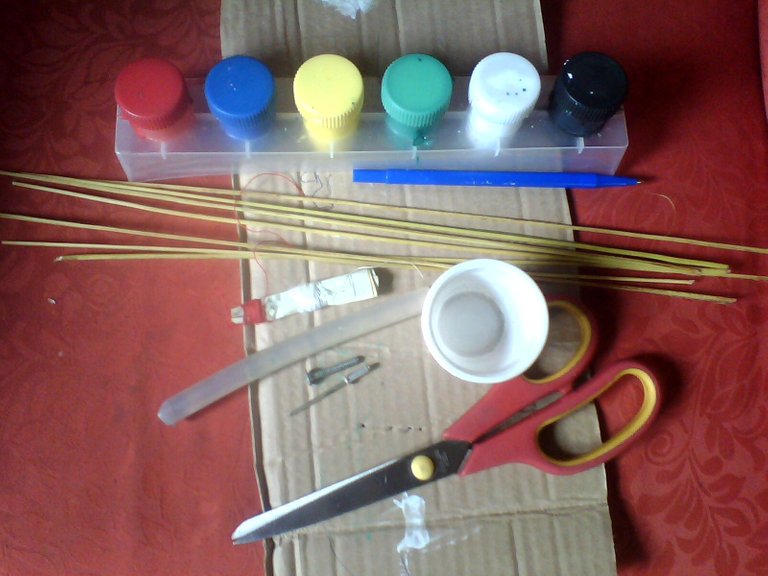
*varillas de coco
*pega
*carton
*tijera
*un clavo
*pintutas
*hilo
MATERIALS
- coconut rods
*job
*cardboard
*scissor
*a nail - paints
*thread
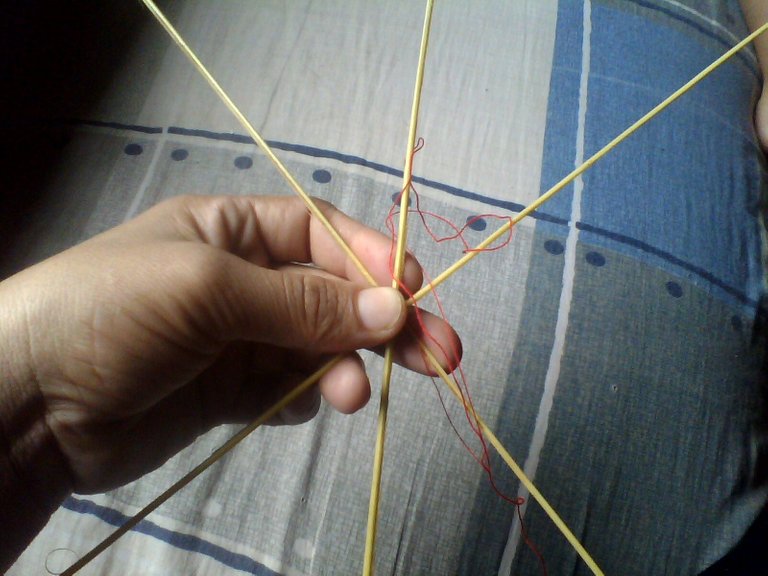
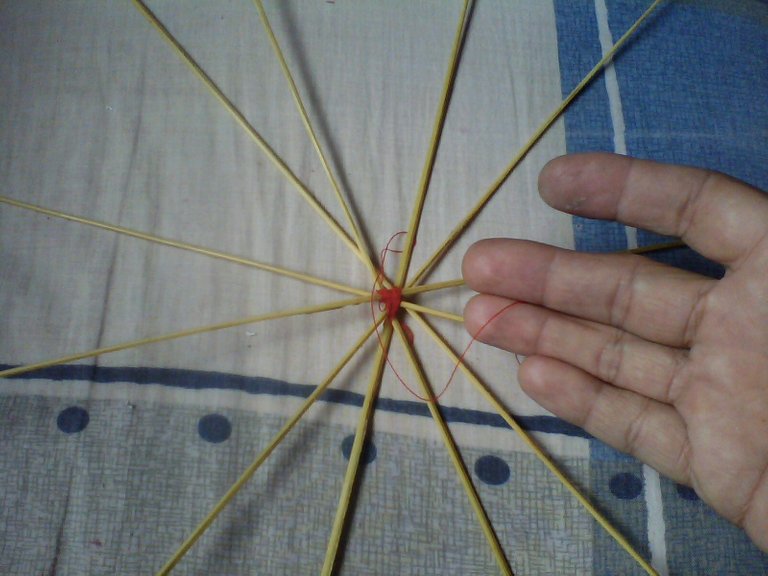
para comenzar a elaborar este lindo y practico reloj de pared debemos comenzar con agarrar el hilo y empezar amando las varillas de coco de la manera que se ve en el tuturial
To start making this cute and practical wall clock we must start with grabbing the thread and start loving the coconut rods the way it is seen in the tutorial
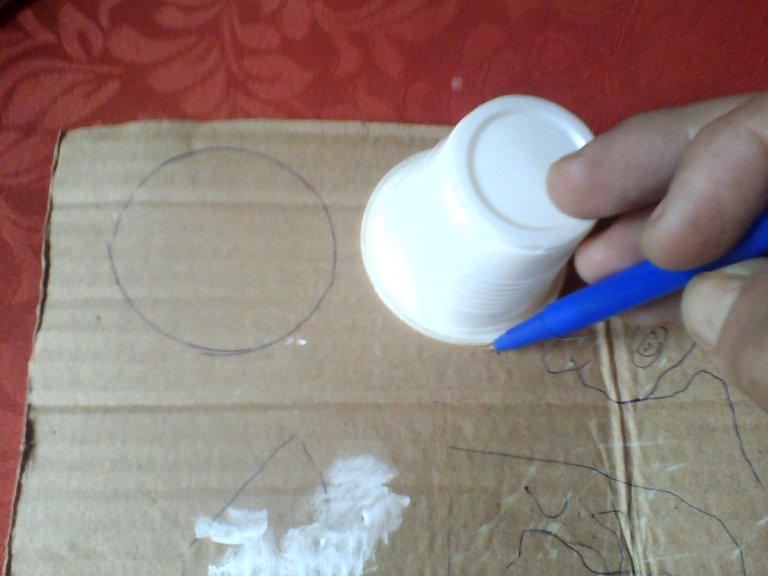
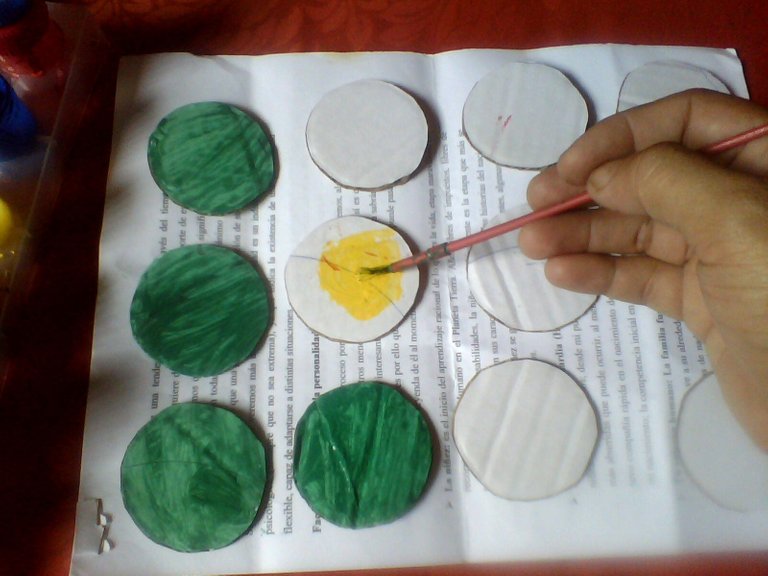
despues de este paso comenzamos a marcar en el carton todo lo que sera la parte de nuestro reloj como donde van los números hasta las agujas son de cartón y empezamos a recortar y pintar
After this step we begin to mark on the cardboard everything that will be the part of our clock as where the numbers go until the needles are made of cardboard and we begin to cut and paint

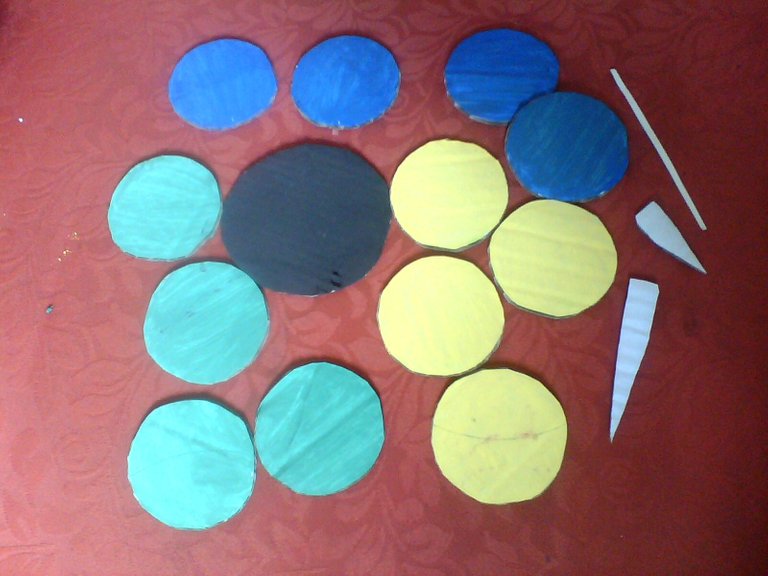
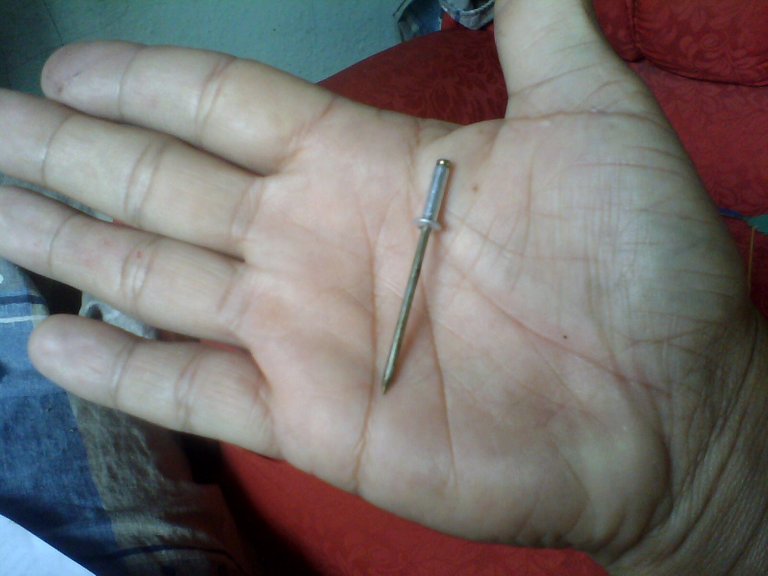
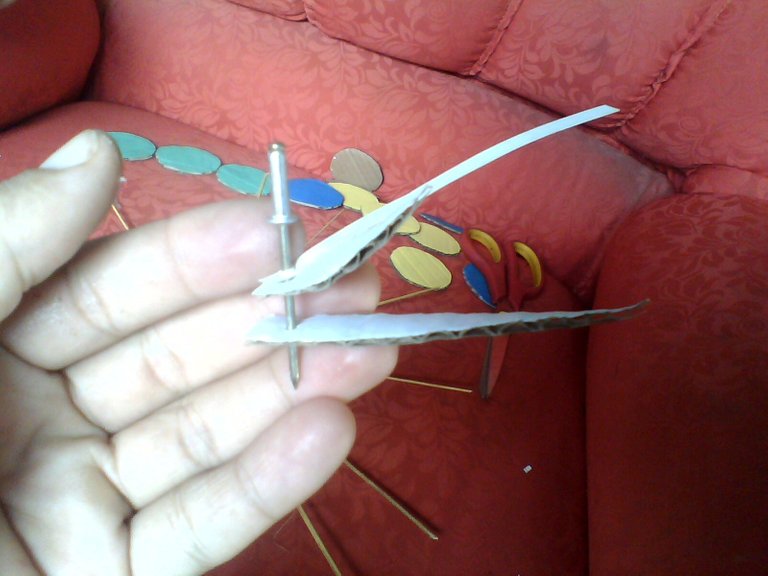
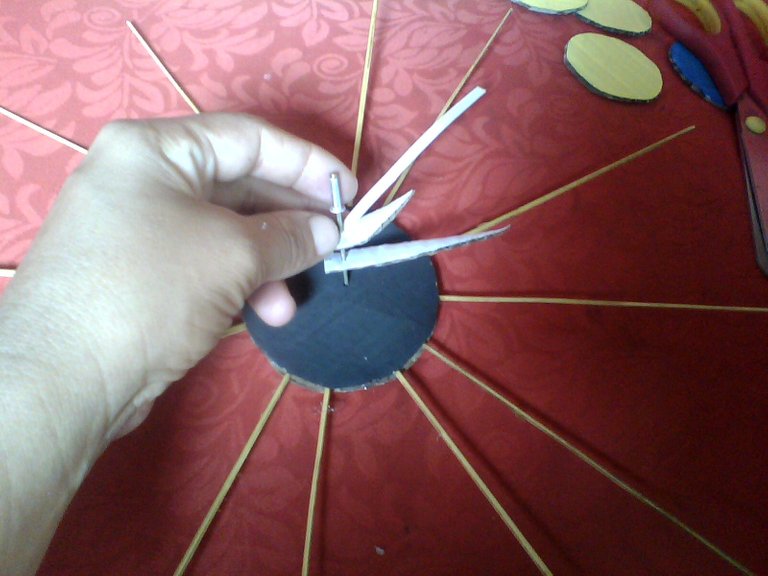
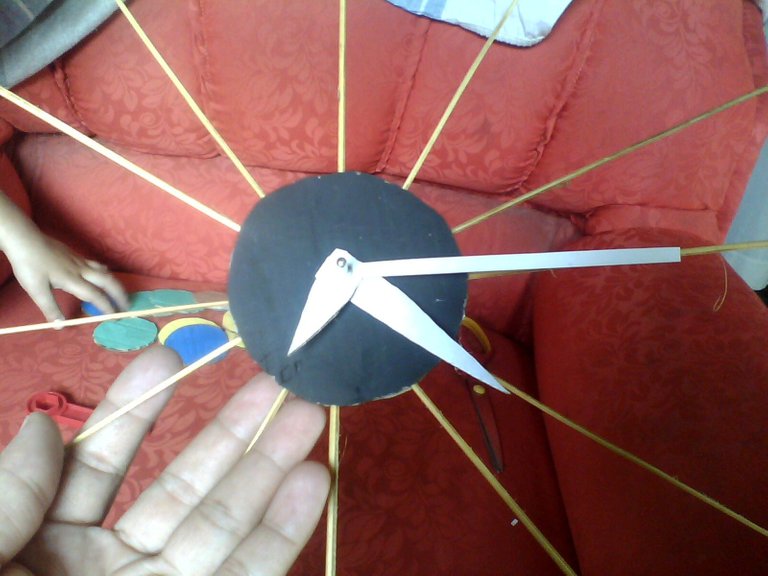
justo en este punto donde estan listos nuestros redondo y pintados del color que escogimos empezamos a armar nuestro reloj yo empece agarrando el clavo para colocar las agujas
just at this point where our round ones are ready and painted in the color we chose, we began to assemble our clock, I started by grabbing the nail to place the needles

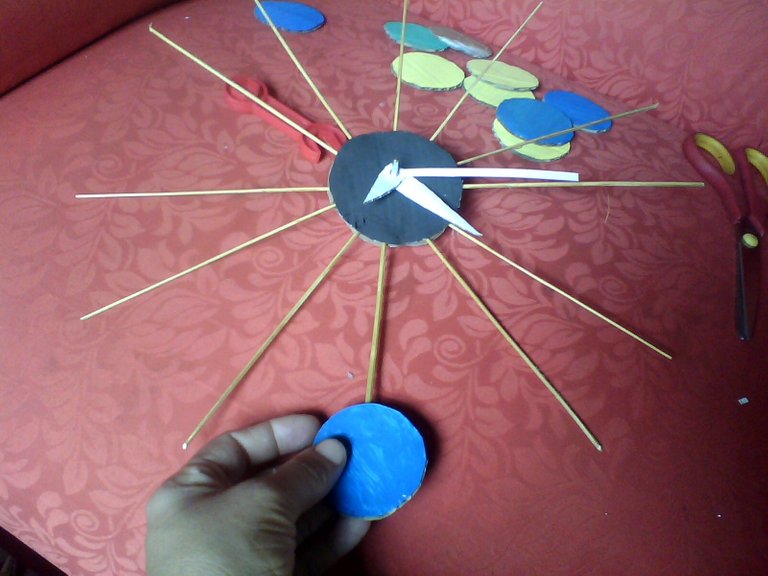
luego de esto comenzamos a pegar los redondos de colores que serán los que nos darán la hora y lo hacemos de esta manera
After this we begin to paste the colored rounds that will be the ones that will give us the time and we do it this way
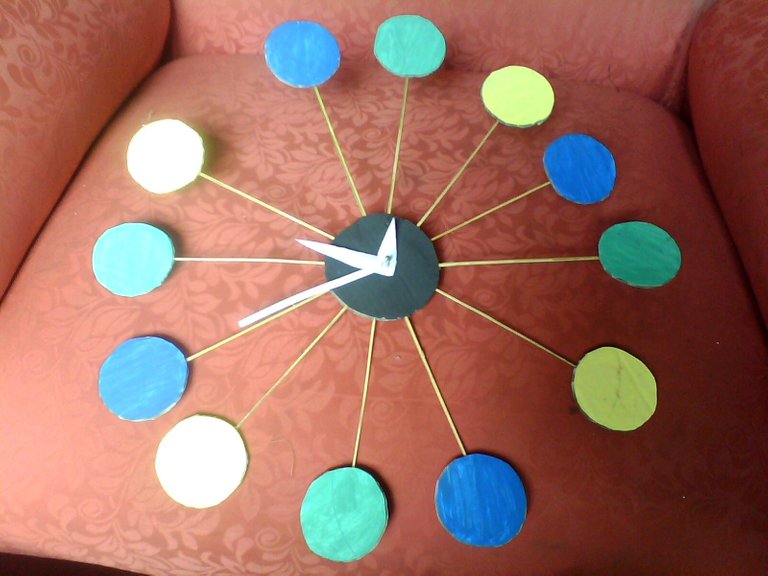
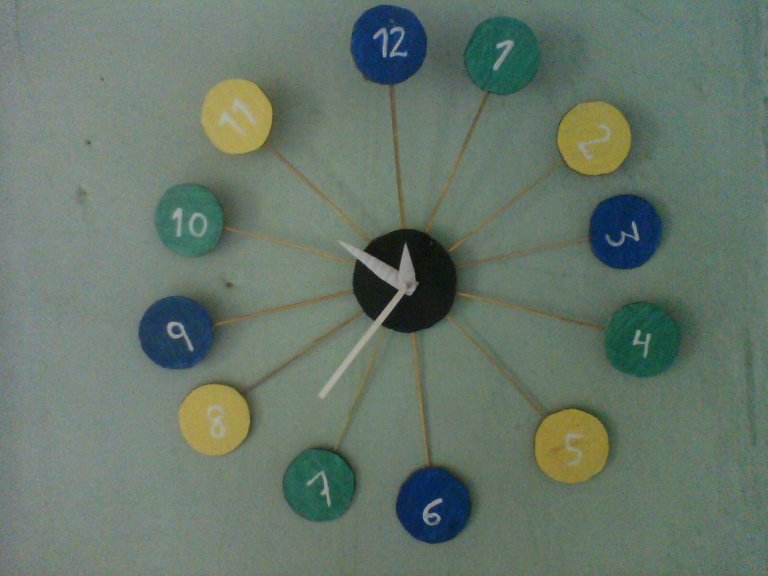
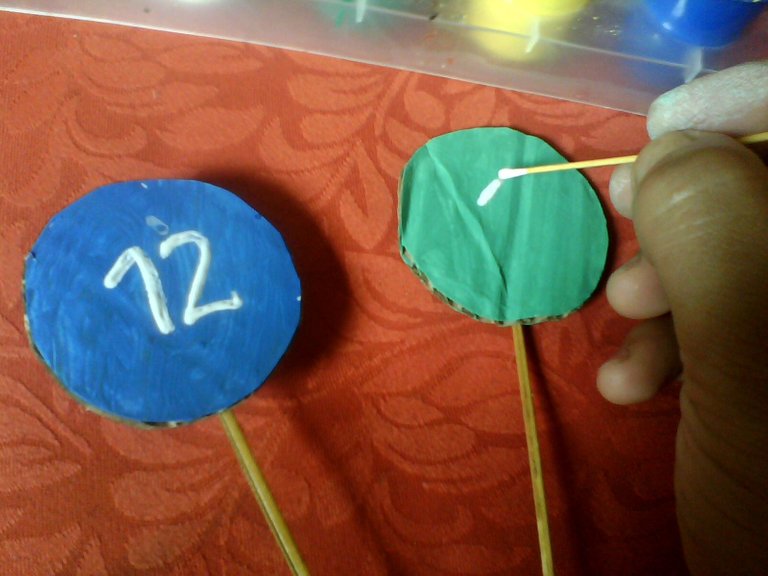
ya por ultimo comenzamos a colocar con pintura blanca los números y asi quedo
and finally we began to place the numbers with white paint and so it was
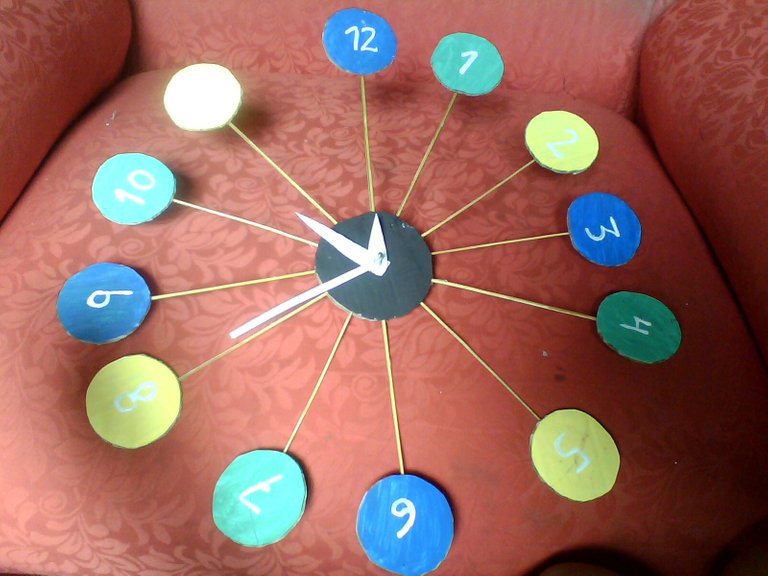
espero que les hayan gustado hasta la próxima muchas gracias por ver mi blog
I hope you liked them until next time thank you very much for watching my blog
***@mariaj131505 **


