Hey there, Hive!✨
¡Hola, Hive!✨
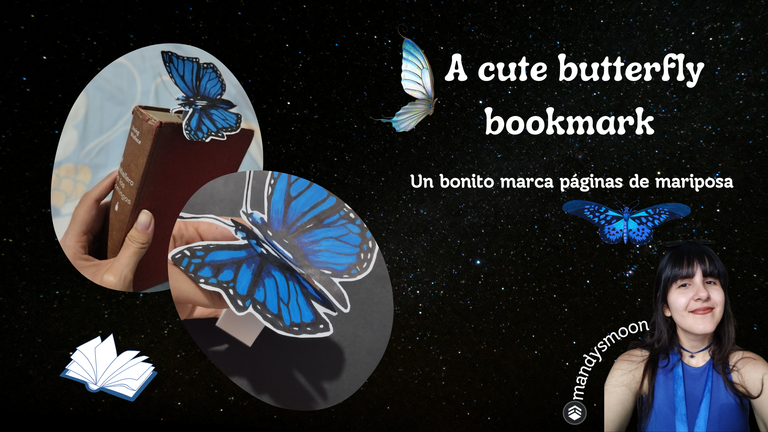
Vuelvo a esta bonita comunidad para traerles un DIY rápido y sencillo de hacer; un marca páginas de mariposa que honestamente pienso que quedó bastante bien y me tomó sólo unos veinte minutos en hacer. Así que acompáñame en este tutorial 🦋
I return to this beautiful community to bring you a quick and easy DIY to do; a butterfly bookmark that I honestly think turned out pretty well and only took me about twenty minutes to make. So join me in this tutorial 🦋

💙 Marcadores de colores
💙 Colores
💙 Lápiz
💙 Tijeras
💙 Regla
💙 Hoja de papel blanca o cartulina (según tu preferencia)
💙 Color markers
💙 Colors
💙 Pencil
💙 Scissors
💙 Rule
💙 White sheet of paper or cardboard (according to your preference)

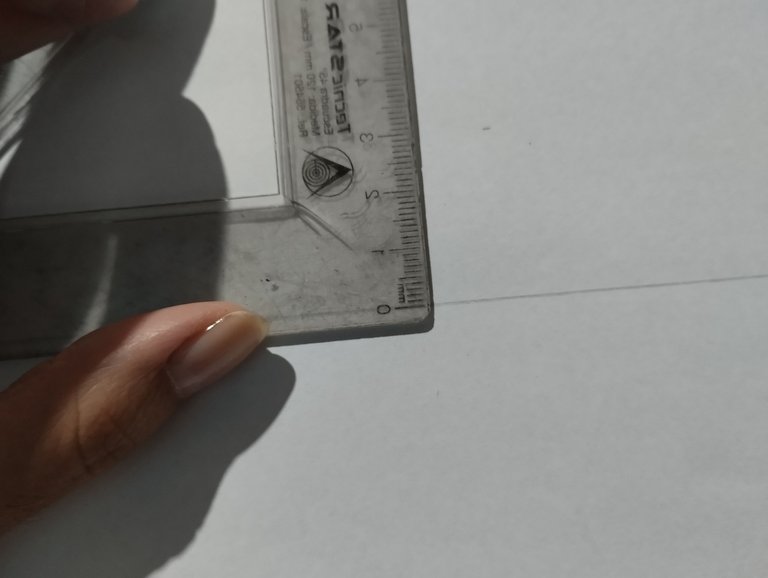
En primer lugar toma la hoja de papel o la cartulina colocándola de forma horizontal y con el lápiz dibuja una línea recta en el medio cruzando toda la hoja, pero dejando espacio en los extremos, al rededor de 3 a 4cm, dependiendo de qué tam grande deseas que sea la mariposa.
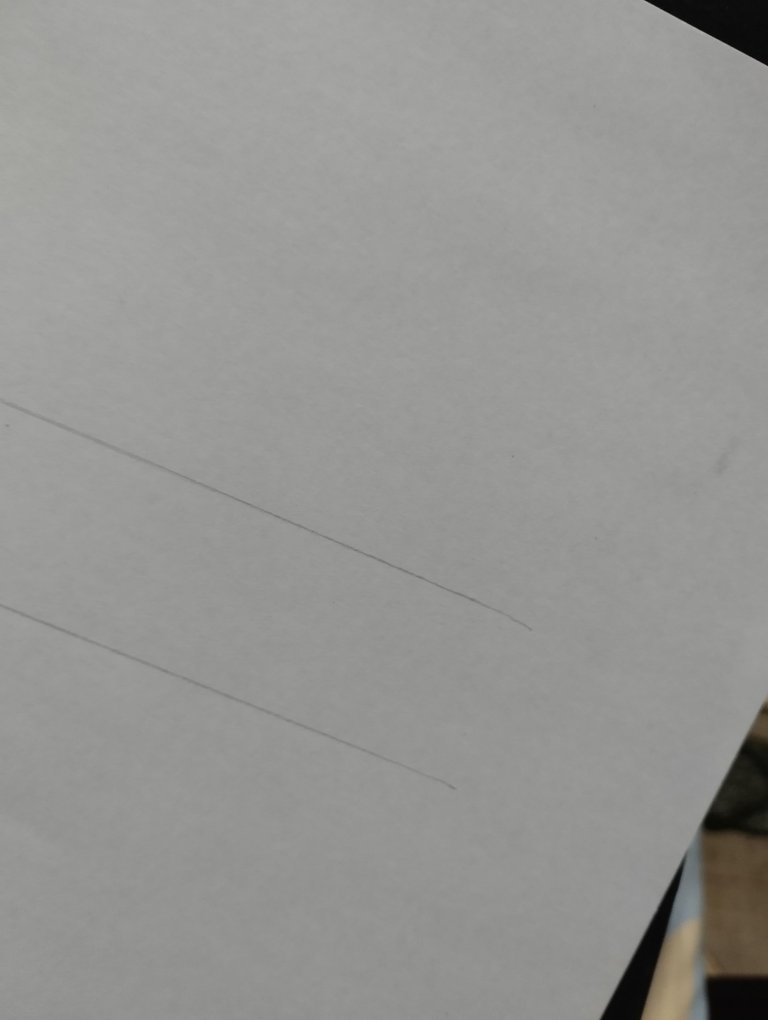
Después harás otra línea paralela para lograr una franja de 3cm de grosor. De esta forma:
First of all, take the sheet of paper or cardboard, placing it horizontally and with the pencil draw a straight line in the middle crossing the entire sheet, but leaving space at the ends around 3 to 4cm, depending on how big you want the butterfly to be.
Then you will make another parallel line to achieve a 3cm thick strip. Like this:
 |  |
|---|
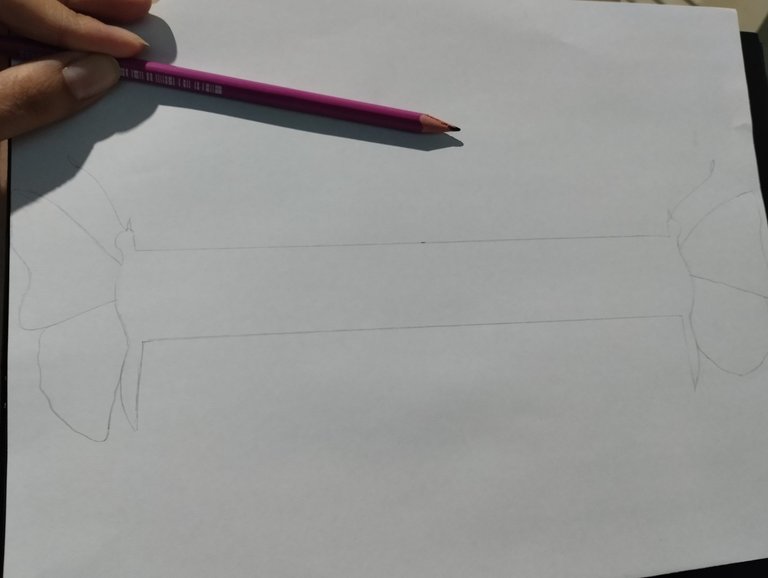
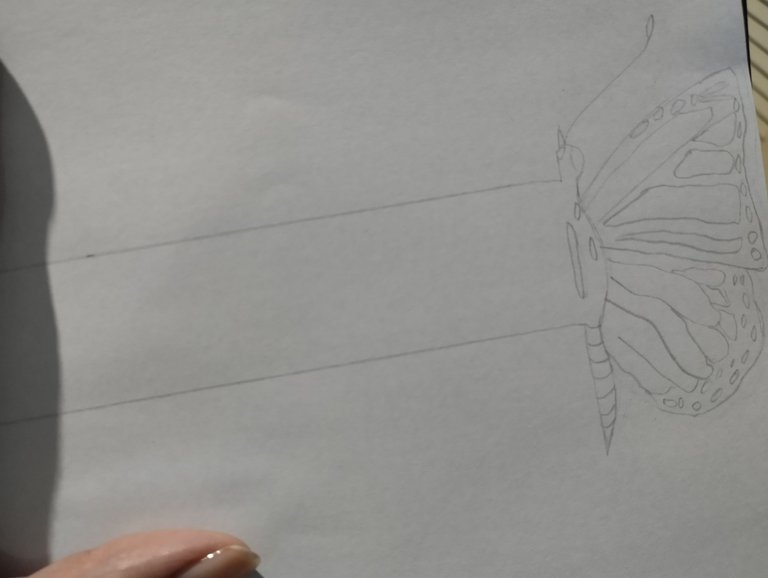
Ahora en cada extremo dibujarás la mitad derecha e izquierda de una mariposa respectivamente. Si deseas puedes buscar referencias para el dibujo. En mi caso quería una mariposa azul porque es mi color favorito, entonces dibujé el boceto
Now at each end you will draw the right and left half of a butterfly respectively. If you want you can look for references for the drawing. In my case I wanted a blue butterfly because it is my favorite color, so I drew the sketch
 |  |
|---|
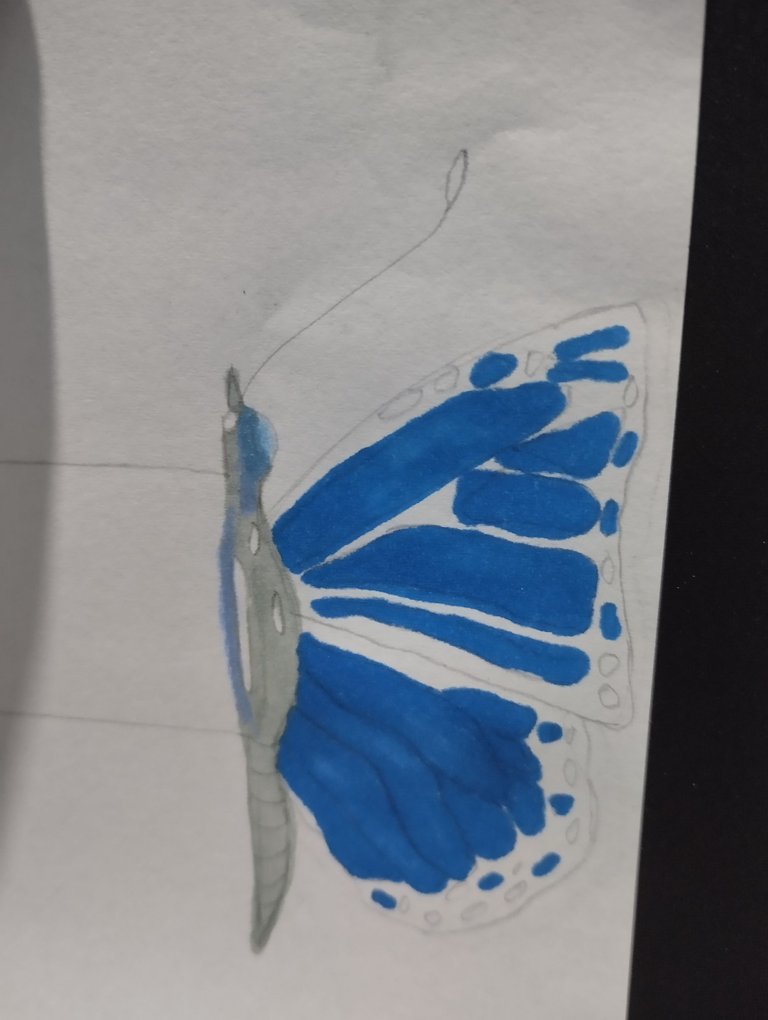
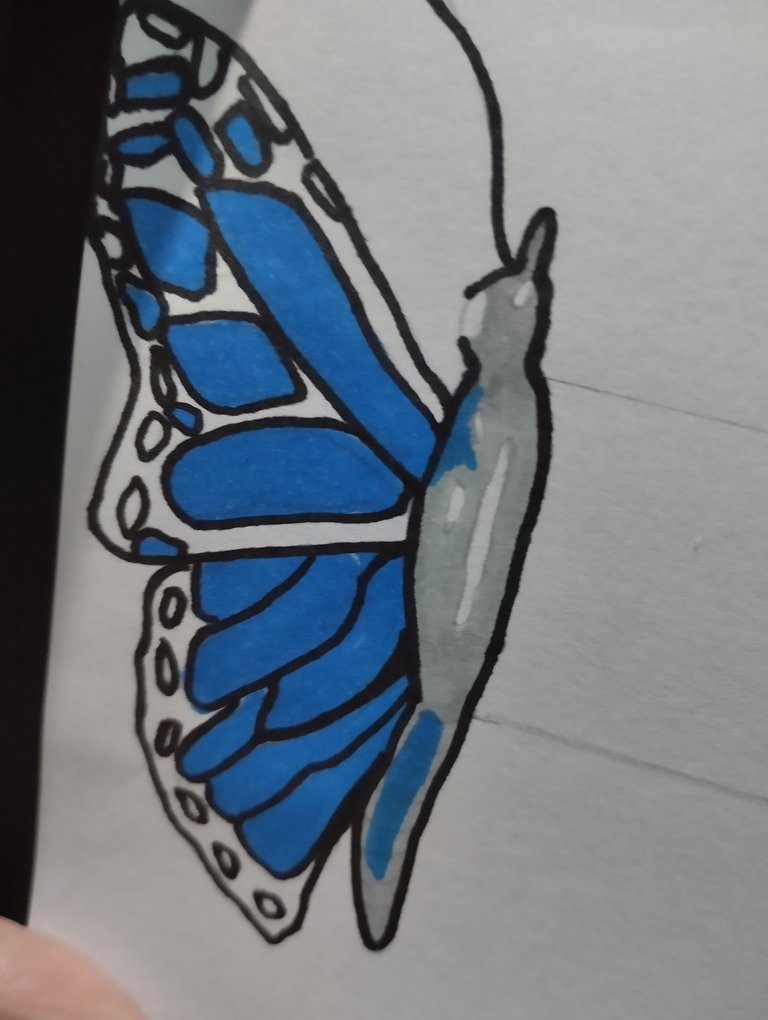
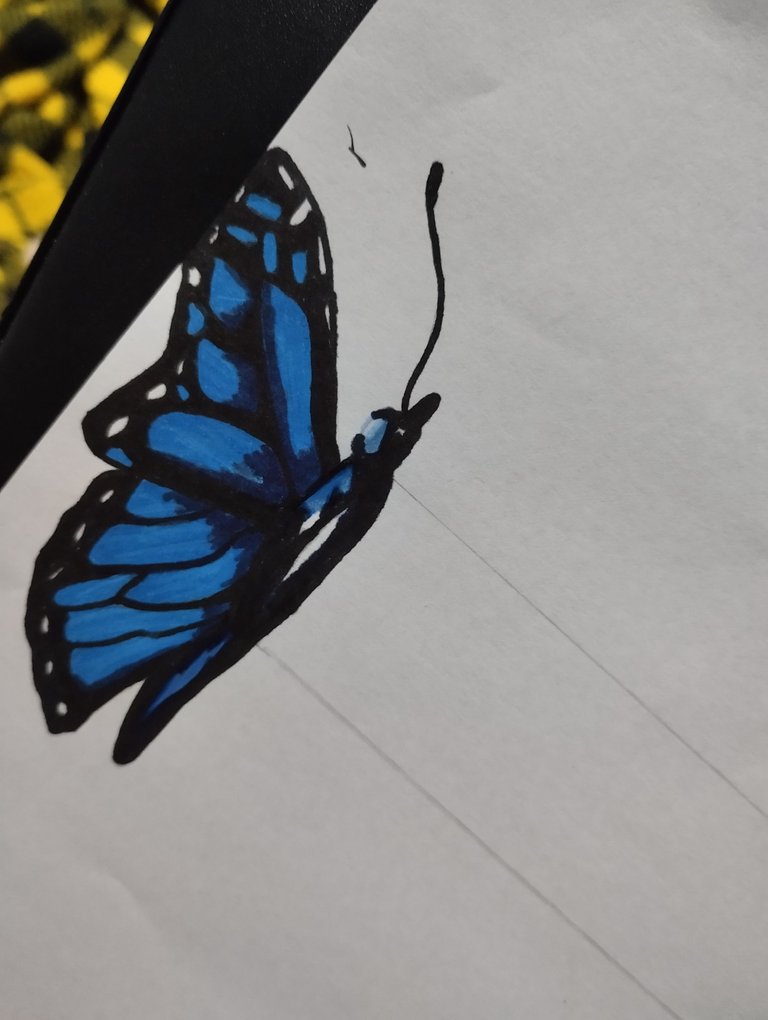
Ya con el boceto listo viene mi parte favorita, el color. Usé marcadores y colores con tonalidades distintas de azul, también el negro, gris y algo de lila. Esto queda completamente a tu creatividad ✨
With the sketch ready comes my favorite part, the color. I used markers and colors with different shades of blue, also black, gray and some lilac. This is completely up to your creativity ✨
 |  |  |
|---|
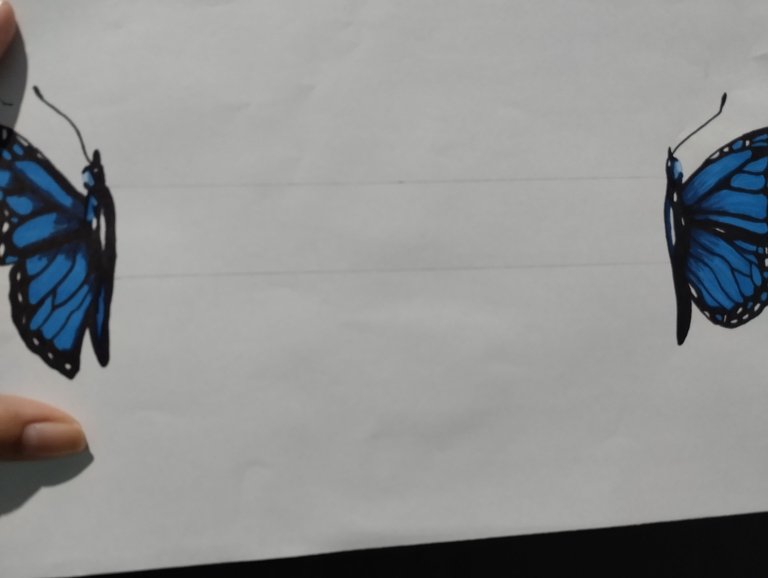
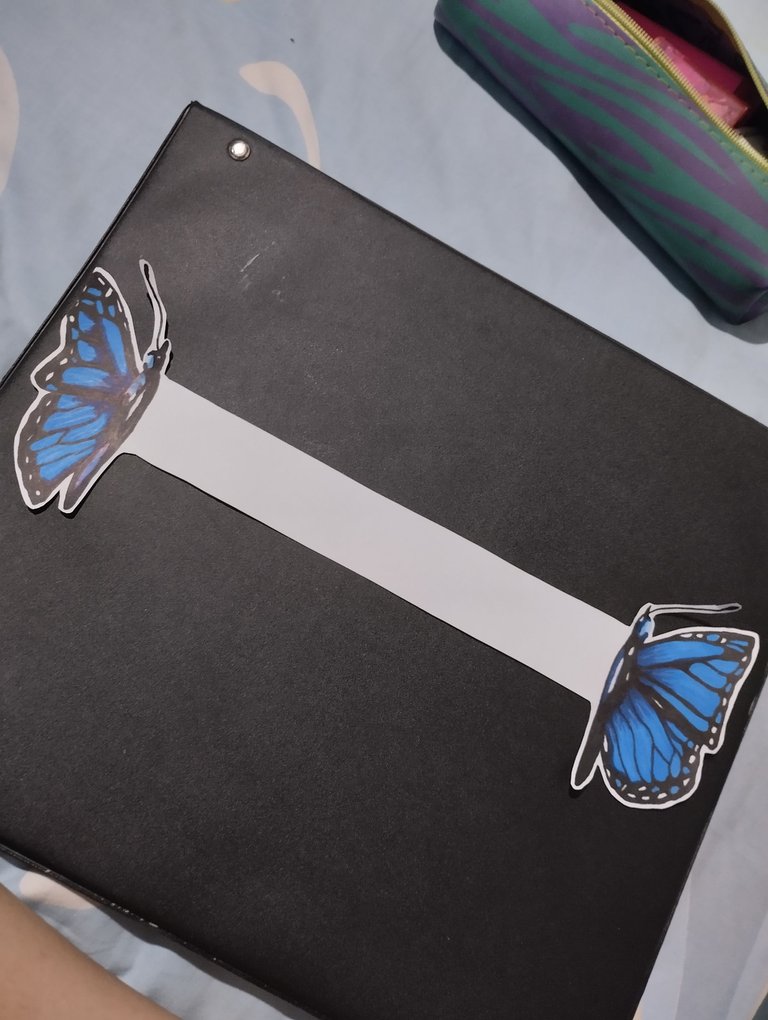
Una vez lista la linda mariposa, pasas a recortar todo el papel excedente. Yo quise mantener un delgado borde blanco, aunque en una parte dibujé la mariposa demasiado cerca del borde de la página así que quedó algo cortado 😅 pero igual me encantó cómo quedó
Once the cute butterfly is ready, you start cutting out all the excess paper. I wanted to keep a thin white border, although in one part I drew the butterfly too close to the edge of the page so it was a little cut off 😅 but I still loved how it turned out
 |  |
|---|
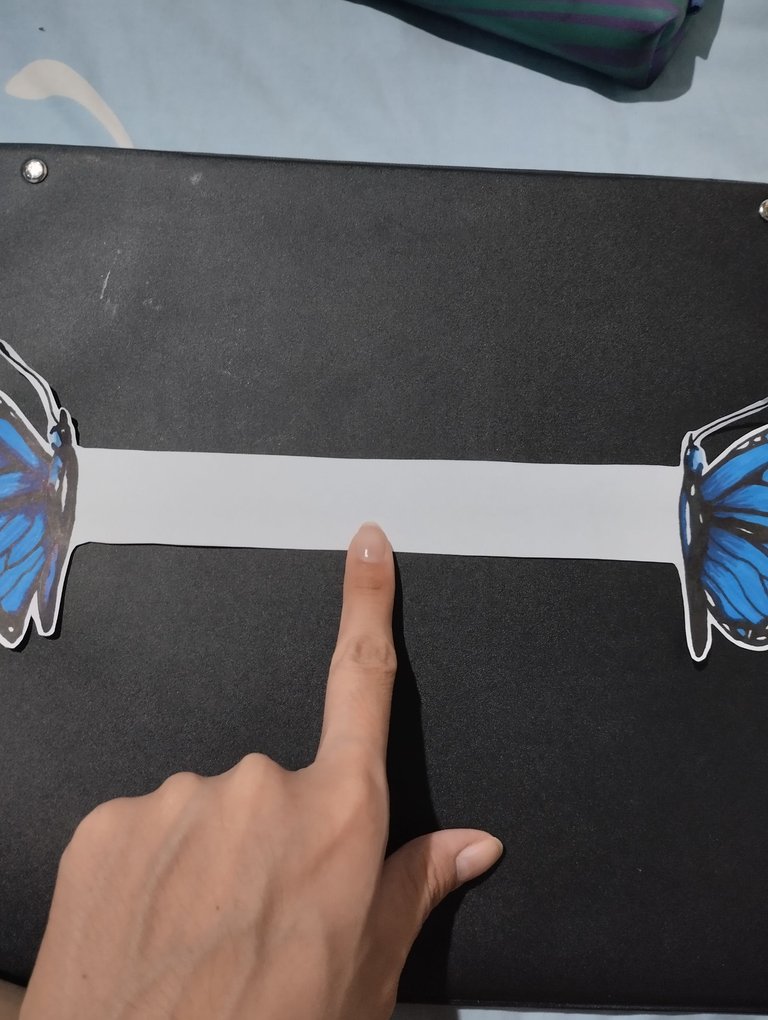
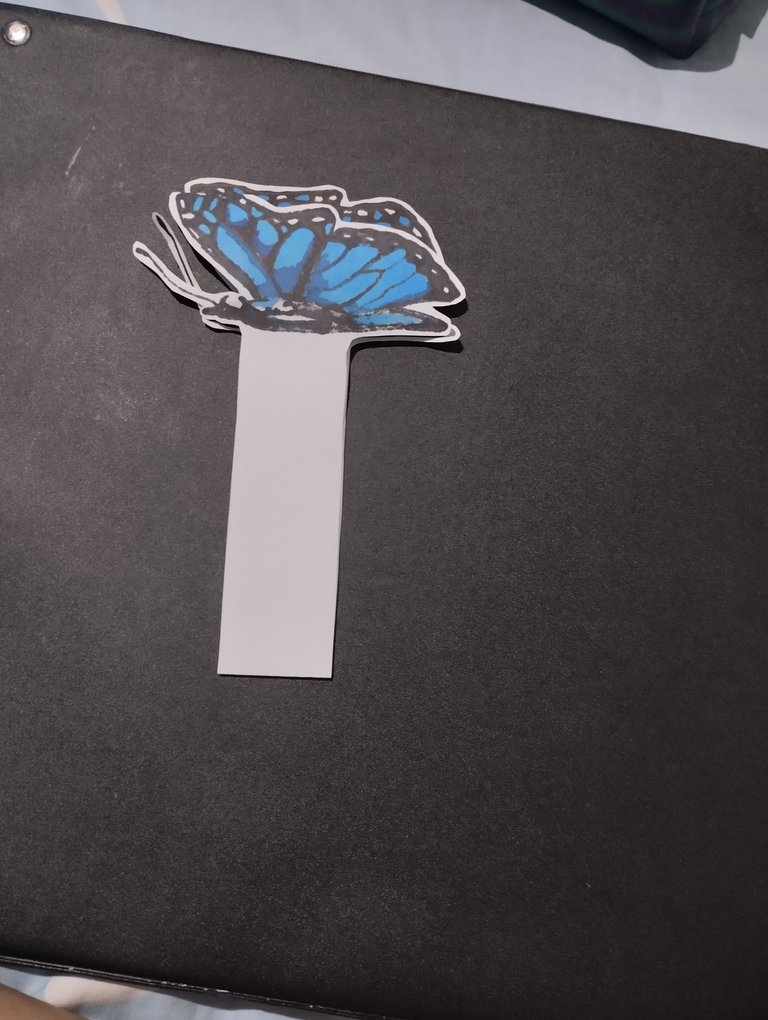
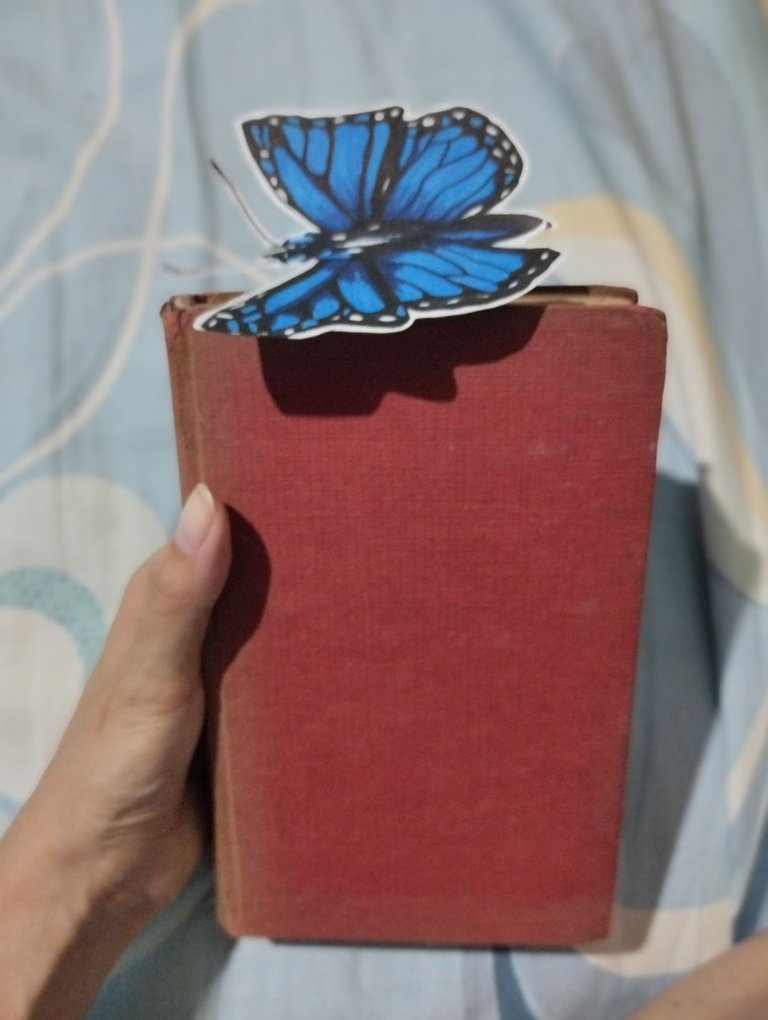
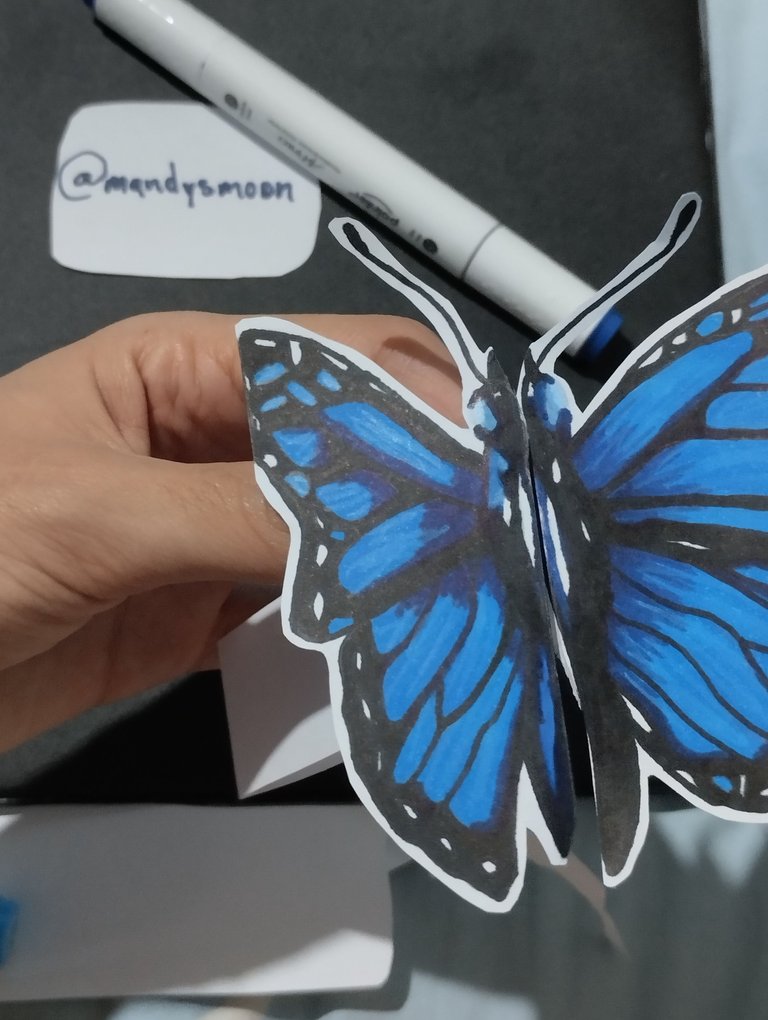
Ahora dobla el papel a la mitad, después dobla ambas partes de la mariposa para que quede abierta, ¡y listo! Tendrás un hermoso marca páginas que resaltará en tus libros📘
Now fold the paper in half, then fold both parts of the butterfly so that it is open, and that's it! You will have a beautiful bookmark that will stand out in your books📘
 |  |
|---|
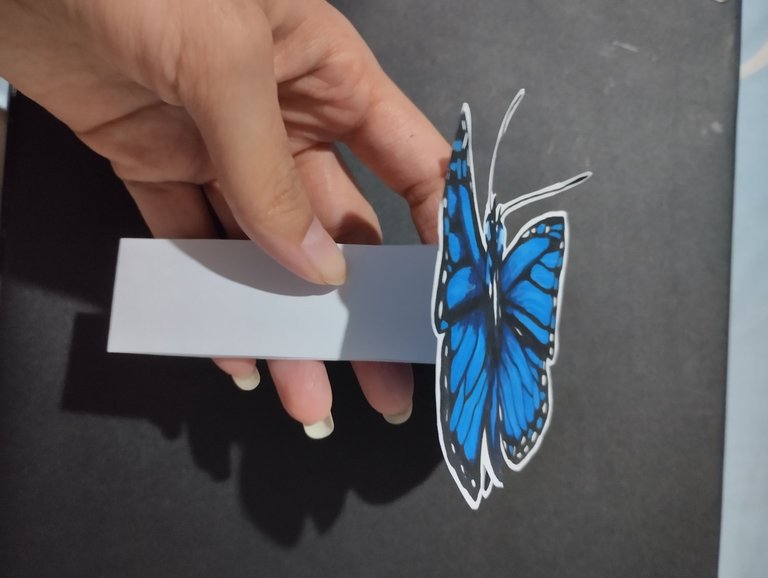
Honestamente me encantó el resultado, creo que porque los colores quedaron súper vibrantes y adoro el azul jajaja.
Espero que les haya gustado este DIY sencillo pero muy bonito para adornar tus libros 💙
I honestly loved the result, I think because the colors turned out super vibrant and I love blue hahaha.
I hope you liked this simple but very pretty DIY to decorate your books 💙
 |  |
|---|


