Hello friends of
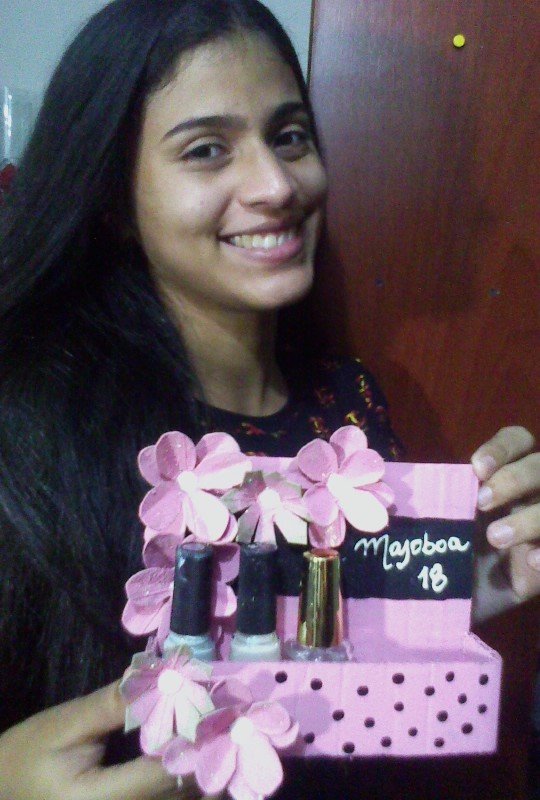
@hivediy, I hope you are well, we are starting a new year, which means a new beginning for everyone, and why not start by taking care of the planet and start by applying the 3Rs? Well this time I bring a small project, where I was able to reuse the cardboard that we have left where the eggs come from, when we buy them in the market or any supermarket. I hope you like it, below the step by step.
Hola amigos de
@hivediy, espero se encuentren bien, comenzamos un año nuevo, que para todos significa un nuevo comienzo, y ¿por que no comenzar cuidando el planeta e iniciamos aplicando las 3R? Bueno en esta oportunidad traigo un pequeño proyecto, donde pude reutilizar el cartón que nos queda donde vienen los huevos, cuando los comprarnos en el mercado o cualquier supermercado. Espero les guste, a continuación el paso a paso.
MATERIALS / MATERIALES
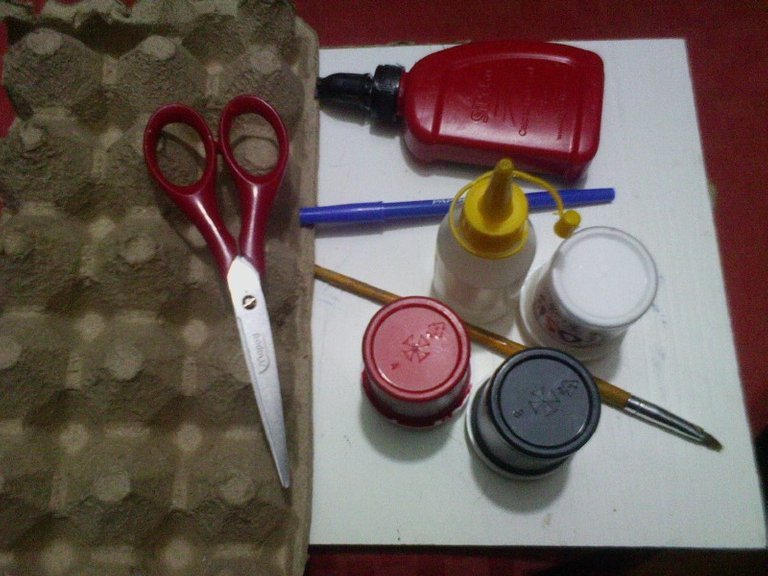
The materials used to make the nail polish holder are: Egg carton, smooth cardboard, cold paint (white, red, black), silicone, white glue, brush, scissors, pearlescent glitter and an ink correction pencil.
Los materiales utilizados para la elaboración del porta esmaltes, son: Cartón de huevos, cartón liso, pintura al frio (blanca, roja, negra), silicón, pega blanca, pincel, tijeras, escarcha perlada y un lápiz corrector de tinta.
STEP BY STEP
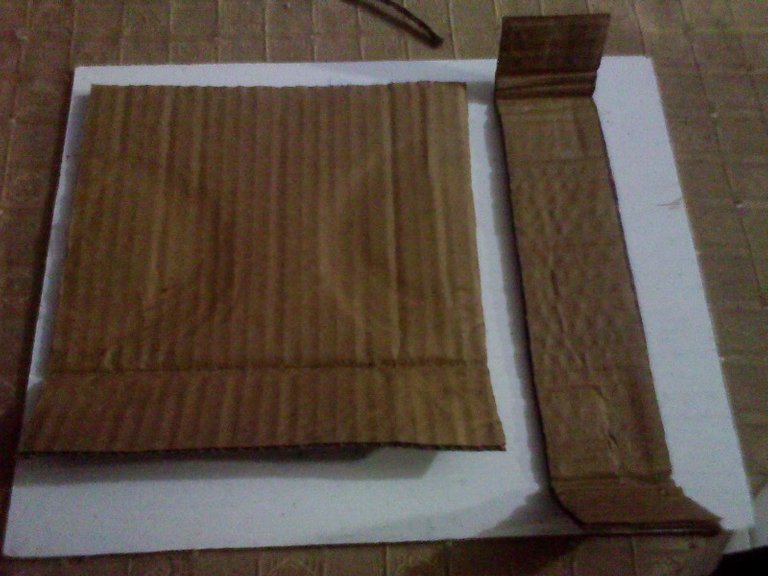
We cut a rectangle of cardboard 20 cm wide by 15 cm long and a strip 30 cm long by 5 cm wide.
Cortamos un rectangulo de carton de 20 cm ancho por 15 cm de largo y una tira de 30 cm de largo por 5 cm de ancho.
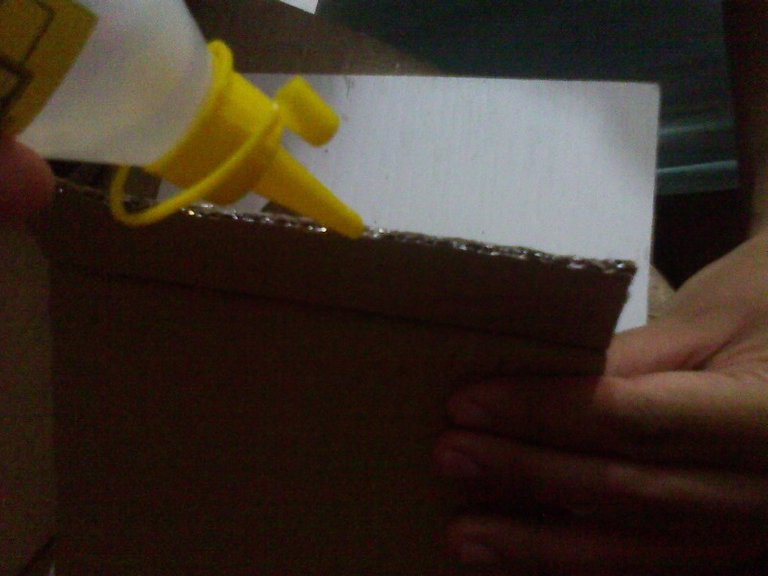
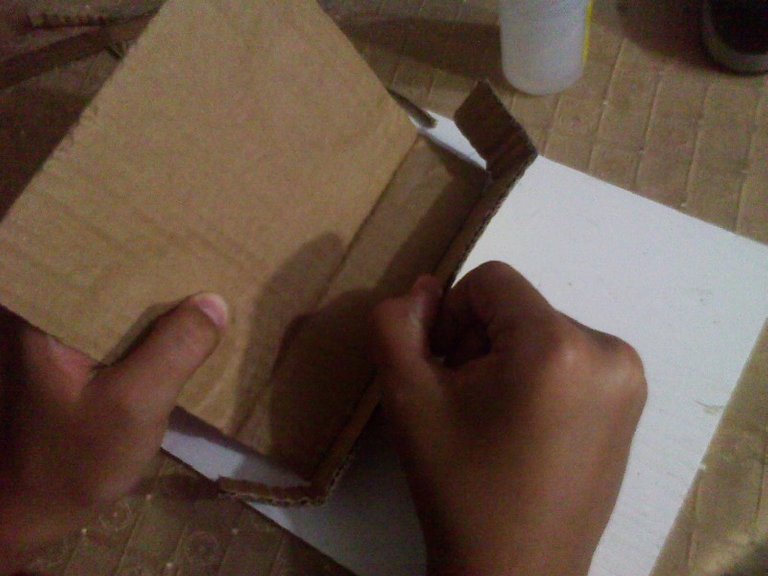
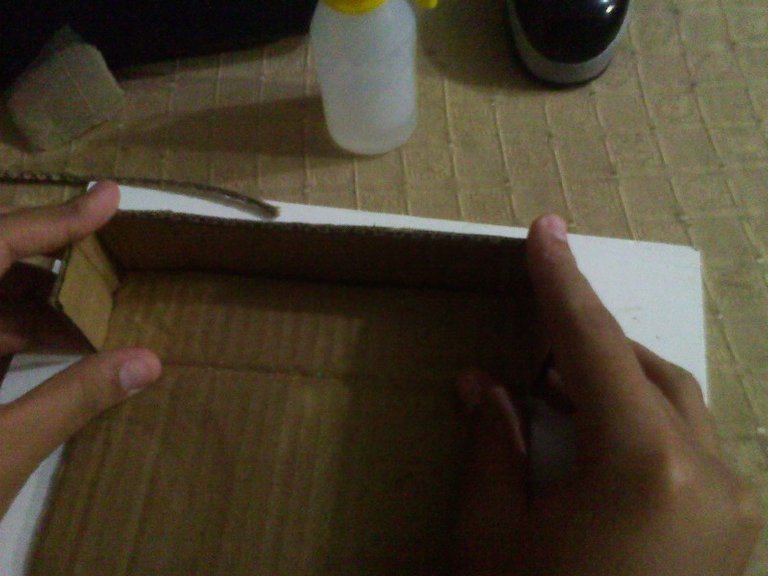
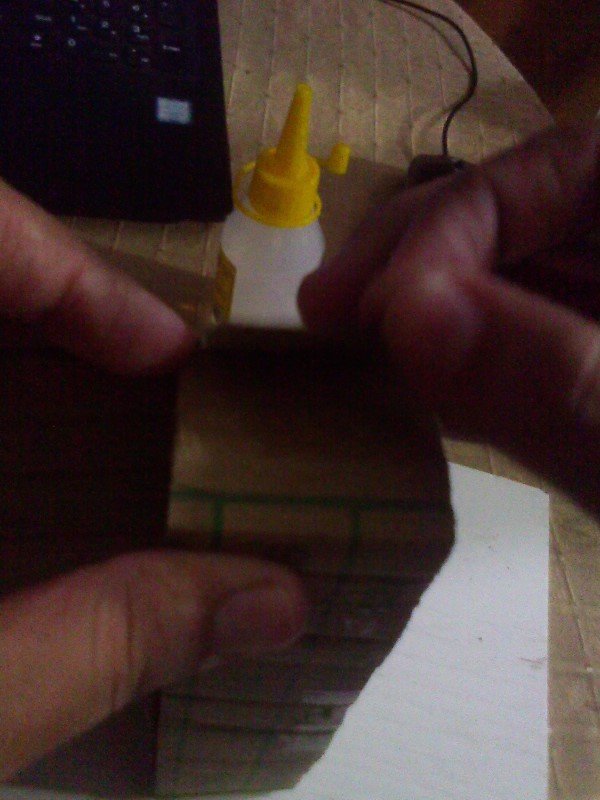
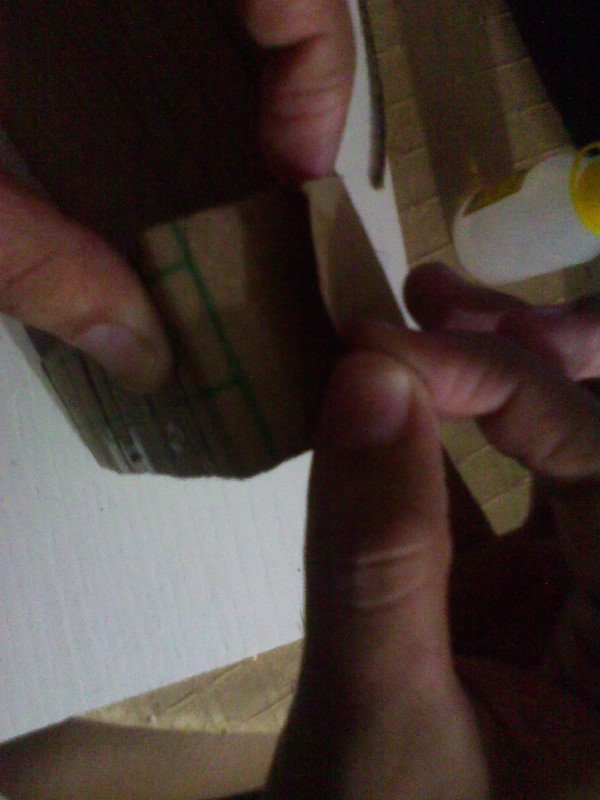
With the silicone, stick the 5 cm strip in a way, to give it the shape of a box with the fold of the large piece of cardboard.
Then we secure the sides with cardboard and silicone paper, to give more strength to the nail polish holder.
Con el silicón, pegar la tira de 5 cm a manera, para darle la forma de caja con el doblez de la pieza de carton grande.
Luego aseguramos por los lados con papel de cartón y silicón, para darle mas fortaleza al porta esmalte.
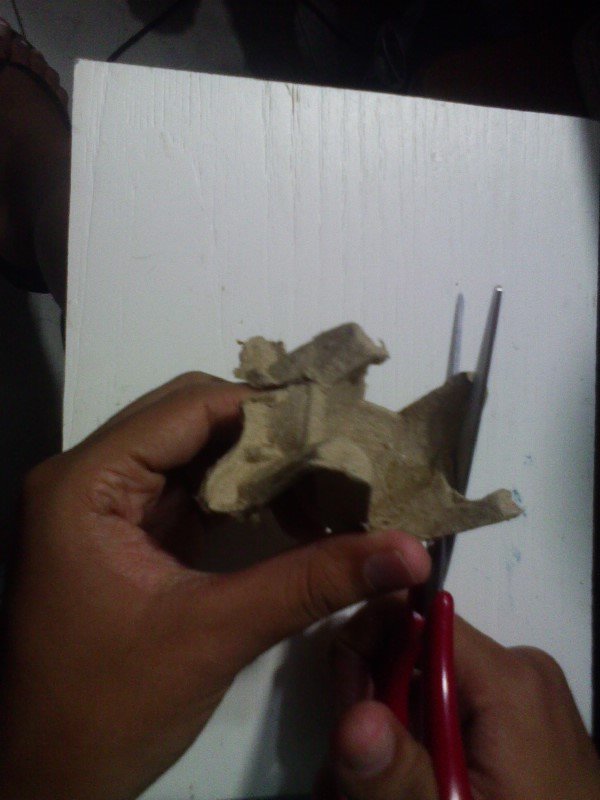
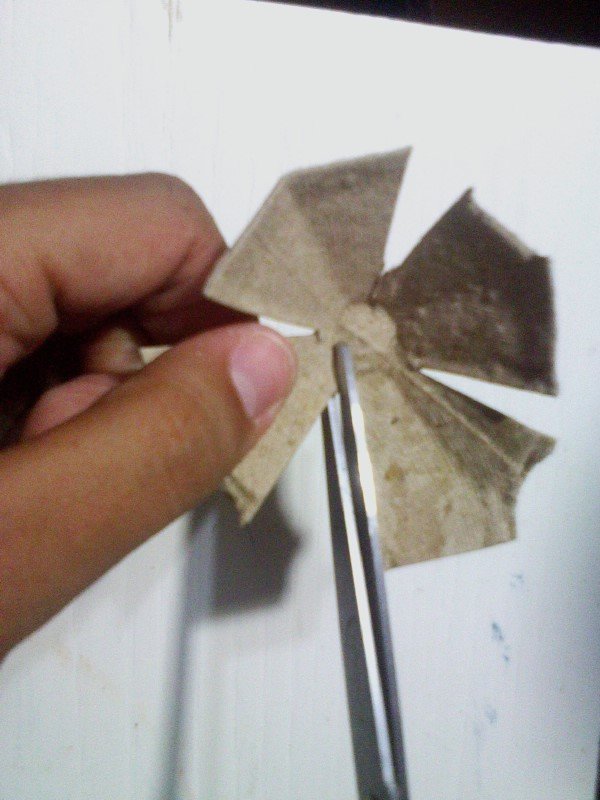
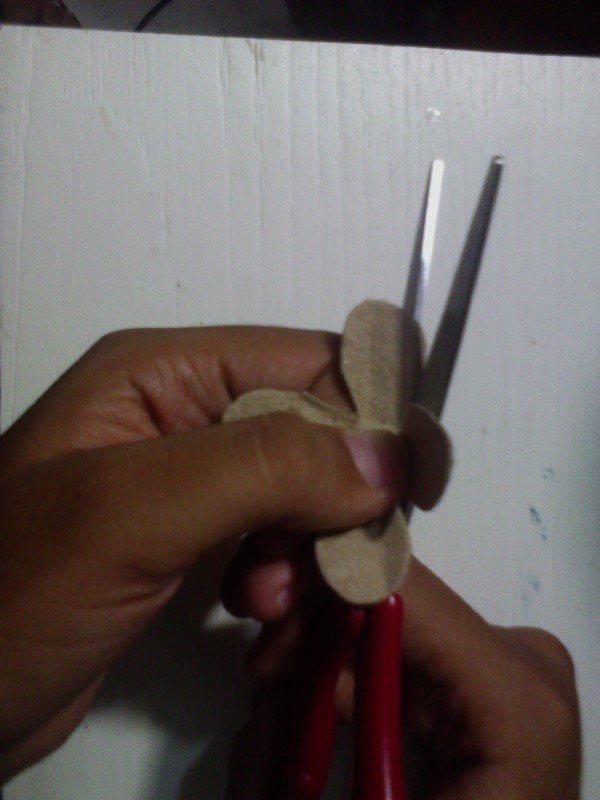
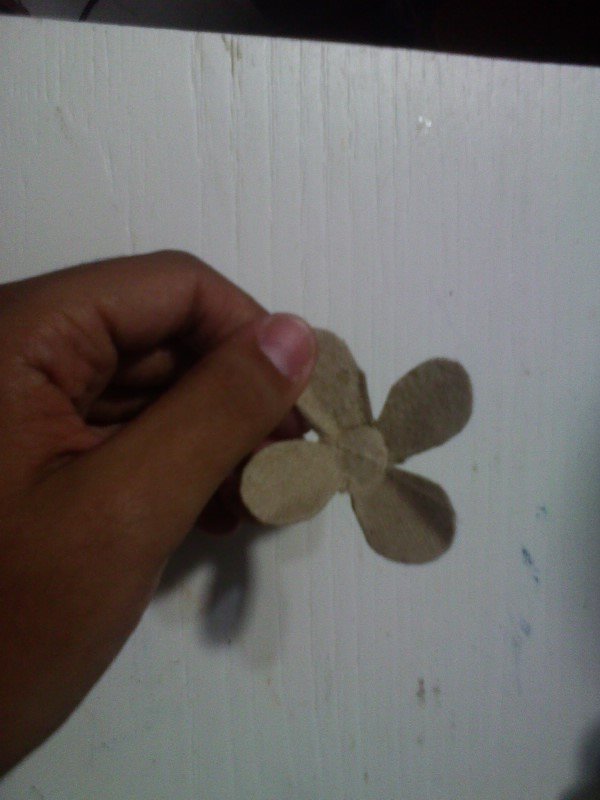
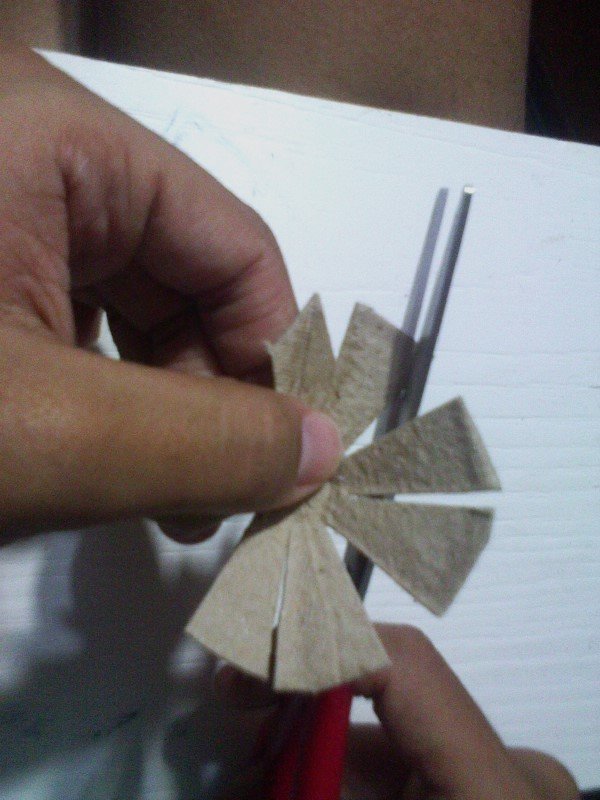
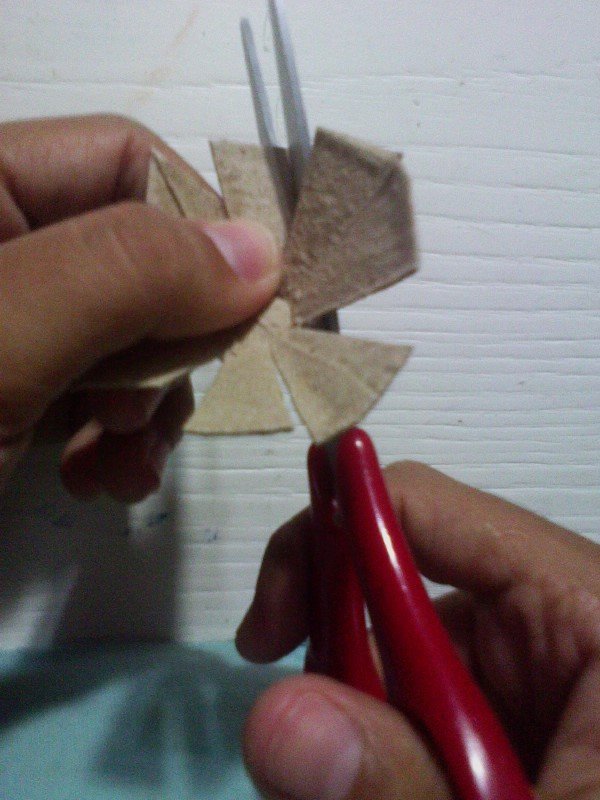
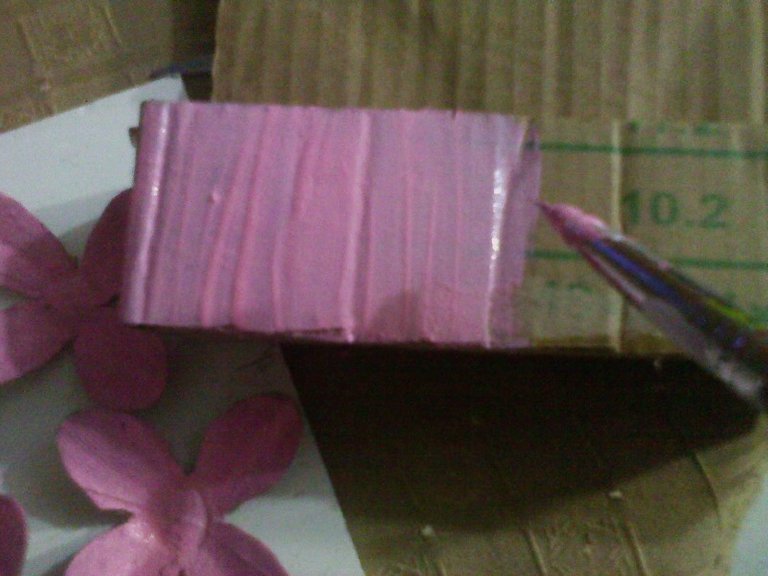
Armed with the base for the enamel holder, she proceeded to make the flowers with the egg carton. First we cut the cone and divide it into 4, then we shape each one like petals; I also cut a pussy of 8 parts, to make the other type of flower.
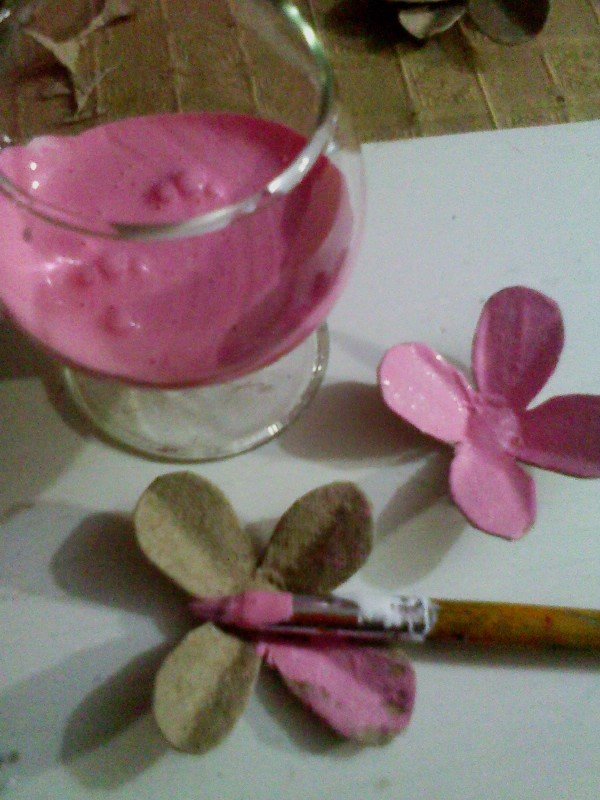
Then I added white and red fried paint to create the pink and paint the flowers and part of the enamel holder.
Armada ya la base para el porta esmalte, procedí a elaborar las flores con el cartón para huevos. Primero picamos el cono y lo dividimos en 4, luego le damos la forma a cada una como de pétalos; también pique un coño de 8 partes, para realizar el otro tipo de flor.
Luego uní pintura al frito blanca y roja, para crear el rosado y pintar las flores y parte del porta esmalte.
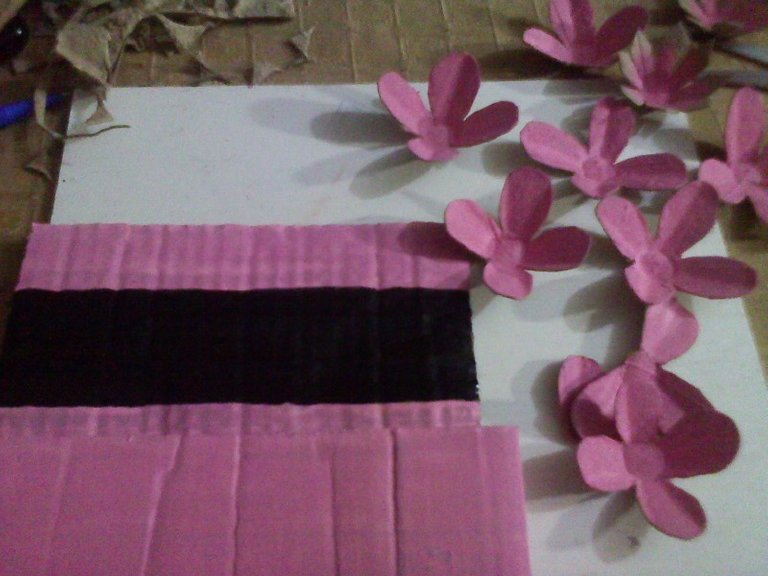
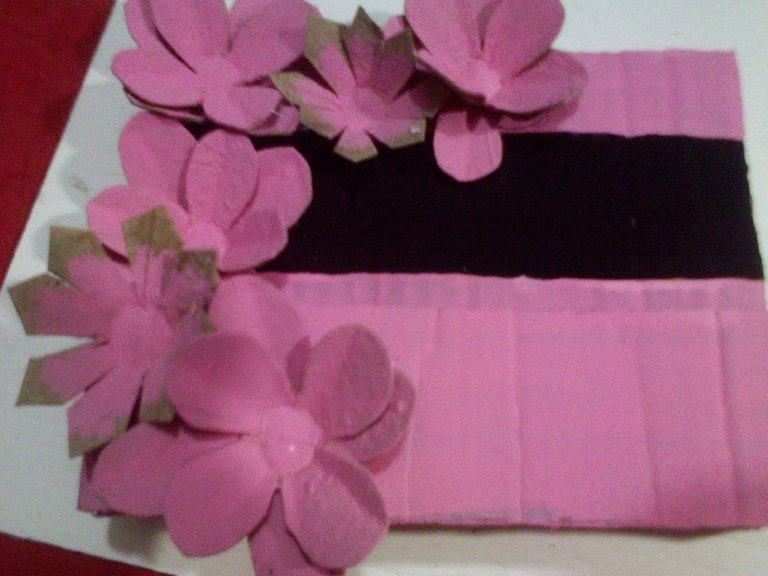
Once the pink paint is dry, with the black paint, paint a strip as shown in the image.
Ya una vez seca la pintura rosada, con la negra, pinte una franja como se muestra en la imagen.
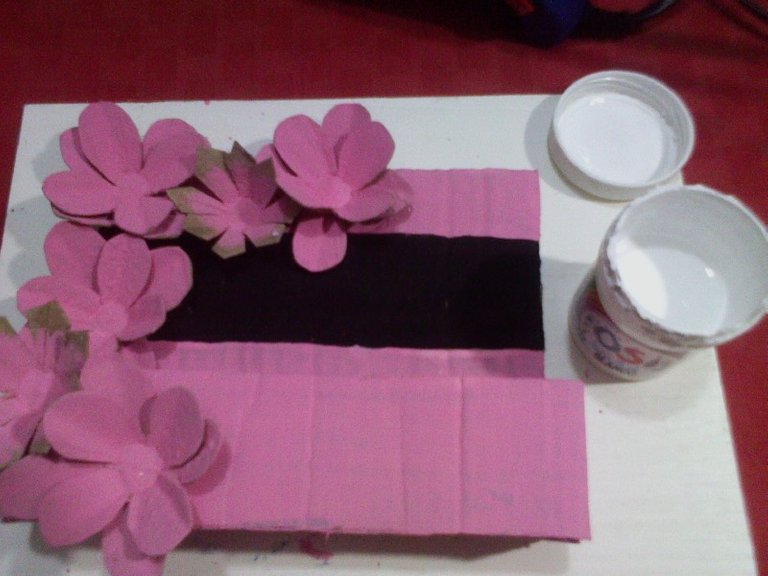
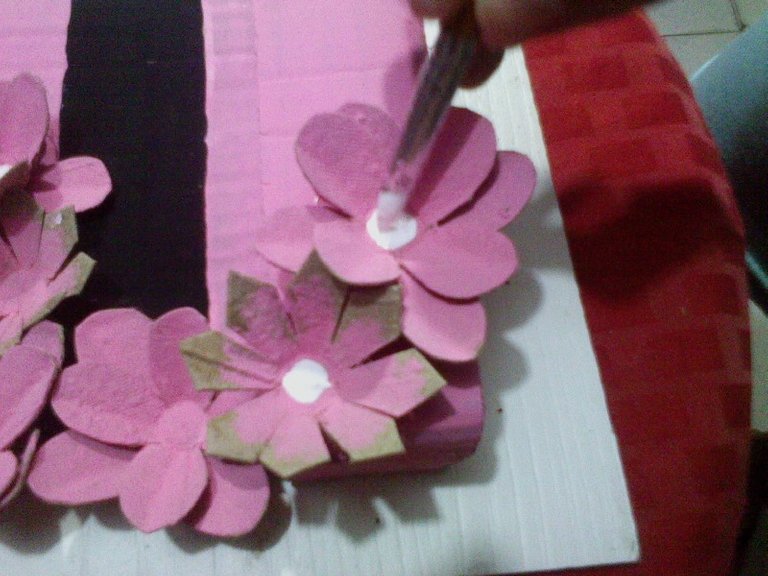
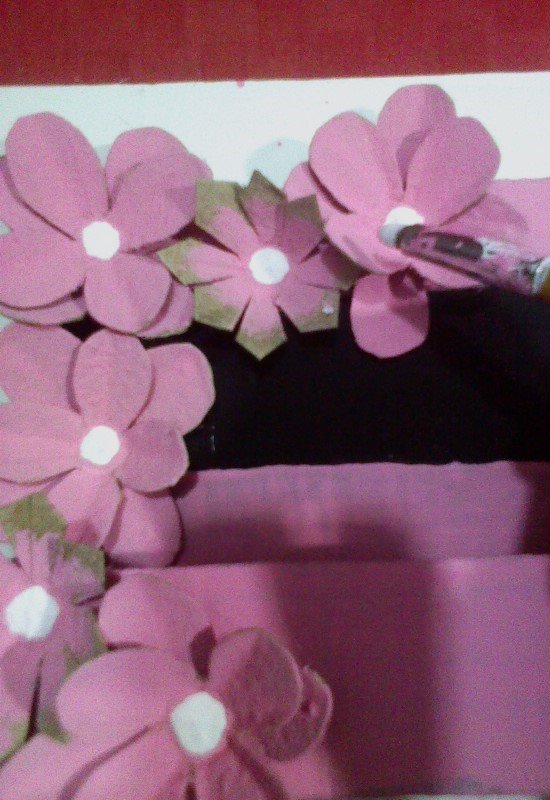
With the silicone, we paste the flowers on the left side of our base, with the white paint, we highlight the center of the flower, and let it dry.
Con el silicón, pegamos las flores en la parte izquierda de nuestra base, con la pintura blanca, resaltamos el centro de la flor, y dejamos secar.
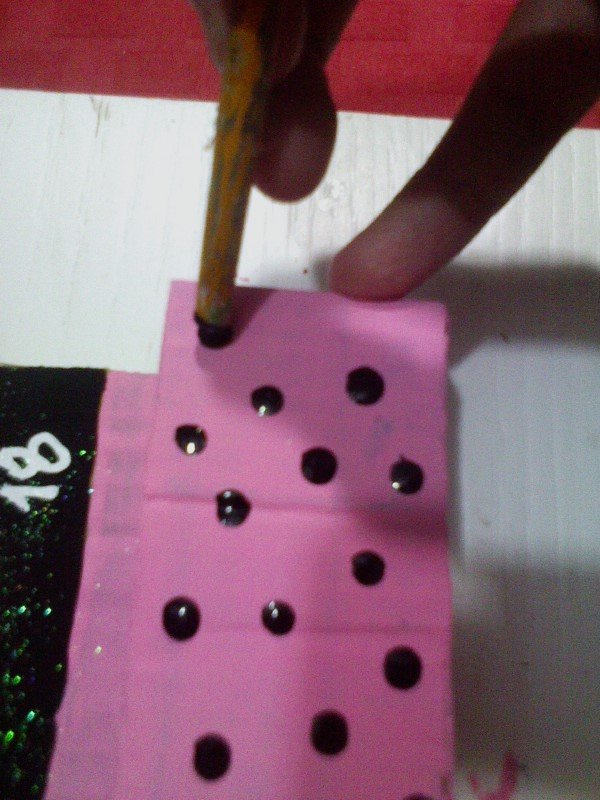
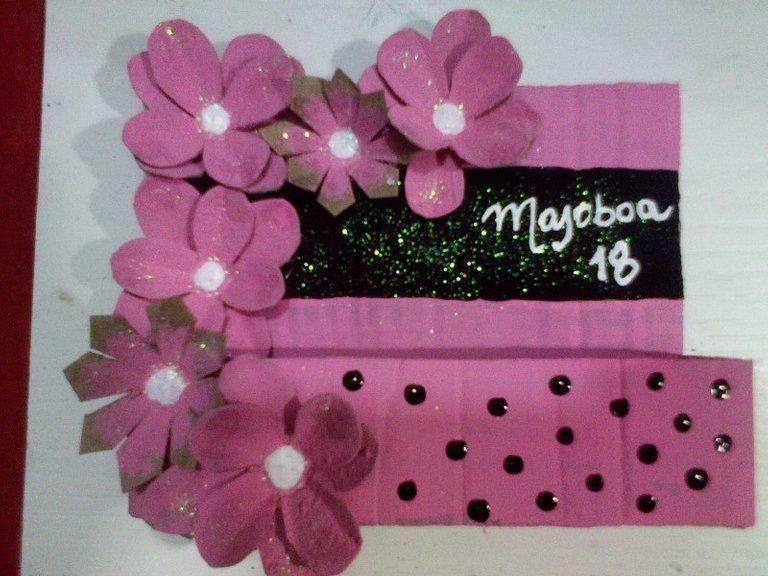
To highlight the enamel holder more, we apply brushstrokes of white glue on the flower petals and apply glitter. With the tip of the brush with the black paint, we make black dots and finally, with the correction pencil, we personalize the project with the name
@Majoboa18.
Para resaltar mas el porta esmalte, aplicamos pinceladas de cola blanca en los pétalos de las flores y aplicamos escarcha. Con la punta del pincel con la pintura negra, hacemos puntos negros y por último, con el lápiz corrector, personalizamos el proyecto con el nombre
@Majoboa18.
