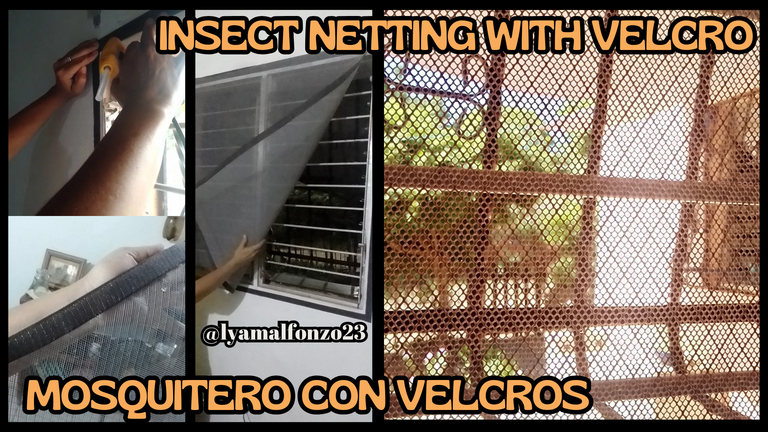
Greetings, 🙋🏻♀️ beautiful #Hivediy community! Today I bring you a practical and useful project to keep those pesky bugs at home at bay: a mosquito net for windows that you can easily make using Velcro or magic fasteners.
¡Saludos, 🙋🏻♀️ hermosa comunidad de #Hivediy! Hoy les traigo un proyecto práctico y útil para mantener a raya a esos molestos insectos en casa: un mosquitero para ventanas que puedes hacer fácilmente utilizando Velcros o cierres mágicos.

This project is ideal for those who are looking for a quick and effective solution without getting too complicated. Let's get to work! 🙌
Este proyecto es ideal para aquellos que buscan una solución rápida y efectiva sin complicarse demasiado. ¡Vamos, manos a las obras!🙌
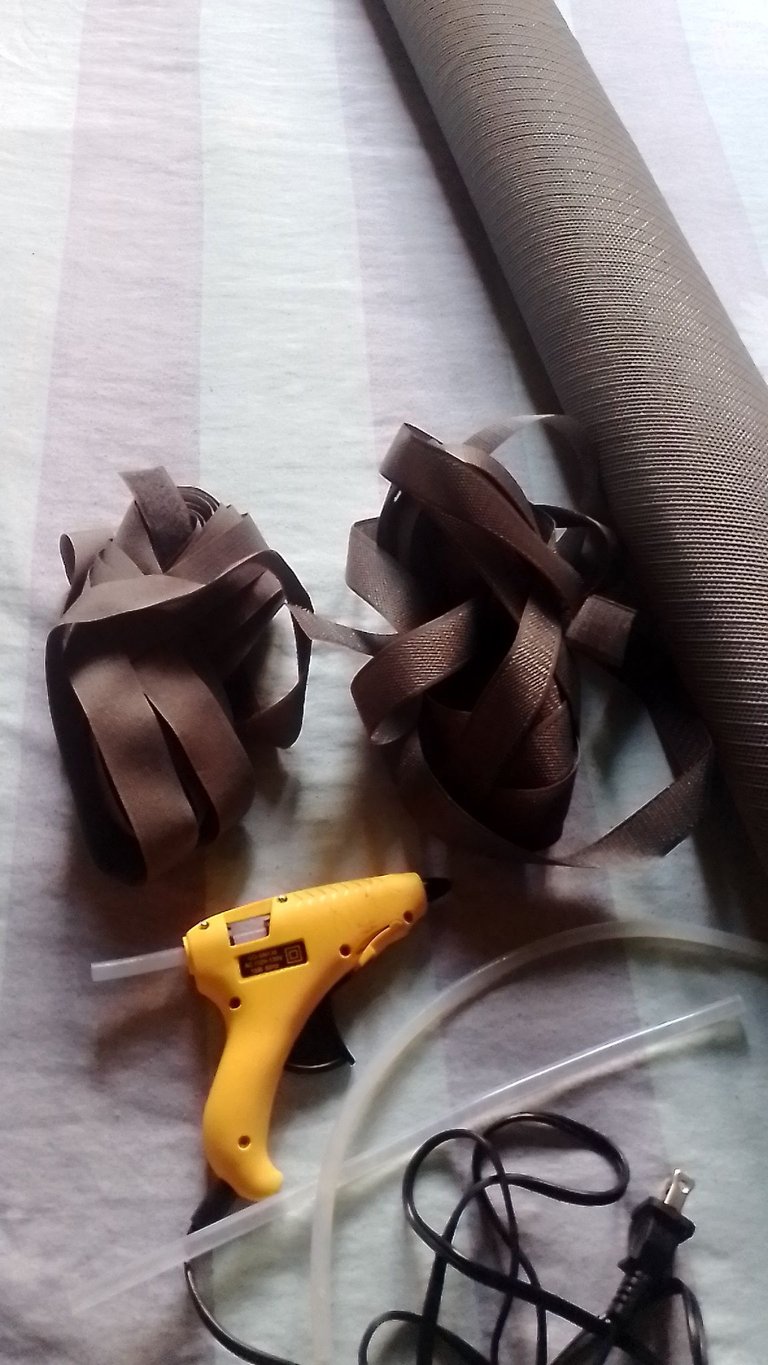
Materials Needed
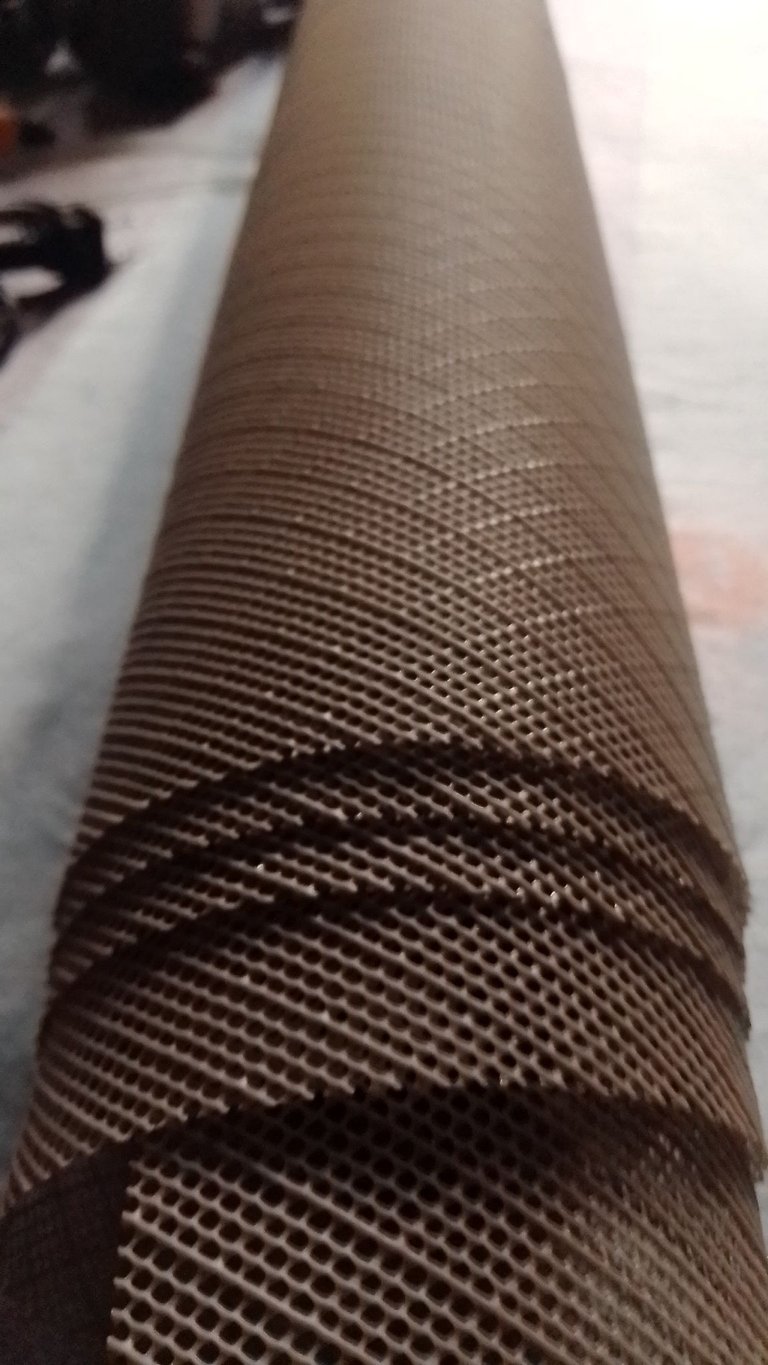
- Mosquito netting
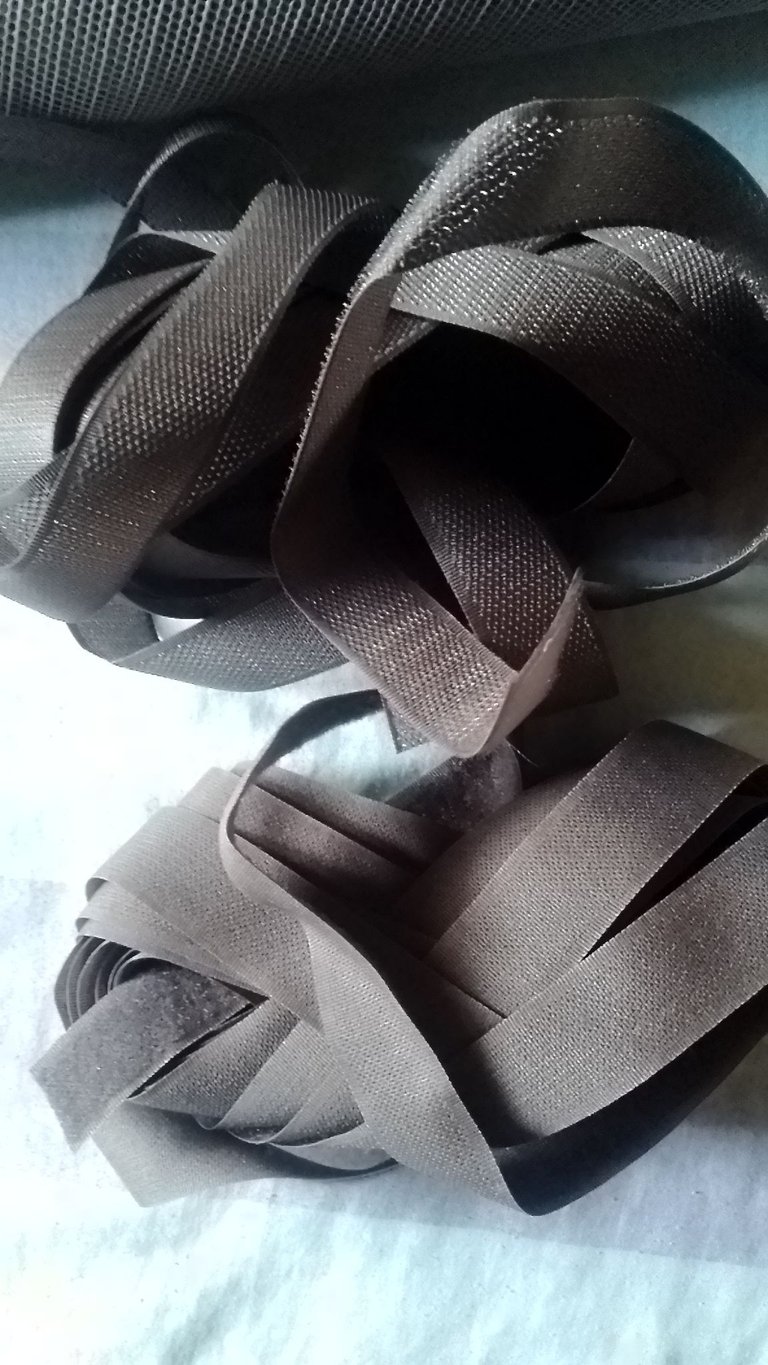
- Velcro or magic tape
- Scissors
- Tape measure
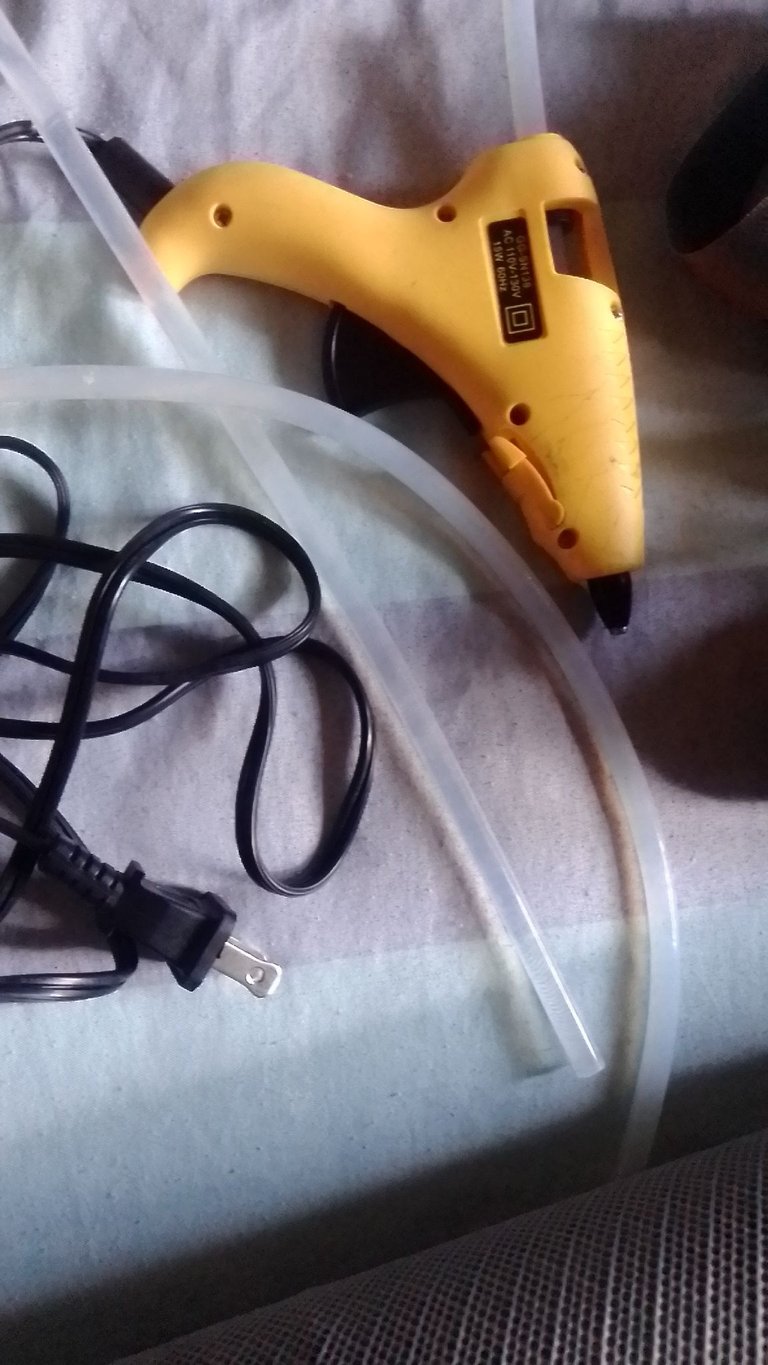
- Hot silicone gun
- Silicone sticks
Materiales Necesarios
- Malla de mosquitero
- Velcros o cinta de cierre mágico
- Tijeras
- Cinta métrica
- Pistola de silicona caliente
- Barras de silicona
 |  |
|---|---|
 |  |
Steps to follow
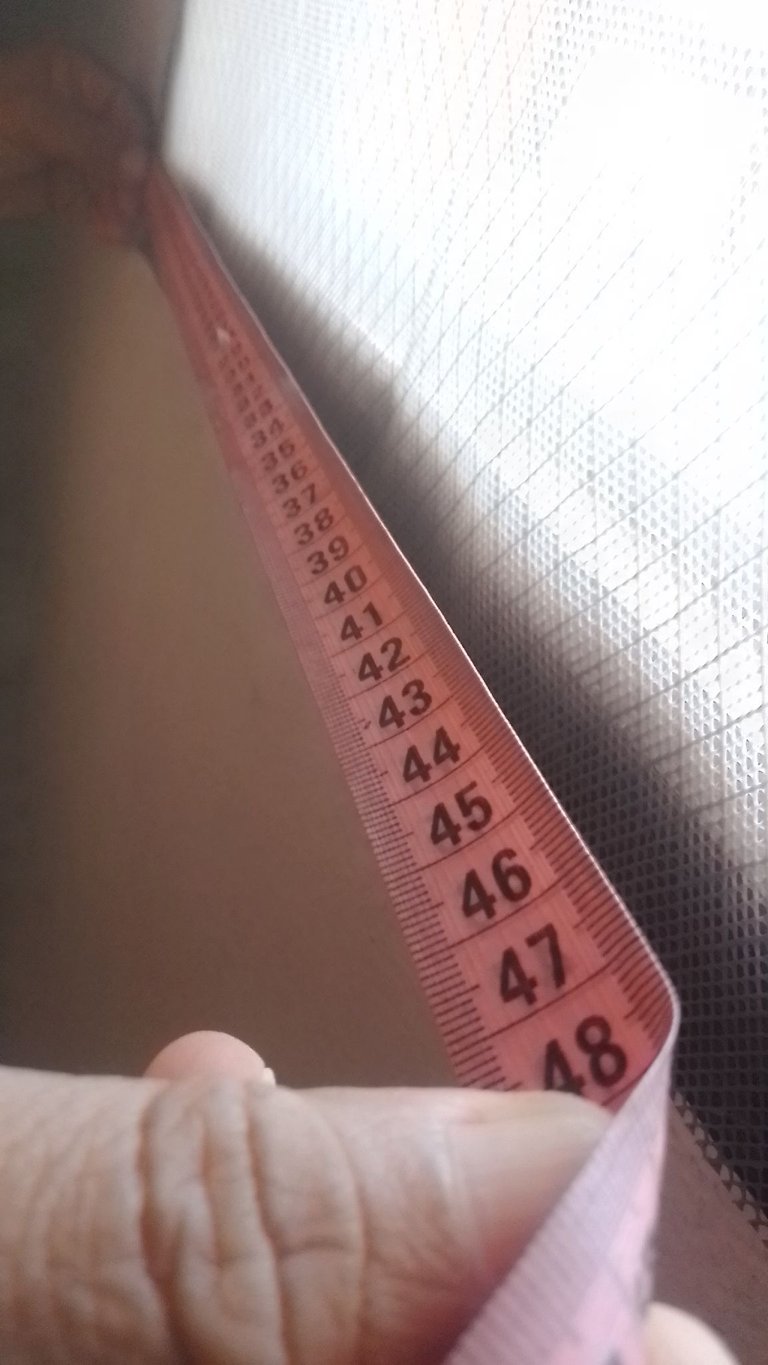
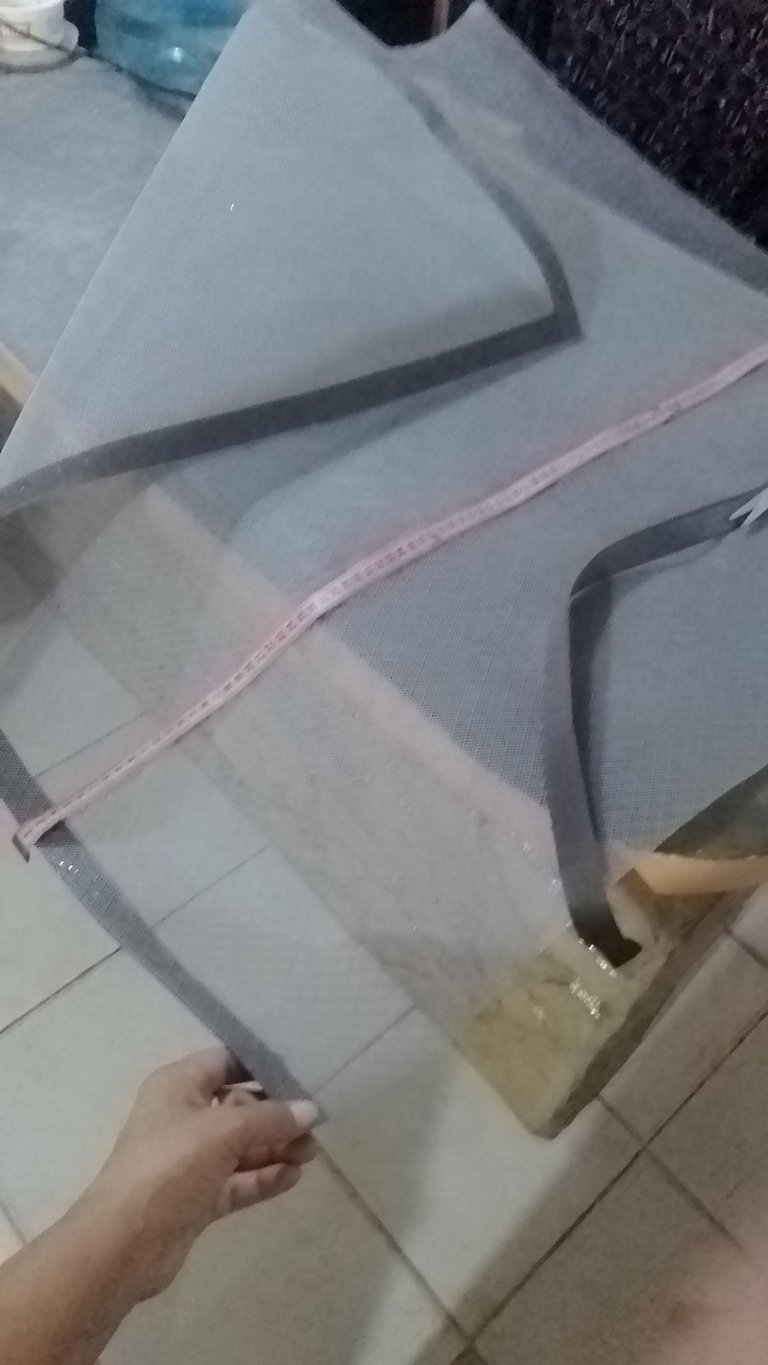
1. Measure the Window.
First, measure the size of the window where you want to place the screen. Be sure to measure both the height and width. Add about an inch on each side to allow for adjustments if necessary.
Pasos a Seguir
1. Medir la Ventana
Primero, mide el tamaño de la ventana donde deseas colocar el mosquitero. Asegúrate de tomar medidas tanto de la altura como del ancho. Añade unos 2 cm a cada lado para permitir ajustes de ser necesarios.
2. Cutting the Fabric.
With the measurements already taken, cut the mesh fabric according to the size you need. Remember that the fabric should be large enough to completely cover the window.
2. Cortar la Tela
Con las medidas ya tomadas, corta la tela de malla según el tamaño que necesitas. Recuerda que la tela debe ser lo suficientemente grande para cubrir completamente la ventana.

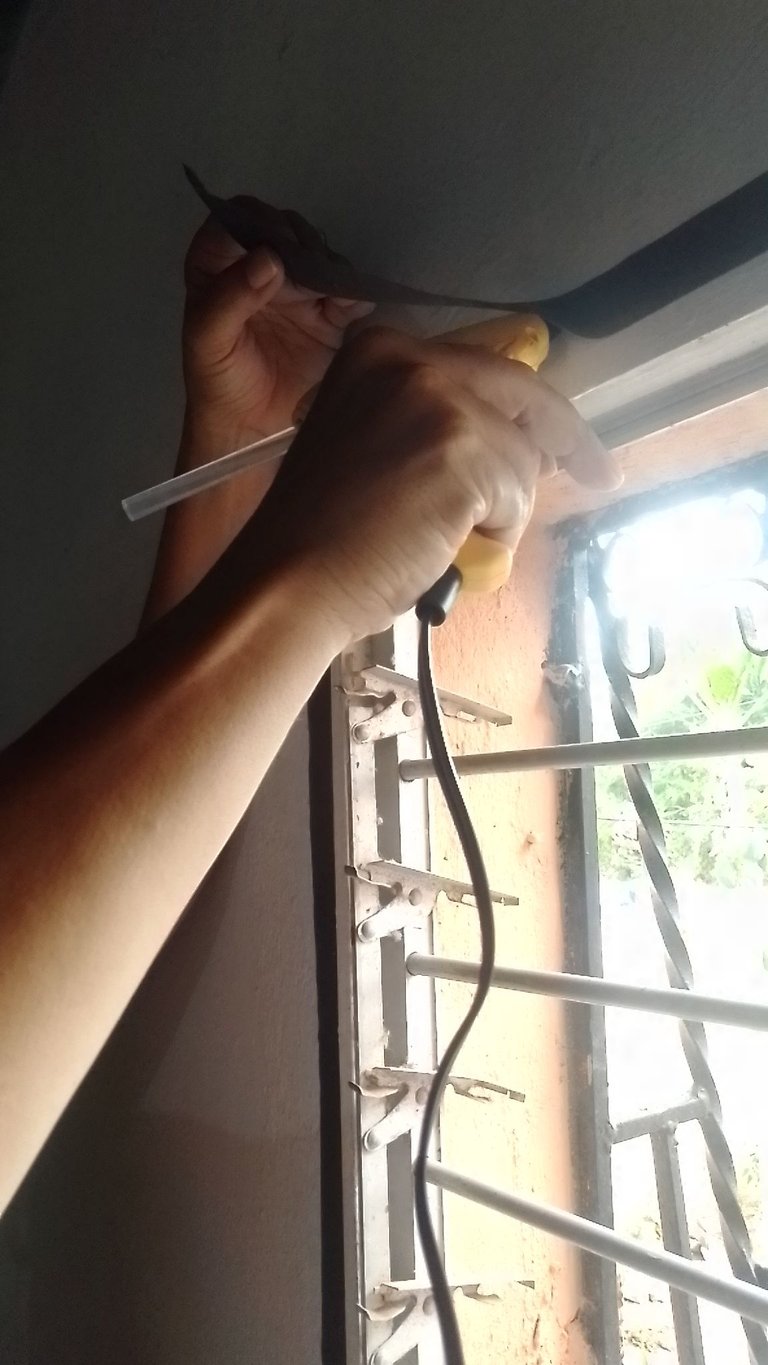
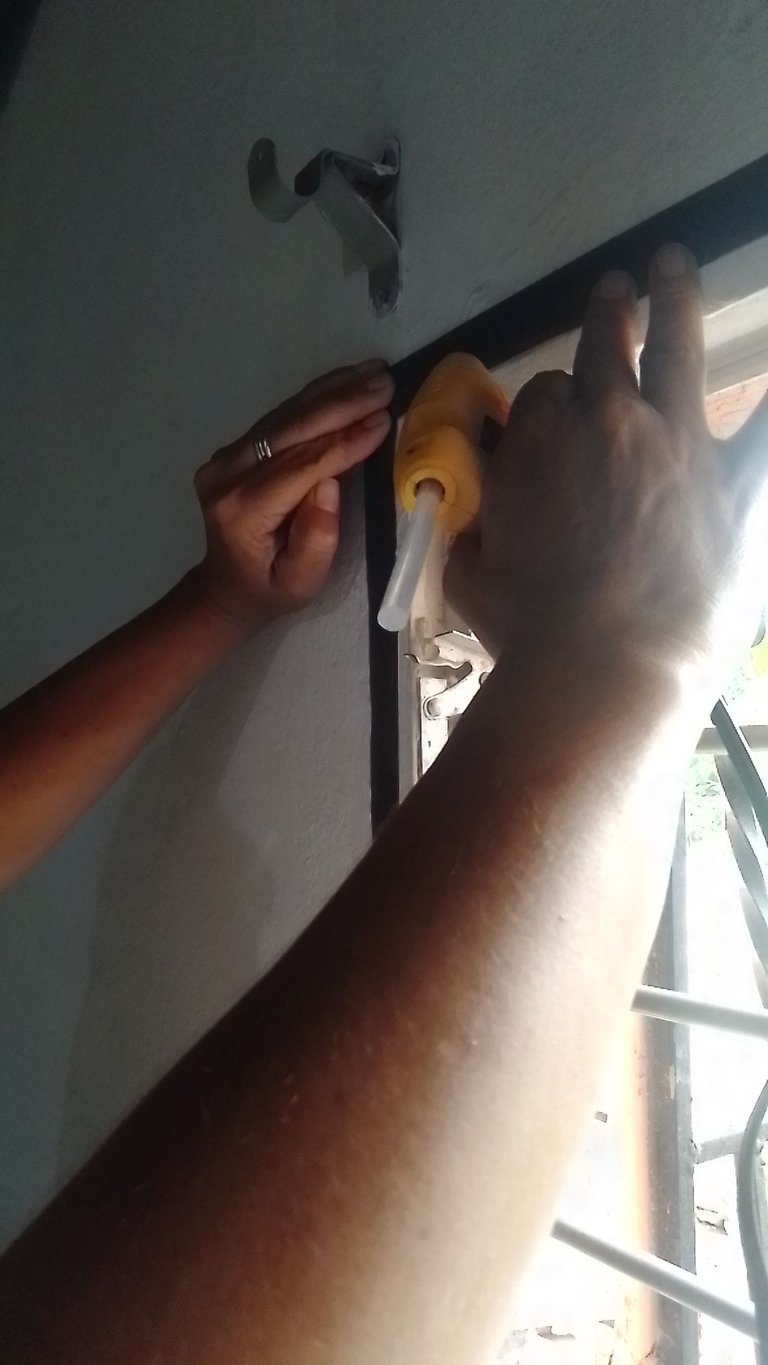
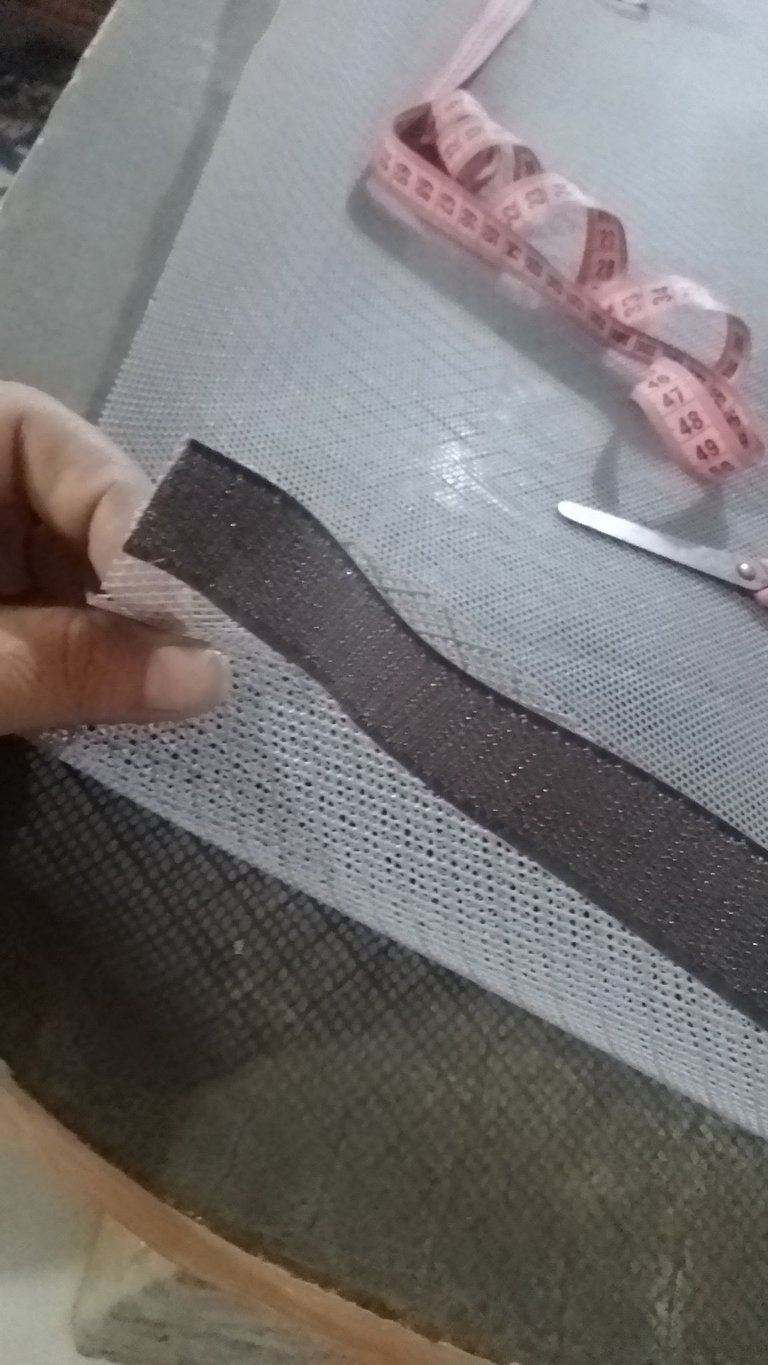
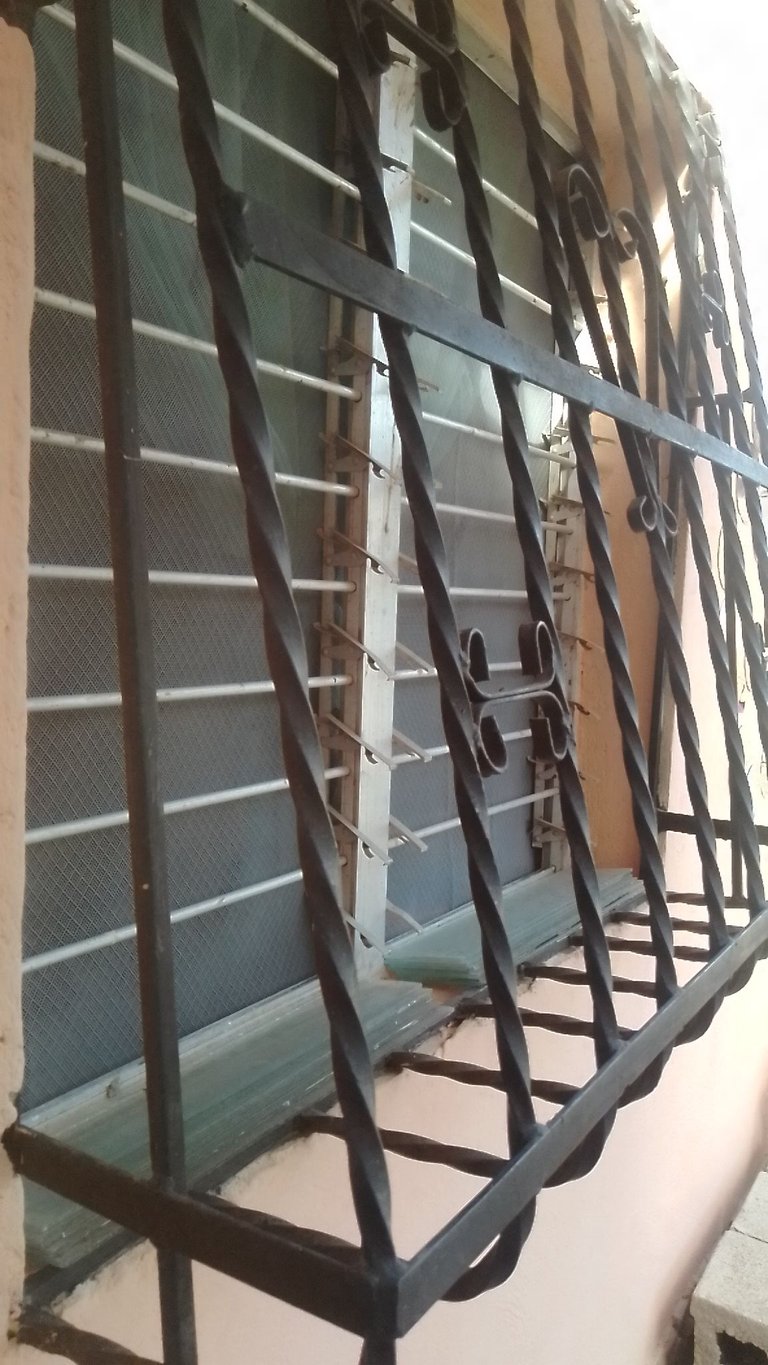
3. Apply Velcro.
Cut the Velcro strips. You will need two strips for each side of the window. Glue one part of the Velcro to the window frame with the hot glue gun and hot glue sticks.
3. Aplicar el Velcro
Corta las tiras de Velcro o cierre mágico. Necesitarás dos tiras para cada lado de la ventana. Pega con la pistola y barras de silicón caliente una parte del Velcro en el marco de la ventana.
 |  |
|---|---|
 |  |
 |  |
 |  |
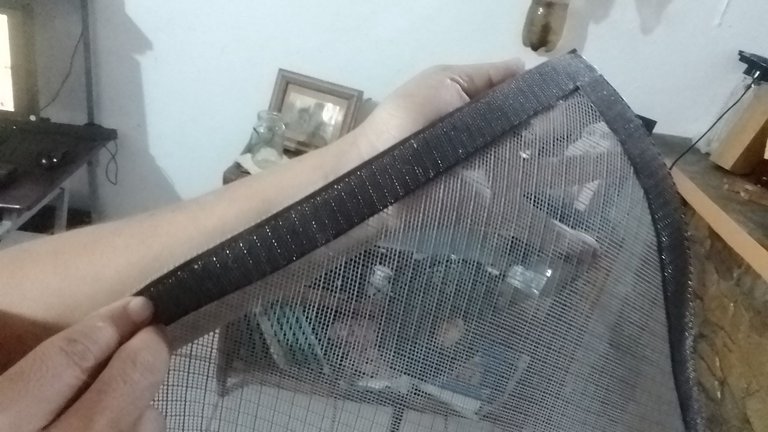
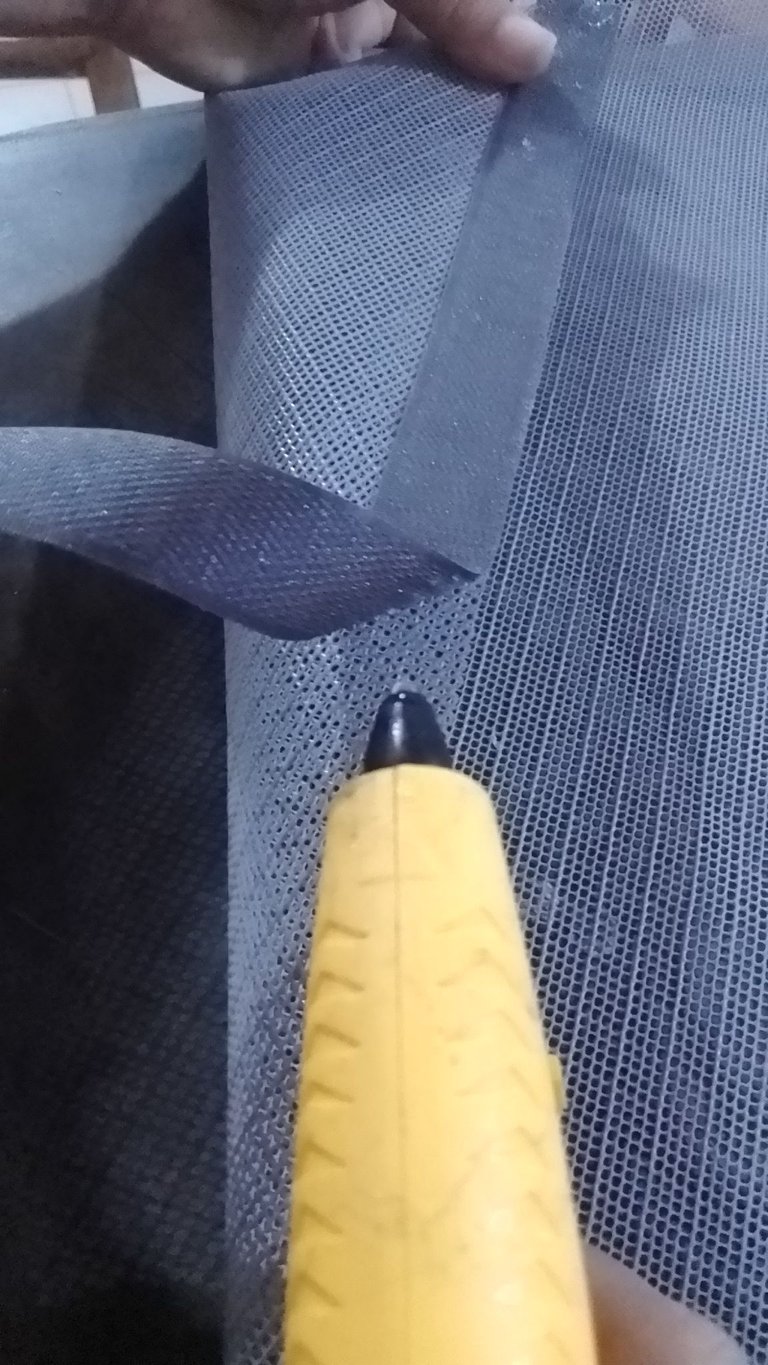
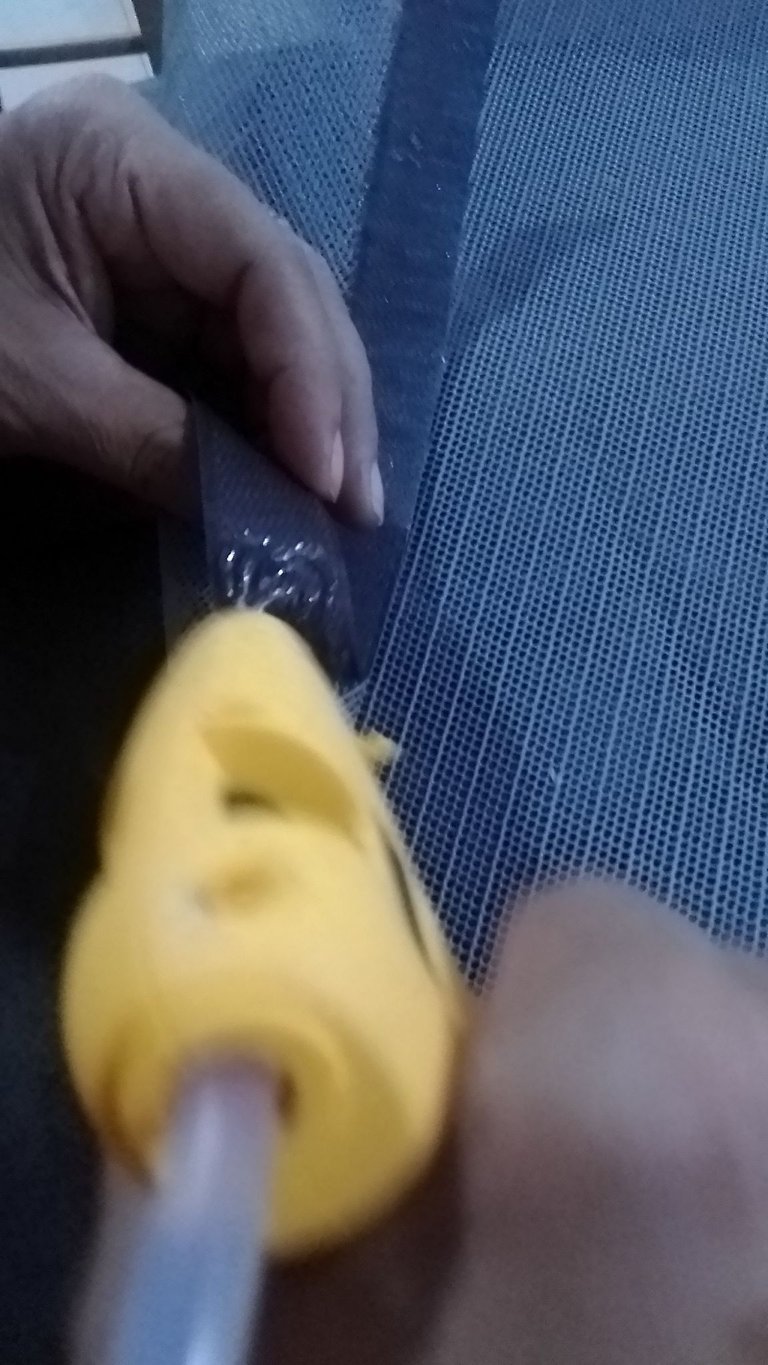
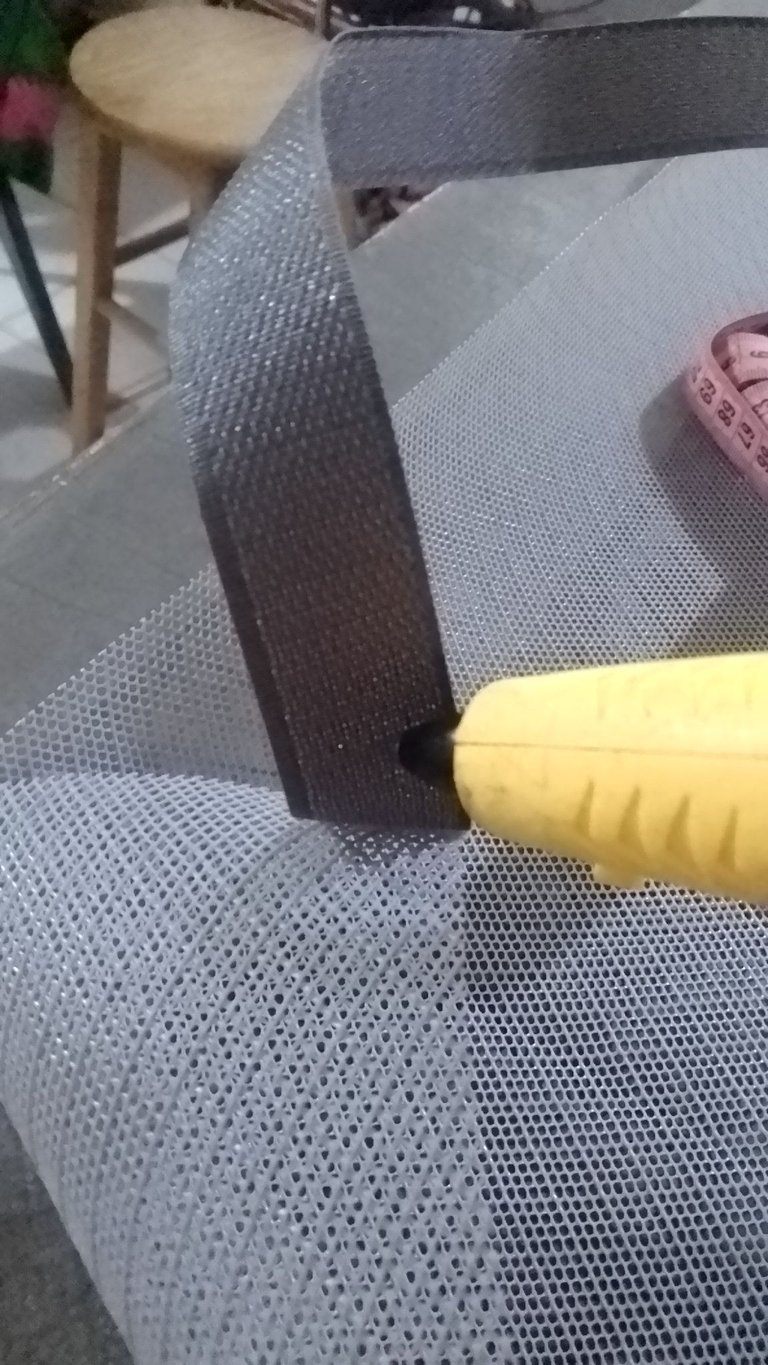
Then hot glue the other part of the Velcro strip to the edges of the mesh fabric.
Luego, pega con silicón caliente la otra parte de la tira de Velcro en los bordes de la tela de malla.
 |  |  |
|---|---|---|
 |  |  |
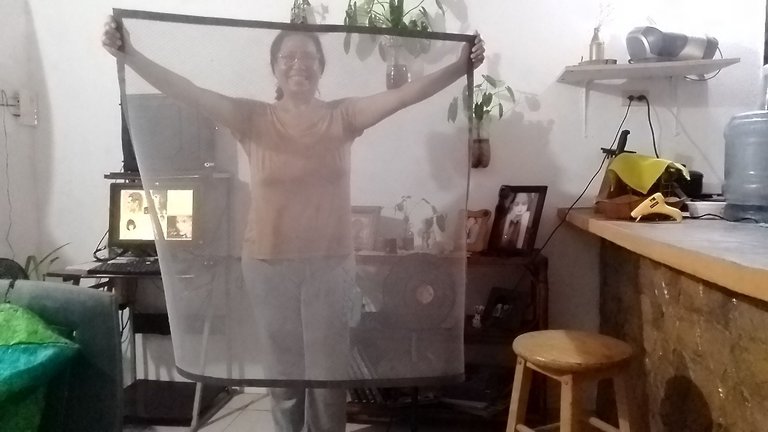
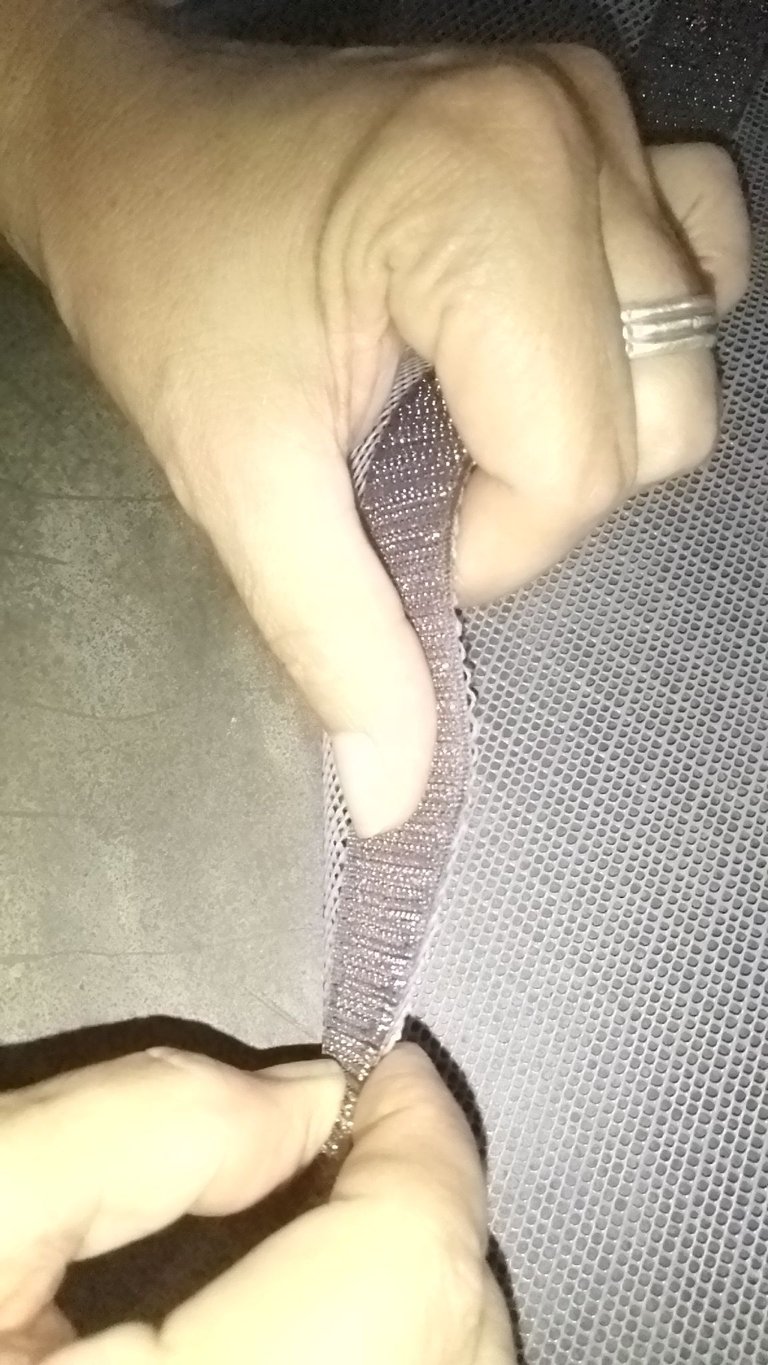
Make sure that both parts are aligned correctly so that the net adheres well.
Asegúrate de que ambas partes se alineen correctamente para que el mosquitero se adhiera bien.
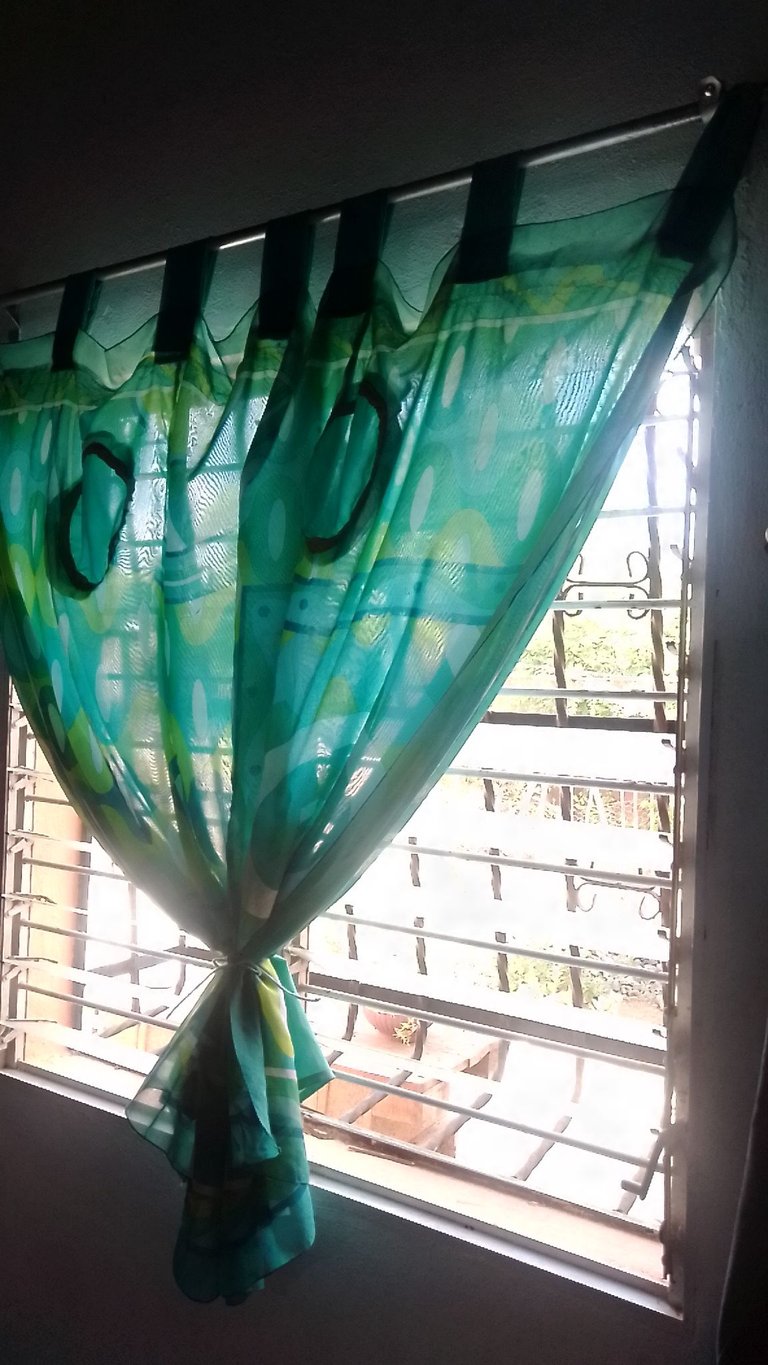
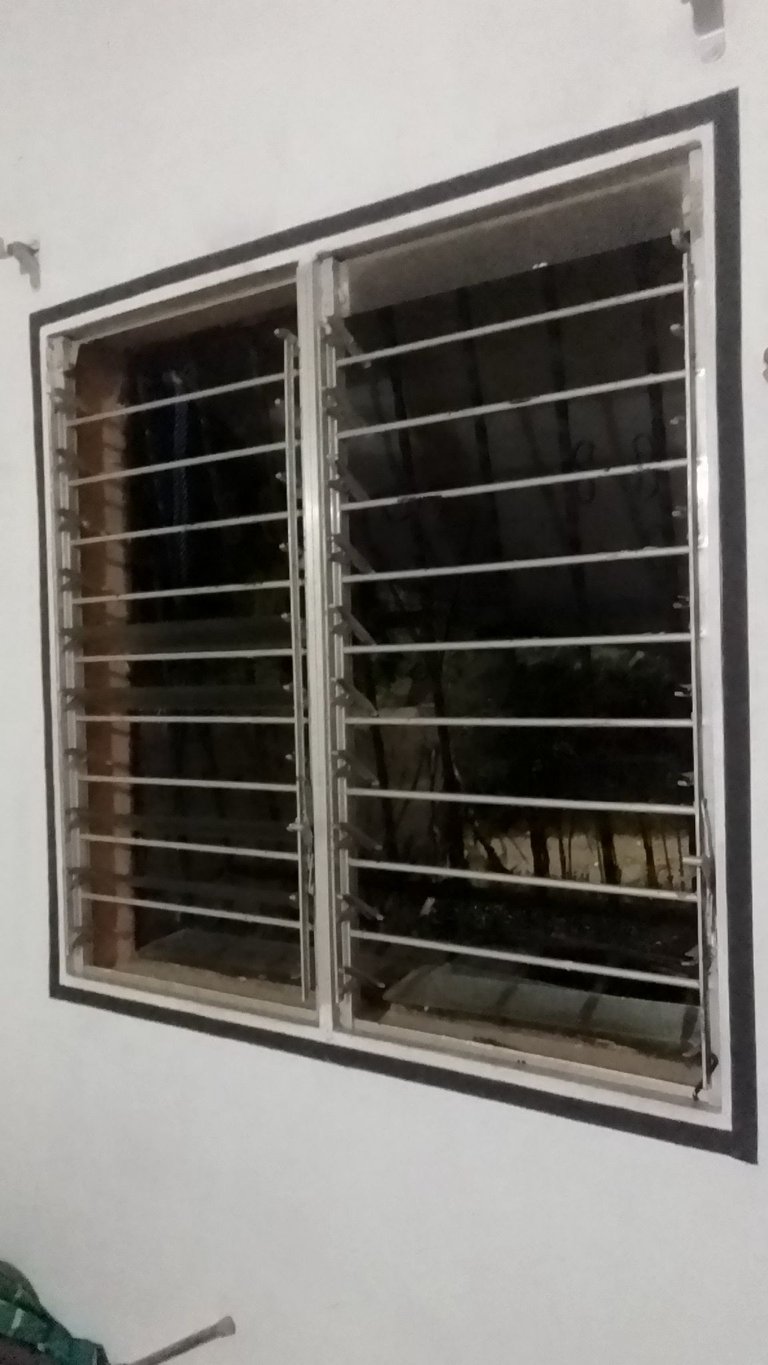
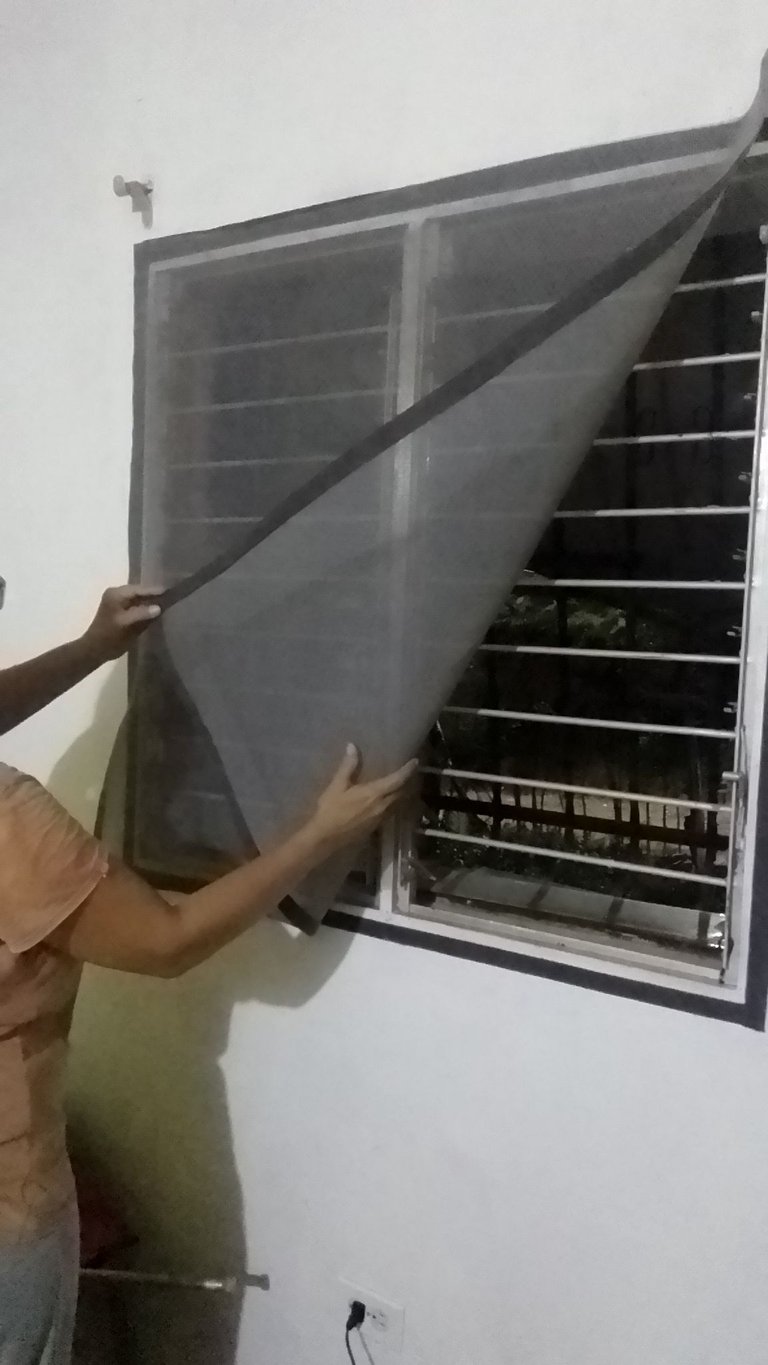
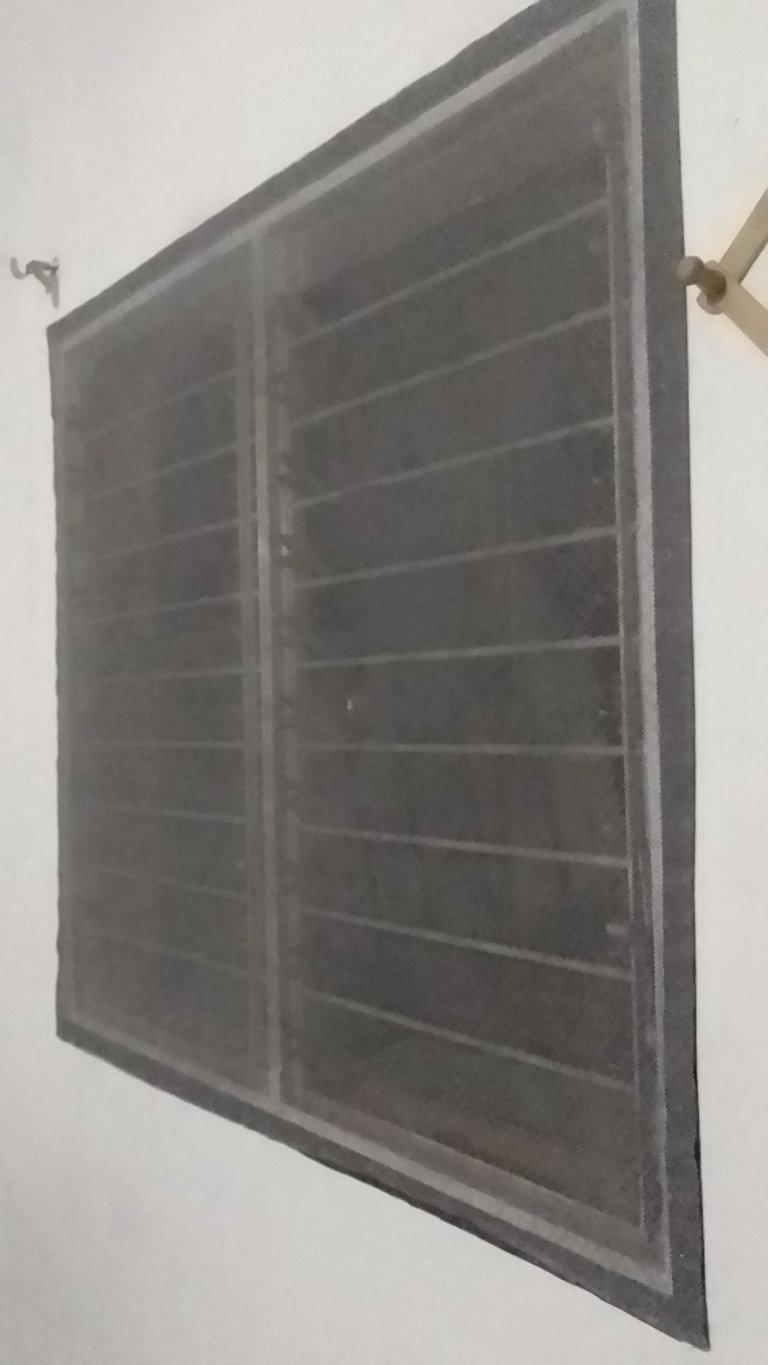
4. Putting up the mosquito net.
Now it's time to attach the screen to the window. Simply line up the Velcro parts and press firmly to make sure they adhere securely. Done! Your screen is installed.
4. Colocar el Mosquitero
Ahora es el momento de colocar el mosquitero en la ventana. Simplemente alinea las partes de Velcro y presiona firmemente para asegurarte de que se adhieran bien. ¡Listo! Tu mosquitero está instalado.
 |  |
|---|
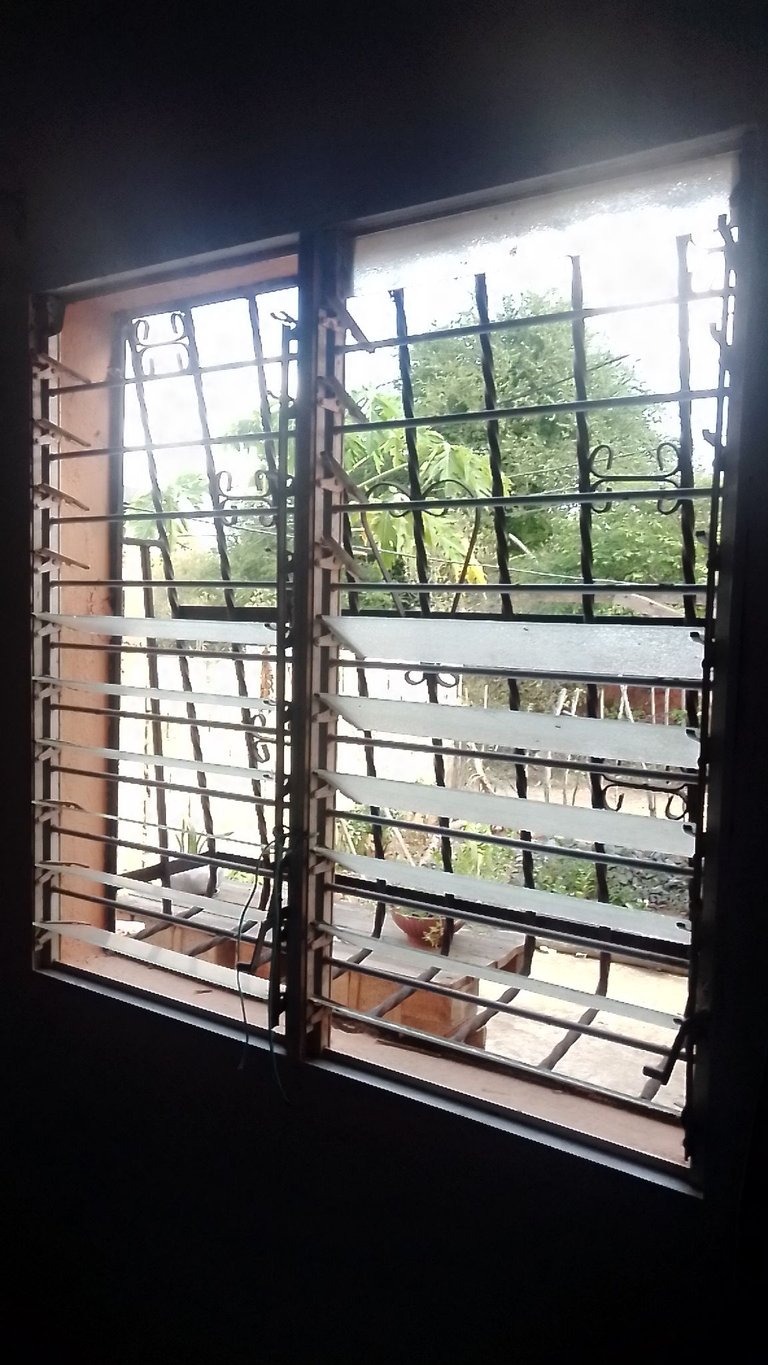
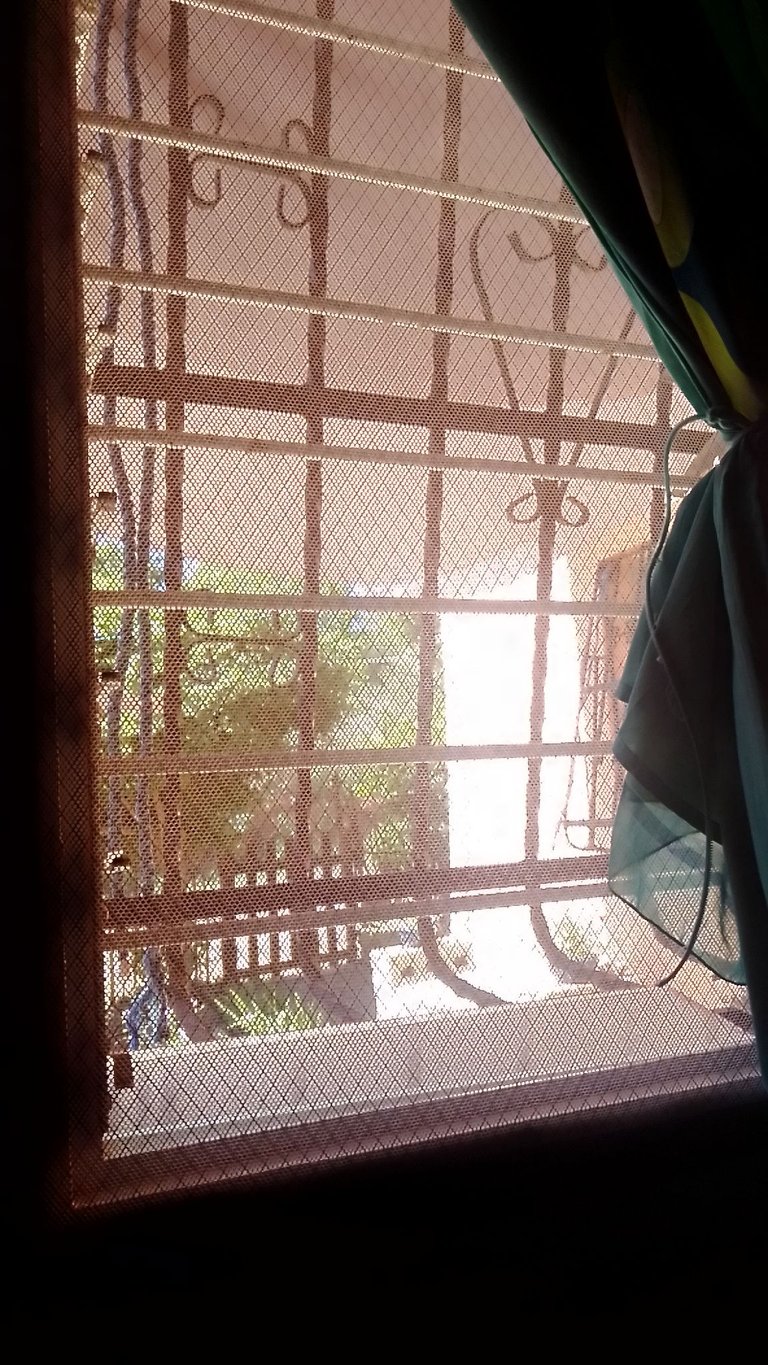
5. Maintenance.
To keep your mosquito net in good condition, be sure to clean it regularly and check that the Velcro is in good condition. If you notice that it has worn out, you can easily replace it.
5. Mantenimiento
Para mantener tu mosquitero en buen estado, asegúrate de limpiarlo regularmente y revisa que el Velcro esté en buenas condiciones. Si notas que se ha desgastado, puedes reemplazarlo fácilmente.
 |  |
|---|
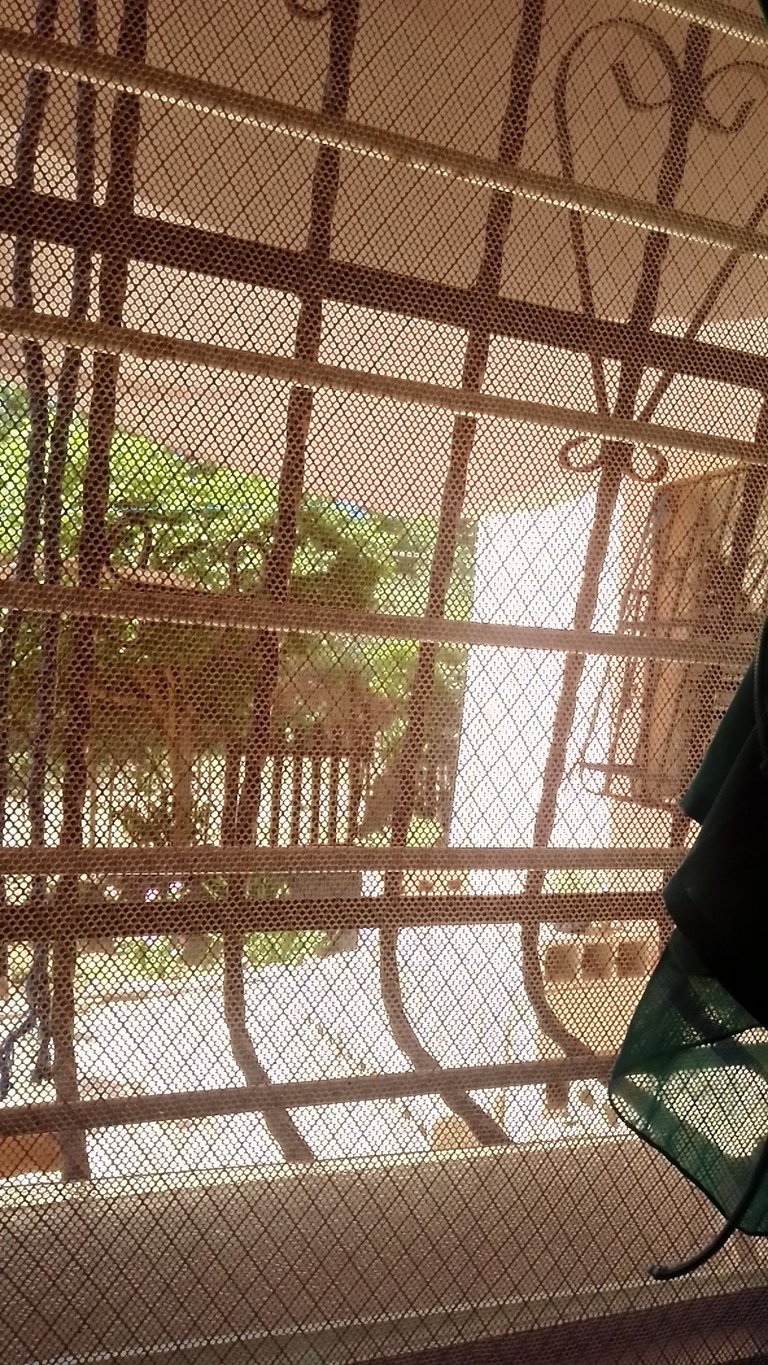
Making a mosquito net for windows with Velcro is a simple and very rewarding task. Not only will it help you enjoy a cooler and insect-free environment, but it is also a project that you can customize according to your tastes and needs. Go ahead and try it out and share your results with the community!
Hacer un mosquitero para ventanas con Velcros o cierre mágico es una tarea sencilla y muy gratificante. No solo te ayudará a disfrutar de un ambiente más fresco y libre de insectos, sino que también es un proyecto que puedes personalizar según tus gustos y necesidades. ¡Anímate a probarlo y comparte tus resultados con la comunidad!
Remember that small changes in our home can make a big difference. happy DIY! 🛠️✨
I hope this post is helpful and inspires many to create their own mosquito netting, I'm sure we in the #Hivediy community would love to see your projects in the comments!
Namaste!🙏
Recuerda que los pequeños cambios en nuestro hogar pueden hacer una gran diferencia. ¡Feliz bricolaje! 🛠️✨
Espero que este post sea útil e inspire a muchos a crear su propio mosquitero. ¡Estoy segura que en la comunidad de #Hivediy nos encantaría ver tus proyectos en los comentarios!
¡Namasté!🙏
📷All photos are my authorship, taken with Alcatel1SE phone. Translated with DEEPL. Graphic compositions made through Canva.
📷Todas las fotos son de mi autoría, tomadas con el teléfono Alcatel1SE. Traducido con DEEPL. Composiciones gráficas realizadas a través de Canva.


