
Un gran saludo a mis amigos de esta linda comunidad, les deseo un fin de semana especial junto a sus niños, ya sea, hijo, sobrino, hermanito o nieto, pues ya que mañana será el día del niño, hoy en esta maravillosa noche les comparto lo que elaboré, he realizado este pequeño obsequio con los pocos materiales que tenía, ya que he estado muy ocupada y no me dió tiempo de ir a comprar más, pero aún así me quedó muy bien, espero a ustedes les guste, ahora les estaré explicando como lo realicé, empecemos... 😁🤗😍
A big greeting to my friends from this beautiful community, I wish you a special weekend with your children, be it a son, nephew, little brother or grandson, because tomorrow will be Children's Day, today on this wonderful night I share what I made, I have made this small gift with the few materials I had since I have been very busy and I did not have time to go buy more, but even so it turned out very well, I hope you like it, now I will be explaining how I did it, let's start... ✏😁🤗😍
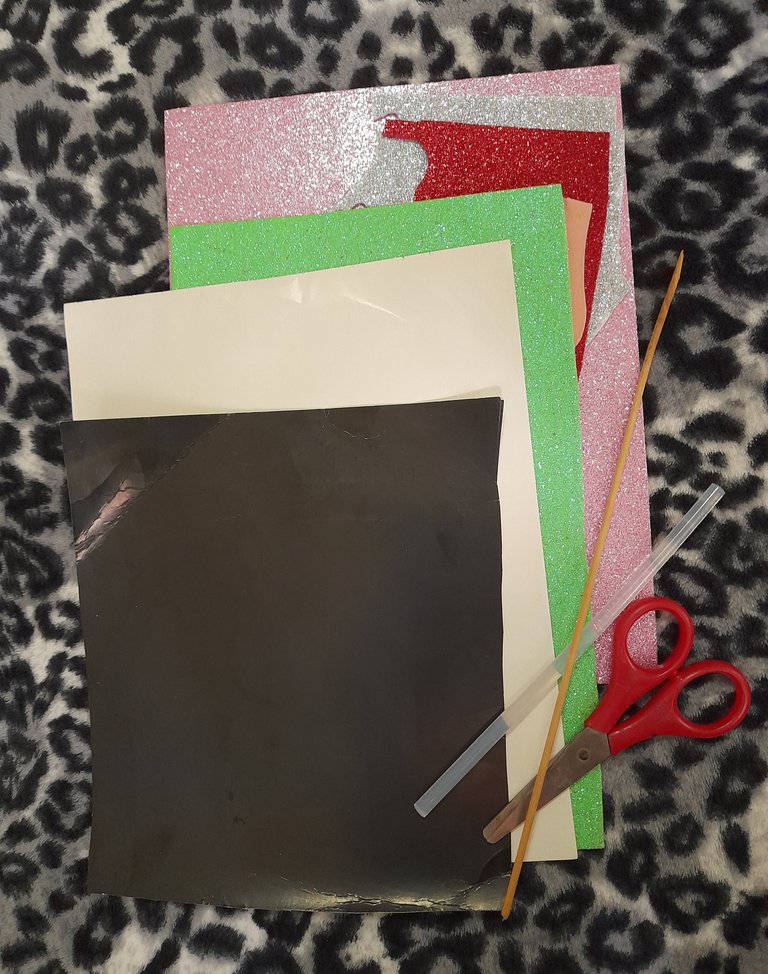
Materiales:
●5 foami (color carne, verde, rosado, rojo, plateado)
●Tijera
●Cartulina( negra, blanca)
●Silicón
●Palito de altura
Materials:
●5 foami (flesh color, green, pink, red, silver)
●Scissors
●Cardboard (black, white)
● silicone
●tall stick
Proceso / Process
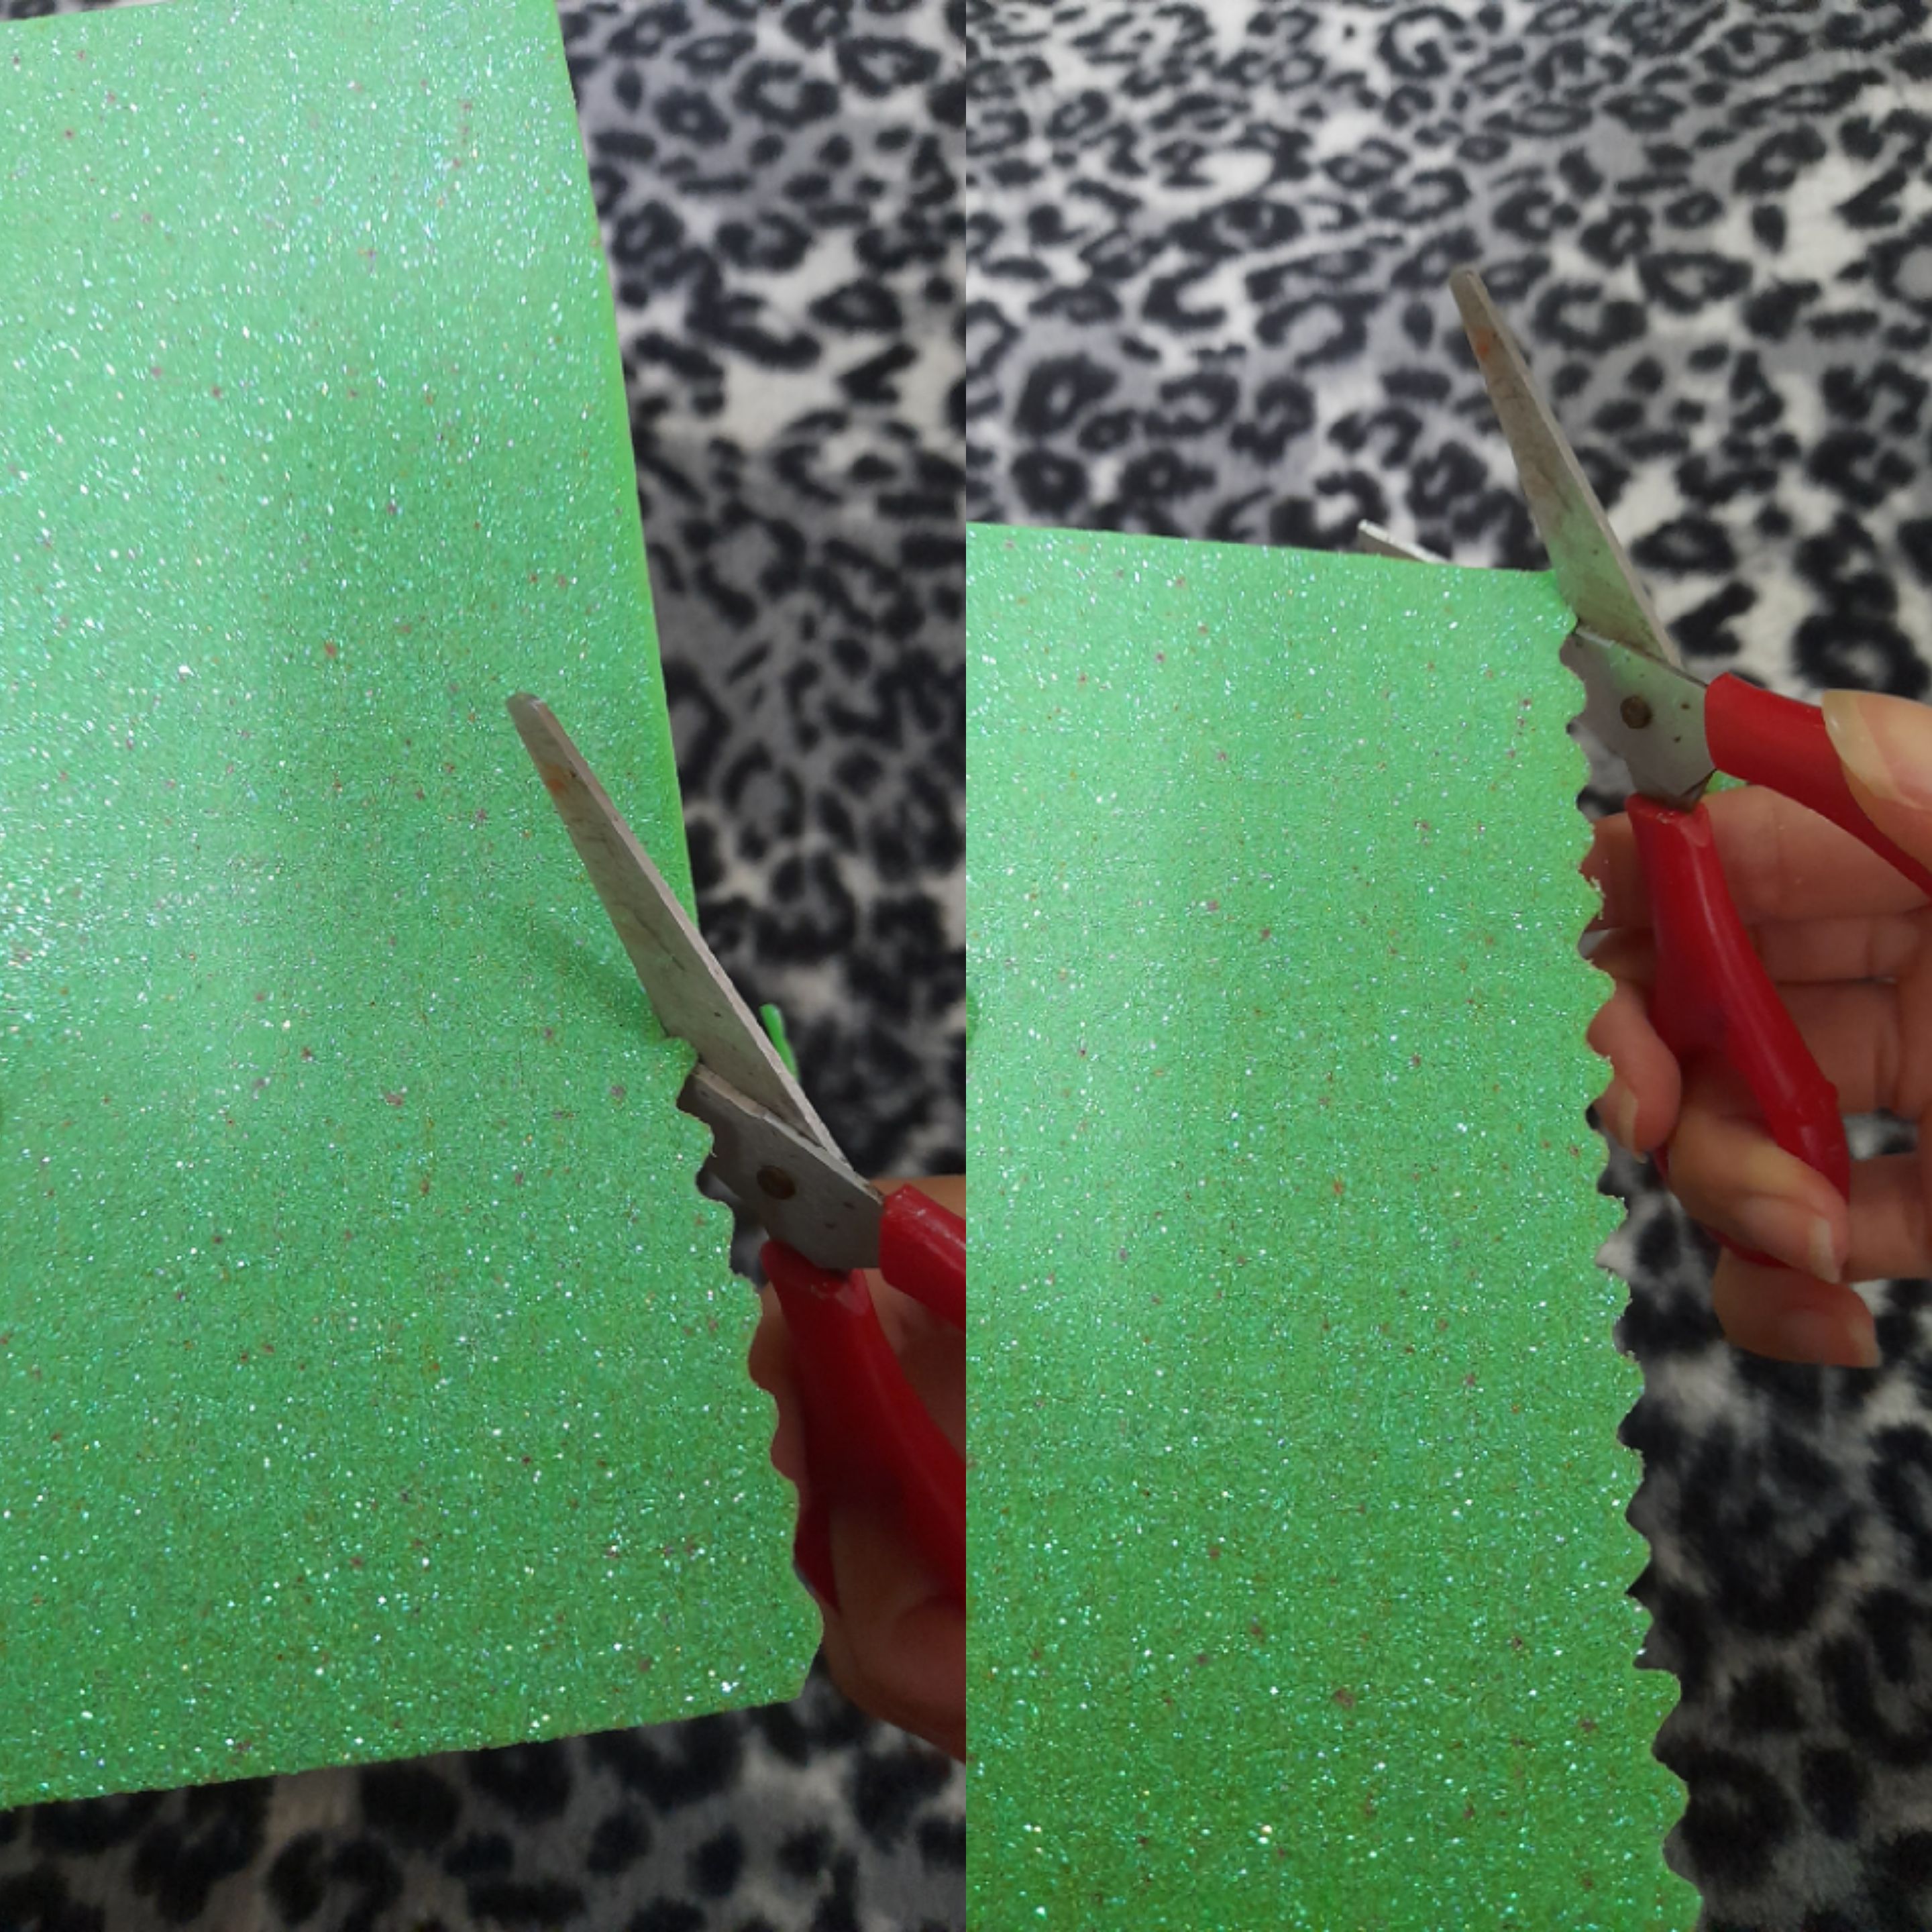
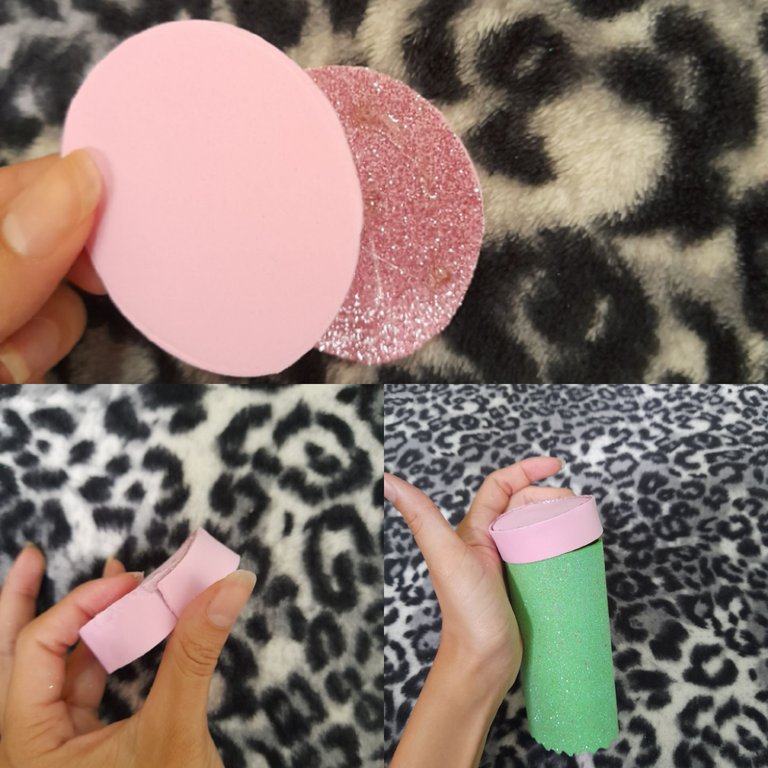
paso 1: Empecé agarrando la mitad de un foami verde y le fuí recortando en forma ondulada ya que no tengo tijera de zig zag.
step 1: I started by taking half of a green foami and I cut it wavy since I don't have zig zag scissors.
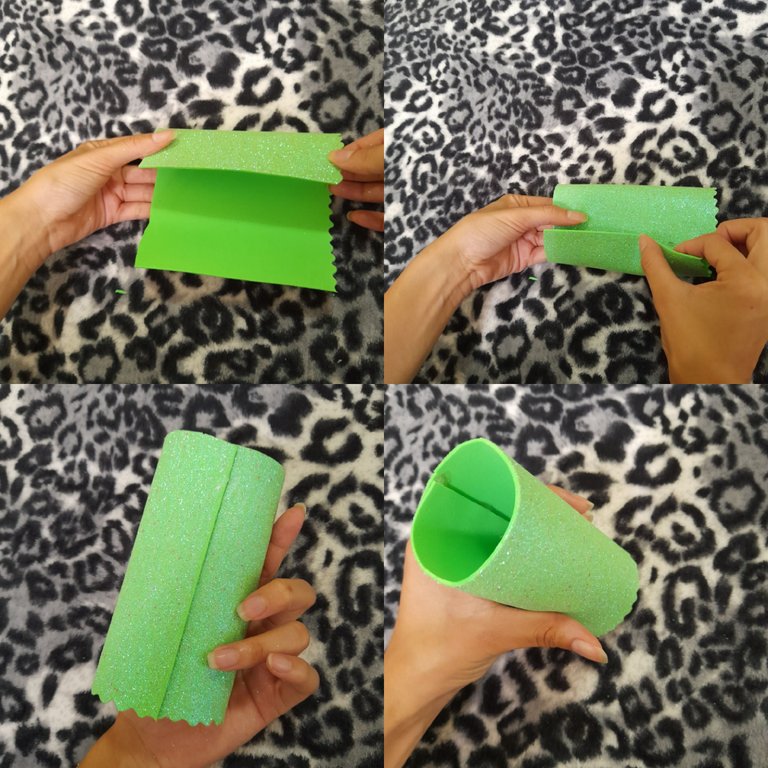
Paso 2: Le fuí dando vuelta, le eché silicón y lo uní.
Step 2: I turned it around, I put silicone on it and joined it.
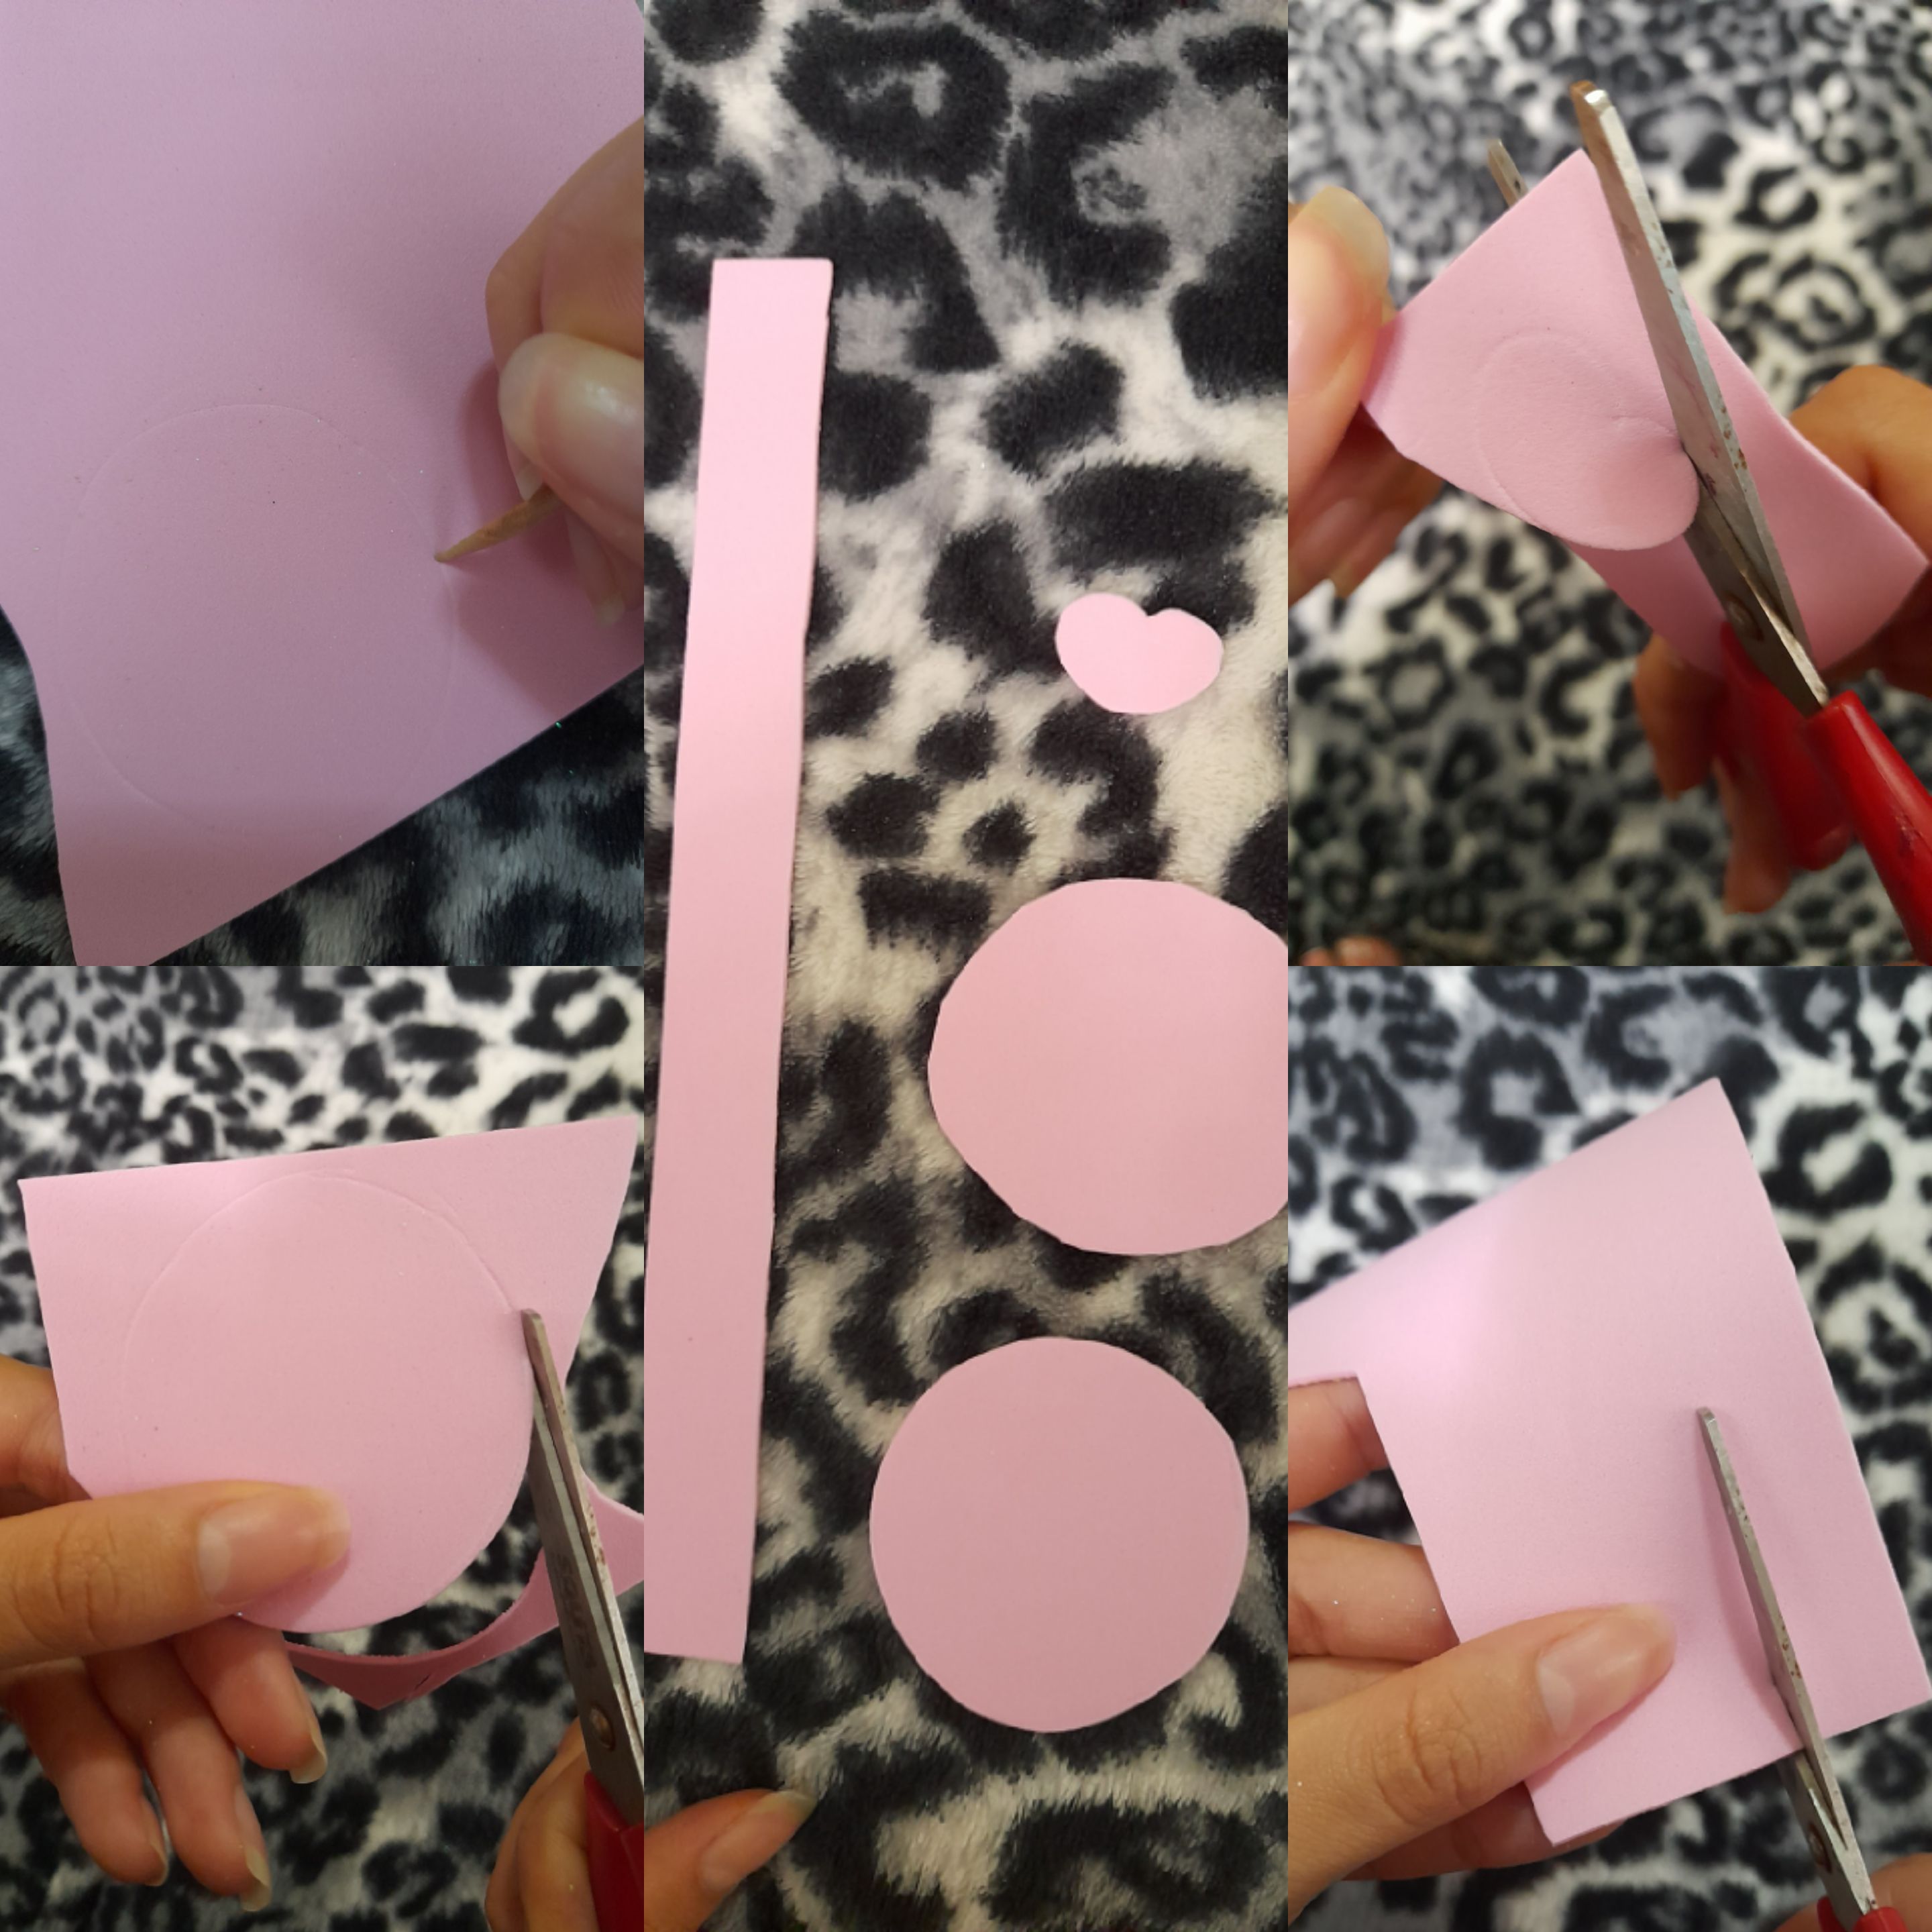
Paso 3: Luego hice dos círculos por que el foami es finito y necesitaba el círculo más grueso, hice una tira como de 3 cm, luego corté una pequeña parte del foami rosado dándole forma de lengua.
Step 3: Then I made two circles because the foam is thin and I needed the thickest circle, I made a strip of about 3 cm, then I cut a small part of the pink foam giving it the shape of a tongue.
Paso 4: pegué los círculos y por los lados le fuí echando silicón para pegarle la tira de foami rosado que había cortado anteriormente.
Step 4: I glued the circles and on the sides I poured silicone to glue the strip of pink foami that I had previously cut.
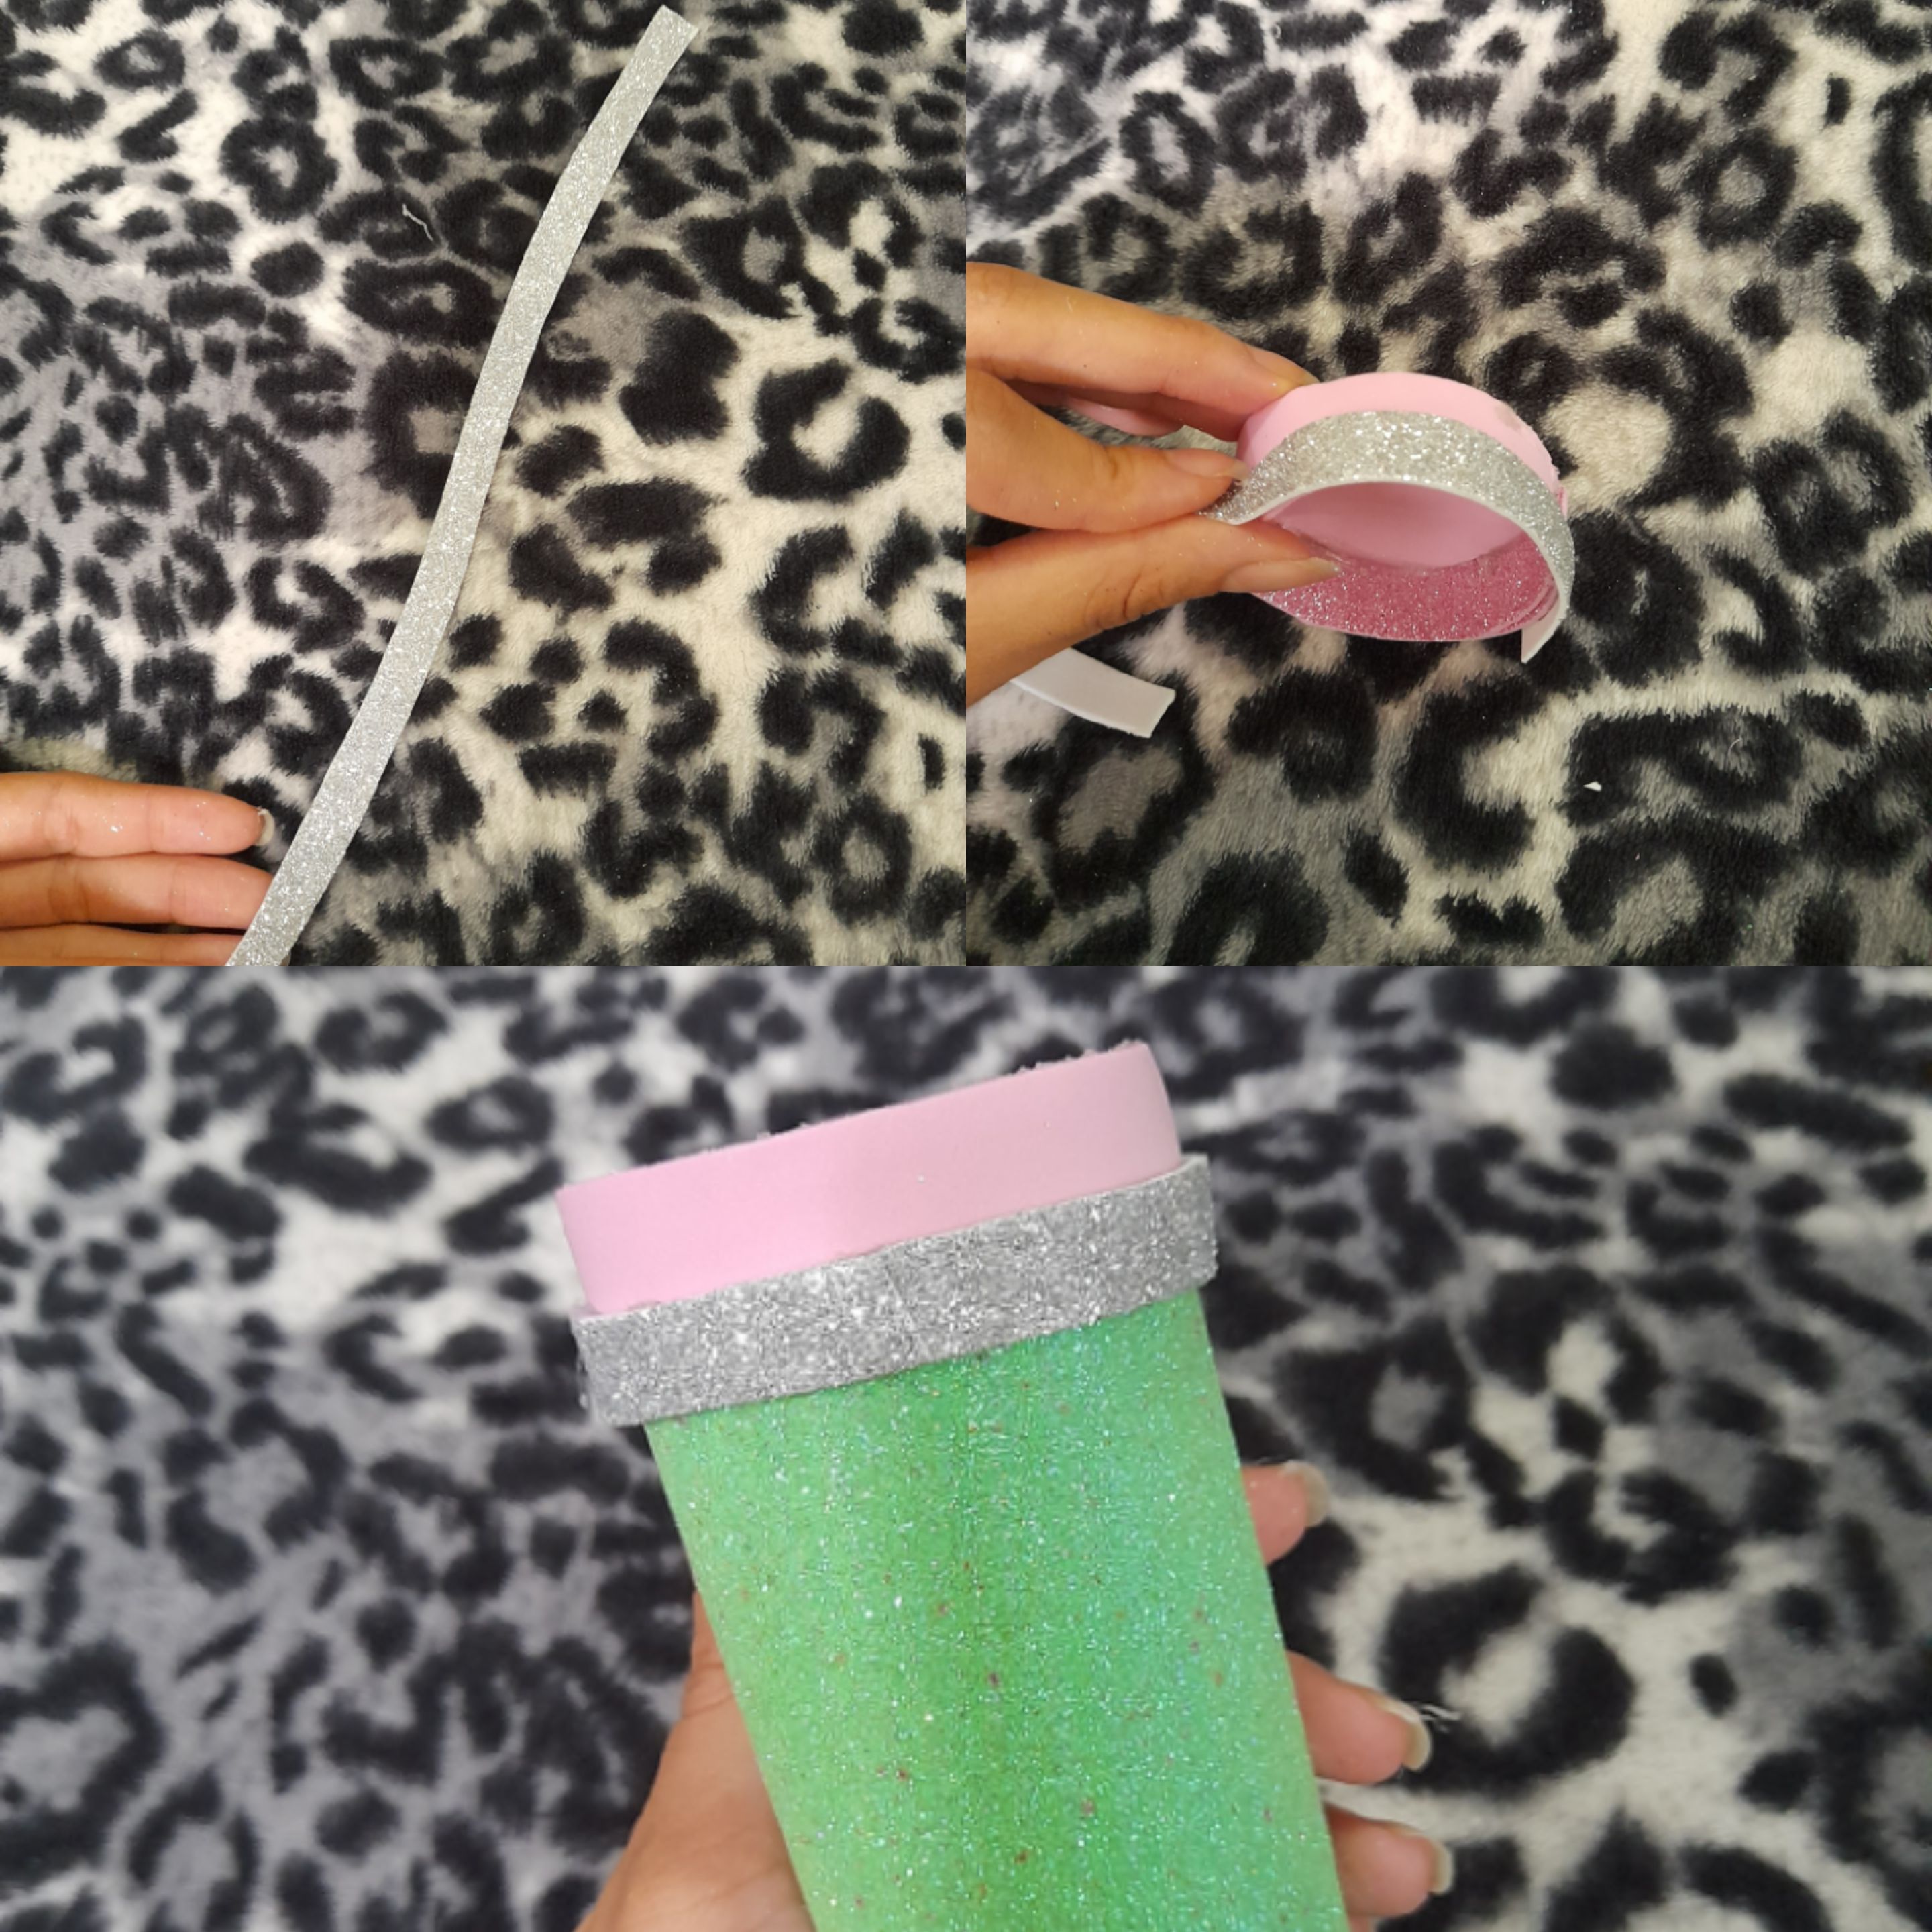
Paso 5: en este paso hice una pequeña tira con el foami plateado para darle ese toque que tienen los lápices, luego se la pegué por los alrededores.
Step 5: in this step I made a small strip with the silver foam to give it that touch that pencils have, then I glued it around it.
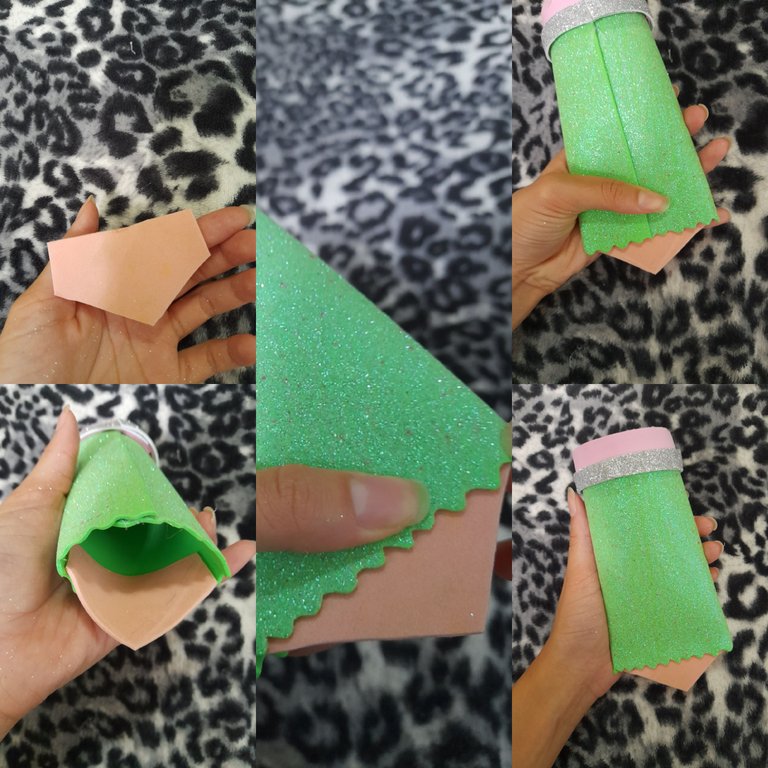
Paso 6: He agarrado el foami color carne para hacer la forma puntiaguda del lápiz, entonces así lo pegué muy bien para que no se salgan los dulces que le voy a meter.
Step 6: I have taken the flesh-colored foam to make the pointed shape of the pencil, so I glued it very well so that the sweets that I am going to put in it do not come out.
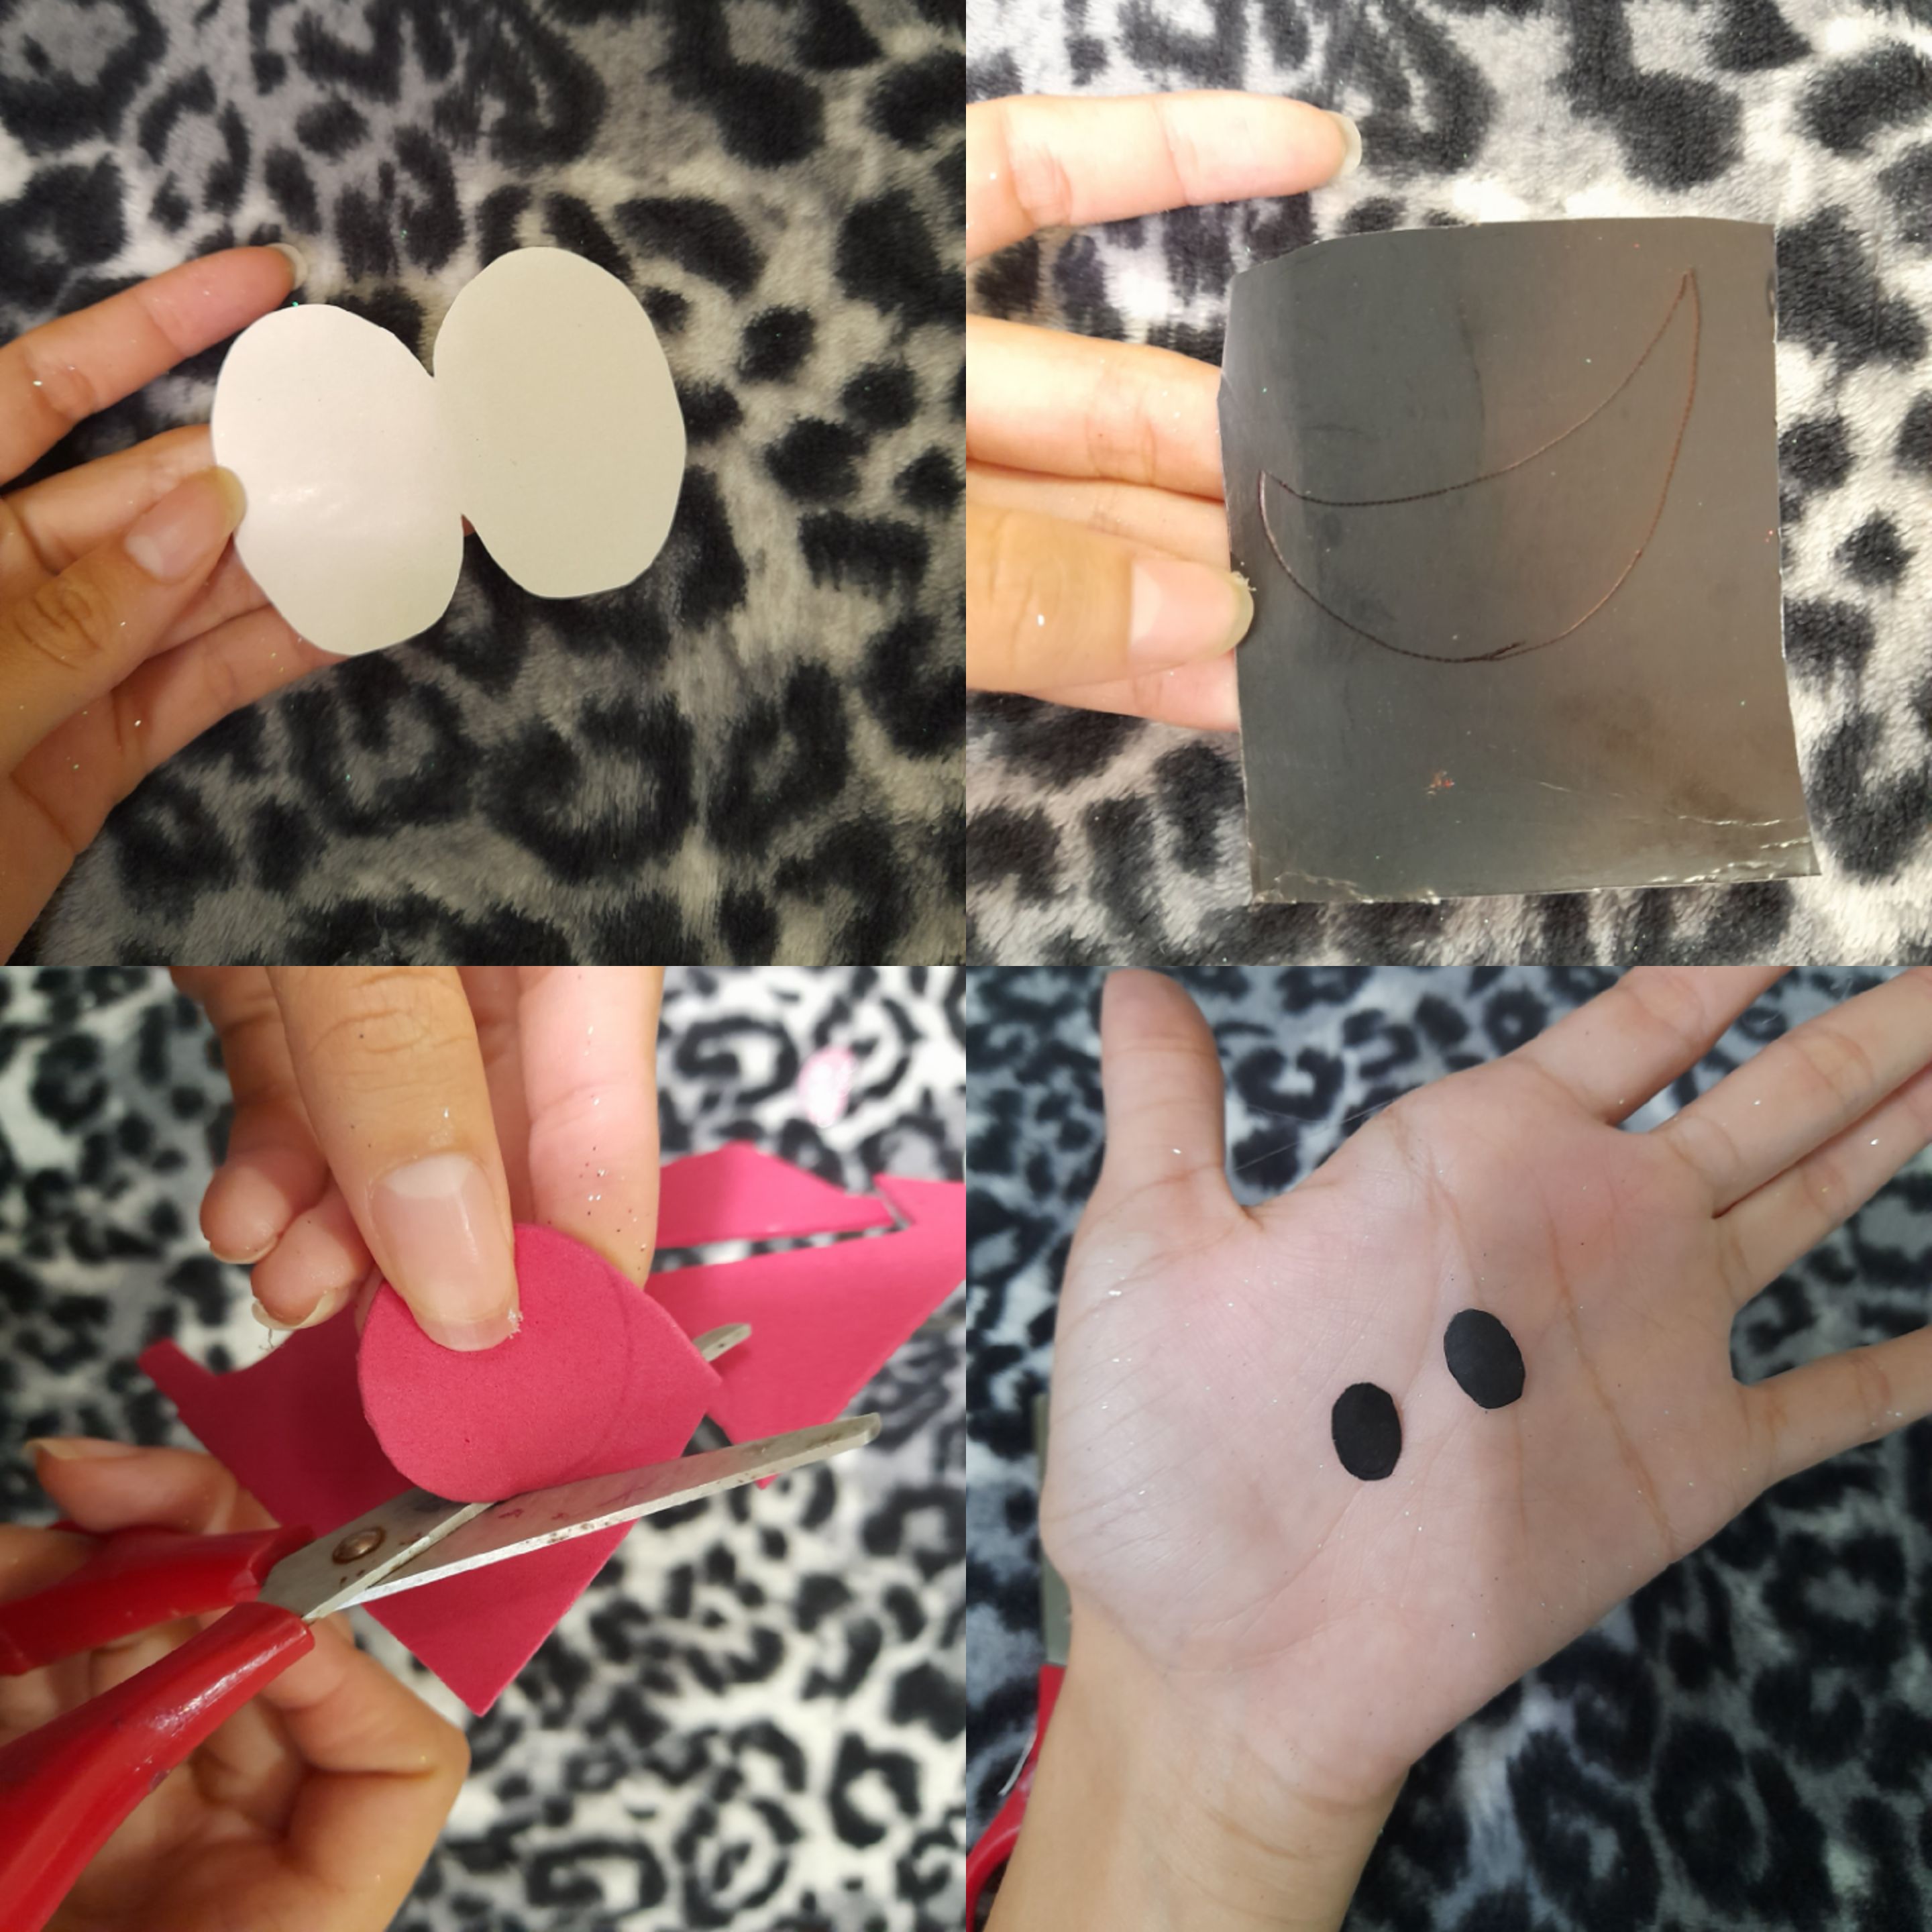
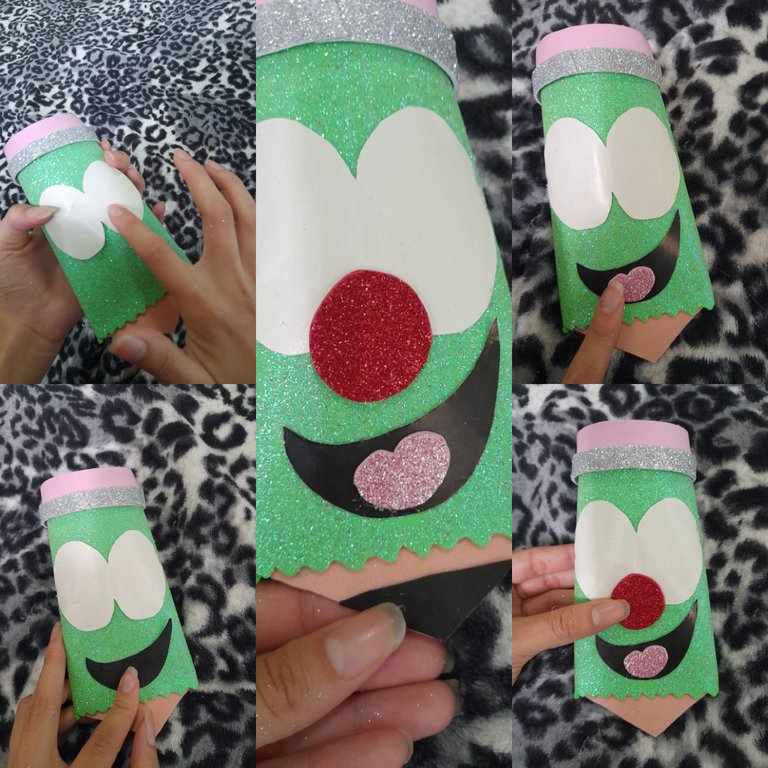
Paso 7: Próximamente he hecho formas como la nariz, ojos, boca y pichita del ojo y también la punta del lápiz, fuí pegando todo poco a poco y así se fué viendo muy lindo.
Step 7: Next I have made shapes like the nose, eyes, mouth and little eye and also the tip of the pencil, I was sticking everything little by little and so it was looking very cute.
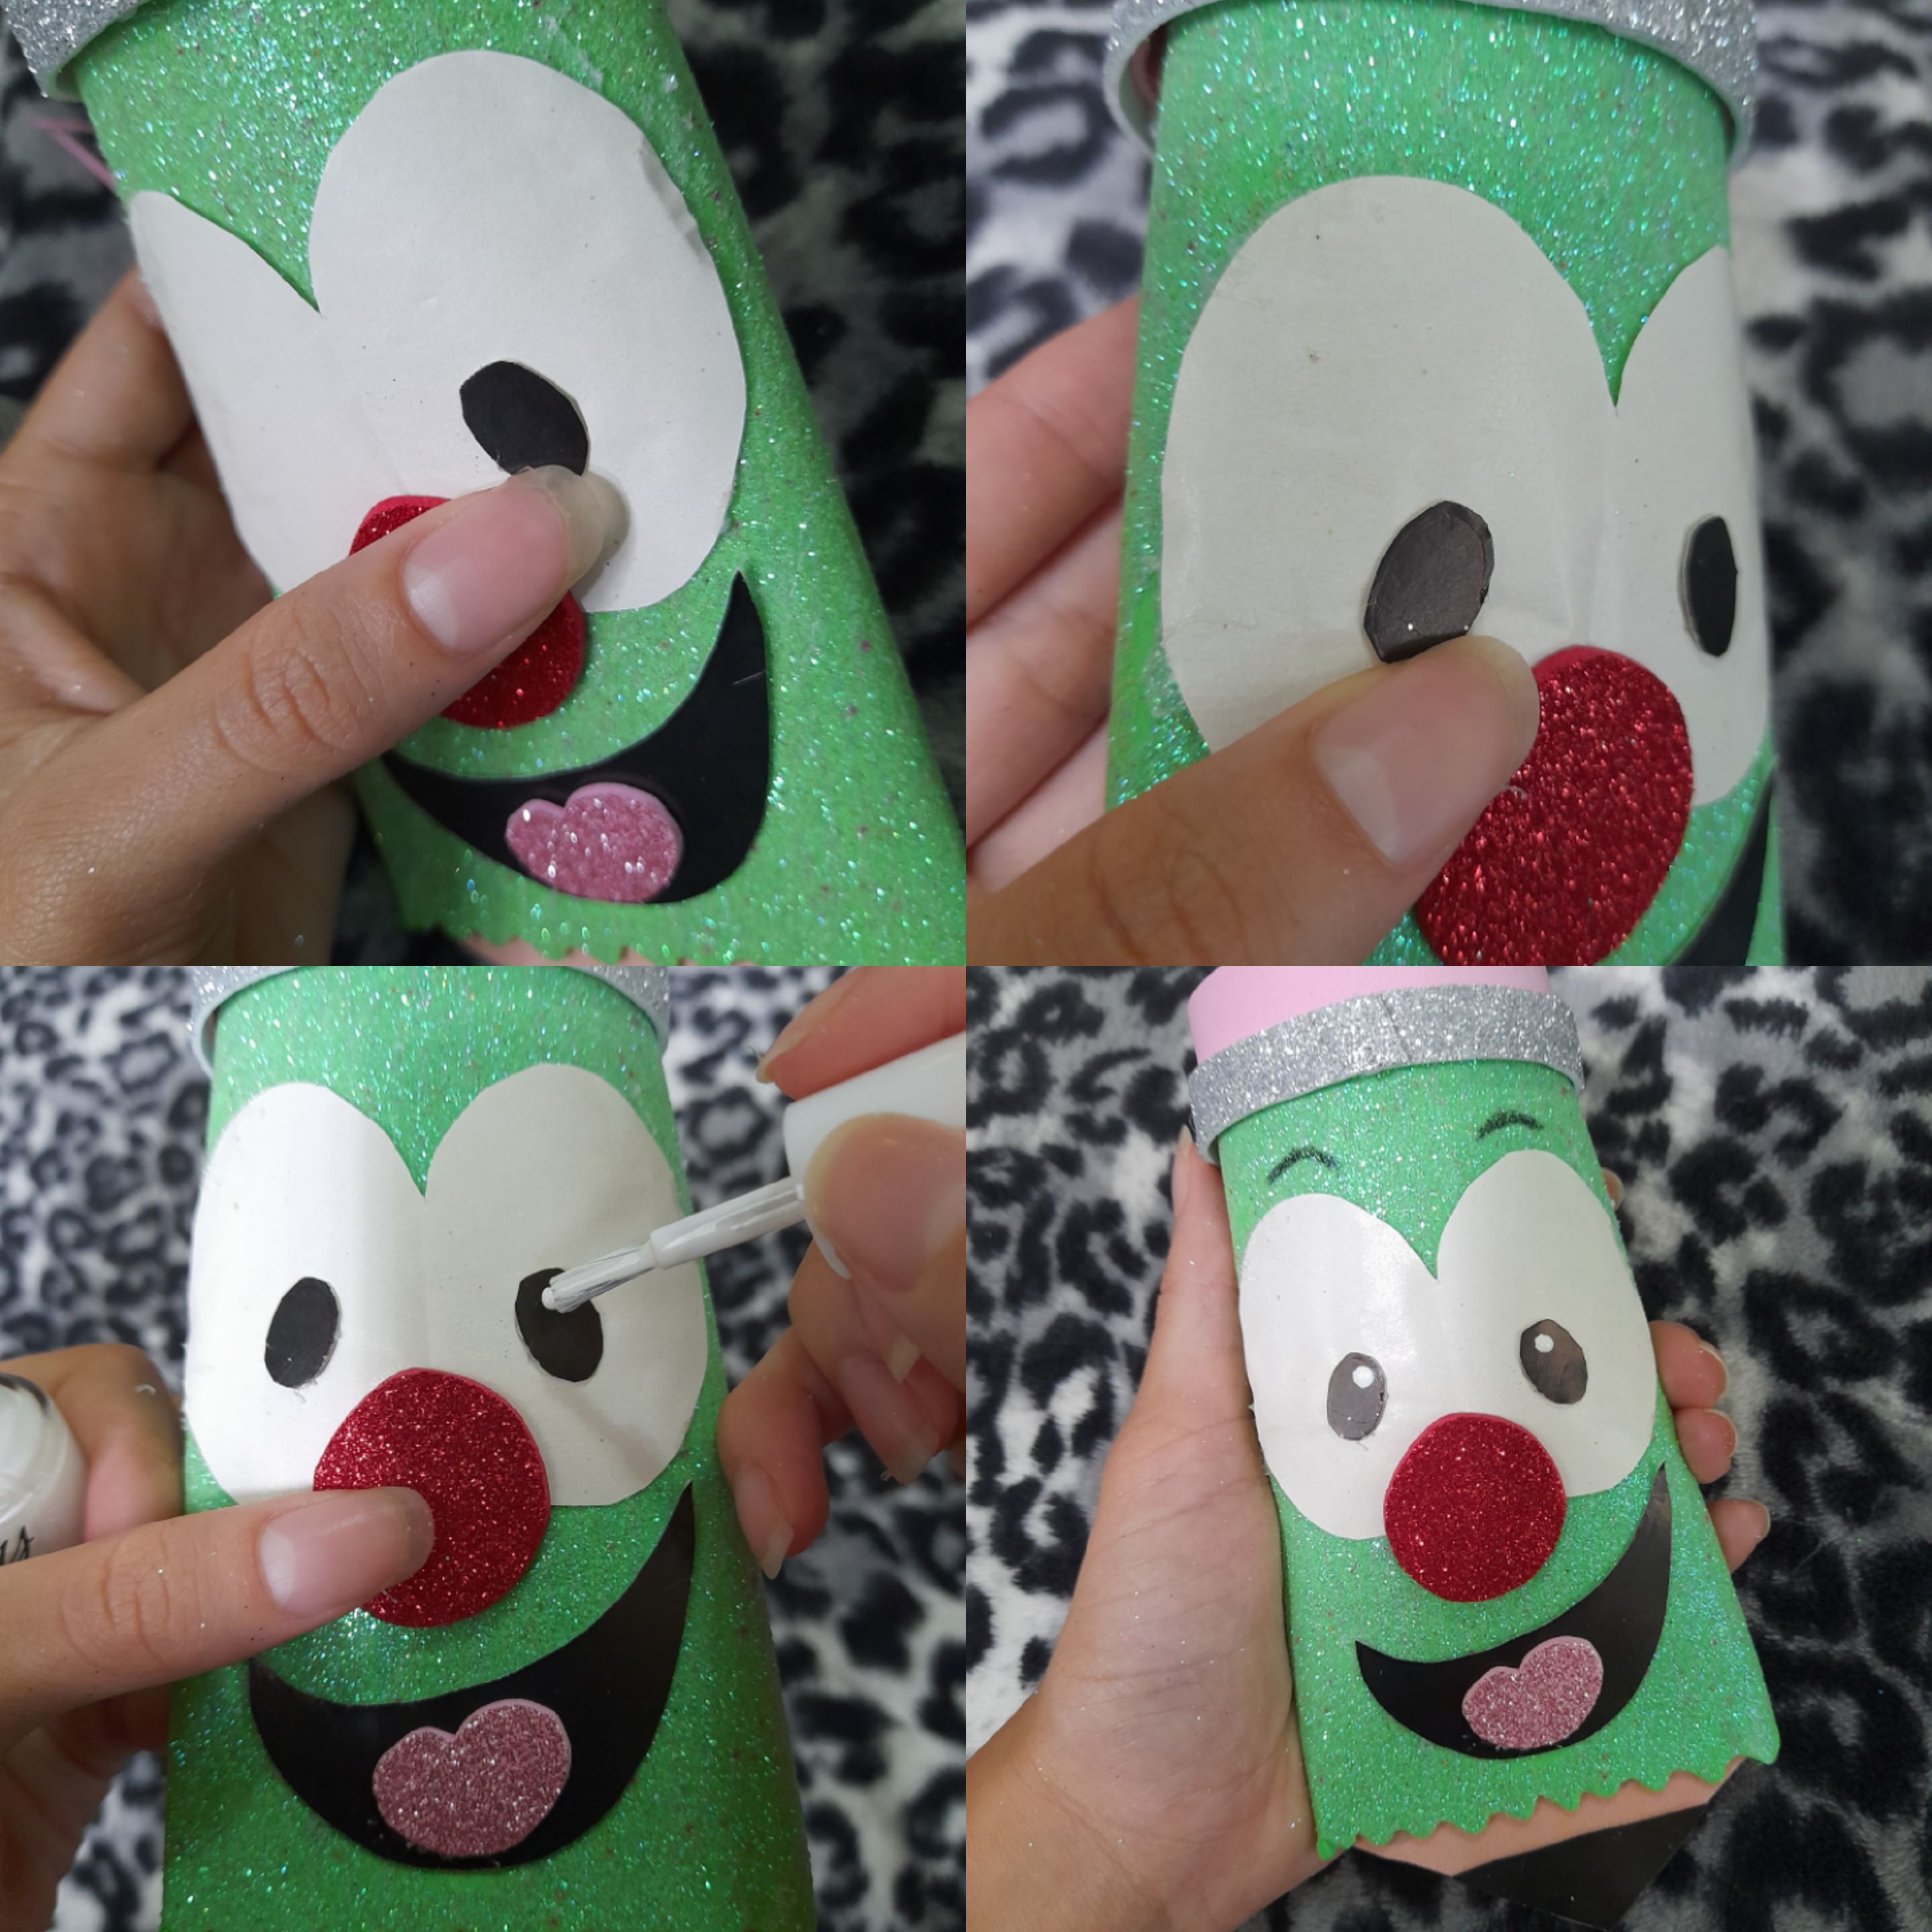
Paso 8: Ya que había pegado todas las formas de la cara, faltaba algo, eran las cejas y el punto blanco dentro del ojo, como no tenía pintura blanca decidí hacerlo con una pintura de uñas que tenía.
Step 8: Since I had glued all the shapes of the face, something was missing, it was the eyebrows and the white dot inside the eye, since I didn't have white paint I decided to do it with a nail paint that I had.
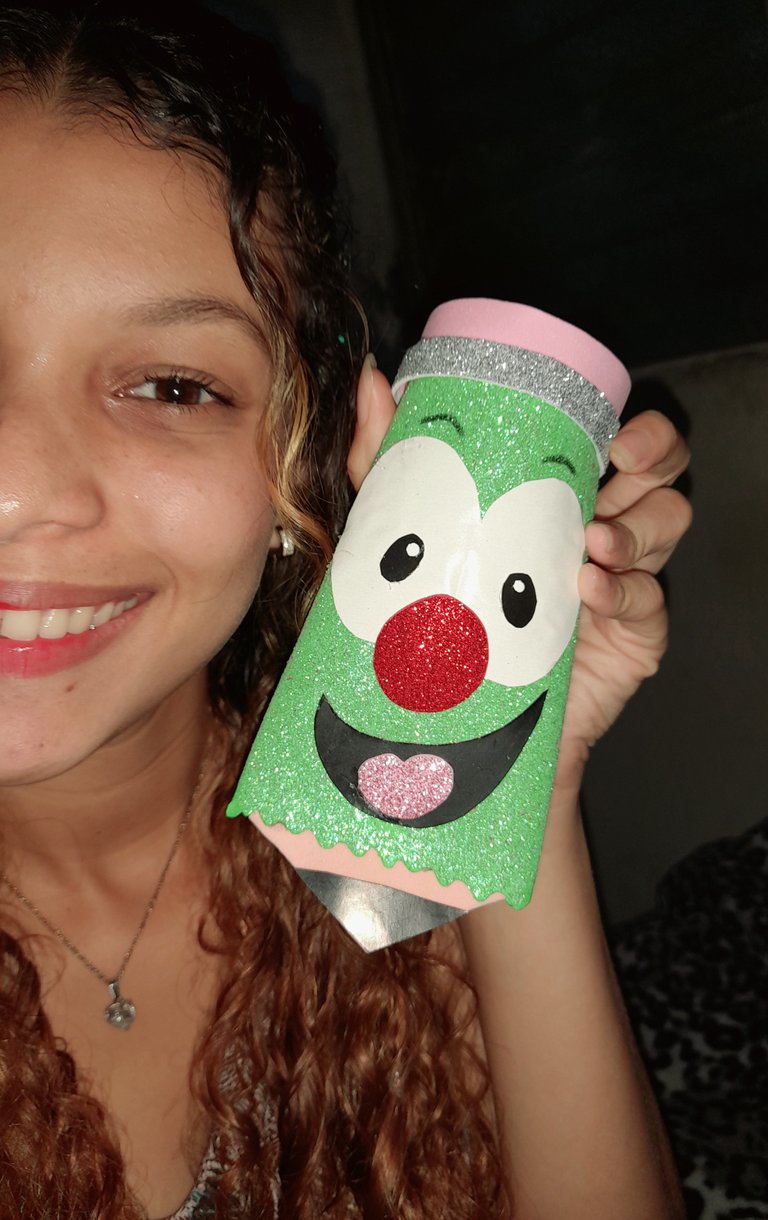
Pues aquí ya lo había terminado, mañana le meto los dulces, yo estaba muy contenta por que a pesar de que no tenía mucho material, lo hice con lo poco que tenía, pedacitos de foamis y cartulinas que me quedaban, con poco se puede hacer mucho.
Well here I had finished it, tomorrow I'll put the sweets in it, I was very happy because even though I didn't have much material, I did it with what little I had, bits of foam and cardboard that I had left, with little you can do a lot.

GRACIAS POR VISITAR MI POST, QUE TENGAN UNA LINDA NOCHE
THANKS FOR VISITING MY POST, HAVE A NICE NIGHT
Todo el contenido es de mi autoría y las imágenes son de mi propiedad @luisangelis
All content is my own and the images are my property @luisangelis


