Wreath
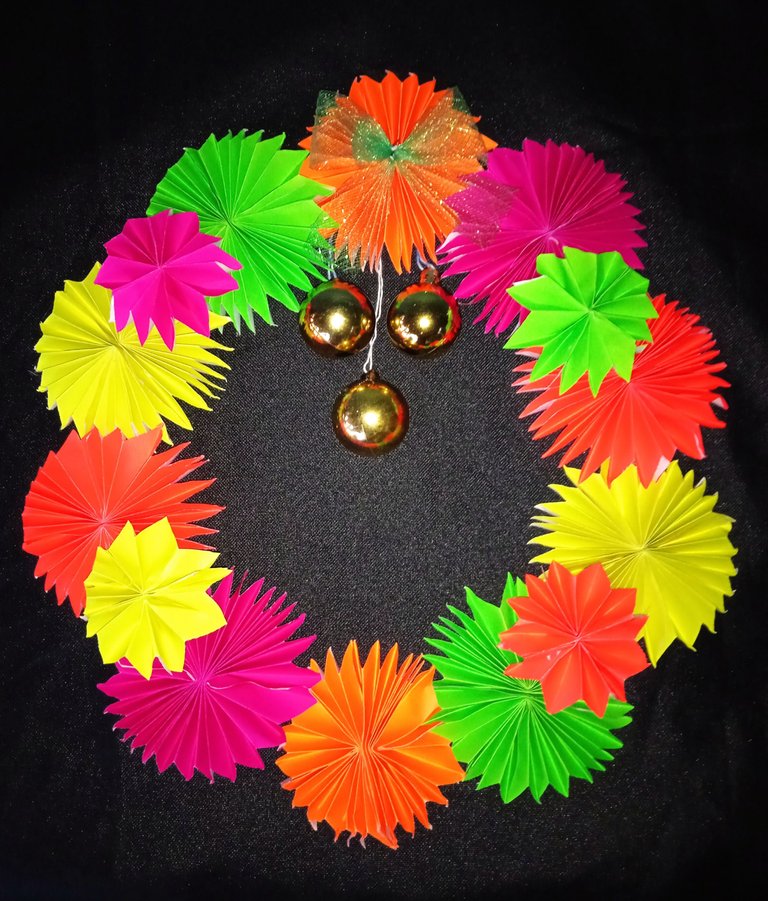
Hang to fill our home with holiday cheer, they're made in circles - with no beginning or end - to symbolised the endless connection we have with family and dear friends
Greetings everyone,
In the Philippines, most of us are the ones who celebrate the longest time to rejoice Christmas season. Most of us started to greet Christmas at "Ber" months and sometimes even in the new year we still manage to include Christmas as part of the new year gatherings. But before that day you can see a lot of different Christmas decorations which are very present in every home to fill its presence.
Now, I want to show you my DIY Christmas wreath just to add some nice vibes to celebrate Christmas in my tiny home. Hence, I don't like to spend a lot on that thing so I decide to use some recycled decor from the past Christmas and cheap material to be precise.
Last Christmas season I used to do DIY Christmas trees and other stuff and this would be my first DIY wreath, so these are the materials and how much I spent on it.
Materials I used
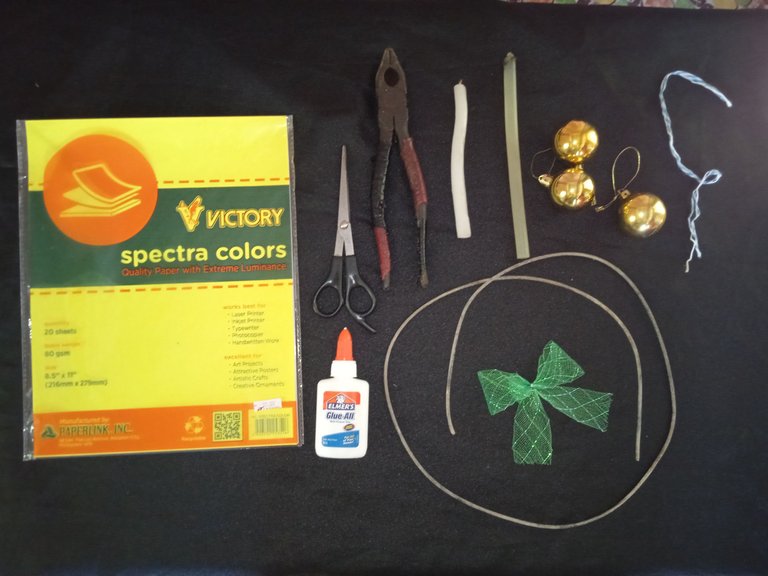
- coloured paper
- glue
- glue stick
- candle
- old wire
- old Christmas balls and ribbon.
- ties
- scissor
- fliers
I only spent on the coloured papers 25 pesos (0.50$) and glue sticks at 5 pesos (0.10$) and the rest are reused and recycled. In total, I only spent 30 (.60$) pesos on this Christmas wreath.
procedures
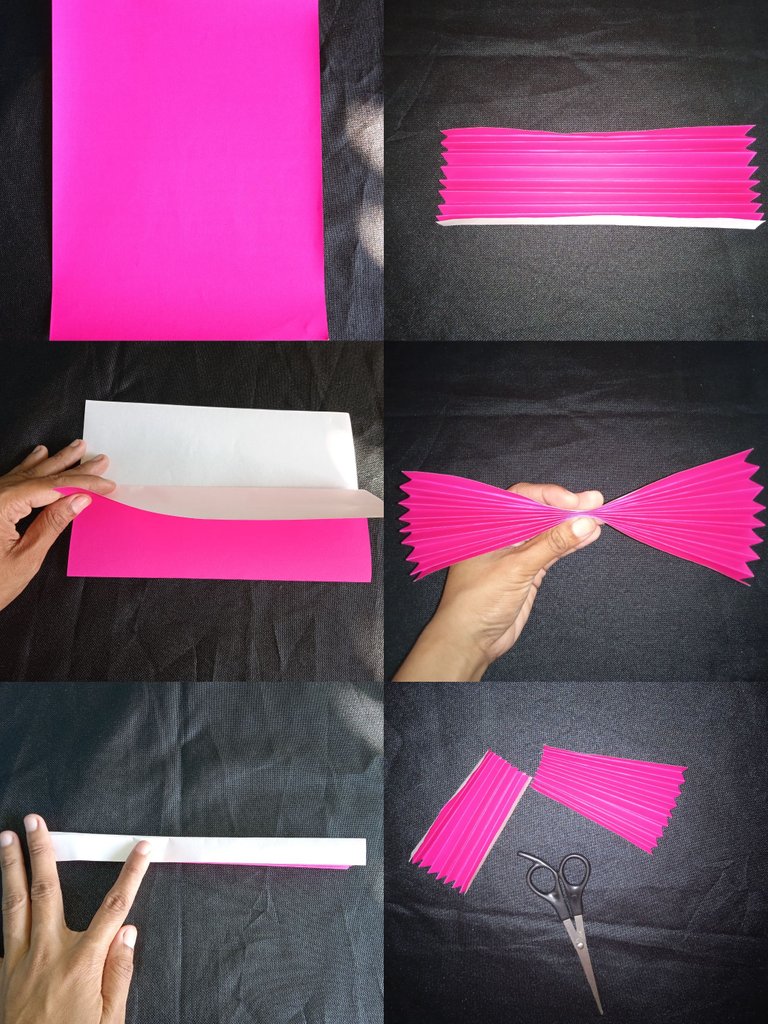
- the first step is to make a fold at the centre and another one on
each side until you finish folding into small strips. Find the centre and cut to make two materials for our flowers.
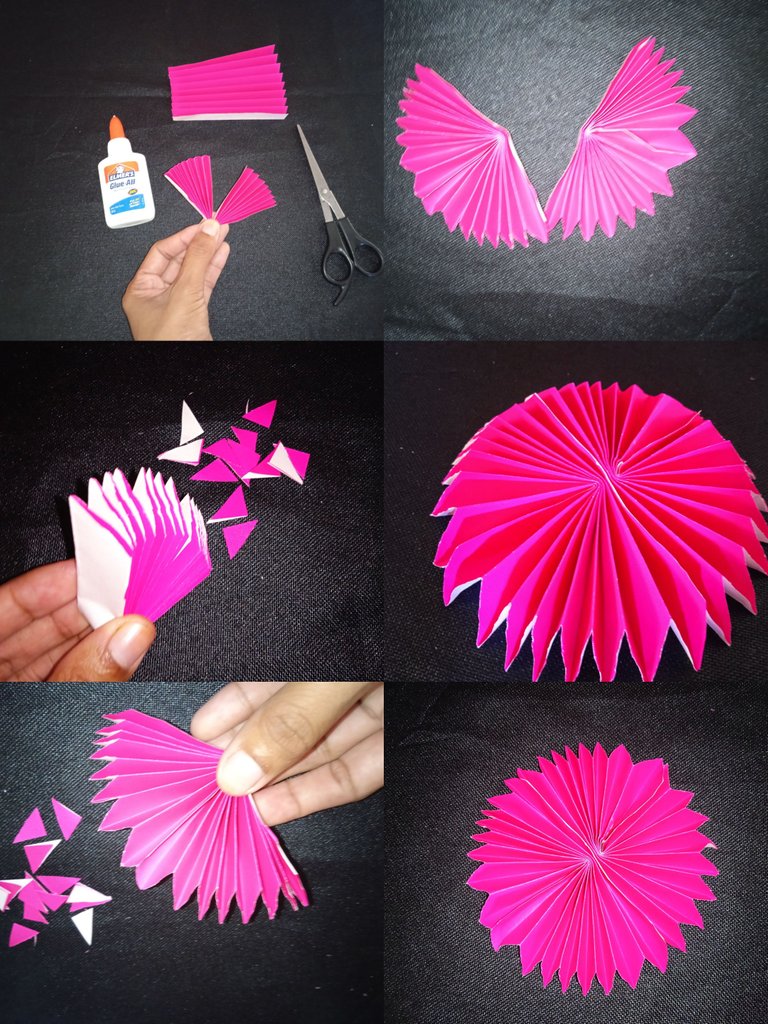
- Now it's time to make petals. Just make another fold in the centre with the strips we made, make a cut on the sides and connect the edges with glue. Finally, you can form a flower.
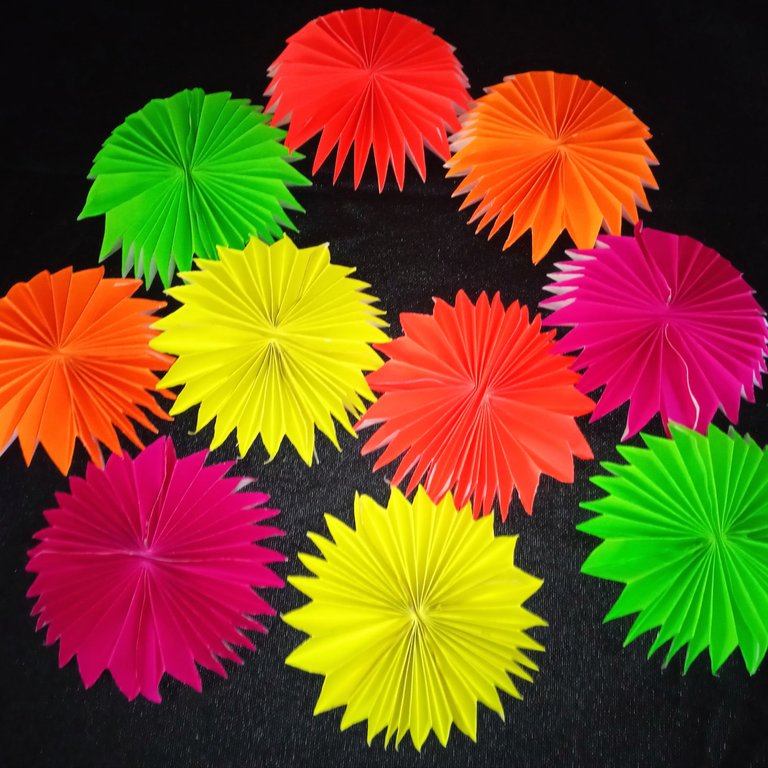
I also made some small ones. Just repeat the process and adjust the size by cutting a few inches.
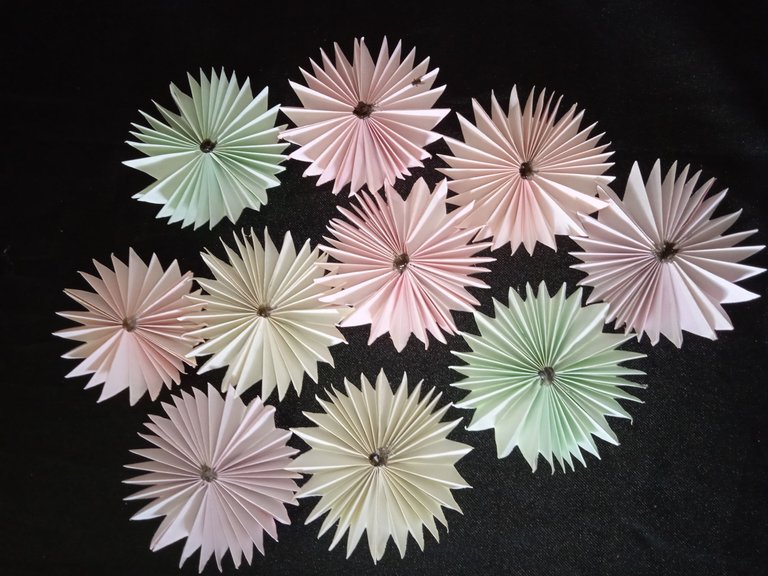
- At this moment when I all have the flowers time to arrange and attach them to the wire (wire assembled into a circle by using the fliers). I used a glue stick and a candle since I don't have the gun. I glued the back portion first before attaching it to strengthen them.
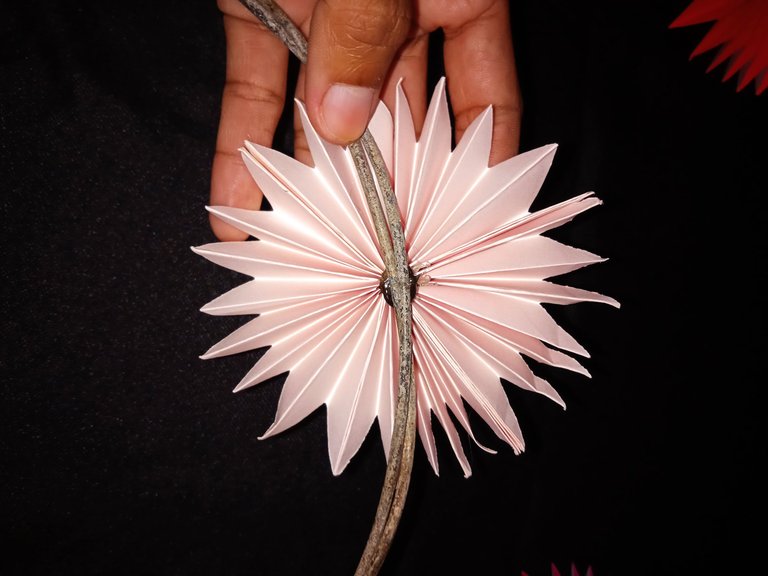
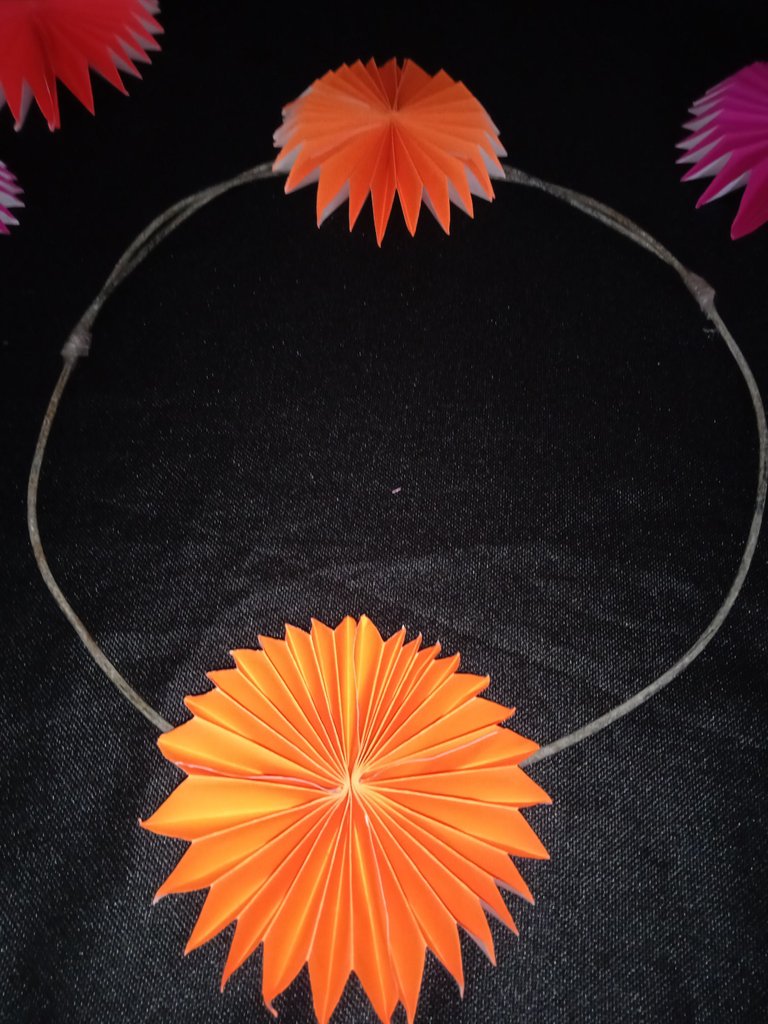
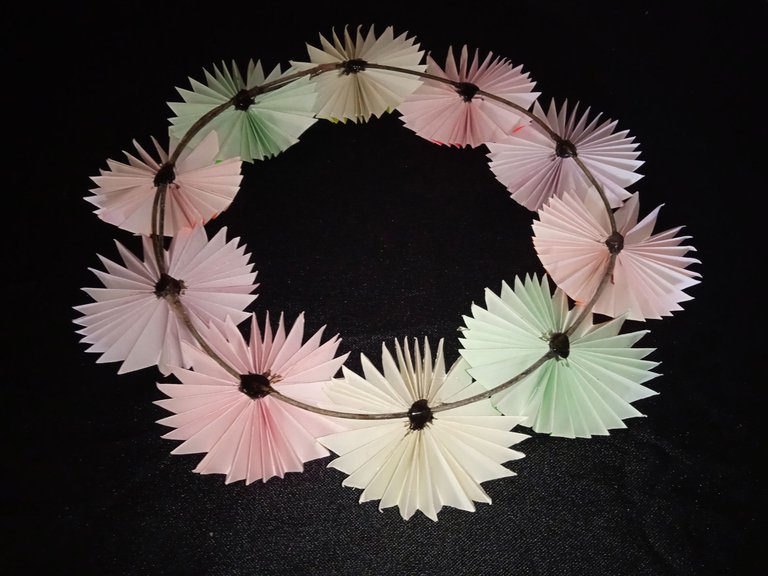
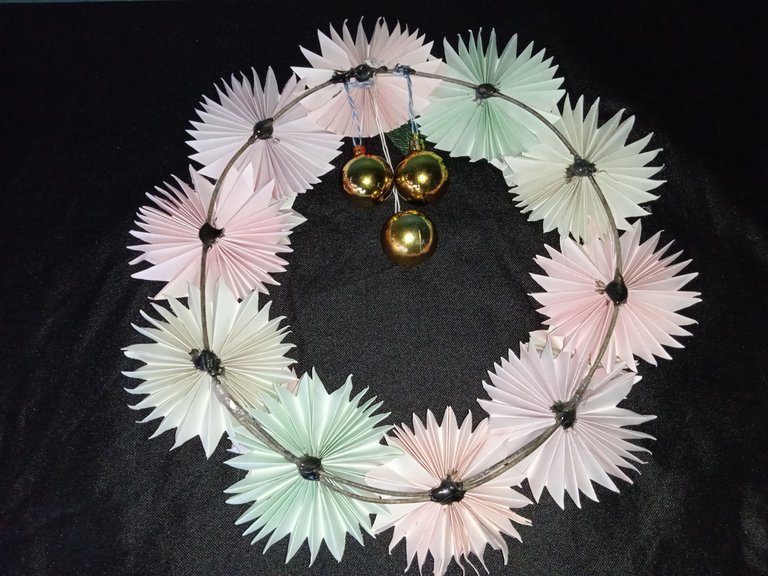
- Next, I tied the balls and attach the ribbon for a finished product. Note that I wash my old Christmas decor to look fresh. Lastly sealed the back with more glue to hold strong.
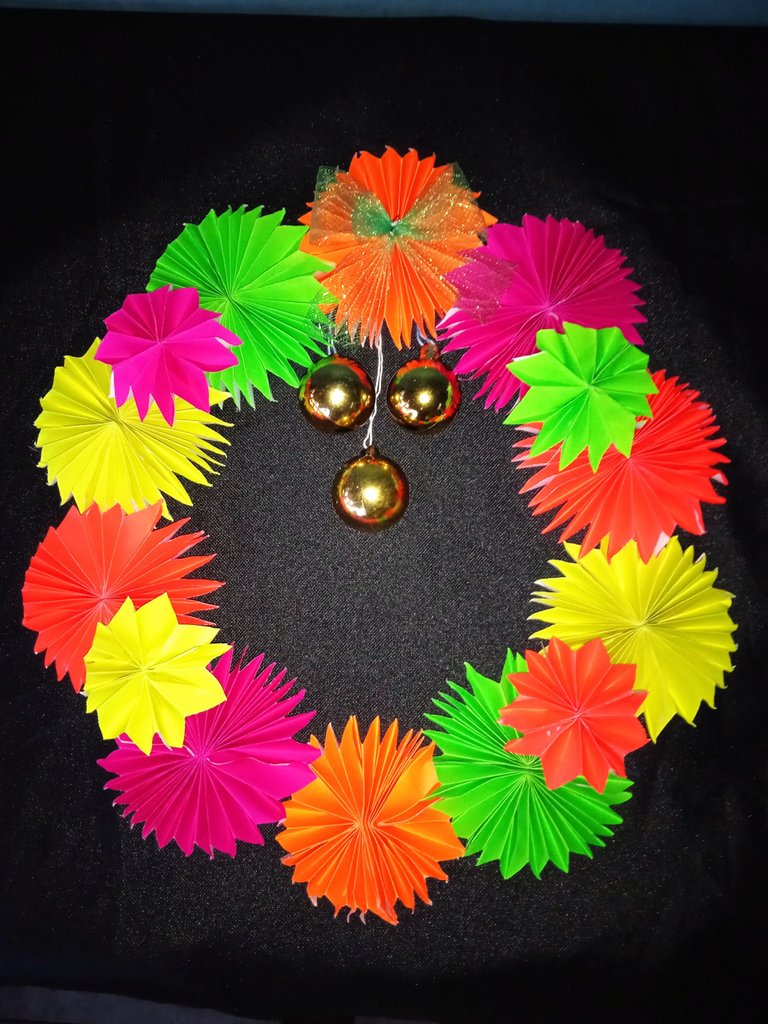
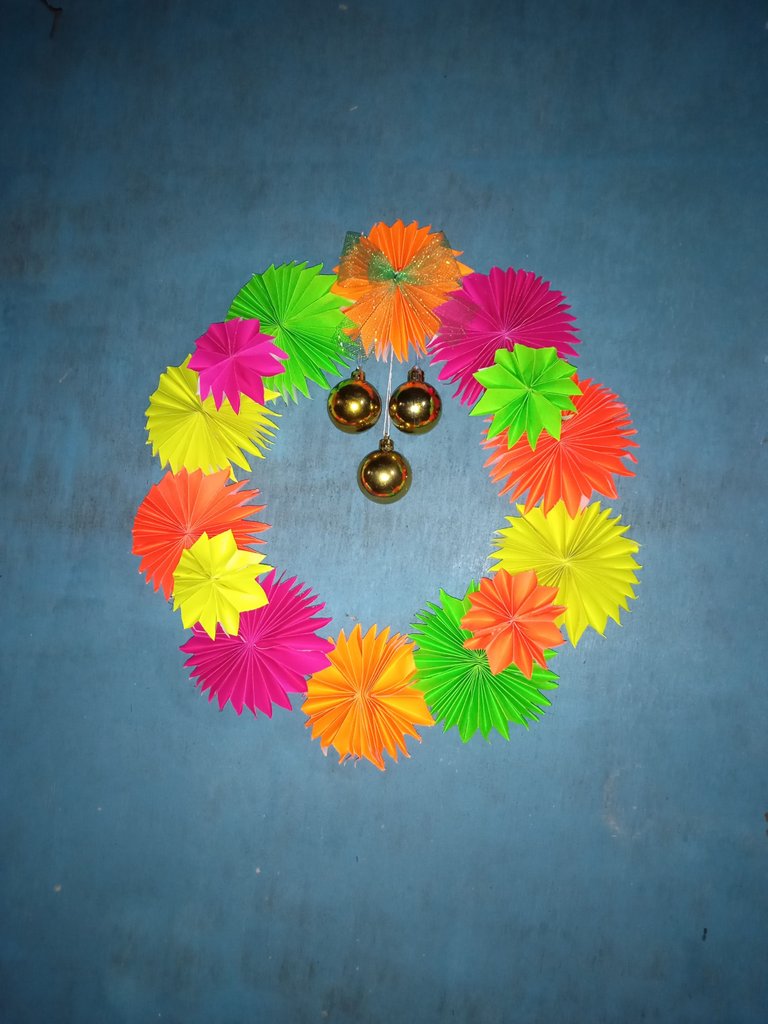
At first, I put it on the wall but then I realised that the wreath is for doors.
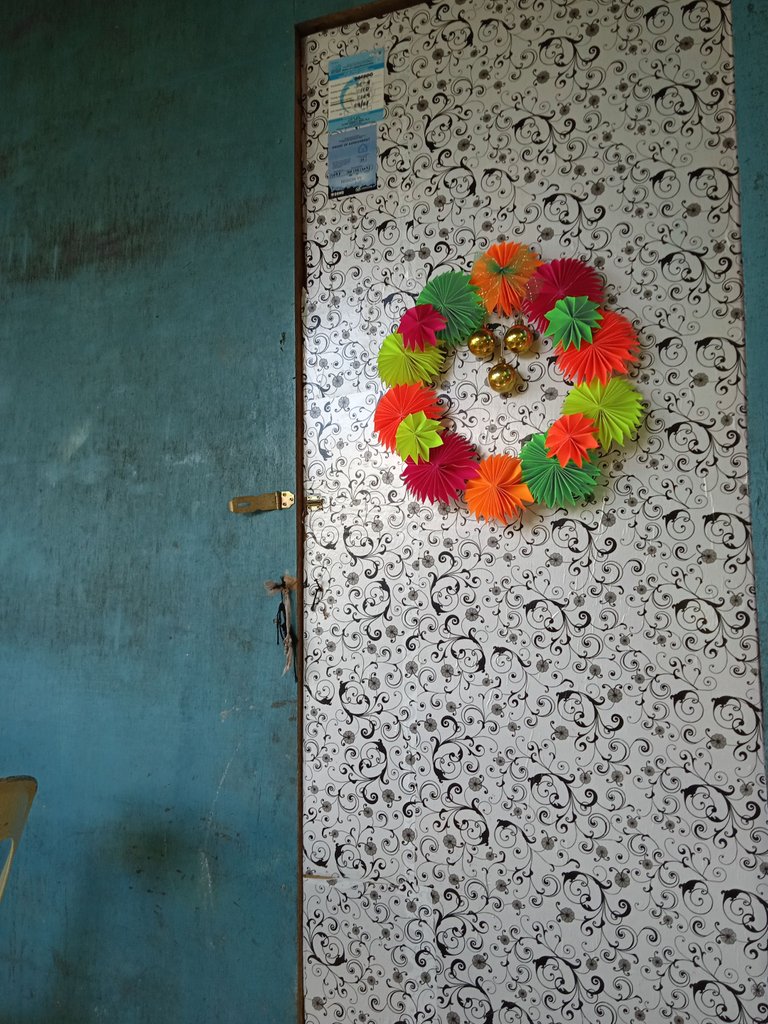
So, here it is my wreath on my door. If you're confused, yes! it's really our door 😁.
Thanks for dropping by!
Happy Holidays everyone.🎉

