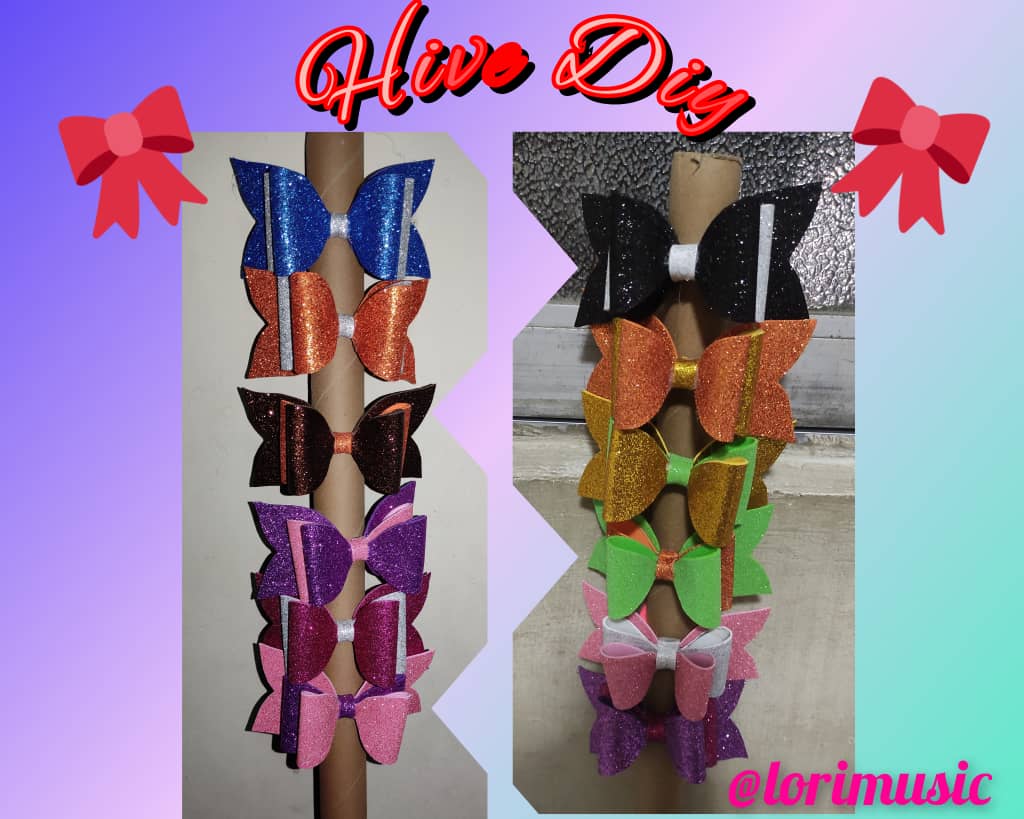
Hola que tal se encuentran mis queridos amigos de #hive, en especial a la comunidad de #hivediy, espero que se encuentren super bien! y que sea hoy sea un dia lleno de Bnediciones para todos ustedes. Estaba un poco ausente debido a que andaba ocupadita en mi nuevo trabajo pero dia de hoy tengo el dia libre y el tiempo disponible para compartir con ustedes esta sencilla y linda manualidad, se trata de una hermosas moñeritas para el cabello en forma de lazo, la misma fue realizada con foami tambien se le conoce como goma eva, elabore varias de distintos colores muy colorido de foami escarchado. Aca le estare dejando mi contenido y el paso a paso de este sencilla y simpatica manualidad ya que puede ser de mucha ayuda para todos porque seria un medio de ingreso para todo aquel que le gusta y desea emprender. Espero que mi presencio sea de su total y apreciado agrado, Muchas Gracias por visitar mi post y no olvides en dejar tu comentario. Saludos se les Quiere!.
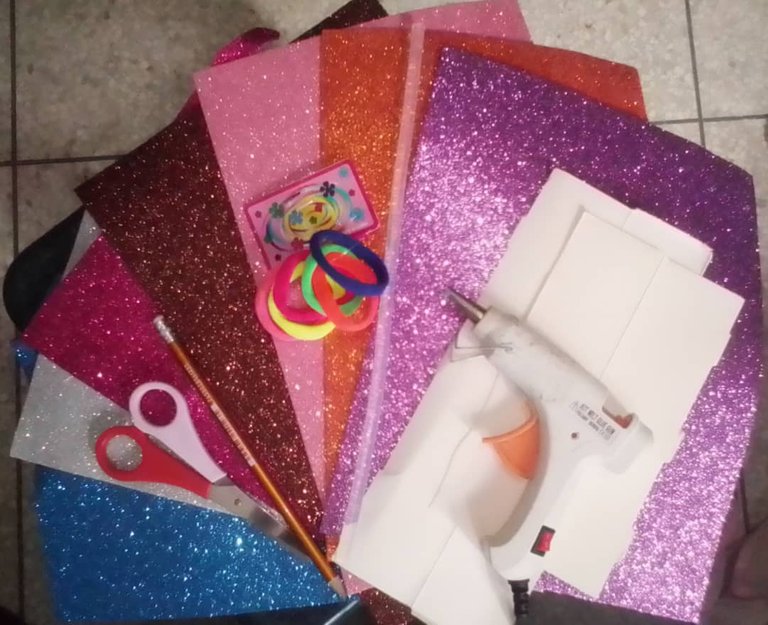
Los materiales necesarios para comenzar a elaborar este moño con forma de lazo son los siguientes:
- Silicon en Barra (caliente)
- Foami escarchados
- Moñera
- Carton
- Tijera
- Lápiz
Paso 1
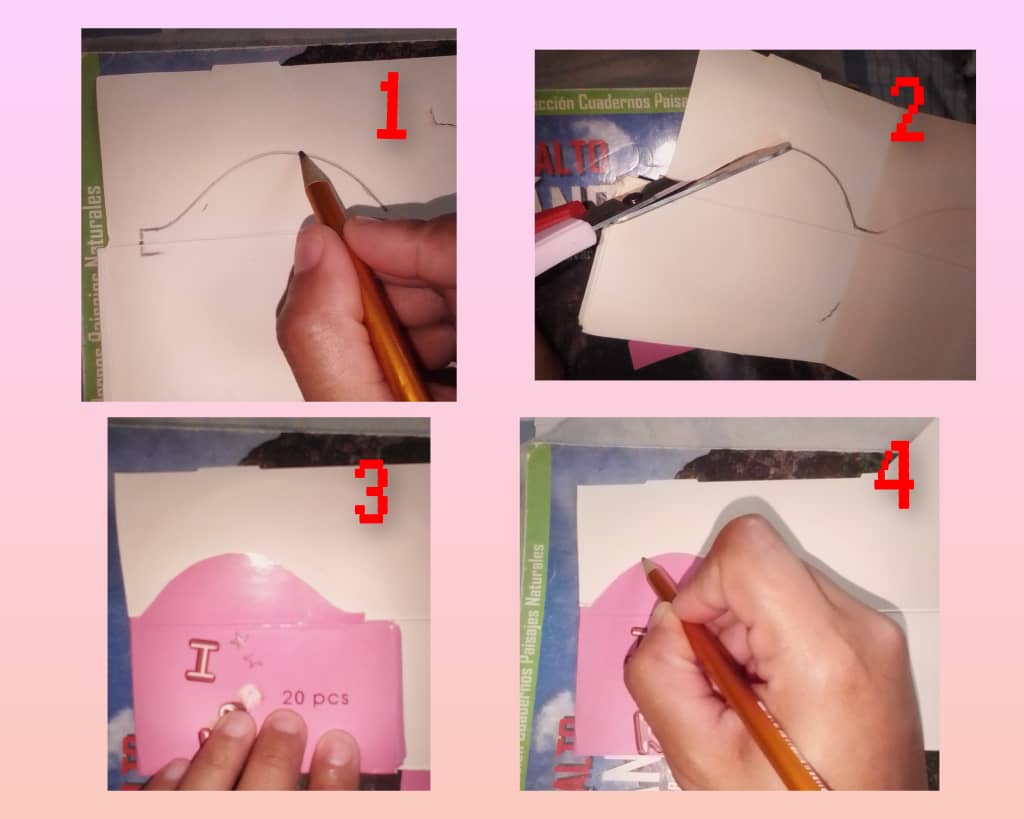
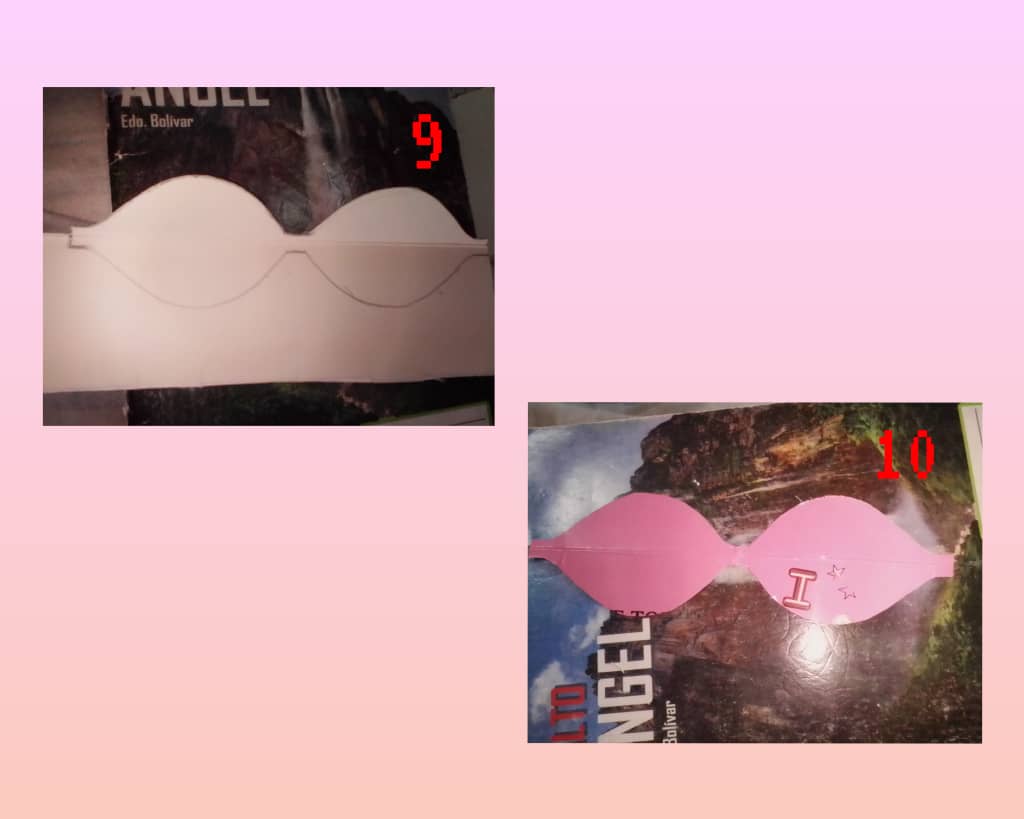
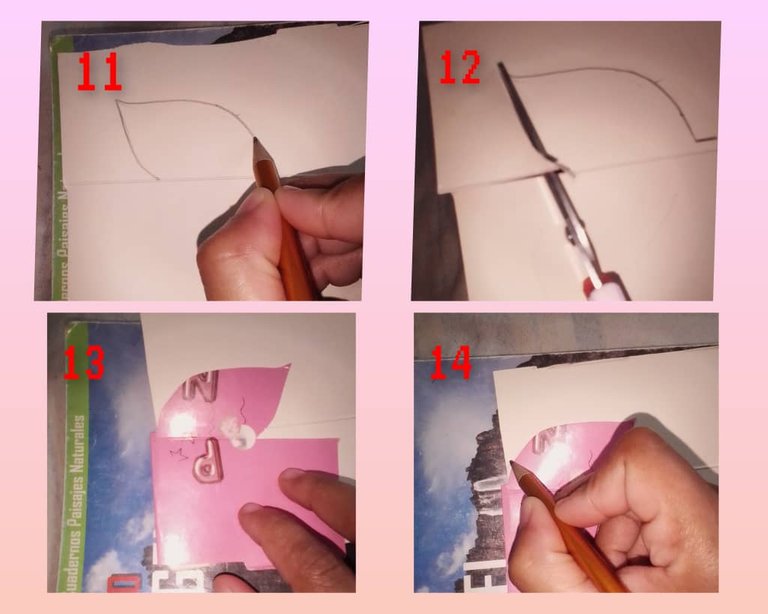
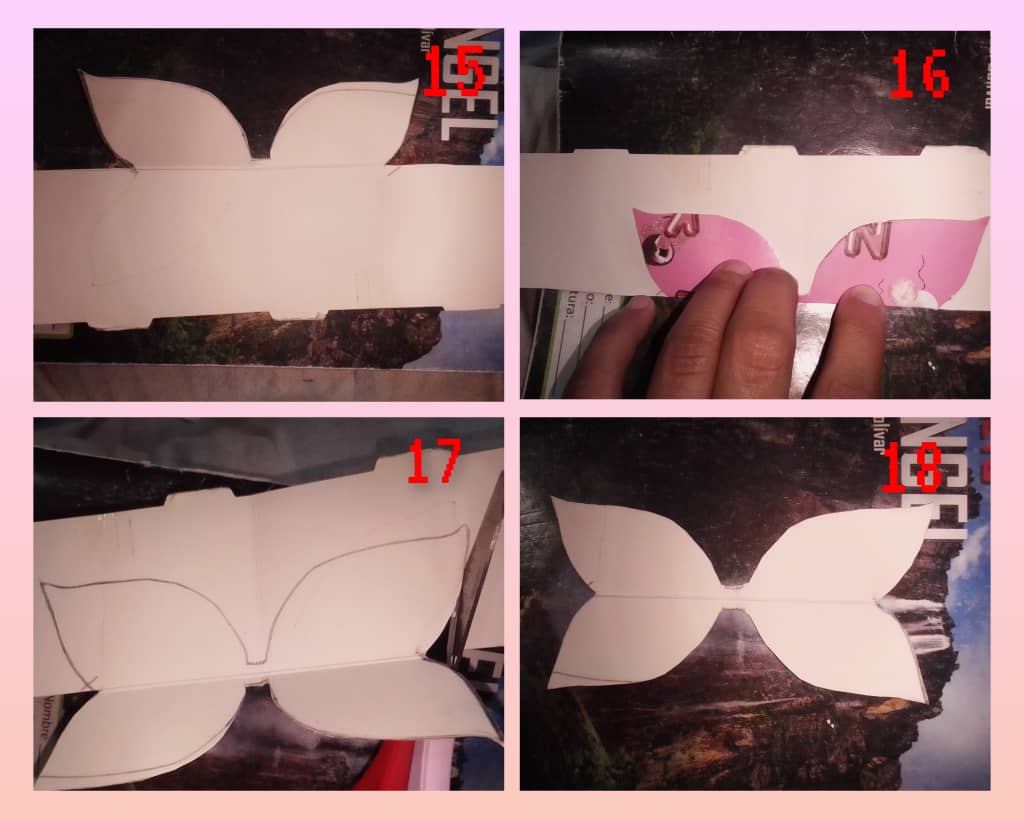
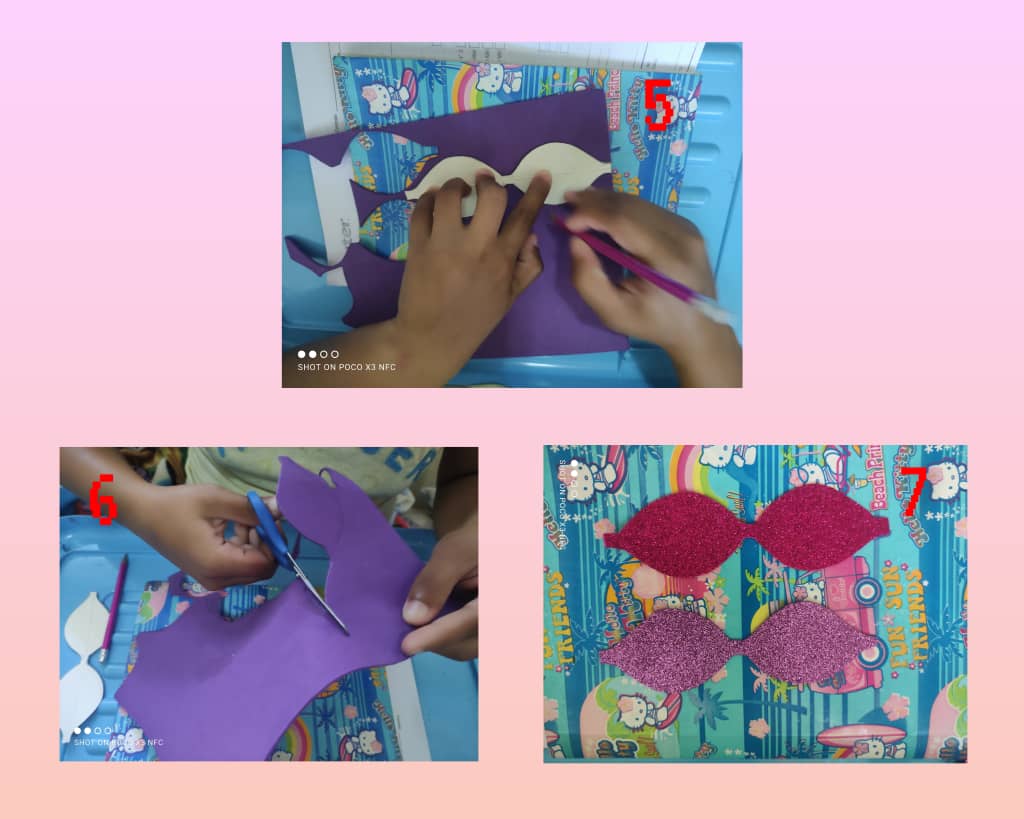
Comenzaremos dibujando en el cartón los moldes de nuestro lazo, si pueden darse cuenta las fotos estan enumeradas de manera mas detallada, en mi caso lo hize de esta manera para sacar el molde mas facil y mas aun para ir igual forma, es decir, para uan ves hacia el dibujo, cortaba doblo el carton para que la hacer la otra parte me quedara igual y mas detallado.
Paso 2
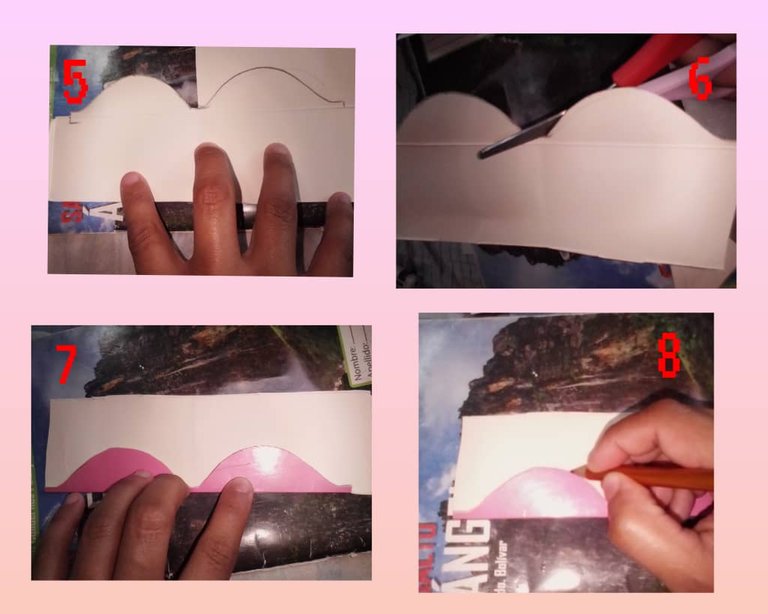
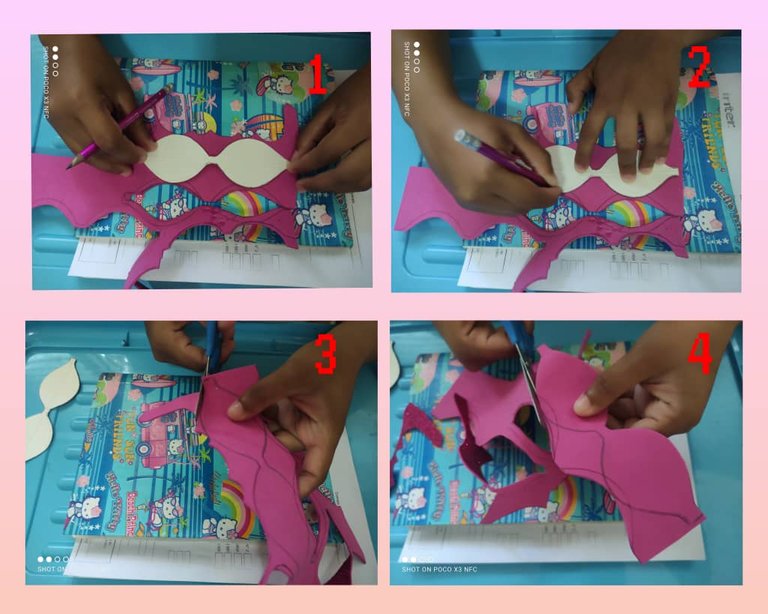
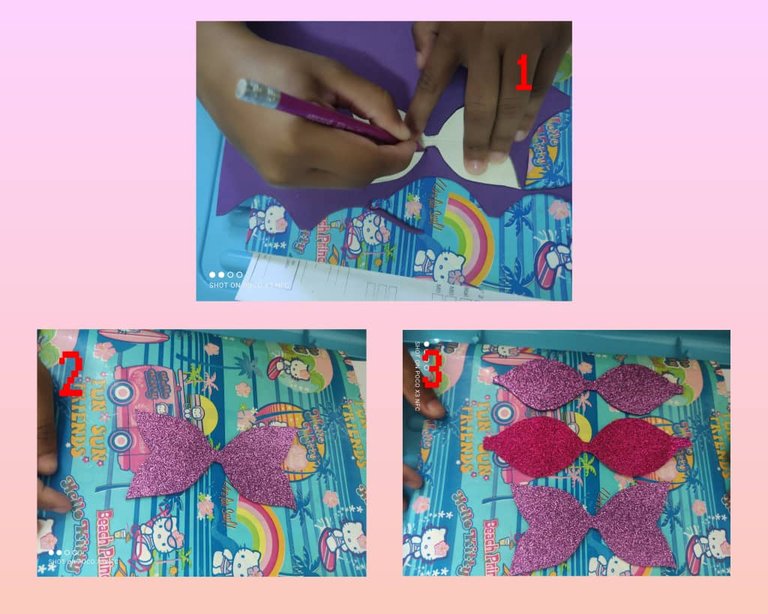
Una vez terminado el primer paso, ya tengo mis molde los mismo deben ser dibujados en el foami para luego ser cortados y sacar mi forma. En mi caso use dos dolores dierentes de foami.
Paso 3
Luego procedemos a sacar otro molde.
Paso 4
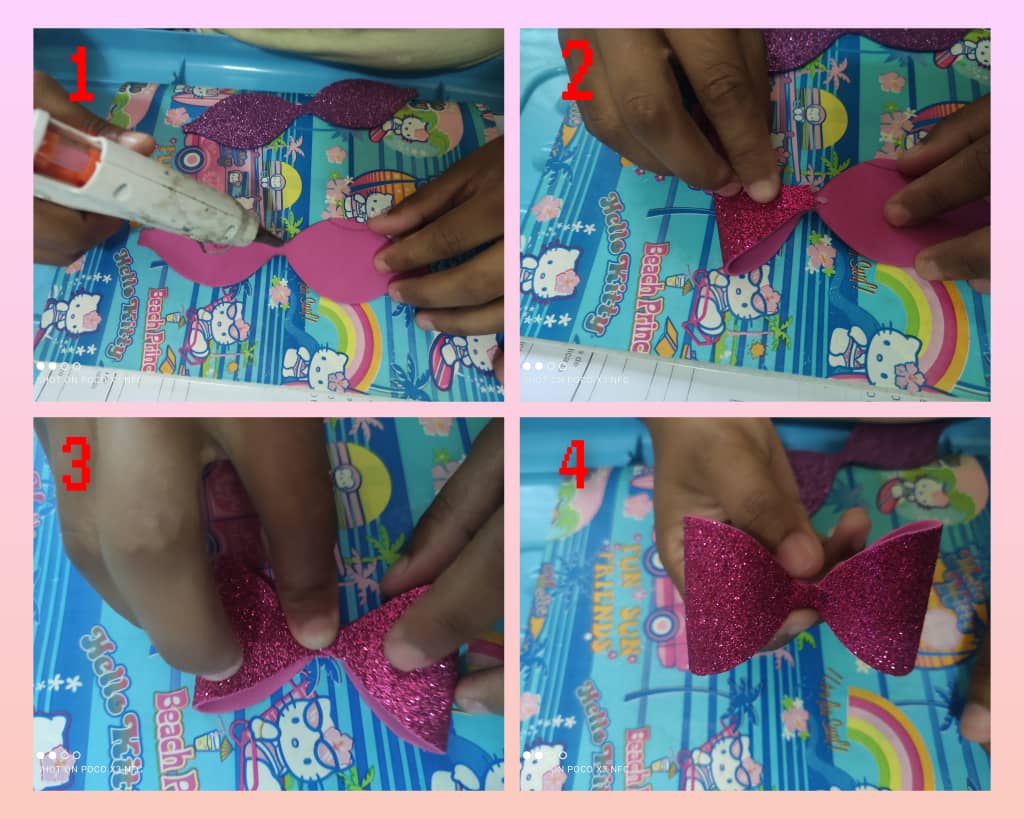
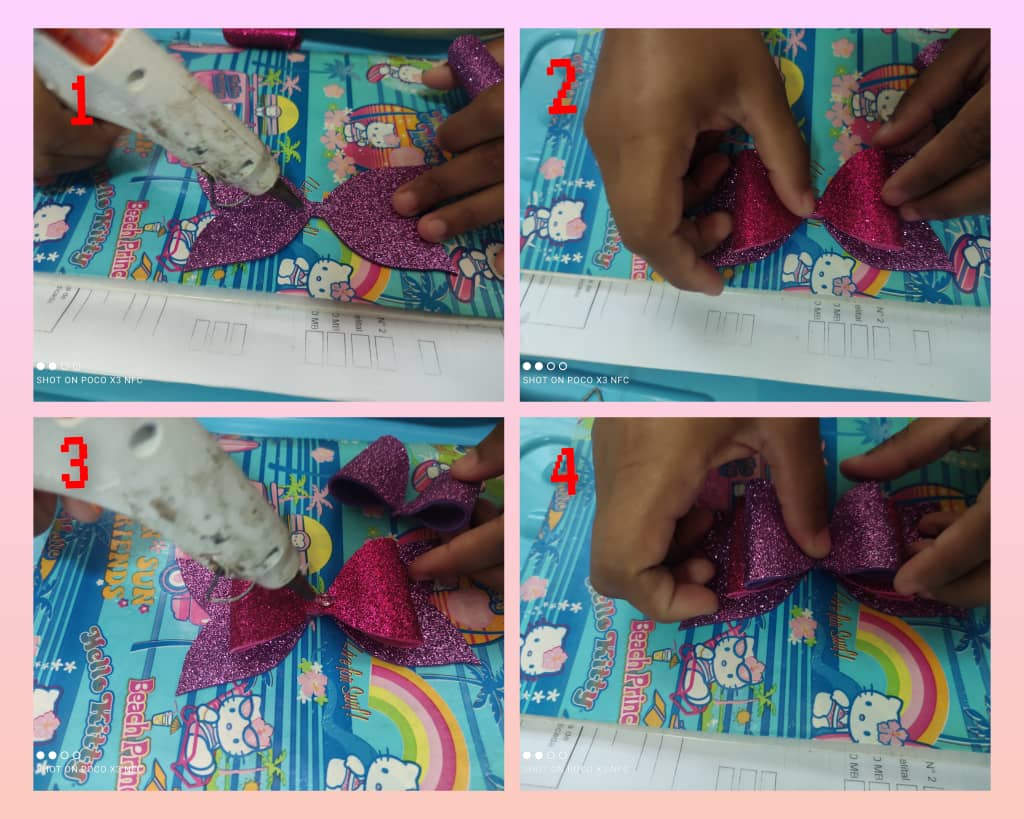
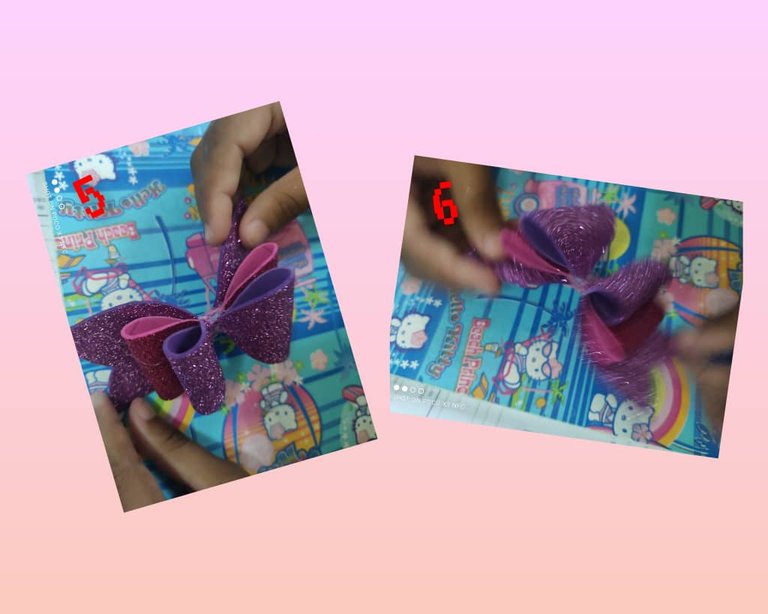
Ya sacados todos los moldes continuamos, armando nuestro lazo. Aca doblamos de esta manera nuestro moldes ya sacados.
Paso 5
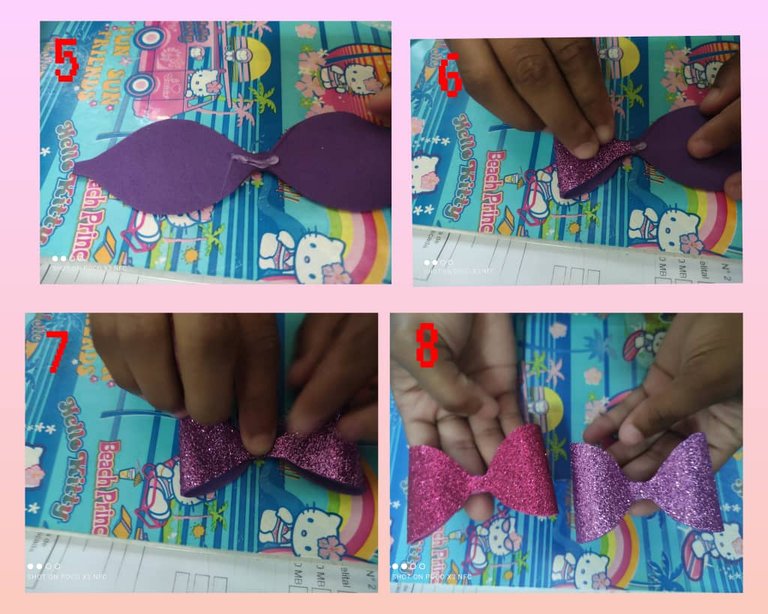
Ya con el molde sacado en el paso numero 3, seguimos en pegar de esta de manera nuestro lazo.
Paso 6
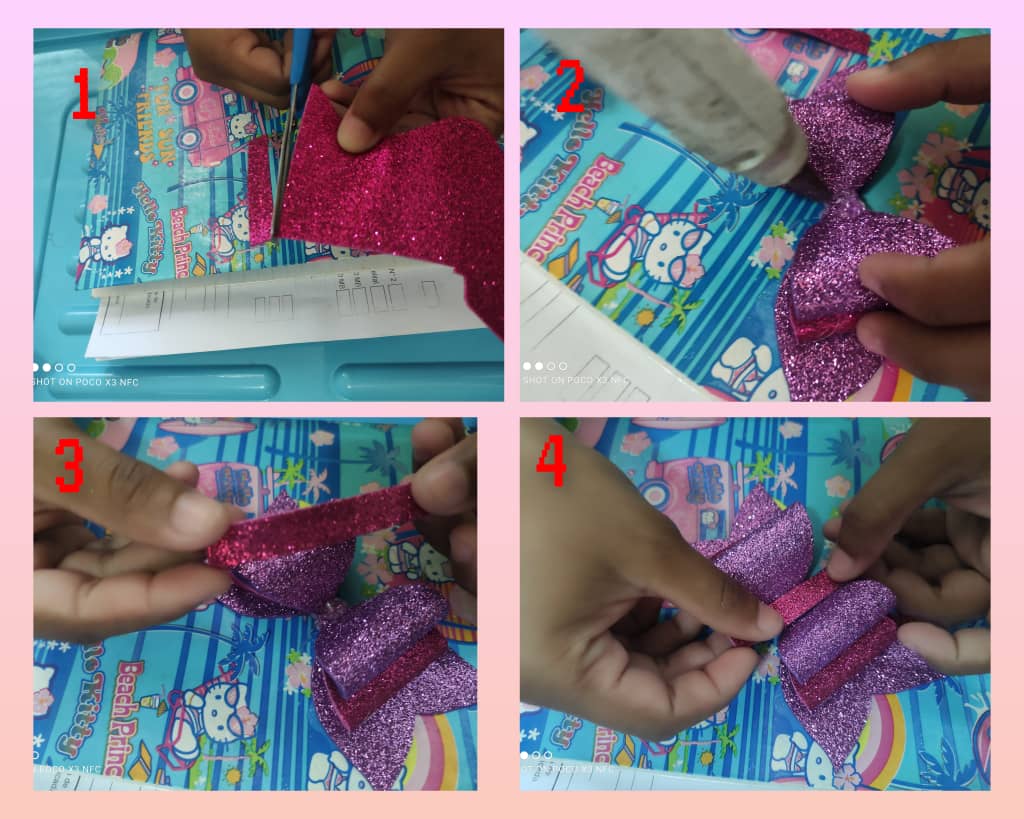
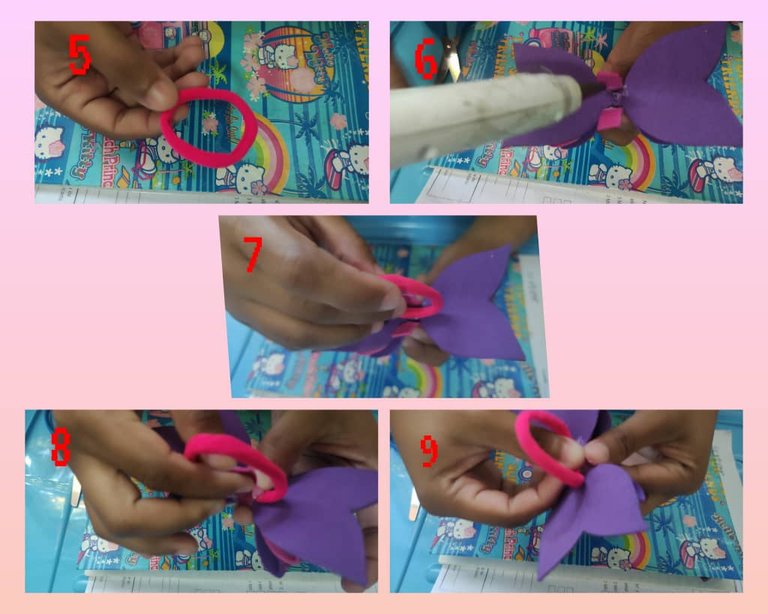
Con el paso comenzaremos a pegar la moñera en la parte tracera de nuestro lazo, cubruiendolo con un pequeño pedazo de foami en forma de tira, esto es para cubrir e sujetar con silicon la moñera.
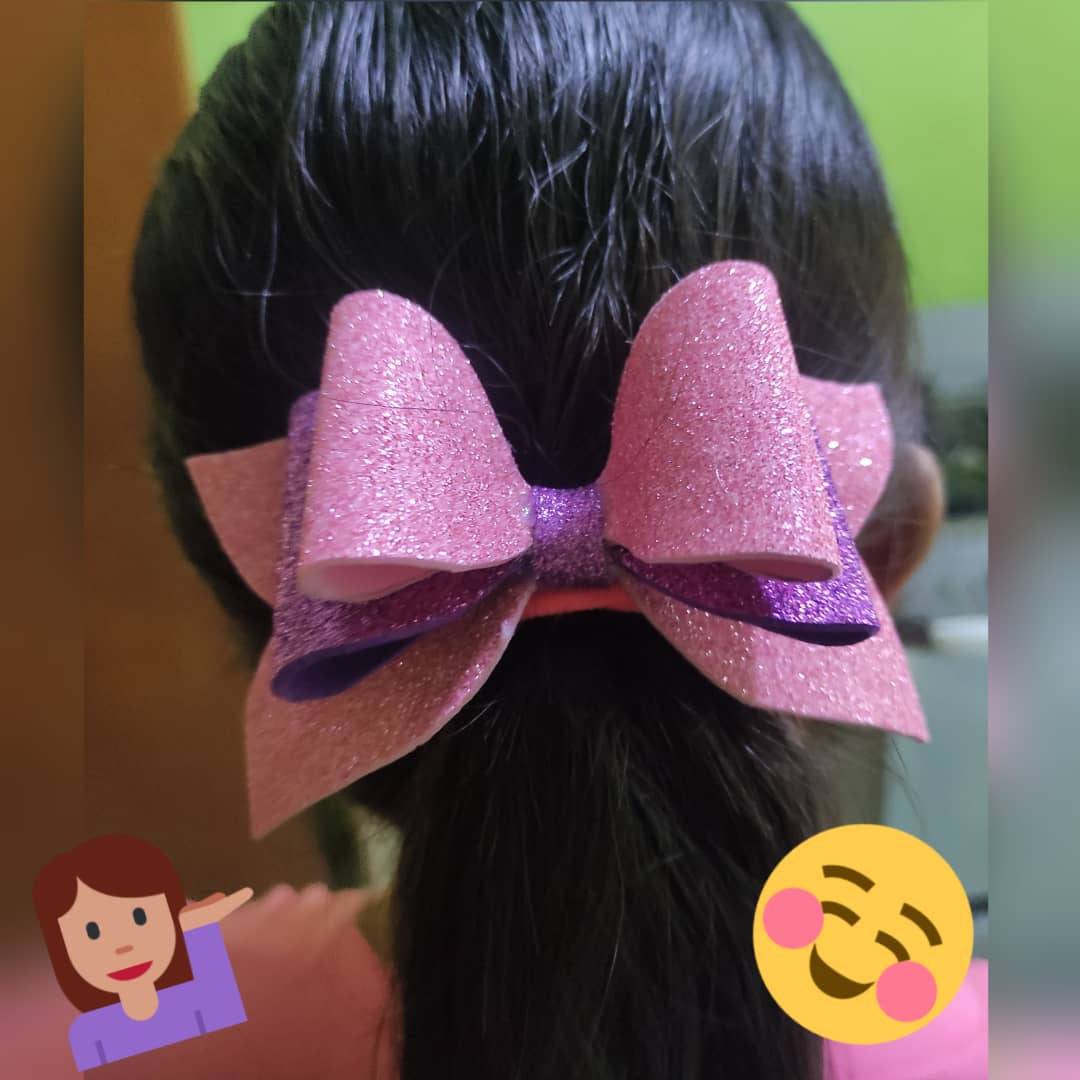
Ya finalizado estos pasos, este será el resultado de mi presentación.

Hello, how are you my dear #hive friends, especially the #hivediy community, I hope you are doing well! and may today be a day full of Blessings for all of you. I was a little absent because I was busy in my new job but today I have a day off and the time available to share with you this simple and beautiful craft, it is a beautiful bow-shaped hair bow, the It was made with foam, it is also known as eva rubber, I made several of different colors, very colorful frosted foam. Here I will be leaving my content and the step by step of this simple and nice manual since it can be very helpful for everyone because it would be a means of income for anyone who likes and wants to undertake. I hope that my presence is to your total and appreciated liking, Thank you very much for visiting my post and do not forget to leave your comment. Greetings, they are loved!
The necessary materials to start making this bow-shaped bow are the following:
- Silicon Bar (hot)
- Frosted foami
- Moñera
- Cardboard
- Scissors
- Pencil

Step 1
We will begin by drawing the molds for our bow on the cardboard, if you can see the photos are listed in more detail, in my case I did it this way to make the mold easier to remove and even more to go the same way, that is, to When you look at the drawing, I cut and folded the cardboard so that the other part would be the same and more detailed.


Step 2
Once the first step is finished, I already have my molds, they must be drawn on the foam and then be cut and get my shape. In my case I used two toothaches of foami.


Step 3
Then we proceed to remove another mold.

Step 4
Once all the molds have been removed, we continue, assembling our loop. Here we fold our molds already taken out in this way.


Step 5
Already with the mold taken out in step number 3, we continue to paste our bow in this way.


Step 6
With the step we will begin to glue the ribbon on the back of our bow, covering it with a small piece of foam in the form of a strip, this is to cover and hold the ribbon with silicone.


After completing these steps, this will be the result of my presentation.

Espero le haya gustado post, Gracias por pasar y recuerda no dudes en dejar tu comentario.
I hope you liked the post, thanks for stopping by and remember to leave your comment.
Todas las imagenes son de mi autoría y fueron tomadas desde mi telefono movil POCO X3.
All the images are my own and were taken from my POCO X3 mobile phone.

