Saludos a todos los creativos y amigos Hive, bendecido martes para todos,espero como siempre que se encuentren sanos y felices. Hoy quiero compartir con ustedes una tarea creativa sencilla pero que en casa necesitaba decir presente con urgencia. No soy de cabello muy largo pero el calor me agobiada así que soy fanática de de las famosas Scrunchies o moñeras, compro de varios colores para combinarme con los distintos outfit cuando voy a trabajar o salir por allí.
Greetings to all Hive creatives and friends, blessed Tuesday to all, I hope as always you are healthy and happy. Today I want to share with you a simple creative task that I urgently needed to do at home. I don't have very long hair but the heat overwhelms me so I'm a fan of the famous Scrunchies, I buy different colors to combine with different outfits when I go to work or out and about.
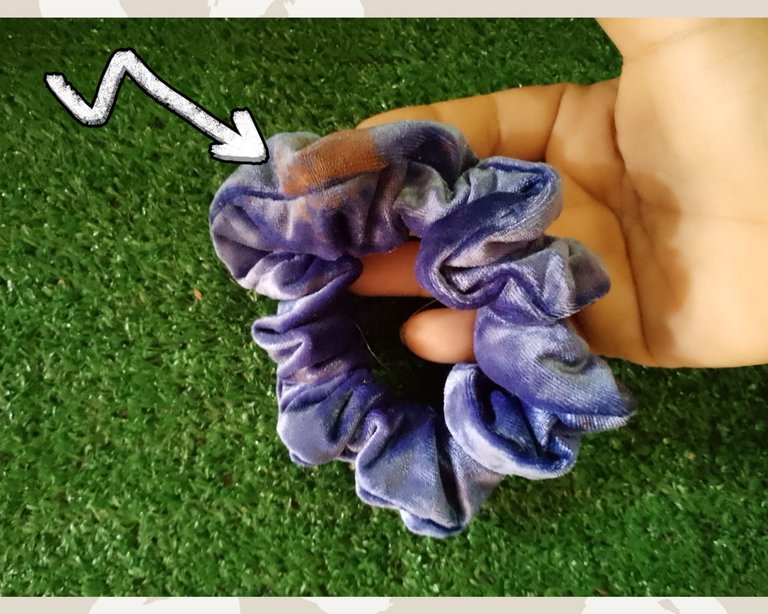
Mi hija adolescentes de casi 15 años, tiene el cabello mucho más largo que yo y también las usa, pero a veces es muy distraída las deja por todos lados y a la hora de buscar un color determinado pues no aparecen por ningún lado. Cómo si fuese poco no tuvo la precaución y dejo una de las moñeras en la cesta del maquillaje y ocurrió un terrible accidente con la del color azul, justo mi favorita se mancho.
My teenage daughter, who is almost 15 years old, has much longer hair than me and also uses them, but sometimes she is very absent-minded and leaves them all over the place and when it's time to look for a certain color, they are nowhere to be found. As if that wasn't enough, she didn't take the precaution and left one of the hair bows in the makeup basket and a terrible accident happened with the blue one, just my favorite color got stained.
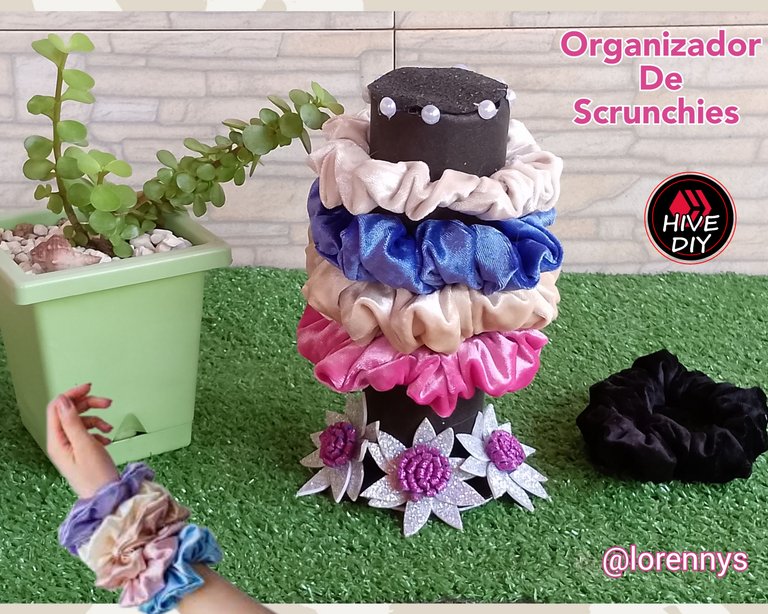
Al ver esto me sorprendió WAOOO!!! pero debo confesar que también me moleste, tal vez es por qué fue la azul de mi color favorito o por el cansancio de que nunca las conseguis. Así que sin más pretextos dije esto se tiene que solucionar y me puse manos a la obra con mi organizador de Scrunchies. Quedate hasta el final y verás lo facil que lo resolví.
When I saw this I was surprised WAOOO!!! but I must confess that I was also annoyed, maybe it was because it was the blue of my favorite color or because I was tired of never getting them. So without further ado I said this has to be solved and I got down to work with my Scrunchies organizer. Stay until the end and you will see how easy I solved it.
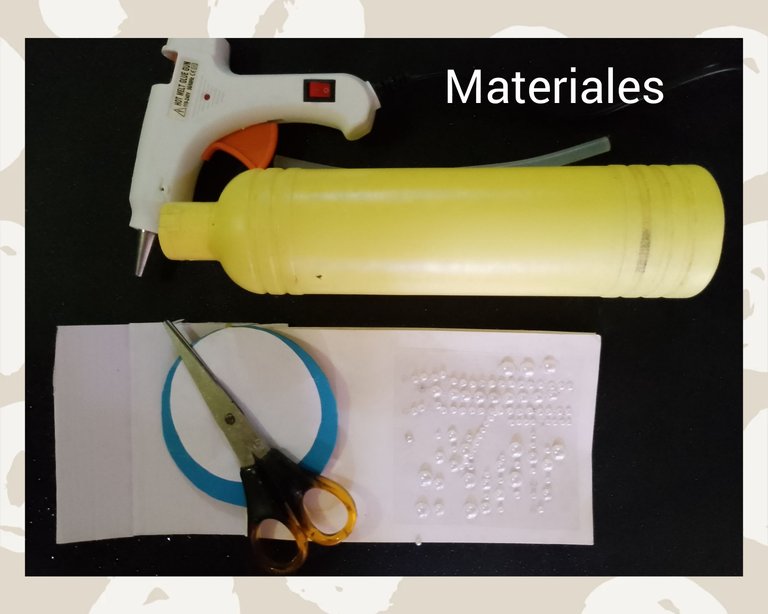
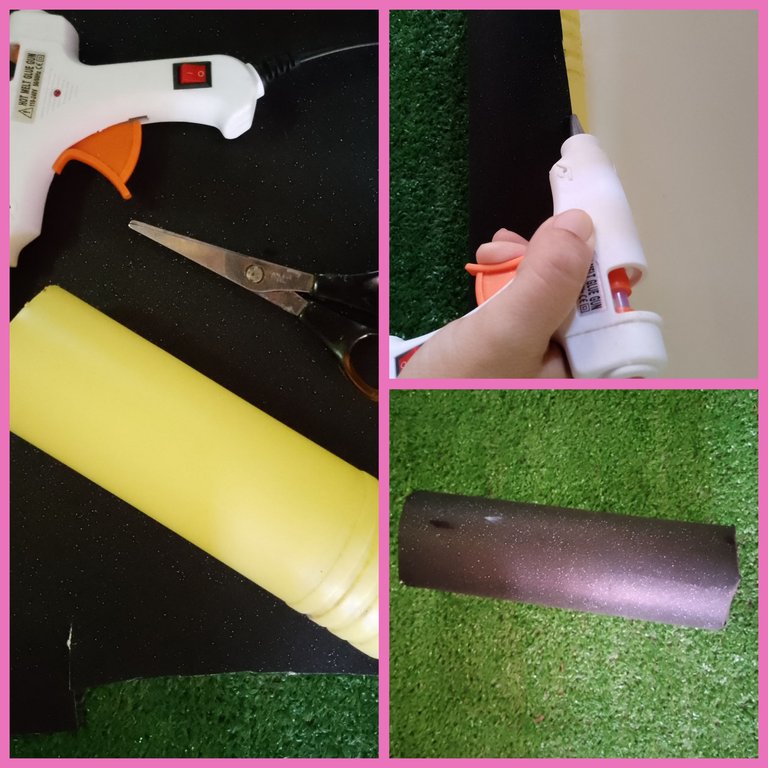
Materiales Que utilice
✓ Envase de lavaplatos vacío
✓ Cartulina Negra Brillante
✓ Foami negro escarchado
✓ Tijera
✓ Lápiz
✓ Cartón
✓ Silicón caliente
✓ Accesorios decorativos
Materials to use
✓ Empty dishwasher container.
✓ Glossy Black Cardstock
✓ Black Frosted Foami
✓ Scissors
✓ Pencil
✓ Cardboard
✓ Hot glue
✓ Decorative accessories
Paso a paso de este proyecto
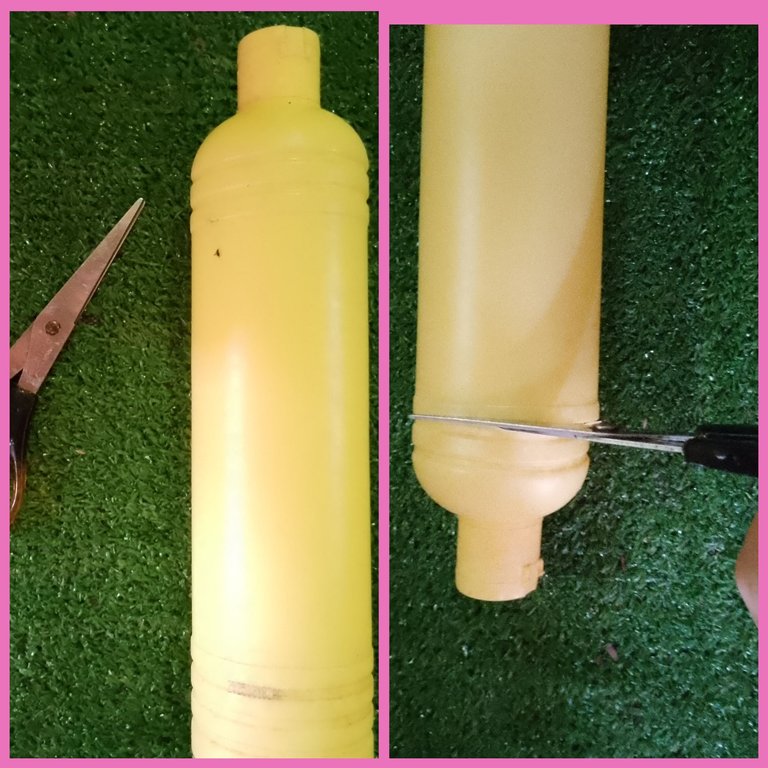
Paso Uno :
Tome el envase de lavaplatos vacio y con la ayuda de la tijera le retire el dispensador.
Step by step of this project
Step One :
Take the empty dishwasher container and with the help of the scissors remove the dispenser.
the dispenser.
Paso Dos :
Una vez ya el envase estaba listos y quedó en forma de tubo lo forre con la cartulina negra brillante.
Step Two:
Once the container was ready and it was in the shape of a tube, I lined it with the glossy black cardboard.
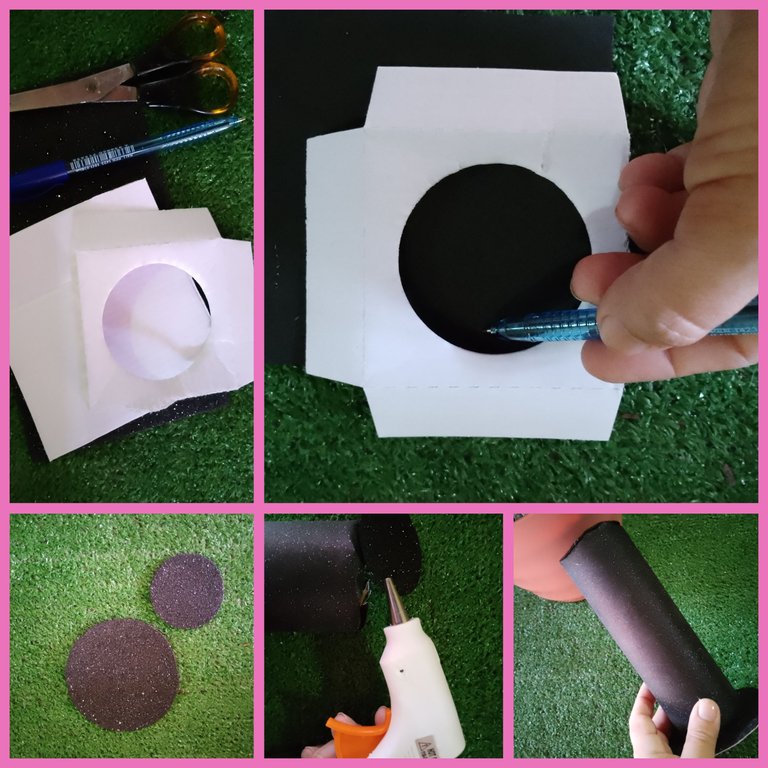
Paso Tres:
Hecho lo anterior ya solo faltaba hacer la base y la parte de arriba para decoración y darle un mejor aspecto, así que tome el cartón y marqué dos círculos una más grande que el otro. Lo que representa uno para la base y otro para la parte superior.
Step Three:
Done with the above, all that was left was to make the base and the top for decoration and to give it a better look, so I took the cardboard and marked two circles one bigger than the other. This represents one for the base and one for the top.
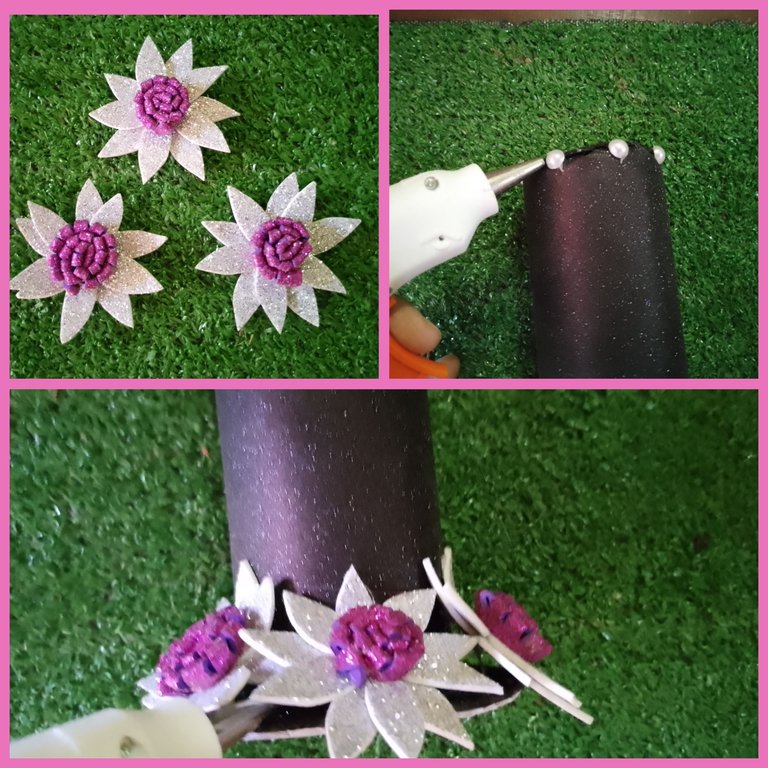
Paso Cuatro:
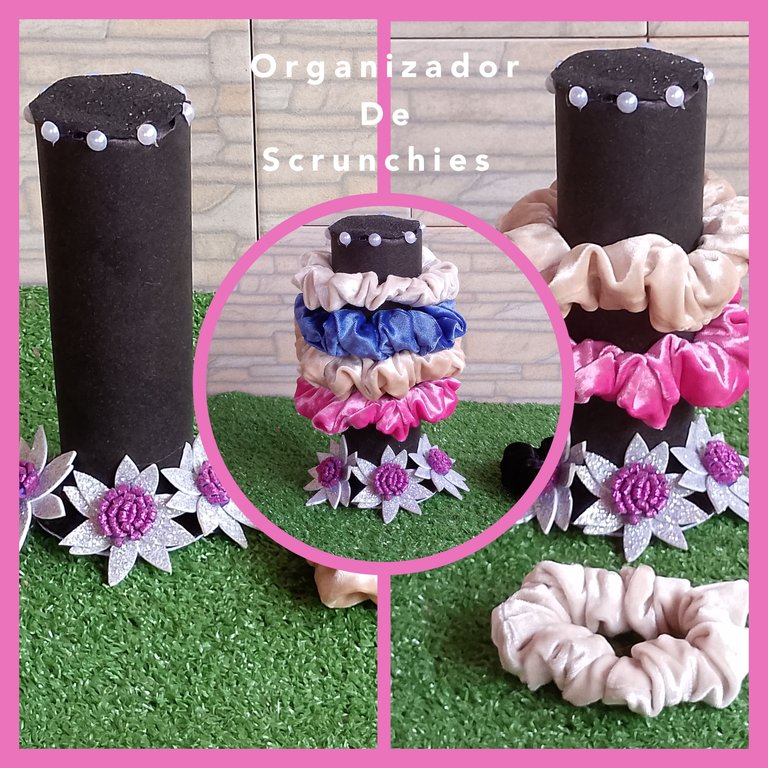
Ya para este paso casi finalizó, pues llegó la hora de decorar, en un principio pensé que solo colocaría las medias perlita pero mientras buscaba los materiales me conseguí estos girasoles plateados con fuscia que me habían sobrado de uns manualidad que hice hace mucho tiempo, me parecio que le darían un excelente toque y así fue me encantó el resultado. Y en la parte superior le coloque de manera más delicada las perlas.
Step Four:
At first I thought I would only place the half pearls but while I was looking for the materials I got these silver sunflowers with fuscia that I had left over from a craft I did a long time ago, I thought they would give an excellent touch and so it was, I loved the result. And in the upper part I placed the pearls in a more delicate way.
De esta manera llegué a final de mi tan necesario organizador de Scrunchies y a pesar de que empecé a realizarlo con apuro y sin mucho sentido lo que sería el final, me gustó mucho como quedó creo que de se trata la imaginación y la creatividad de ir dando forma a lo que en la mente te vas imaginando. Espero que les guste a ustes también, es mi ilusión como siempre que este proyecto sirva de apoyo e inspiración a otros.
This is how I got to the end of my much needed Scrunchies organizer and even though I started to make it in a hurry and without much sense of what would be the end, I really liked how it turned out, I think that imagination and creativity are what it is all about, giving shape to what you imagine in your mind. I hope you like it too, it is my hope as always that this project serves as support and inspiration to others.


Gracias por quedarte conmigo hasta aquí exitos y bendiciones.
Todas las imágenes son de mi propiedad, capturadas con mi Tecno Spark 10 pro.📸 Editadas con GridArt versión gratuita.
Banner final editado con Canva versión libre.
🔁Deeptraductor fue utilizado para esta publicación.📶
Thanks for sticking with me this far success and blessings.
All images are my property, captured with my Tecno Spark 10 pro.📸 Edited with GridArt free version.
Final banner edited with Canva free version.
🔁Deeptranslator was used for this publication.📶