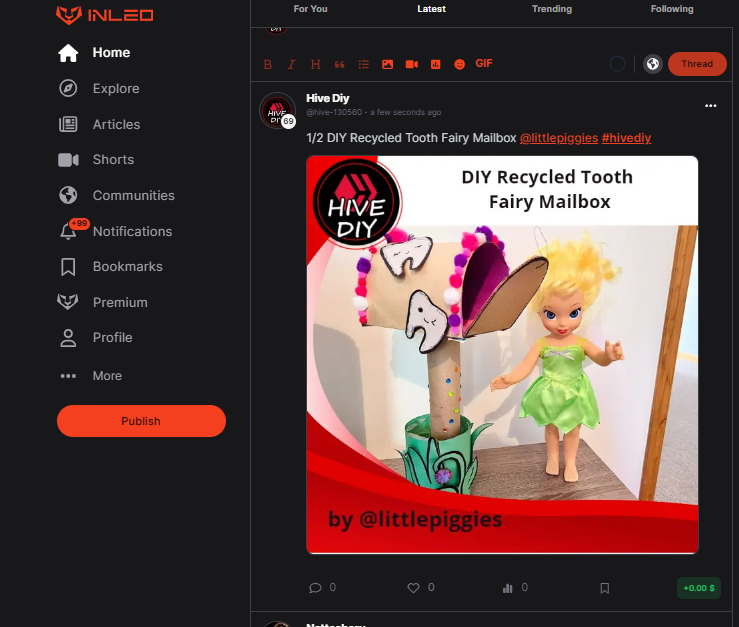
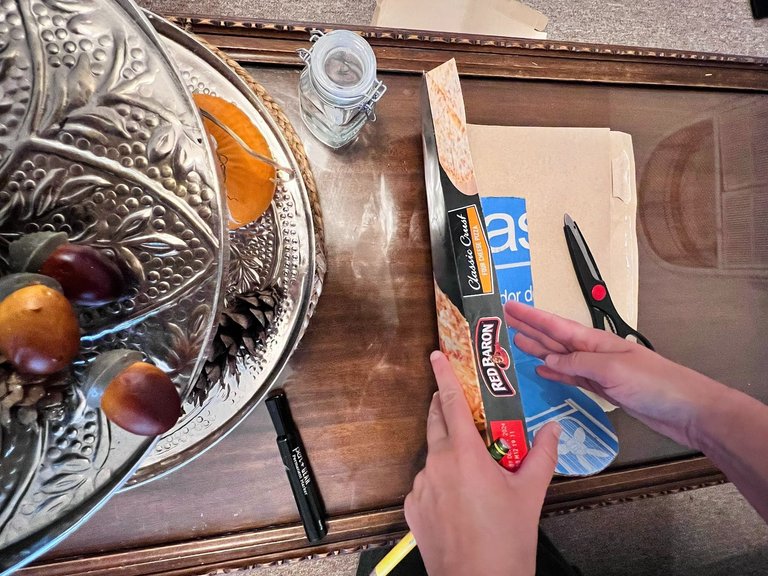
My daughter has her first wiggly tooth that is getting looser by the day. I was hoping to complete this project by the time it falls out, and I succeeded. I was browsing Pinterest for tooth fairy ideas and came across tooth fairy mailboxes. The child leaves their tooth in an envelope or small container for the tooth fairy. The tooth fairy pays a visit overnight, takes the tooth, and leaves a prize or money. I went through my recycling bag and found the cardboard and paper towel roll to complete it. It was a very fun project to decorate, too. Check out the materials required and the steps I took below.
Basic Materials:
- Pencil
- Black marker
- Scissors
- Hot glue gun
- Flexible thin cardboard
- Regular cardboard
- Paper towel tube
- Flexible wire or string (for the latch)
Decorating Materials:
- Construction paper
- Glitter
- Pompoms
- Gemstones
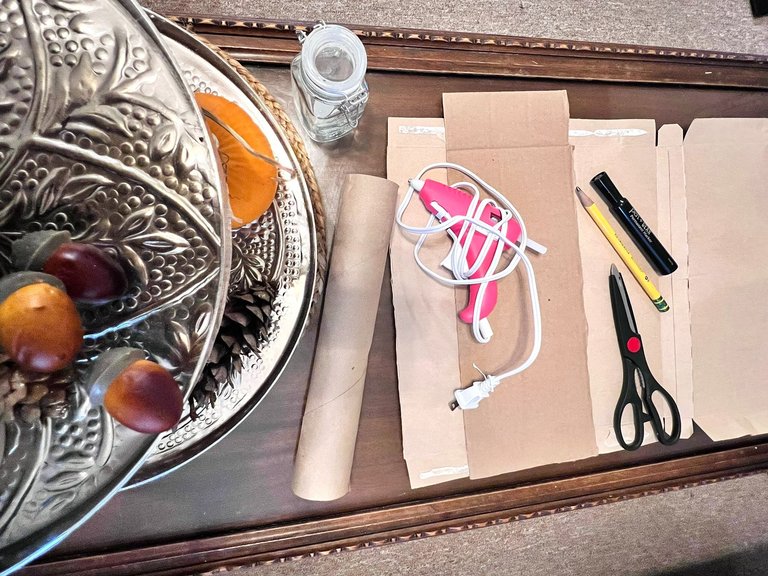
Basic Materials
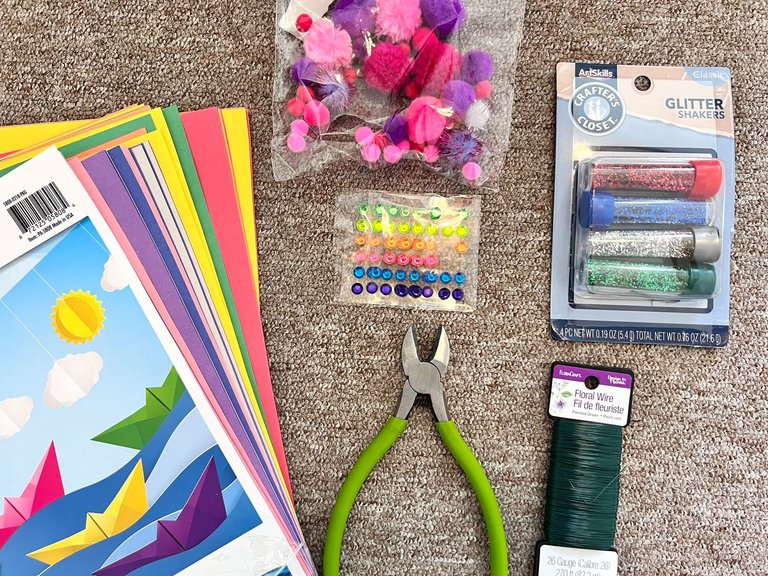
Decorating Materials
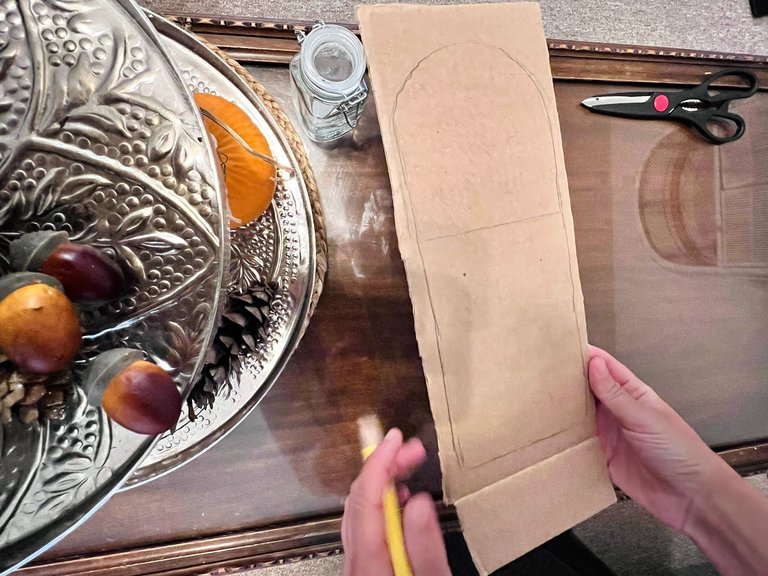
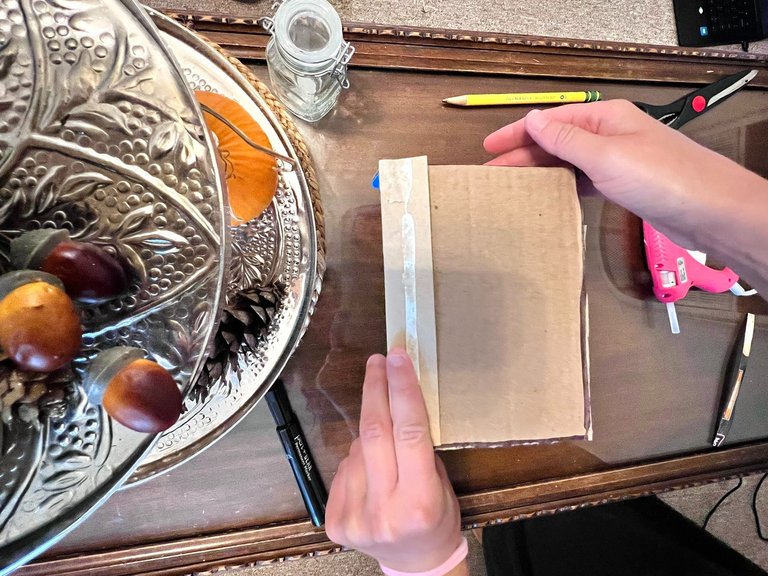
Step 1. I drew the bottom of the mailbox/mailbox door.
Step 2. I folded up the front to create a door for the front of the mailbox.
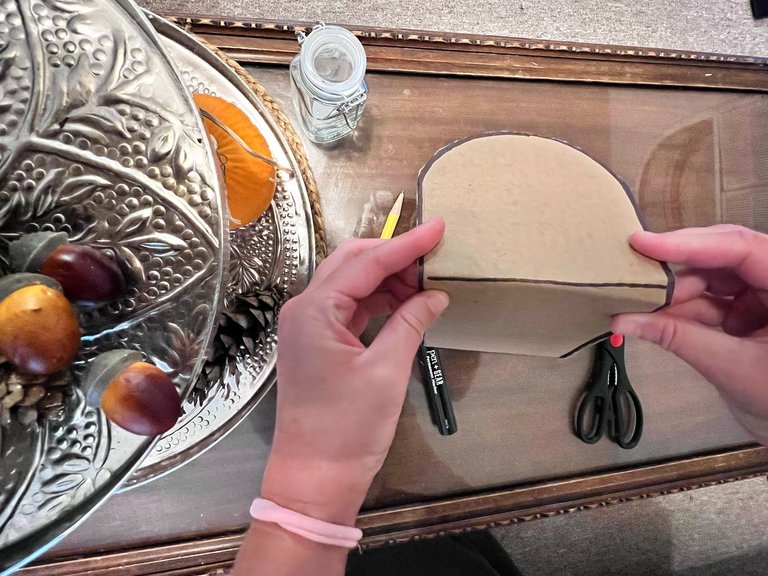
Step 3. I used a more flexible cardboard for the top of the mailbox.
Step 4. I used the bottom of the mailbox to mark the flexible cardboard, so it would fit properly.
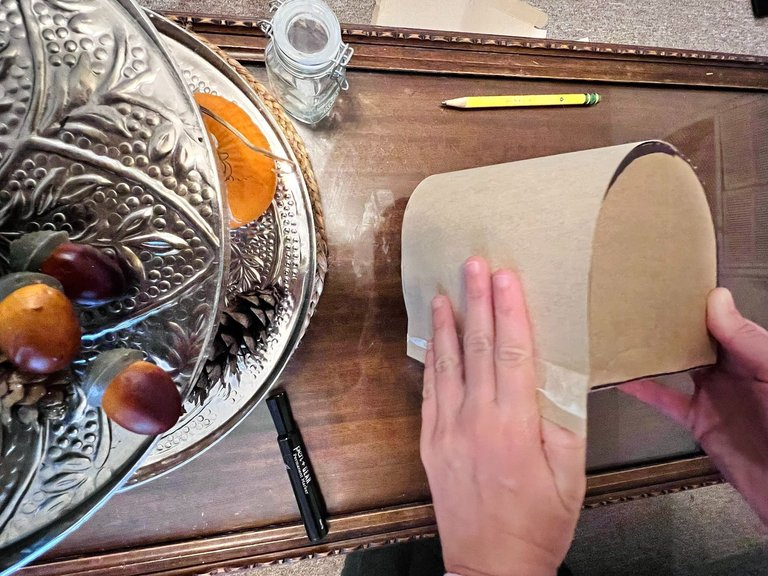
Step 5. I curved the cardboard over the top of the front lid and glued the edges to the bottom of the mailbox.
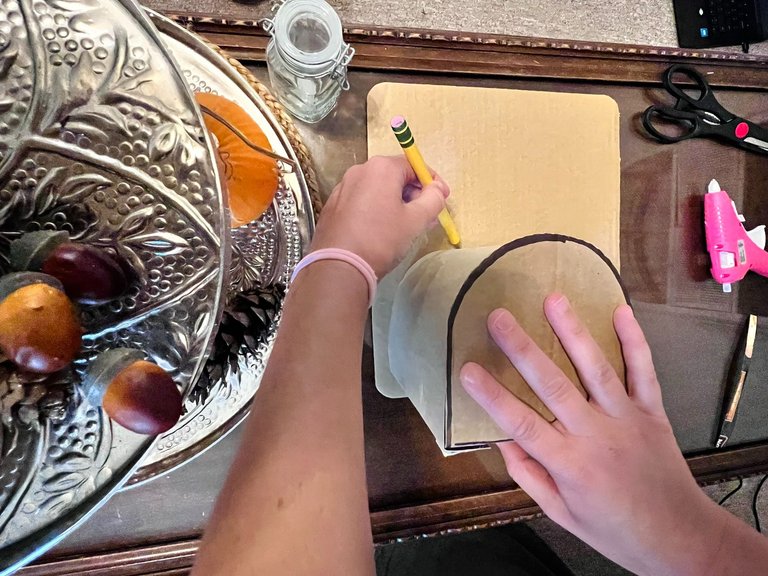
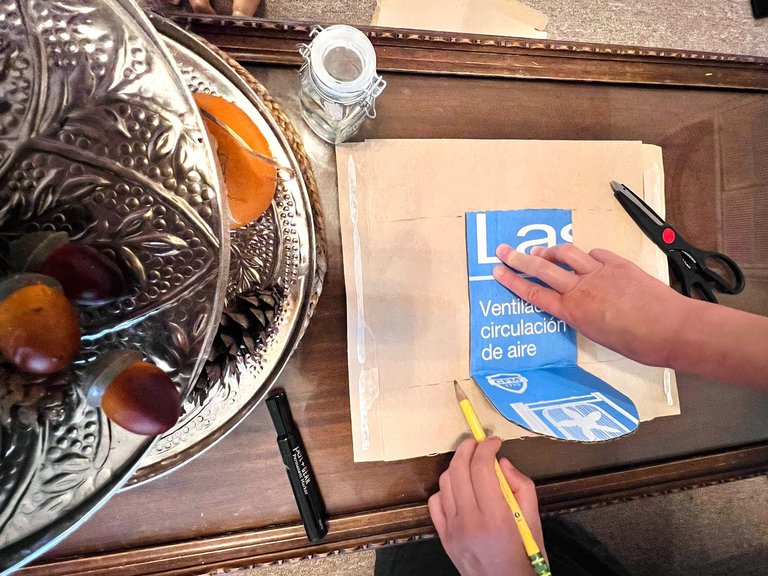
Step 6. I traced a back part of the mailbox and glued it on.
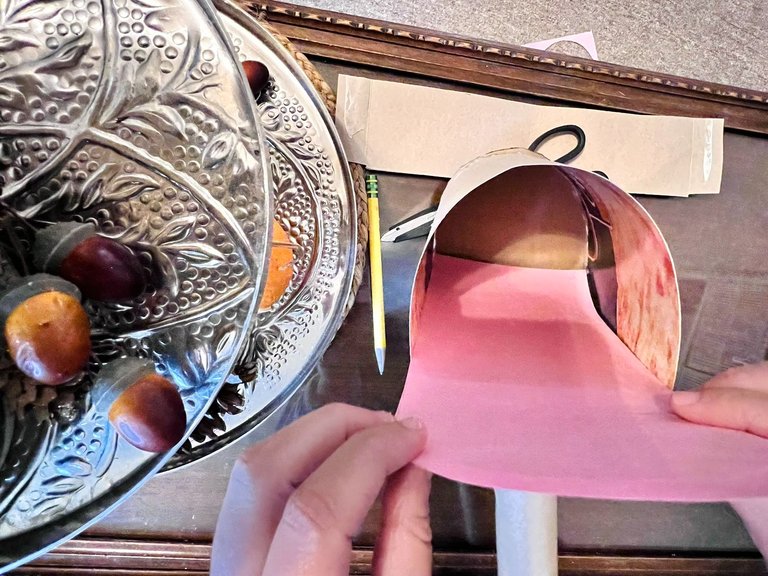
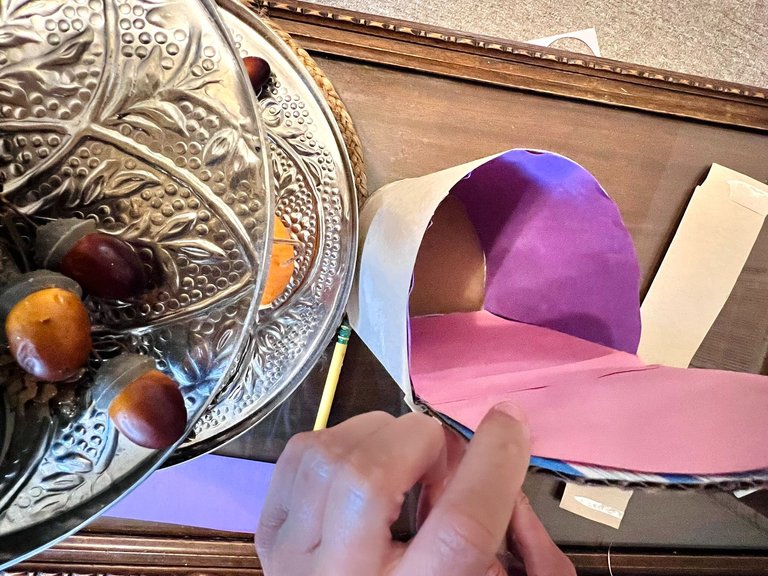
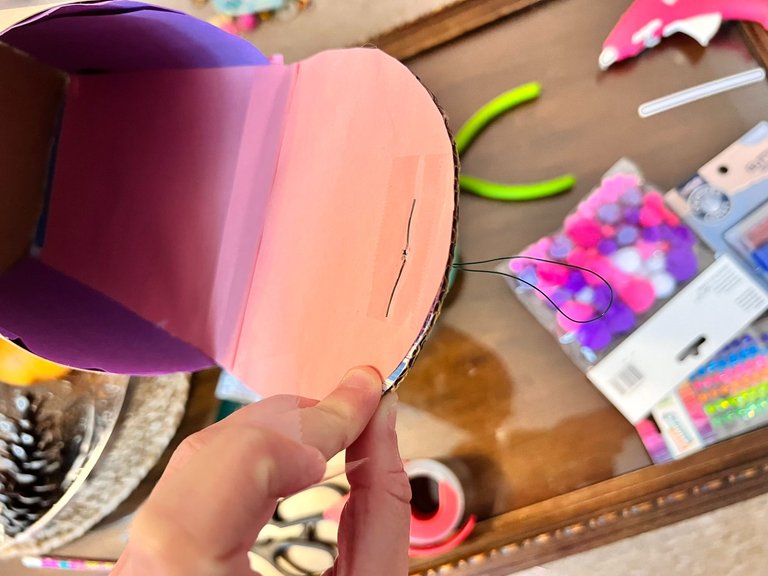
Step 7. I lined the bottom of the mailbox with pink construction paper. Then I lined the top with purple construction paper.
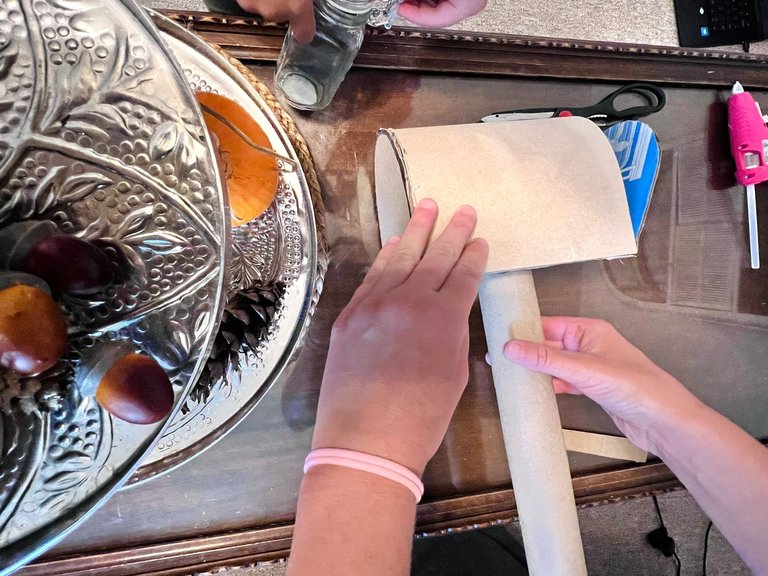
Step 8. I glued the paper towel tube onto the bottom.
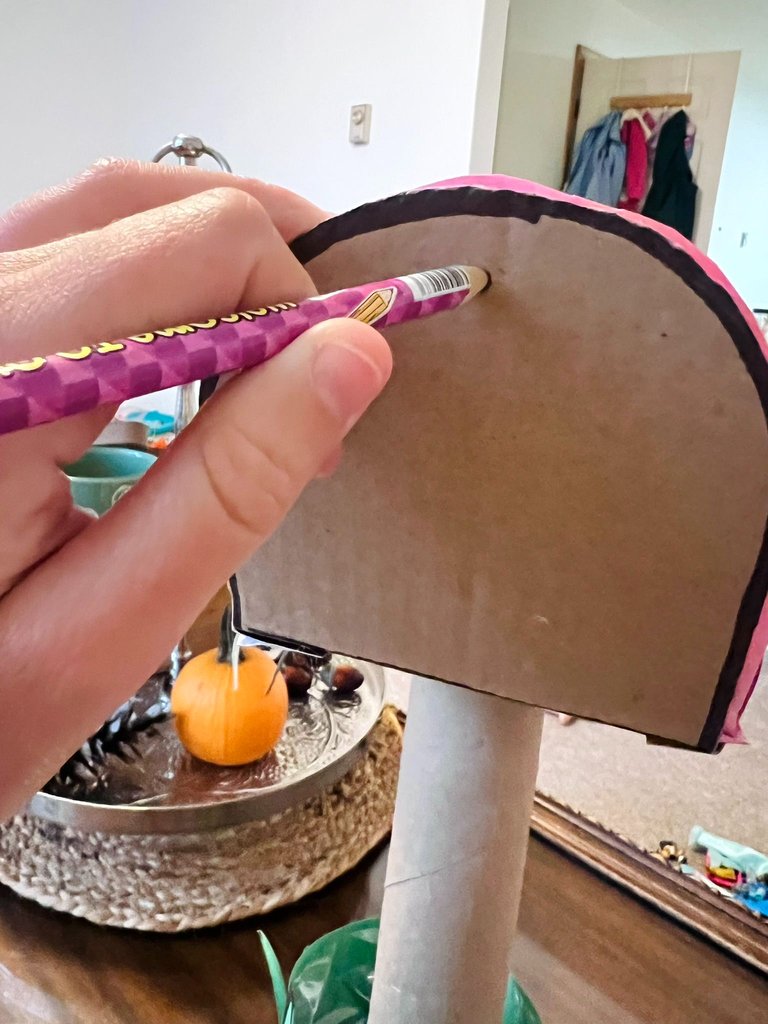
Step 9. I poked a hole in the front door to string the wire.
Step 10. I strung the wire through the hole to create a hole. Then I secured it with tape on the other side.

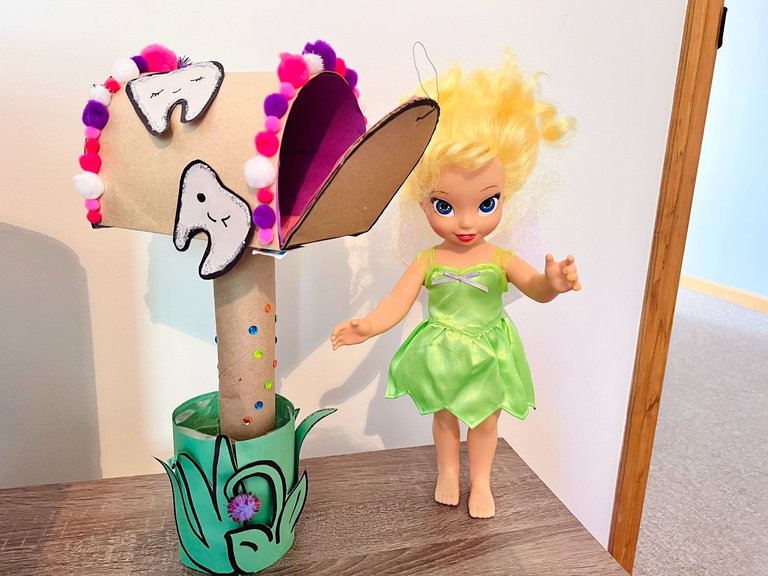
Step 11. I went through my recycling bag and looked for something to use as a base. This piece of plastic from a toy doll seemed to work the best.
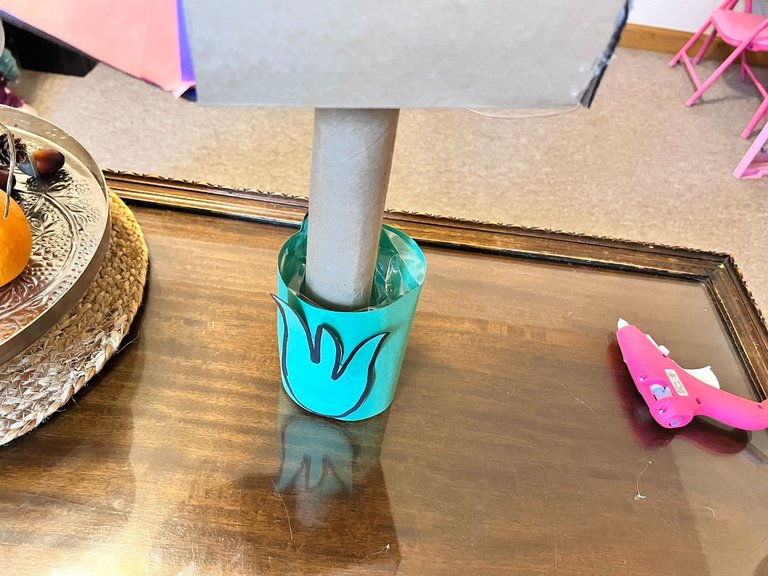
Step 12. I wrapped some green construction paper around the base. Then I cut out some grass and glued it on.
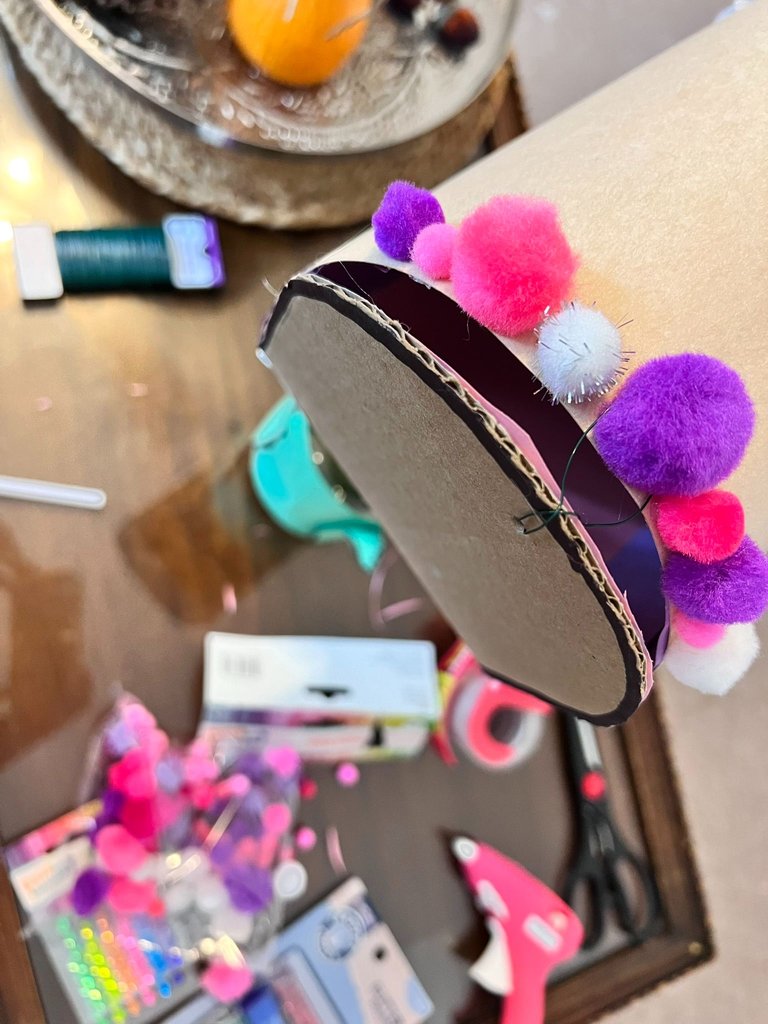
Step 13. I glued some pompoms to the outer edge of the mailbox. I used a large pompom on the top to hook the wire, so the door can stay shut.
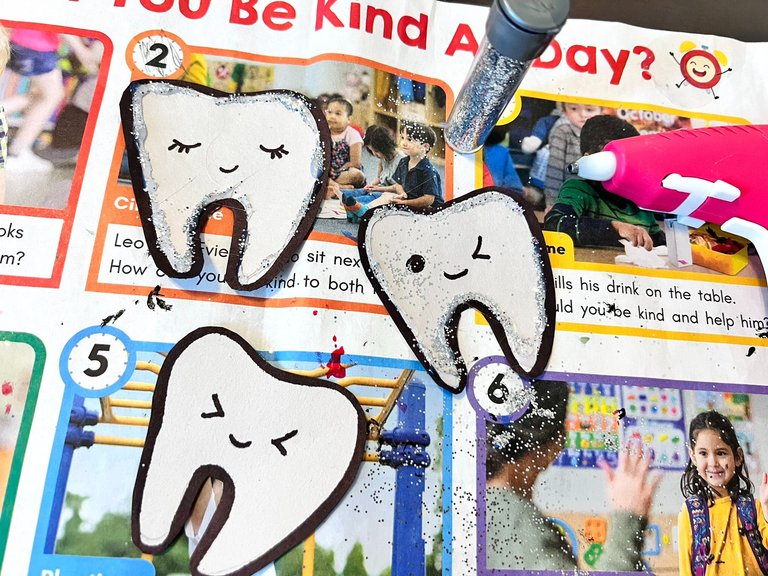
Step 14. I drew some teeth to glue onto the mailbox. I also added some pompom flowers to the base.
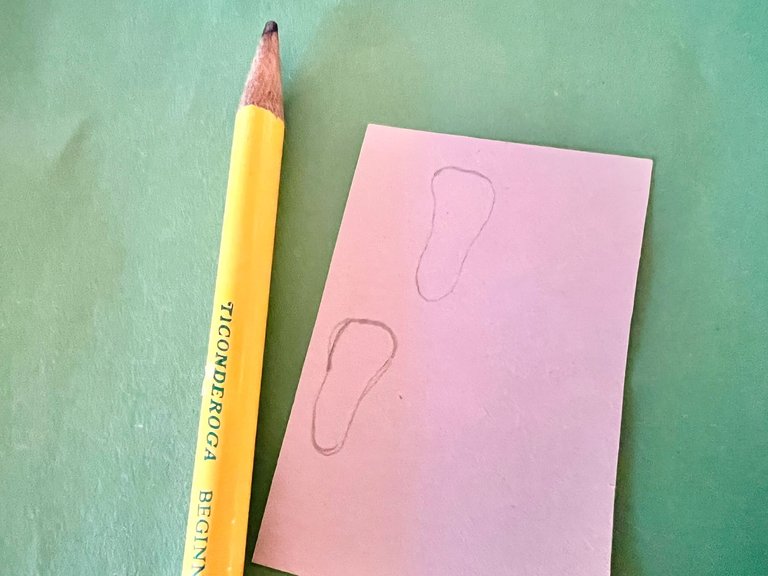
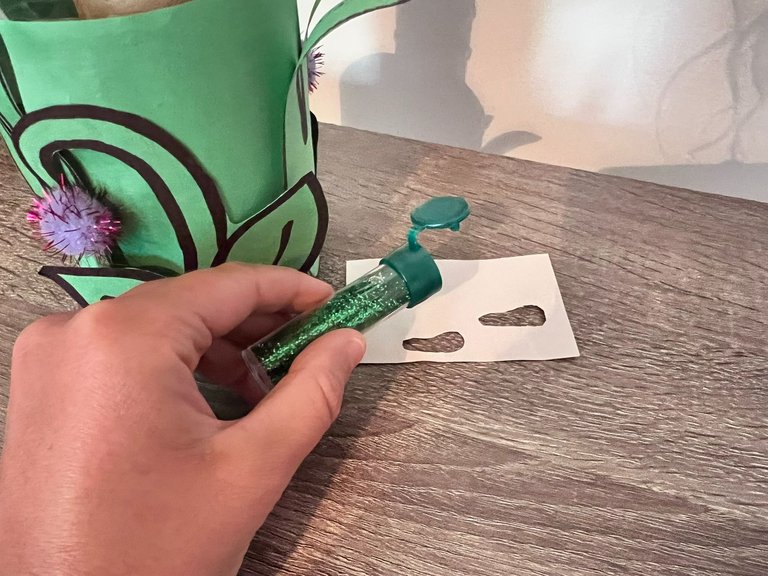
Another fun idea you can do with this mailbox idea is create a footprint stencil. You can sprinkle glitter on the stencil to make it look like there are footprints leaving the mailbox.
Thank you for reading about my DIY project ʚ♡ɞ
♡ Laura