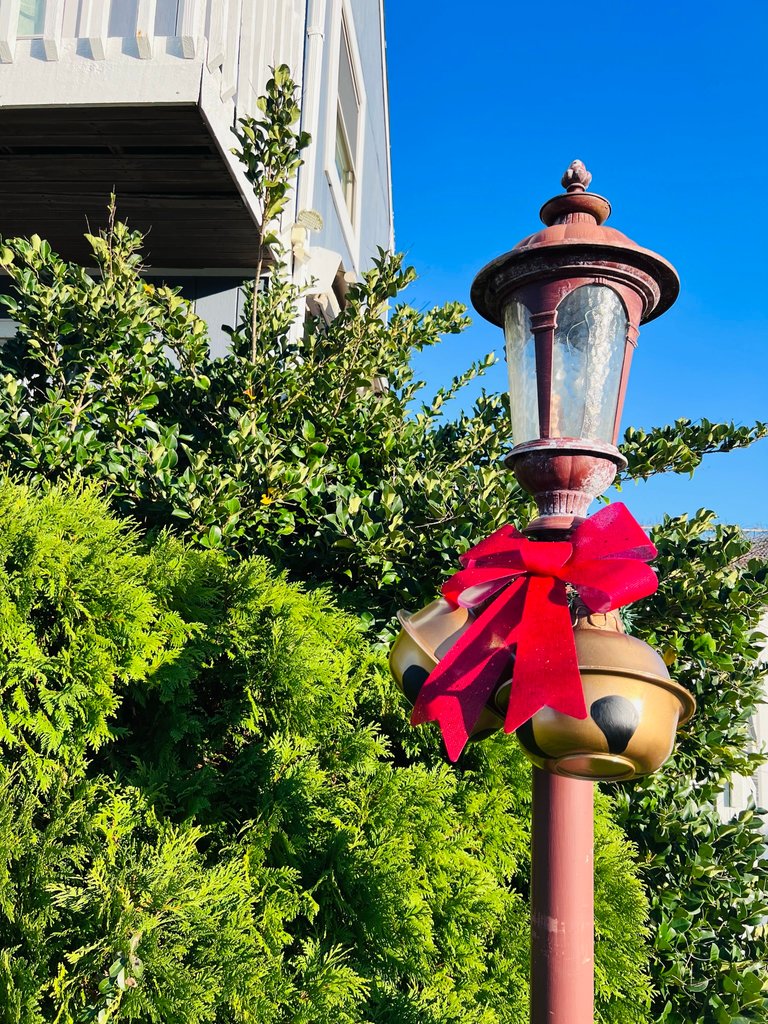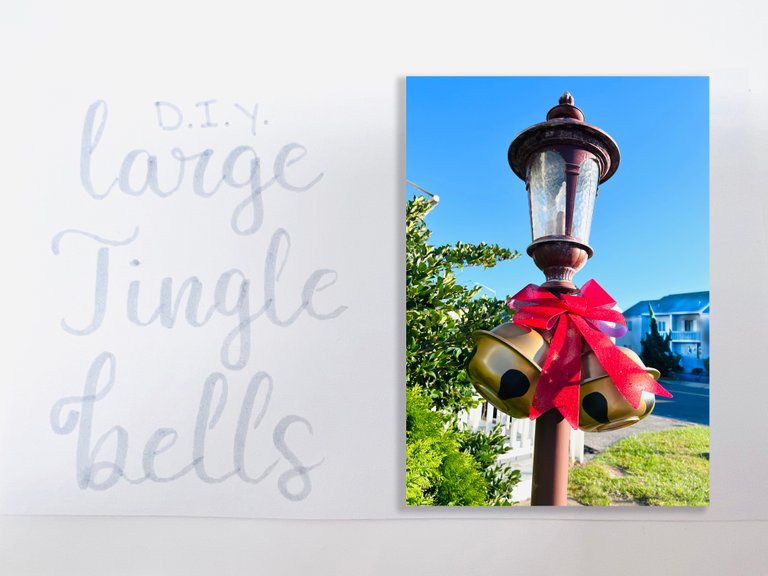
Hi everyone, the other day I started this project. I had to put it on hold because my daughter became sick. I managed to finish it today while she was doing some finger painting. It was my first time making DIY outdoor jingle bells, so there was some experimenting involved. It was also my first time using outdoor Gorilla Glue. If it’s your first time, be sure to add some water to one surface before applying the glue (I didn’t read the directions at first, and didn’t realize it works better when mixed with water). If you aren’t creating these bells to be outside, then you could probably just use the hot glue gun. As for techniques to hang the sleigh bells, there was some trial and error. The most effective was the hole punch and wire garland ties (you'll see below). There was also some experimenting with using a stencil vs. painting the bell holes by hand.
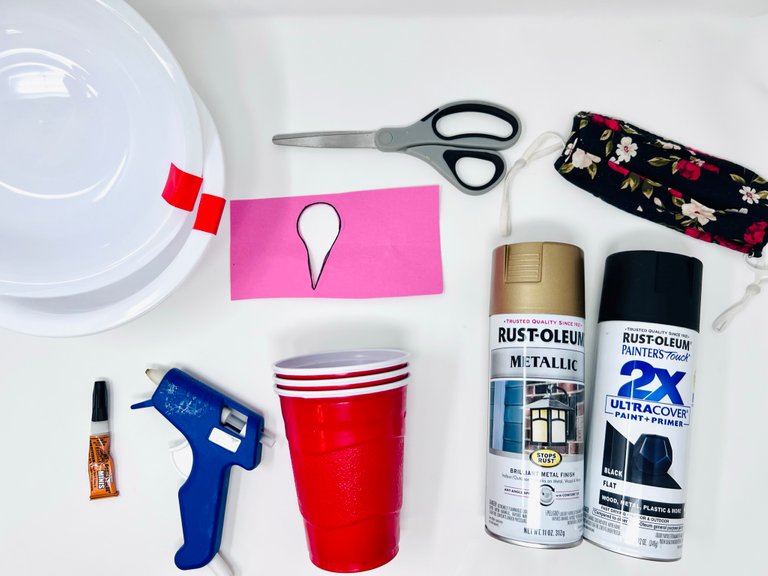
Materials:
- Gorilla outdoor glue
- Gold spray paint
- Black spray paint
- (2) White plastic bowls
- Plastic cup
- Hot glue gun
- Mask (for spray painting)
- Stencil (optional)
- Paint Brush (optional)
- Wire garland ties (optional)
- Hole Punch (optional)
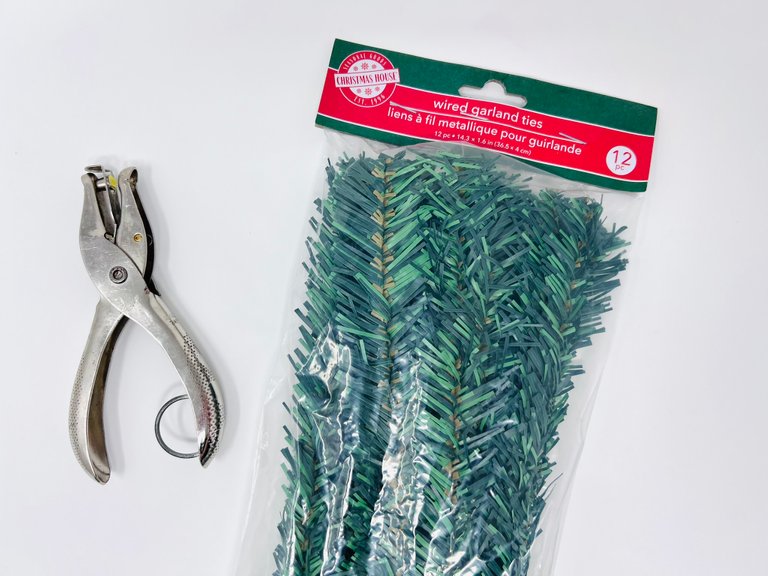
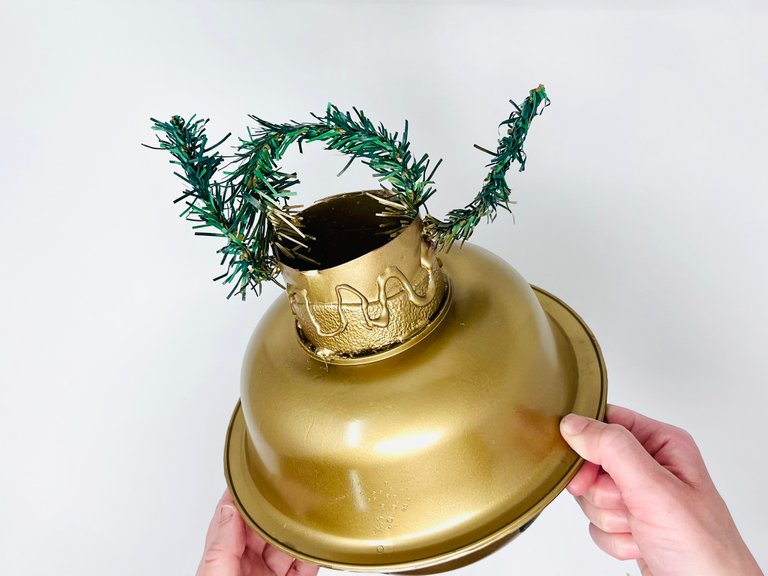
Hole Punch and Wired Garland Ties for hanging the bells.
Directions:
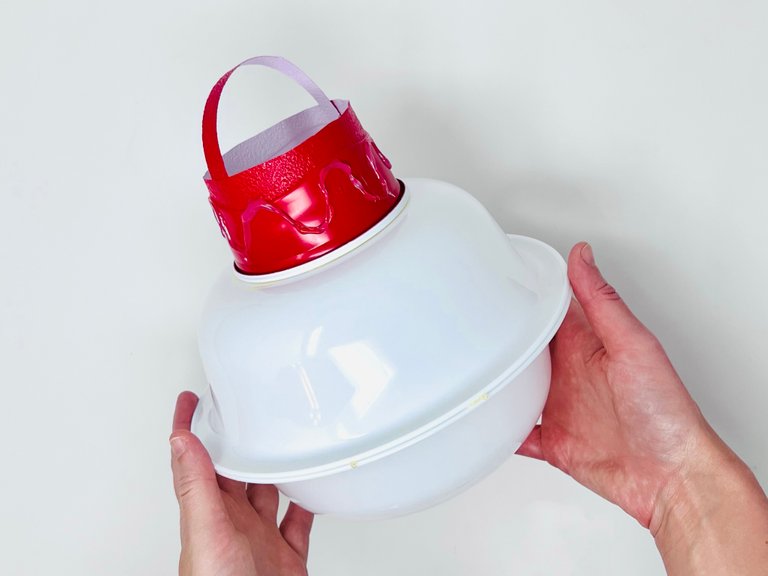
Step 1. Use Gorilla Glue to glue the two bowls together. Wait 1-2 hours for it to dry.
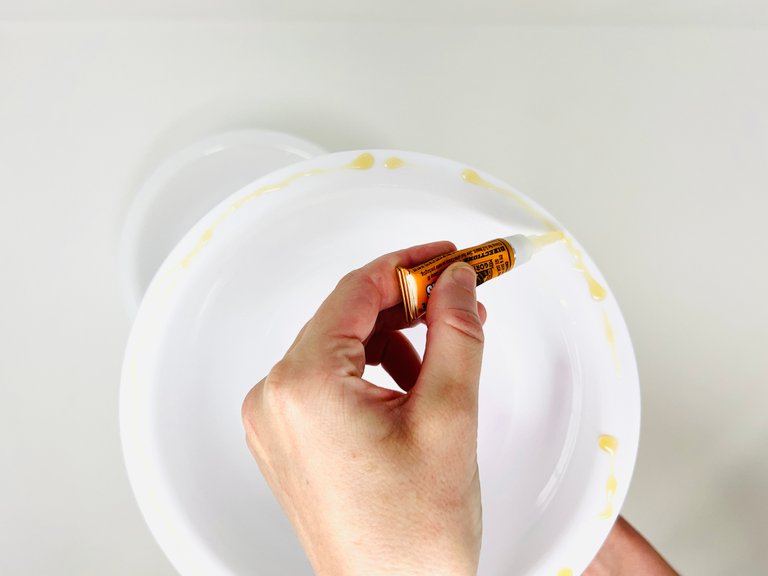
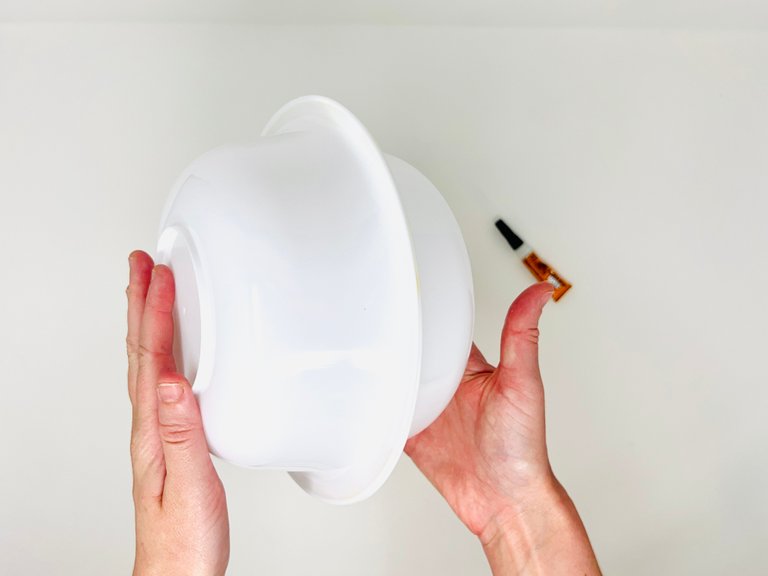
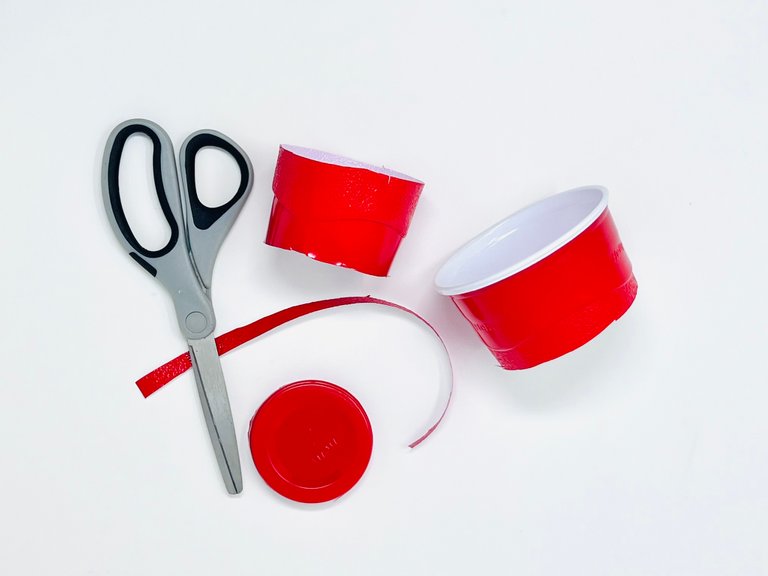
Step 2: Cut a plastic cup in half and trim to the desired height.
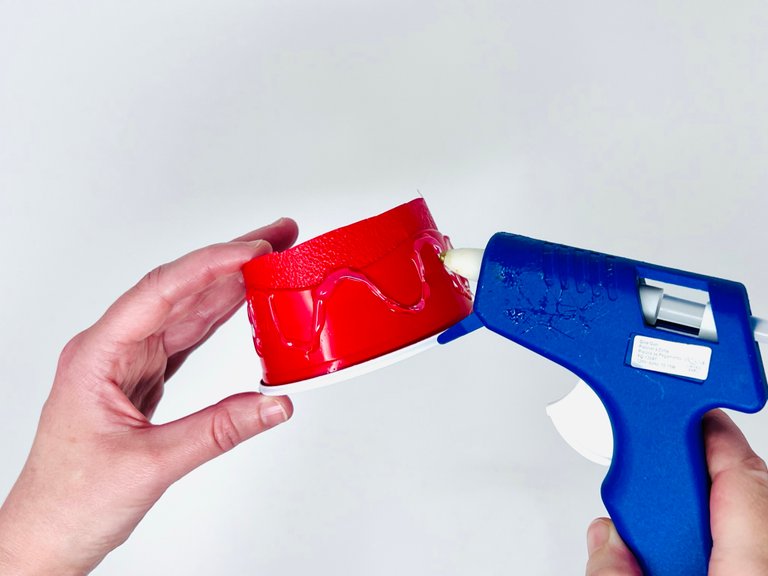
Step 3. Use a hot glue gun to create the curvy zig-zag line shape around the cup piece.
Step 4: Use Gorilla Glue to glue the plastic cup piece on top of the glued bowls.
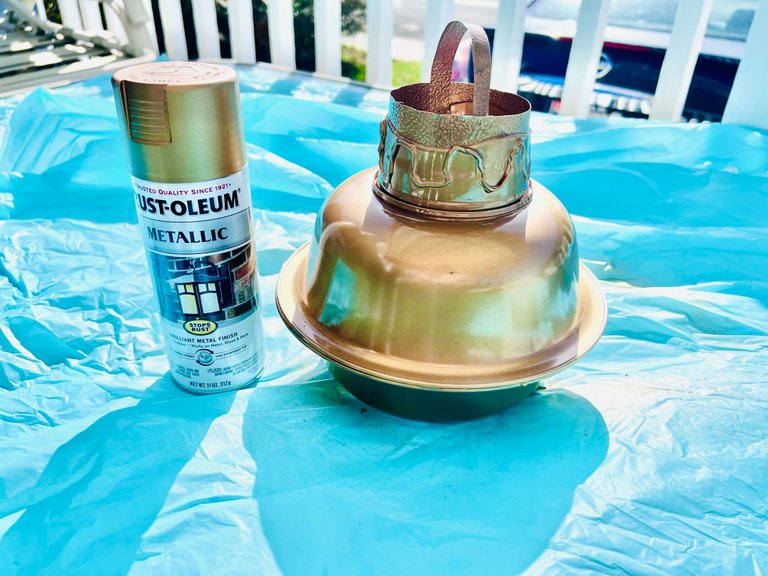
Step 5: Spray paint the bells with gold spray paint. Wait for the top part to dry, then spray paint the bottom.
Step 6: When the gold paint dries, use the paint brush to paint the hole shapes with black paint. Paint them evenly on four sides of the bottom of the bell. You can also trace the stencil with a permanent black marker, and then paint the inside, to make it easier.
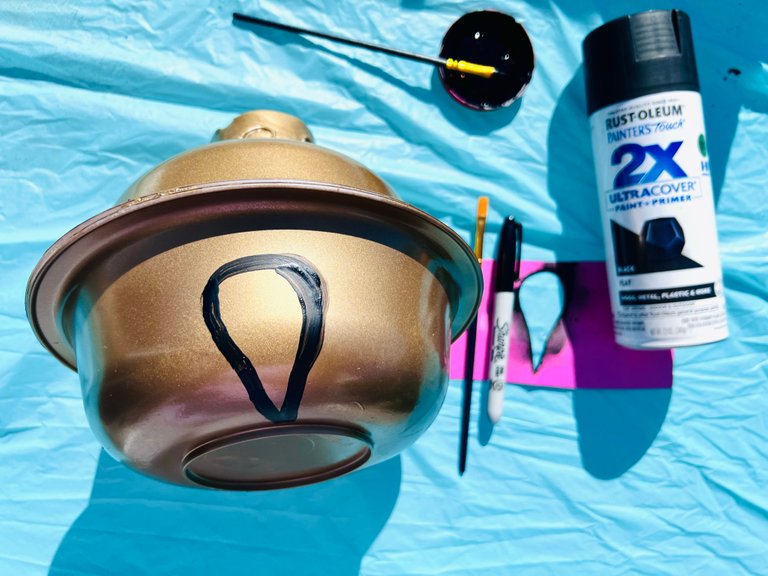
It helps to spray the spray paint into a plastic container to dip the brush.
Originally, I was going to use a plastic loop from the Solo cup trim to hang the bell. However, I found using the wired garland more effective. Here is how I made the bells hangable ⬇️
Step 7: Hole punch two sides of the top plastic cup
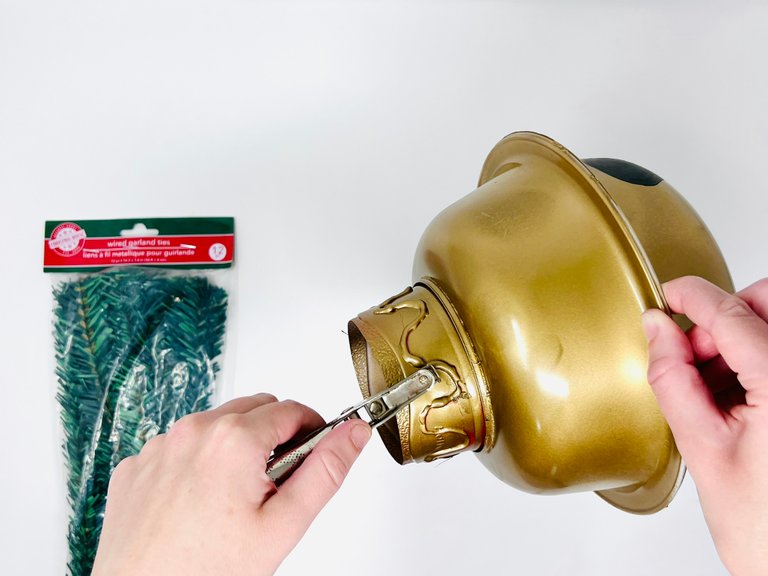
Step 8: Thread the wire garlands through the punched holes, so that you have a piece in the middle to hang. It also helps to wrap the end pieces back in and around the wire garland.
Finished! I fastened a red bow between the two bells for added decorative effect.
