Welcome to my blog
Bienvenidos a mi blog
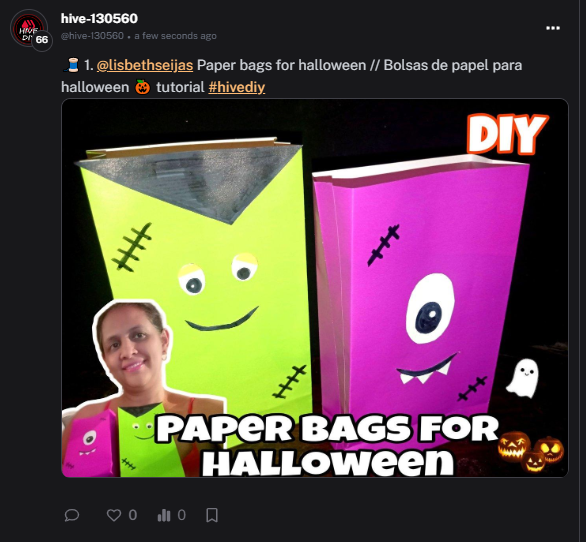
Paper bags for halloween // Bolsas de papel para halloween
Greetings creative friends, October is here, month where many celebrate Halloween, this holiday despite not being from our country Venezuela, has become a big party in homes and even in schools. Here we really always celebrate monsters; today I want to share how to make mini paper bags for halloween. I took advantage of having a block of lustrillo that I bought a few days ago and has very nice colors. So with this paper I bring an idea that can serve as cotillion for educational centers or simply to decorate the tables of the celebration. I show you through this simple tutorial these practical paper bags.
Saludos amigos creativos, ya llegó el mes de octubre, mes dónde muchos celebran halloween, está festividad a pesar de no ser de nuestro país Venezuela, se a convertido en una gran fiesta en hogares y hasta en centros educativos. Aquí realmente siempre se le hace celebración a la monstruos; hoy quiero compartir como realizar unas mini bolsas de papel con motivo de hallowen. Aproveché de tener un block de lustrillo que compre hace días y tiene colores muy lindos. Por eso con este papel traigo una idea que puede servir de cotillón para centros educativos o simplemente para adornar las mesas de la celebración. Te muestro a través de este sencillo tutorial estás práctica bolsas de papel

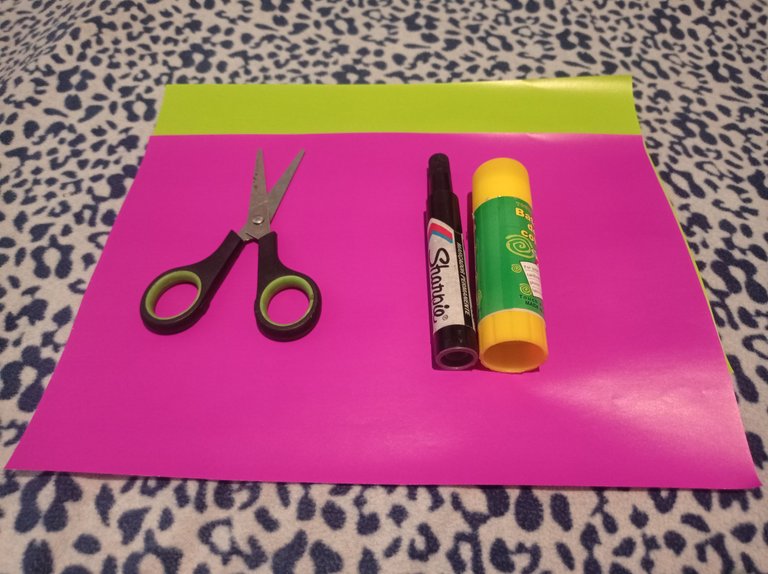
Materials
2 sheets of apple-green and purple lustrillo paper
Glue stick
Scissors
Black marker
Materiales
2 hojas de papel lustrillo de color verde manzana y morado
Pega en barra
Tijera
Marcador negro
Step by step
Paso a paso
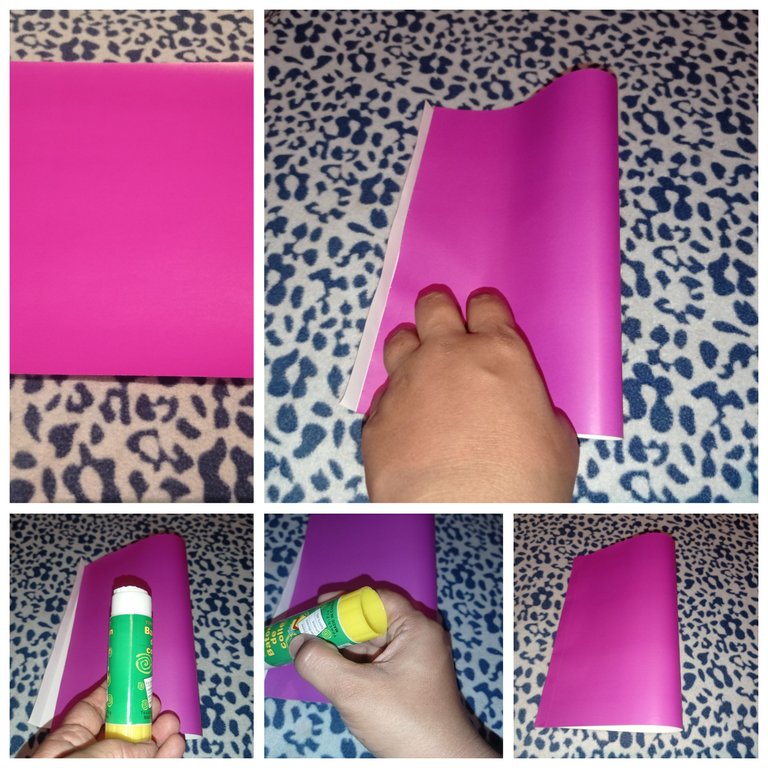
Step 1
Paso 1
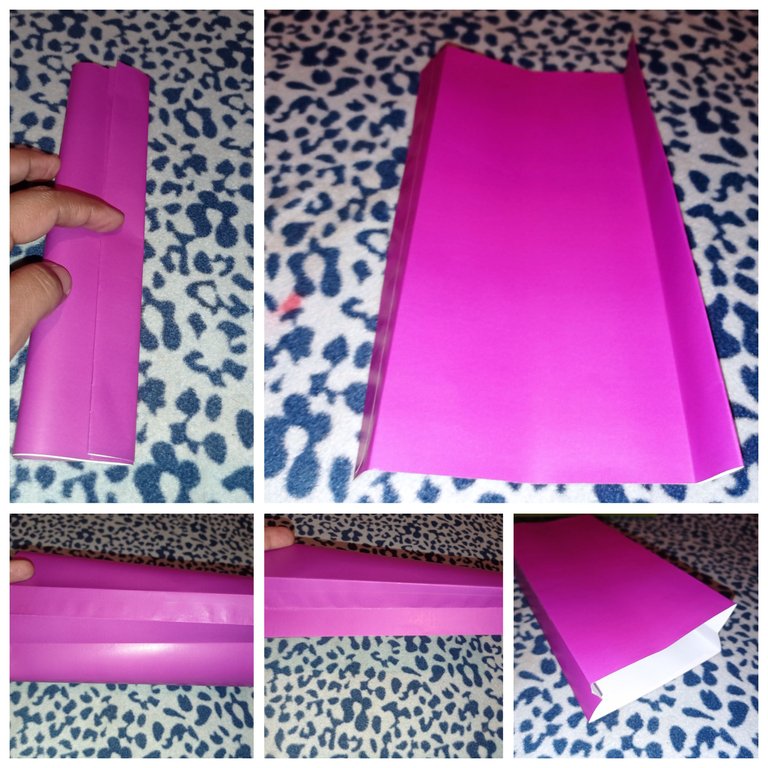
To start this project I will begin with the steps to make the bag, to do this we fold the sheet of lustrillo and leave an edge and then place glue stick and seal.
Para iniciar este proyecto voy a empezar con los pasos de realizar la bolsa , para ello doblamos la hoja de lustrillo y dejamos una arista para luego colocar pega en barra y sellar.
Step 2
Paso 2
Now we fold in half and then we make a double 2cm wide. This double will allow us to have the sides of the bag. After having the double on both sides we must fix each line of that double, this with the intention that the bag can be held.
Ahora doblamos por la mitad y posteriormente realizamos un doble de 2cm de ancho. Este doble va a permitir tener los lados de la bolsa. Luego de tener el doble en ambos lados debemos fijar cada línea de ese doble , esto con la intención de que la bolsa se puede sostener.
Step 3
Paso 3
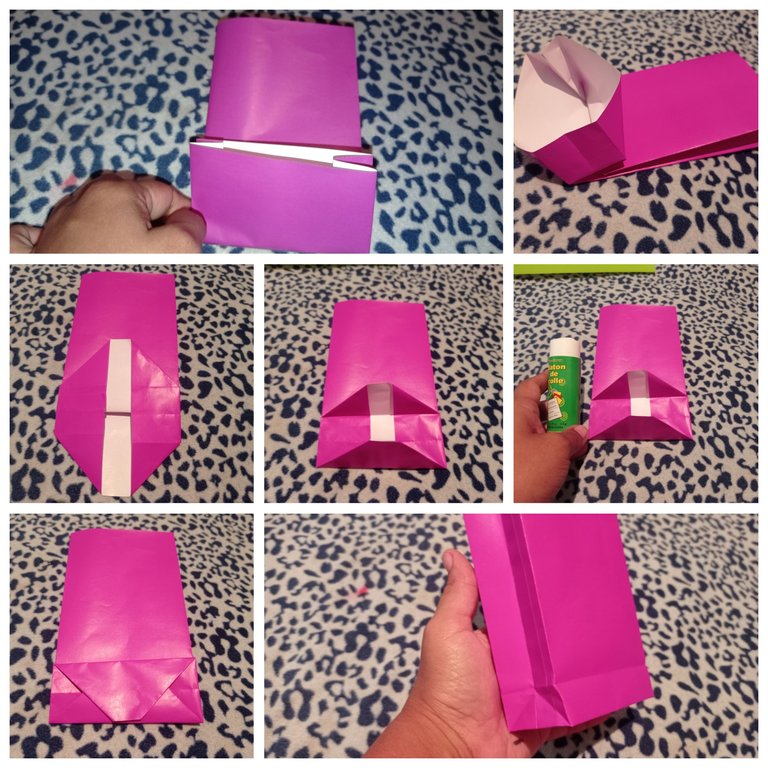
Now at the bottom we make another double, which will be 6cm upwards, here we proceed to open the sides as you can see in the picture and take inside.
Ahora en la parte de abajo realizamos otro doble, que será de 6cm hacia arriba, aquí procedemos abrir de los lados como lo ven la fotografía y llevamos adentro.Este procedimiento lo vamos a realizar en ambos lados
Step 4
Paso 4
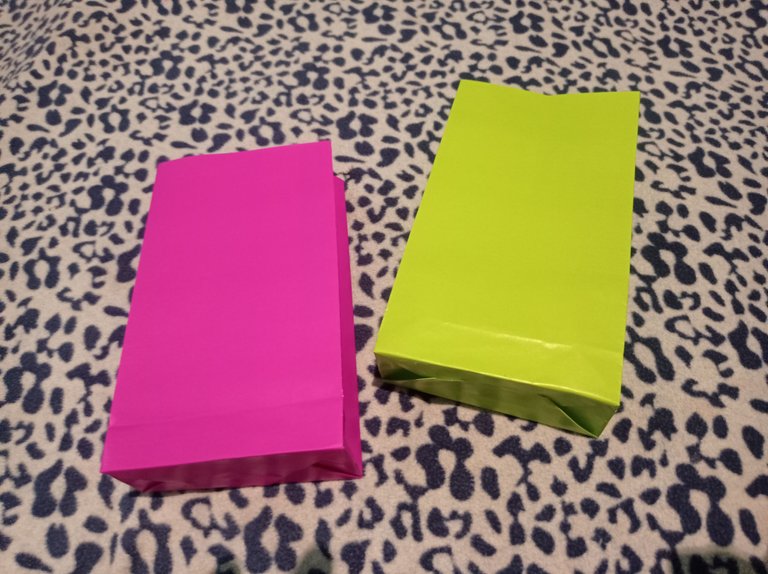
Now using the glue stick, we place and seal the bottom of the bag and with the same steps we take the green sheet and form the other bag.
Ahora utilizado la pega de barra,colocamos y sellamos la parte de abajo.Con estos mismos pasos tome la hoja de color verde y forme la otra bolsa
Step 5
Paso 5
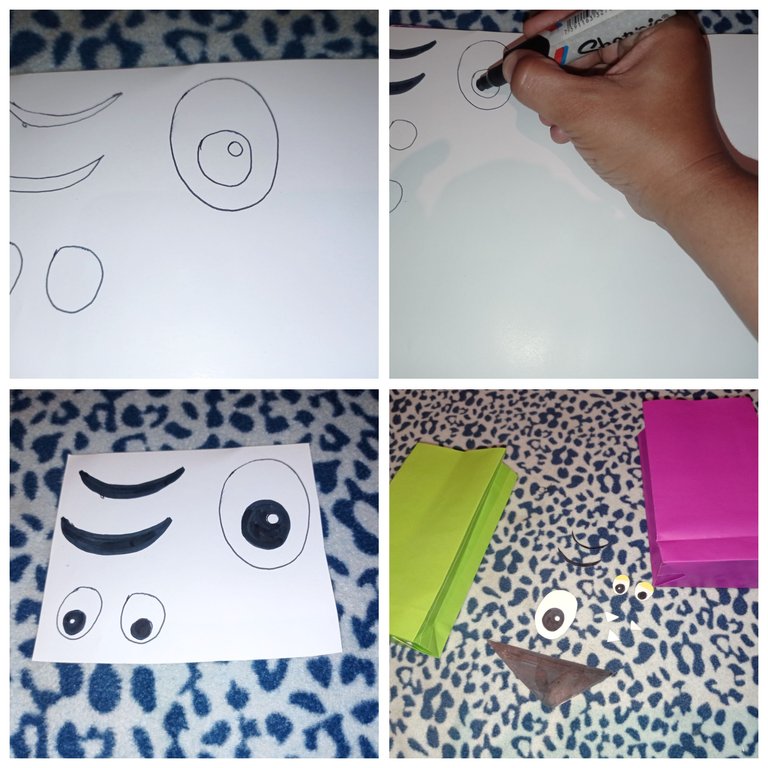
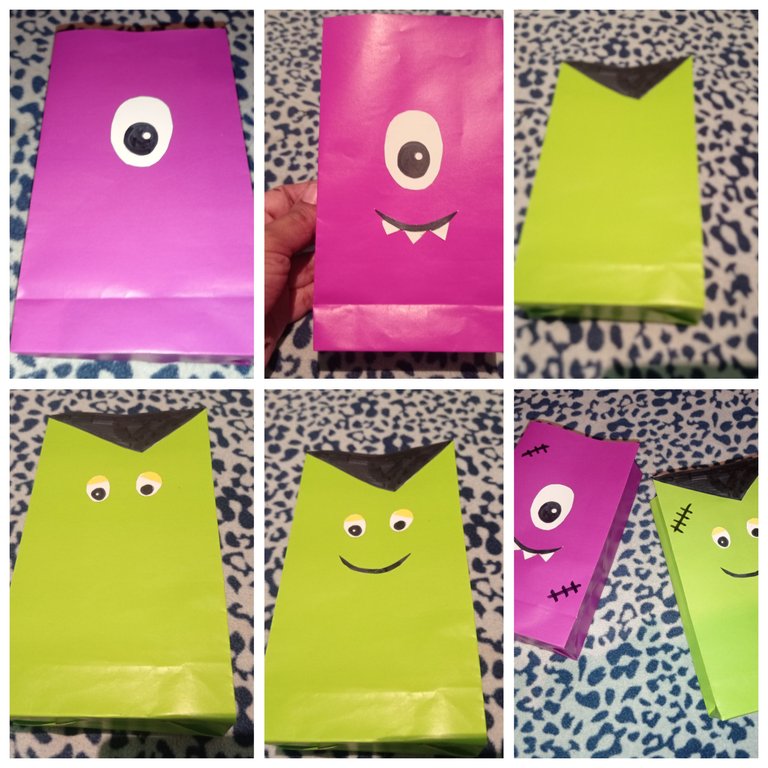
To give it the halloween touch, I took a white sheet of lustrillo and drew the eyes, mouth and hair of these cute monsters, I didn't have black lustrillo and decided to use white and paint with marker.
Para darle el toque de halloween, tome una hoja blanca de lustrillo y dibuje ojos, boca y cabello de estos monstruo que son tiernos.No tenía lustrillo negro y decidí utilizar el blanco y pintar con marcador.
Step 8
Paso 8
Here I started decorating the bags starting with the purple bag, where I attached a big eye, mouth and fangs. To the other bag I attached hair, her eyes and mouth.
Aquí empecé a decorar las bolsas empezando con la bolsa morada , dónde pegue un ojo grande, boca y colmillos. A la otra bolsa coloque cabello, sus ojos y boca.
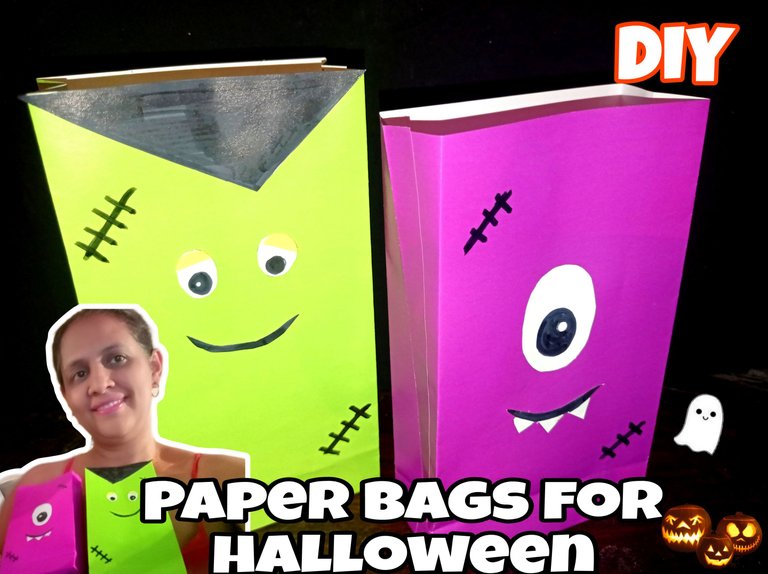
Final Result
Resultado Final
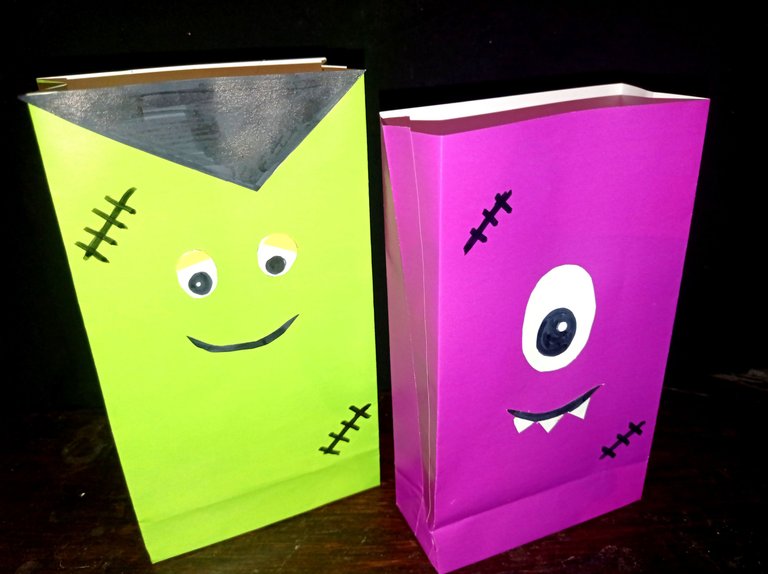
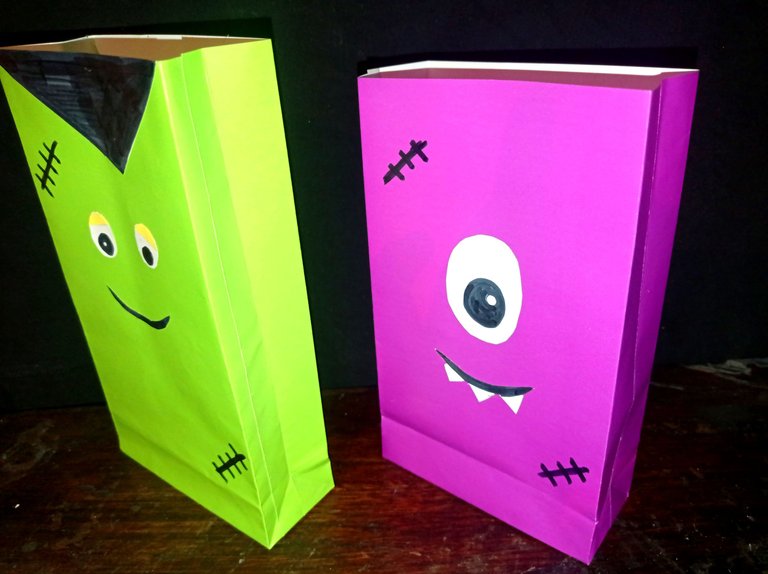
These cute park bags can be used as decorations or as cotillion. Do not use a drawstring to simply seal if you are going to make a candy box, I hope you like this simple and practical paper bag idea.
Unas tiernas bolsas de parque pueden servir para decorar o de cotillón. No les coloque cordón de agarre para simplemente sellar si va hacer dulcero.Espero les guste está sencilla y práctica idea de bolsa de papel

Vote la-colmena for witness
By @ylich
I bid you farewell and see you in the next opportunity.
Photographs are my property
Translator used Deelp
Separator made in canva with use of free image
Collage made with GridArt
Cover made in picsart with use of free image
Me despido y nos vemos en una próxima oportunidad
Fotografía son de mi propiedad
Traductor utilizado Deelp
Separador realizado en canva con uso de imagen gratuita
Collage realizado con GridArt
Portada realizada en picsart con uso de imagen gratuita