It's time for another installment of my DYI mudroom renovation.
Things are actually finally coming along and taking shape, as you will see as we progress through this post.
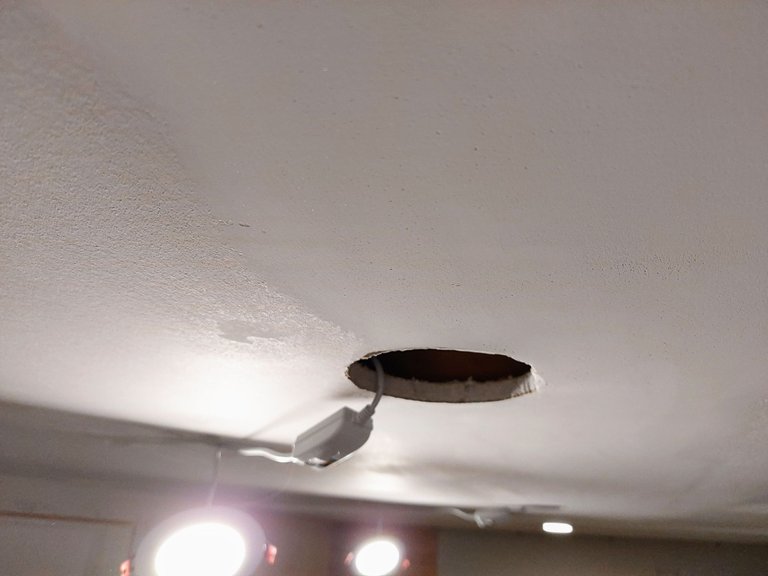
To start things off, I finally finished sanding the drywall mud on the ceiling and walls. I made a real mess of it at first when I slathered so much mud on there, but it was my first time doing it so I didn't have the technique down yet. I still don't really. But I sanded it all down and then mudded again and sanded and mudded and so on until it was almost perfectly smooth.
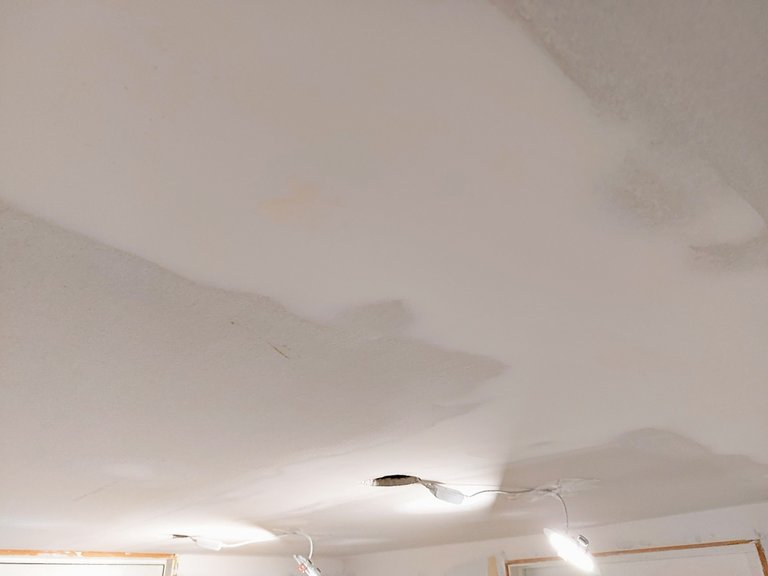
Surprisingly it came out really nice. It's completely smooth except for one spot on the ceiling where there is a bit of a ripple. I'm going to do one more thin coat over it after the room is finished to get rid of it and then it should be good. We painted the room white after the sanding, though I didn't bother to take photos of that step.
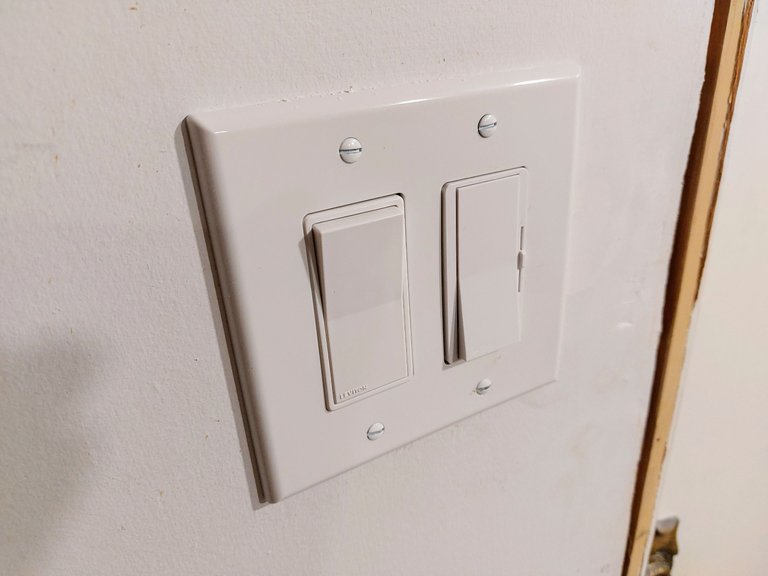
My wife changed out the old style toggle light switches for newer models and installed a dimmer switch on the new recessed lights. She likes doing the electrical switches more than I do. It didn't need a dimmer but the switch was only a few bucks more so we preemptively bought it in case the lights were too bright. The new switches look much better regardless though. They didn't cost much either so it was worth it I think.
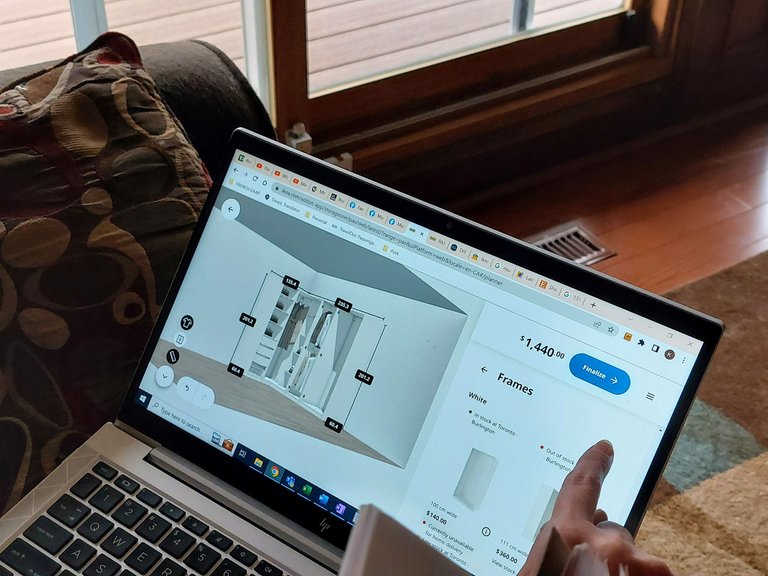
To create the closets we bought Ikea Pax wardrobes and designed the layout on their website based on the measurements of our room. My wife did this part as well. Nevermind the price on the screen, that wasn't accurate at all. We bought two L shaped corner units and two smaller wardrobes to go on the ends of them and then a few internal shelves, drawers, shoe and coats racks. You will see them at the end.
There is a major shortage of Pax wardrobes here because of all of the renovations that people are doing to their homes, so we had to go to two different Ikeas in two different cities to buy everything that we needed. We actually had to go back a 3rd time as well to finish off the order, which was a bit of a pain in the ass.

We got stuck in traffic for a hour on one of the trips too, but that is to be expected anytime one drives anywhere in the province.
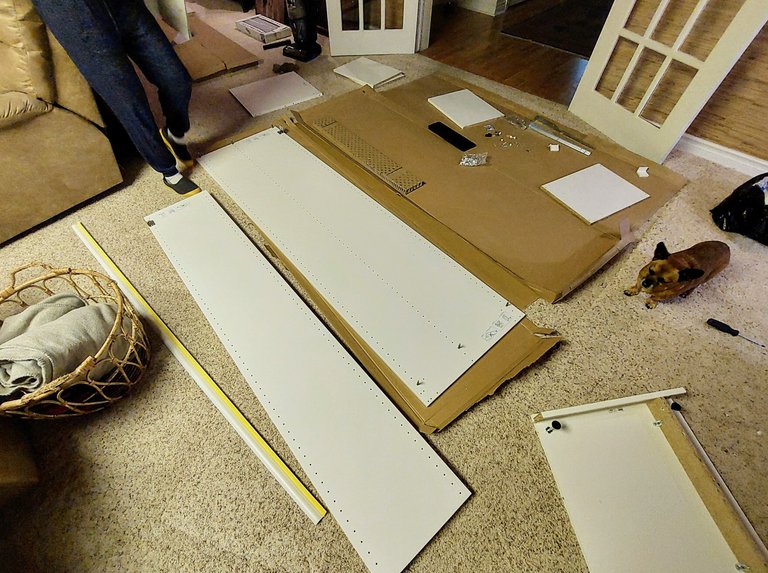
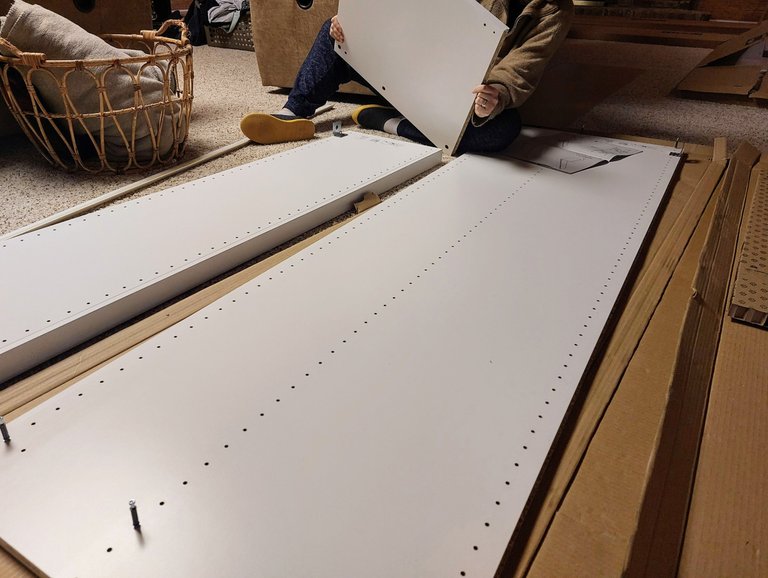
My wife likes building Ikea furniture so we built all of the wardrobes together two Sundays ago.
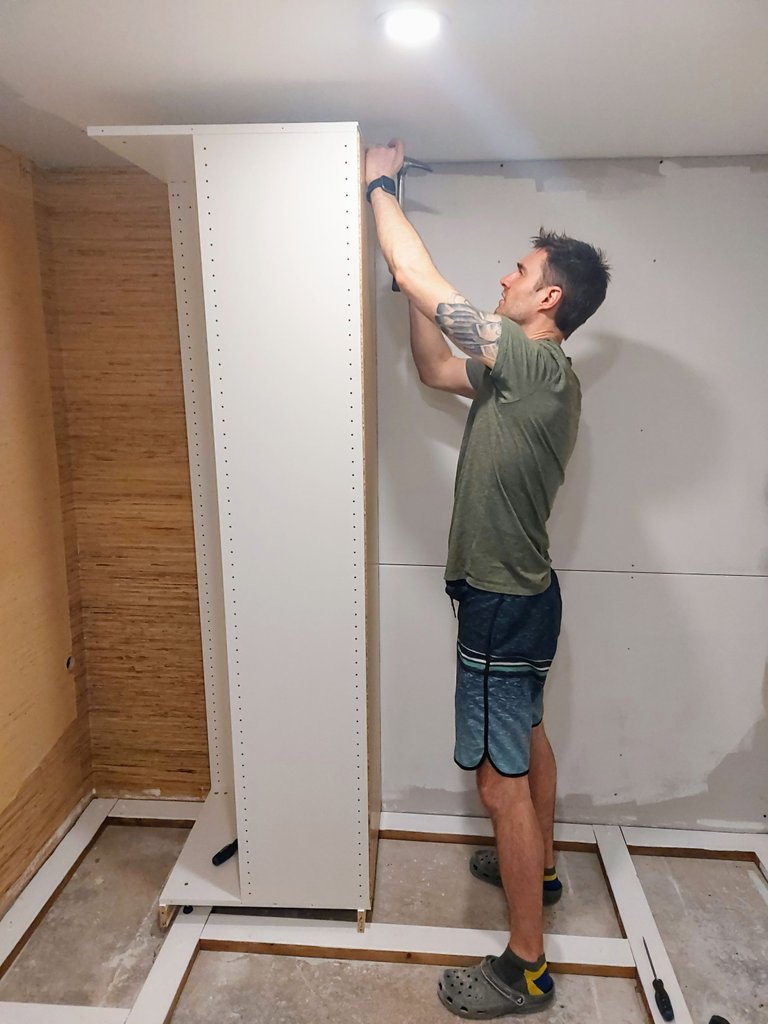
Notice me wear my trusty safety Croqs.

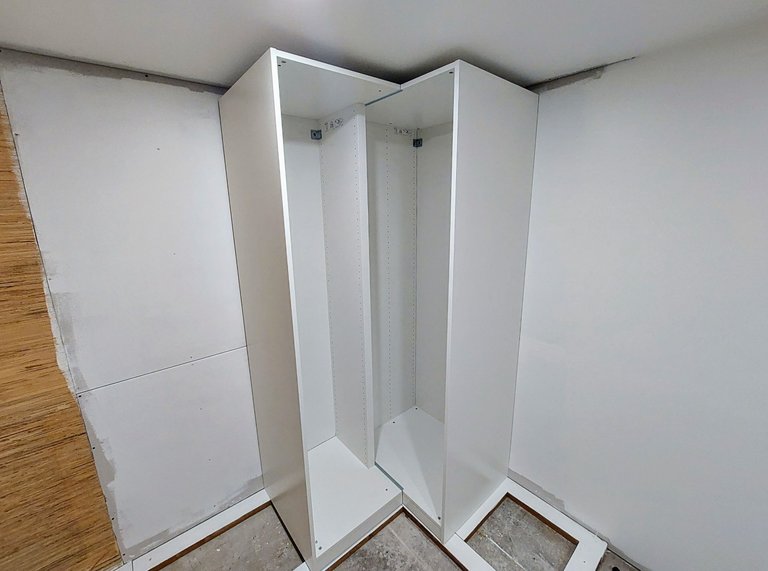
We installed the corner units first and fastened them to the wall for support.
As you can see I didn't bother to mud and tape the drywall behind the cabinets or to paint the walls completely. The wardrobes will be built in so they won't be removed by us at any point while we own the house. If we ever sell the house and the next owners decide to remove them then they will likely curse us, but... What can I say? I've been working on this room for months now and I only have so much time to spend on it and there is still a lot more to do, so short cuts have been made...
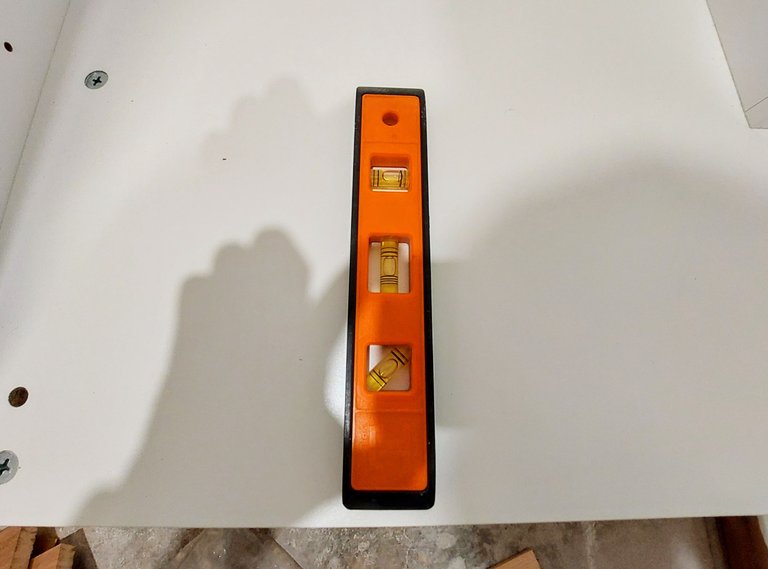
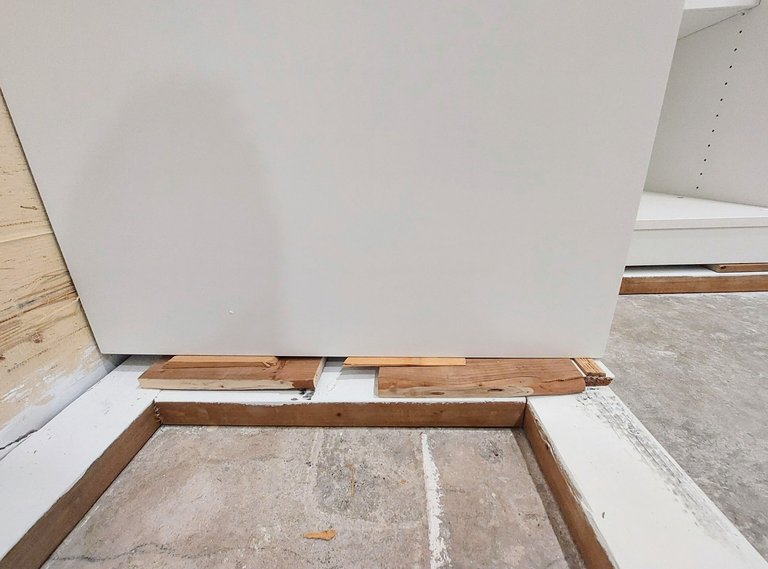
The floor is sloped a little towards a drain in the room adjacent to the mudroom, so I used shims to make everything level.
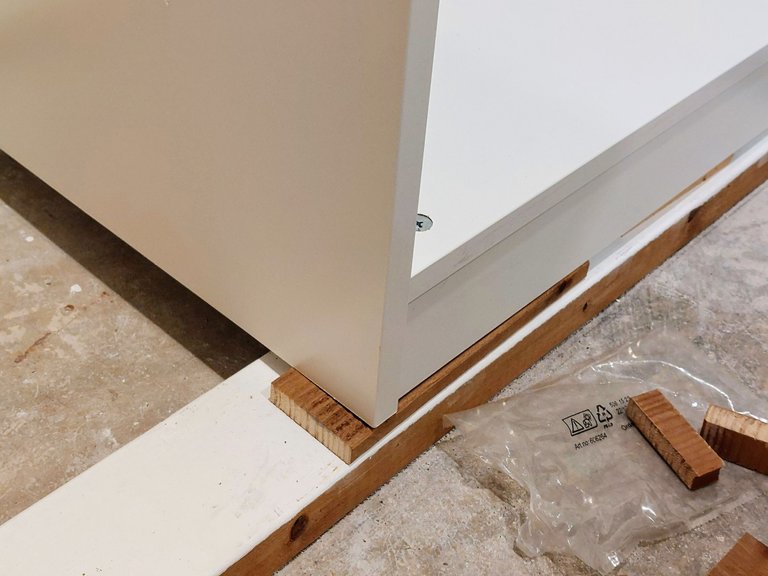
This part was fairly easy despite the gap getting larger and larger as I moved along.
Here are the two L shaped corner units installed. They came with the shelves you see inside, which was nice. These units will store miscellaneous stuff eventually so we likely won't put anymore shelves or drawers in them.
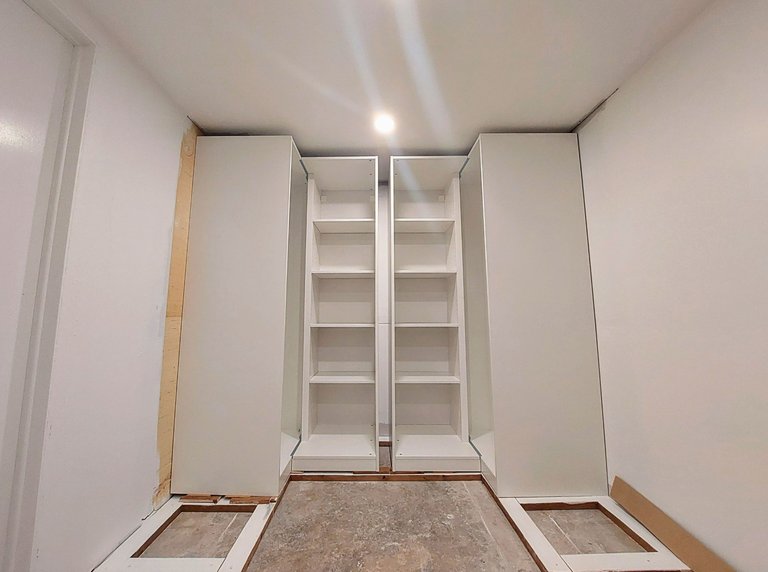
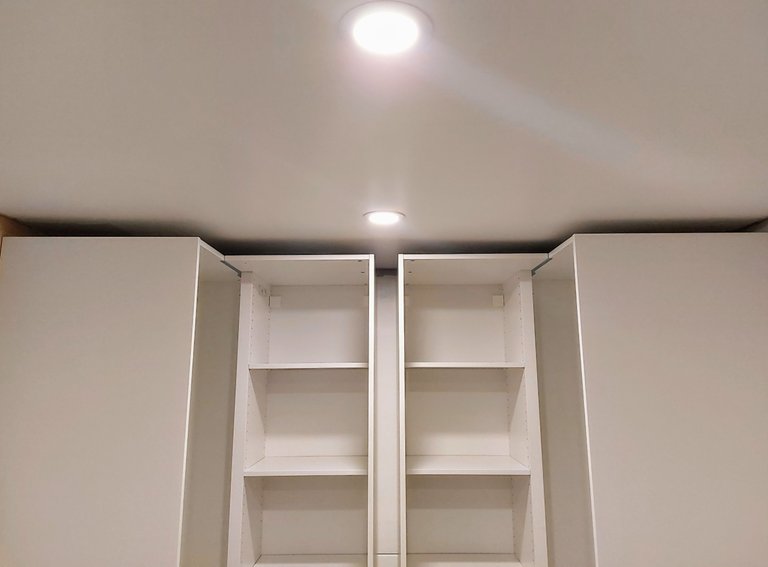
As you can see there is a small gap between the closets and the ceiling. Eventually I will install a piece of wood up there to fasten crown molding in order to complete the built in look. I haven't gotten to that stage yet though.
Next we put together and installed the end units. After much debate we decided to go with the U pattern you see in order to maximize the storage space. I don't think you can ever have too much storage space in a house. We likely won't ever fill the wardrobes entirely but these would definitely be very handy for a family of three or four or beyond.
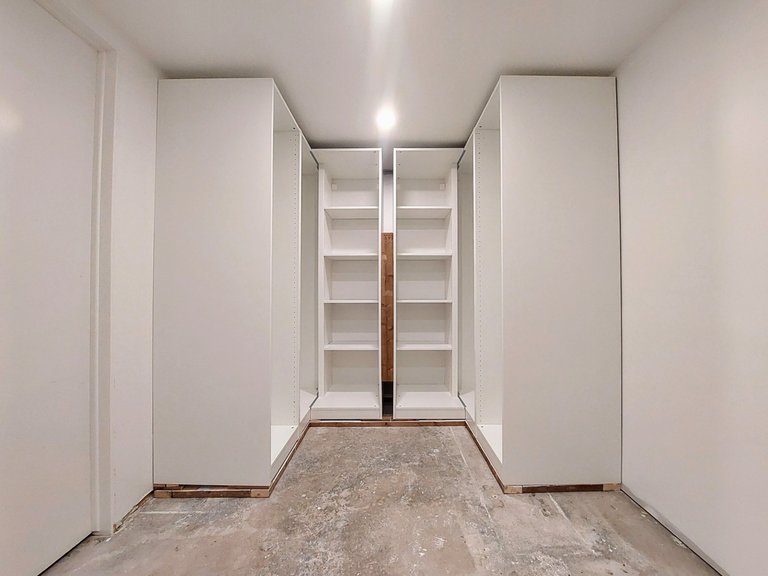
There is a small gap between the wardrobes, which was something that we anticipated. Eventually I will install a piece of white MDF to fill the gap or maybe hardwood board with a wood grain finish, depending on what's available when I go searching. I just shoved that 2x4 that you see in there because I'll need to use something like that to fasten the finished piece to when the time comes.

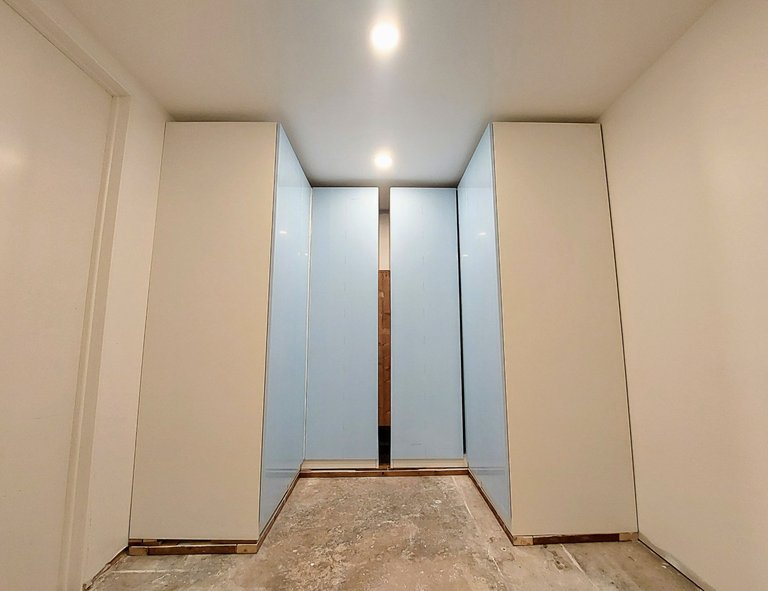
Next came the door installation. We bought high gloss white doors. They look blue right now because we left the protective plastic on them to protect them from scratches. I'll leave those on until I finish the project.
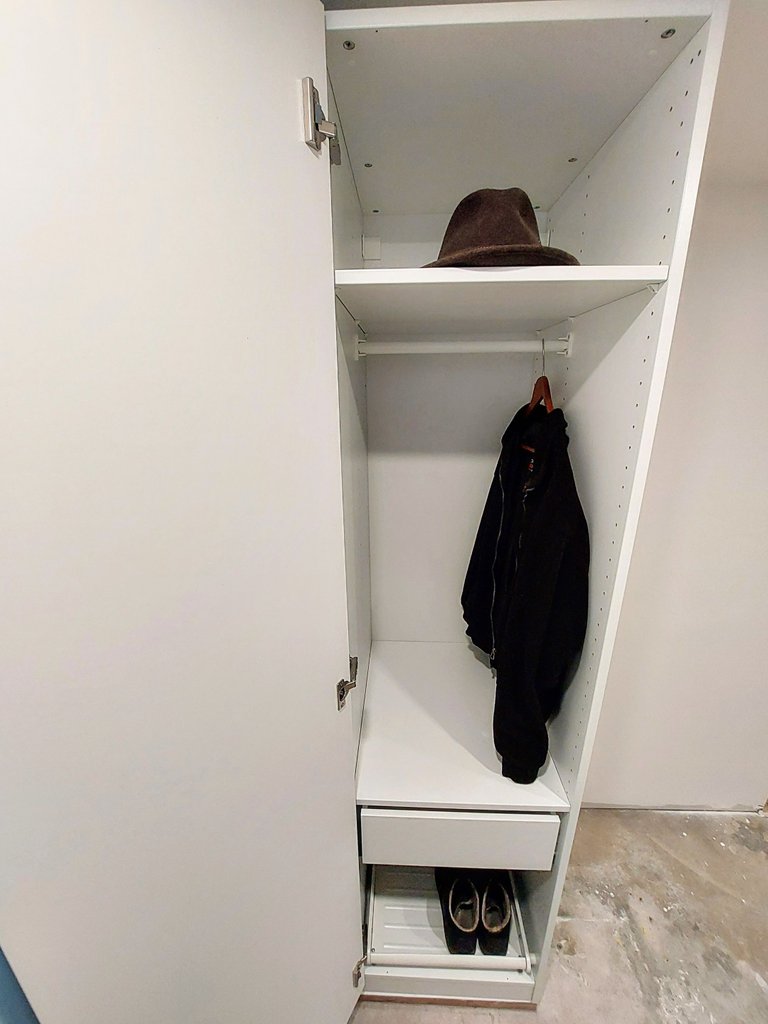
Lastly, I installed the internal additions that I mentioned earlier - the coat rack, shelves, drawer and shoe rack. The two end units have the same set up. The wide angle lens of my phones camera makes it look a little wonky. That upper shelf looks huge and the drawer looks too close to the ground. In actuality it's all very proportional and everything is in proper reach of where you would want things.
So that is where I'm at now in the project. The next thing that I'll do is tile the floor and then I'll do the trim and crown molding. After that I plan to build a bench to sit on when you're putting on your shoes. I still have a decent amount of work left as you can imagine. So until then,