Time for another update on my mudroom project. I'm still working on it...slowly, but surely after work and on weekends.
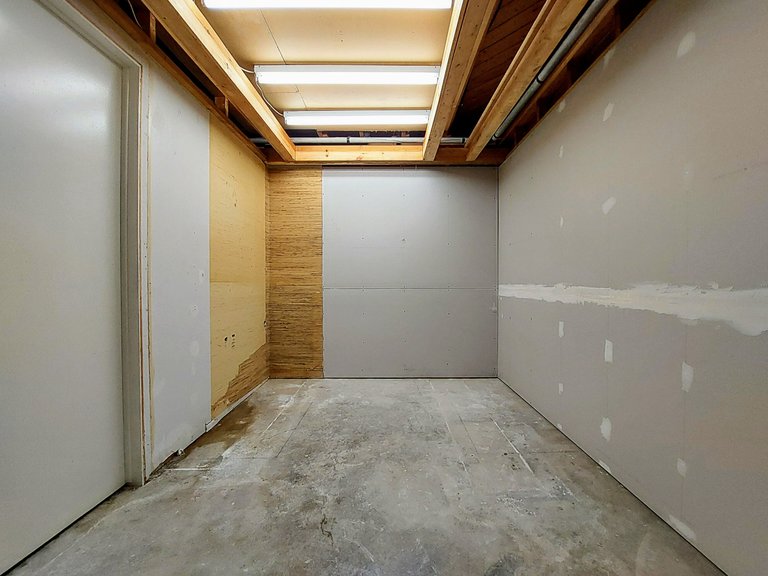
Okay, this is where we left off, with the walls mostly completed but lacking a ceiling. I only taped and mudded the parts of the walls that would be visible when the project is complete. It's not exactly proper but I really hate taping and mudding. In the photo I hadn't sanded the mud yet, though it is done now.
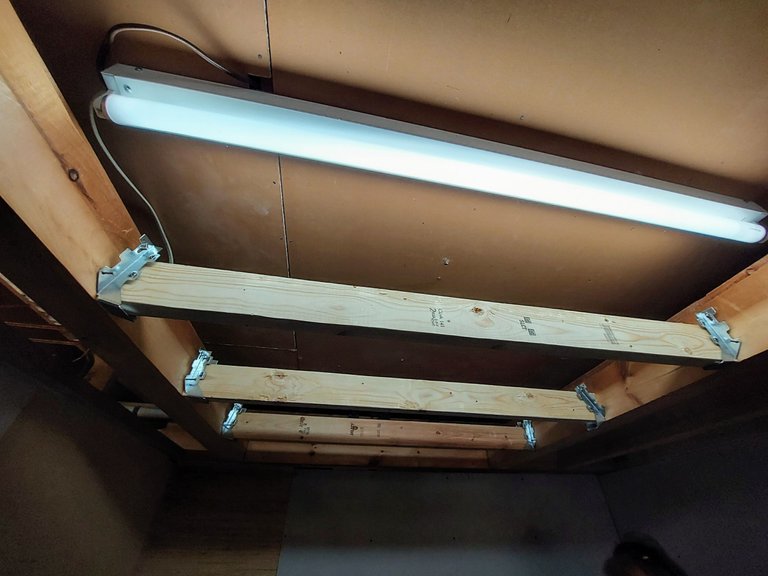
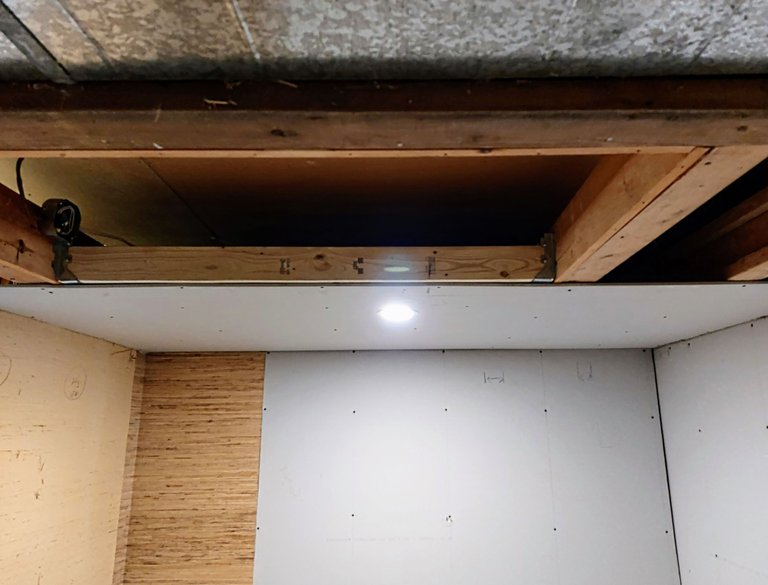
My dad helped me with everything and guided me through the parts that I didnt know or he just took over and did some parts himself and showed me how. It was very helpful having him there. First we installed some metal joist hangers to hold some 2x4 in the gap in the ceiling. This was just to support the drywall that was going to go up and give us something to screw the drywall sheets into.
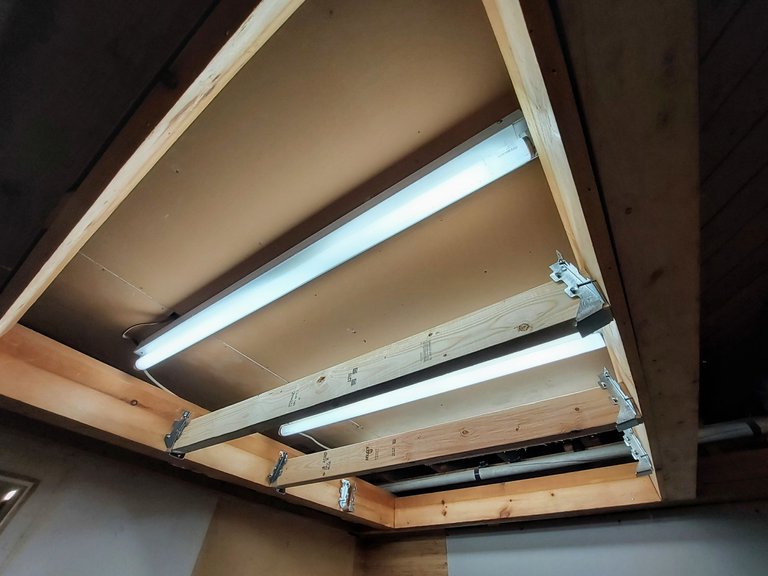
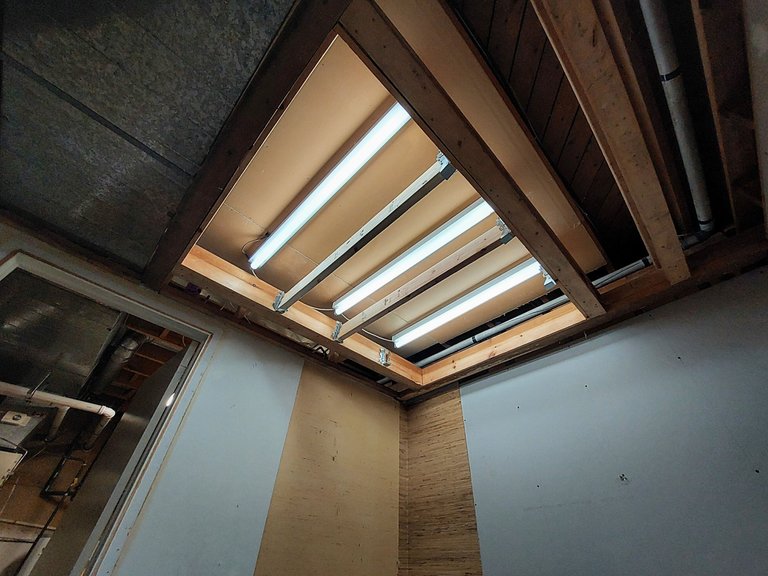
We installed recessed lighting in the space, so the next thing we needed to do was disconnect the old florescent tube lights.
We used the existing electrical in place and installed a new junction box.
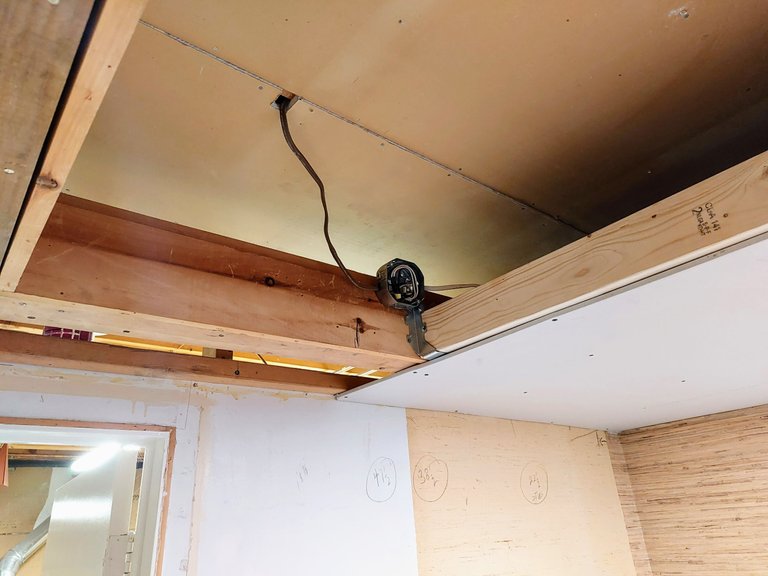
At first we installed it as shown but then we realized that if it were installed on the opposite side of the wood thats shown in the photo then I would be able to access it from the furnace room in the future if needed. So thats what we did.
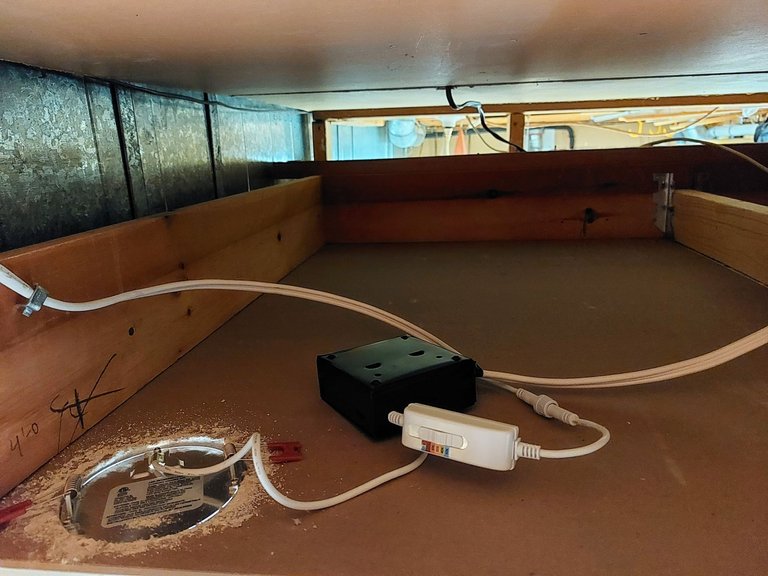
The new rececessed lights were quite easy to install. We ran a wire from the junction box and connected it to the new box that came with the light - very peasy peasy. We then ran a wire from the lighting box to the next recessed light and then again to a third one. So basically it's just 3 lights connected in series.
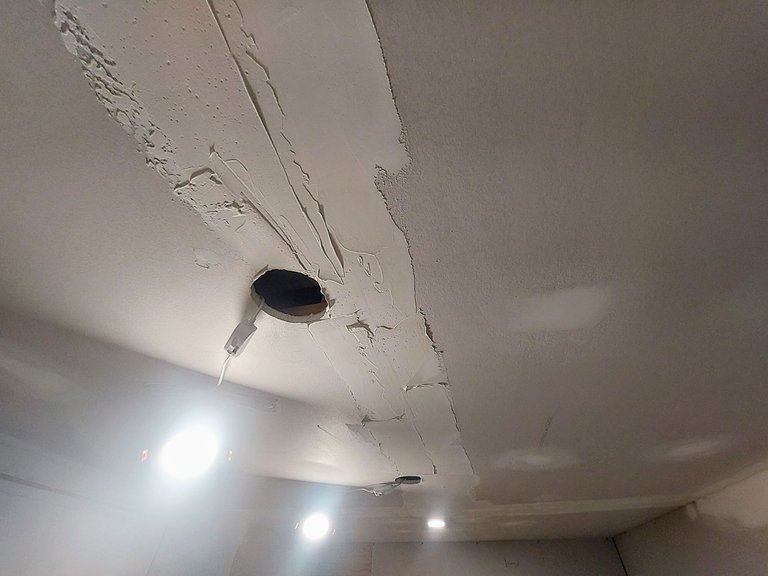
Next we put up a piece of drywall on the ceiling and then cut the hole in the center for the light to fit into.
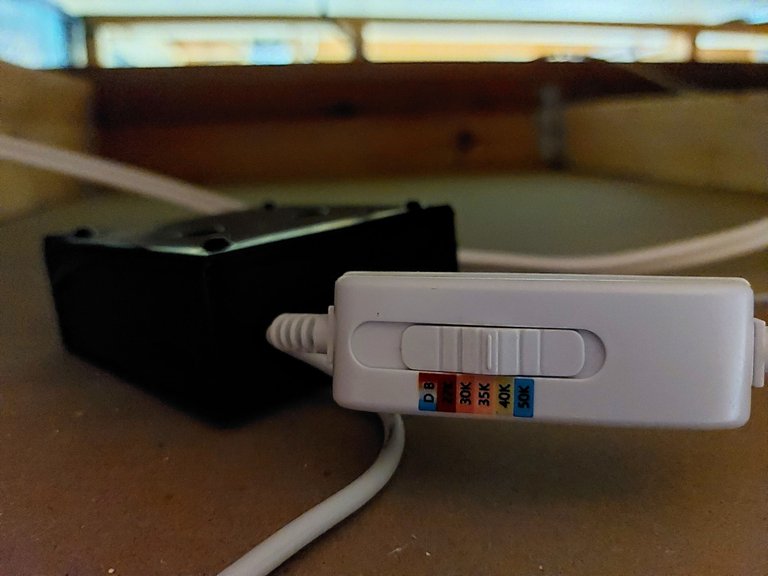
A cool thing about these lights are that they have a small switch on them that allows you to choose the lighting color to your preference. Some people like the cool blue style lighting and others like the more traditional incandescent yellow light. There are 5 options or something and I chose in the middle to the slightly more yellow type.
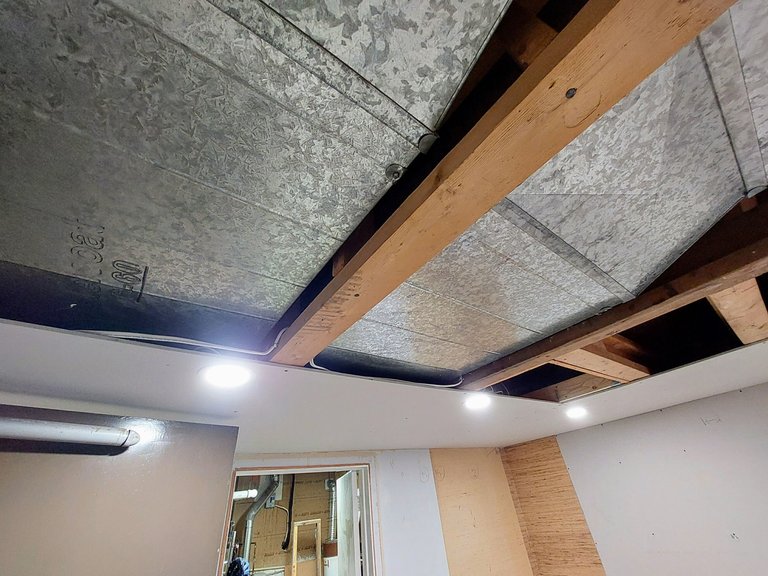
Something of a pain was that the ductwork crosses through the space and it created a gap where there was nothing to screw the drywall into. We could have put more cross braces in, sort of like we did with the joist hangers previously, but we ended up taking the cheaper and lazier route of spinning the drywall sheet the opposite way - vertically instead of horizontal. Then we installed the next two lights.
The decision to change directions with the drywall dmsave us time and money but it created a larger gap where the three sheets meet. This is because drywall has a rounded edge on one side and you generally want to butt the two rounded edges together.
A cut edge next to a rounded edge creates a very uneven surface that requires more mudding and more sanding. Especially since I suck at taping and mudding. Everything comes at a cost in the end.
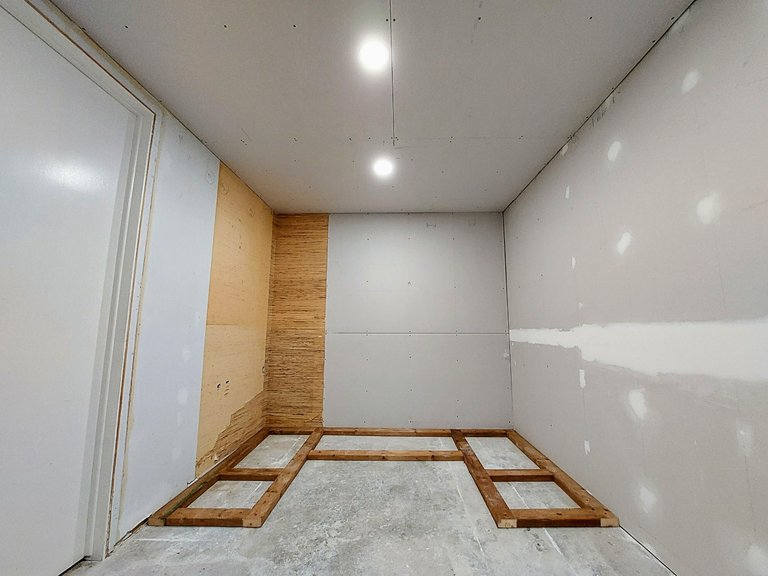
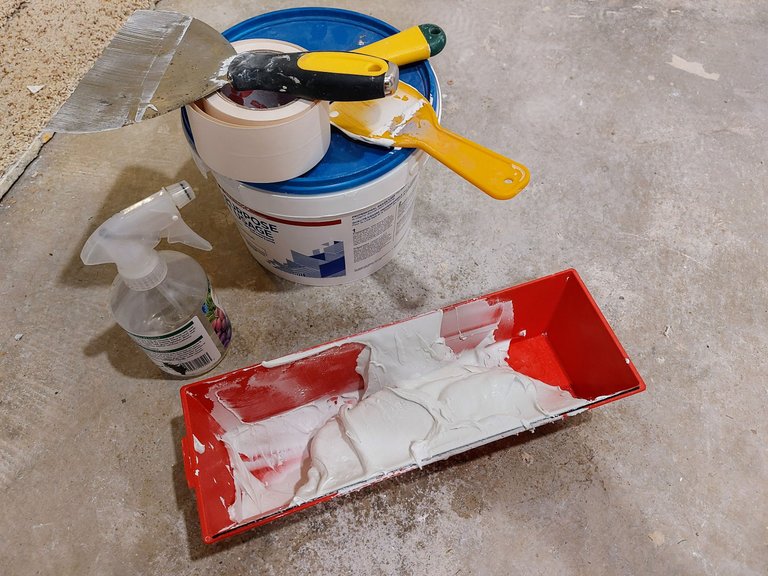
Sanding the walls were fine and everything came out surprisingly smooth in the end. The ceiling was an absolute pain in the ass. It's tiring and makes a mess and I had to mud and sand and mud and sand again multiple times.
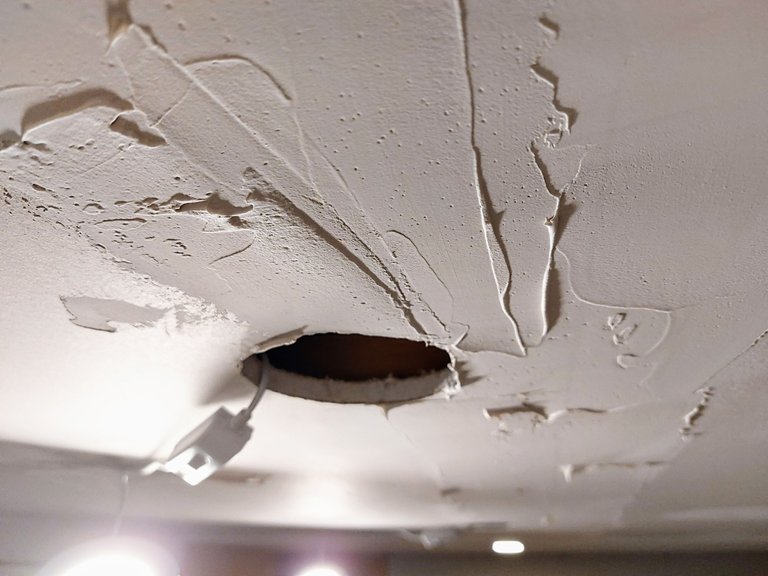
I'm still working on it actually. I'm determined to make the ceiling flat and smooth in the end. but look at the mess of a job I did above. Thats going to take a lot of sanding.
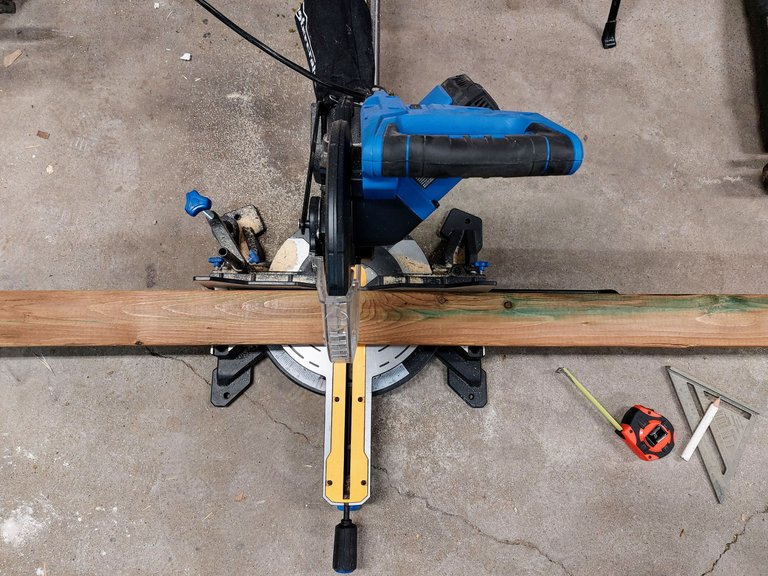
We want the cupboards we are installing to look built in so I'm going to build them on a platform and then put trim around it.
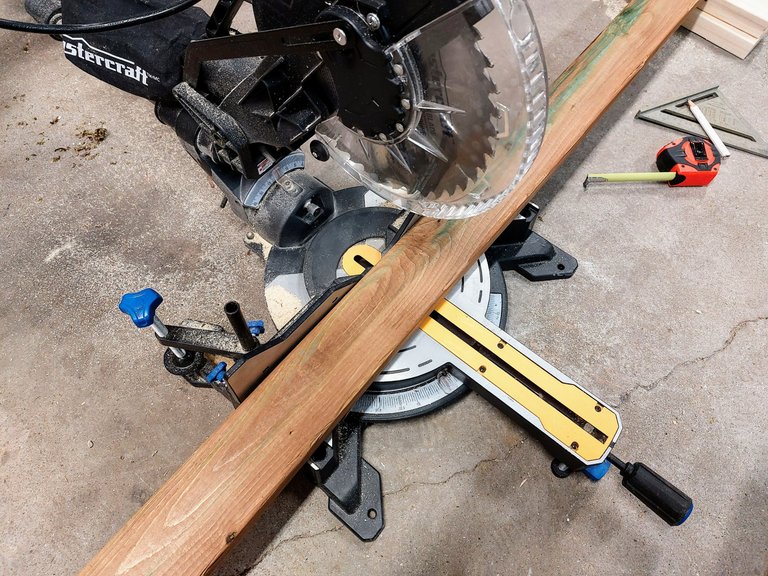
I used pressure treated wood since its in contact with the cement floor and moisture could be a concern. I believe that is standard practice though I could be wrong.
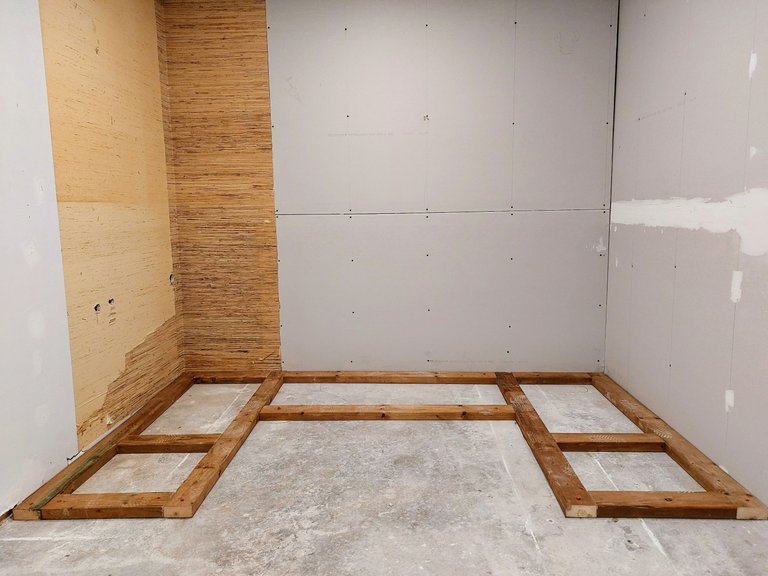
And that is basically where I am now. Next is to change the light switches to more modern ones, finish sanding, painting the walls and ceiling, tile the floor, build the Ikea cabinets, trim everything and then build a bench.... damn I still have a long way to go.
Until then thanks for stopping by.
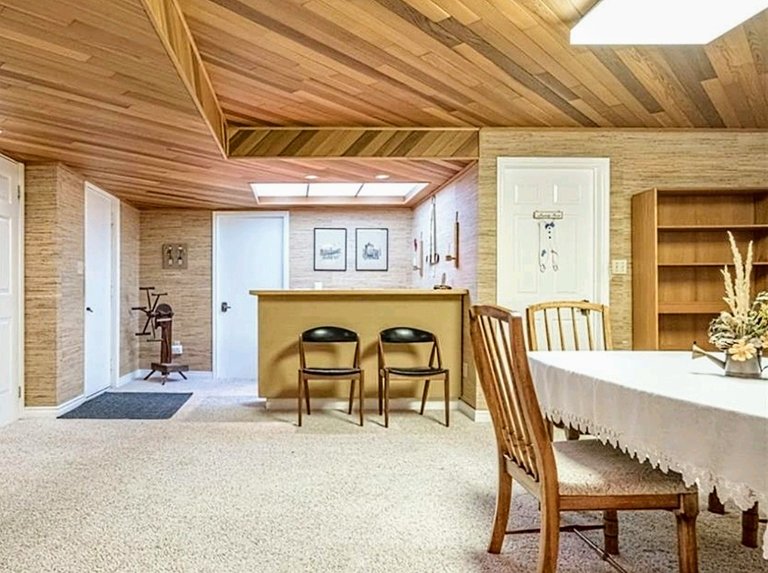
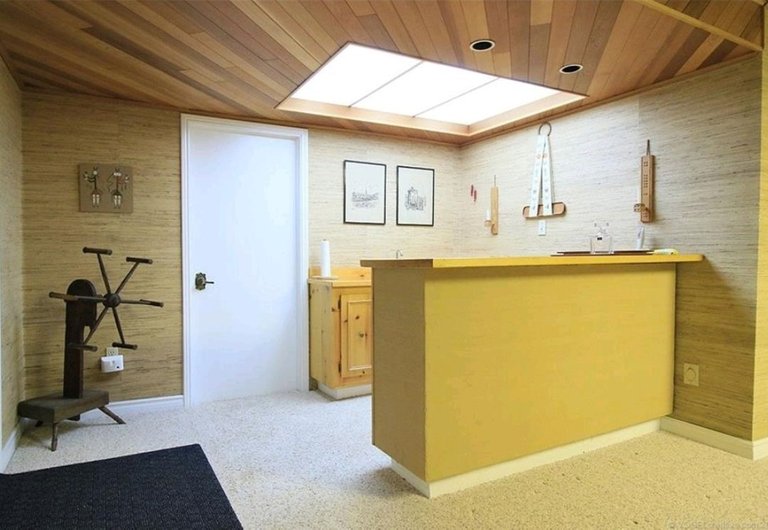
As always, these are the before photos of the space so you can see where I started.