Hola mi gente bella, de esta hermosa y querida comunidad, deseo que todos se encuentren muy bien.
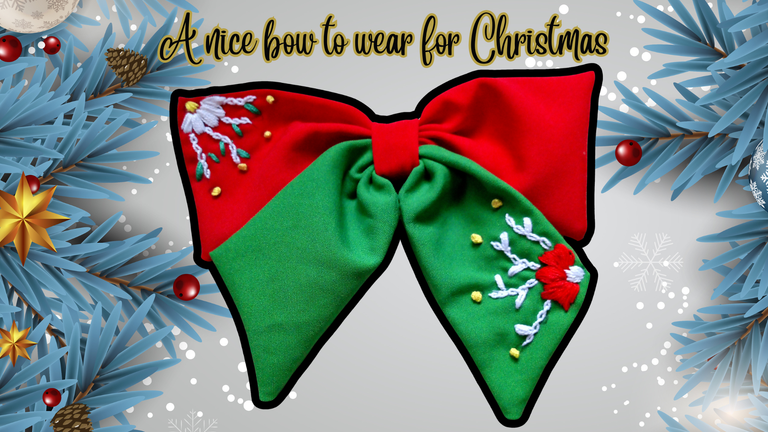
El día de hoy me complace volver a compartir otra de mis manualidades con motivo de Navidad, y es que me pregunte ¿desde cuándo no hago lazos?, en ese instante se me ocurrió hacer un lazo, con esta maravillosa temática, aplicando detalles de bordados.
Quiero aprovechar esta temporada para poder poner a volar mi imaginación, y lograr grandes proyectos, cada vez siento que mis objetivos están siendo todo un éxito, por eso hoy espero que este nuevo trabajo sea de su agrado y les guste mucho.
Las fotografías que verán a continuación, fueron tomadas con mi teléfono modelo TECNO SPARK GO 2024.
Hello my beautiful people of this beautiful and dear community, I hope you are all well.
Today I am pleased to share again another of my Christmas crafts, and I asked myself, since when I don't make bows, at that moment it occurred to me to make a bow, with this wonderful theme, applying embroidery details.
I want to take advantage of this season to let my imagination fly, and achieve great projects, every time I feel that my goals are being a success, so today I hope you like this new work and I hope you like it a lot.
The pictures you will see below, were taken with my phone model TECNO SPARK GO 2024.

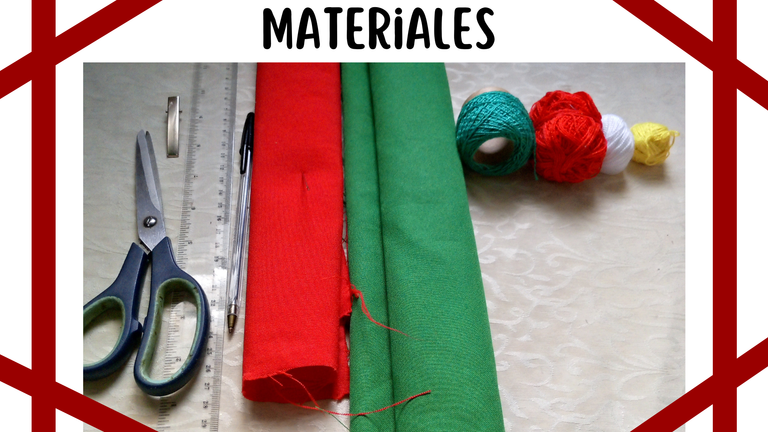
Tela verde y roja
aguja para bordar
hilos para bordar de colores referentes al tema
lápiz
regla
tijera
pinza para el cabello
máquina de coser doméstica
hilo blanco
alfileres
Green and red fabric
Embroidery needle
Embroidery threads in colors related to the theme
Pencil
Ruler
Scissors
Hair clip
Domestic sewing machine
white thread
Pins

 |  |  |
|---|
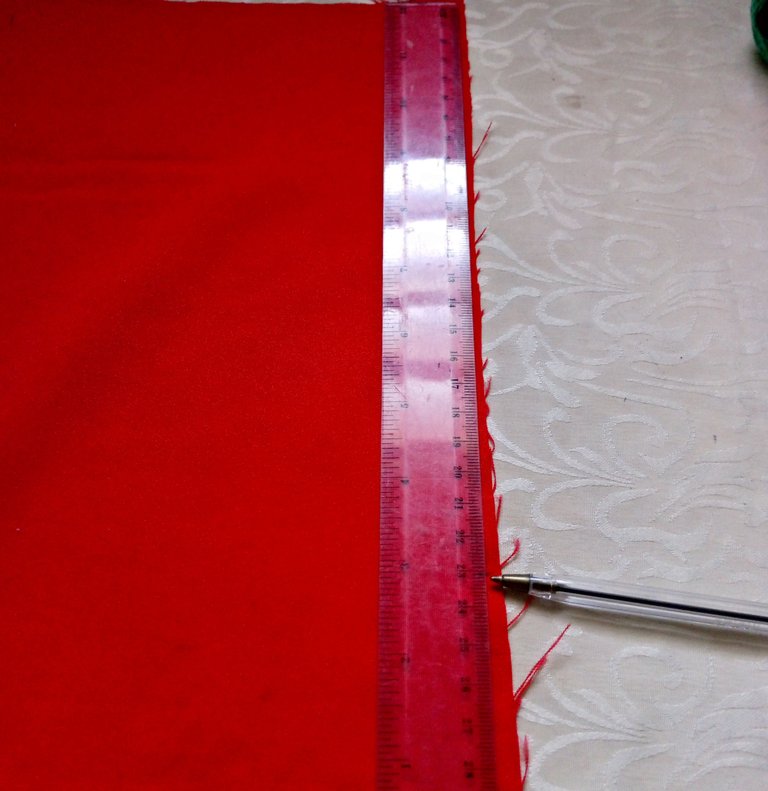
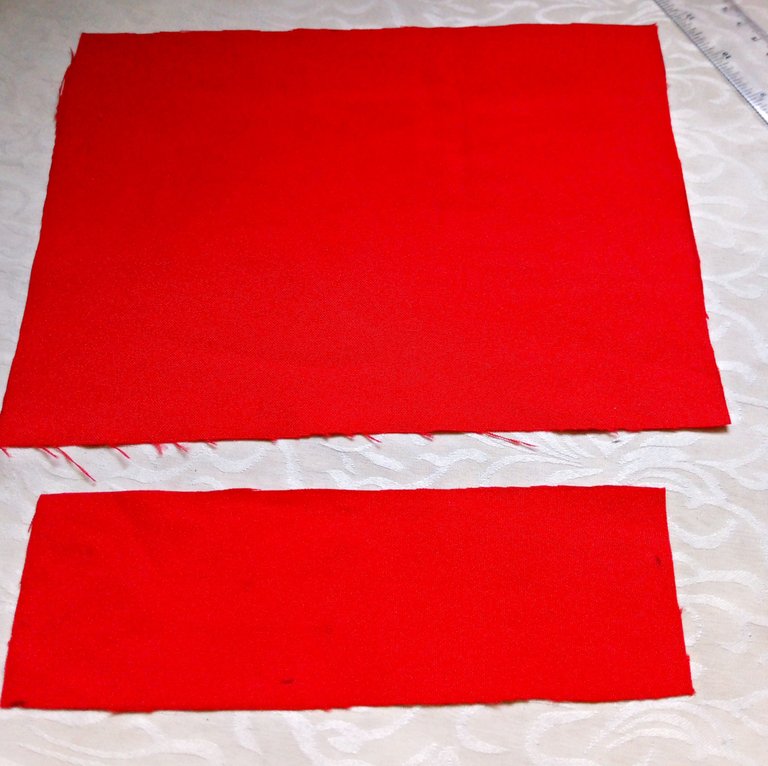
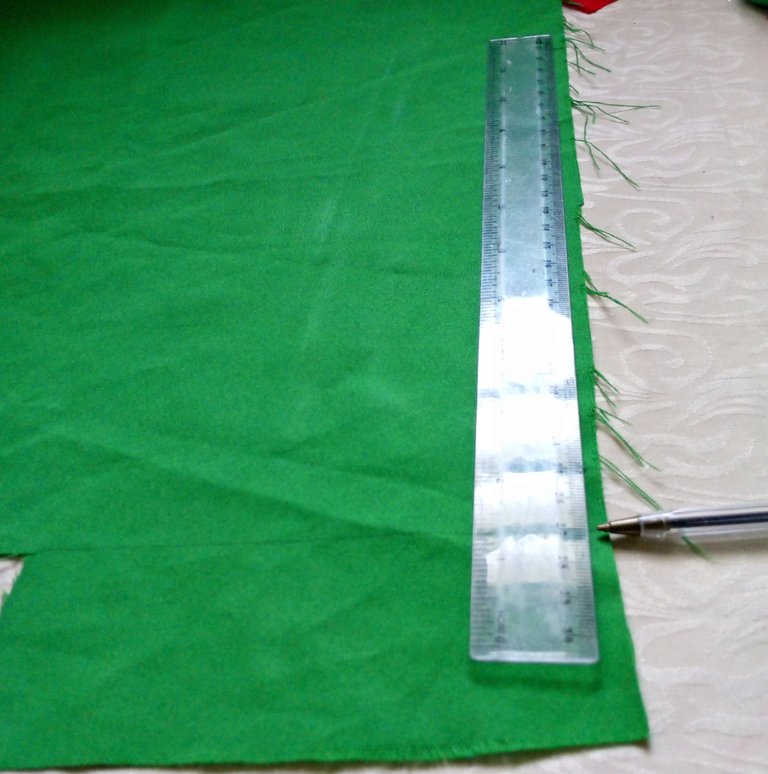
Lo primero que empecé hacer, fue tomar las medidas de largo por ancho, sobre las telas verde y rojo, para hacer 2 rectángulos de distintas medidas, las mismas resultaron ser.
1 rectángulo rojo de 17 cm de largo x 16 cm de ancho menos 1 cm para coser.
1 rectángulo verde de 20 cm de largo x 15 cm de ancho, menos 1 cm para coser.
También corte otra pieza de tela roja para fijar el centro del lazo.
The first thing I started to do, was to take the measurements of length by width, on the green and red fabrics, to make 2 rectangles of different measures, the same turned out to be.
1 red rectangle of 17 cm long x 16 cm wide minus 1 cm for sewing.
1 green rectangle 20 cm long x 15 cm wide, minus 1 cm for sewing.
Also cut another piece of red fabric to attach the center of the bow.

 |  |  |
|---|
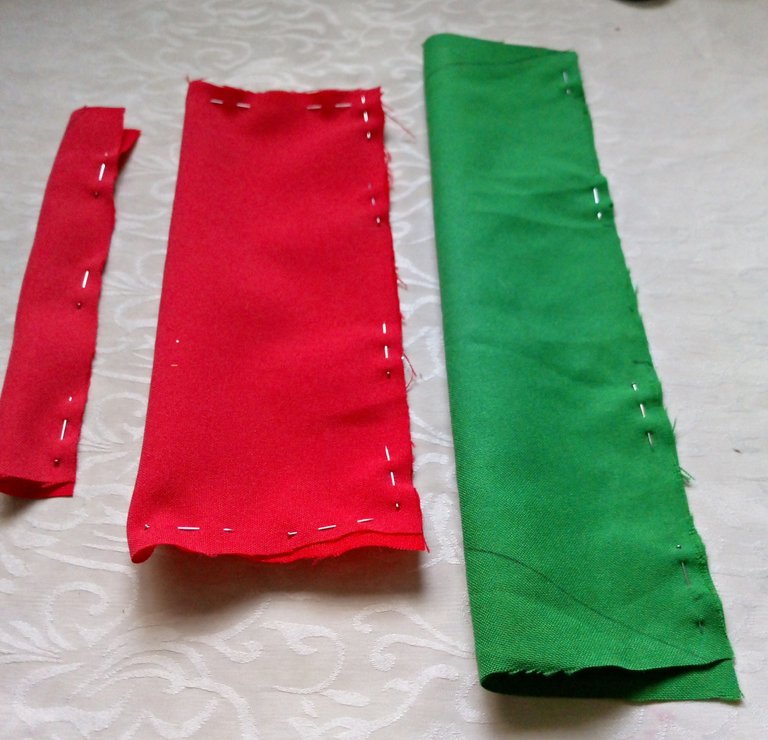
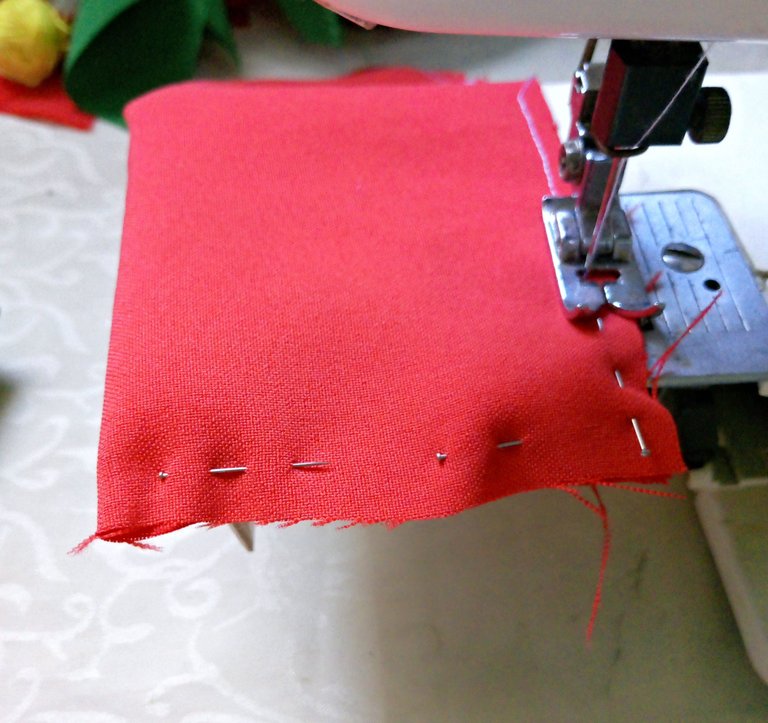
Concluyendo con el numero de piezas necesarias para la elaboracion del lazo, doble cada una de las piezas por la mitad y le coloque alfileres por todos los lados para evitar que la tela deslice al momento de pasarle la costura, en el centro de cada una de las piezas mas grandes deje una avertura de 7 cm para voltear.
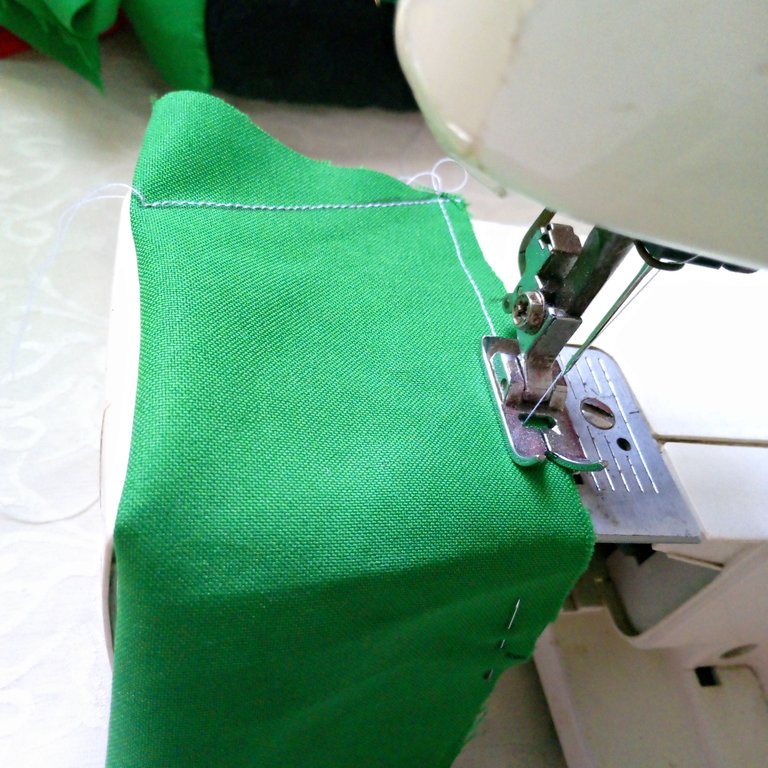
Enseguida con la máquina de coser bien enhebrada con hilo sencillo, empecé a coser.
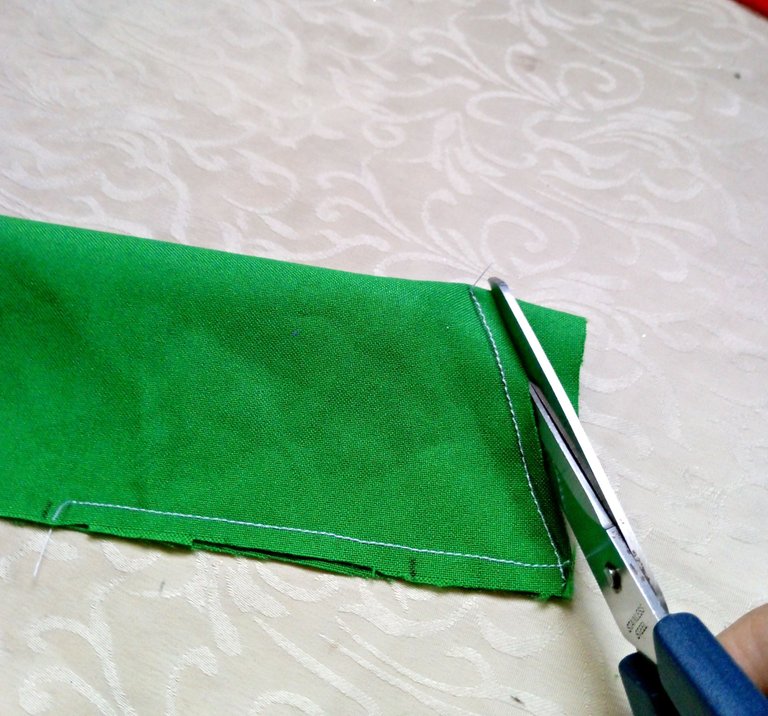
En la pieza de color verde pueden notar unas líneas transversales, en las puntas marcadas, estas las hice para hacer unos picos que le van a dar mejor estilo al lazo.
Concluding with the number of pieces needed to make the bow, fold each of the pieces in half and place pins on all sides to prevent the fabric from slipping when sewing, in the center of each of the larger pieces leave an opening of 7 cm to turn over.
Then with the sewing machine well threaded with simple thread, I started sewing.
In the green piece you can notice some transversal lines, in the marked ends, I made them to make some peaks that will give a better style to the bow.

 |  |  |
|---|
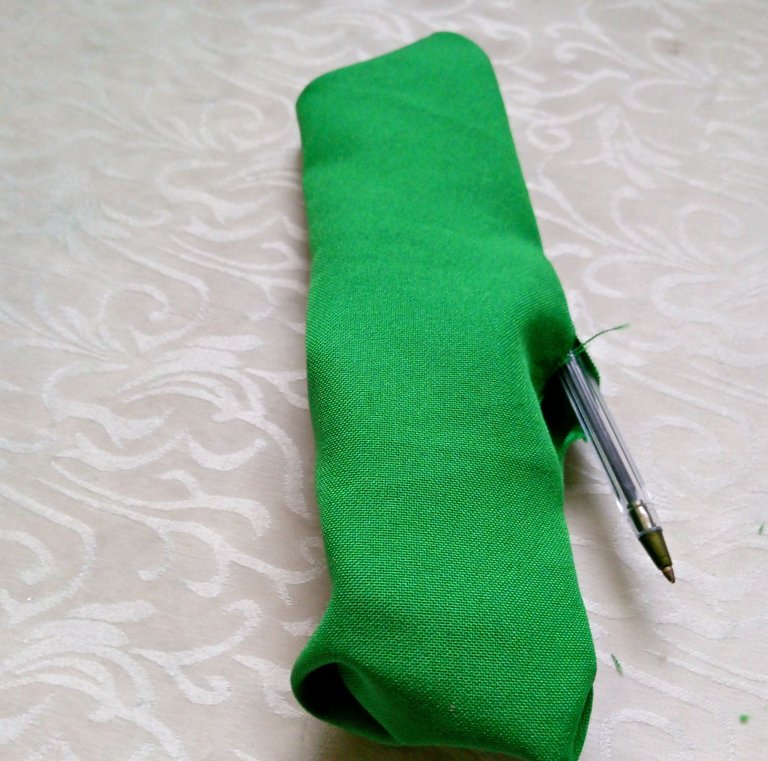
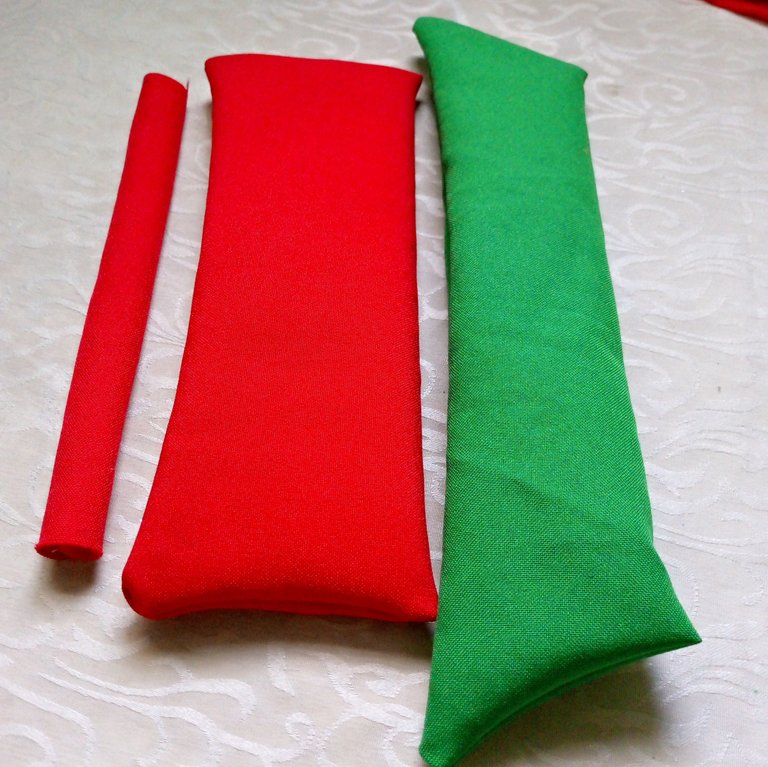
Después de haberle pasado costura recta a todas las piezas, le di la vuelta por el lado derecho, pero antes de darle la vuelta al rectángulo verde corte las esquinas, y también le di la vuelta del lado derecho, quedando unas piezas muy bonitas listas para empezar a formar el lazo de Navidad.
After sewing all the pieces straight, I turned it right side out, but before turning the green rectangle I cut the corners, and also turned it right side out, leaving very nice pieces ready to start forming the Christmas bow.

 |  |  |
|---|
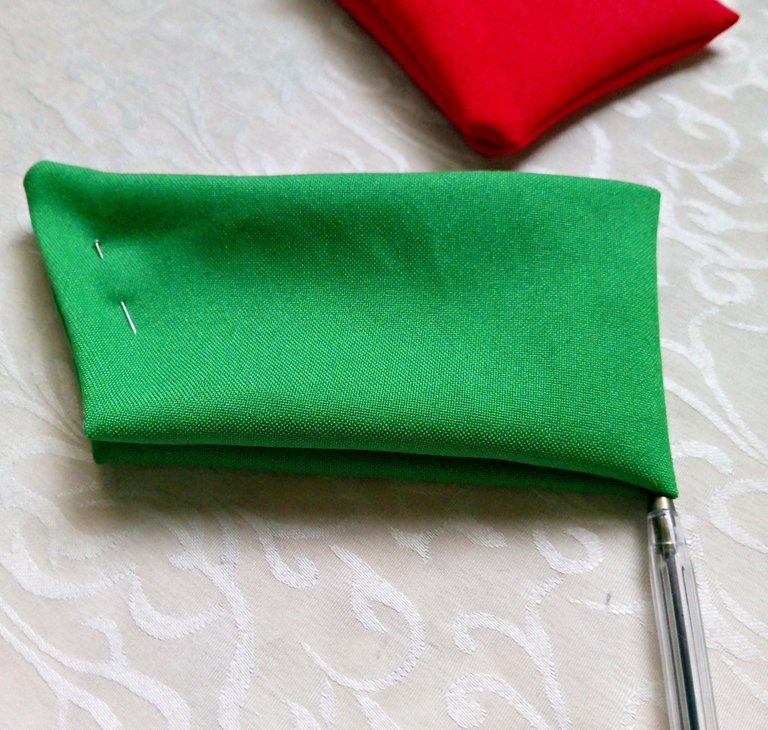
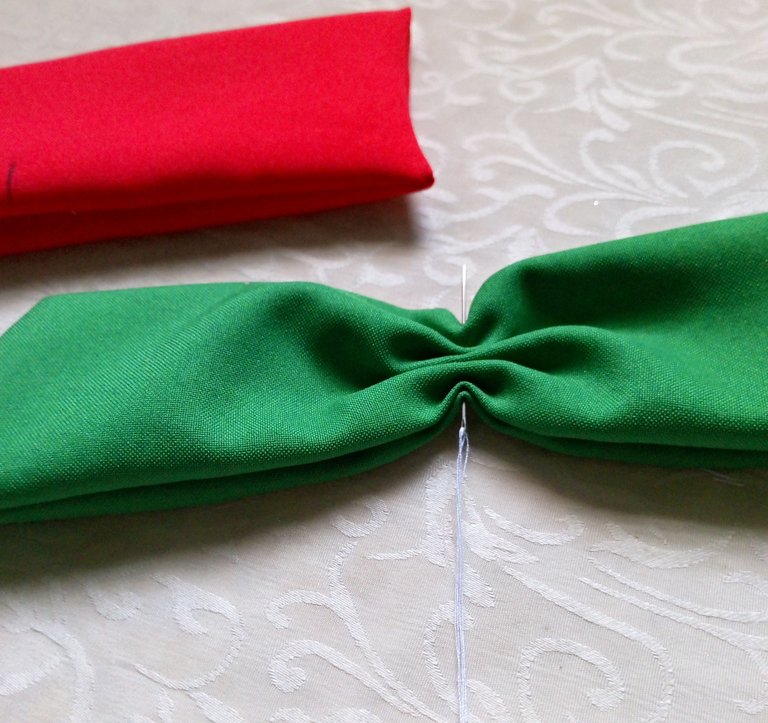
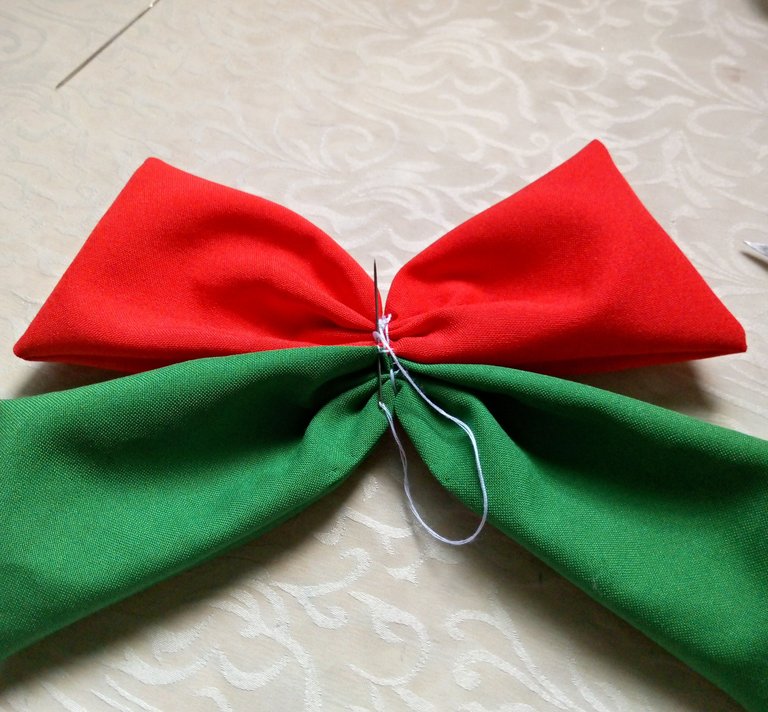
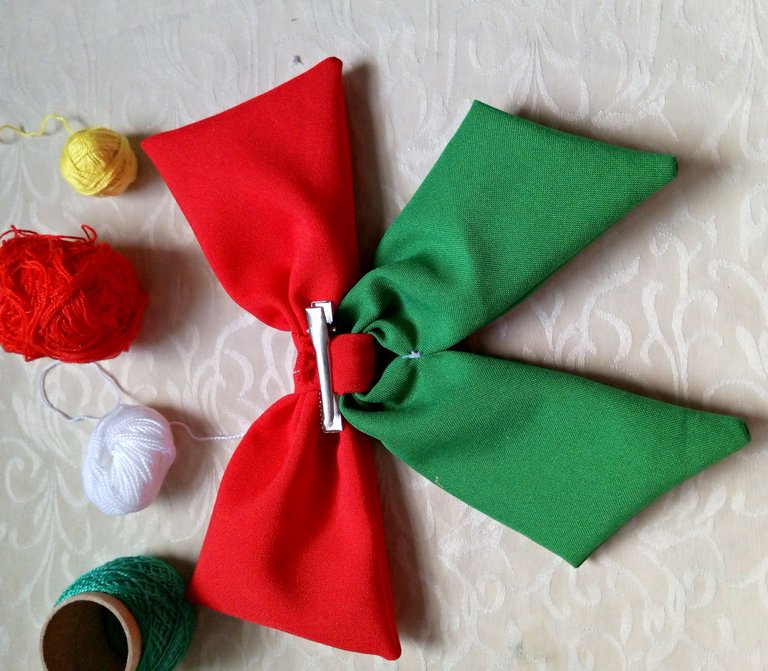
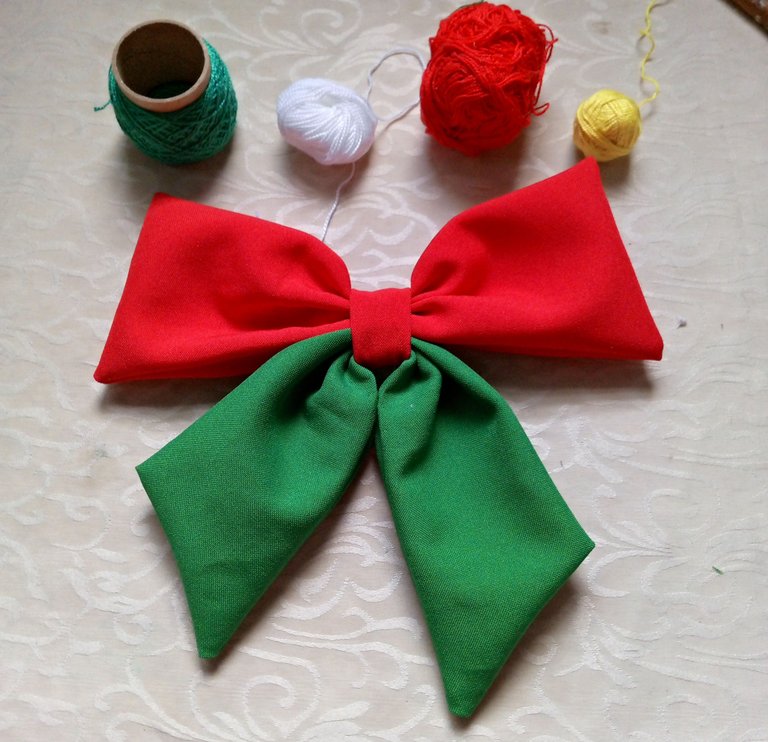
En este punto doble cada una de las cintas por la mitad para hacer un punto centrado, luego con una aguja con hilo, fruncí el centro de ambas piezas y las uni formando así un lado de 2 colores.
At this point I folded each of the ribbons in half to make a centered stitch, then with a needle and thread, I gathered the center of both pieces and joined them together to form a 2-color side.

 |  |  |
|---|
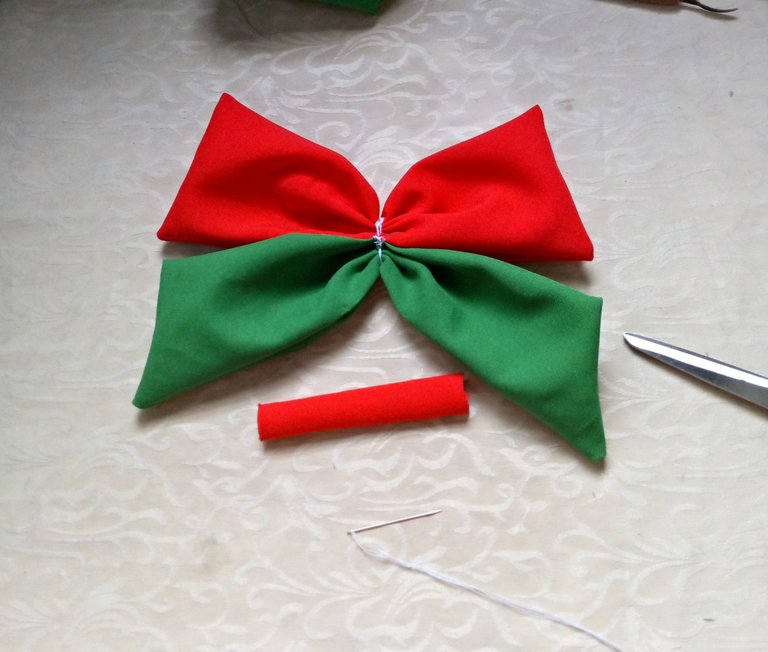
Lo siguiente fue colocarle la cinta de tela roja en el centro cosiendo con aguja e hilo, al mismo tiempo le coloqué la pinza de cabello, quedando listo para una declaración de bordado.
The next thing was to place the red fabric ribbon in the center sewing with needle and thread, at the same time I placed the hair clip, being ready for an embroidery statement.

 |  |  |
|---|
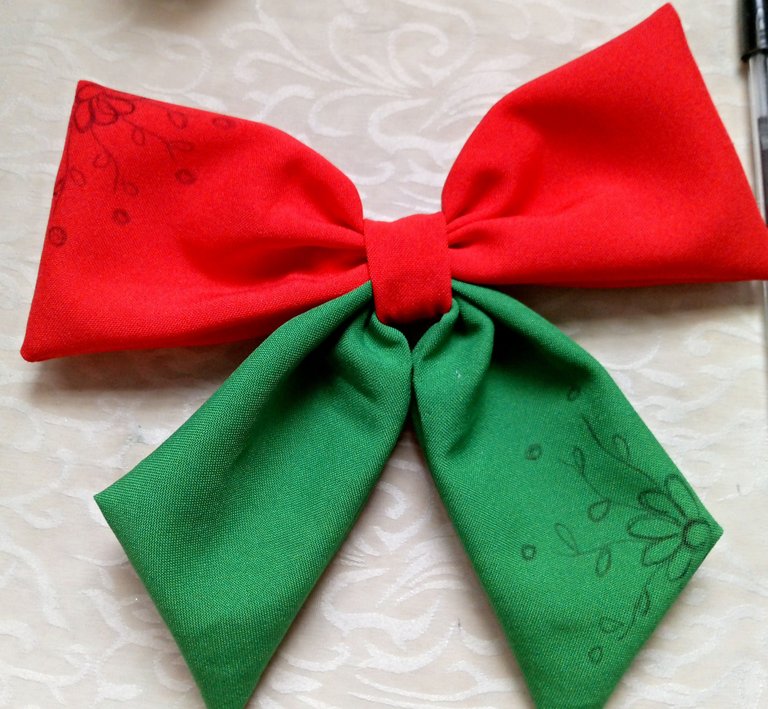
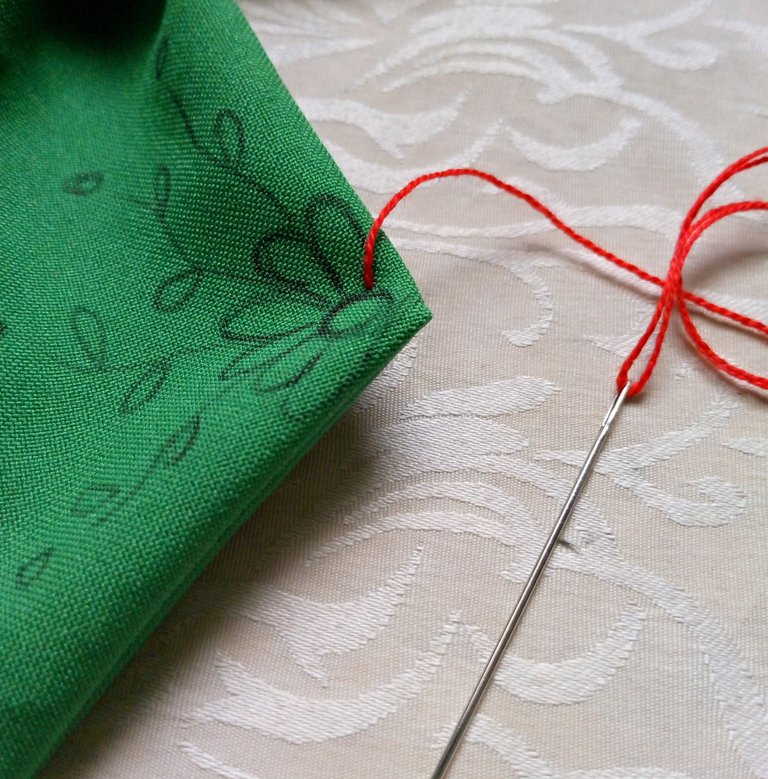
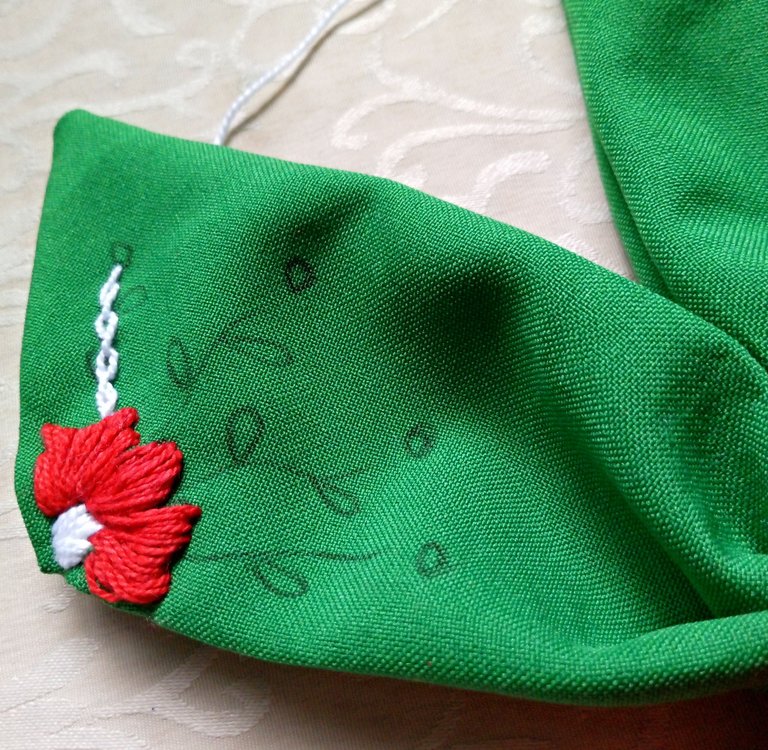
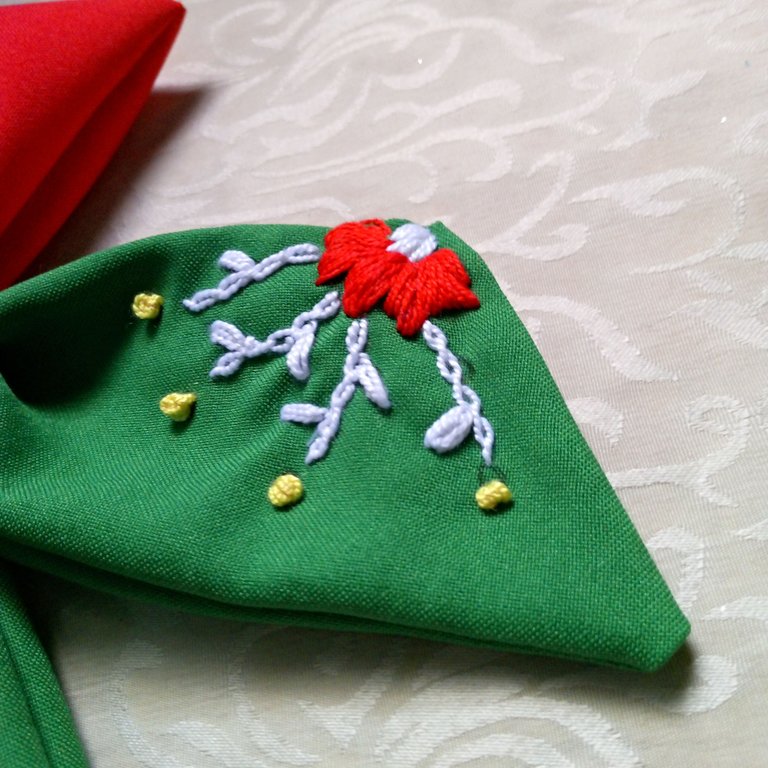
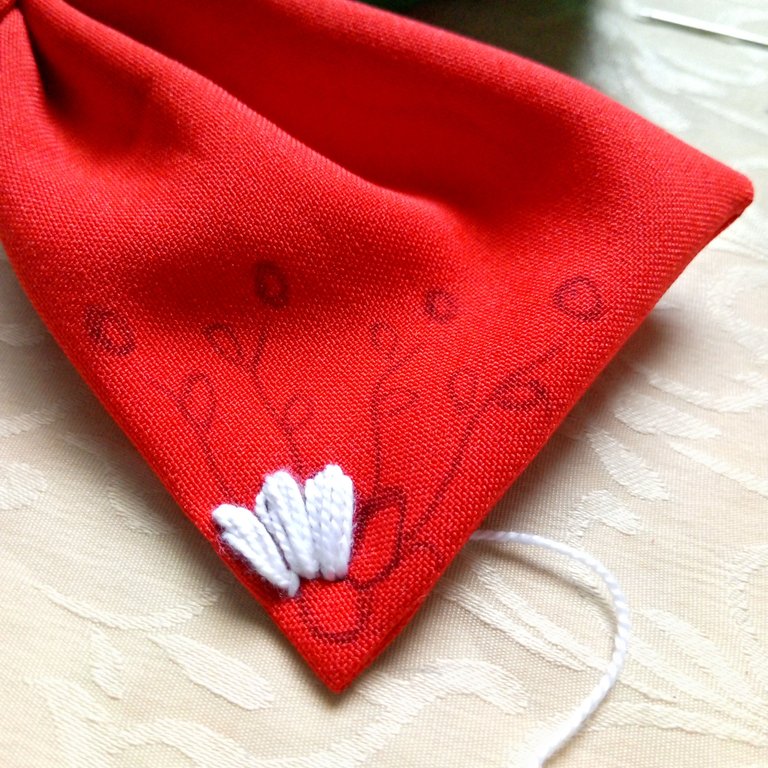
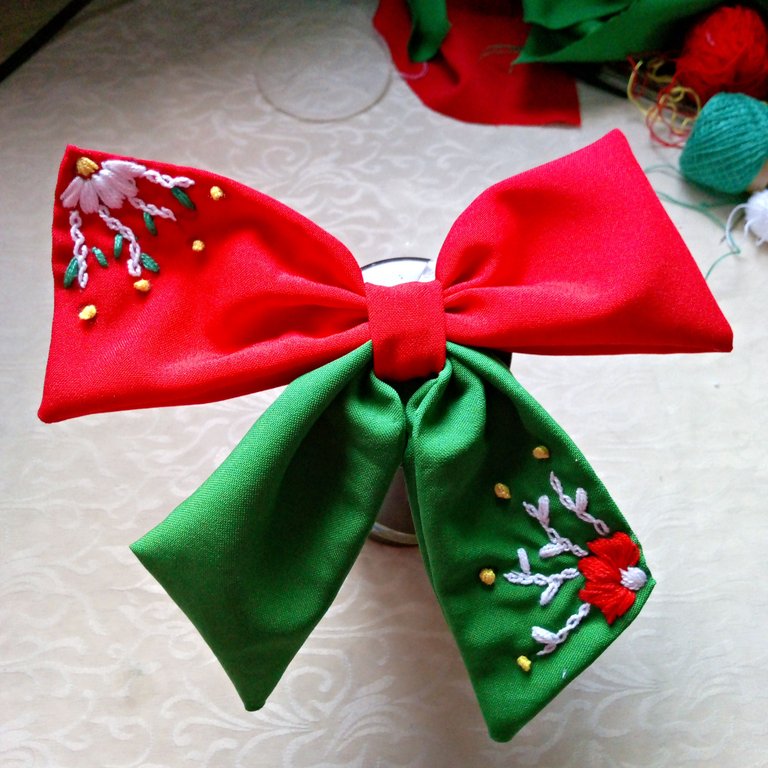
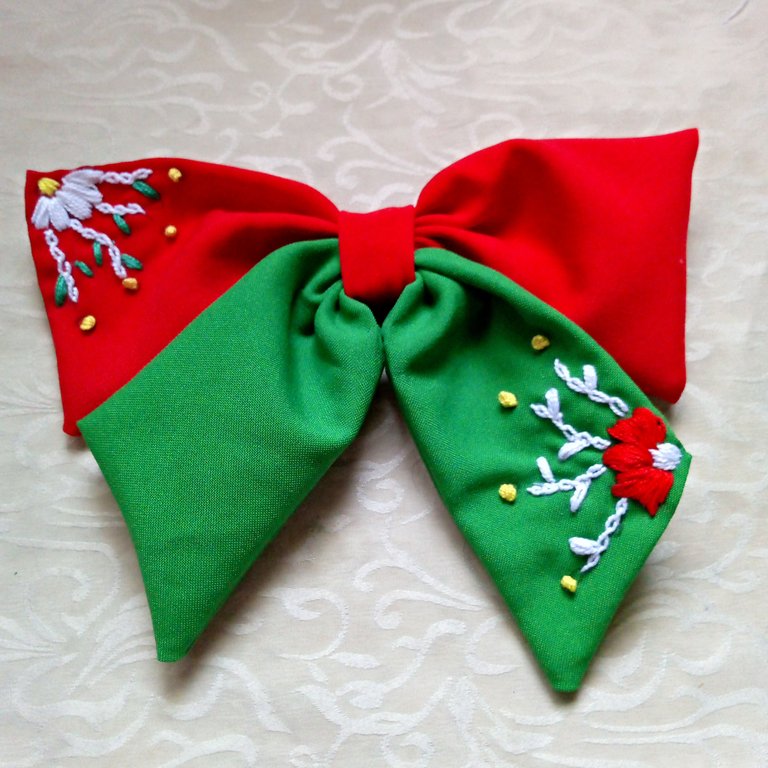
Con el uso del lapiz realicé un diseño de flores en las esquinas superior e inferior del lazo, luego empecé a bordar con un punto que se ve muy lindo como es el punto de relleno y punto de cadena para las ramas.
Using the pencil I made a flower design on the top and bottom corners of the ribbon, then I started embroidering with a stitch that looks very nice as it is the filling stitch and chain stitch for the branches.

 |  |  |
|---|
También utilicé el punto francés en cada uno de los diseños de las flores hasta culminar esta hermosa combinación.
Al principio iba a dejar el lazo suelto, pero como la tela es un poco rígida y no tiene buena caída para proyectos pequeños, el lazo lucio levantado, en este momento decidí cambiarle el aspecto con unos puntos de hilo por la parte de atrás, uniendo por los lados las dos partes para darle un mejor aspecto y efecto de caída manteniendo siempre la forma intacta.
Me gusto mucho trabajar con este tipo de telas, me dijeron que se llama tafetán, es una tela que se adapta muy bien a mantener siempre la forma sin que se vaya a arrugar o doblar.
I also used the French stitch in each of the flower designs to complete this beautiful combination.
At first I was going to leave the ribbon loose, but as the fabric is a little stiff and does not drape well for small projects, the ribbon looked lifted, at this point I decided to change the look with some thread stitches on the back, joining the two parts on the sides to give it a better look and drape effect while keeping the shape intact.
I really liked working with this type of fabric, I was told it is called taffeta, it is a fabric that adapts very well to always keep the shape without wrinkling or folding.

Amados, es aquí donde culmina mi publicación, espero que apoyen mi contenido y me dejó su valioso comentario, les estaré muy agradecida.
Espero volver a encontrarnos pronto por este medio, un gran abrazo donde quiera que estén.
Gracias por la visita.
Beloved ones, this is the end of my publication, I hope you support my content and leave me your valuable comments, I will be very grateful.
I hope to meet again soon through this medium, a big hug wherever you are.
Thank you for your visit.

social networks / redes sociales
Traductor Deepl
Translated Deepl
Ediciones Canva
Editions Canva
