Saludos a todos y cada unos de los nietecitos que me han recibido y apoyado en mis inicios en este ecosistema maravilloso llamado
#hive, y a los que no también les envío lluvia de bendiciones, hoy les traigo otra forma de decorar una peineta.
Está vez la temática será del amor, por lo que trabaje con corazones y trabaje con los colores que representa hive el rojo y el negro, espero que les guste y como siempre les digo ponga lo en práctica, aquí está el paso a paso, los materiales y las fotos finales.
♥️ Materiales ♥️
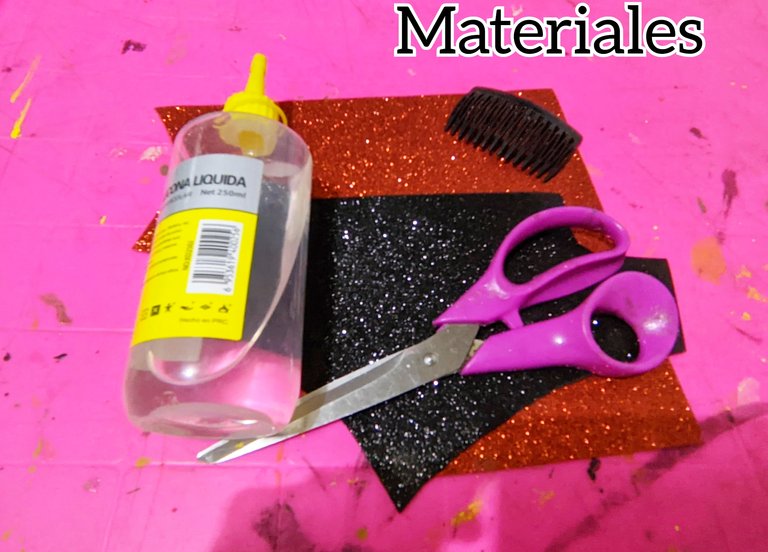
♥️ Foami escarchado rojo.
♥️ Foami escarchado negro.
♥️ peineta
♥️ Silicón líquido.
♥️ Pintura al frío blanca.
♥️ Pincel.
♥️ Tijera.
♥️ Paso a paso ♥️
♥️ Paso 1:
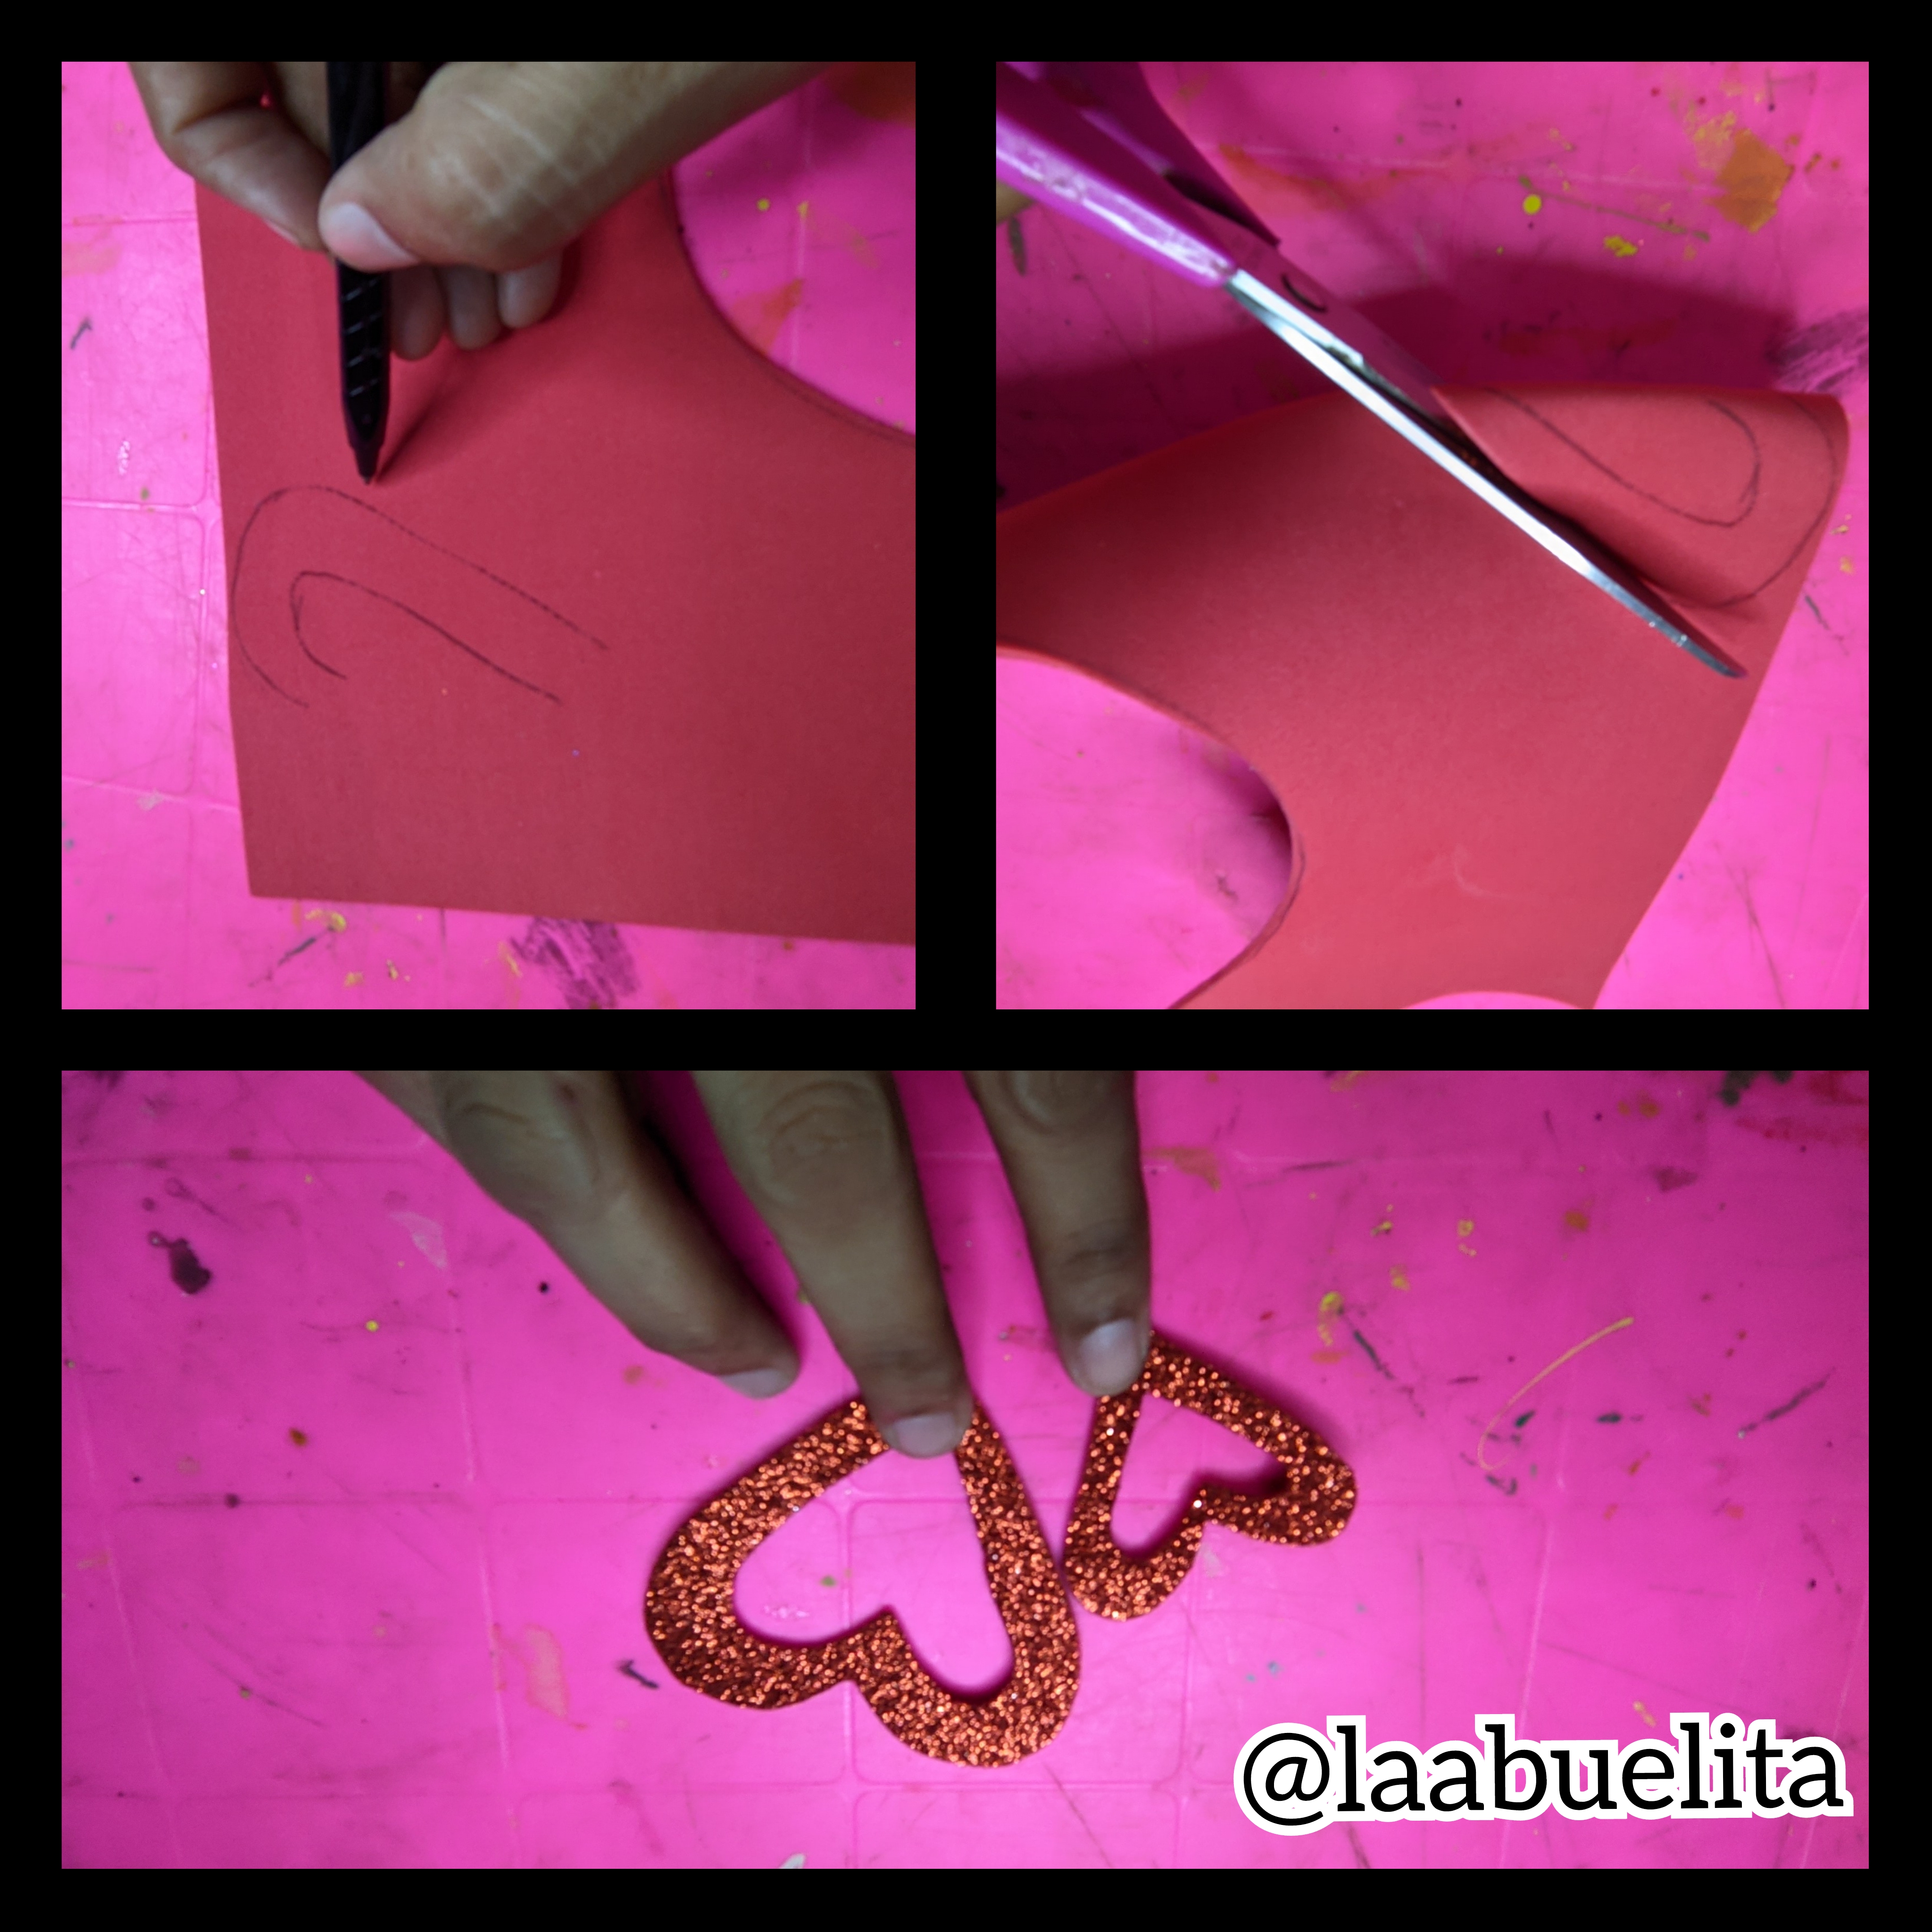
Agarre el foami rojo y con ayuda del lápiz dibuje dos corazones uno más grande que él otro, luego con la tijera recortó el centro de ambos corazones porque lo que necesito es como una especie de borde con la forma del corazón.
♥️ Paso 2:
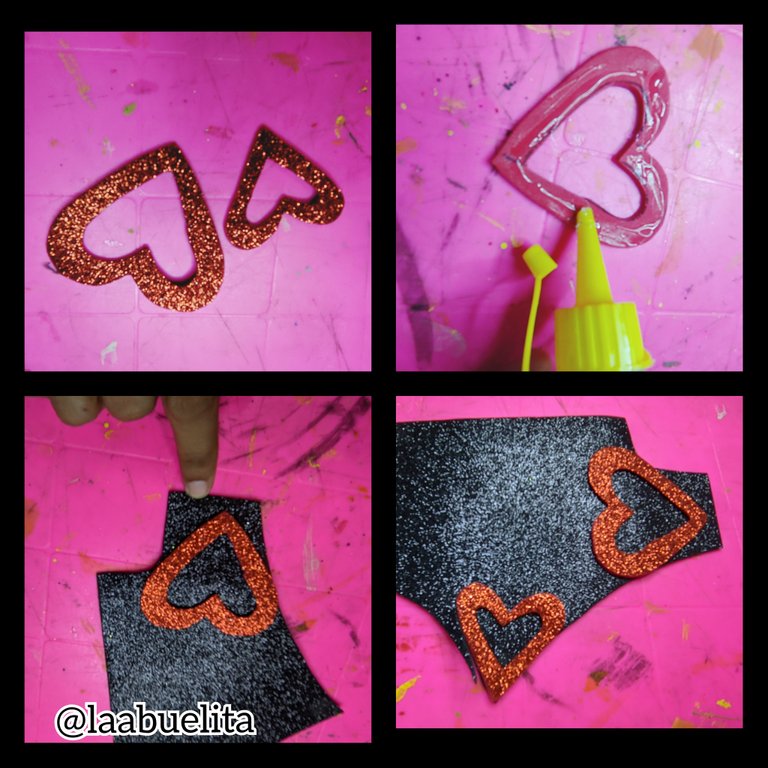
Ahora agarre el corazón grande y le echamos silicón líquido y lo pegamos encima del foami negro, asegurandonos de que el brillo del foami negro quedé por el frente, y luego repito el paso con el otro corazón más pequeño y dejo secar unos minutos.
♥️ Paso 3:
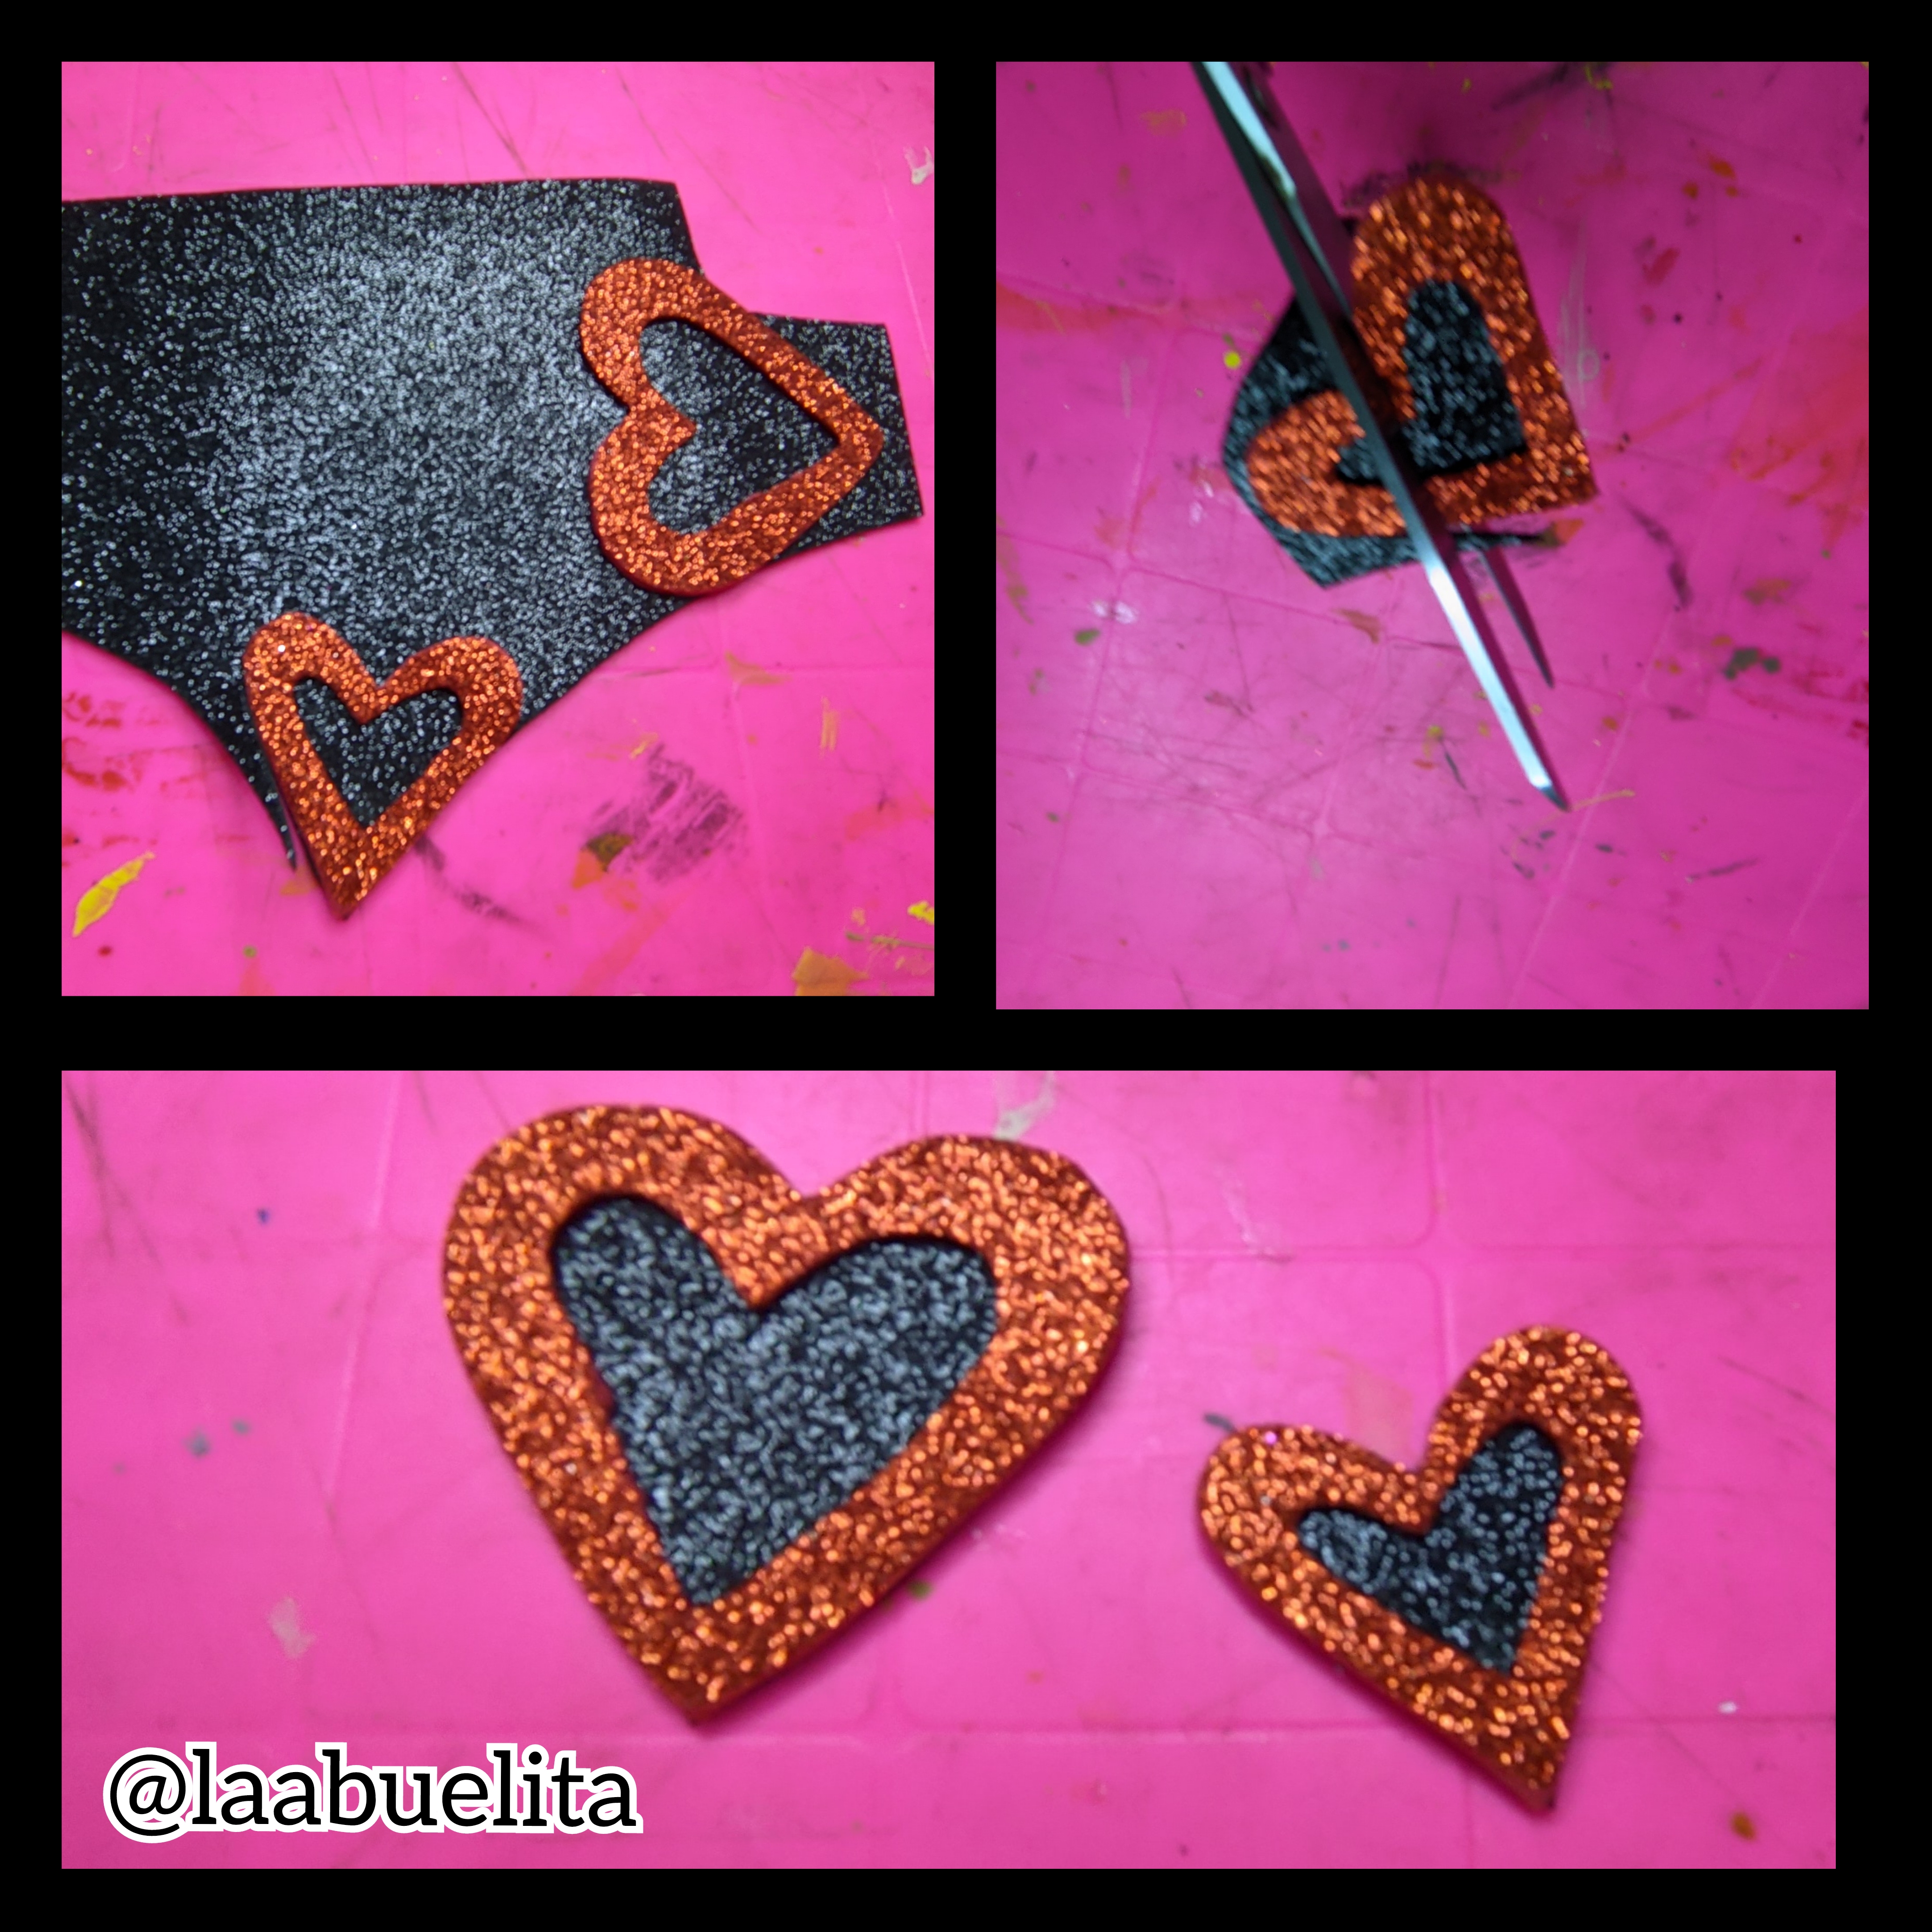
Cuando ya estaba seco, agarre la tijera y cortó los dos corazones.
♥️ Paso 4:
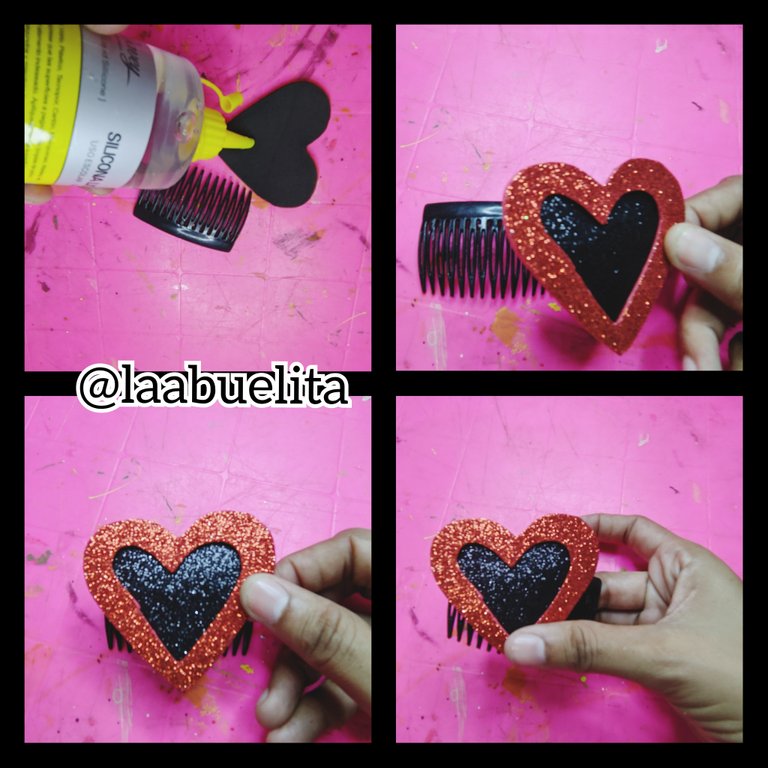
Ahora aplique silicón líquido por la parte de atrás del corazón más grande y procedi a pegarlo a la peineta, lo aplicó un poco de presión para que quede bien fijo a la peineta, yo lo pegue de manera que el corazón quedará de lado, no de frente
♥️ Paso 5:
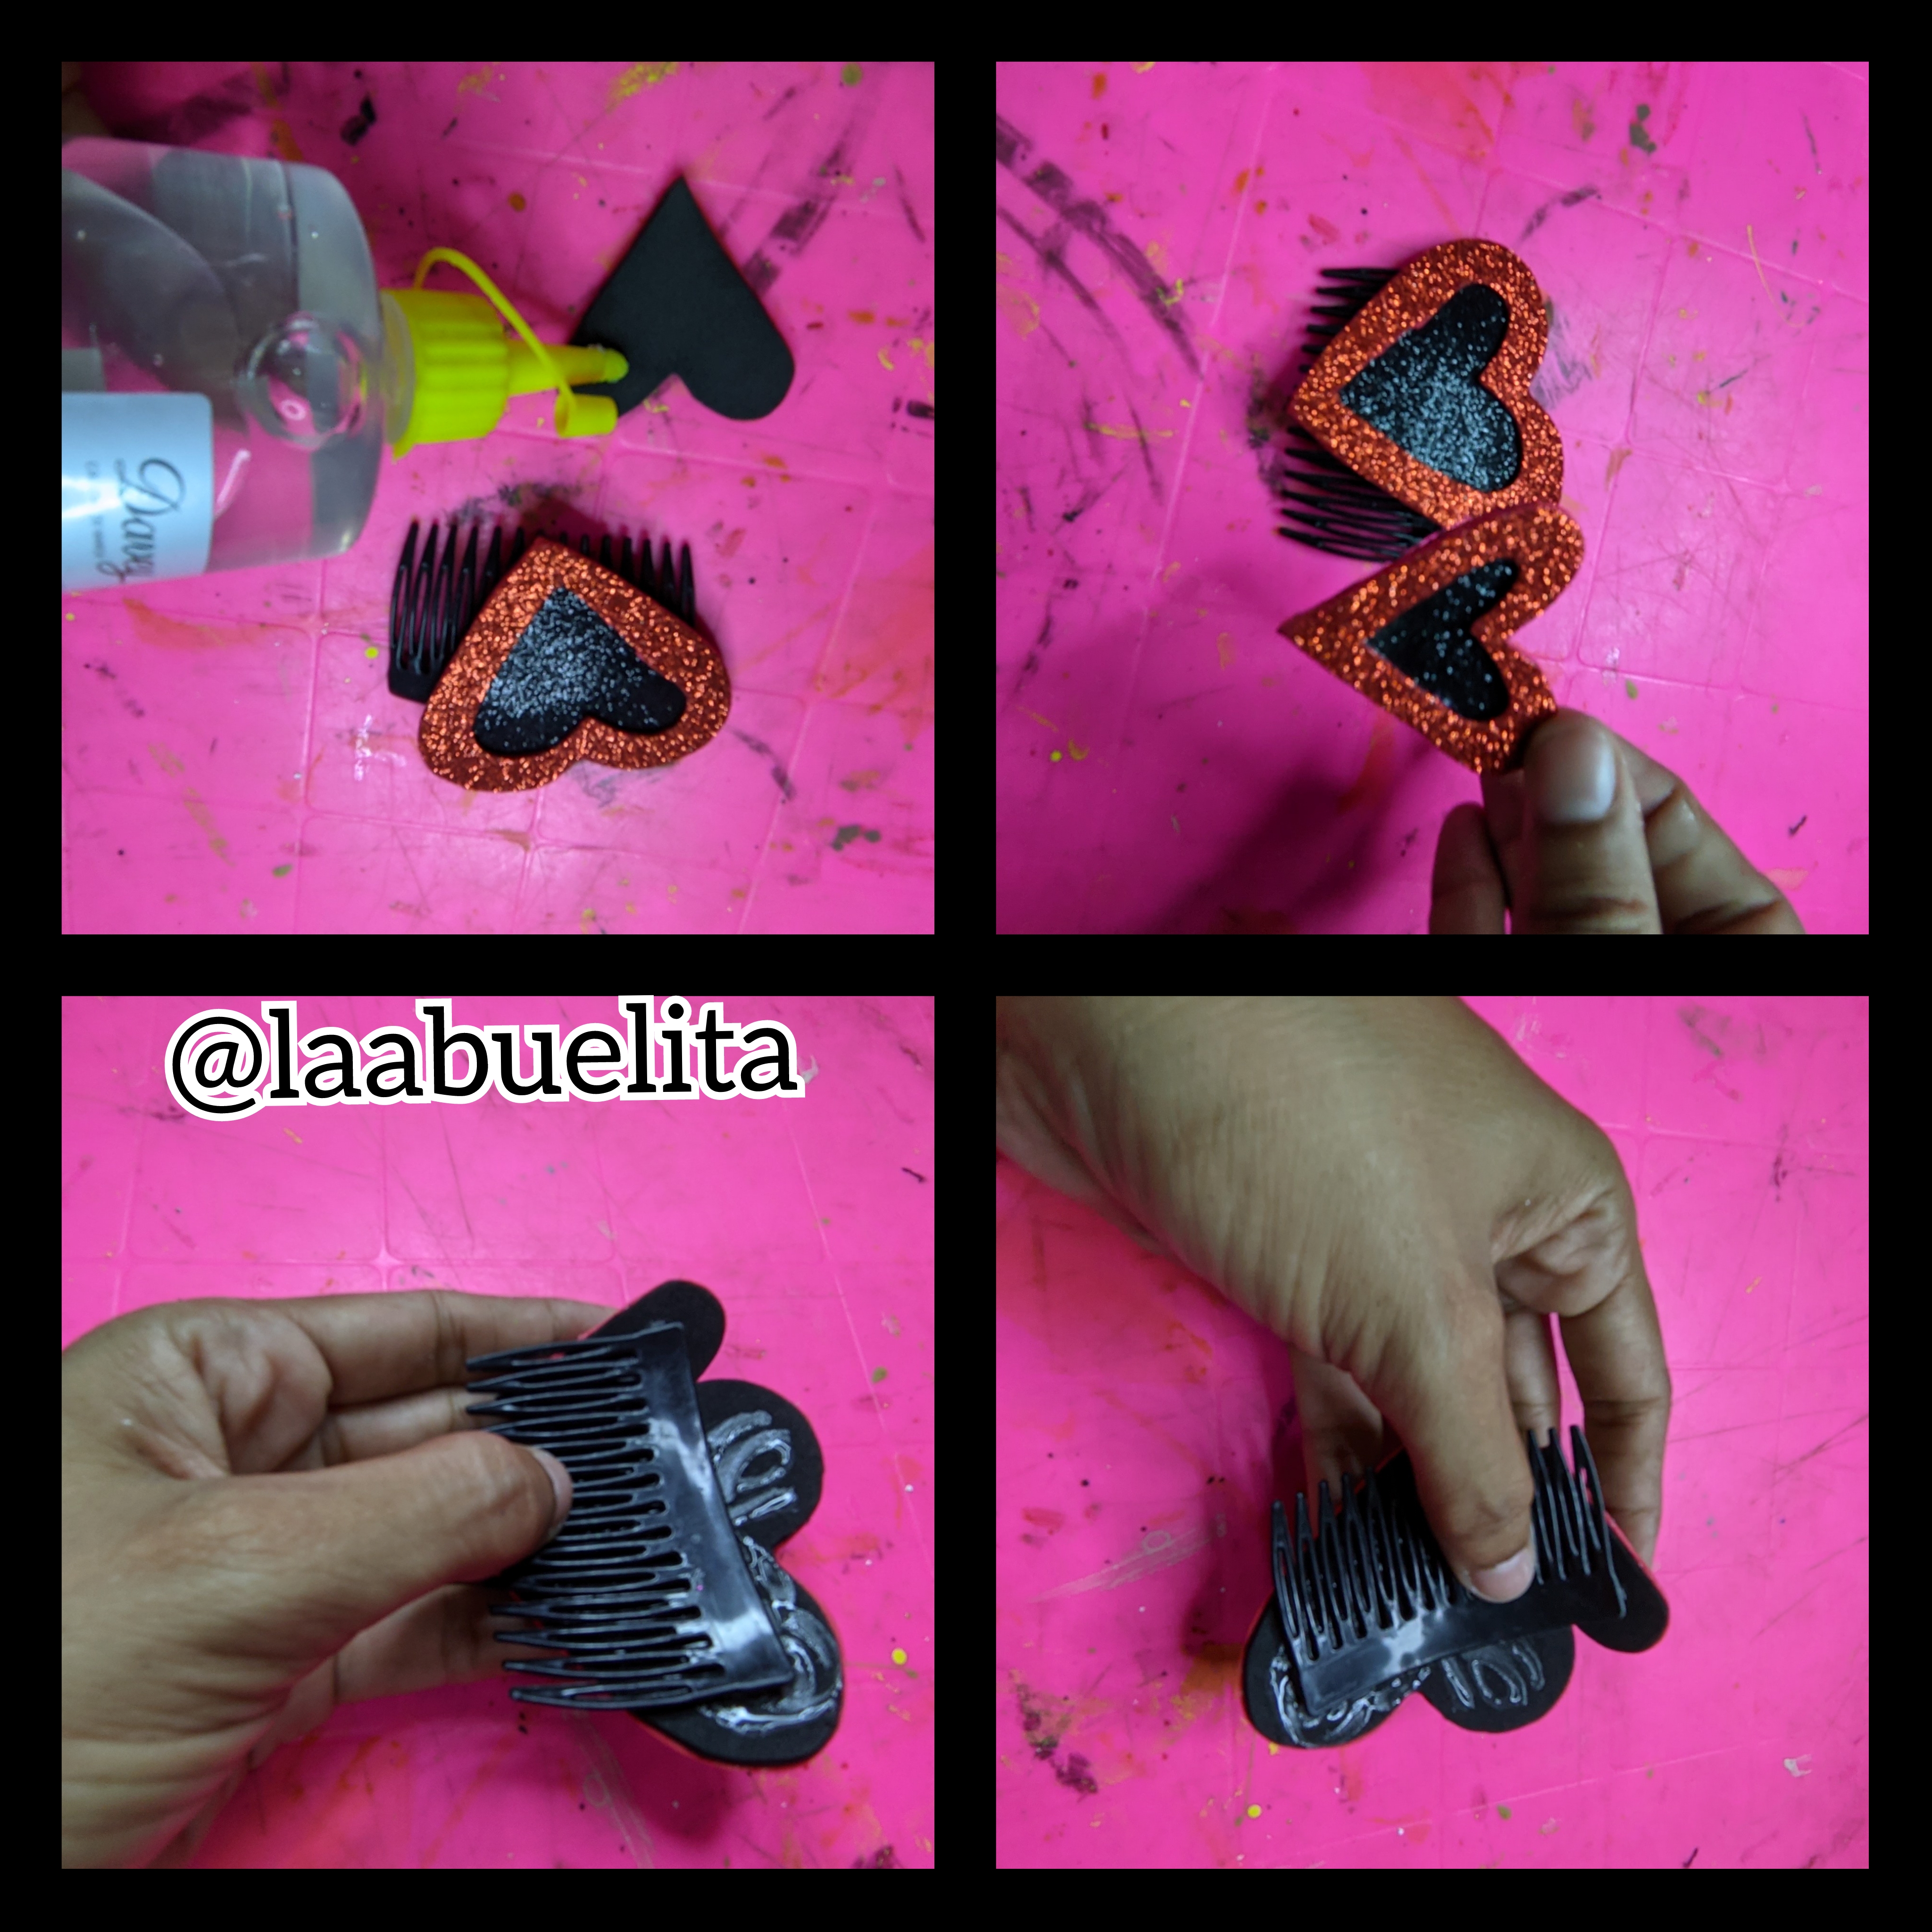
Repetimos el paso anterior, es decir agarre el corazón más pequeño y le apliqué silicón líquido por la parte de atrás solo que este corazón lo pegué encima del corazón más grande y presionamos hasta que quede bien fijo.
♥️ Paso 6:
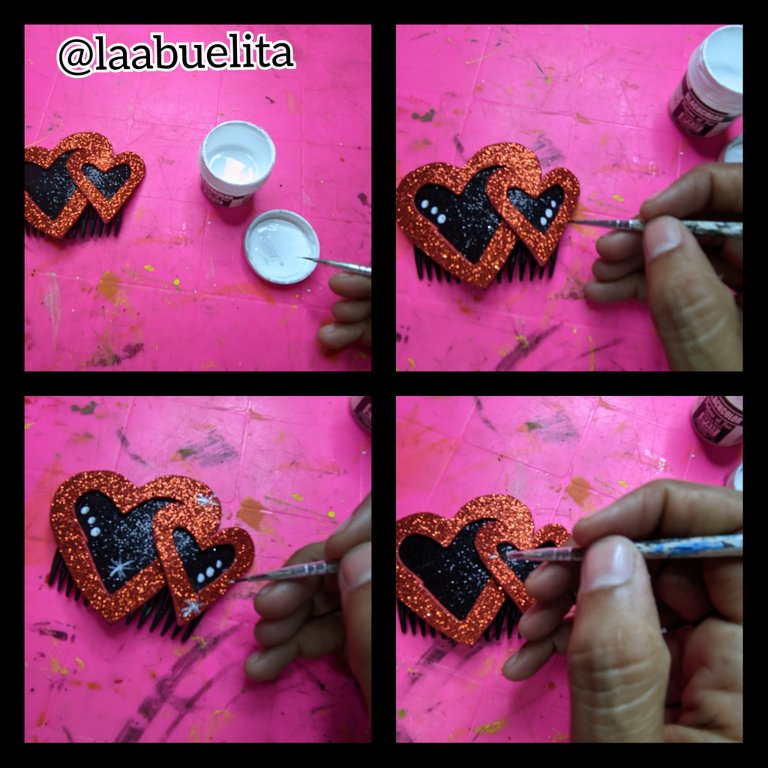
Cuando ya seco bien y están fijados los corazones, tome el pincel y la pintura blanca y le hice varios adornos, en este caso dibuje tres puntos y unos pequeños destellos que le dan un toque diferente y listo hemos terminado.
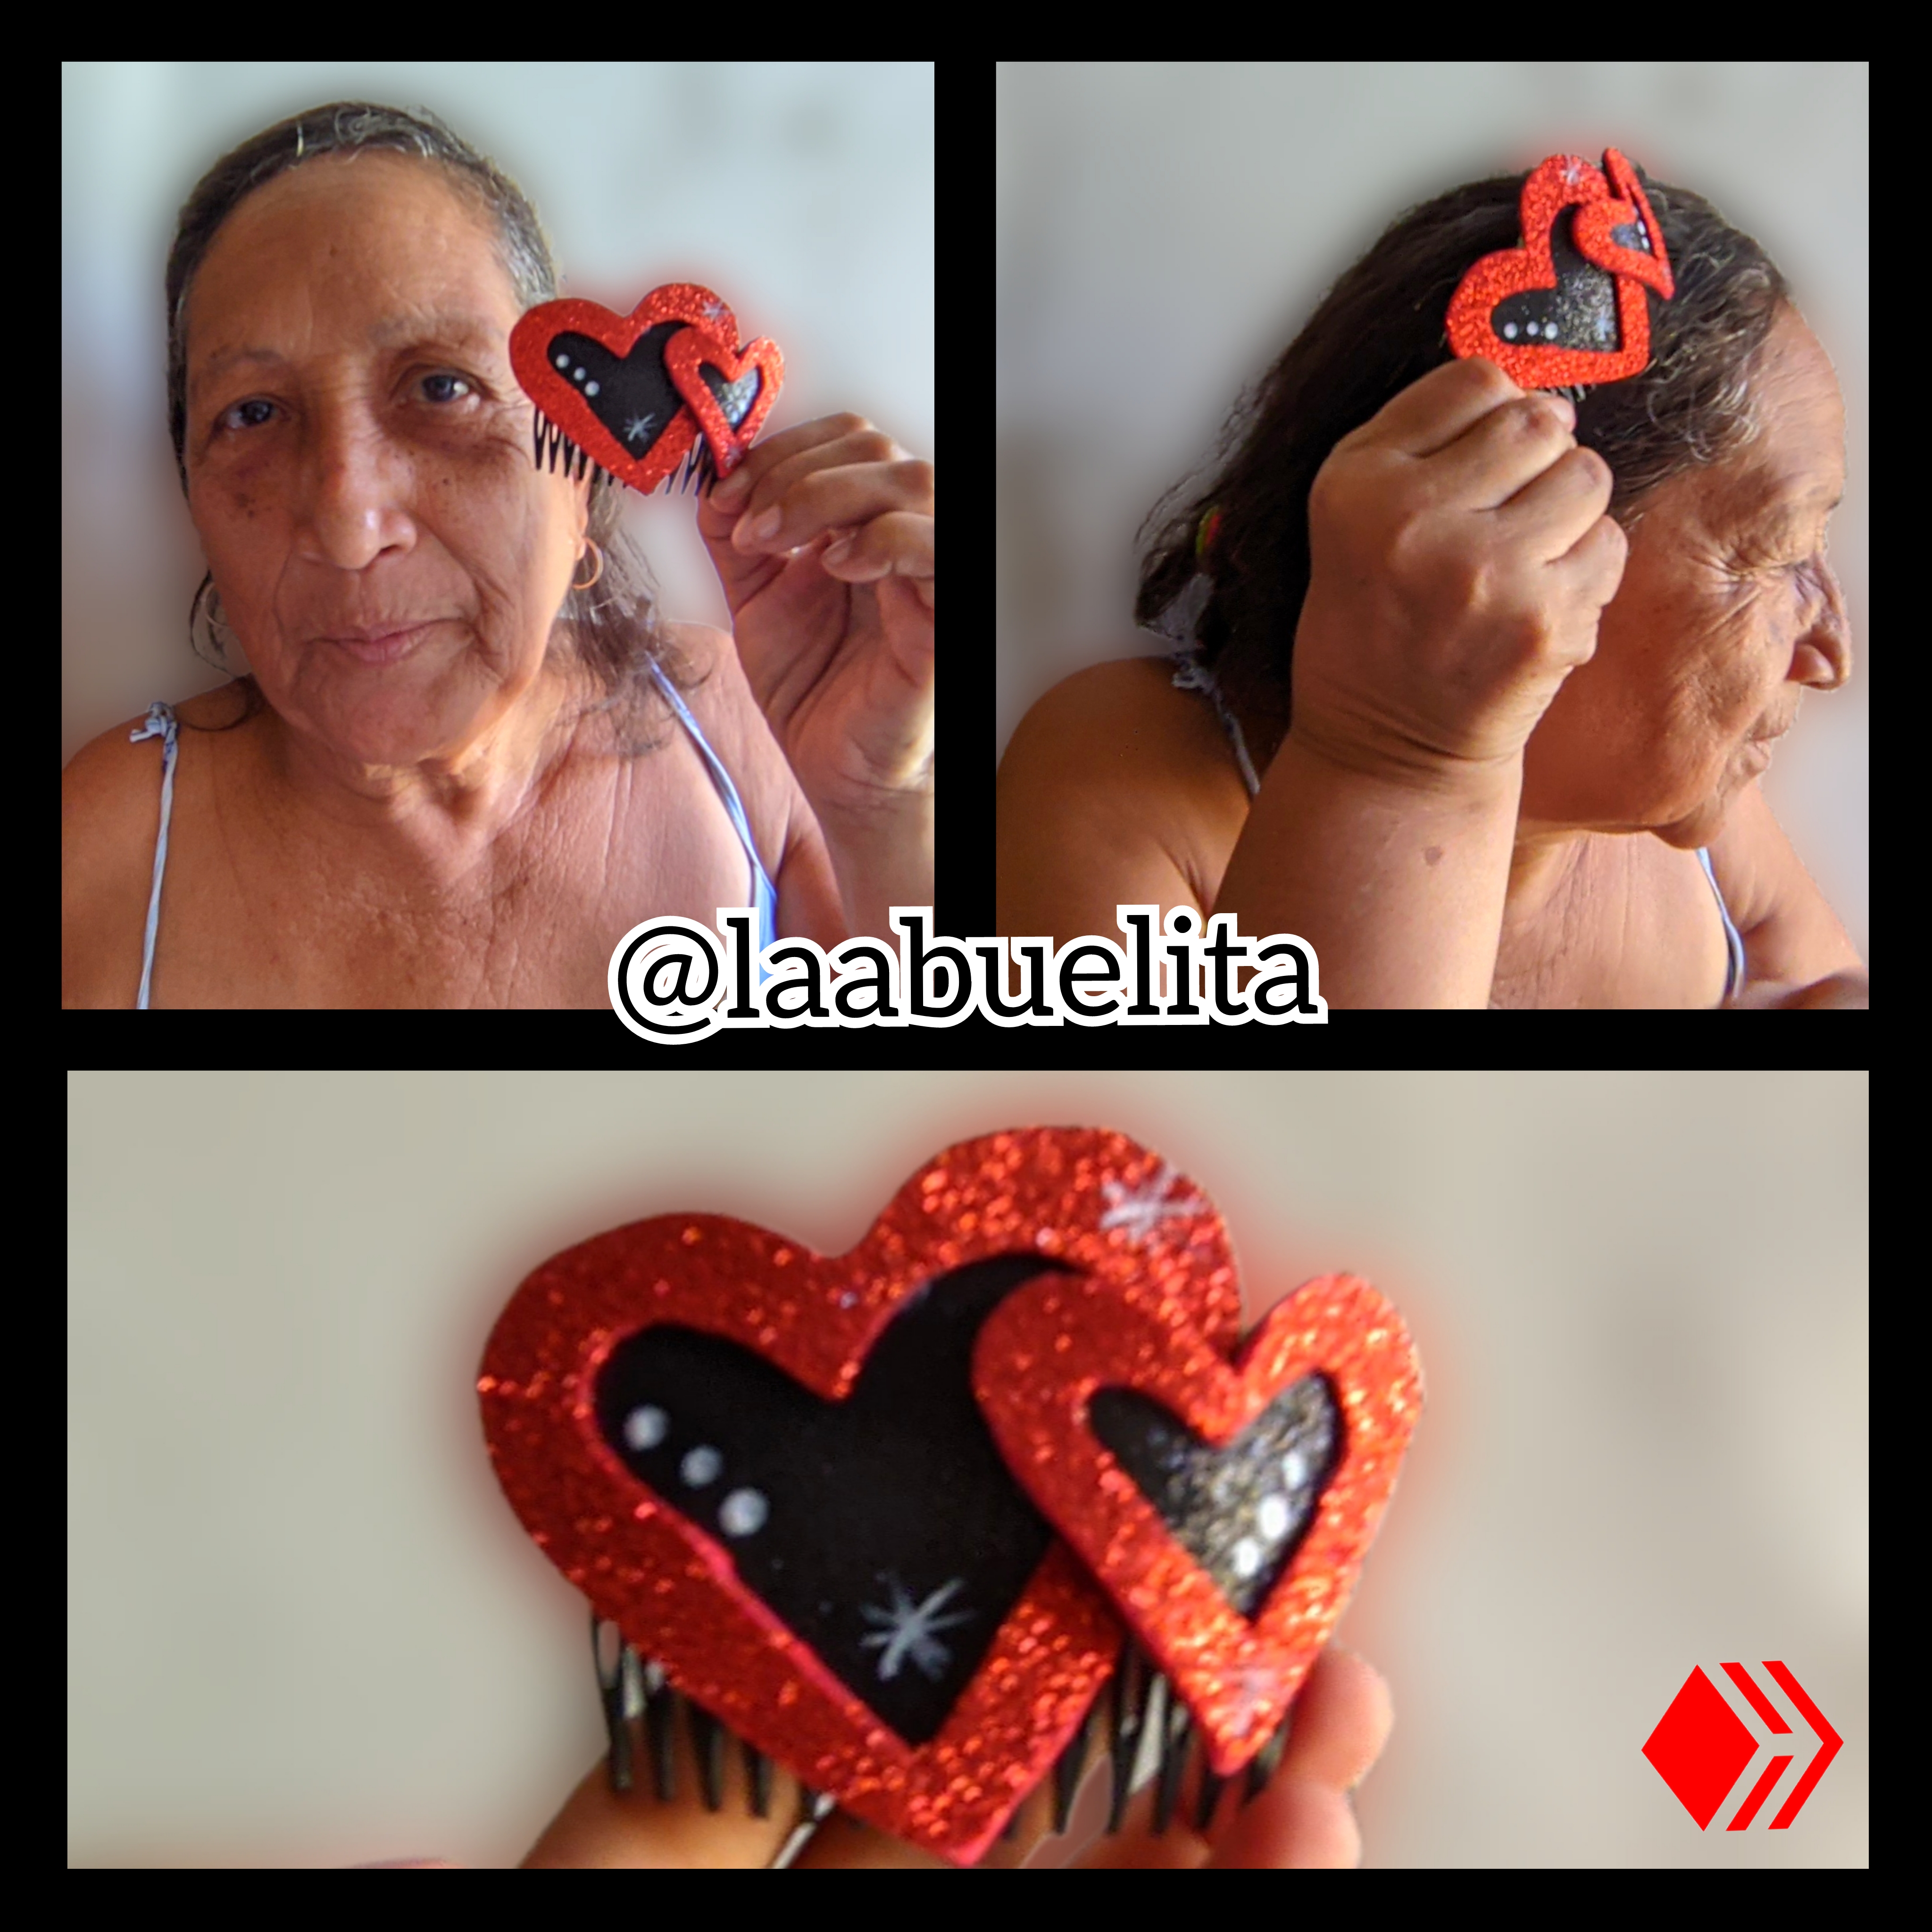
♥️ Fotos del resultado Final ♥️
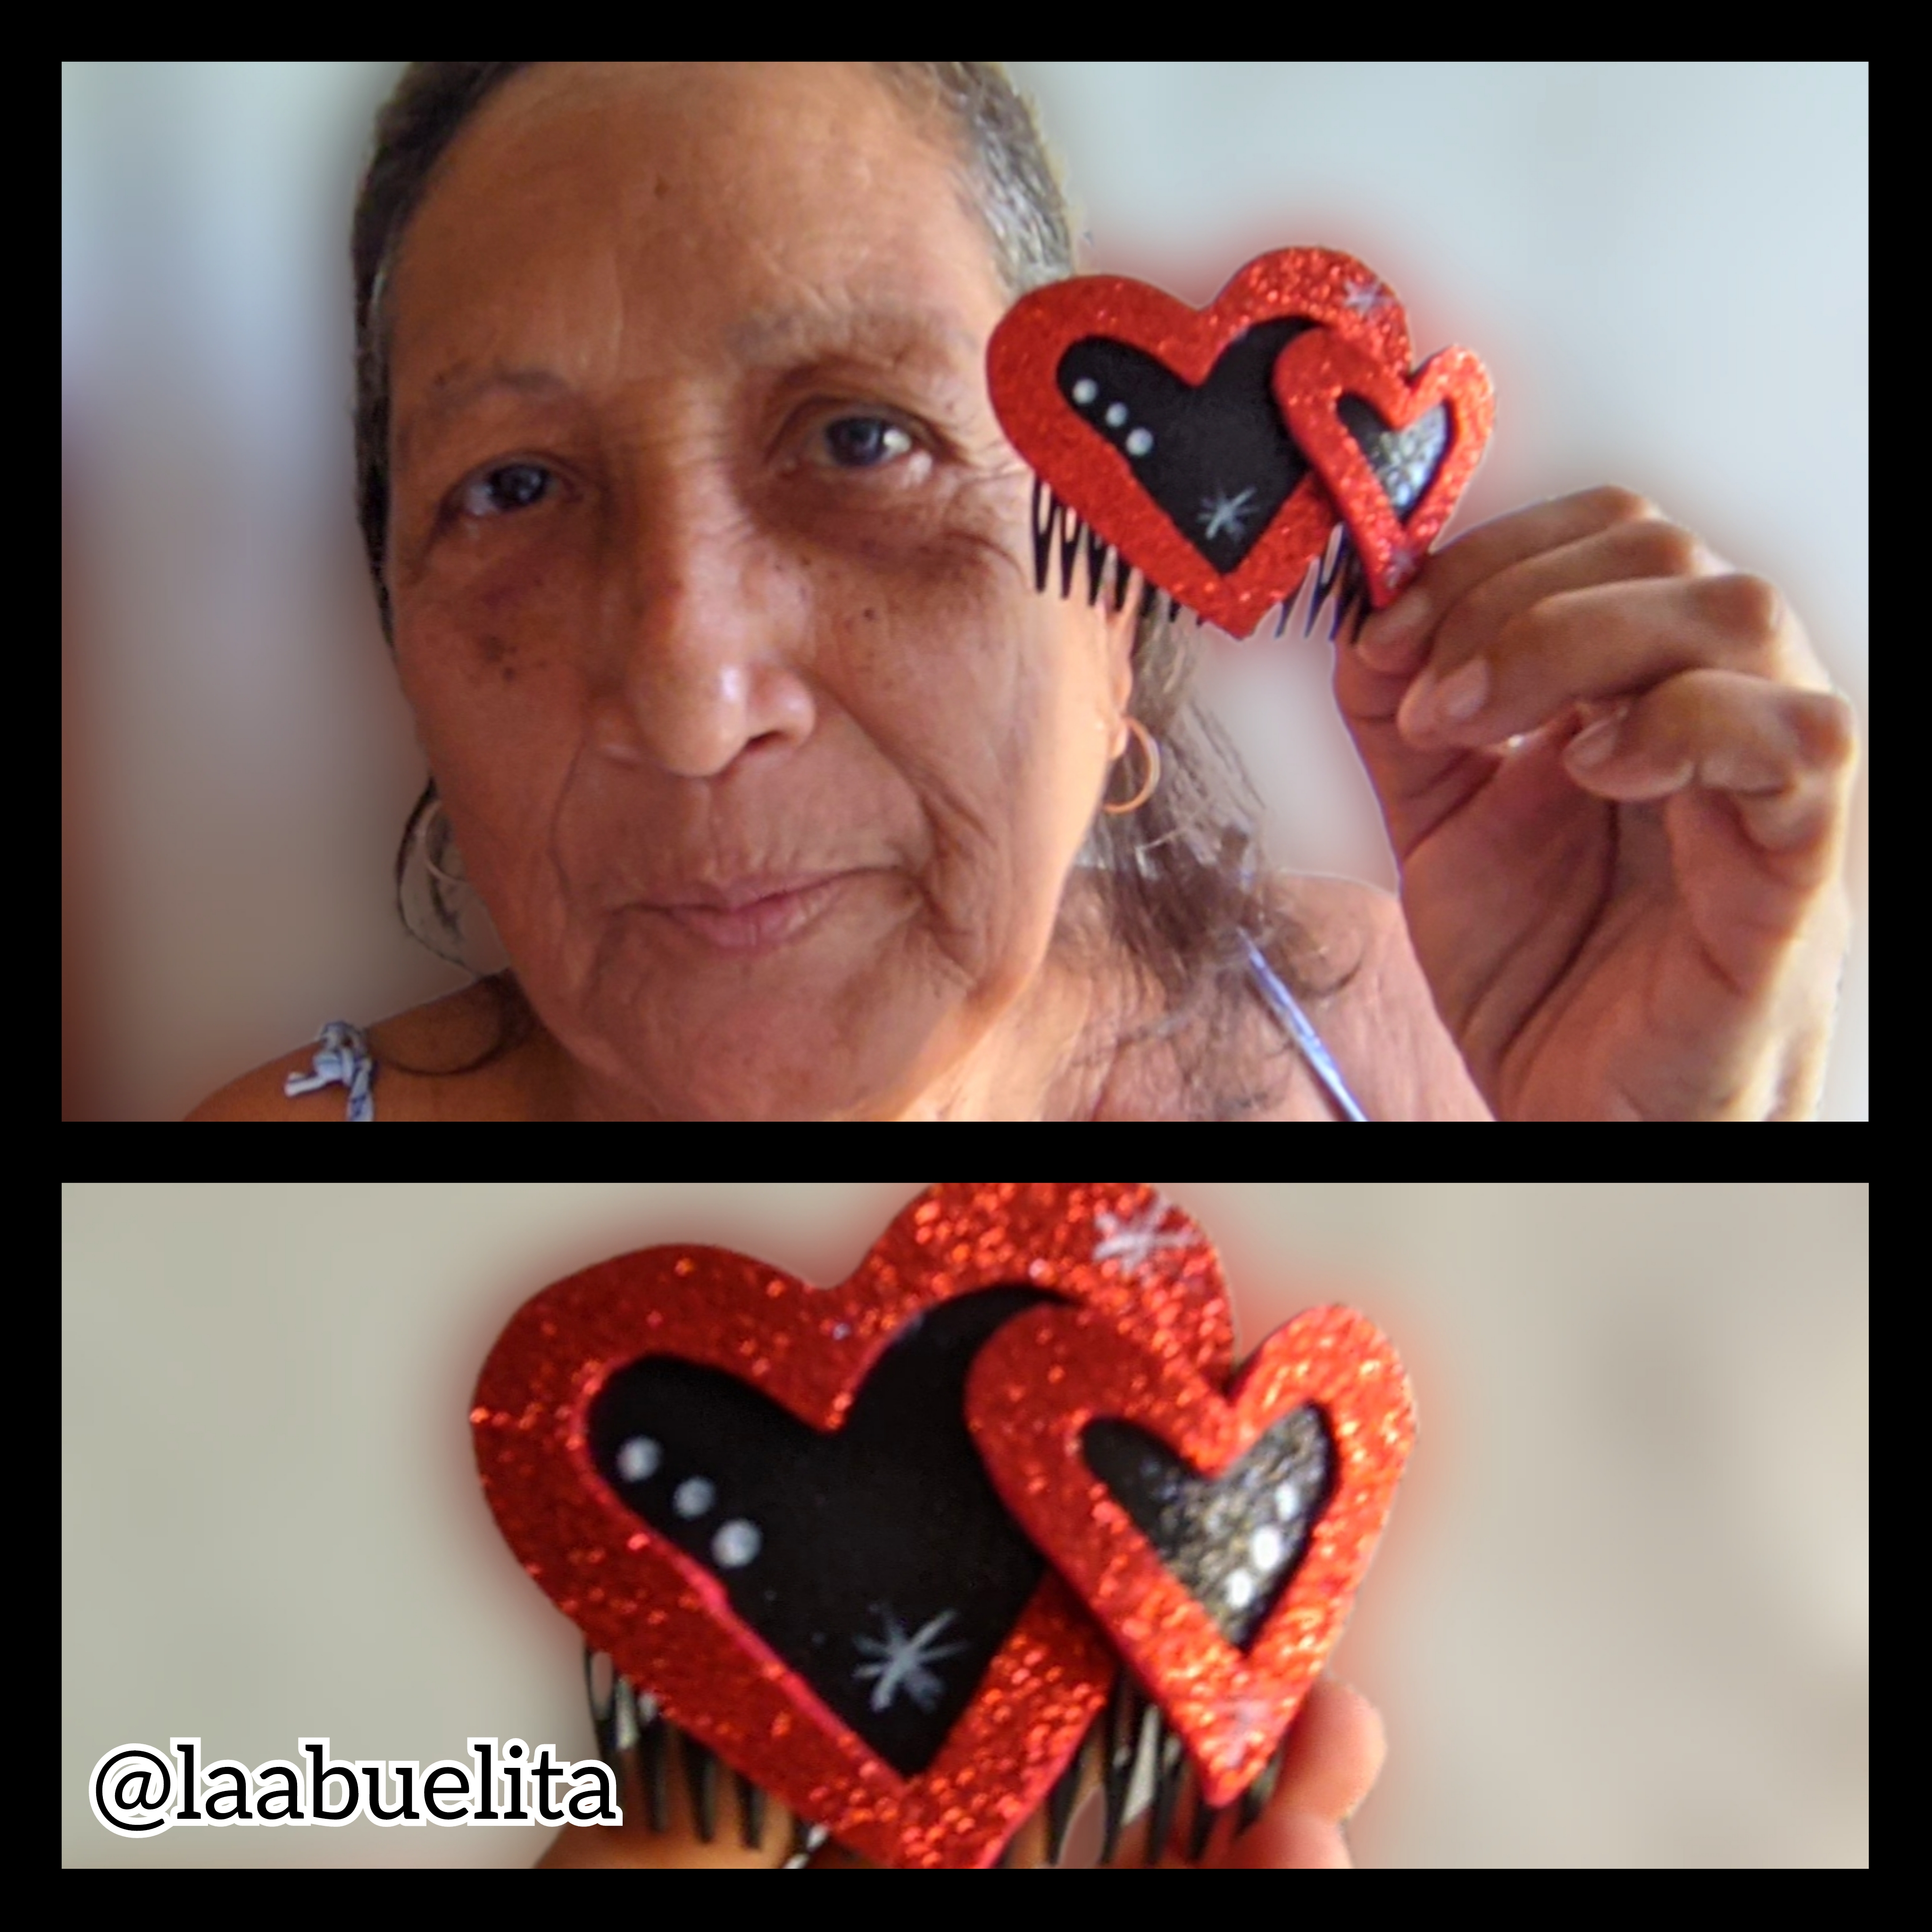
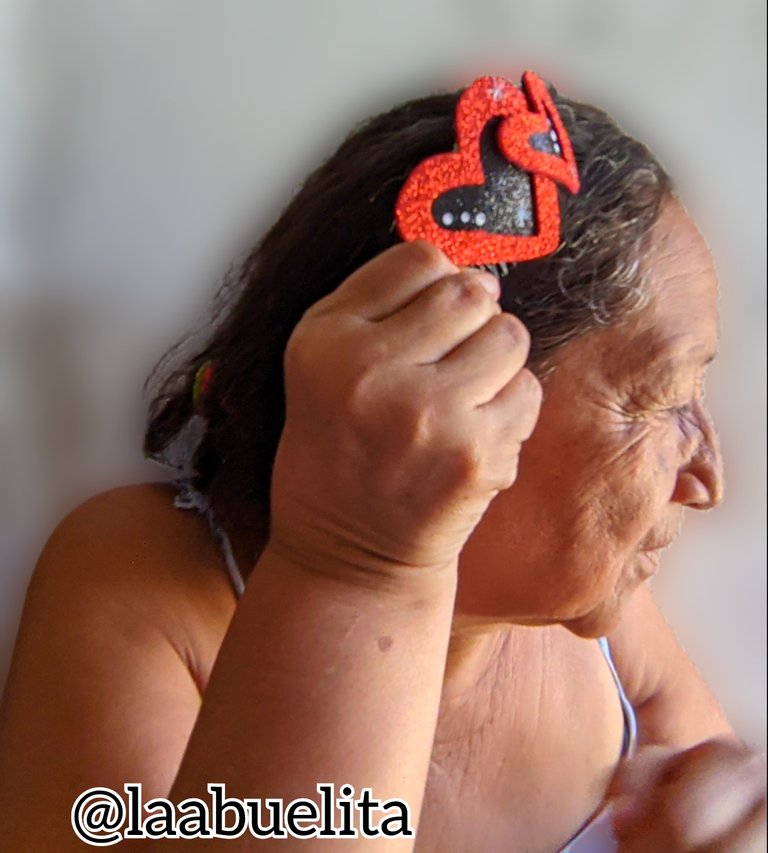
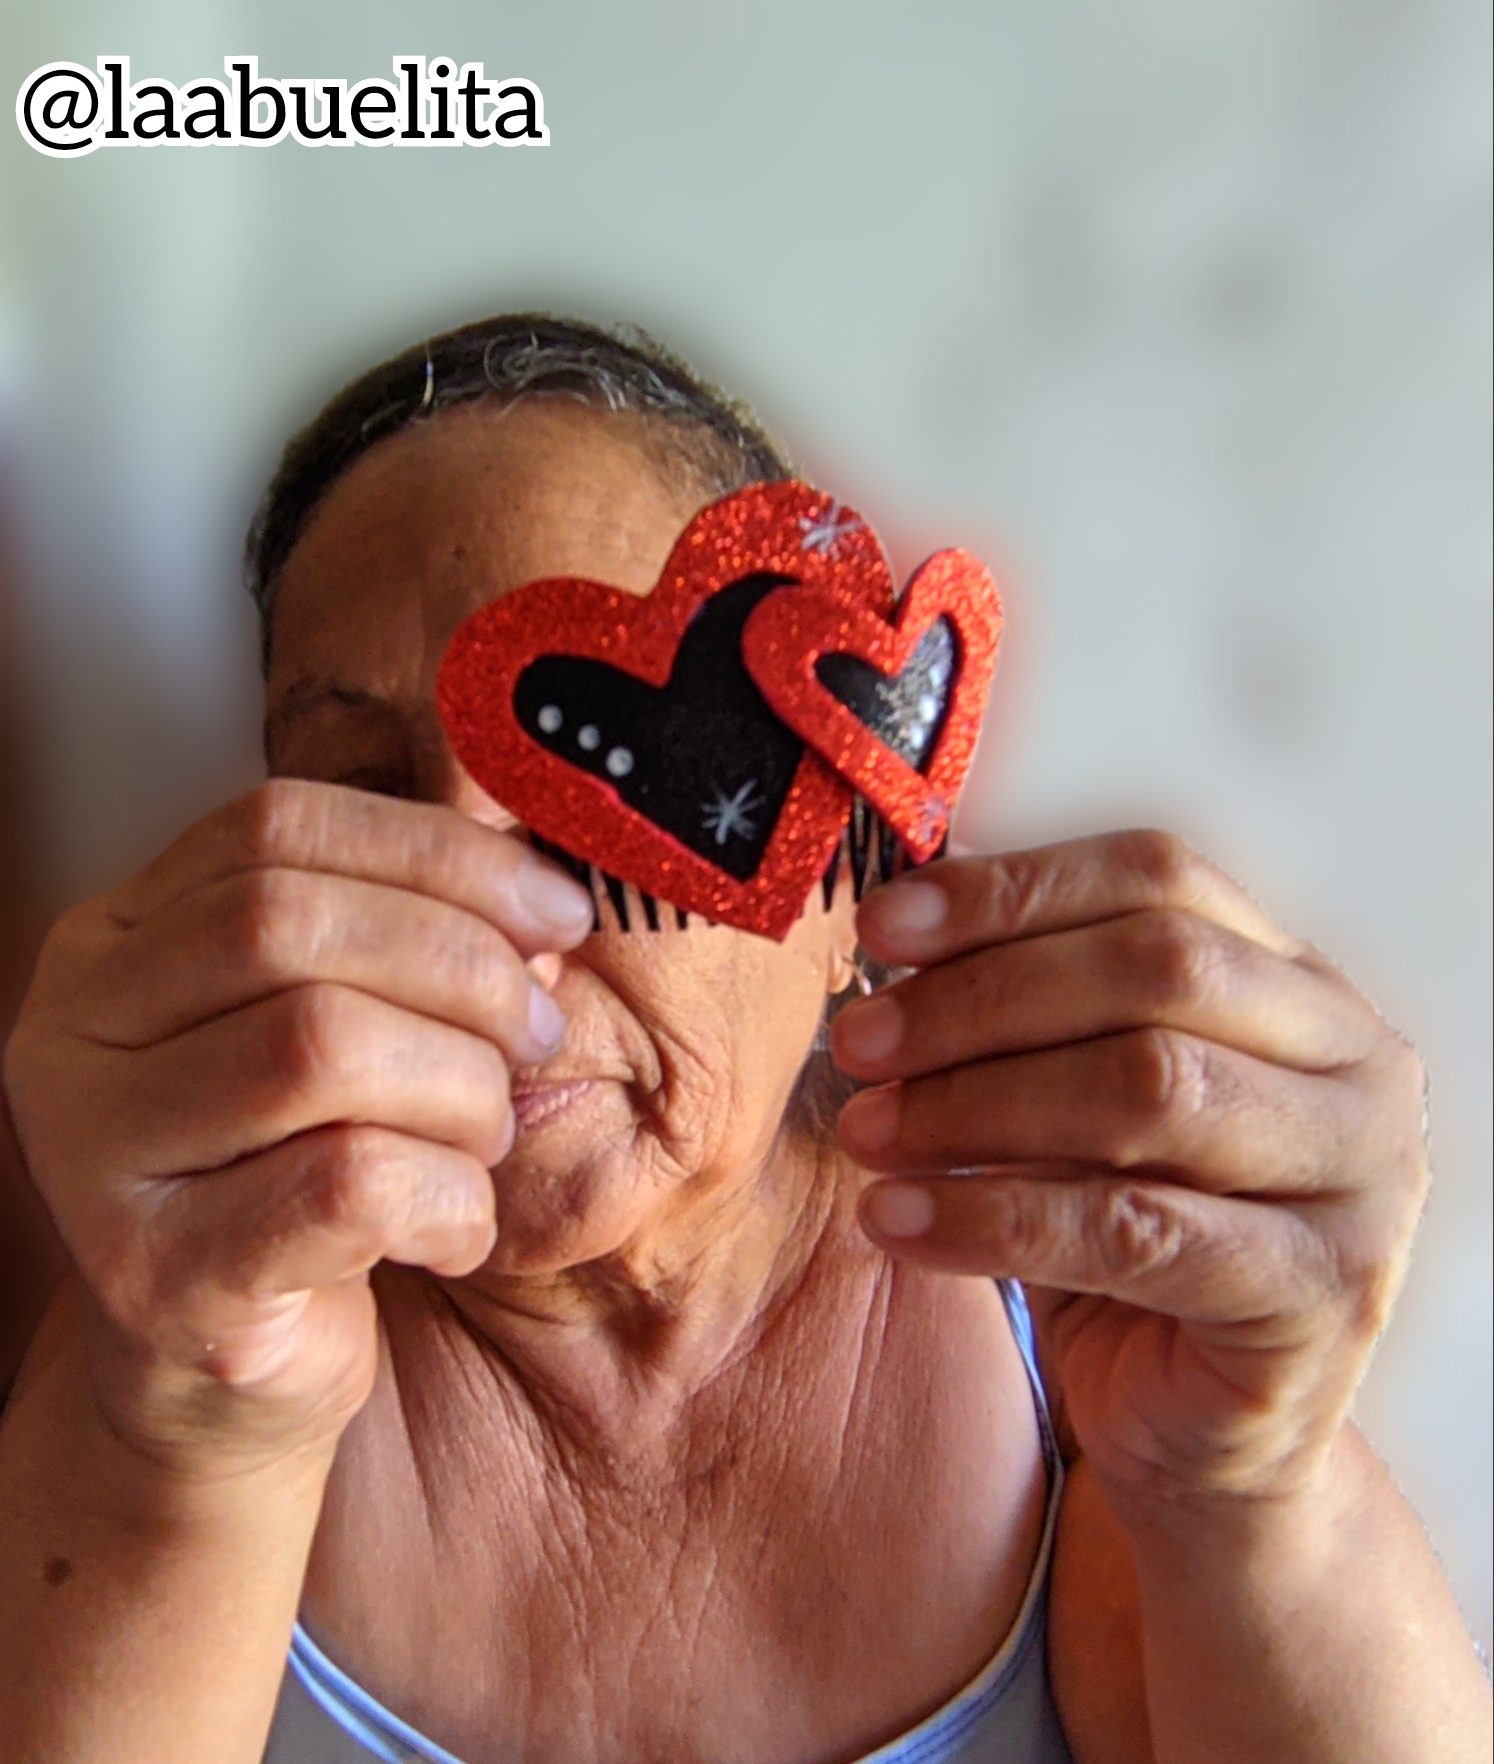
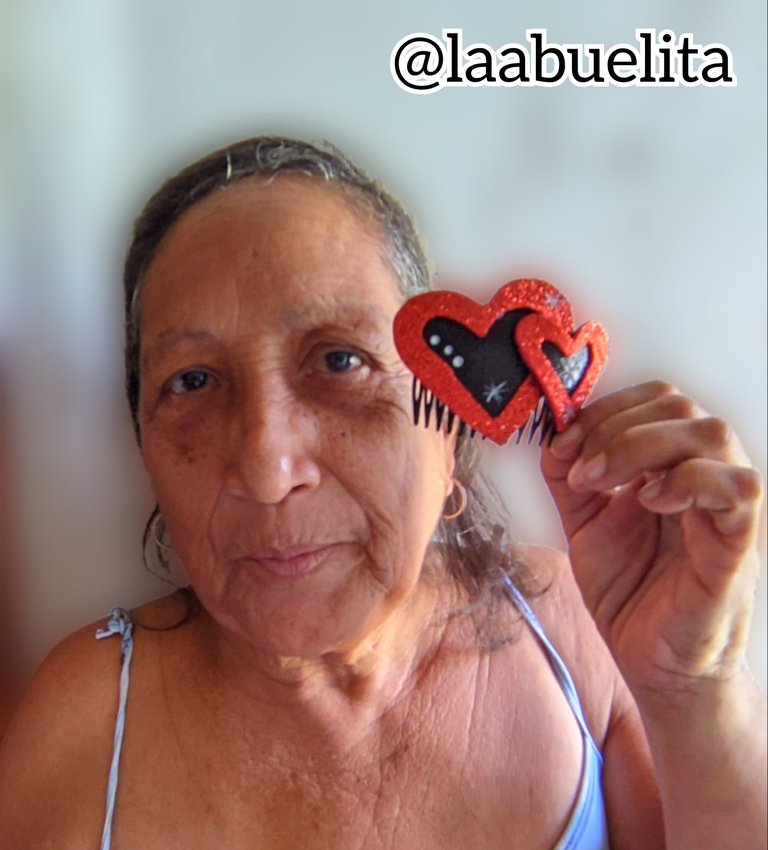
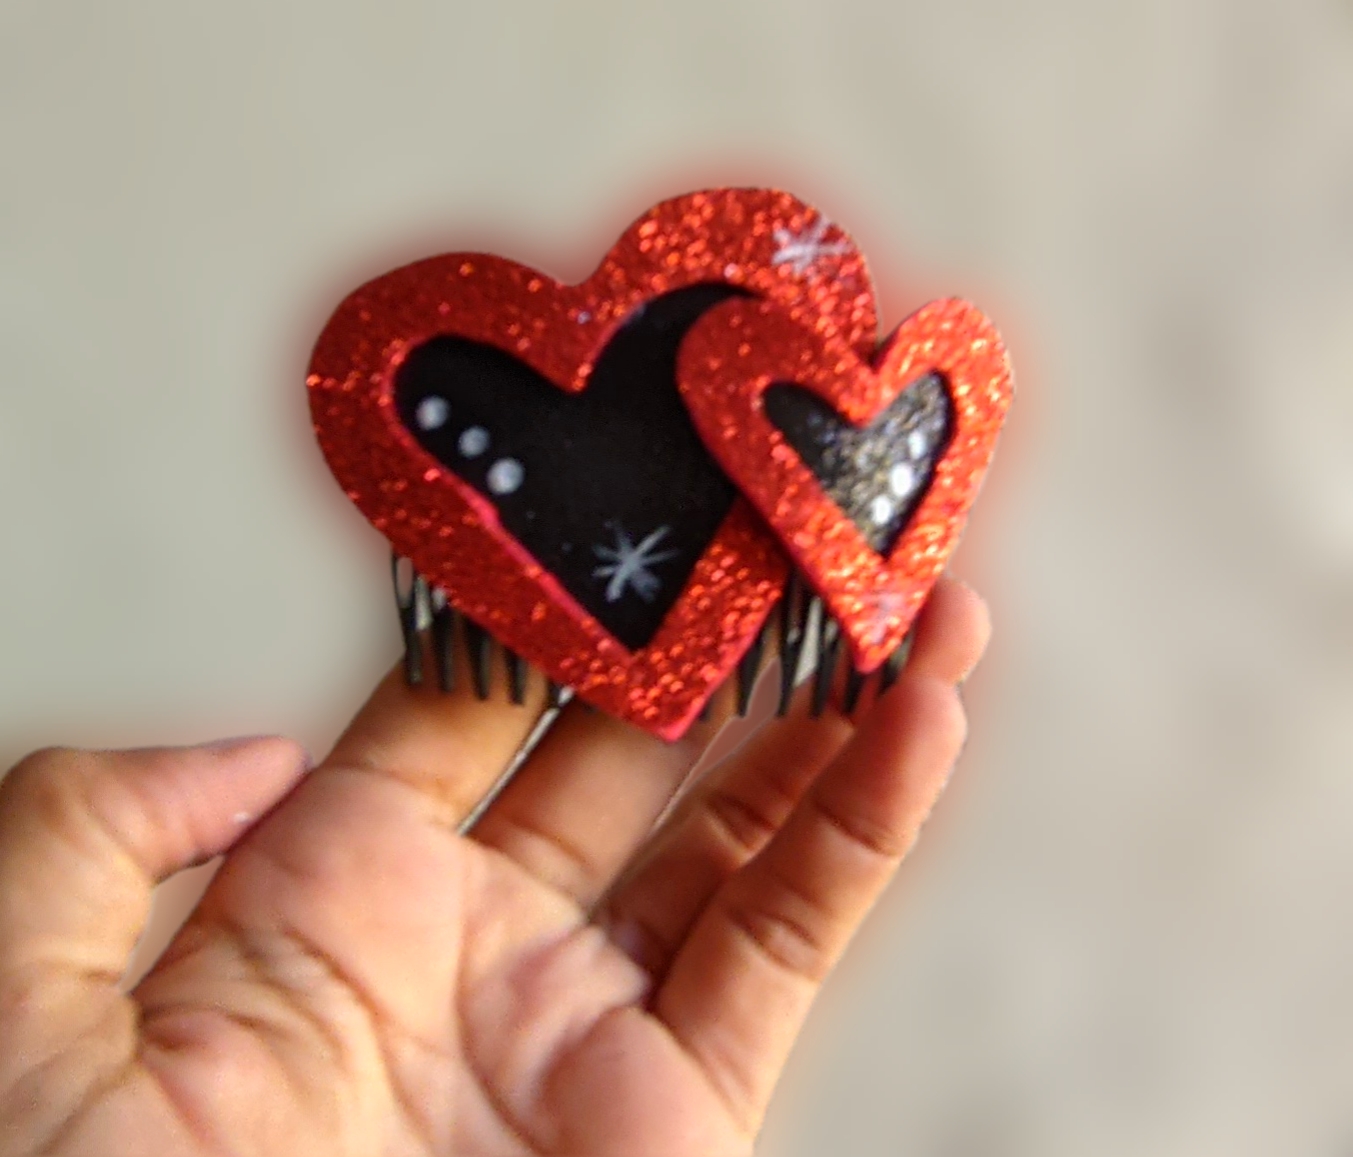
Cómo pueden ver este trabajo es algo que es algo bien fácil de elaborar pero es un detalle bonito para regalar a cualquiera de las princesas de la casa, y porqué no también para usarlas nosotras mismas.
Para este post utilice el programa polish que trae mi teléfono, las fotos fueron tomadas con mi teléfono Xiaomi redmi y son mías y el traductor deepl versión gratis.

♥️♥️♥️ ENGLISH ♥️♥️♥️
Greetings to each and every one of the grandchildren who have welcomed and supported me in my beginnings in this wonderful ecosystem called
#hive, and to those who haven't I also send you a shower of blessings, today I bring you another way to decorate a comb.
This time the theme will be love, so I worked with hearts and worked with the colours that represent
#hive red and black, I hope you like it and as I always say put it into practice, here is the step by step, the materials and the final photos.
♥️ Materials ♥️
♥️ Red frosted foami.
♥️ Black frosted foami.
♥️ comb
♥️ Liquid silicone.
♥️ White cold paint.
♥️ Brush.
♥️ Scissors.
♥️ Step by step ♥️
♥️ Step 1:
Grip the red foami and with the help of the pencil draw two hearts one bigger than the other, then with the scissors cut out the centre of both hearts because what I need is a kind of border with the shape of the heart.
♥️ Step 2:
Now take the big heart and put some liquid silicone on it and stick it on top of the black foami, making sure that the glitter of the black foami is on the front, and then repeat the step with the other smaller heart and let it dry for a few minutes.
♥️ Step 3:
When it was dry, I took the scissors and cut out the two hearts.
♥️ Step 4:
Now I applied liquid silicone to the back of the larger heart and proceeded to glue it to the comb, I applied a little pressure to fix it to the comb, I glued it so that the heart will be on the side, not on the front
♥️ Step 5:
Repeat the previous step, i.e. take the smaller heart and apply liquid silicone on the back, but stick it on top of the larger heart and press it down until it is well fixed.
♥️ Step 6:
When the hearts are dry and fixed, take the brush and the white paint and I made some decorations, in this case I drew three dots and some little sparkles that give it a different touch and that's it, we're done.
♥️ Pictures of the final result ♥️
How you can see this work is something that is very easy to elaborate but it is a nice detail to give to any of the princesses of the house, and why not also to use it ourselves.
For this post I used the polish program that comes with my phone, the photos were taken with my Xiaomi redmi phone and they are mine and the translator deepl free version.