Saluditos amigos de
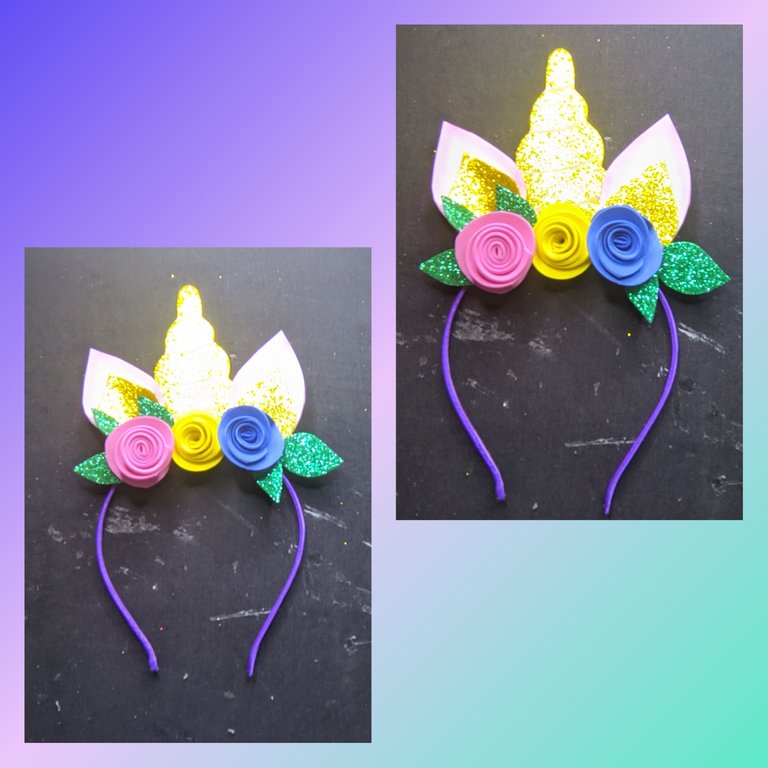
#hive acá estoy para traerles un lindo trabajo elaborado para la fiesta de cumpleaños de mi pequeña Lupita, la fiesta fue de temática de Unicornio, recuerdan que hace un tiempo elabore una linda piñata, que lució hermosa en la fiesta. Yo quise darle a las pequeñas que asistieron una linda tiara de unicornio que es bien fácil de elaborar, así que acá les dejo el paso a paso, la lista de materiales y el resultado final.
🦄 Materiales🦄
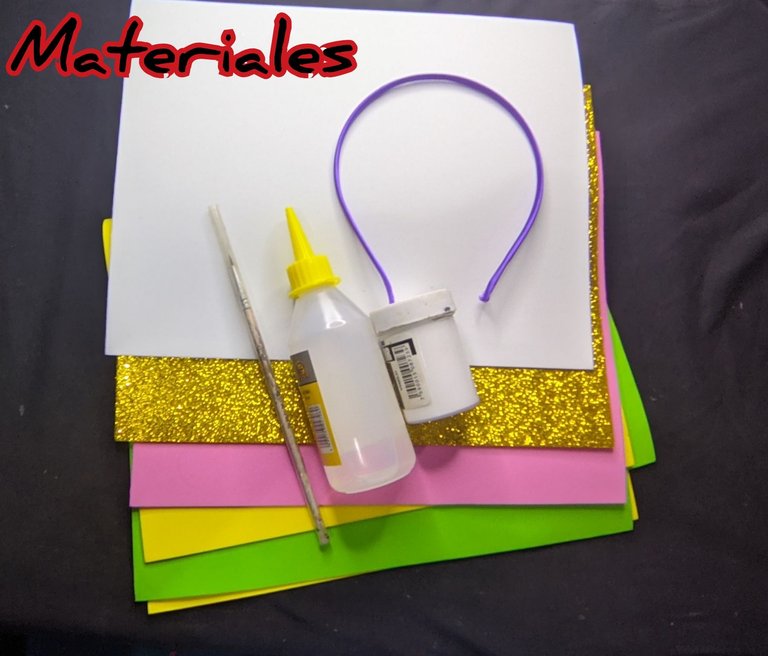
🦄 Foami escarchado dorado.
🦄 Foami escuchado verde.
🦄 Foami blanco.
🦄 Foami amarillo
🦄 Foami azul.
🦄 Foami rosado.
🦄 Tijera.
🦄 Pintura blanca.
🦄 Pincel fino.
🦄 Silicón líquido.
🦄 Cintillo.
🦄 Paso a paso🦄
🦄 Paso 1:
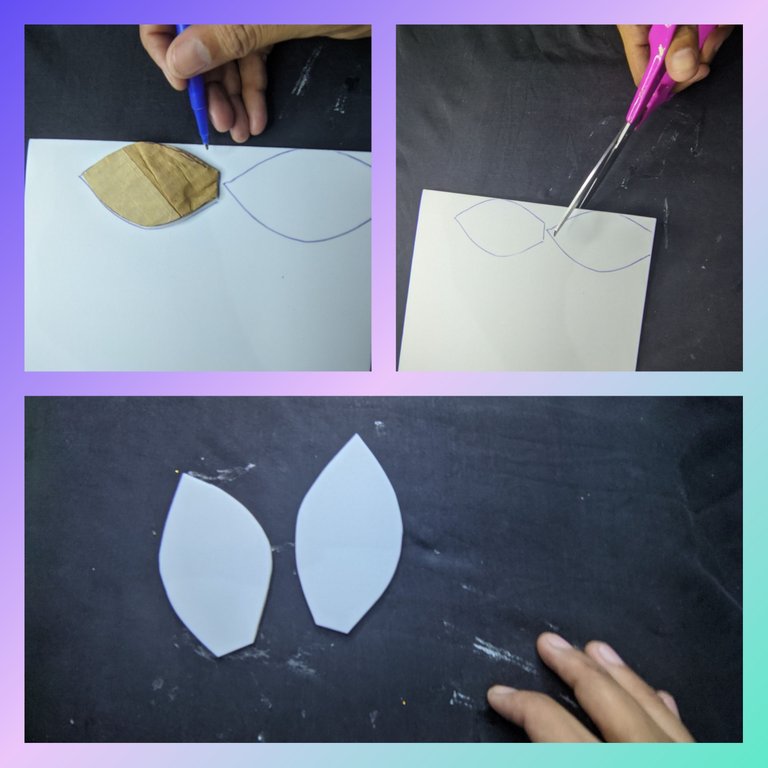
Primero tomé el foami blanco y dibujé en él la forma de las orejitas del unicornio, son dos y luego con ayuda de las tijeras recortamos.***
🦄 Paso 2:
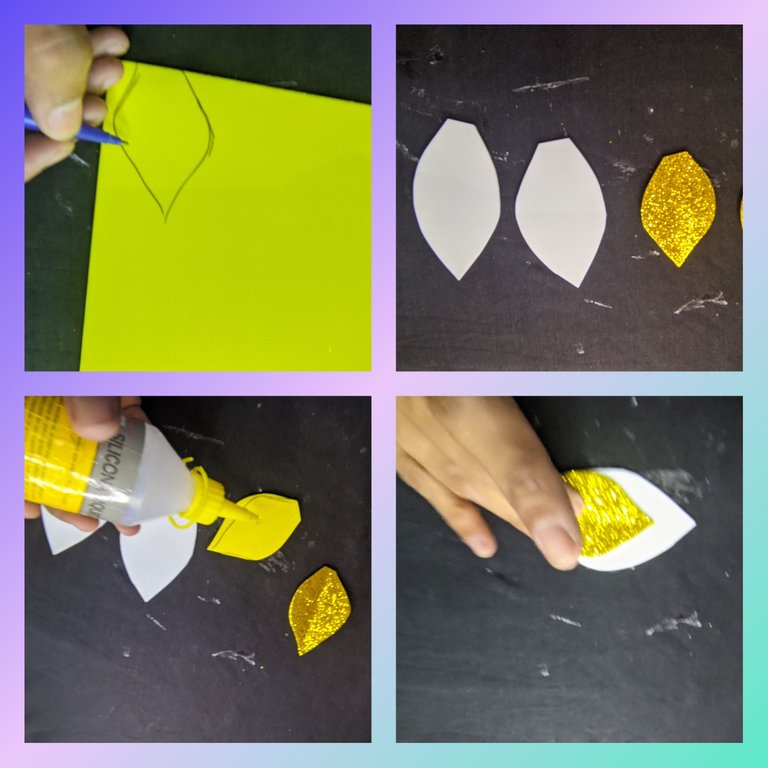
En el Foami escarchado dorado dibujamos las dos piezas de adentro de la oreja del unicornio, luego le pongo un poco de silicón líquido y pegamos en la oreja blanca y dejamos que se seque.
🦄 Paso 3:
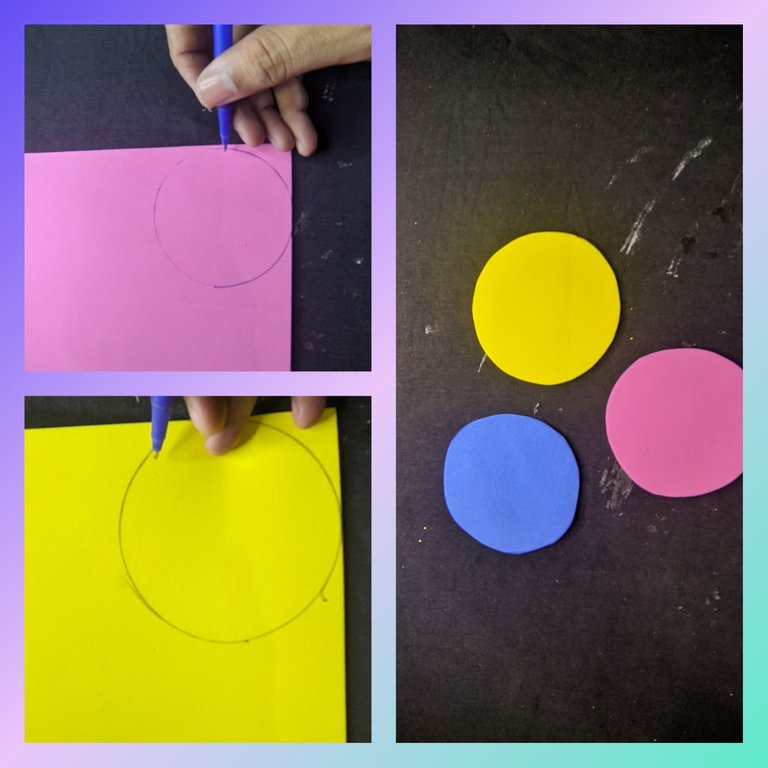
Ahora dibujamos y recortamos un círculo en el Foami amarillo, en el azul y en el rosado.
🦄 Paso 4:
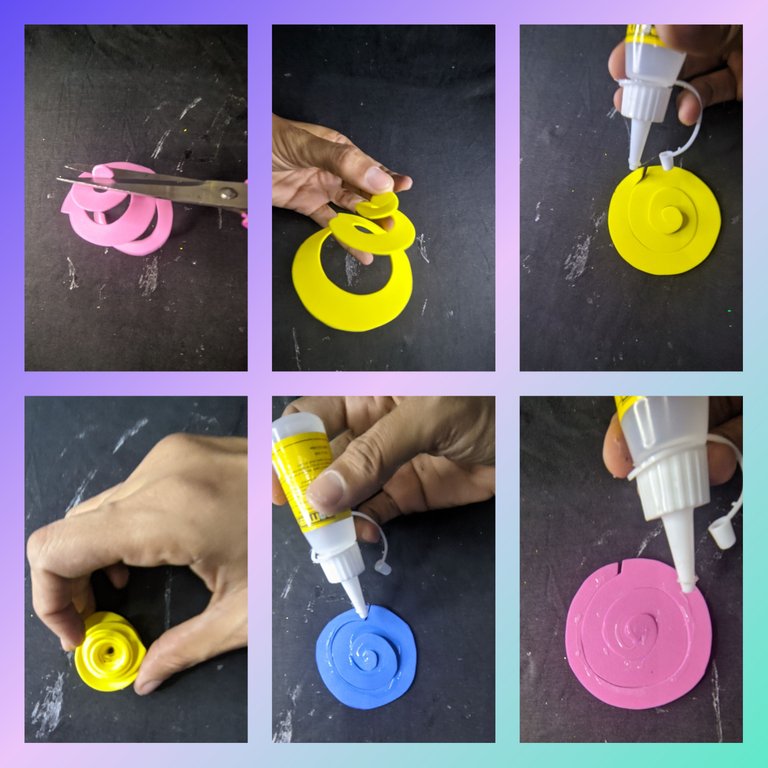
Los círculos que recortamos le hacemos un corte (véase la foto), y luego por todo el borde le aplicamos silicón líquido y procedemos a enrollar, de esta manera, formamos las flores, esto se hace en los tres colores.
🦄 Paso 5:
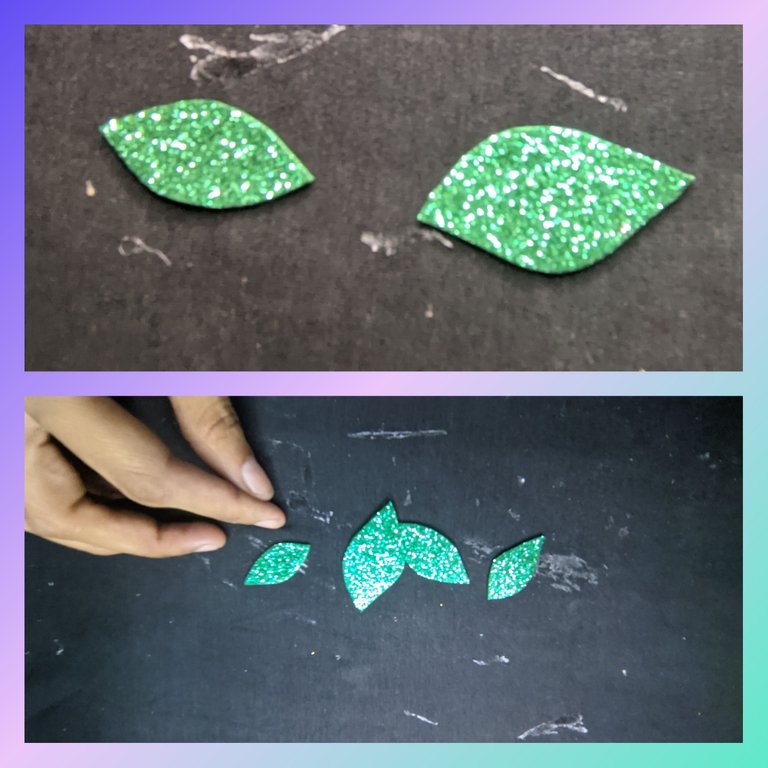
Tome un trocito de foami escarchado verde y dibujé y recorté las hojitas, en total fueron cinco.
🦄 Paso 6:
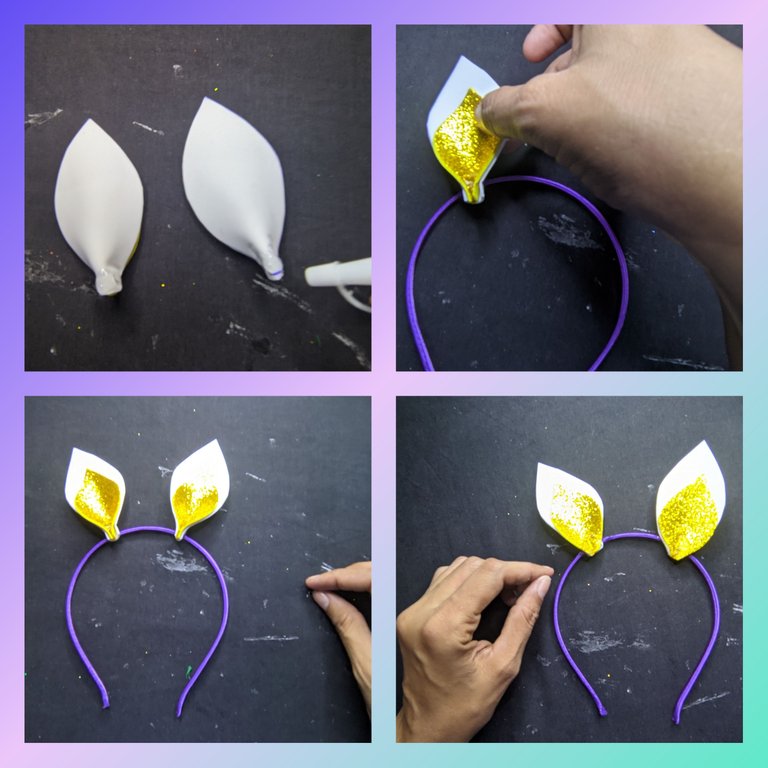
Cuando las orejas ya están listas les aplicó silicón líquido por la parte trasera y pegamos en el cintillo y dejamos secar.
🦄 Paso 7:
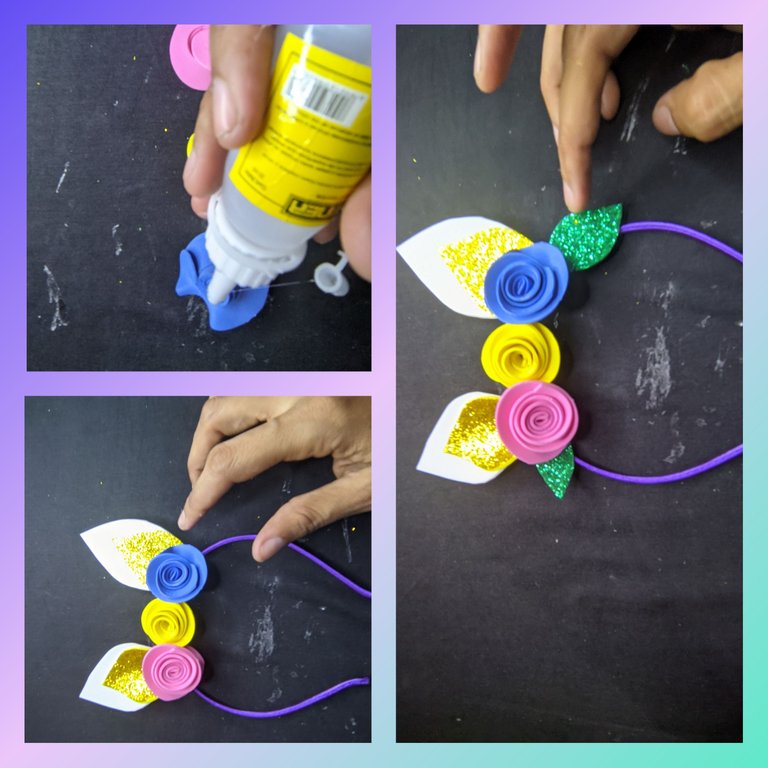
Ahora tome las tres flores a las que le aplicó silicón líquido y pegamos en el cintillo y dejo secar, luego le pegó también las hojas que recorté.
🦄 Paso 8:
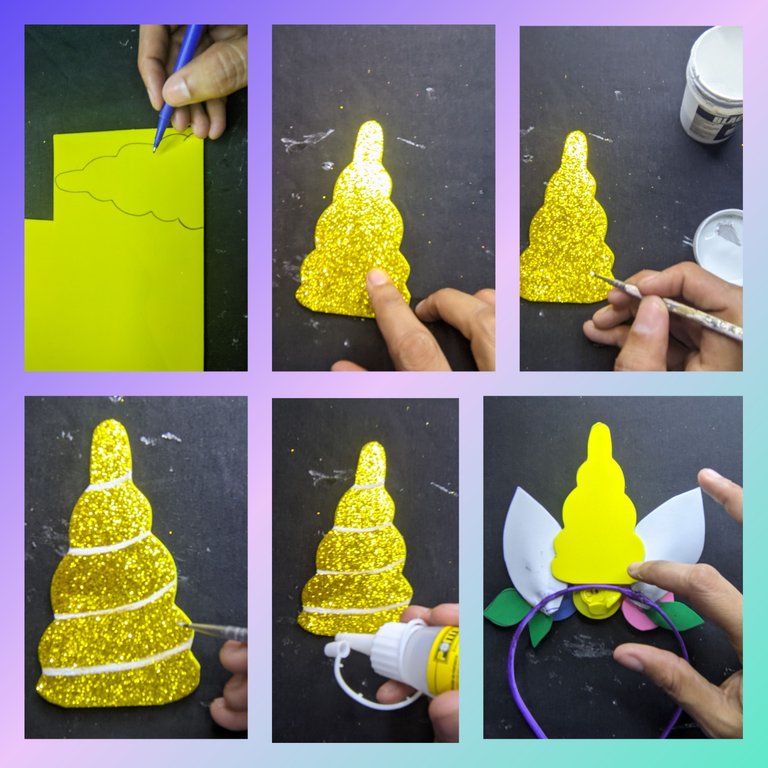
En el foami dorado dibujé y recorté el cuerno, luego con el pincel fino y la pintura blanca dibujamos las divisiones del cuerno y dejamos secar un poco, seguidamente le aplicó silicón líquido y pegamos en el cintillo.
🦄 Paso 9:
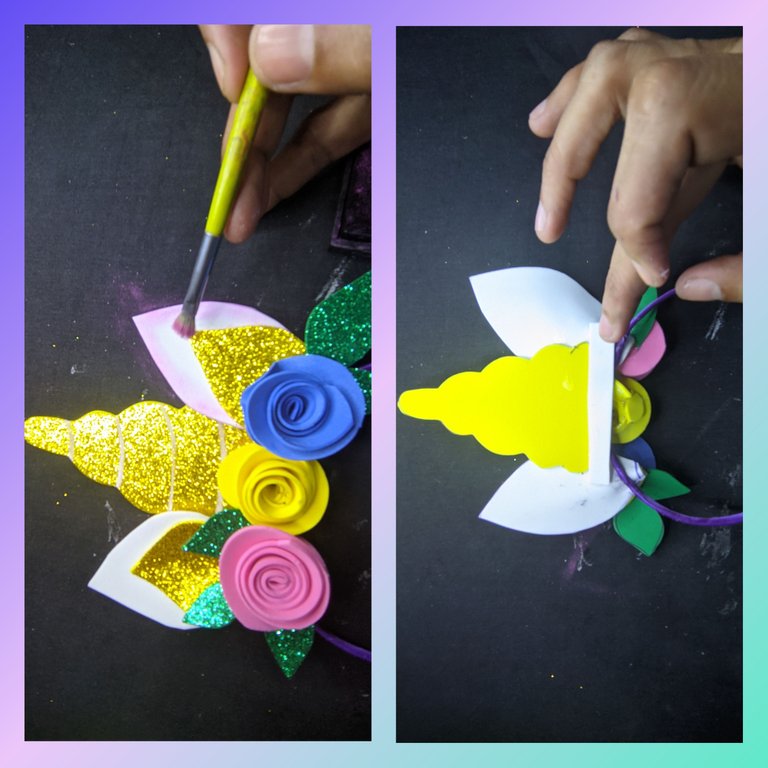
Finalmente recorte un rectángulo del Foami blanco al que le aplicó silicón líquido y pegamos en la parte trasera de las orejas, para ayudar a dar más firmeza, como toque final con la sombra rosa, aplicó un poco en el foami blanco para darle realce y listo hemos terminado.
🦄 Resultado final 🦄
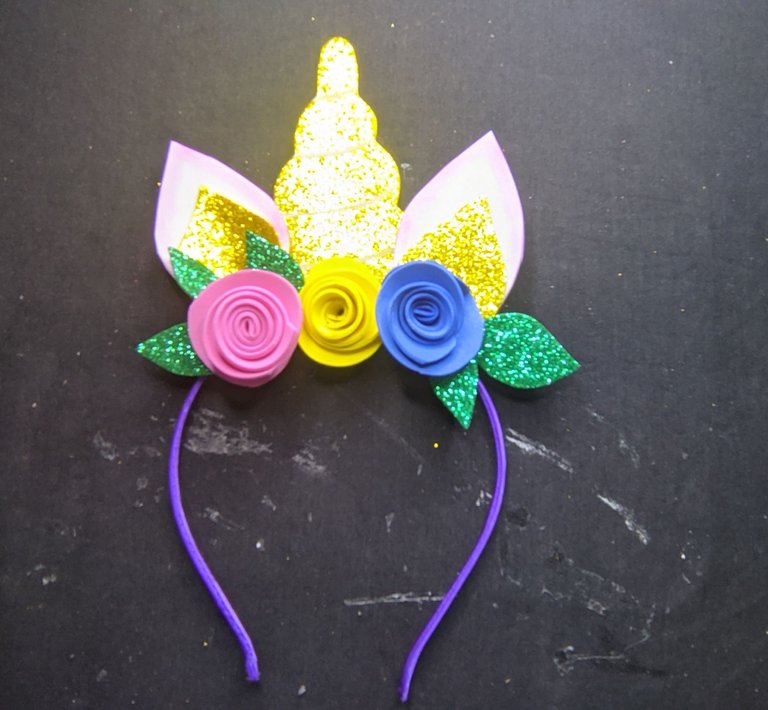
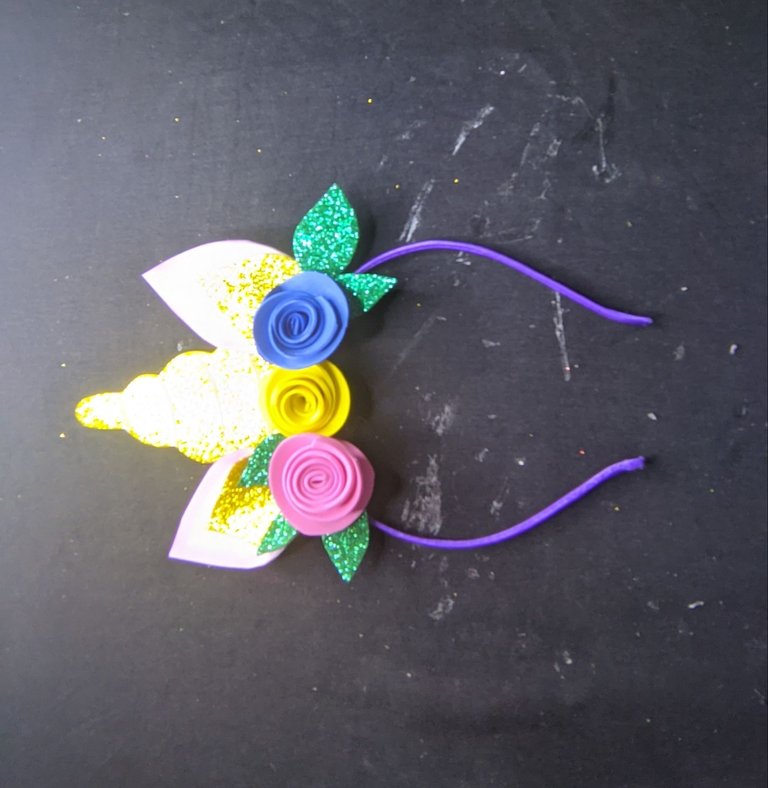
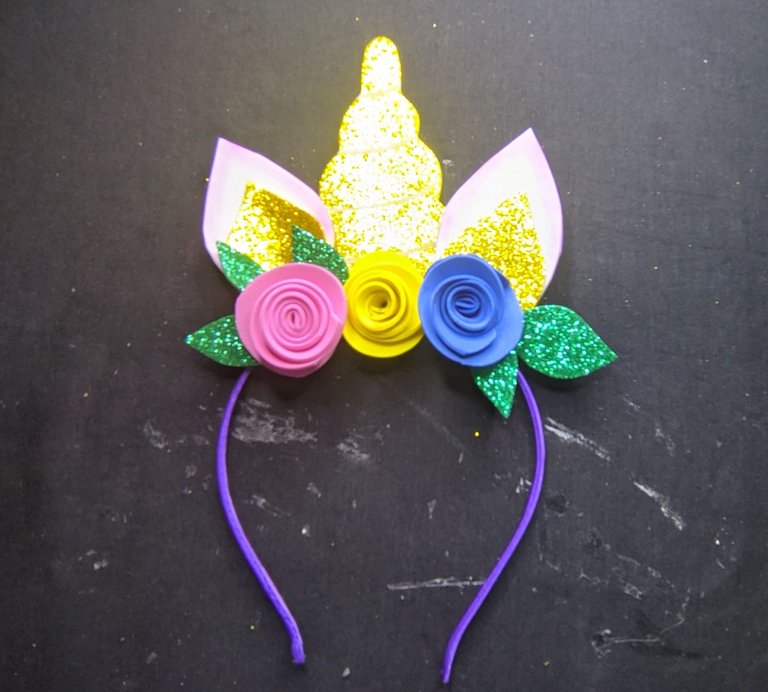
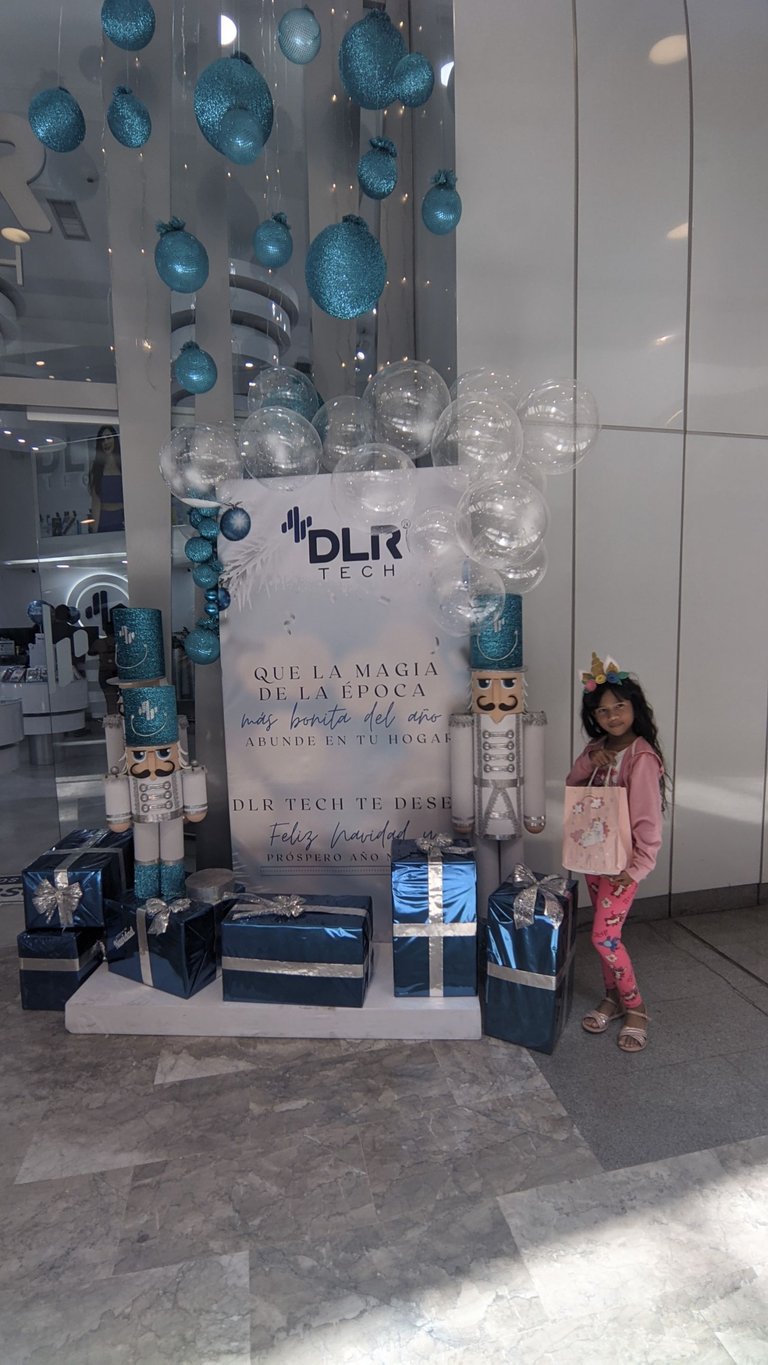
Díganme qué les pareció, a mi y a las invitadas de la fiesta también les gustó muchísimo, como se pueden dar cuenta es un trabajo fácil de hacer y un detalle que le da un toque mágico a cualquier fiesta, saludos a todos y nos vemos en el próximo post.
Para realizar este post utilice el programa polish y el traductor deepl versión gratis, y todas las fotos fueron tomadas con mi teléfono Xiaomi.


🦄 ENGLISH 🦄

Hello friends of
#hive here I am to bring you a nice work made for my little Lupita's birthday party, the party was Unicorn themed, remember that some time ago I made a cute piñata, which looked beautiful at the party. I wanted to give the little ones who attended a cute unicorn tiara that is very easy to make, so here is the step by step, the list of materials and the final result.
🦄 Materials🦄

🦄 Gold frosted foami.
🦄 Foami frosted green.
🦄 White foami.
🦄 Yellow foami
🦄 Blue foami.
🦄 Pink foami.
🦄 Scissors.
🦄 White paint.
🦄 Fine brush.
🦄 Liquid silicone.
🦄 Tape.
🦄 Step by step🦄
🦄 Step 1:

First I took the white foami and drew on it the shape of the unicorn's ears, there are two of them and then with the help of the scissors I cut them out.***
🦄 Step 2:

On the gold frosted Foami we draw the two inside pieces of the unicorn's ear, then we put some liquid silicone on it and stick it on the white ear and let it dry.
🦄 Step 3:

Now we draw and cut out a circle on the yellow Foami, on the blue and on the pink
🦄 Step 4:

The circles that we cut out we make a cut (see photo), and then all around the edge we apply liquid silicone and proceed to roll up, in this way, we form the flowers, this is done in the three colours.
🦄 Step 5:

I took a small piece of green frosted foami and drew and cut out the leaves, there were five in total.
🦄 Step 6:

When the ears are ready, I applied liquid silicone to the back of the ears and glued them to the headband and let them dry.
🦄 Step 7:

Now take the three flowers and apply liquid silicone to them and glue them onto the headband and let them dry, then glue the leaves I cut out as well.
🦄 Step 8:

On the gold foami I drew and cut out the horn, then with the fine brush and the white paint we drew the divisions of the horn and let it dry a little, then applied liquid silicone and glued it to the headband.
🦄 Step 9:

Finally cut a rectangle out of the white Foami and applied liquid silicone to it and glued it to the back of the ears, to help firm them up, as a finishing touch with the pink shadow, applied a little bit on the white foami to highlight it and that's it
🦄 Final result 🦄


Tell me what you thought, me and the guests of the party also liked it a lot, as you can see it is an easy job to do and a detail that gives a magical touch to any party, greetings to all and see you in the next post.
For this post I used polish and the free version of deepl translator, and all the pictures were taken with my Xiaomi phone.


