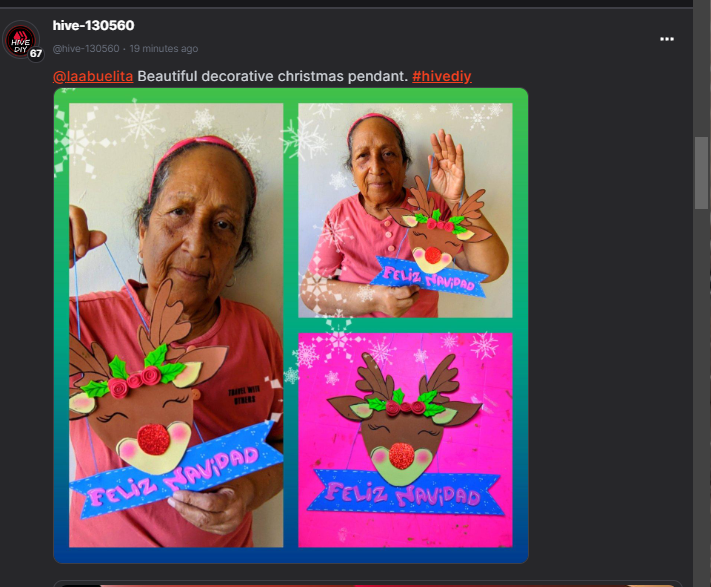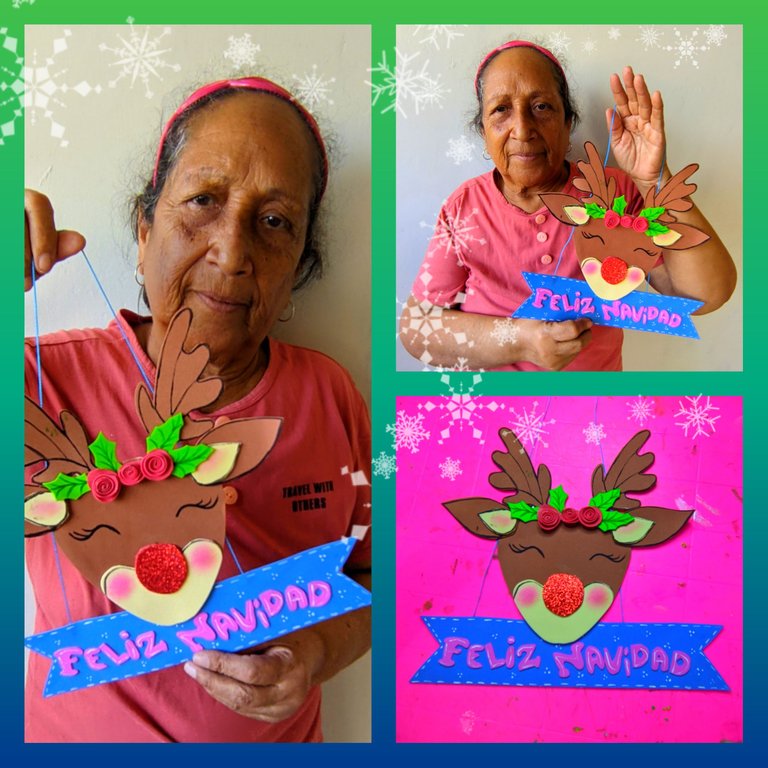
Saludos hijitos seguimos en la onda navideña, la mejor época del año y yo por supuesto como dice mi bella flor Lupita, ando más que activada realizando detalles para decorar está navidad, quiero que en mi casa ningún rinconcito quede sin decorar, por eso el día de hoy les vengo a traer un tutorial de un hermoso colgante de reno que realice.
Lo bueno de este colgante es que se puede colocar en la puerta de los cuartos, en la cocina, en la sala, en fin podemos adornar cualquier espacio de la casa que queramos, porque es bien lindo y combina con cualquier lugar de la casa, pero no se diga más mis amores, pongamos manos a la obra, pero recuerden el ingrediente principal que se debe utilizar es el amor, debemos hacer cada detalle con amor, no hacerlo por cumplir, yo le pongo amor, mucho amor, a cada trabajo que hago, recuerden que cuando se hacen las cosas se deben hacer bien, sino, no se hacen, aquí les dejo la lista de materiales, el paso a paso y el resultado final.
🦌 Materiales 🦌
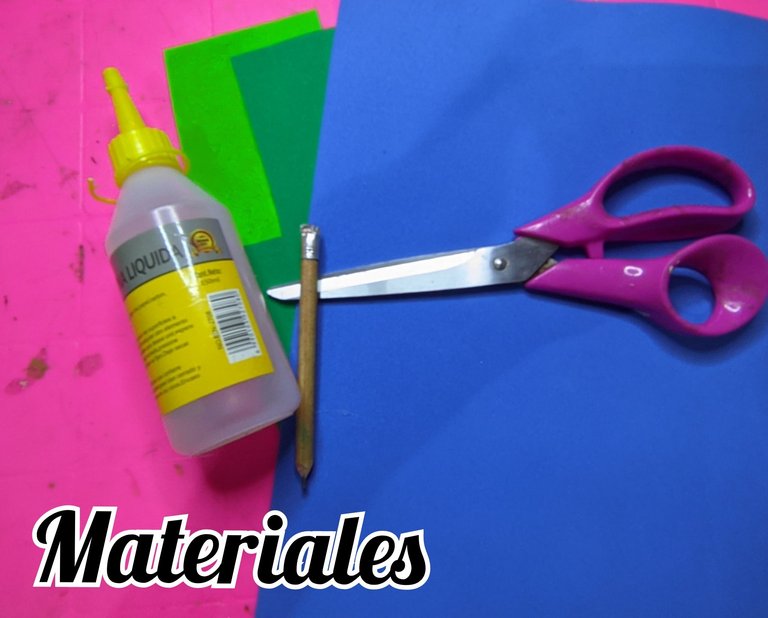
🦌 Foami marrón.
🦌 Foami crema.
🦌 Foami rojo.
🦌 Foami verde manzana.
🦌 Foami azul.
🦌 Foami rosado.
🦌 Silicón líquido.
🦌 Hilo nylon
🦌 Cartulina o cartón de caja.
🦌 Pinturas al frío: blanca, verde oscuro y negra.
🦌 Rubor o tiza.
🦌 Tijera.
🦌 Pincel fino.
🦌 Lápiz
🦌Paso a paso 🦌
🦌Paso 1:
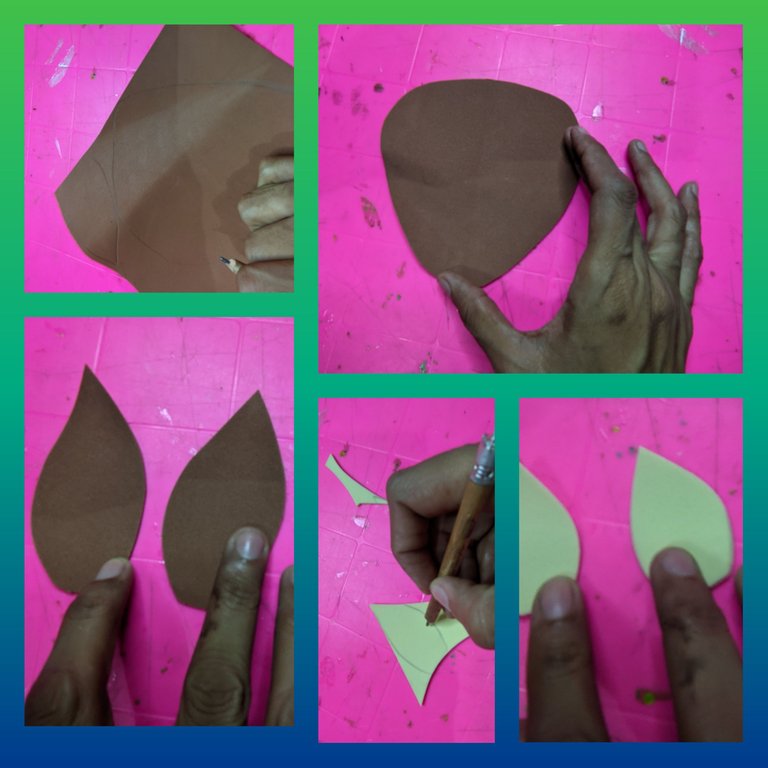
Tomamos el foami de color marrón y marcamos con el lápiz la forma de la cara del reno y luego recortamos, también dibuje un par de orejitas y en el foami crema dibuje y luego recorté, una especie de orejitas un poco más pequeñas.
🦌 Paso 2:
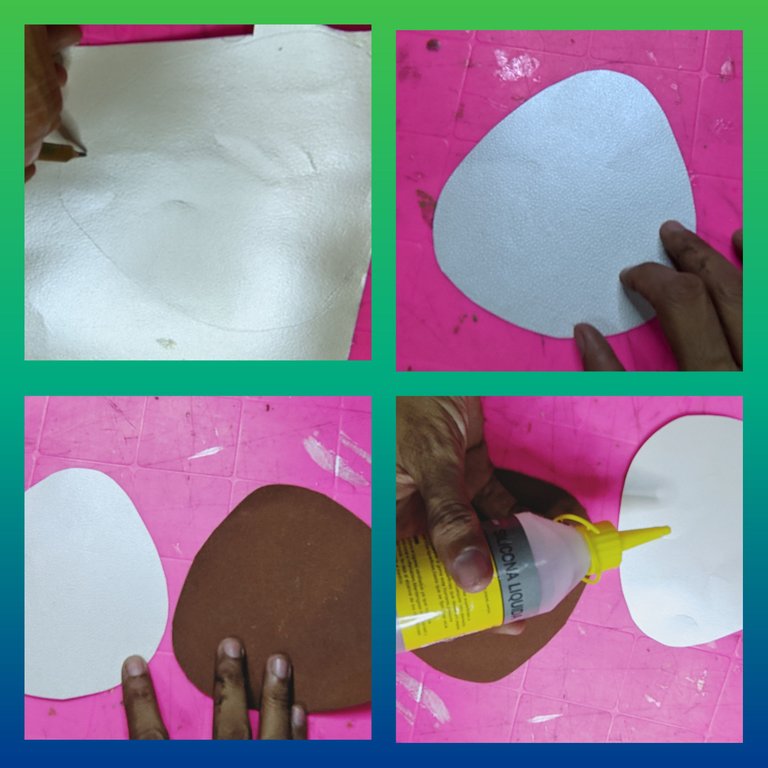
Tome la cartulina y dibuje la forma de de la cara del venado y luego de recorte.
🦌 Paso 3:
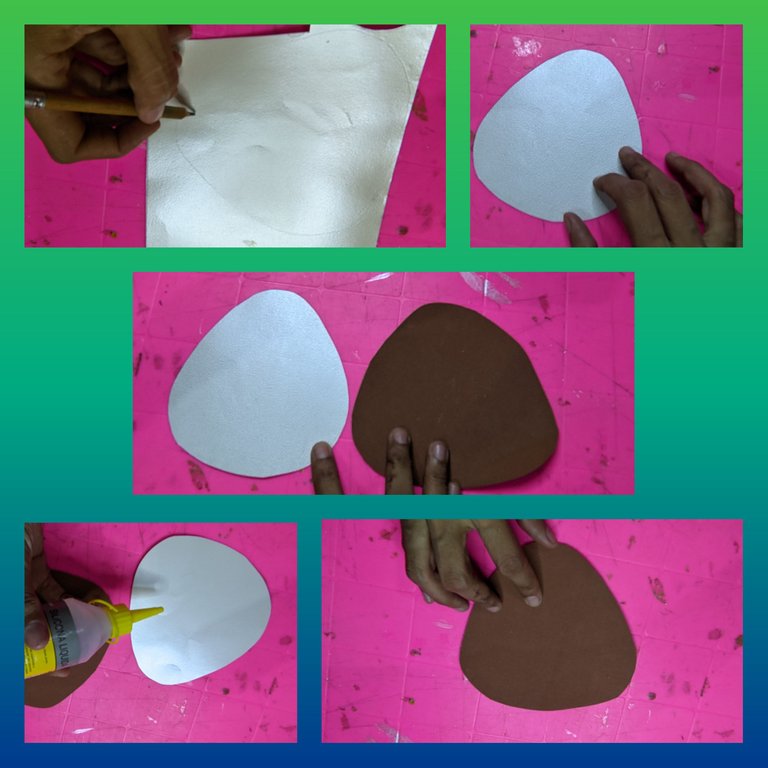
Ahora tome un poco de silicón líquido y pegamos la pieza de foami a la de cartulina, apretamos un poco para que se pegue bien.
🦌 Paso 4:
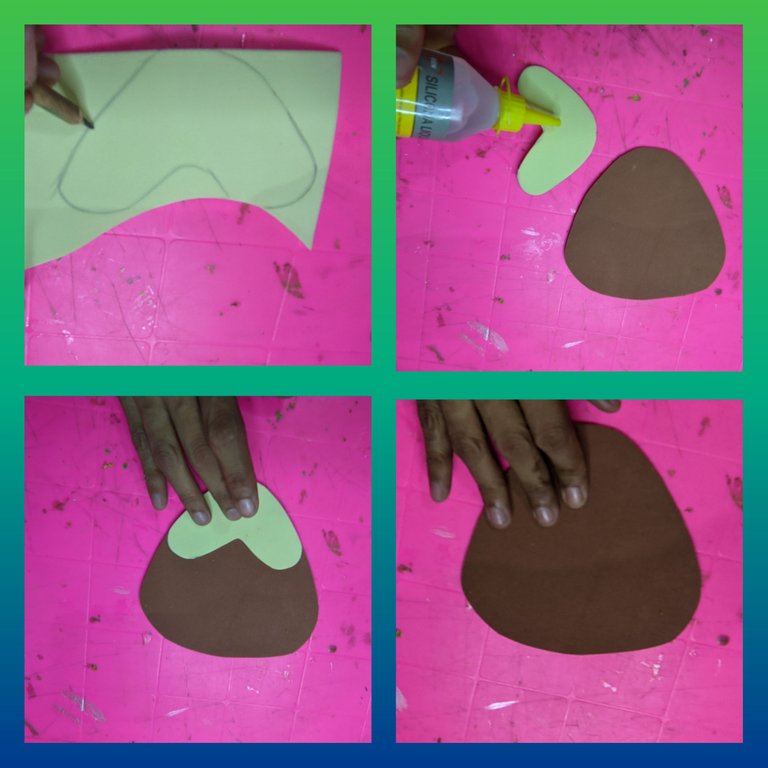
En el foami de color crema dibuje y posteriormente recorte una pieza como una (v) que nos va a servir para la trompa del venado.
Cuando está listo, aplicó silicón líquido y pegamos en la pieza marrón, la carita del venado.
🦌 Paso 5:
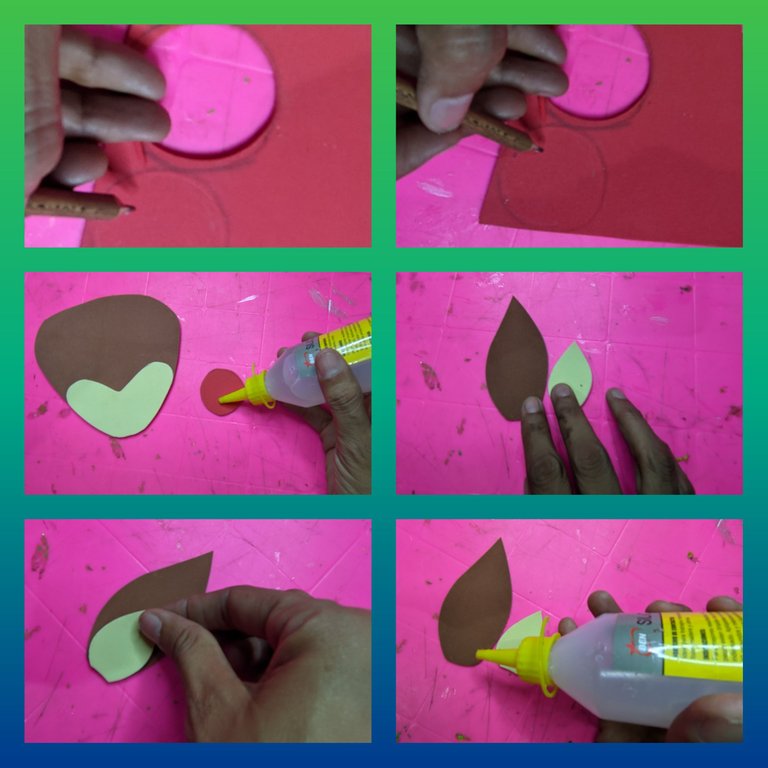
Tome un trozo de foami rojo escarchado y recortamos un círculo que será la nariz de nuestro venado, no es necesario que sea de un foami nuevo, yo lo saqué de unos recorté que me sobraron de otro trabajo.
Luego le apliqué silicón líquido y pegamos en la cara, también pagamos con el silicón líquido las piezas crema de las orejas.
🦌Paso 6:
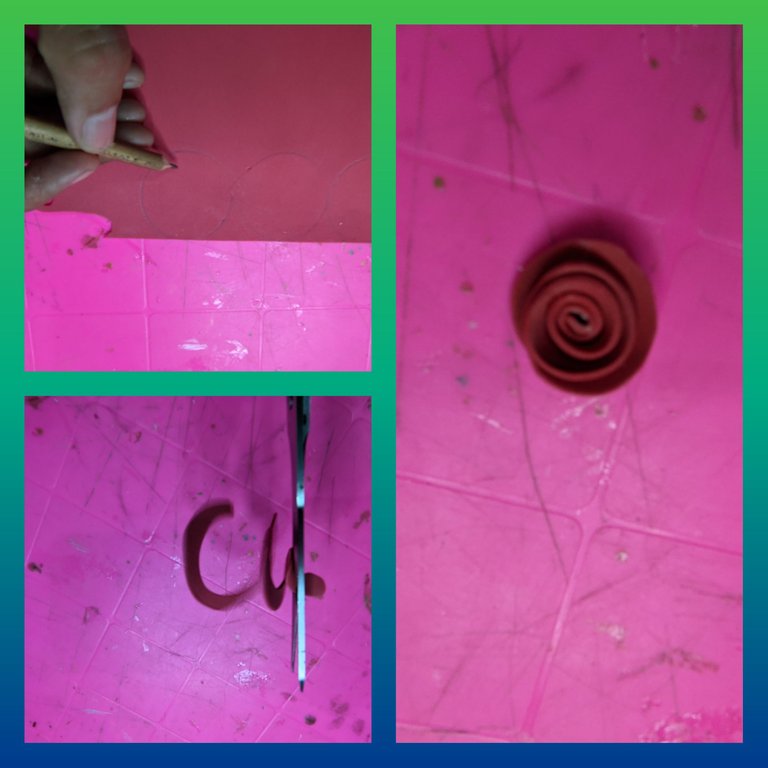
Posteriormente recorte otro círculo de foami rojo, luego lo fui recortando, se puede apreciar en la fotografía, luego por el borde le puse silicón líquido y enrolla hasta formar una linda flor, yo hice tres.
🦌Paso 7:
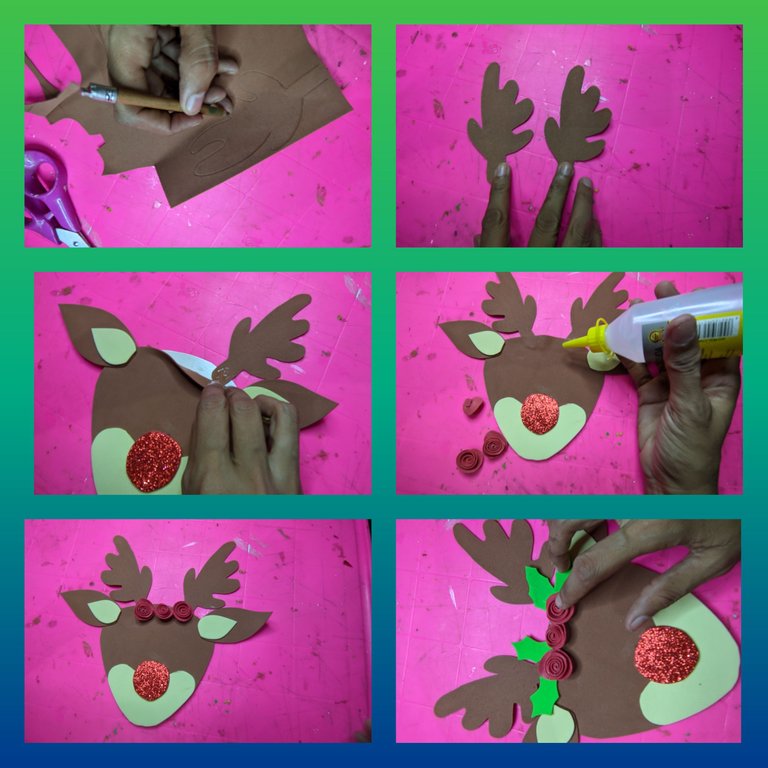
En el Foami marrón dibuje y recorte las astas del venado, y le aplicó silicón líquido y pegamos de la cara, en el foami verde manzana dibujé y recorté unas hojas de navidad y con el silicón líquido pegamos las flores y las hojitas.
🦌 Paso 8:
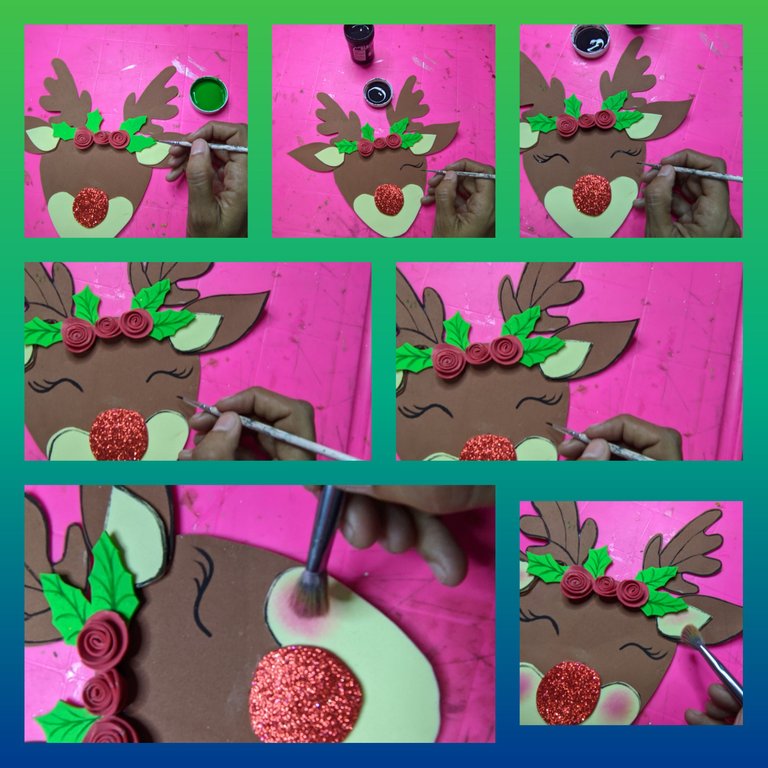
Luego con el pincel fino y la pintura verde oscuro delineamos las hojas, después con la pintura negra, dibujé los ojos, cuando está listo, aplicamos el rubor en las mejillas y en las orejas y ya está listo el venado.
🦌 Paso 9:
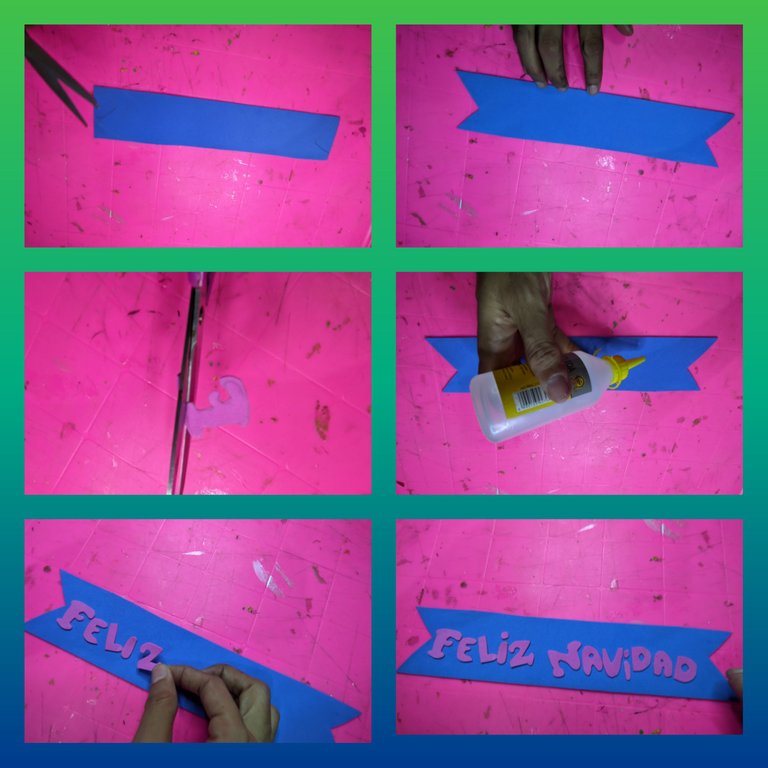
Ahora en el Foami azul recorte un rectángulo y le cortamos las esquinas, y en el Foami rosado dibujé y recorté las letras (feliz navidad) y pegamos con el silicón líquido.
🦌Paso 10:
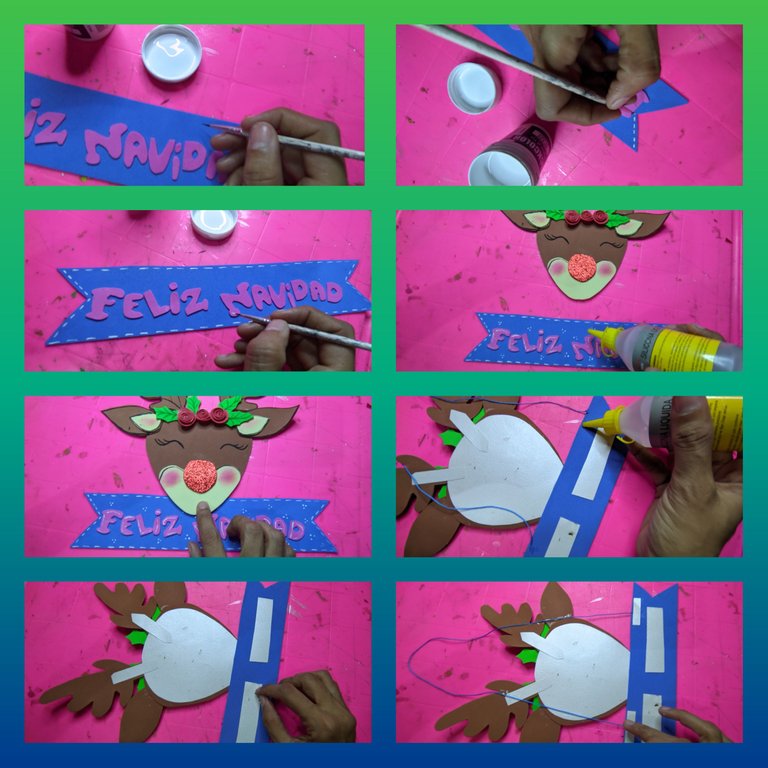
Luego con la pintura blanca dibujamos unas líneas, después tomé medio metro de hilo nylon y lo pegamos con el silicón líquido, luego para afianzar recorte dos cuadritos de cartulina y pegamos encima de el hilo. Y listo hemos terminado.
🦌Fotos finales 🦌
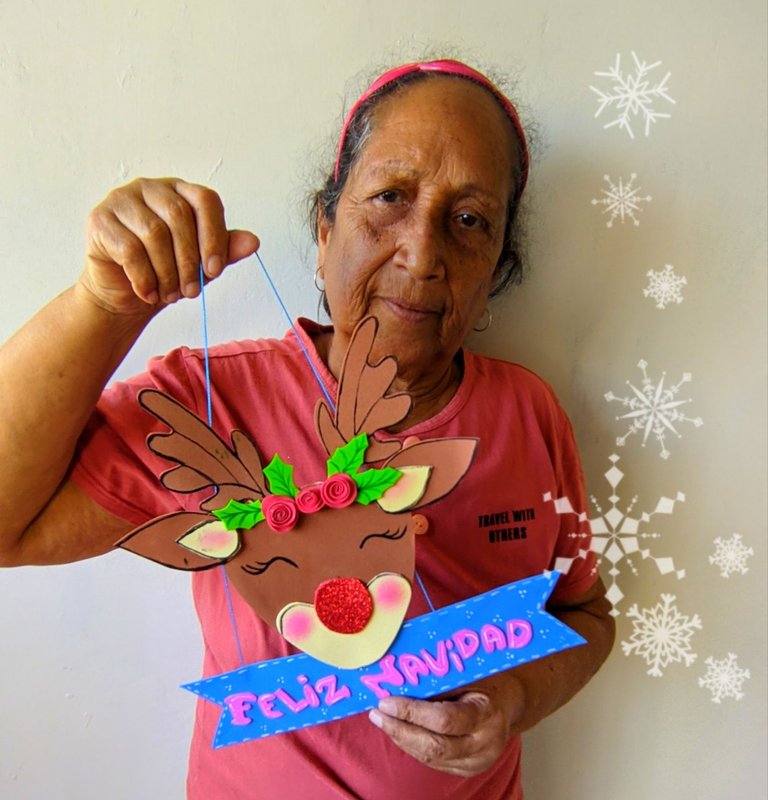
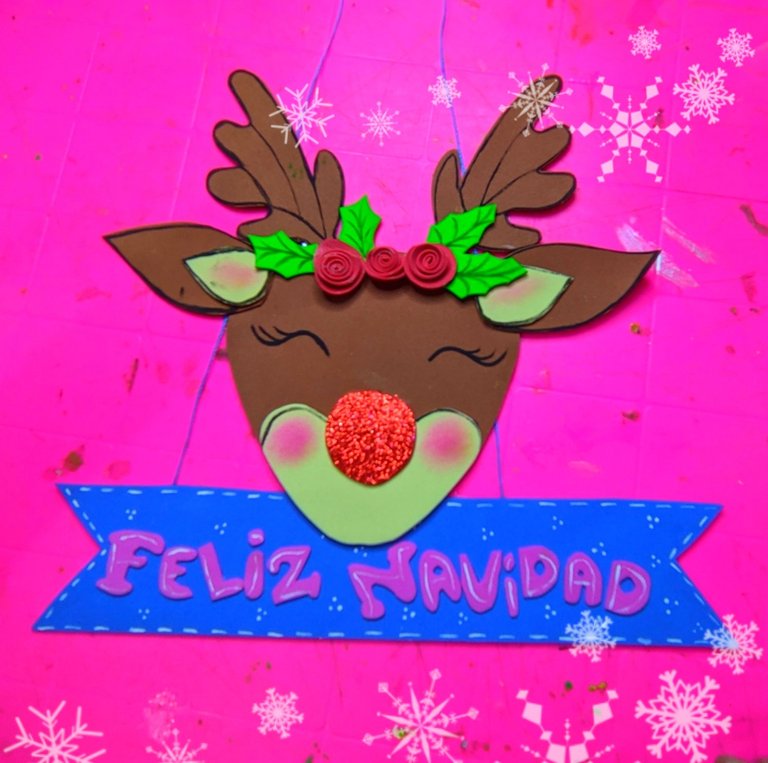
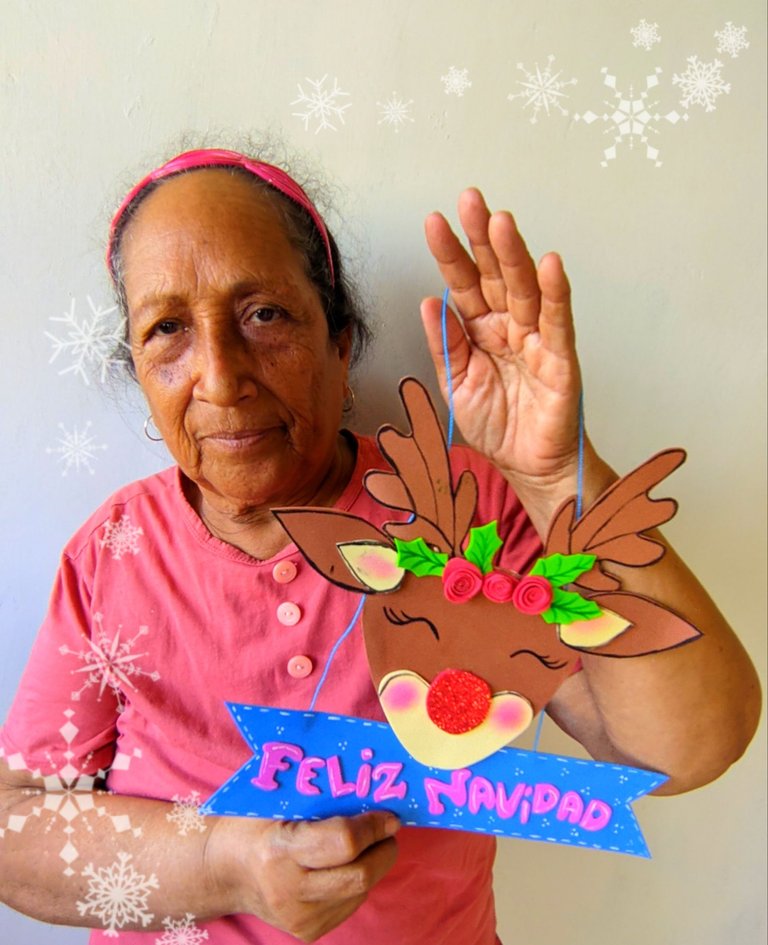
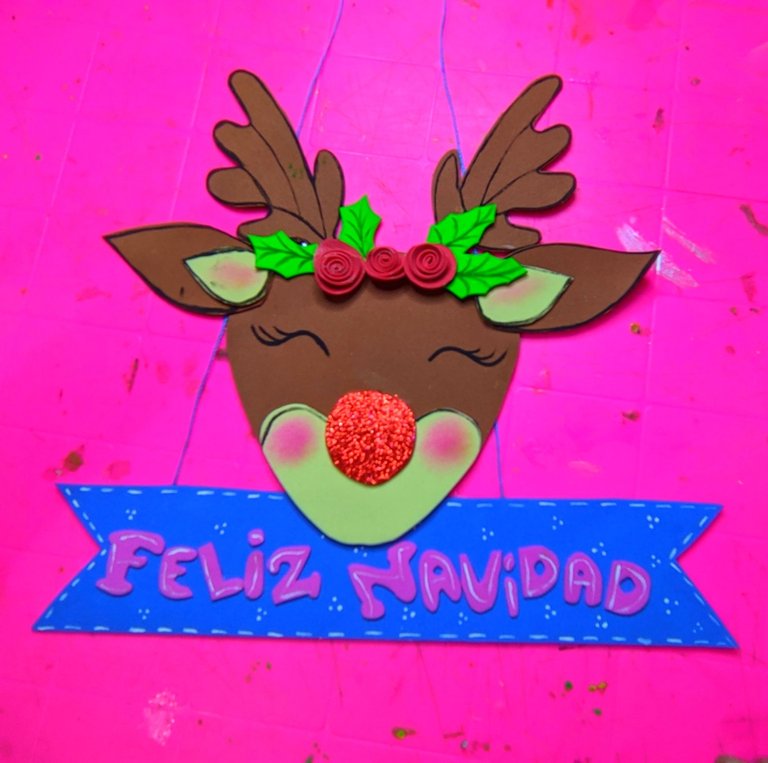

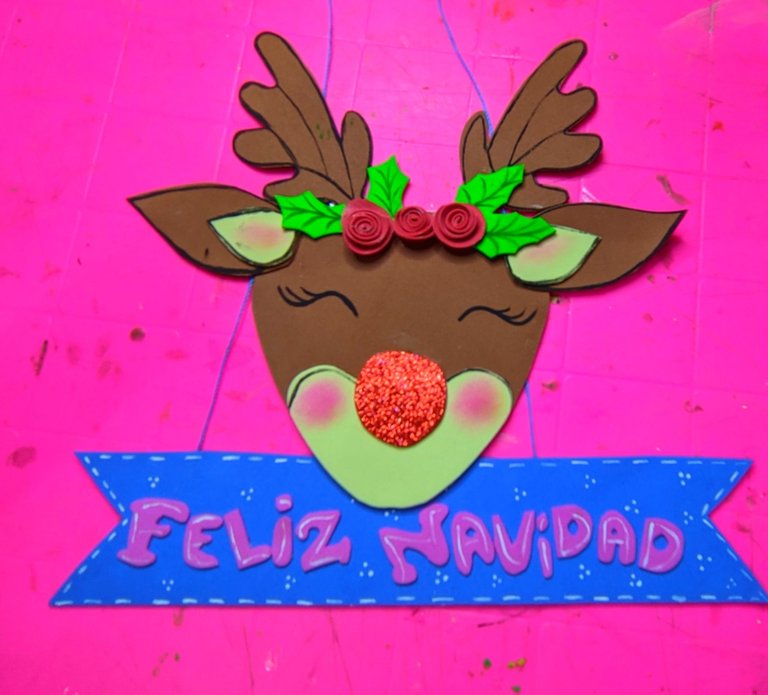
Bueno mis amores cómo pueden ver este trabajo es fácil y rápido de elaborar, la invitación es para que se pongan en acción y devoren su hogar, para este post utilice el programa polish y el traductor Deepl.
 🦌❄️🦌❄️🦌❄️🦌❄️🦌❄️🦌❄️🦌
ENGLISH

Hello hijitos we are still in the Christmas mood, the best time of the year and of course as my beautiful flower Lupita says, I am more than active making details to decorate this Christmas, I want that in my house no corner is left undecorated, so today I come to bring you a tutorial of a beautiful reindeer pendant that I made.
The good thing about this pendant is that it can be placed on the door of the rooms, in the kitchen, in the living room, in short we can decorate any space in the house we want, because it is very nice and combines with anywhere in the house, but say no more my loves, let's get down to work, but remember the main ingredient that should be used is love, we must do every detail with love, do not do it to meet, I put love, lots of love, to every job I do, remember that when things are done they must be done well, if not, they are not done, here I leave the list of materials, the step by step and the final result.
🦌 Materials 🦌

🦌 Brown foami.
🦌 Cream foami.
🦌 Red foami.
🦌 Apple green foami.
🦌 Blue foami.
🦌 Pink foami.
🦌 Liquid silicone.
🦌 Nylon thread
🦌 Cardboard or cardboard box.
🦌 Cold paints: white, dark green and black.
🦌 Blush or chalk.
🦌 Scissors.
🦌 Fine brush.
🦌 Pencil
🦌Step by step 🦌
🦌Step 1:

We took the brown foami and marked with the pencil the shape of the reindeer's face and then cut it out, I also drew a pair of little ears and on the cream foami I drew and then cut out, some kind of little ears a bit smaller.
🦌 Step 2:

Take the cardboard and draw the shape of the deer's face and then cut it out.
🦌 Step 3:

Now take some liquid silicone and glue the foami piece to the cardboard piece, squeeze it a little bit to make it stick well.
🦌 Step 4:

On the cream-coloured foami, draw and then cut out a piece like a (v) that will be used for the deer's trunk.
When it is ready, apply liquid silicone and glue the deer's face on the brown piece.
🦌 Step 5:

Take a piece of frosted red foami and cut out a circle that will be the nose of our deer, it doesn't need to be from a new foami, I took it out of some leftover cut-outs from another job.
Then I applied liquid silicone and we glued it on the face, we also put liquid silicone on the cream pieces of the ears.
🦌Step 6:

I then cut out another circle of red foami, then I cut it out, you can see it in the picture, then I put liquid silicone around the edge and rolled it up to form a pretty flower, I made three.
🦌Step 7:

On the brown foami I drew and cut out the deer antlers, applied liquid silicone and glued on the face, on the apple green foami I drew and cut out some Christmas leaves and with the liquid silicone we glued the flowers and leaves.
🦌 Step 8:

Then with the fine brush and the dark green paint we outline the leaves, then with the black paint, I drew the eyes, when it is ready, we apply the blush on the cheeks and the ears and the deer is ready.
🦌 Step 9:

Now on the blue Foami I cut out a rectangle and cut off the corners, and on the pink Foami I drew and cut out the letters (Merry Christmas) and glued them with the liquid silicone.
🦌Step 10:

Then with the white paint we drew some lines, then I took half a metre of nylon thread and glued it with the liquid silicone, then to secure it I cut out two squares of cardboard and glued them on top of the thread. And that's it, we're done.
🦌Final photos 🦌


Well my loves how you can see this work is easy and quick to elaborate, the invitation is for you to get into action and devour your home, for this post I used the polish program and the translator Deepl.


