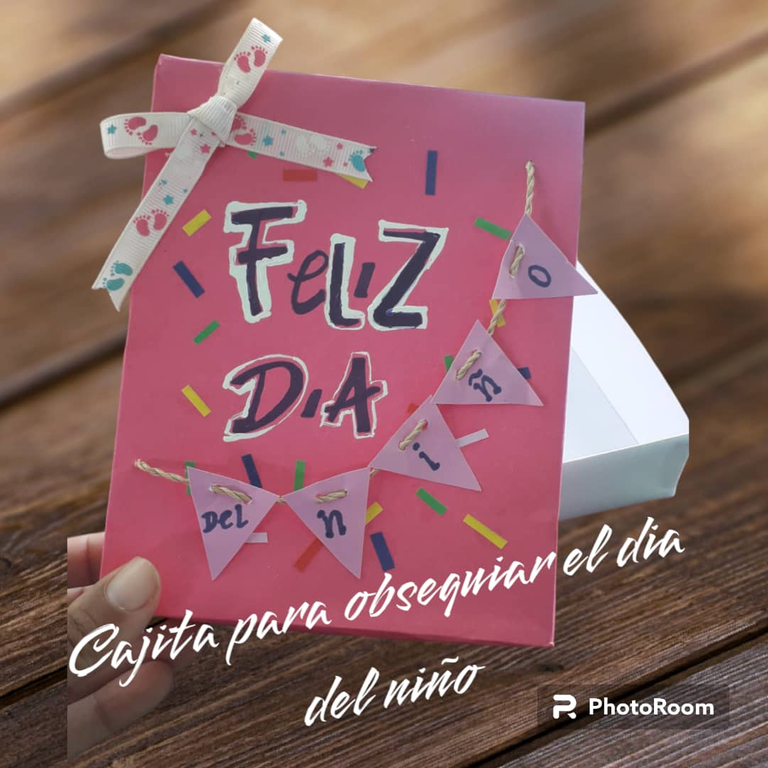
Hola mis amigos de #hivediy espero estén genial, hoy quiero compartirles una hermosa cajita hecha de cartulina muy fácil de elaborar y con detalles para el día del niño ya que se acerca esa linda celebración para nuestros hijos, llena de juegos, diversión, salidas y regalos.
Es por esto que les comparto esta hermosa cajita que elabore a escondidas de mi niña para guardarle el presente que pienso obsequiarle para esa fecha. Esta cajita es muy práctica allí pueden guardar dulces, ropitas, accesorios, libretitas, marcadores, entre otros. Y después de dar ese detalle les puede quedar para organizar lacitos, colas, ganchitos.
Bueno mis amigos para la elaboración de esta linda cajita necesitaremos los siguientes materiales:
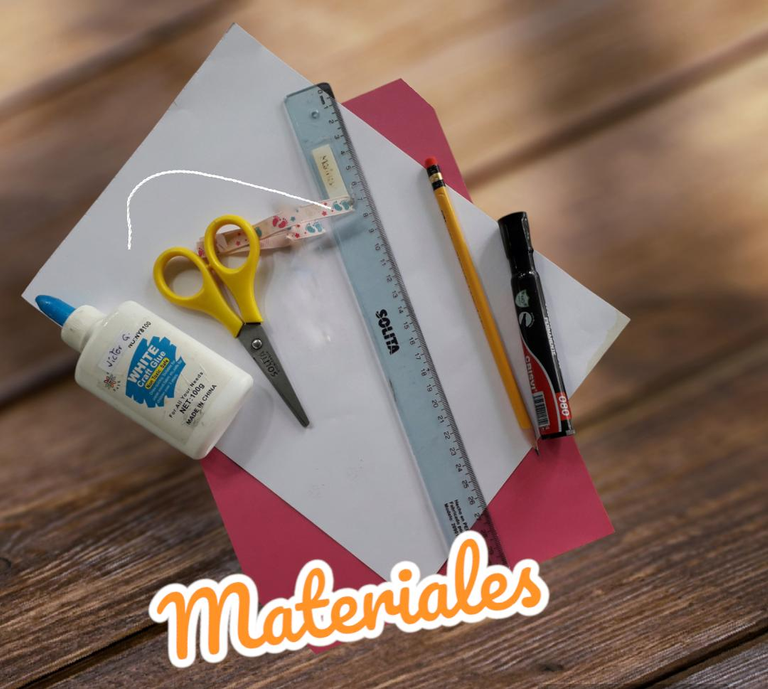
Materiales:
- Dos cartulinas tamaño carta del color de tu preferencia.
- 10 cm de cinta (la que usted desee)
- 20 cm de un cordón de moriche o hilo pabilo
- Marcadores (color que desee para las letras)
- Lápiz
- Regla
- Pega
A continuación les muestro el paso a paso de esta linda creación ya verán lo sencillo que es:
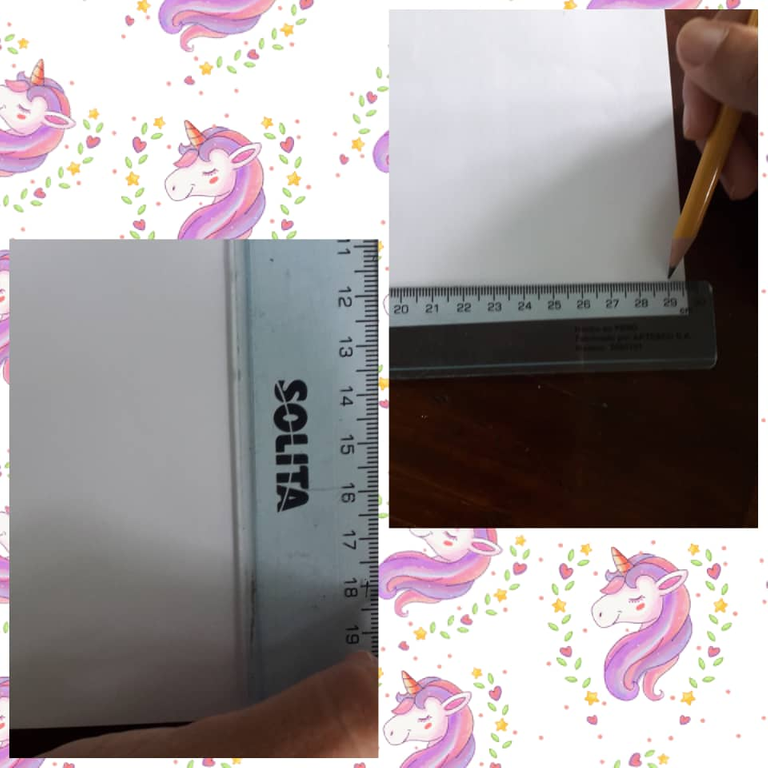
Paso 1:
Tomamos las cartulinas blanca y rosada, con la regla medimos 29cm por 18cm y cortamos.
Paso 2:
Tomamos la cartulina ya con las medidas establecidas y con el lápiz y la regla hacemos trazos verticales de 7cm y horizontales de 3cm, quedando de esta forma.
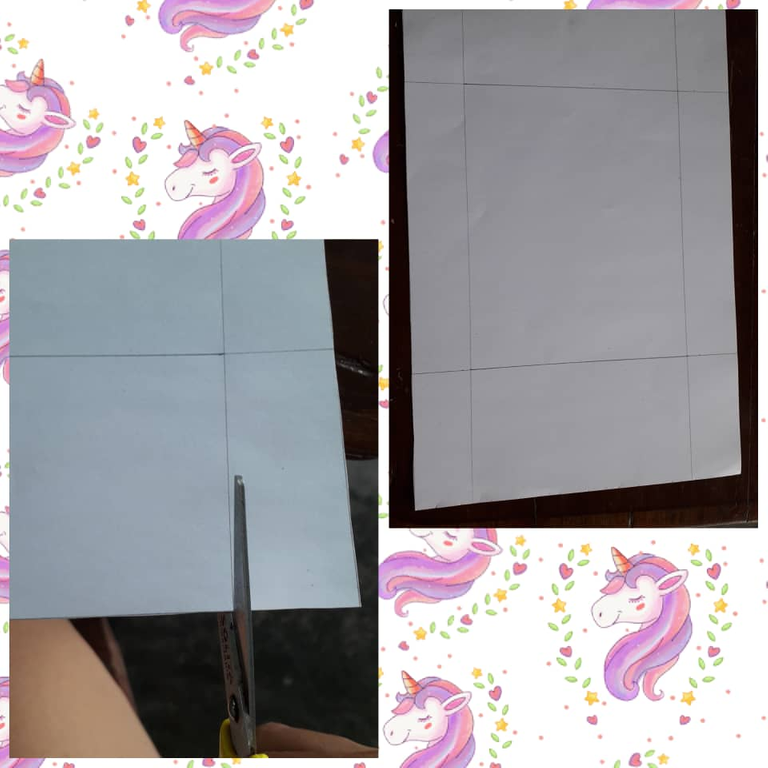
Paso 3:
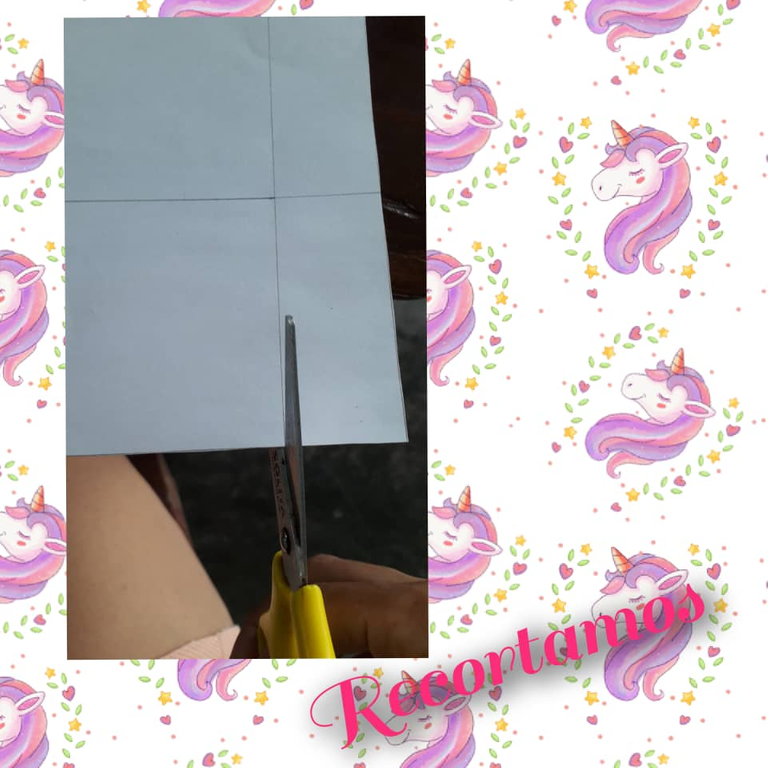
Tomamos la tijera y cortamos los trazos verticales (7cm).
Paso 4:
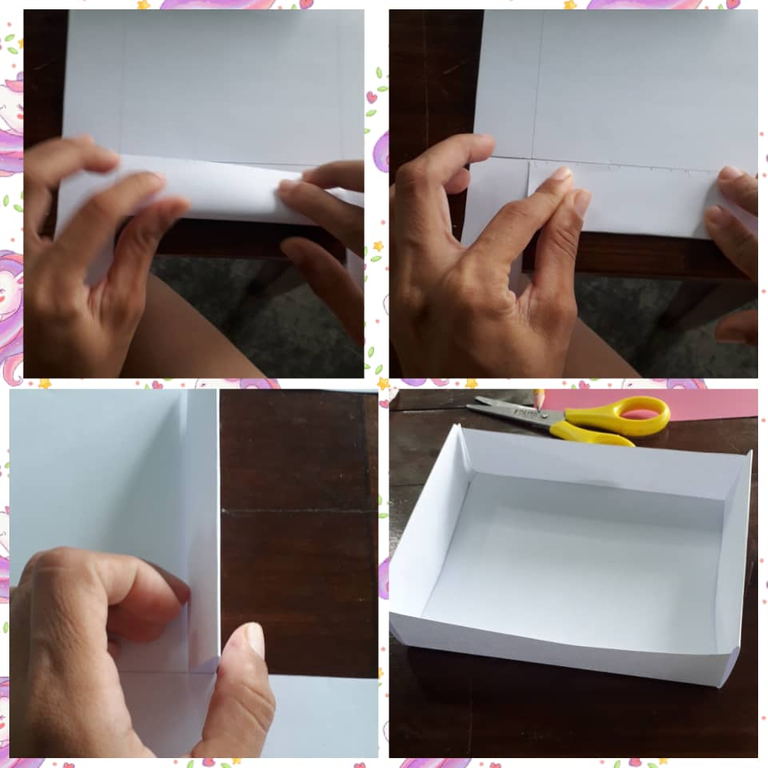
Hacemos doblés en cada lado de la cartulina (de afuera hacia adentro); para darle forma a nuestra cajita.
Paso 5:
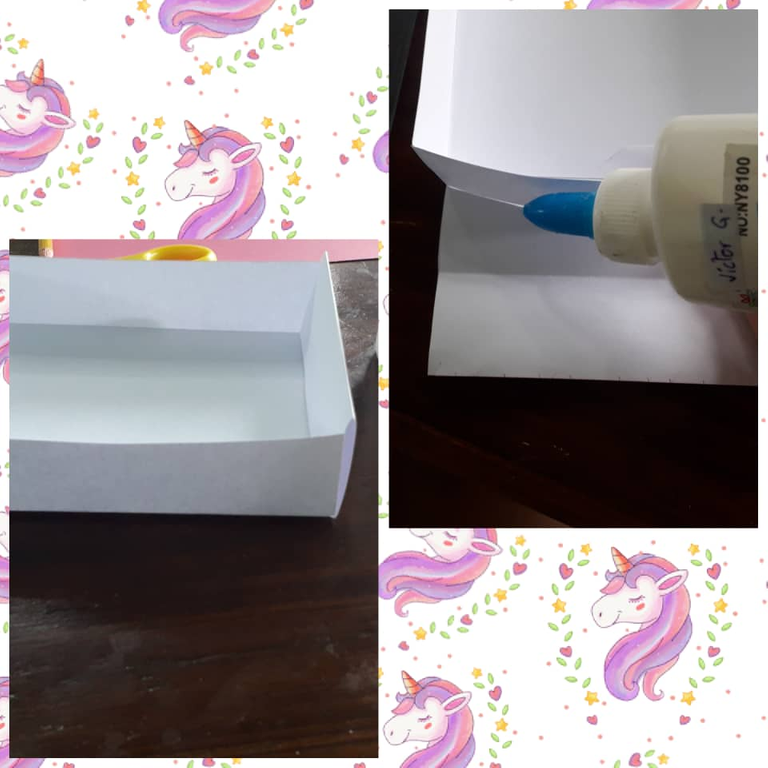
Luego tomamos la pega y sellamos para que la cajita quede firme.
Paso 6:
Tomamos la cartulina rosada para hacer la tapa de nuestra cajita ya sabemos que la medida de nuestra cartulina seria 29cm por 18cm.
Paso 7:
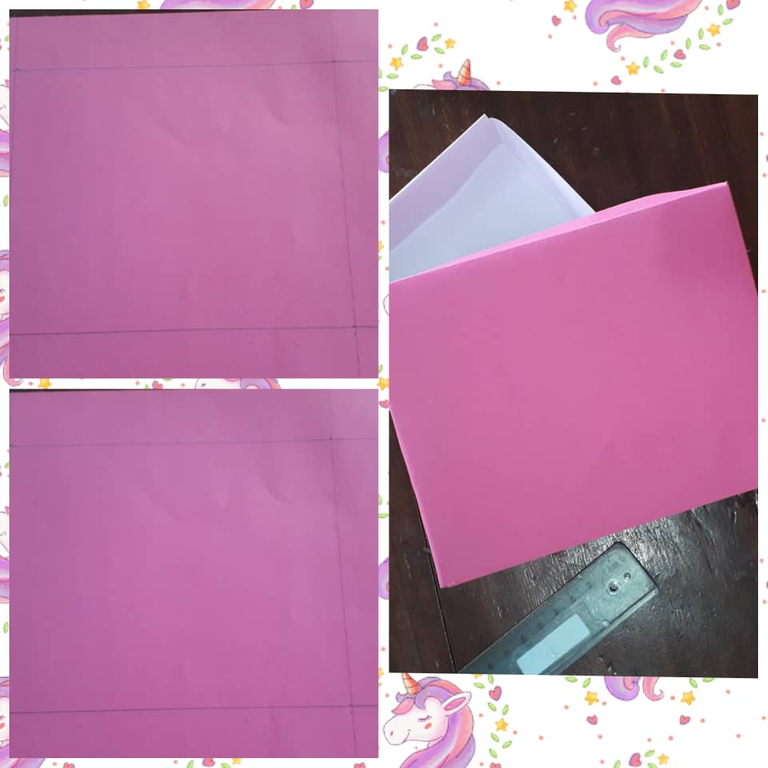
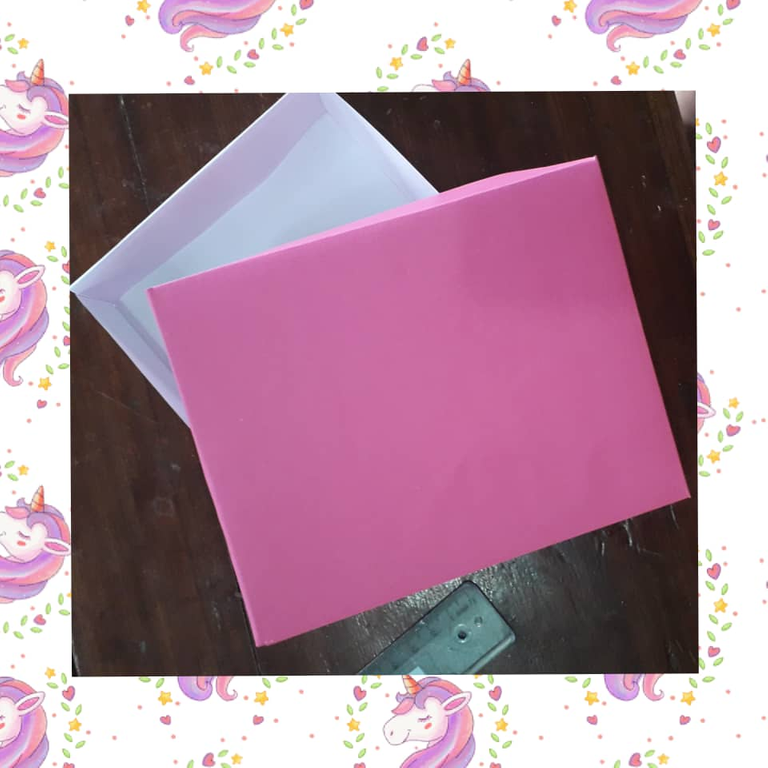
Del mismo modo que hicimos con la cartulina blanca trabajaremos con esta, pero nuestras medidas van a cambiar, ya que la tapa debe quedar un poquito más grande que la cajita. Para esto con el lápiz y la regla hacemos trazos verticales de 6,8 cm y horizontales de 2,8 cm; quedando de esta forma.
Paso 8:
Al igual que hicimos con la cajita doblamos de la misma forma y sellamos con la pega para darle más firmeza a nuestra tapa y que no se deshaga.
Paso 9:
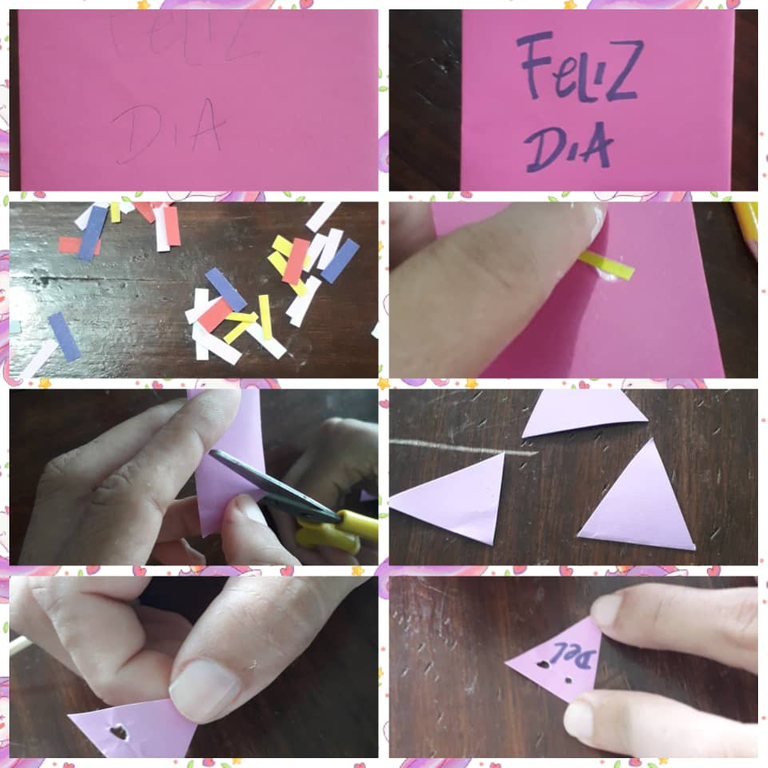
Ya luego de culminada nuestra cajita procedemos a decorar como usted lo desee de acuerdo a la ocasión, bien sea día de las madres, día del padre un cumpleaños, graduación etc. Yo por mi parte la decorare motivado al día del niño. Con un marcador hago las letras de feliz día usted puede imprimirlas o no colocárselas y recorte unos banderines y con un cordón los coloque en la caja esos detalles usted los coloca de acuerdo a su creatividad.
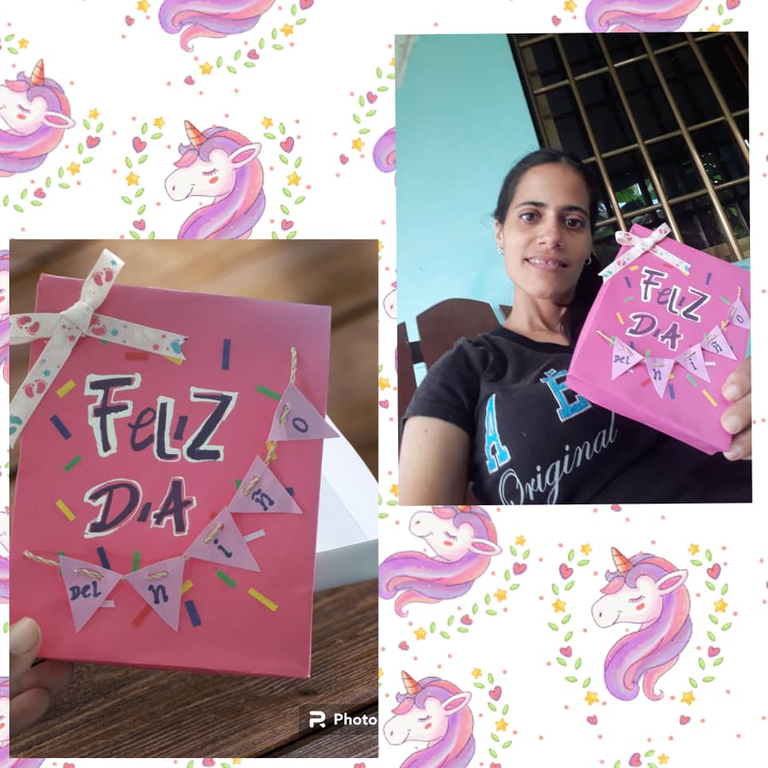
Bueno amigos así queda esta hermosa cajita ven que sencillo se hace y es muy práctica nos sirve para cualquier tipo de ocasión según sea el caso solo nos quedaría decorarlas de acuerdo a ese momento especial, también pueden elaborarse más grandes con las medidas de su preferencia.
Los invito a crear estas cajitas que no sólo pueden hacer para obsequiarles a un ser querido sino también para vender y así ganarás un dinerito extra.
Gracias por ver este post espero les sirva de mucho cuídense Dios los bendiga hasta la próxima.
Las fotos son de mi propiedad tomada con mi teléfono SAMSUNG J6, modificando las fotos con el programa photo room y Foto Collage Grid Art y traducido con el programa Deelp traductor versión gratis.
ENGLISH

Hello my friends of #hivediy I hope you are great, today I want to share with you a beautiful little box made of cardboard very easy to make and with details for children's day as it is approaching that nice celebration for our children, full of games, fun, outings and gifts.
That is why I share with you this beautiful little box that I secretly made for my little girl to keep the present that I plan to give her for that date. This little box is very practical where you can keep candy, clothes, accessories, notebooks, markers, among others. And after giving that detail, you can keep it to organize bows, tails, and hooks.
Well my friends for the elaboration of this pretty little box we will need the following materials:

Materials: !
- Two letter size cardstock in the color of your choice.
- 10 cm of ribbon (the one you want).
- 20 cm of moriche cord or wicker thread.
- Markers (color of your choice for the letters)
- Pencil
- Ruler
- Glue
Here is the step by step of this beautiful creation, you will see how simple it is:
Step 1:.
We take the white and pink cardboard, with the ruler we measure 29cm by 18cm and cut.

Step 2:.
We take the cardboard with the established measures and with the pencil and the ruler we make vertical strokes of 7cm and horizontal strokes of 3cm, looking like this.

Step 3:.
We take the scissors and cut the vertical strokes (7cm).

Step 4:
We make folds on each side of the cardboard (from the outside to the inside); to give shape to our little box.

Step 5:.
Then we take the glue and seal to make the box firm.

** Step 6:**
We take the pink cardboard to make the lid of our box and we know that the measure of our cardboard would be 29cm by 18cm.

Step 7:.
In the same way that we did with the white cardboard we will work with this one, but our measurements will change, since the lid should be a little bit bigger than the box. For this with the pencil and the ruler we make vertical strokes of 6.8 cm and horizontal strokes of 2.8 cm; remaining in this way.

Step 8:.
As we did with the box, we fold in the same way and seal with the glue to give more firmness to our cover and not unravel.
Step 9:
Once our little box is finished, we proceed to decorate it as you wish according to the occasion, whether it is Mother's Day, Father's Day, birthday, graduation, etc. For my part, I will decorate it according to the children's day. With a marker I make the letters of happy day you can print them or not place them and cut out some pennants and with a string place them in the box those details you place them according to your creativity.

Well friends so this beautiful box is this beautiful see how simple it is made and is very practical it serves us for any occasion as the case would only be left to decorate them according to that special moment, can also be made larger with the measures of your preference.
I invite you to create these little boxes that can not only make a gift to a loved one but also to sell and thus earn extra money.

Thank you for watching this post I hope it helps you a lot take care God bless you until next time.

The photos are my own taken with my phone SAMSUNG J6, modifying the photos with the program photo room and Photo Collage Grid Art and translated with the program Deelp translator free version.


