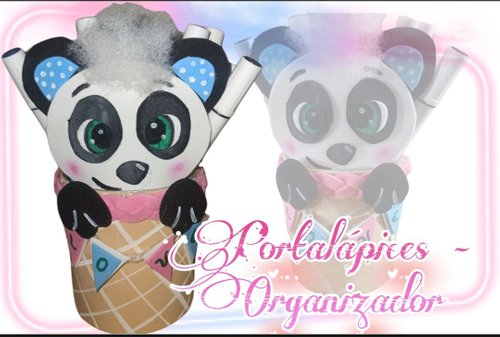
Hola gente bella y creativa. Después de haber sufrido con el video, ya que tuve que volver a editar porque lo borre sin querer queriendo y no lo había guardado en la galería, les vengo a mostrar el paso a paso de un portalápices u organizador que realice recientemente. Tengo muchos marcadores y colores por ordenar, así que hice el primer organizador.
Hello beautiful and creative people. After suffering from the video, since I had to edit it again because I accidentally deleted it and had not saved it in the gallery, I come to show you the step by step for a pencil holder or organizerstep-by-stepntly. I ordered many markers and colors, so I made the first organizer.
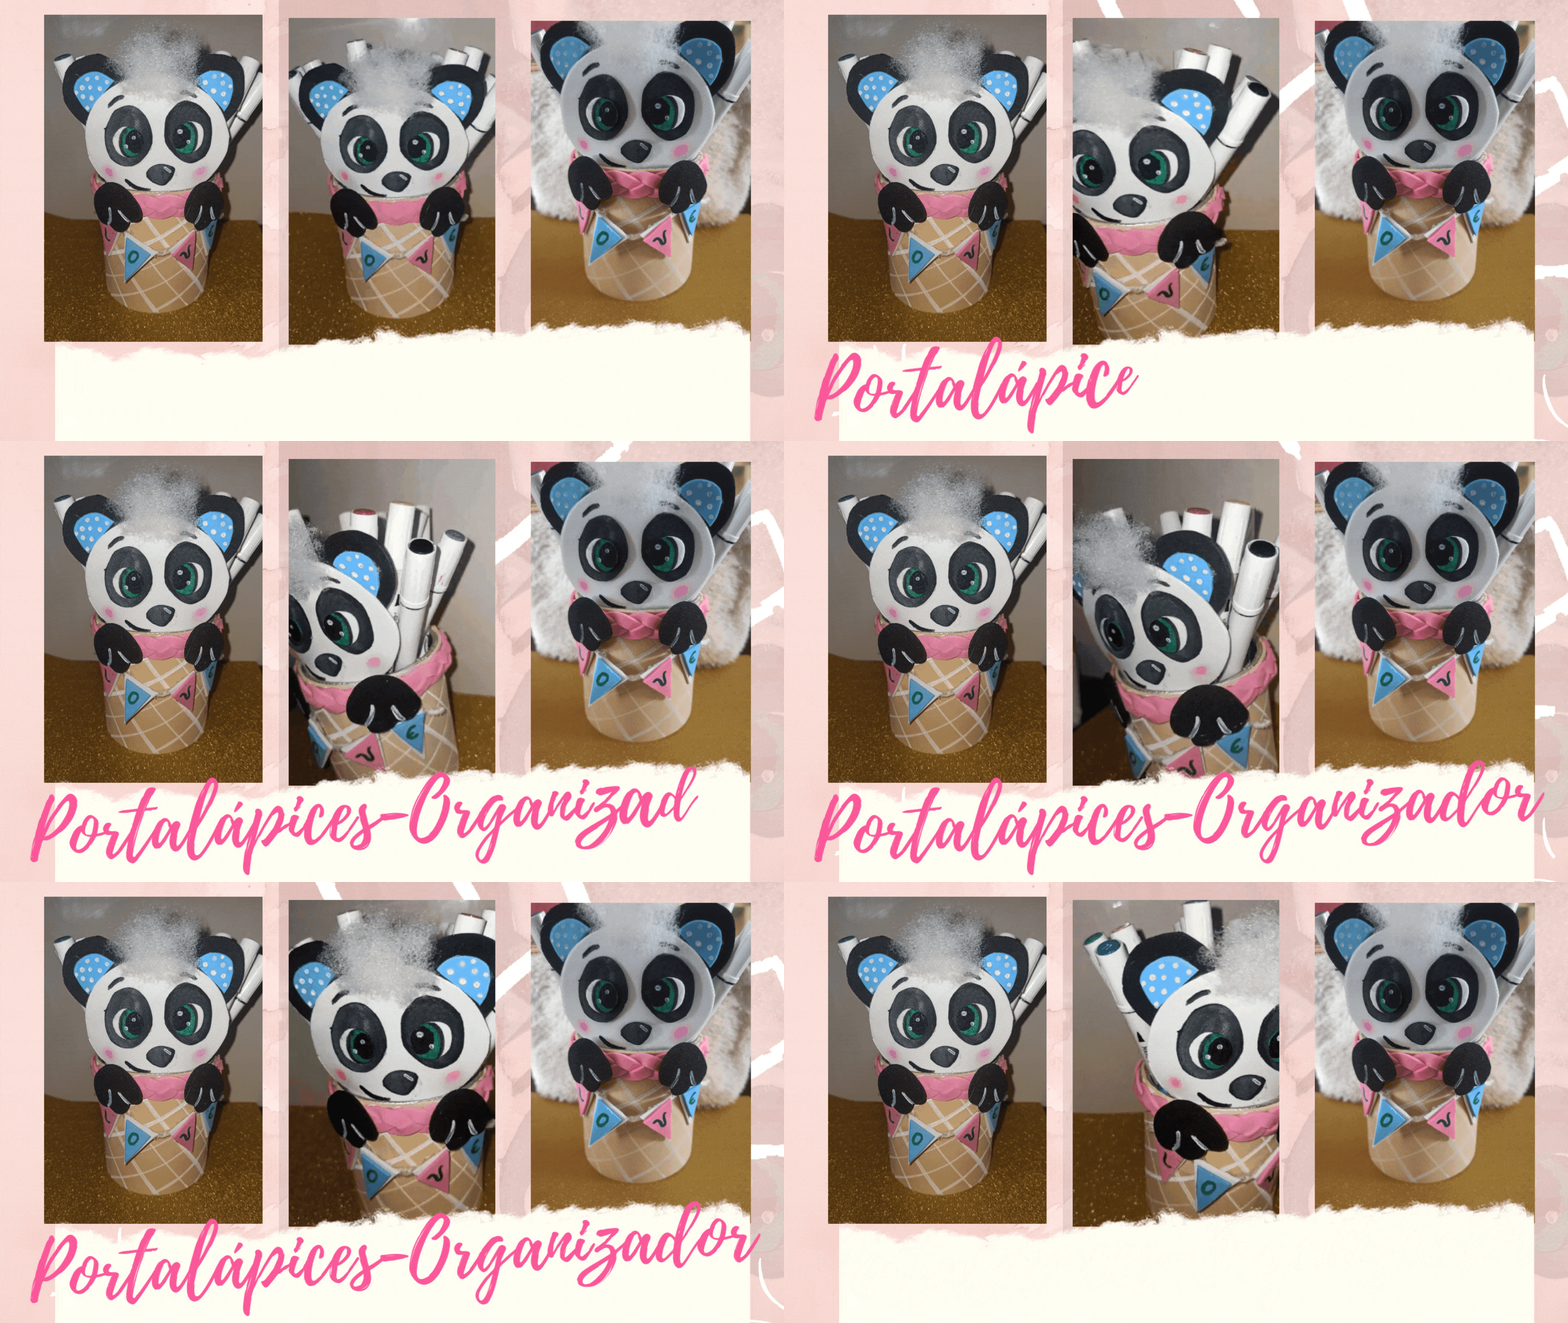


🐼 Lata de reciclaje
🐼 Fomi blanco
🐼 Fomi negro
🐼 Fomi carne
🐼 Pintura blanca y negra
🐼 Pintura o marcador verde
🐼 Silicona caliente
*🐼 Recycling can
🐼 White foamy
🐼 Black foamy
🐼 Fomi meat
🐼 Black and white paint
🐼 Green paint or marker.
🐼 Hot silicone

🐼 Paso 1 🐼
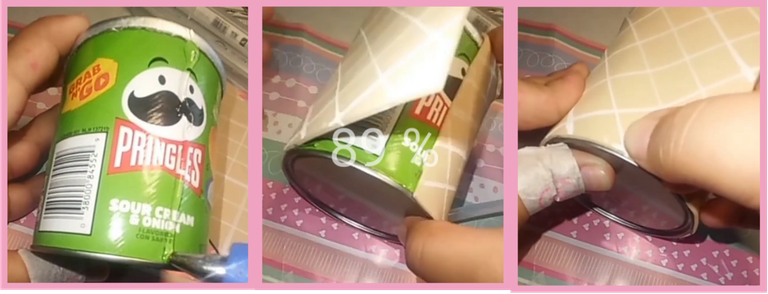
- Cortamos el foamy de un tamaño que cubra la lata. Vamos a hacer, con la ayuda de una regla para que quede recta, unas líneas inclinadas por todo el foamy, con pintura blanca. Yo he utilizado corrector. El foamy estará decorado con cuadrados.
🐼 Step 1 🐼
- We cut the foamy meat of a size that covers the can. We are going to make, with the help of a ruler to make it straight, some inclined lines all over the foamy, with white paint. I used concealer. The foamy will be decorated with squares.

🐼 Paso 2 🐼
- Forramos la lata con el foamy que decoramos. Para este paso de forrar la lata, se puede usar otro color de foamy, escarchados, decorados, el que sea de nuestro agrado.
🐼 Step 2 🐼
- We line the can with the foamy that we decorate. For this step of lining the can, you can use another color of foamy, frosted, decorated, whatever you like.
🐼 Paso 3 🐼
- Con una tira de foamy de aproximadamente 1,5 cm de ancho por 28 cm de largo, haremos una trenza. Cortamos la tira de foamy en tres partes y vamos a entrelazar para formar la trenza. Puedes utilizar los colores que quieras para la trenza, yo te doy los que he utilizado y puedes sustituirlos o modificarlos a tu gusto.
🐼 Step 3 🐼
- With a strip of foamy about 1.5 cm wide by 28 cm long, we will make a braid. Cut the foamy strip into three parts and we are going to intertwine to form the braid. You can use any color you want for the braid, I give you the ones I used and you can substitute or modify them to your liking.

🐼 Paso 4 🐼
- Pegar la trenza alrededor del borde de la lata.
🐼 Step 4 🐼
- Glue the braid all around the rim of the can.

🐼 Paso 5 🐼
- Calcamos los patrones en los faomys. La cabeza blanca, las orejas, los ojos, la nariz y las manos de color negro, los detalles de las orejas de color azul y con pintura blanca hacemos unos puntos para decorar.
🐼 Step 5 🐼
- We trace the patterns on the faomys. White head, ears, eyes, nose and hands black color, the details of the ears blue color and with white paint we make some dots to decorate.

- Pegamos y montamos el oso. La boca y las cejas con pintura negra. He de confesar, aunque se note, que no soy muy buena haciendo los ojos.
- We glue and assemble the bear. The mouth and eyebrows with black paint. I must confess, although you will notice, that I'm not very good at making eyes.

🐼 Paso 6 🐼
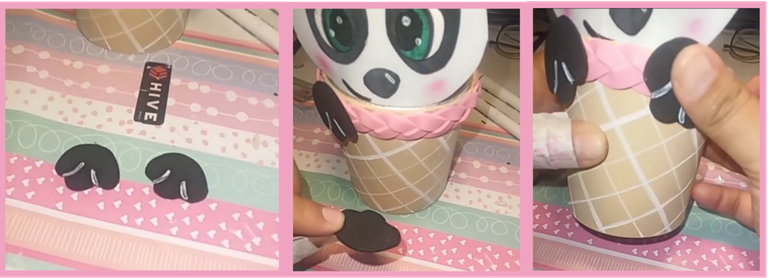
- Pegamos el osito a la lata y las manitos.
🐼 Step 6 🐼
- Glue the bear to the can and the little hands.
🐼 Paso 7 🐼
- Para terminar de decorar la lata, en foamy blanco hago 4 triángulos, y en foamy azul y rosa hago 4 triángulos más, estos un poco más pequeños que los blancos. Pego los azules y rosas sobre los blancos, con un rotulador escribo la palabra LOVE, cada letra en un triángulo, luego pego los triángulos en un hilo para hacer un banderín que cuelgue en las manos del osito.
🐼 Step 7 🐼
- To finish decorating the can, in white foamy make 4 triangles, and in blue and pink fomi make 4 more triangles, these a little smaller than the white ones. I glue the blue and pink ones on the white ones, with a marker I write the word love, each letter in a triangle, then I glue the triangles on a thread to make a pennant that hangs in the hands of the little bear.

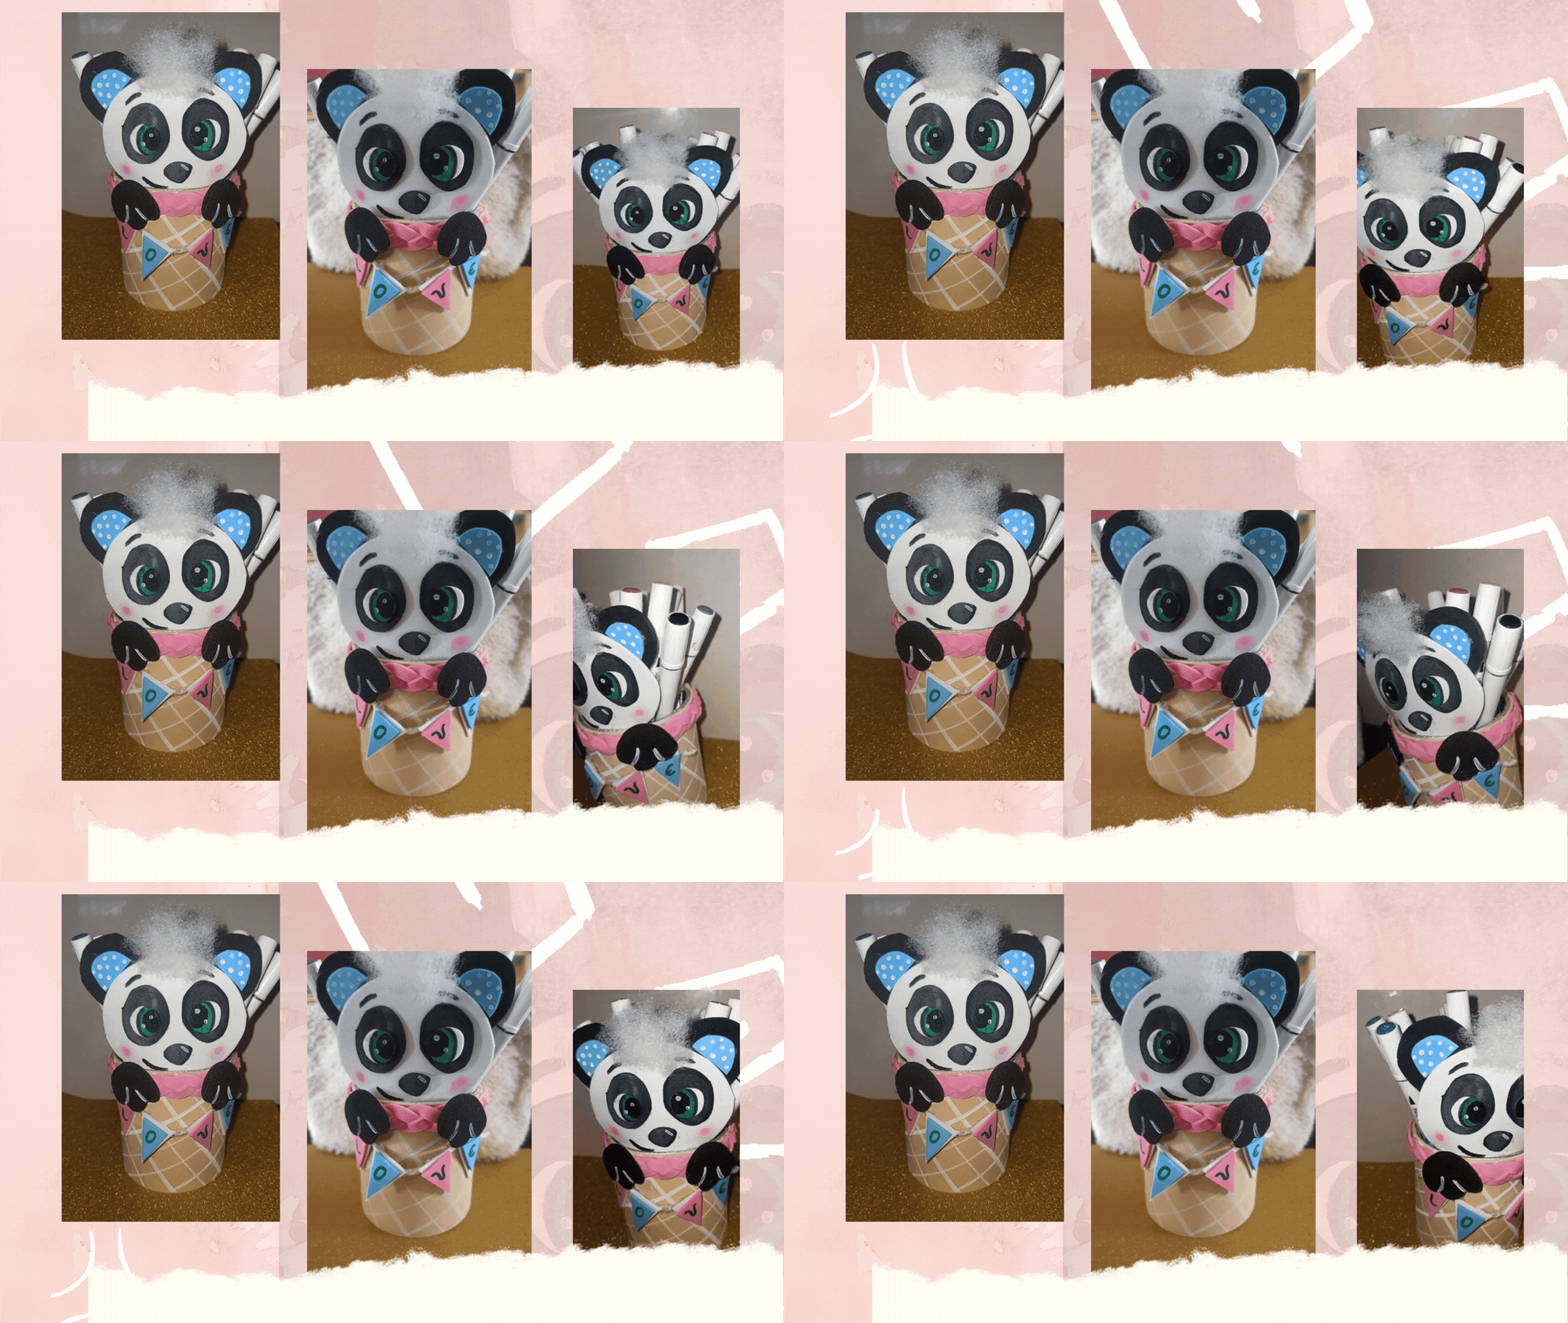
- Está terminado mi organizador, que se ve muy lindo en mi escritorio. Ya estaré realizando otros porque aún me faltan marcadores por ordenar, por supuesto que estaré compartiendo el proceso.
- My organizer is finished, it looks very nice on my desk. I will be making others because I still have some bookmarks to order, of course I will be sharing the process.
¿ Qué te pareció mi organizador? Estaré encantada de leer y responder a sus comentarios. Gracias totales a todos los que aprecian mi contenido, y que se toman el tiempo de leer y dejar un comentario, gracias, muchas gracias. Les deseo lo mejor.
What did you think of my organizer? I will be happy to read and respond to your comments. Total thanks to all of you who appreciate my content, and who take the time to read and leave a comment, thank you, thank you very much. I wish you all the best.
Ultimos tres trabajos :
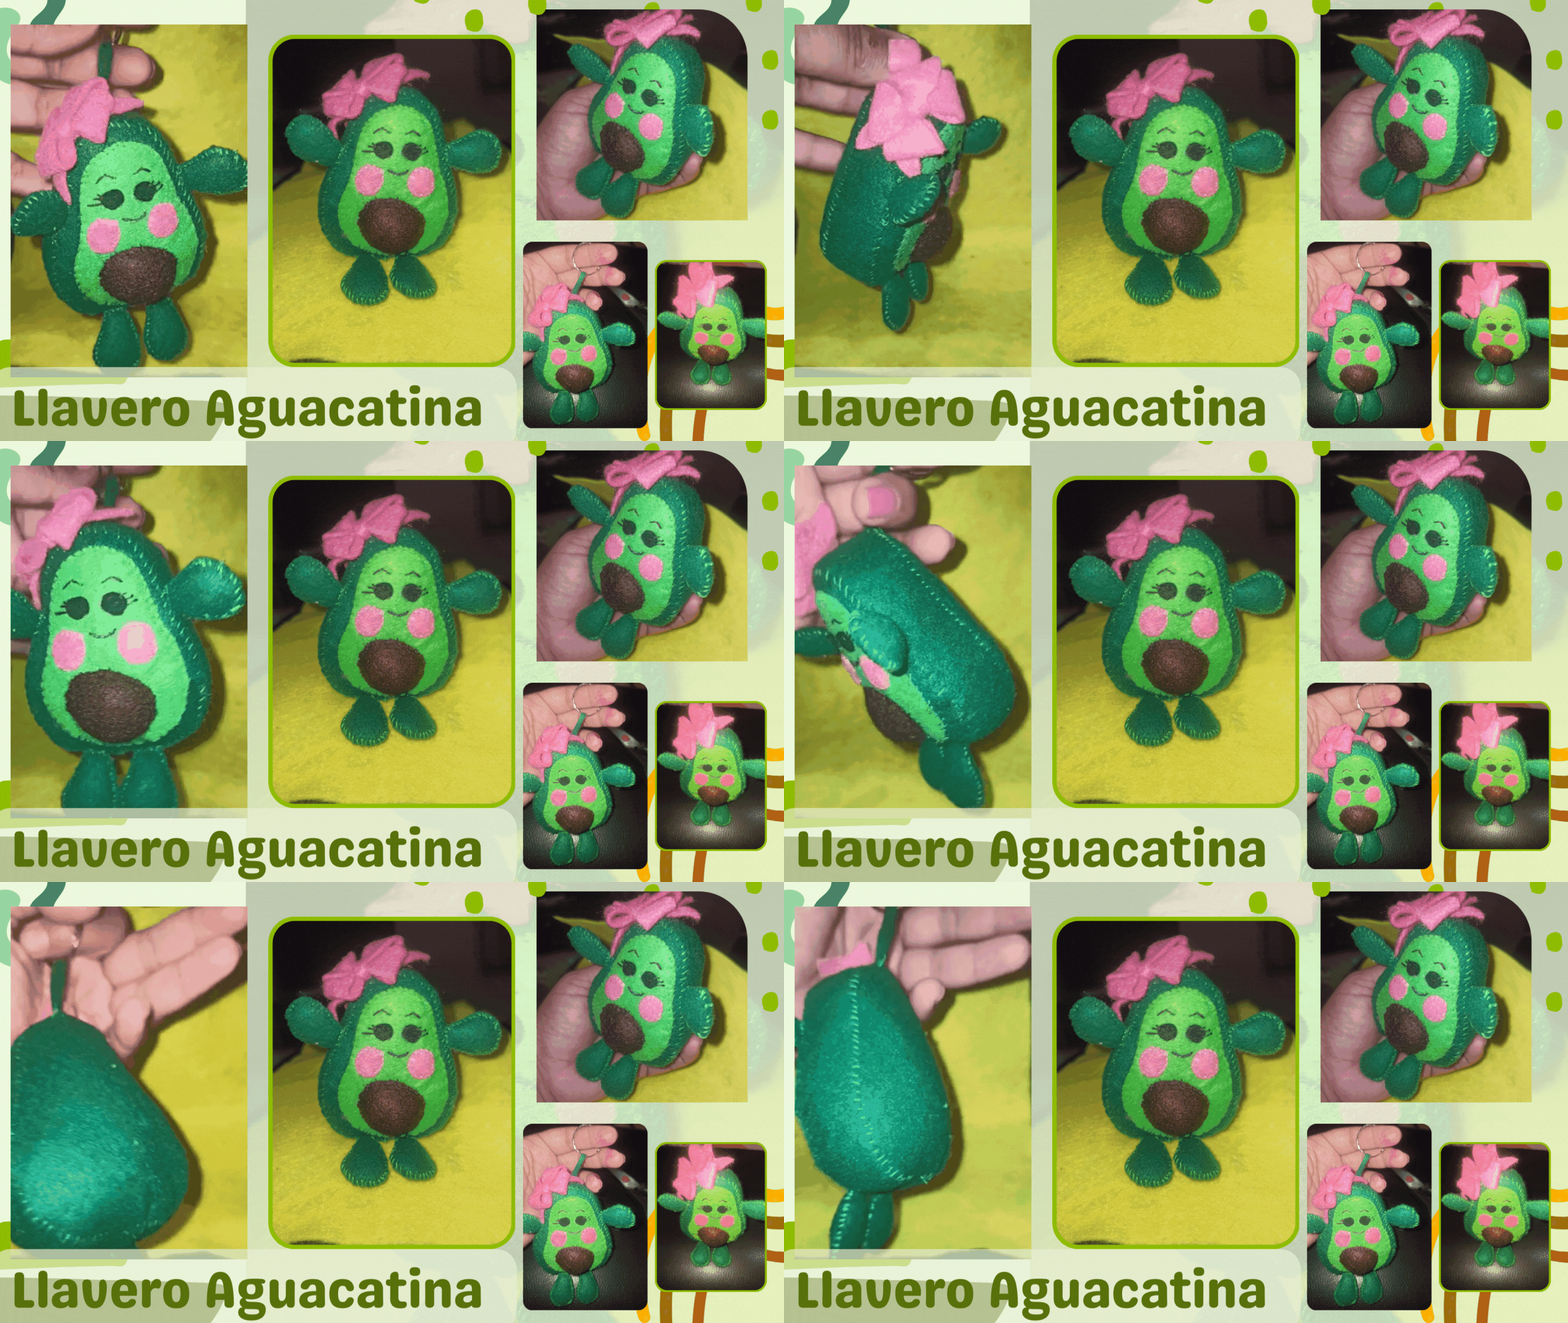
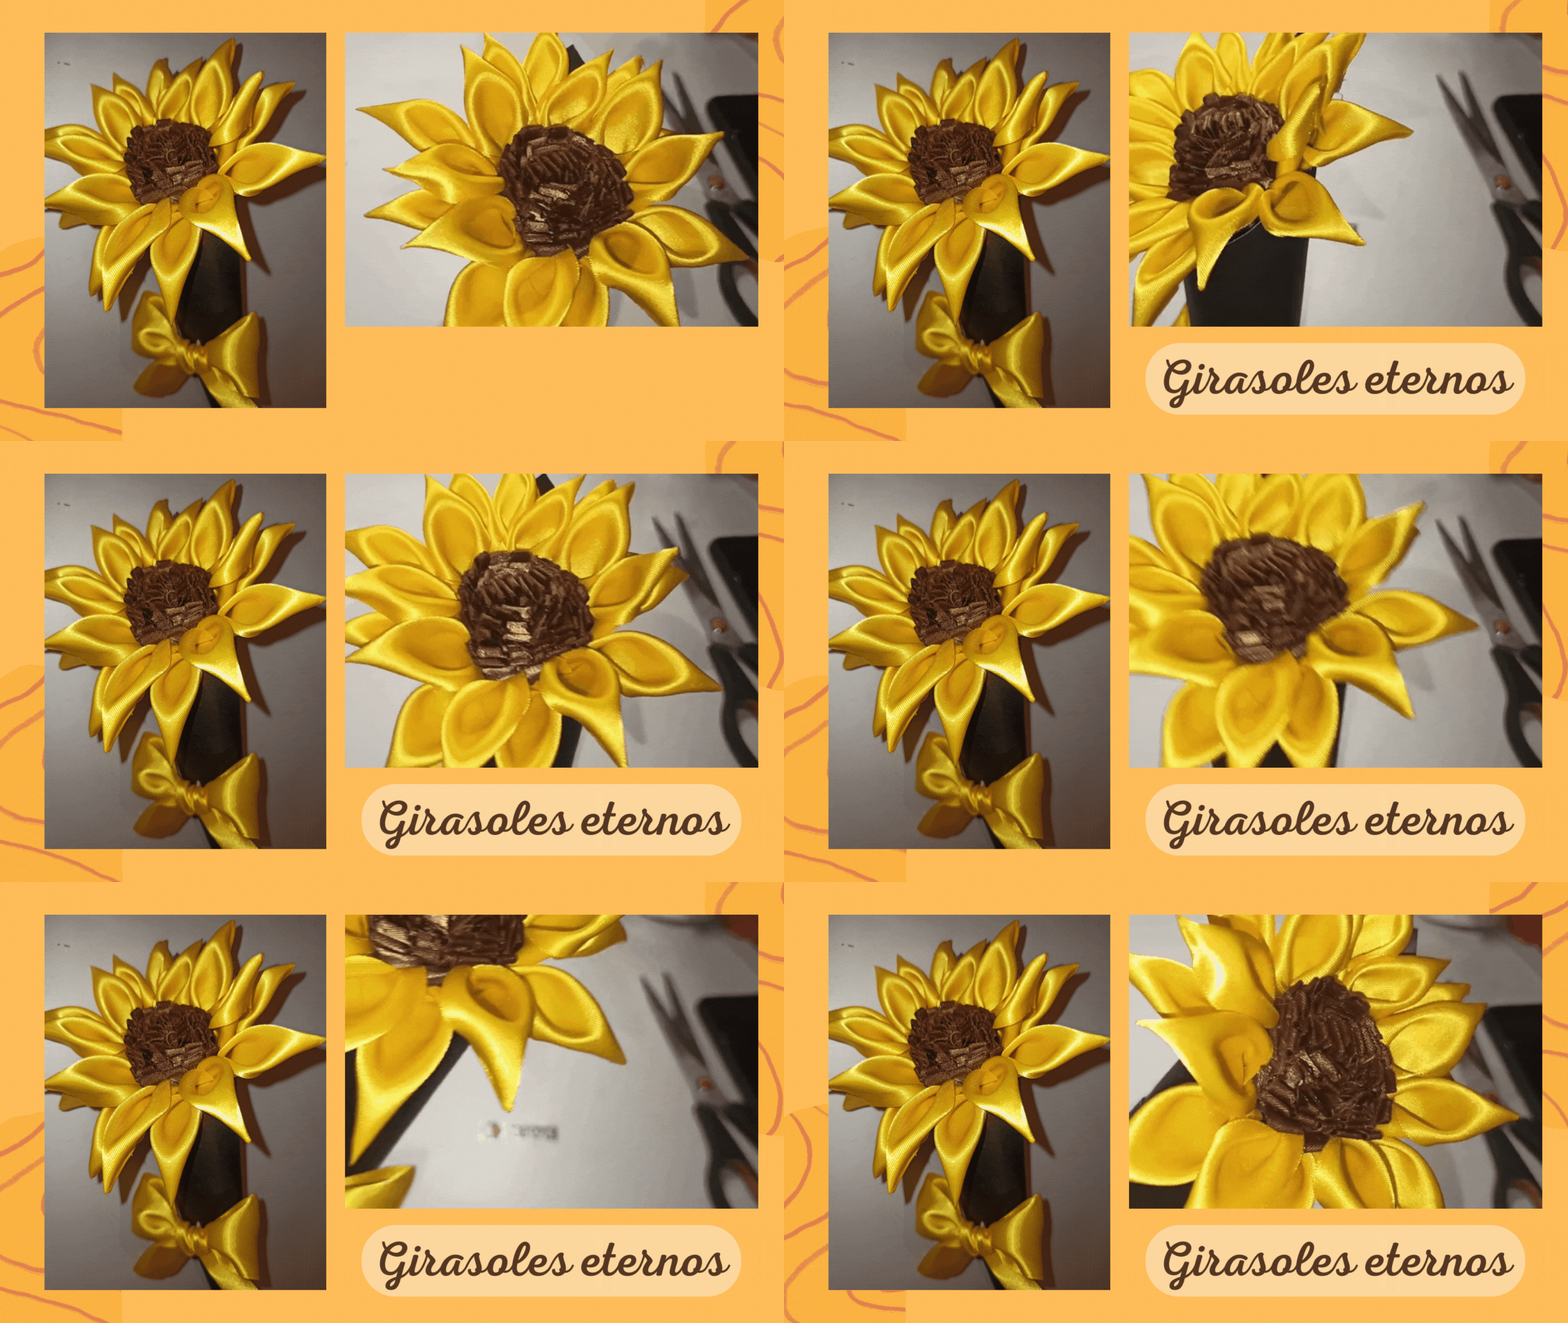
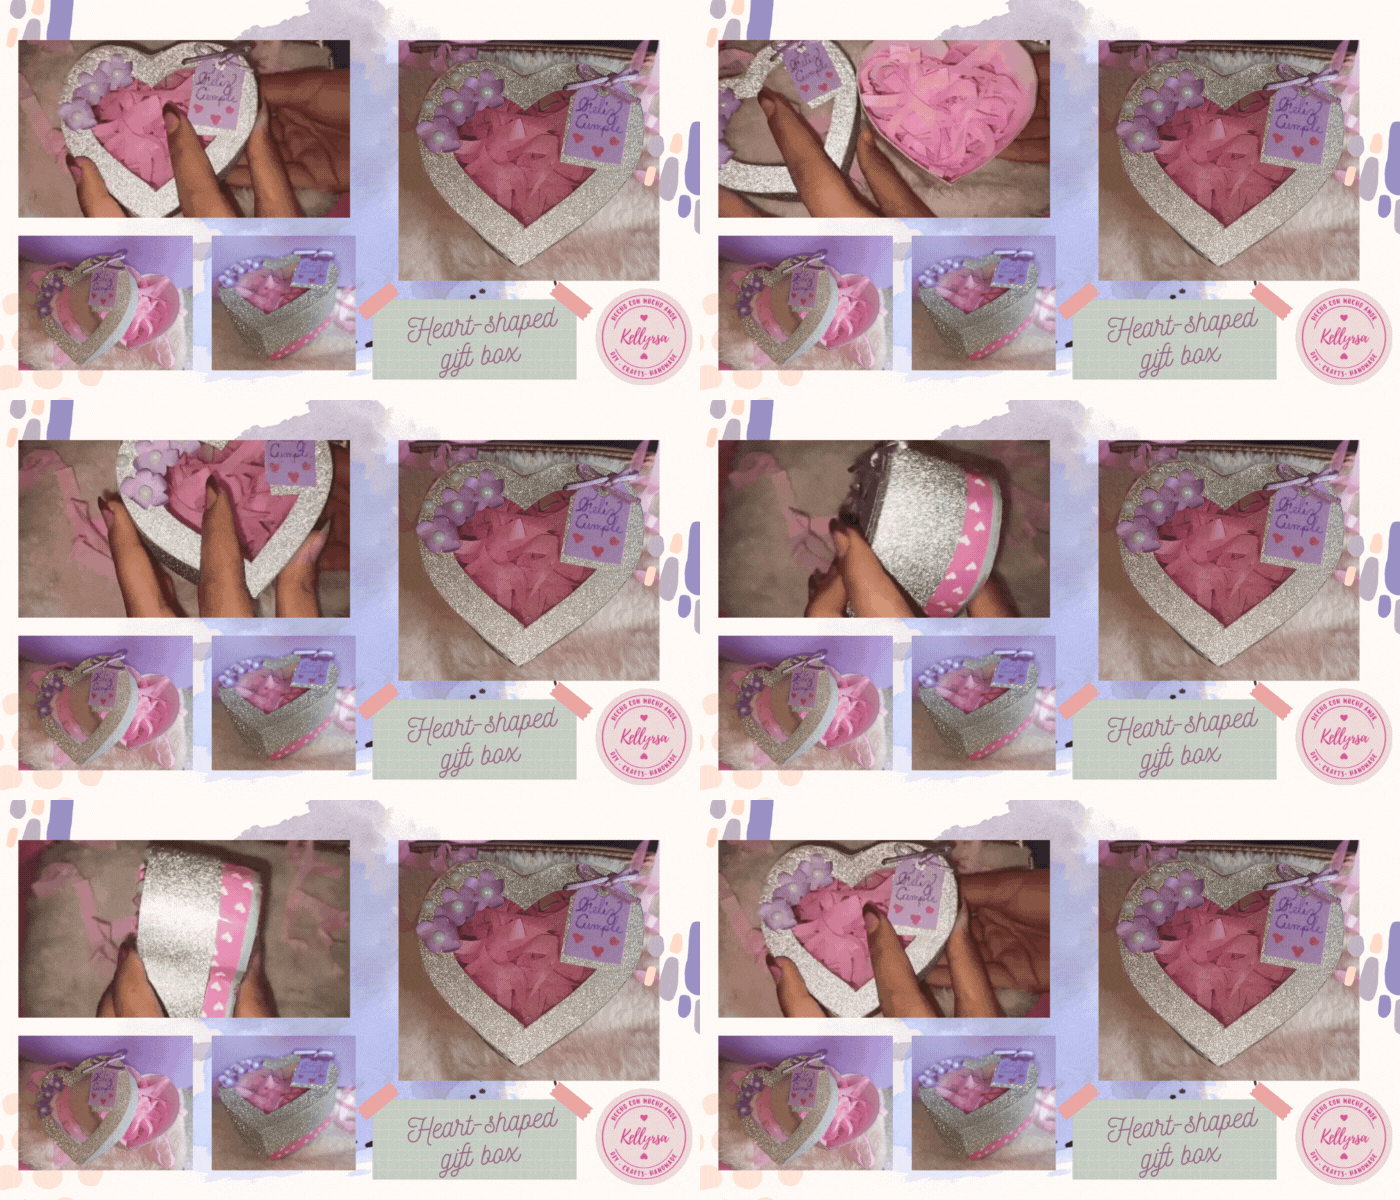
| DIY-Llavero Aguacatina en fieltro [ESP-ENG] | DIY-Girasoles eternos [ESP-ENG] | DIY- Heart-shaped gift box [ENG/ESP] |
|---|---|---|
 |  |  |

Fotografías de mi propiedad tomadas con el celular Redmi note 8 pro, editadas en canva
Traducción realizada con la versión gratuita del
traductor DeepL
Todos los diseños fueron creados en canva
Video editado desde mi teléfono en la App Inshop y CapCut
Música: Gingerbread Happy Time
Músico: EnjoyMusic
URL: https://enjoymusic.ai
Photographs of my property taken with the Redmi note 8 pro cell phone, edited in canva
Translation made with the free version of
translator DeepL
All designs were created in canva
Video edited from my phone in the Inshop App and CapCut
Música: Gingerbread Happy Time
Músico: EnjoyMusic
URL: https://enjoymusic.ai
▶️ 3Speak
