¡Hola gente!
Spider-man es uno de los personajes favoritos de los niños a la hora de elegir una temática de cumpleaños, quieren disfraces de Spider-man, gorras, camisetas, cualquier cosa que tenga este personaje. En el post de hoy, les enseñaré a hacer un topper de Spiderman y a decorar una lata de Pringles reciclada, servirá de cotillón, organizador...
Hello people!
Spider-Man is one of the favorite characters for kids when it comes to choosing a birthday theme, they want Spider-Man costumes, hats, shirts, anything that has this character on it. In today's post, I will show you how to make a Spider-Man topper and how to decorate a recycled Pringles can, it will serve as a cotillion, organizer...
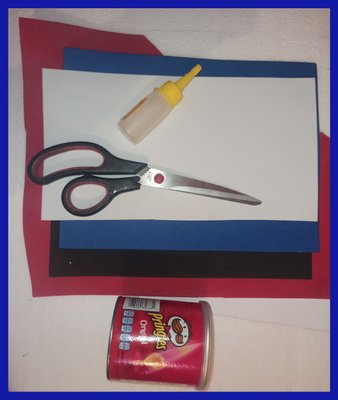
- Foamy rojo
- Foamy Azul oscuro
- Foamy Negro
- Foamy Blanco
- Foamy azul escarchado
- Marcado o pintura acrílica color negro
- Palito de madera
- Silicona al frío o caliente
- Tijera
- Red Foamy
- Foamy Dark Blue
- Black Foamy
- White Foamy
- Frosted blue foamy
- Marker or black acrylic paint
- Wooden stick
- Hot or cold silicone
-Scissors
Cotillón / cotillion
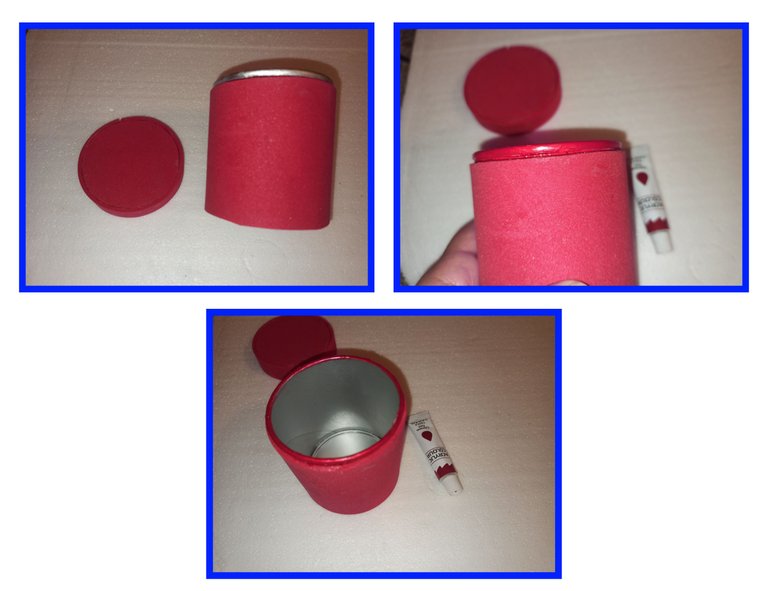
Mide la lata y corta el foamy rojo con esas medidas.
Coloca la tapa sobre el foamy y marca la circunferencia. Cortar
Corta una tira de foamy de 2 cm de ancho que cubra toda la circunferencia de la tapa y pégala.
Measure the can and cut the red foamy with those measurements.
Place the lid on the foamy and mark the circumference. Cut
Cut a 2 cm wide strip of foam to cover the entire circumference of the lid and glue it on.

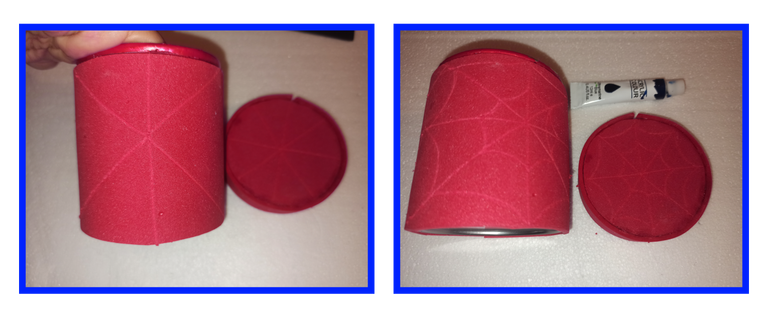
Forramos la lata y la tapa
Con pintura acrílica roja pinté el borde de la lata.
We lined the can and the lid.
With red acrylic paint I painted the rim of the can.

- Con un palo de altura vamos a hacer las marcas de telaraña, tanto en el recipiente como en la tapa. No sabes cómo hacerlo, mira la foto, primero hice una línea recta, dos diagonales y una horizontal, es en forma de asterisco, y luego hacer la red.
- With a height stick, we are going to make the spider web marks, both on the container and the lid. You do not know how to do it, look at the picture, first I made a straight line, two diagonal and one horizontal, it is in the form of an asterisk, and then make the web.
Con un rotulador o pintura negra vamos a marcar los trazos que hicimos con el palo de madera.
Trazamos los patrones de los ojos y la araña en el foamy correspondiente. Los ojos, el patrón más pequeño en color blanco y el más grande en negro, la araña en color negro.
With a marker or black paint we are going to mark the strokes we made with the wooden stick.
We trace the patterns of the eyes and spider on the corresponding foamy. The eyes, the smallest pattern in white color and the largest in black, the spider in black color.

- Colocamos y pegamos los ojos en la parte delantera del recipiente y la araña en el centro de la tapa.
- Place and glue the eyes on the front of the container and the spider in the center of the lid.
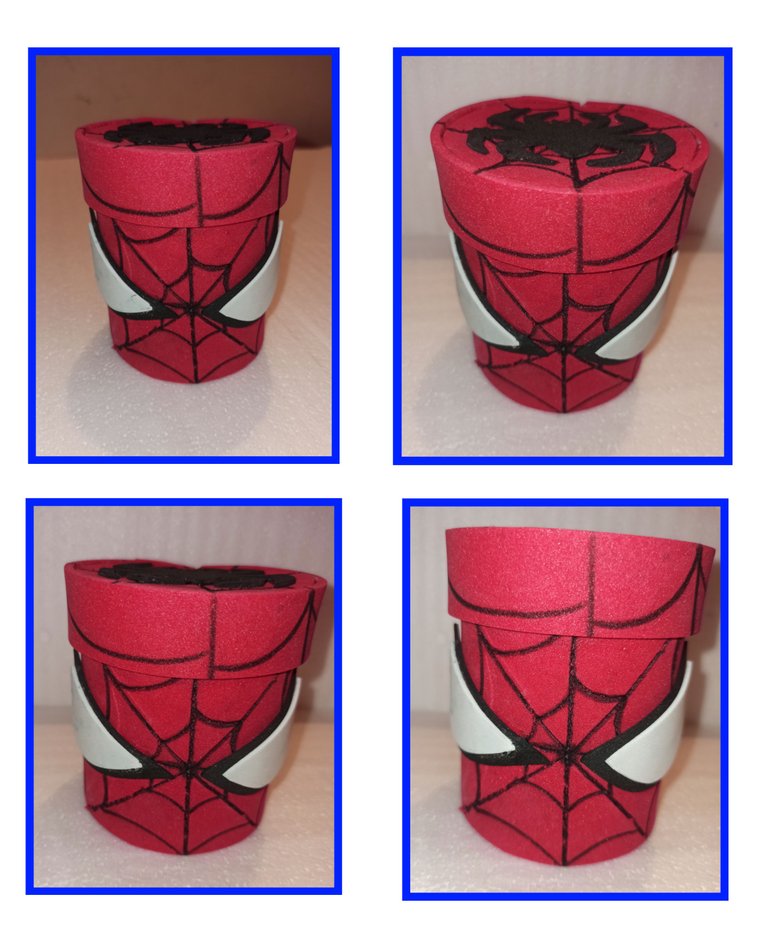
Así de fácil y rápido decoramos esta lata, donde podemos darle diferentes usos, organizador, cotillón. En su interior podemos colocar caramelos, golosinas, un bonito regalo para alegrar los corazones de los más pequeños de la casa.
This is how easy and fast we decorate this tin, where we can give it different uses, organizers, and cotillion. Inside it, we can place candies, sweets, and a nice gift to cheer the hearts of the little ones in the house.
Topper
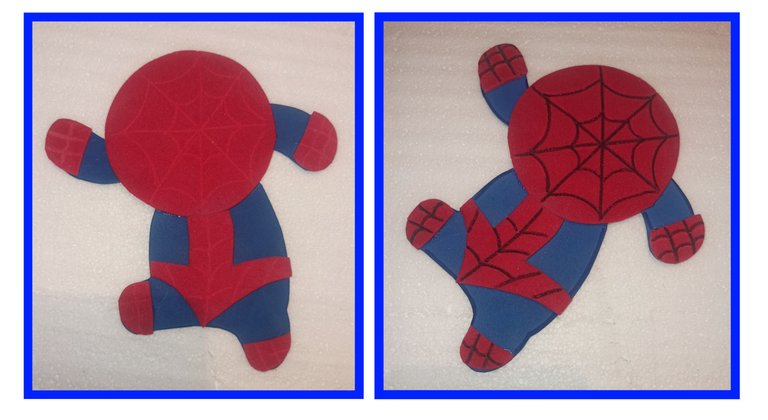
- Trazamos los patrones en los colores correspondientes, cortamos, armamos y pegamos las piezas como se muestra en la imagen.
- We trace the patterns in the corresponding colors, cut, assemble and glue the pieces as shown in the image.

Con el palo de madera hacemos las telas de araña en todas las piezas rojas.
Con rotulador o pintura las marcamos.
With the wooden stick, we make the spider webs on all the red pieces.
With marker or paint we mark them.
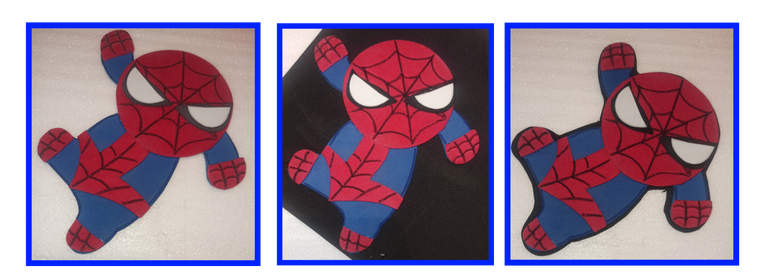
Pegar los ojos.
Con la figura lista, la pegamos sobre un foamy negro y cortamos dejando un borde.
Glue the eyes.
With the figure ready, we glue it on a black foamy and cut leaving a border.
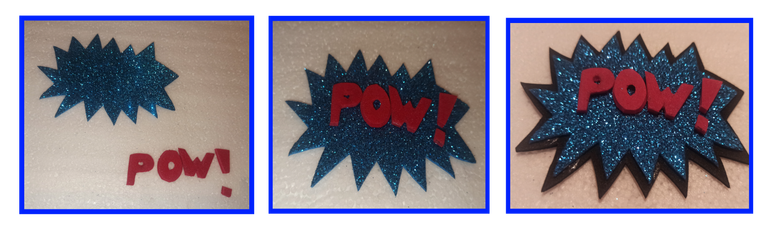
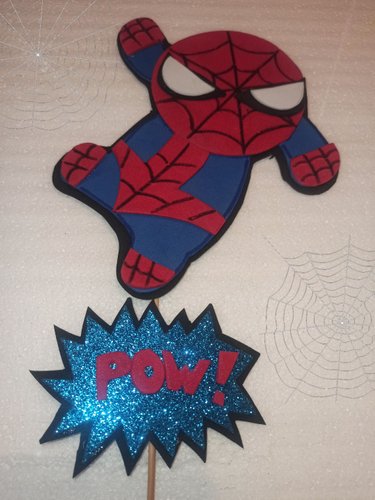
- Estas piezas las hice sin patrón. A mano alzada en foamy escarchado azul hice una estrella explosiva, de verdad no sé cómo se le llamará a eso ja, ja, ja y en foamy rojo la palabra pow con un signo de exclamación. Luego pegue sobre un foamy negro y corte por la orilla dejando un bordecito.
- I made these pieces without a pattern. Freehand on blue frosted foamy I made an exploding star, I don't know what to call that ha, ha, ha, ha and on red foamy the word pow with an exclamation mark. Then I glued on a black foamy and cut along the edge leaving a little border.
- Para terminar pegamos las piezas terminadas en el palito de madera.
- Finally, we glue the finished pieces on the wooden stick.
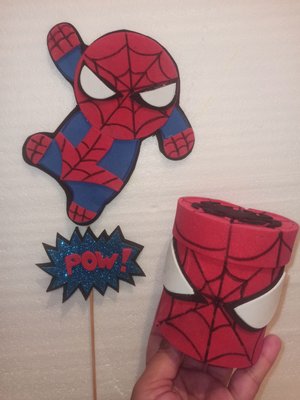
Este es finalmente el resultado de estas dos manualidades. Pueden dejar sus comentarios, me gustaría saber que les pareció, si tienen alguna duda, cualquier sugerencia, estaré encantada de leerlos y responder.
This is finally the result of these two crafts. You can leave your comments, I would like to know what you thought, if you have any questions, any suggestions, I will be happy to read them and respond.
¡Hasta pronto!
See you soon!
Fotografías de mi propiedad tomadas con el celular Redmi note 8 pro, editadas en canva
Traducción realizada con la versión gratuita del
traductor DeepL
Todos los diseños fueron creados en canva
Photographs of my property taken with the Redmi note 8 pro cell phone, edited in canva
Translation made with the free version of
translator DeepL
All designs were created in canva