♥️ ♥️ ¡Hola gente!. ♥️ ♥️
♥️ ♥️ Hello people! ♥️ ♥️
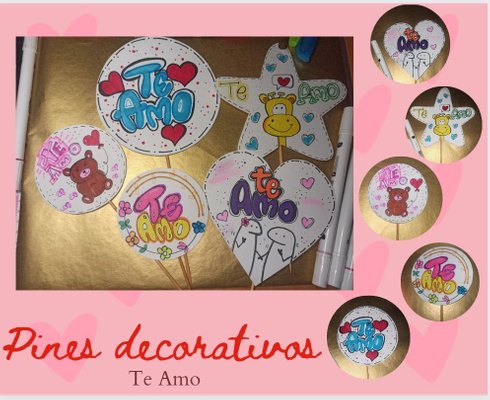
Una nueva oportunidad para compartir con ustedes mis creaciones. ¿Eres de los que les gusta hacer bonitos regalos y destacar con creativos detalles? te gustará esto. Les mostraré el proceso de cinco ideas de pines o tarjetas decorativas con una misma temática que pueden realizar facilmente . Estos pines se pueden utilizar para pasteles, regalos, arreglos...
A new opportunity to share with you my creations. Are you one of those who like to give nice gifts and stand out with nice details? you will like this. I will show you the process of five ideas of pins or decorative cards with the same theme that you can easily make. These pins can be used for cakes, gifts, arrangements...

✏️ Opalina Blanca
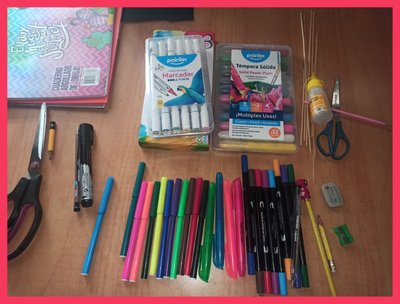
✏️ Resaltadores
✏️ Marcadores
✏️ Colores
✏️ Palito de altura
✏️ Tijera
✏️ Lapiz
✏️ Borrador
✏️ Pega
✏️ Opaline White
✏️ Highlighters
✏️ Highlighters
✏️ Colors
✏️ Highlighter stick
✏️ Scissors
✏️ Pencil
✏️ Eraser
✏️ Paste

♥️ Pin 1 ♥️
✏️ Paso 1
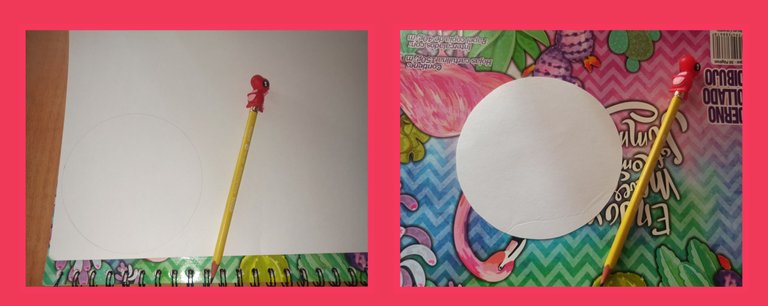
En una opalina o cartulina blanca hacemos un círculo , ya sea con compás o con ayuda de cualquier objeto circular.
✏️ Step 1
On an opaline or white cardboard, we make a circle, either with a compass or with the help of any circular object.
✏️ Paso 2 :
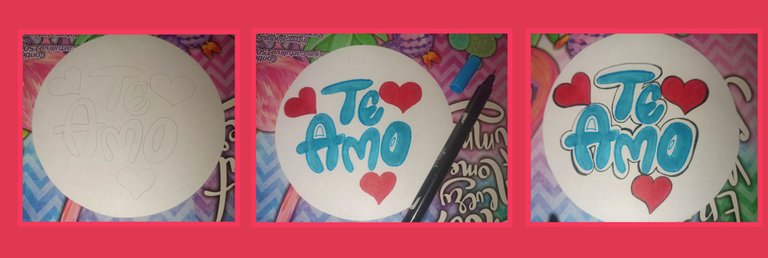
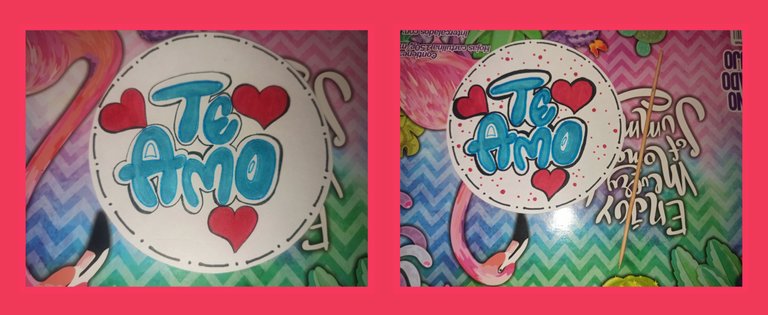
En este primer pin, escribo la palabra "Te amo" y dibujo tres corazones. El diseño primero lo hago a lápiz para luego resaltar y añadir color. En este caso las letras en azul, resalto el borde con un azul más oscuro y alrededor de las letras con negro, los corazones rojos con borde negro.
✏️ Step 2 :
On this first pin, I write the word" I love you" and draw three hearts. The design first I do it in pencil to then highlight and add color. In this case the letters in blue, I highlight the border with a darker blue and around the letters with black, the red hearts with black border.
✏️ Paso 3 :
Alrededor del borde del pin, tracé algunas líneas y puntos en color negro y los puntos de fondo de diferentes tamaños en color rojo.
✏️ Step 3 :
Around the edge of the pin, I traced some lines and dots in black color and the background dots of different sizes in red color.
✏️ Paso 4 :
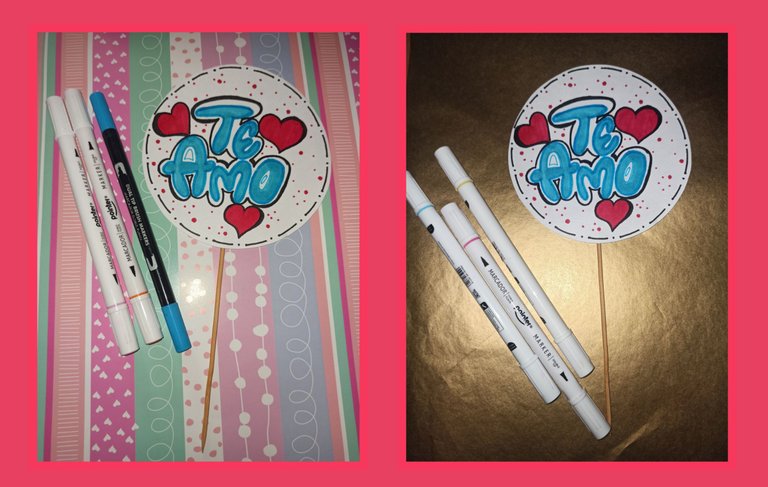
Finalmente, pego el palo de altura.
✏️ Step 4 :
Finally, I glue the wood stick

♥️ Pin 2 ♥️
✏️ Paso 1 :
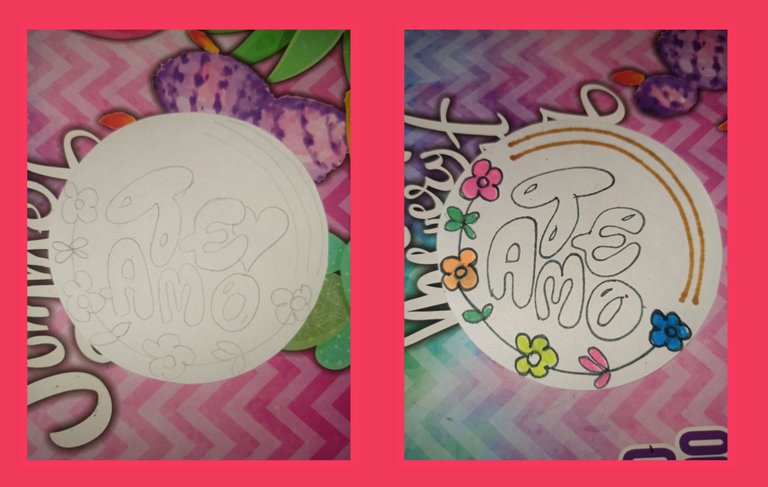
En este segundo pin seguimos usando la palabra "Te amo" y agregando pequeños detalles. Use otro forma de letra, colocando la frase en el centro y al rededor unas flores muy sencillas .
✏️ Step 1 :
In this second pin, we continue using the word "I love you" and adding small details. Use another letter shape, placing the phrase in the center and around it some very simple flowers.
✏️ Paso 2 :
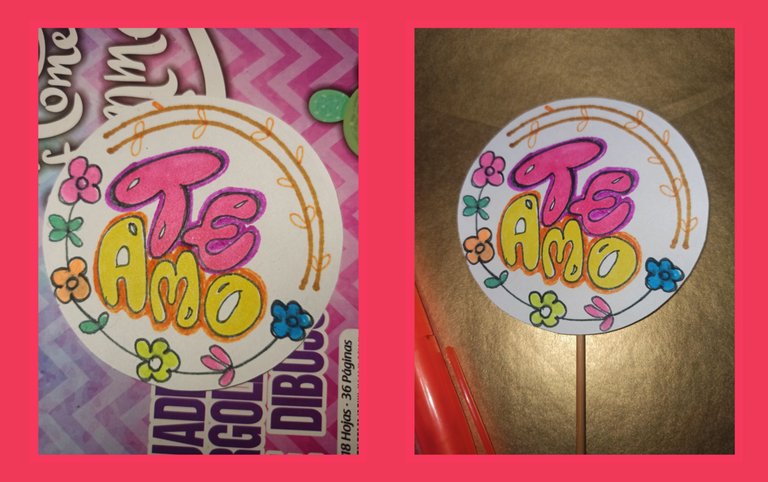
He añadido color. En las letras, utilicé el rosa y el amarillo con un borde morado y naranja. Las flores son de diferentes colores llamativos.
✏️ Step 2 :
I added color. In the letters, I used pink and yellow with a purple and orange border. The flowers are in different bold colors.

♥️ Pin 3 ♥️
✏️ Paso 1 :
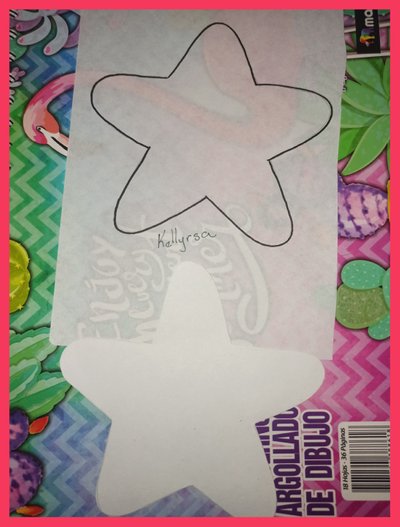
El tercer pin tiene forma de estrella, les comparto el patrón.
✏️ Step 1 :
The third pin is in the shape of a star, I share with you the pattern.
✏️ Paso 2.
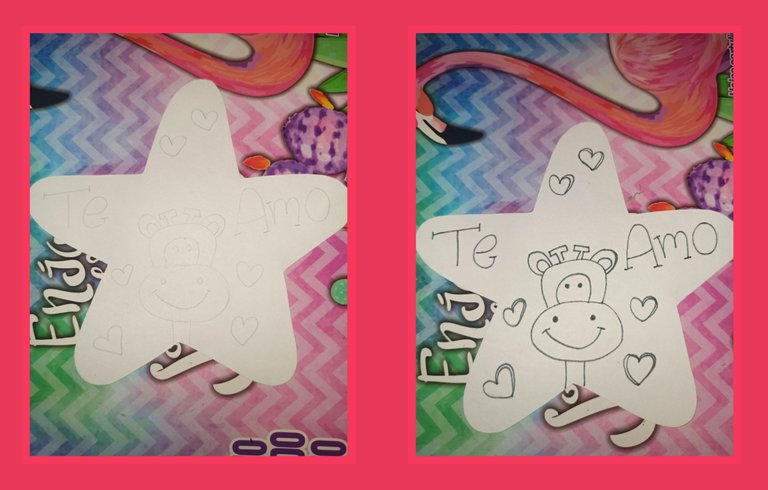
Como principal dibujé una jirafa, luego la frase" Te Amo" y unos corazones al rededor de la tarjeta.
✏️ Step 2.
I drew a giraffe as the main design, then the phrase "I love you" and some hearts around the card.
✏️ Paso 3 :
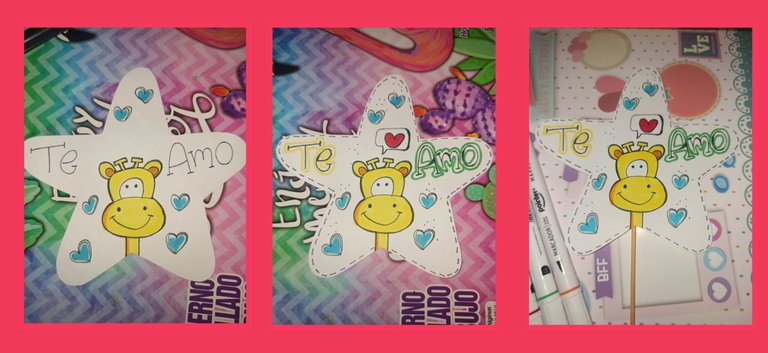
Delineé todo con un marcador negro de punta extra fina. Añadí color, una jirafa amarilla, a las letras les hice un borde amarillo y verde, y corazones azules. Alrededor de las estrellas hay pequeñas líneas con rotulador negro.
✏️ Step 3 :
I outlined everything with a black marker extra fine tip. I added color, a yellow giraffe, the letters I made a yellow and green border, and blue hearts. Around the stars are small lines with black markers.
✏️ Paso 4 :
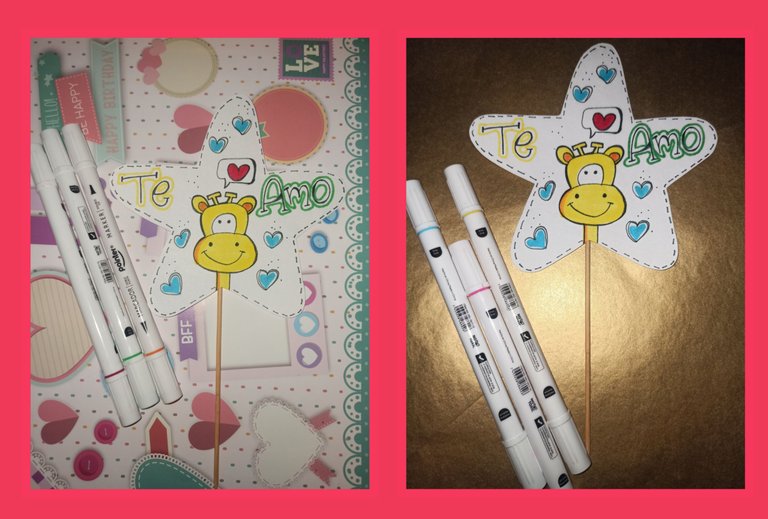
Por ultimo, pegar el palito de madera
✏️ Step 4 :
Finally, glue the wooden stick

♥️ Pin 4 ♥️
✏️ Paso 1 :
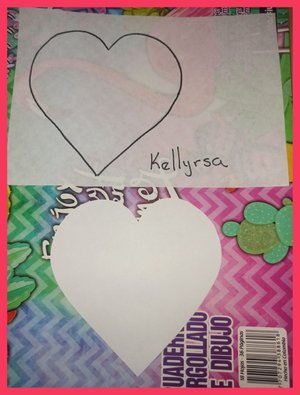
El cuarto pin tiene forma de corazón, se copia el patrón en la cartulina blanca y recortar.
✏️ Step 1 :
The fourth pin is in the shape of a heart, copy the pattern on the white cardboard and cut it out.
✏️ Paso 2 :
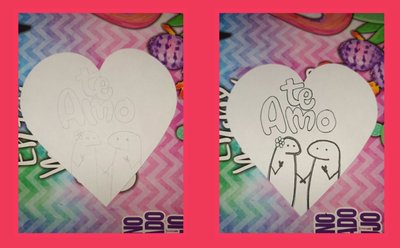
En esta también la frase" Te amo" y dibujé el popular flork meme.
✏️ Step 2 :
On this one also the phrase" I love you" and I drew the popular flork meme.
✏️ Paso 4 :
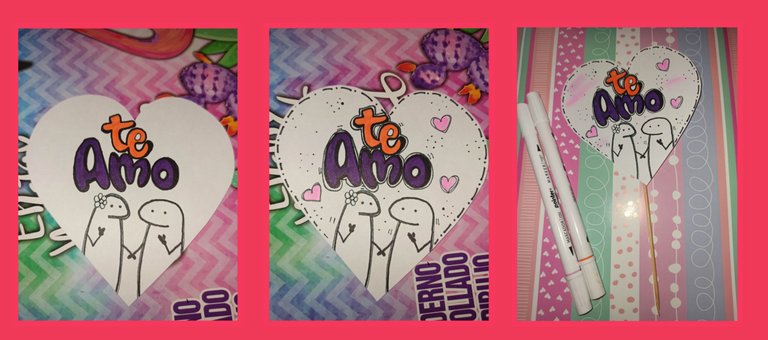
Lo he resaltado con un rotulador negro. Pinta las letras en naranja y morado con un borde negro, y los corazones en rosa. Alrededor del corazón, hay guiones y puntos negros. Para terminar pego el palo de madera.
✏️ Step 4 :
I highlighted it with a black felt-tip pen. Paint the letters in orange and purple with a black border, and the hearts in pink. Around the heart, there are dashes and black dots. To finish I glue the wooden stick.

♥️ Pin 5 ♥️
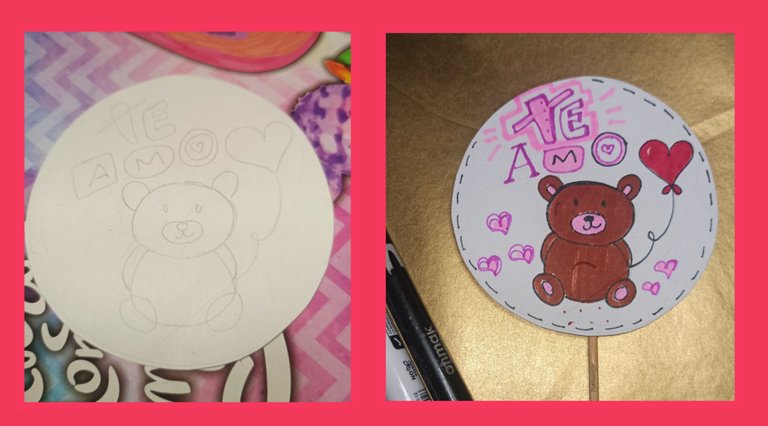
El quinto y último pin, marque un círculo en la cartulina blanca. Dibujé un osito con un globo en forma de corazón y diferentes formas de letras, la frase" Te Amo". Pinte, alrededor del círculo, guiones negros, para terminar el palo de madera.
For the fifth and last pin, marks a circle on the white cardstock. I drew a teddy bear with a heart-shaped balloon and different letter shapes, and the phrase "I love you". Paint, around the circle, with black dashes, to finish the wooden stick.

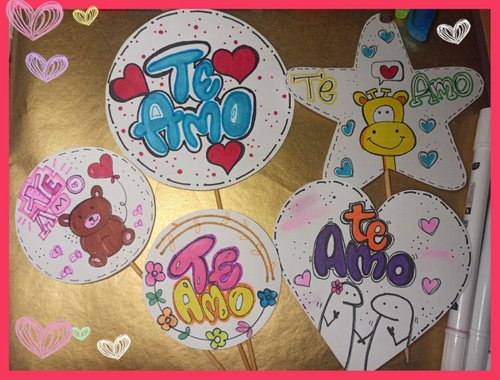
Resultado final de estas 5 divertidas tarjetas, que podrás utilizar siempre que quieras regalar algo.
The final result of these 5 fun cards, which you can use whenever you want to give something as a gift.
Hazme saber qué piensas de mi trabajo, cuál es el que más te ha gustado, estaré encantada de responderte.
¡ Hasta pronto!
Let me know what you think of my work, and which one you liked the most, I will be happy to answer you.
See you soon!

Fotografías de mi propiedad tomadas con el celular Redmi note 8 pro, editadas en canva
Traducción realizada con la versión gratuita del
traductor DeepL
Todos los diseños fueron creados en canva
Photographs of my property taken with the Redmi note 8 pro cell phone, edited in canva
Translation made with the free version of
translator DeepL
All designs were created in canva

