Español
Feliz y bendecido miércoles, espero a todos les vaya genial en todo lo que se propongan…
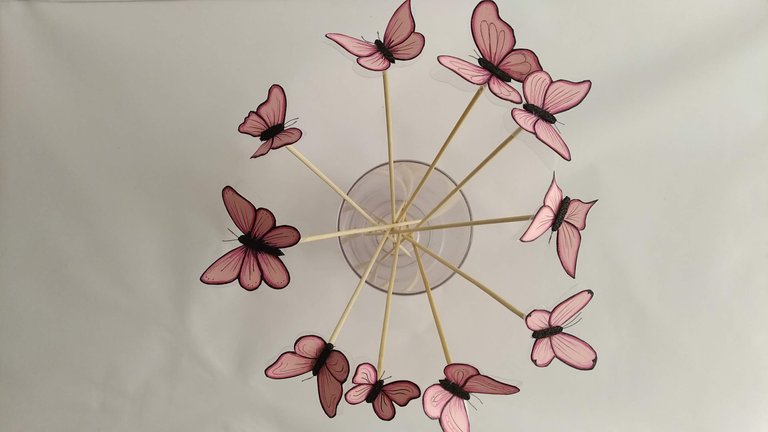
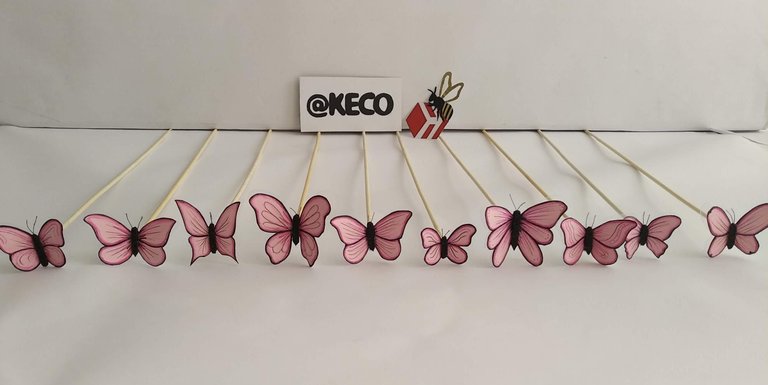
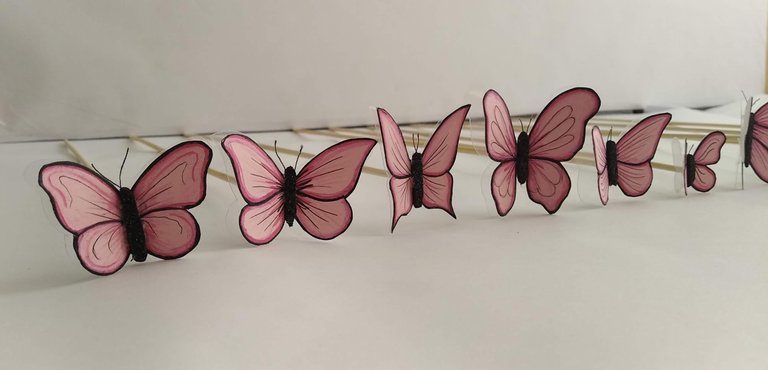
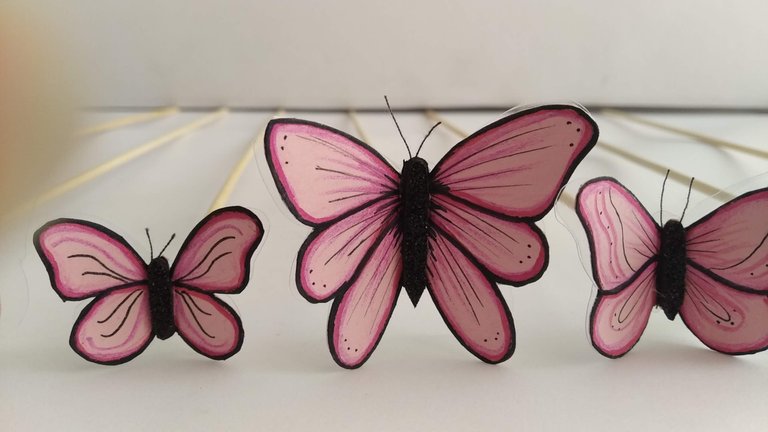
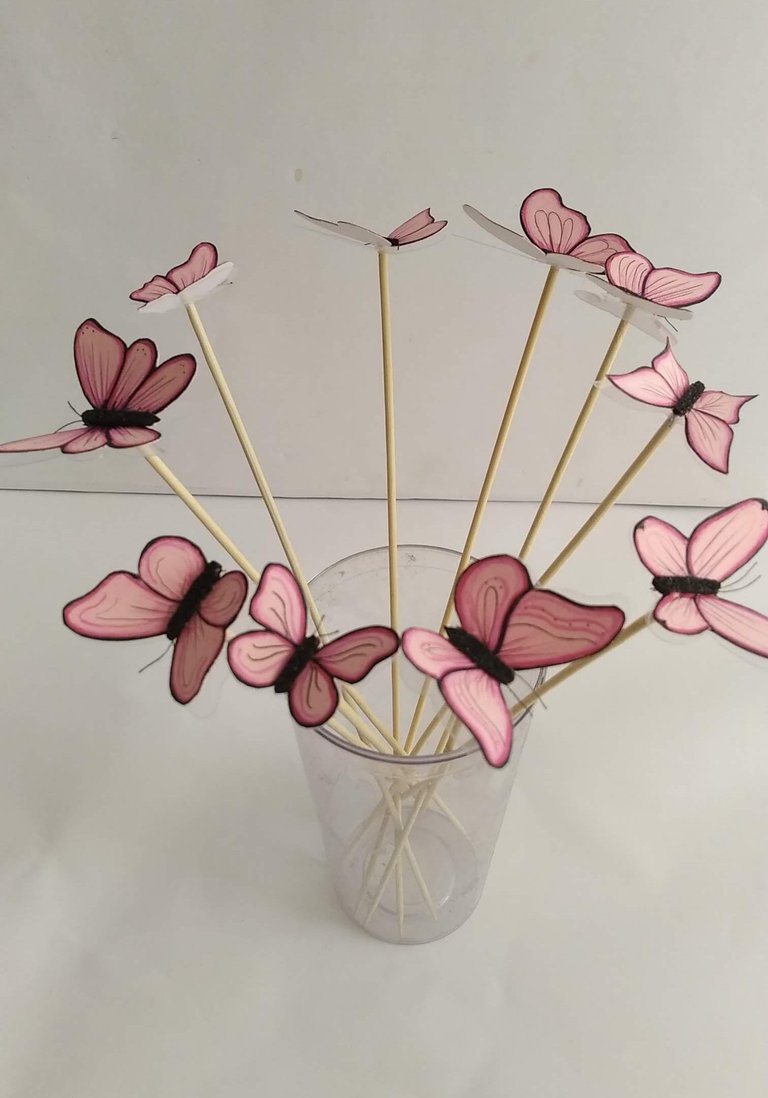
El día de hoy quiero mostrales algo realmente fácil de realizar por cualquier persona, incluso por aquellas a las que no les guste las manualidades, jejeje. Se trata de un simple pero hermoso topper de Mariposas rosadas y negras realizadas en cartulina y un toque de foami negro brillante.
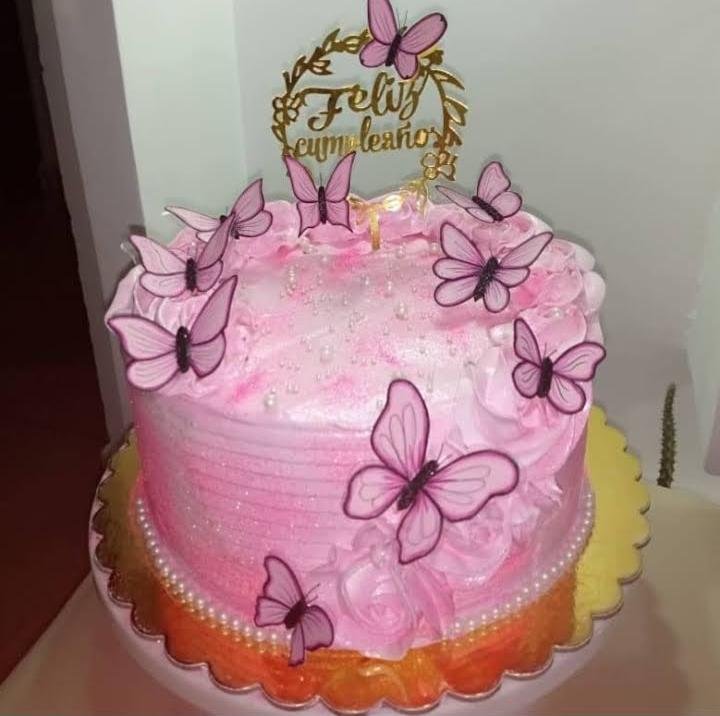
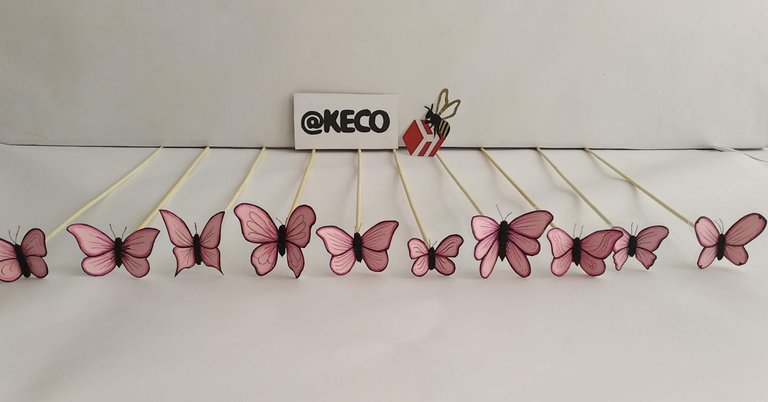
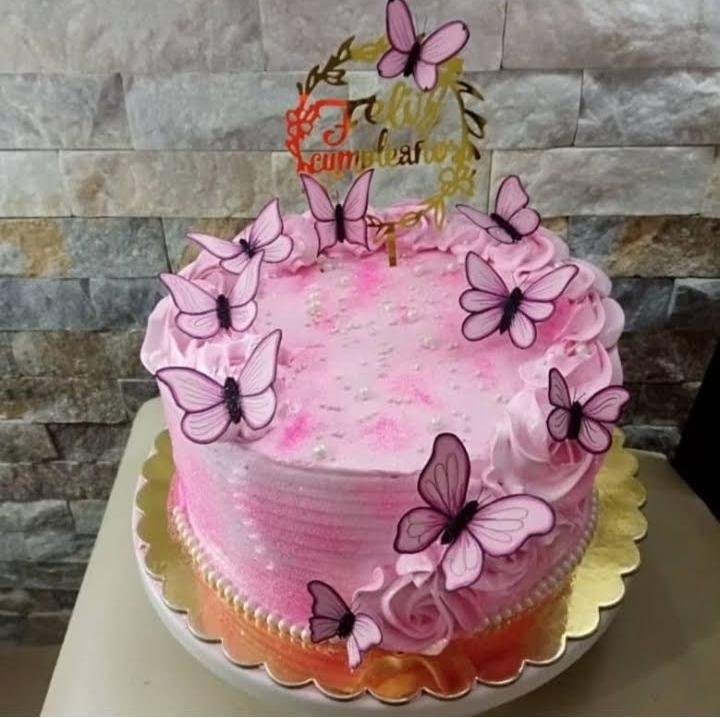
Estas diez (10) mariposas dieron vida a otro magnifico pastel de cumpleaños de mi repostera favorita Mayda, quien nos enamora con sus sabores y a los que sin duda le ponemos mucho más que amor.
Sin más, y esperando disfruten del trabajo realizado les dejo los materiales utilizados, el proceso y las imágenes.
- Cartulina Rosado claro.
- Colores.
- Marcador de color rosado y negro.
- Foami escarchado negro.
- Hilo negro (para las antenas).
- Acetato transparente.
- Palitos de madera.
- Silicón frío.
- Silicón Caliente.
- Hoja Blanca.
- Tijera.
- Lápiz.
English
Happy and blessed Wednesday, I hope everyone is doing great in everything you propose....
Today I want to show you something really easy to make for anyone, even for those who do not like crafts, hehehehe. This is a simple but beautiful pink and black Butterflies topper made in cardboard and a touch of shiny black foami.
These ten (10) butterflies gave life to another magnificent birthday cake from my favorite baker Mayda, who makes us fall in love with her flavors and to which we undoubtedly put much more than love.
Without further ado, and hoping you enjoy the work done I leave you the materials used, the process and the images.
- Light pink cardboard.
- Colors.
- Pink and black marker.
- Black frosted Foami.
- Black thread (for the antennae).
- Transparent acetate.
- Wooden sticks.
- Cold silicone.
- Hot Silicone.
- White sheet.
- Scissors.
- Pencil.
1.- En la hoja blanca se diseña las formas de las mariposas a crear. El diseño debe contemplar las dimensiones del pastel (altura y diámetro) para que no queden ni muy grandes ni muy pequeñas. Para este caso yo usé hojas blancas para notas y cree diseños distintos para hacerlas todas de formas variadas.
1.- The shapes of the butterflies to be created are designed on the white sheet. The design must take into account the dimensions of the cake (height and diameter) so that they are neither too big nor too small. In this case I used white sheets for notes and created different designs to make them all in different shapes.
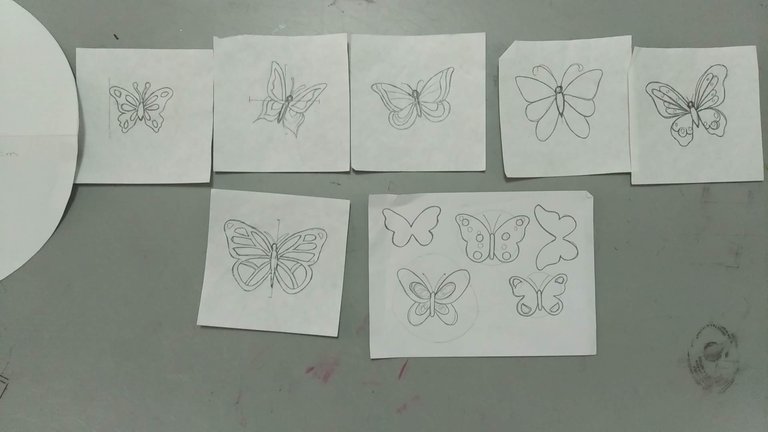
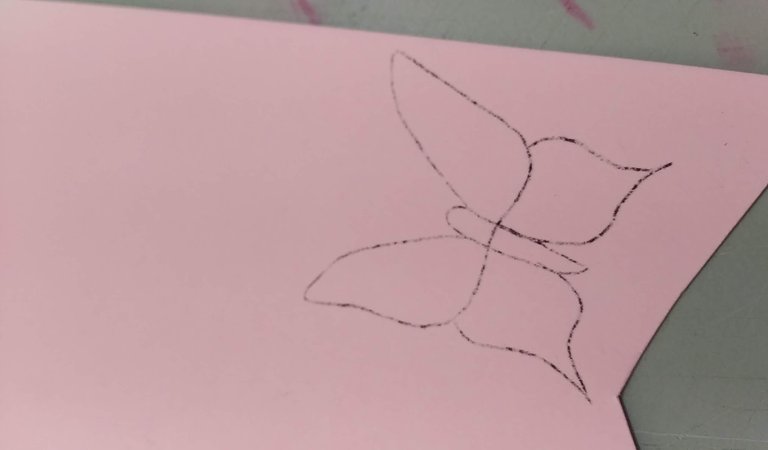
2.- Los diseños planteados los marcamos sobre la cartulina de color rosado.
2.- We mark the designs on the pink cardboard.
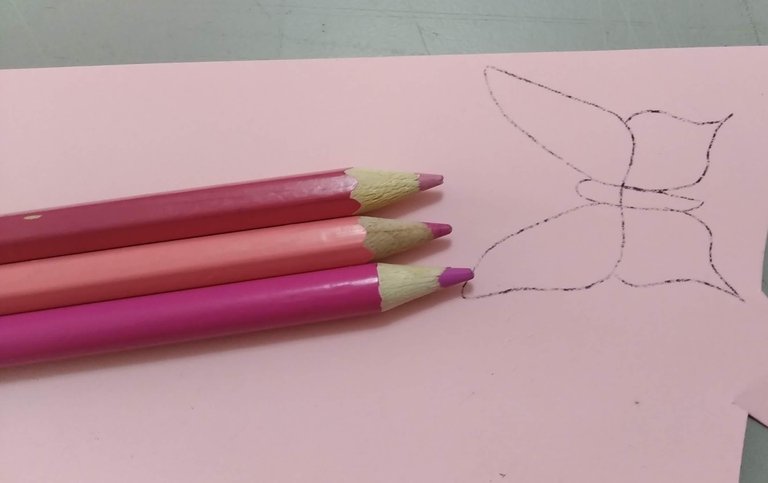
3.- Para darle profundidad y vida a las mariposas, se deberá aplicar a los bordes de todas las mariposas, color rosado en diversos tonos. Para este caso yo apliqué tres tonos de rosado en distintas tonalidades.
3.- To give depth and life to the butterflies, pink in different shades should be applied to the edges of all the butterflies. In this case I applied three shades of pink in different tones.
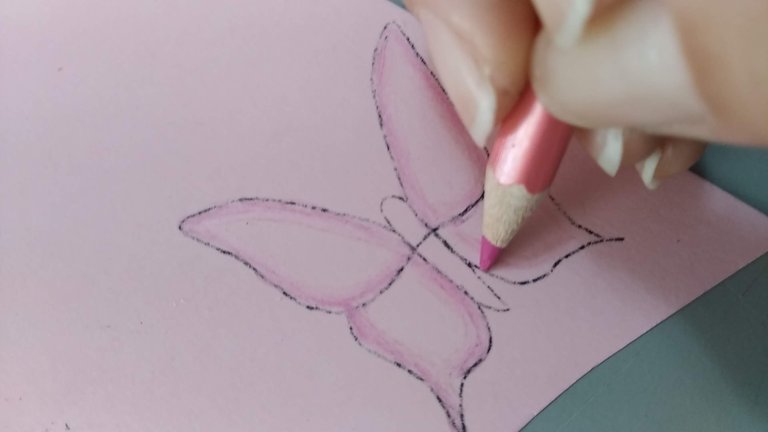
4.- Luego de los colores, aplicar marcador rosado o fucsia por todo el borde de todas las mariposas, esto le dará un lindo efecto que las hará resaltar.
4.- After the colors, apply pink or fuchsia marker all around the edge of all the butterflies, this will give a nice effect that will make them stand out.
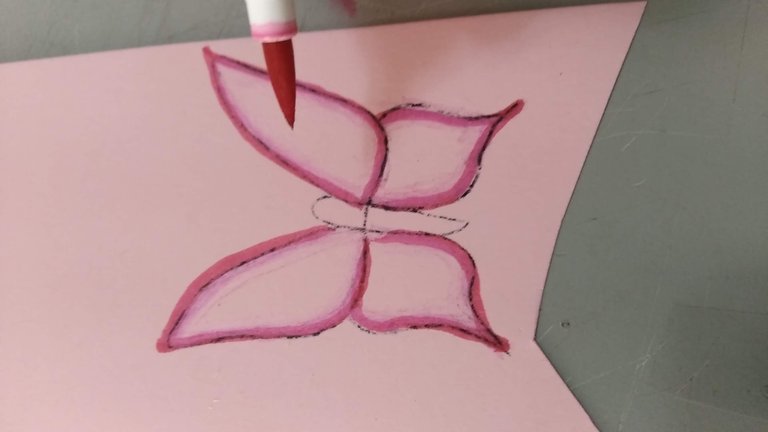
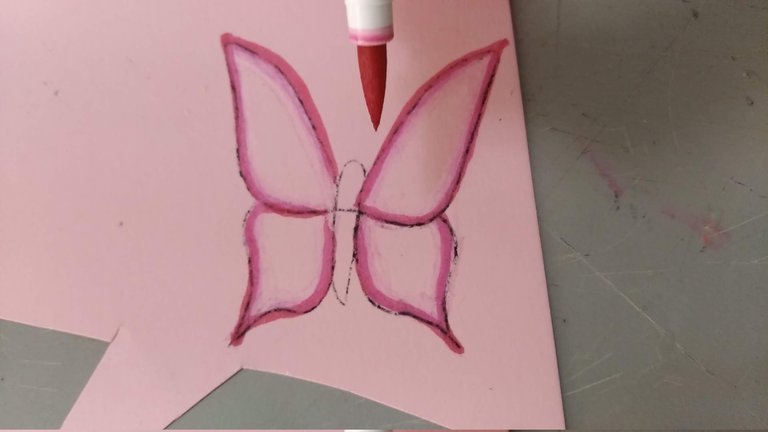
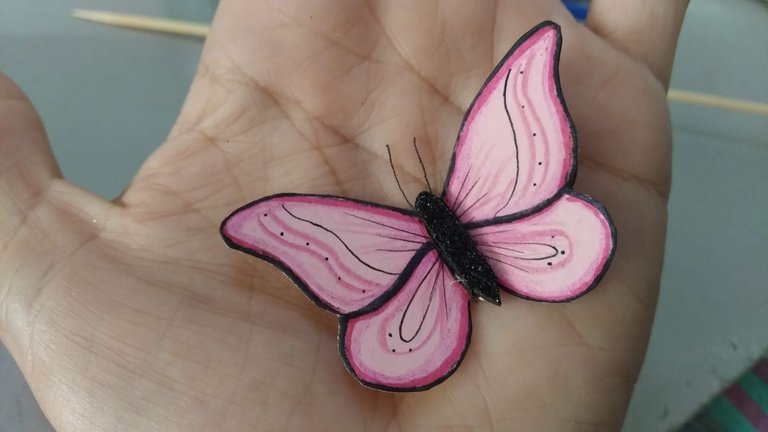
5.- Aplicar marcador negro por los bordes y en los diseños internos hacerlo con marcador negro punta fina de preferencia 0,4 para un acabado delicado al interior de las mismas.
5.- Apply black marker along the edges and on the internal designs, use a fine tip black marker, preferably 0.4 for a delicate finish on the inside of the designs.
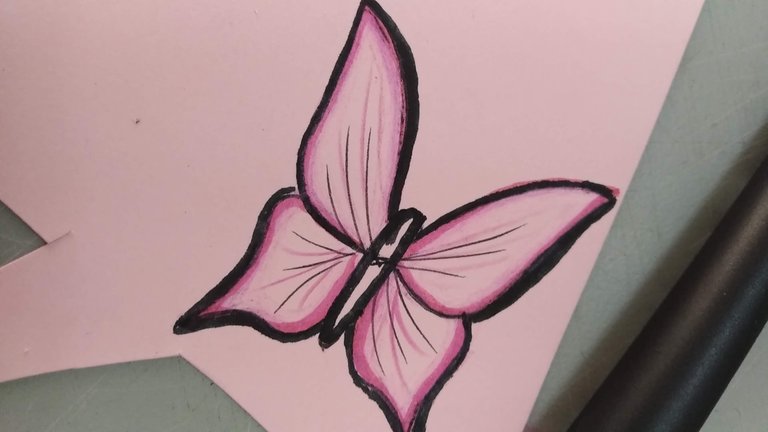
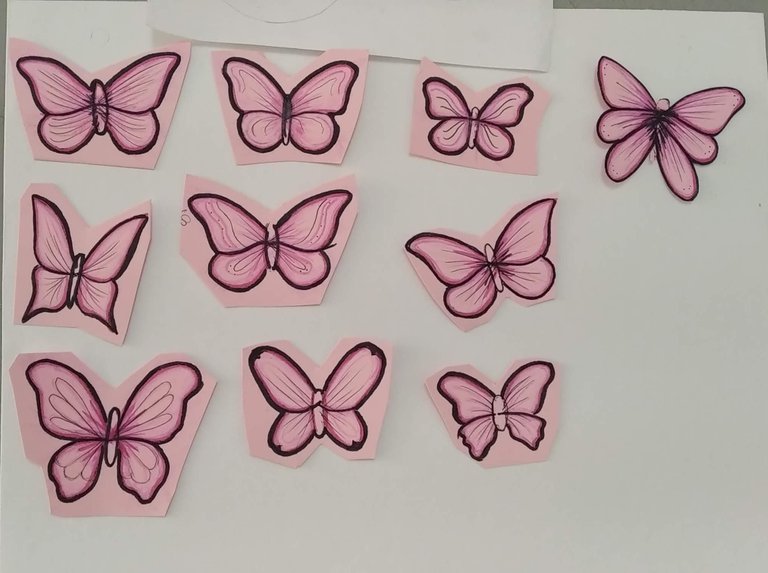
6.- Para darle brillo y realismo, se deberá aplicar dos trozos de hilo negra a la parte superior de lo que seria la cabeza, y para resaltar el abdomen pegarles pequeños trozos de foami escarchado de acuerdo a cada diseño.
6.- To give it shine and realism, two pieces of black thread should be applied to the upper part of what would be the head, and to highlight the abdomen, glue small pieces of frosted foami according to each design.
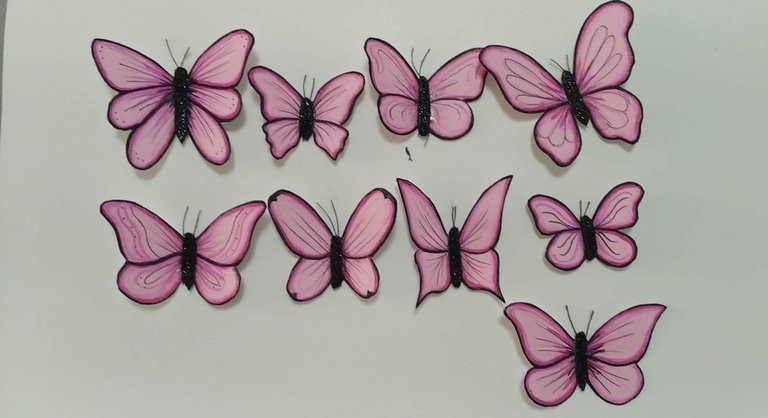
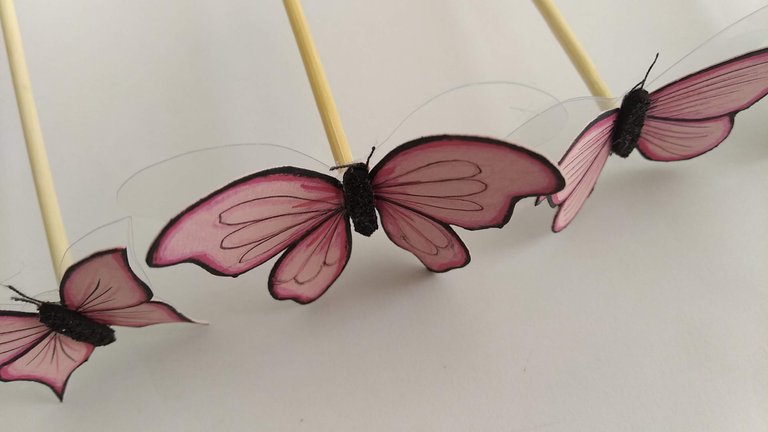
7.- De acuerdo a cada diseño, marcar y recortar en acetato transparente la silueta de las mariposas. Luego en el centro de las mismas introducir un palito de madera. Nota: El objetivo del acetato es proteger la mariposa de la humedad del pastel y así evitar se moje, deteriore y dañe el pastel.
7.- According to each design, mark and cut out the silhouette of the butterflies on transparent acetate. Then insert a wooden stick in the center of the butterflies. Note: The purpose of the acetate is to protect the butterfly from the humidity of the cake and thus prevent it from getting wet, deteriorating and damaging the cake.
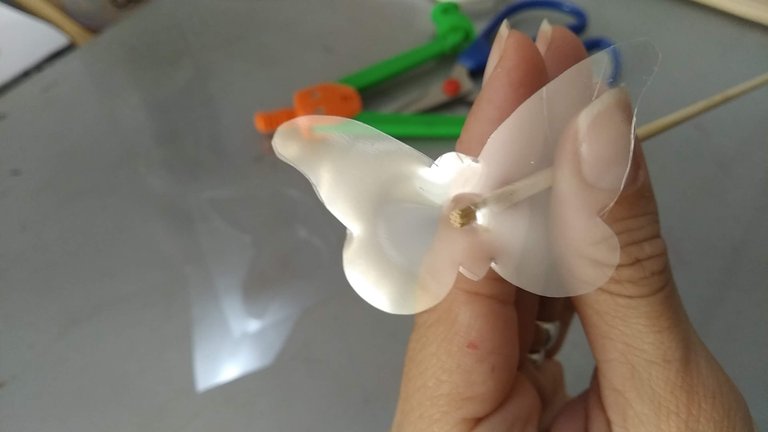
8.- Justo en el centro del acetato, donde se ubicó el palito de madera, aplicar silicón caliente y pegar la mariposa que corresponda según el diseño. Dejar secar bien sin tocar.
8.- Right in the center of the acetate, where the wooden stick was placed, apply hot silicone and glue the corresponding butterfly according to the design. Let it dry without touching.
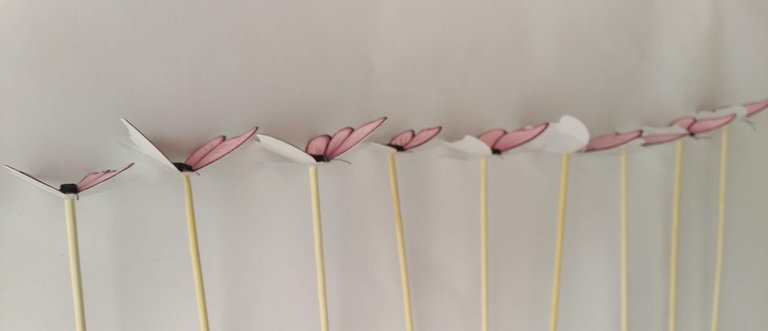
9.- ¡Listo!, a disfrutar de la magia de lo simple y lo hermoso hecho en casa.
9.- Ready, enjoy the magic of the simple and beautiful homemade.
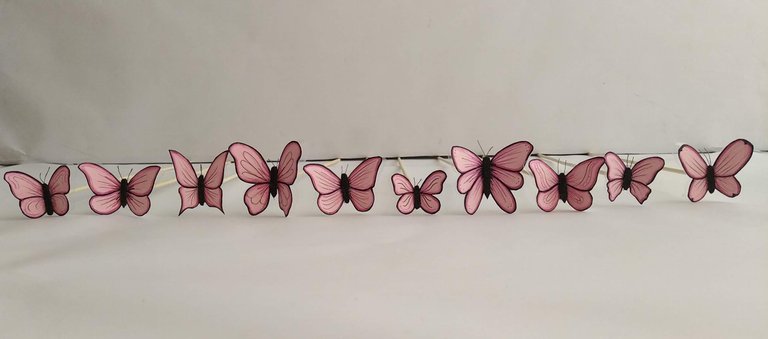
Espero les haya gustado y sobre todo se entusiasmen a crear algo parecido para sorprender a familiares y amigos.
I hope you liked it and, above all, I hope you get excited to create something similar to surprise your family and friends.
Para la traducción de esta publicación se utilizó el Traductor Deepl en su versión gratuita.
The Deepl Translator was used for the translation of this publication in its free version.
SALUDOS / REGARDS
Todas las Fotos fueron tomadas con mi teléfono Redmi 7A.
Contenido original de @keco (fotos y texto) - Todos los derechos reservados Publicado en HIVE así como en mi instagram : http://instagram.com/carton_pintura_algo_mas
All Photos were taken with my Redmi 7A phone.
Original content from @keco (photos and text) - All rights reserved Posted on HIVE as well as on my instagram: http://instagram.com/carton_pintura_algo_mas
