Español
Hola mis estimados lectores, estuve algunos días ausente por diversos motivos personales pero con mi corazón siempre en HIVE.
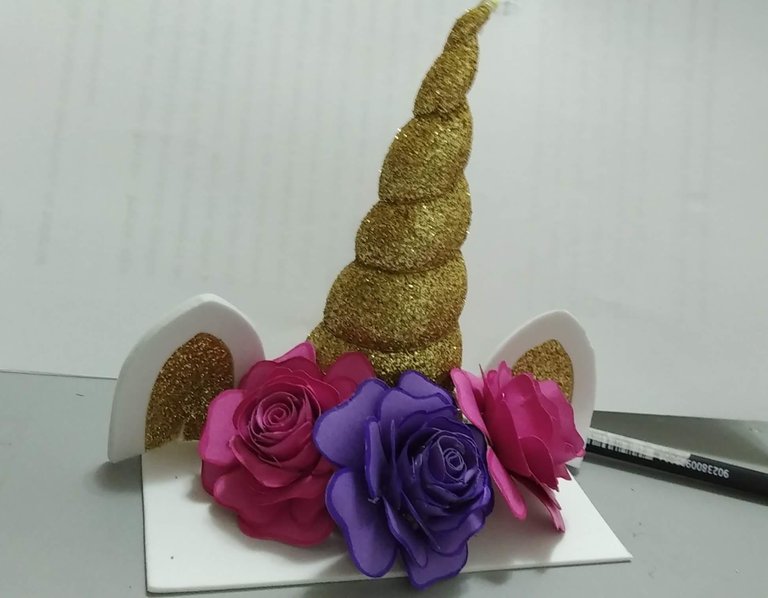
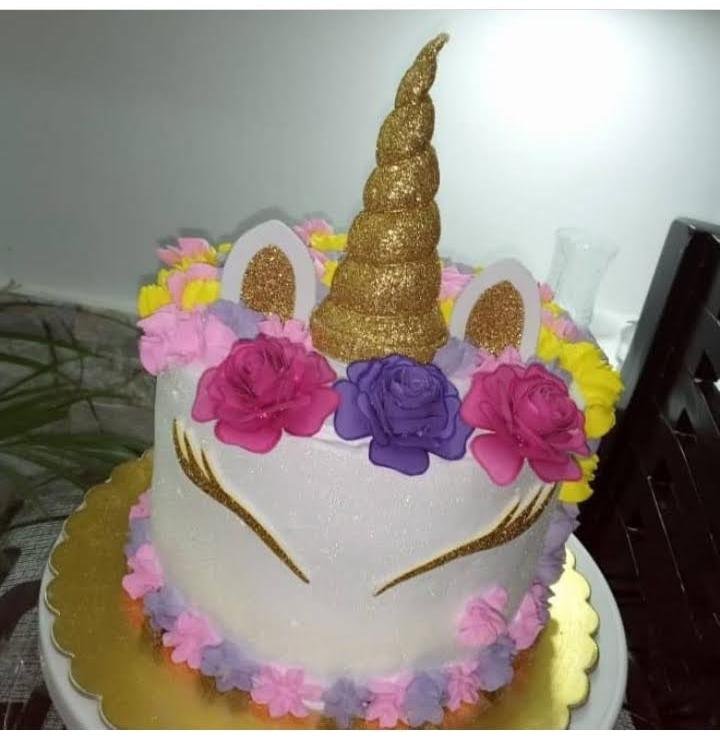
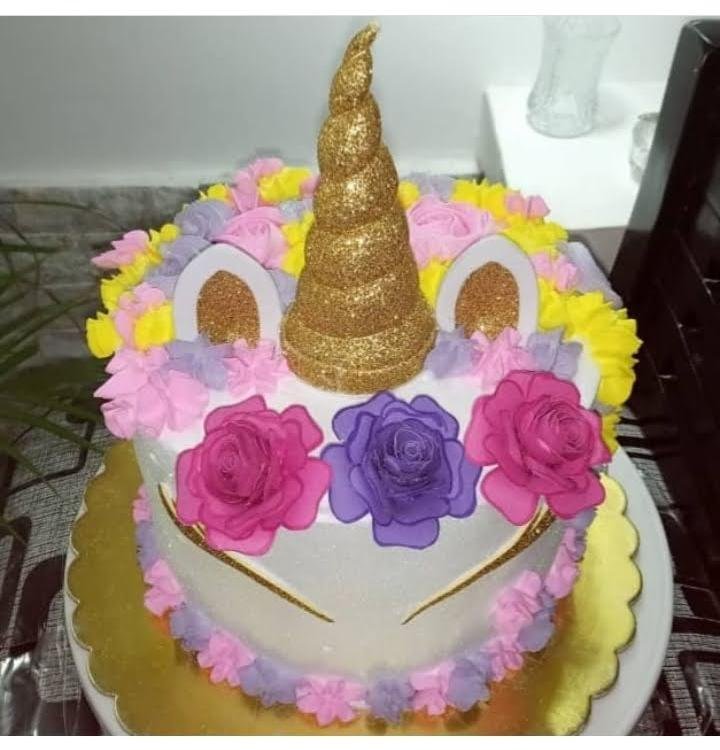
Hoy regreso para mostrarles un sencillo, pero lindo topper realizado con amor para una cumpleañera amante de los unicornios y las flores. Como siempre, el pastel fue realizado por la mejor repostera Mayda , ella es capaz de hacer magia con su mezcla de sabores.
La decoración es económica y fácil de realizar, así que acá les dejo el paso a paso para que se animen a realizar algo parecido para sorprender a familiares y amigos.
Sin más, y esperando disfruten del trabajo realizado les dejo los materiales utilizados, el proceso y las imágenes del trabajo.
- Foami escarchado dorado.
- Nailon fino.
- Silicón caliente.
- Silicón frío.
- Foami blanco.
- Cartulina de color fucsia o rosado.
- Cartulina Morada.
- Palitos de Madera.
- Tijera.
- Cutter.
- Lápiz.
English
Hello my dear readers, I was absent for a few days for various personal reasons but with my heart always in HIVE.
Today I'm back to show you a simple but beautiful topper made with love for a birthday girl who loves unicorns and flowers. As always, the cake was made by the best pastry chef Mayda , she is able to make magic with her mix of flavors.
The decoration is inexpensive and easy to make, so here I leave you the step by step to encourage you to make something similar to surprise family and friends.
Without further ado, and hoping you enjoy the work done, I leave you the materials used, the process and the images of the work.
- Gold frosted Foami.
- Fine nylon.
- Hot silicone.
- Cold silicone.
- White foami.
- Fuchsia or pink cardboard.
- Purple cardboard.
- Wooden sticks.
- Scissors.
- Cutter.
- Pencil.
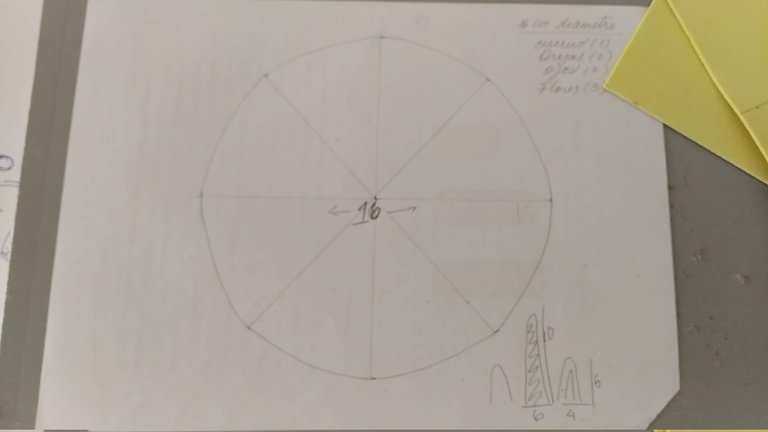
1.- Lo primero a considerar para la realización de este topper es el diámetro que tendrá el pastel, porque de ello dependerá el ancho y el alto que tendrá el cuerno y las flores, así todo mantendrá simetría y equilibrio. Para este caso, el pastel fue pequeño, midió 16 centímetros de diámetro.
1.- The first thing to consider when making this topper is the diameter of the cake, because the width and height of the horn and the flowers will depend on it, so that everything will maintain symmetry and balance. In this case, the cake was small, measuring 16 centimeters in diameter.
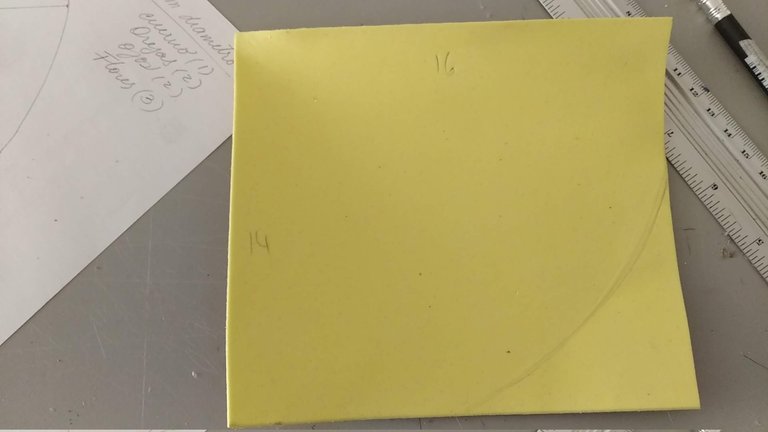
2.- Teniendo claramente definido el diámetro del pastel, marcar sobre el foami dorado las medidas que tendrá el cuerno, en este caso, sobre un cuadrado de foami se marcó 14 centímetros de un lado y 16 de otro.
2.- Having clearly defined the diameter of the cake, mark on the golden foami the measures that the horn will have, in this case, on a square of foami was marked 14 centimeters on one side and 16 on the other.
3.- Tomar el nailon fino y cortar aproximadamente el doble (o más) de la medida más grande que se tenga, es decir, en este caso el nailón usado medía unos 35 cm de largo. La necesidad de que sea largo es que después permitirá un correcto entorche del foami.
3.-Take the thin nylon and cut approximately twice (or more) the largest size you have, that is, in this case the nylon used was about 35 cm long. The need for it to be long is that it will then allow for a correct twisting of the foami.
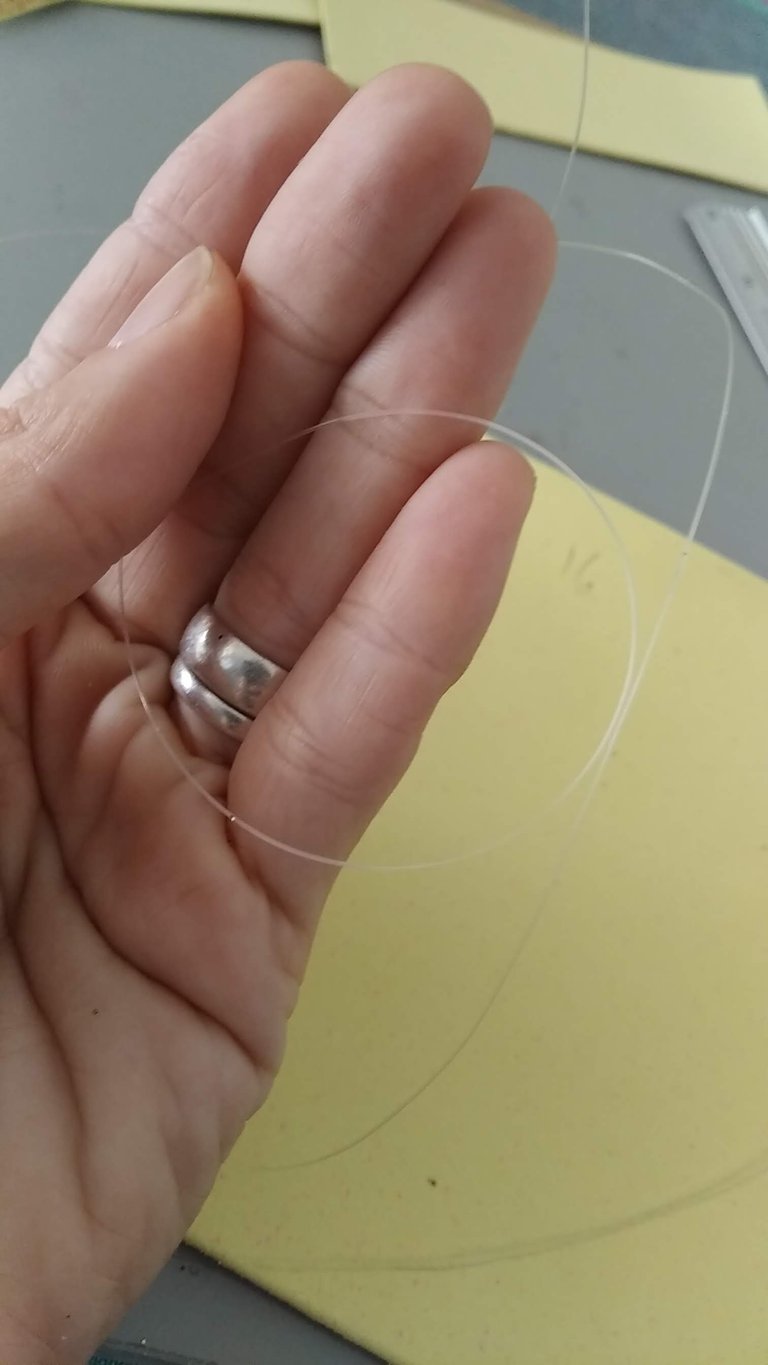
4.- Tomar el uno de los extremos del nailon y fijarlo al foami con silicón caliente. La posición correcta donde pegarlo es a una de las esquinas del cuadro creado con el foami. La mayor parte del nailon debe quedar en la parte externa del cuadro, para que cuando se cierre quede el nailon en la esquina superior.
4.- Take one end of the nylon and attach it to the foami with hot silicone. The correct position to glue it is at one of the corners of the frame created with the foami. Most of the nylon should be on the outside of the frame, so that when the frame is closed, the nylon will remain on the top corner.
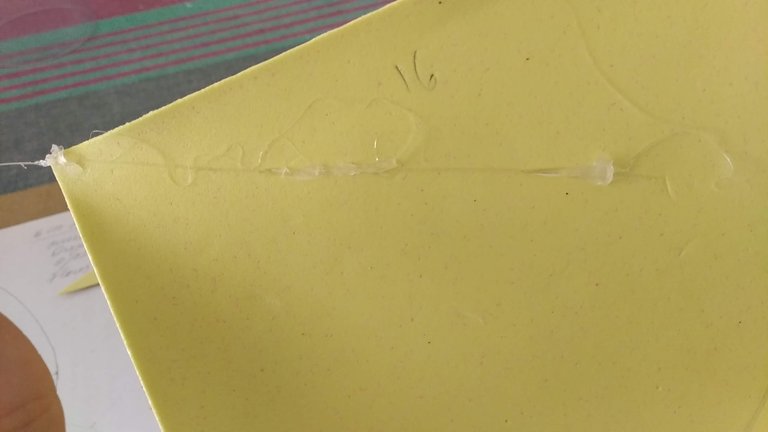
5.- Tomar el cuadro y enrollar en forma de cono, la esquina superior del mismo debe ser donde se pegó el nailon. Una vez se obtenga el ancho deseado, pegar los bordes con silicón caliente y rellenar con algodón.
5.- Take the square and roll it into a cone shape, the top corner of the square should be where the nylon was glued. Once the desired width is obtained, glue the edges with hot silicone and fill with cotton.
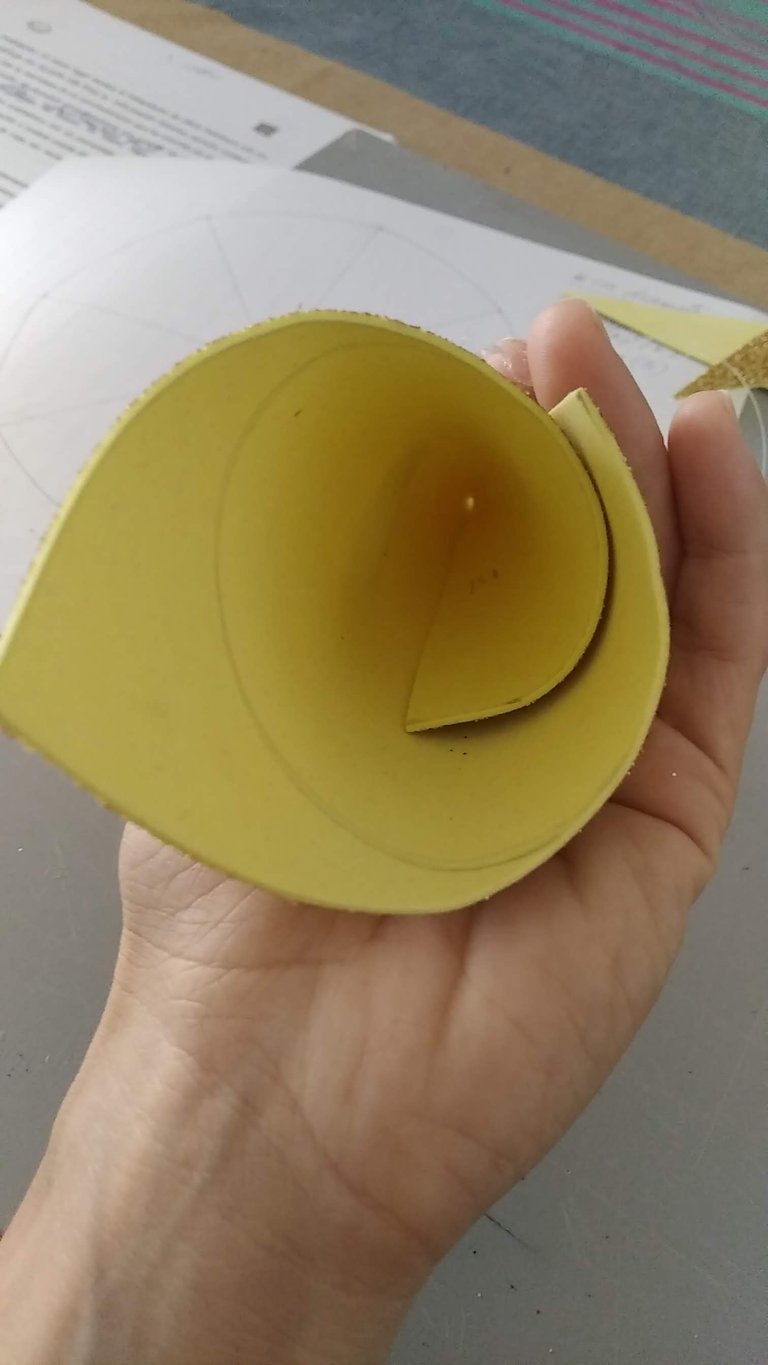
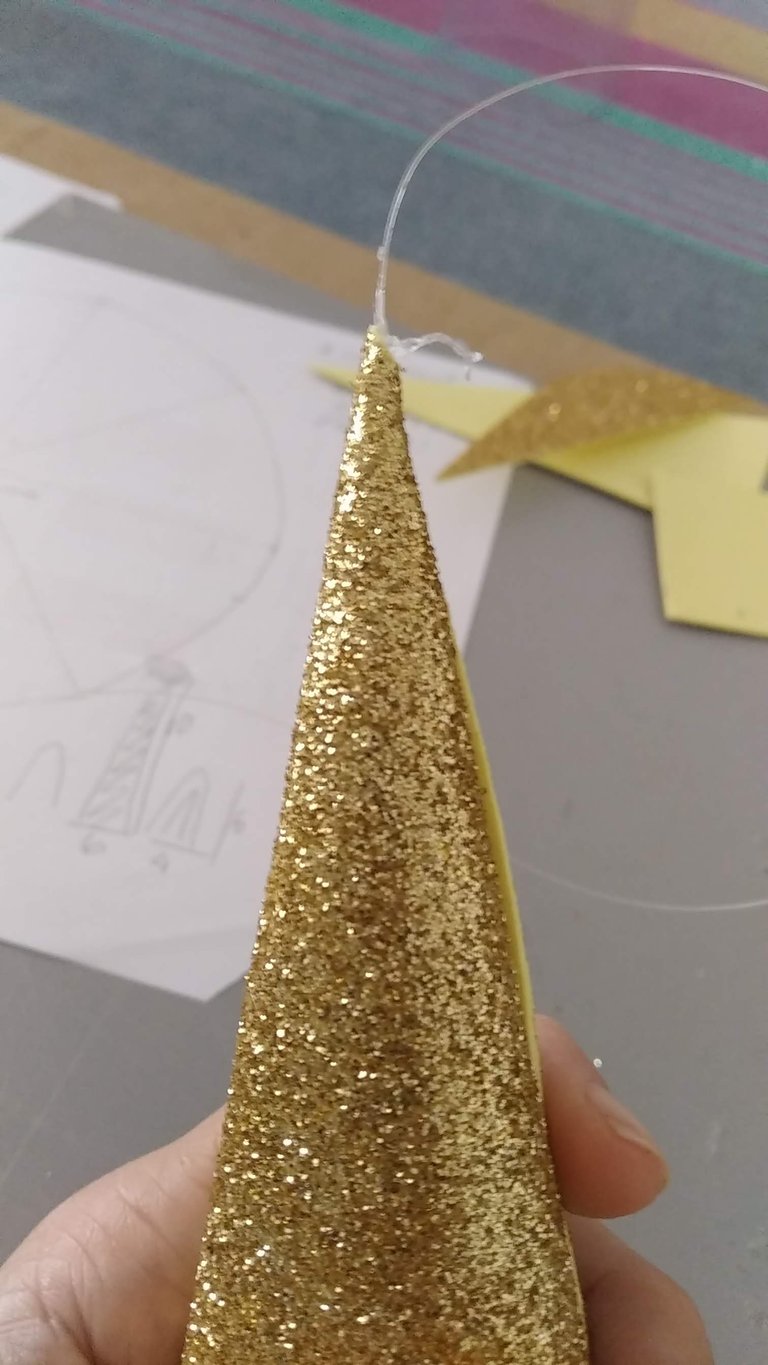
6.- Una vez relleno el cono con el algodón necesario, hacer presión en la base para que no se le salga el algodón y comenzar a entorchar el nailon, de arriba a abajo. Al llegar al final fijar el nailon con silicón caliente y pegar un circulo de foami a la base para así cerrar el cacho.
6.- Once the cone is filled with the necessary cotton, put pressure on the base so that the cotton does not come out and start twisting the nylon, from top to bottom. When you reach the end, fix the nylon with hot silicone and glue a circle of foami to the base to close the cone.
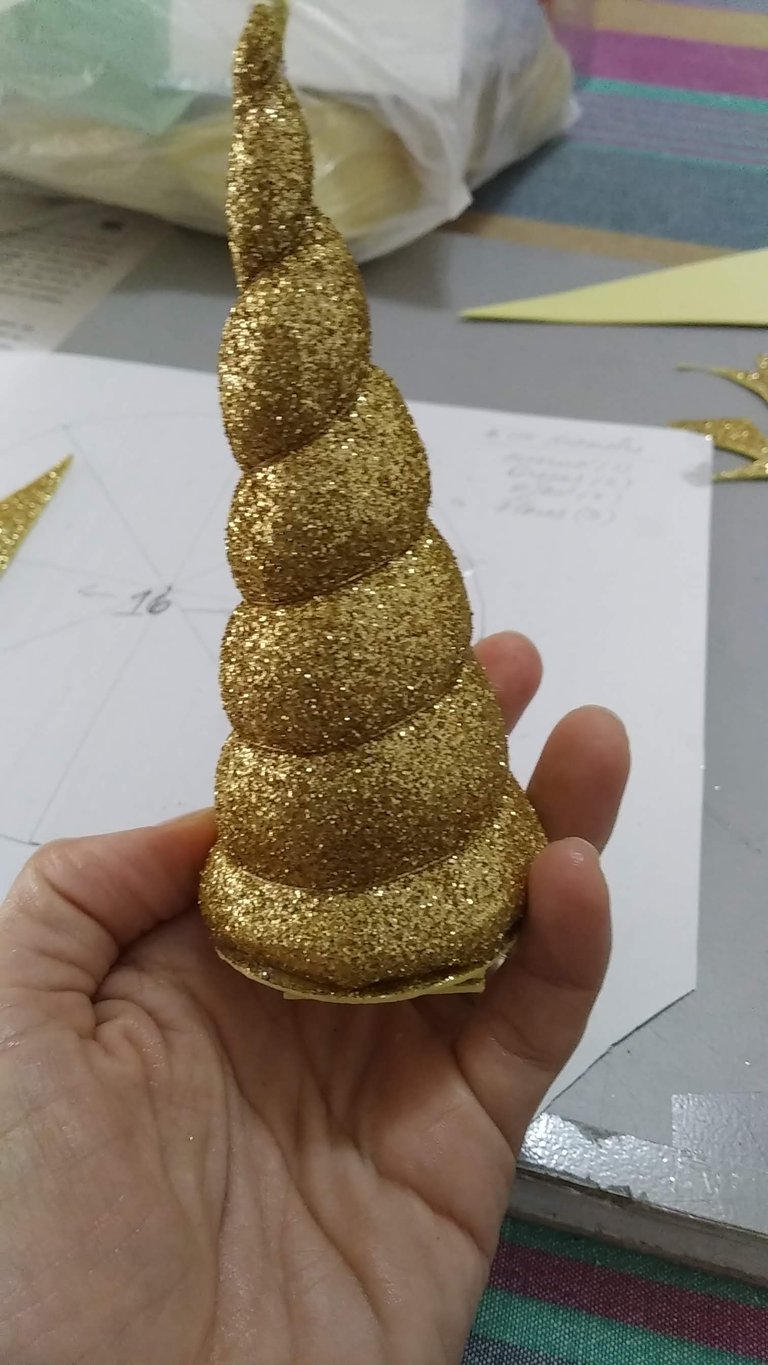
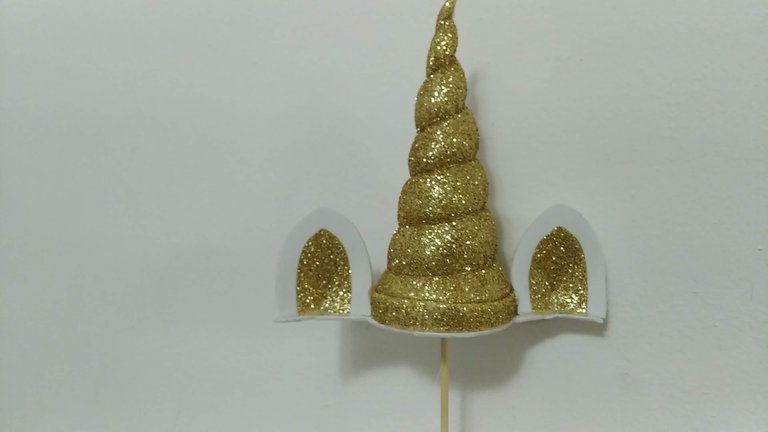
7.- Para elaborar las orejas, se deberá tener en cuenta el alto final del cuerno, estas no pueden superar la mitad del cuerno y deben ser simétricas.
7.- To make the ears, the final height of the horn must be taken into account, they cannot exceed half of the horn and must be symmetrical.
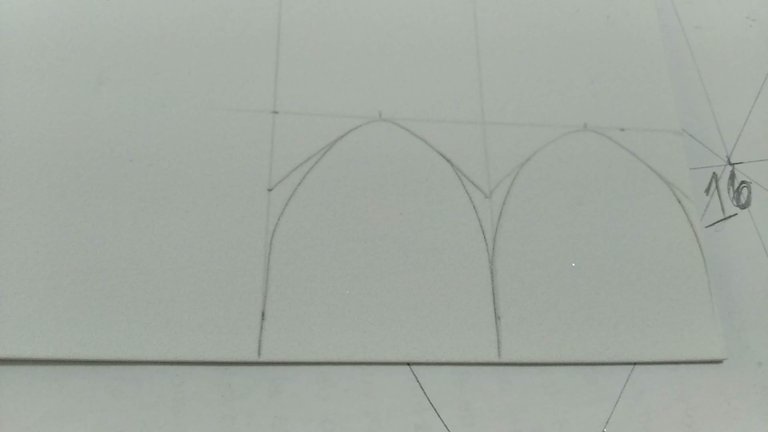
8.-Establecida la medida de las orejas, marcar y cortar sobre el foami blanco. Como las orejas llevan un centro dorado, se deberá marcar y recortar el centro de las orejas en blanco para rellenar con el foami dorado.
8.- Once the size of the ears has been determined, mark and cut out the white foami. As the ears have a golden center, the center of the ears should be marked and cut out in white to be filled with the golden foami.
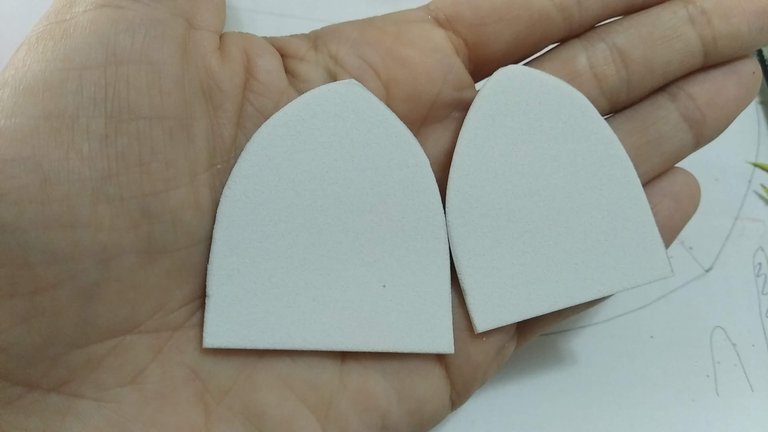
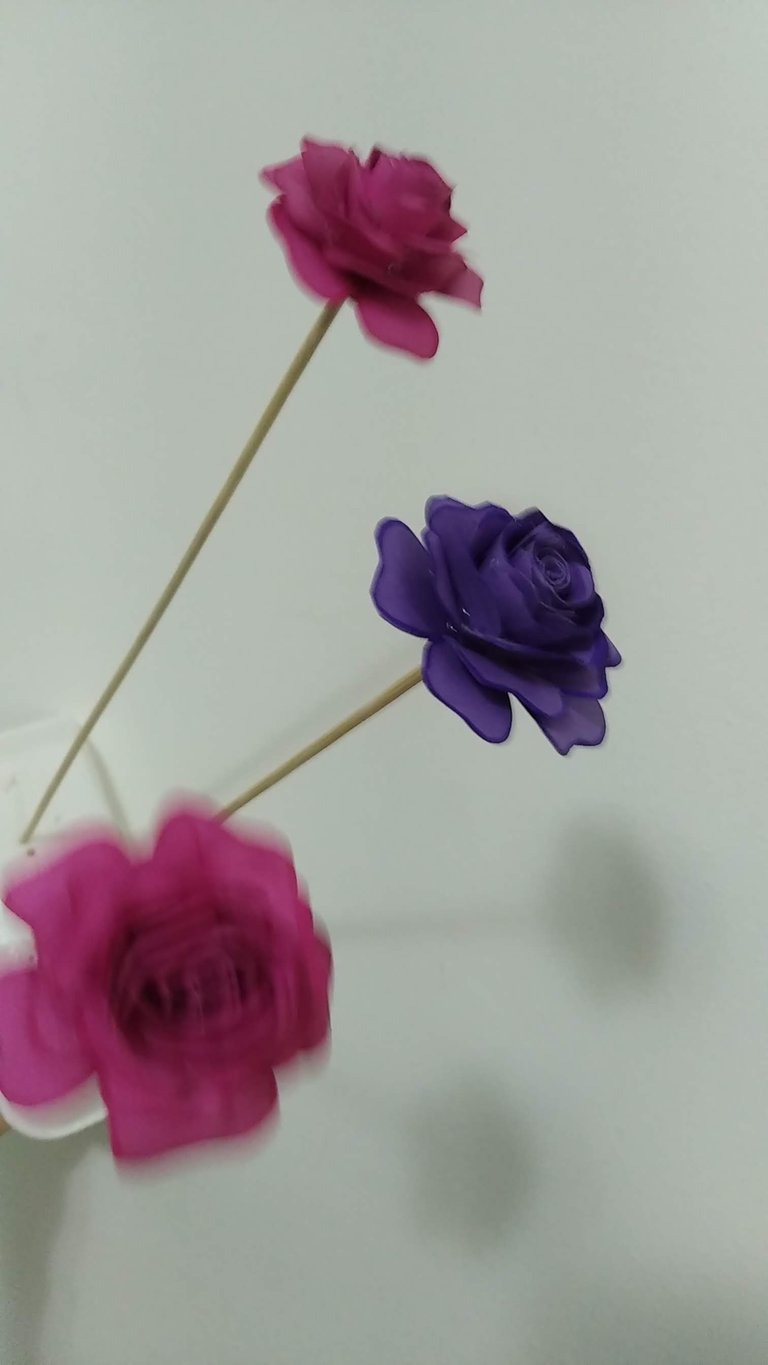
9.- Para realizar las 3 flores en capas, se deberá sacar un modelo y éste a su vez replicarlo en los distintos colores de cartulinas que se elijan; para este caso se hicieron dos flores fucsia y una morada. Para cada flor se marcaron y cortaron cuatro siluetas, es decir un total de 12 siluetas.
9.- To make the 3 layered flowers, a model must be made and this in turn must be replicated in the different colors of cardboard chosen; in this case, two fuchsia flowers and one purple flower were made. For each flower, four silhouettes were marked and cut, that is, a total of 12 silhouettes.
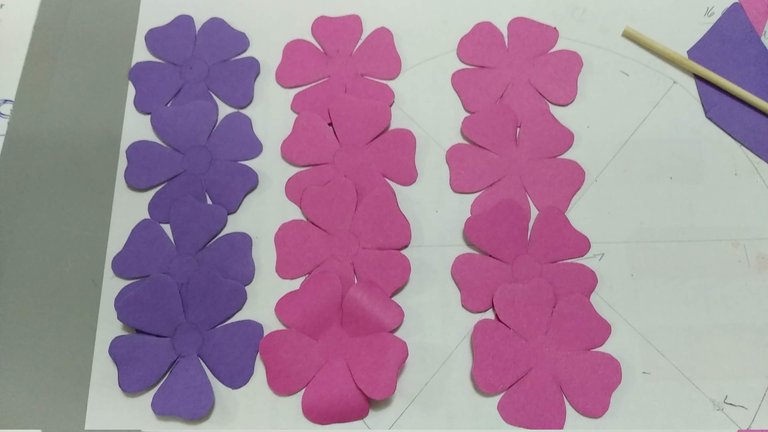
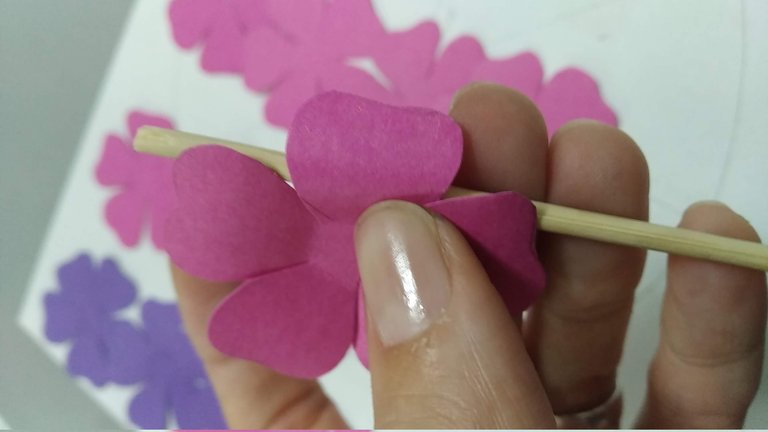
10.- A cada silueta en cartulina darle forma en los bordes. Para esto, utilizar un palito de madera haciendo presión con los dedos entre la cartulina y el palito de madera.
10,- Shape each cardboard silhouette at the edges. To do this, use a wooden stick, pressing with your fingers between the cardboard and the wooden stick.
11.- Teniendo las siluetas listas, comenzar a pegarlas, para esto se deberá comenzar de adentro hacia afuera, teniendo en cuenta que a la primera deberá colocarse con todos los pétalos cerrados, la segunda menos cerrada, la tercera un menos y la cuarta casi abierta. Para un pegado inmediato entre capa y capa recomiendo hacerlo con silicón frío.
11.- Once the silhouettes are ready, start gluing them, starting from the inside out, taking into account that the first one should be placed with all the petals closed, the second one less closed, the third one a little less and the fourth one almost open. For an immediate gluing between layers, I recommend using cold silicone.
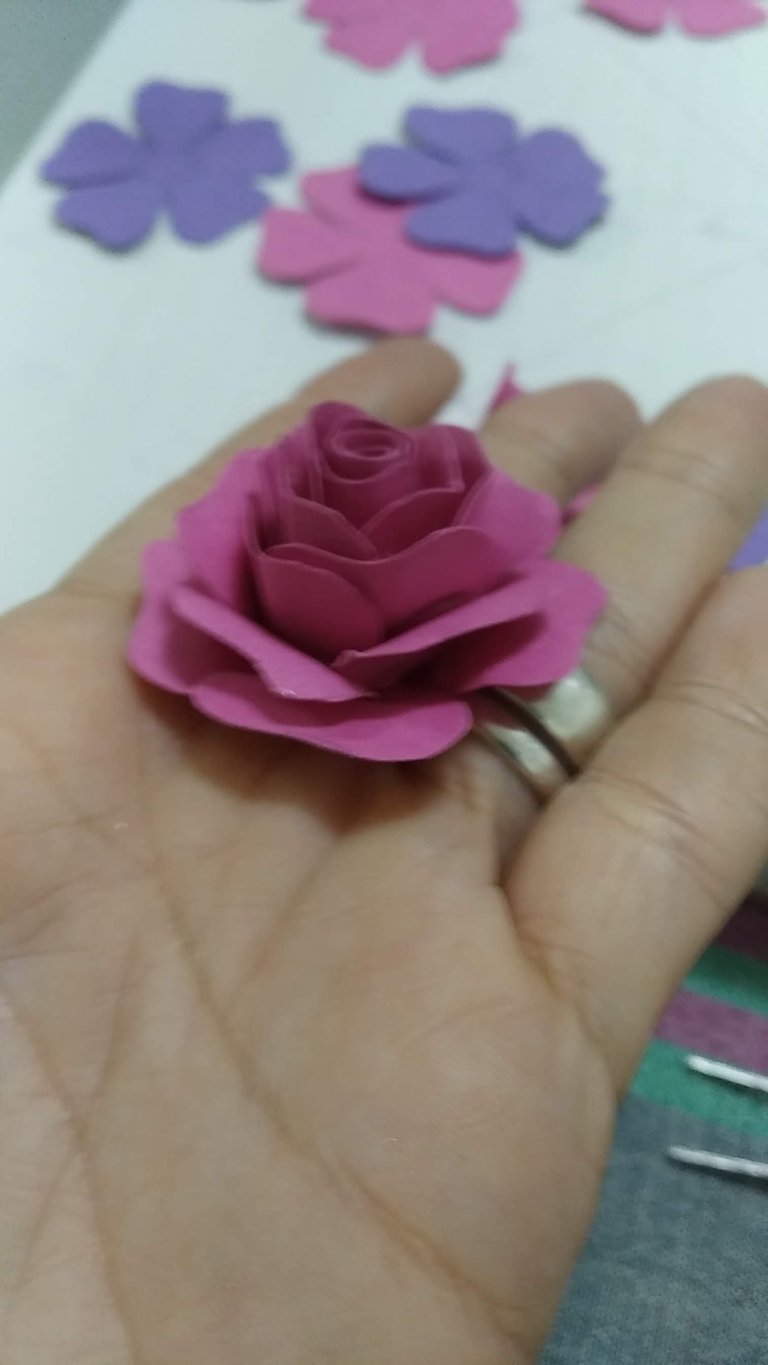
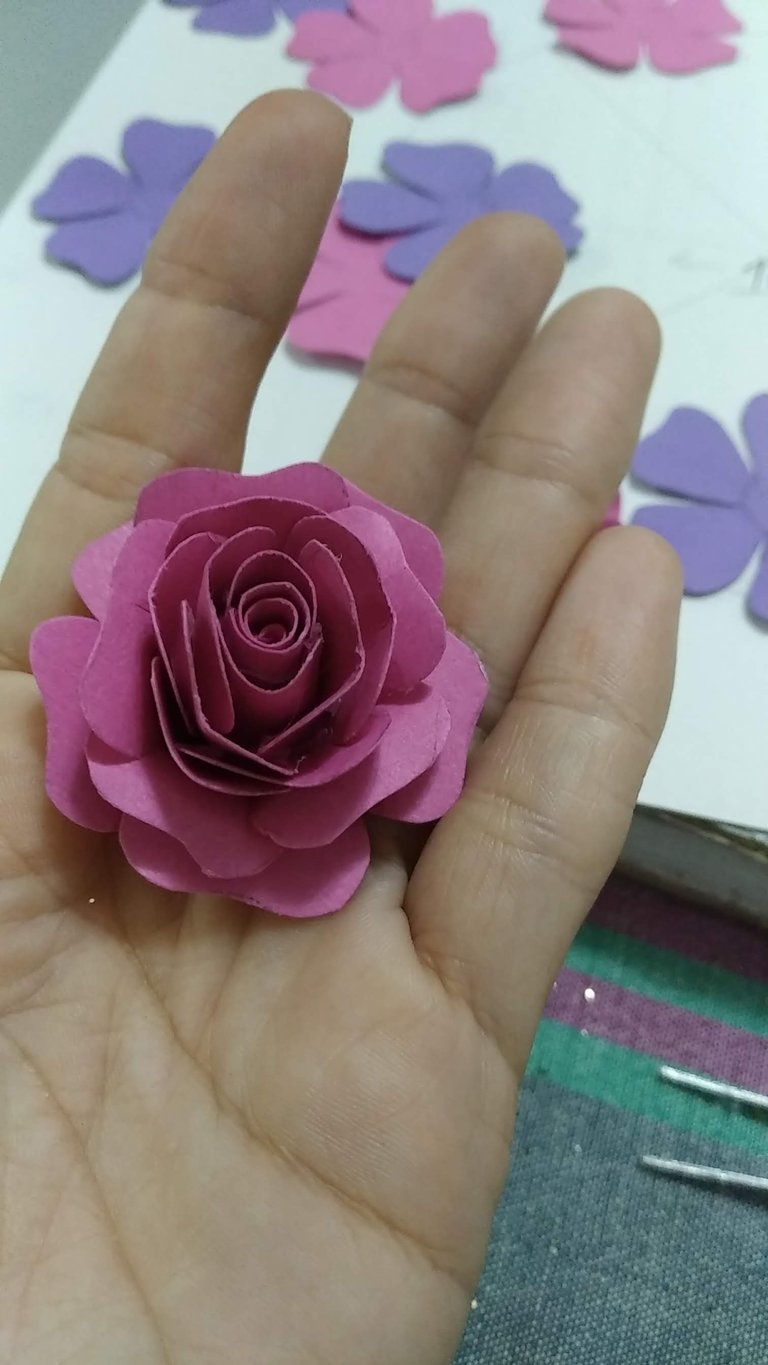
12.- Unir las orejas al cuerno con silicón caliente y pegarle en la parte inferior un palito de madera que permita posterior insertarse en el pastel. Lo mismo a las flores, pegar un palito de madera a cada flor.
12.- Attach the ears to the horn with hot silicone and glue a wooden stick at the bottom to allow it to be inserted into the cake. The same for the flowers, glue a wooden stick to each flower.
Espero les haya gustado y sobre todo se entusiasmen a crear algo parecido para sorprender a familiares y amigos.
I hope you liked it and, above all, I hope you get excited to create something similar to surprise your family and friends.
Para la traducción de esta publicación se utilizó el Traductor Deepl en su versión gratuita
The Deepl Translator was used for the translation of this publication in its free version.
SALUDOS / REGARDS
Todas las Fotos fueron tomadas con mi teléfono Redmi 7A.
Contenido original de @keco (fotos y texto) - Todos los derechos reservados Publicado en HIVE así como en mi instagram : http://instagram.com/carton_pintura_algo_mas
All Photos were taken with my Redmi 7A phone.
Original content from @keco (photos and text) - All rights reserved Posted on HIVE as well as on my instagram: http://instagram.com/carton_pintura_algo_mas
