

Hello, my dear readers of this community, I hope you are well and that you have or have had an excellent day.
I tell you that since I was little, I was not a fan of dolls, in fact, there came a time when I no longer liked them. Today, I have a 5 year old girl who is fascinated by dolls, whenever she sees one, she tells me she wants one just like it. The fact that I don't like them doesn't mean that I'm going to deprive her of playing with dolls. Today I am going to surprise her by making her one and I want to share with you how quick and easy it was to make it.
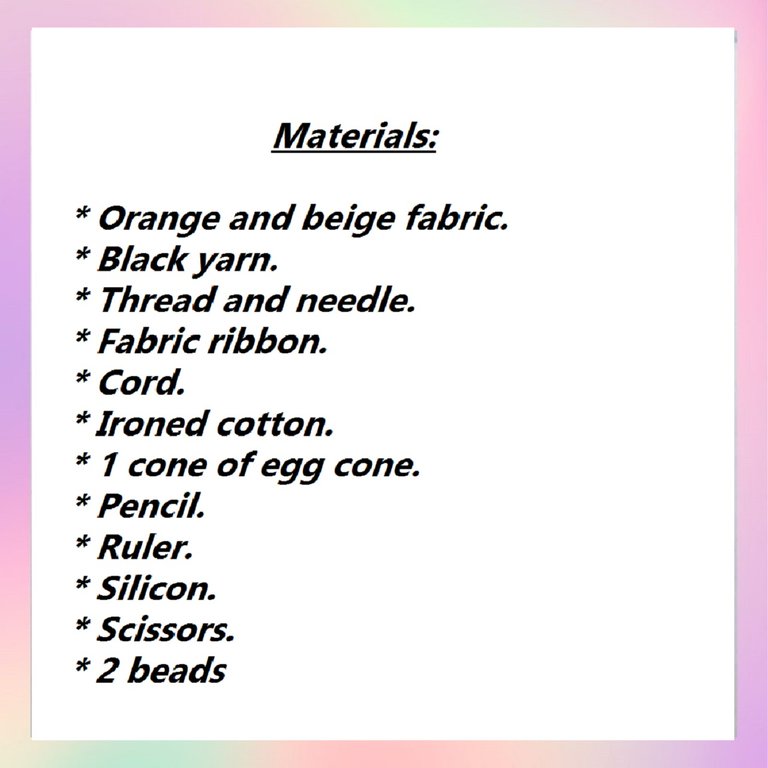
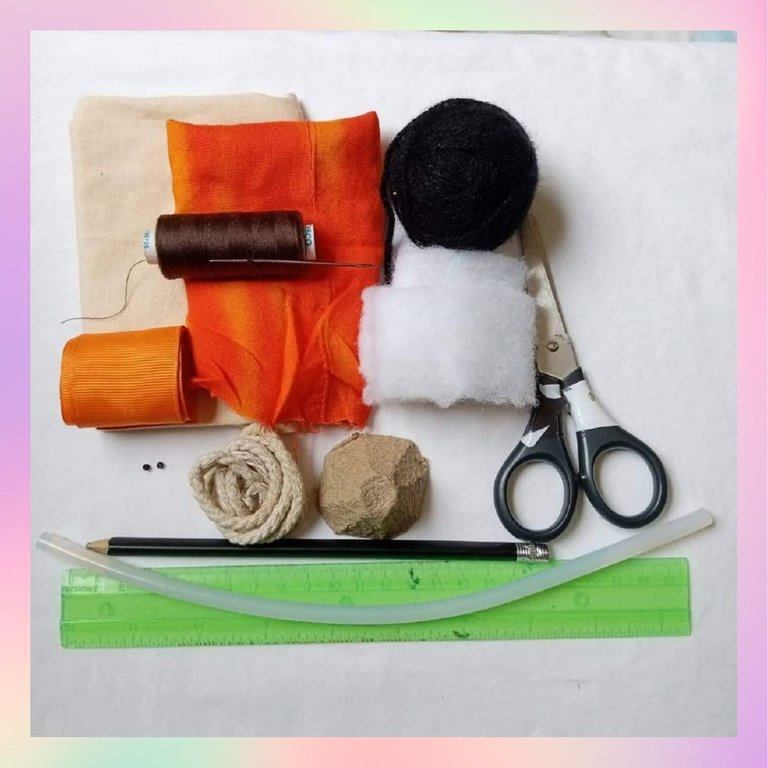
Procedure:
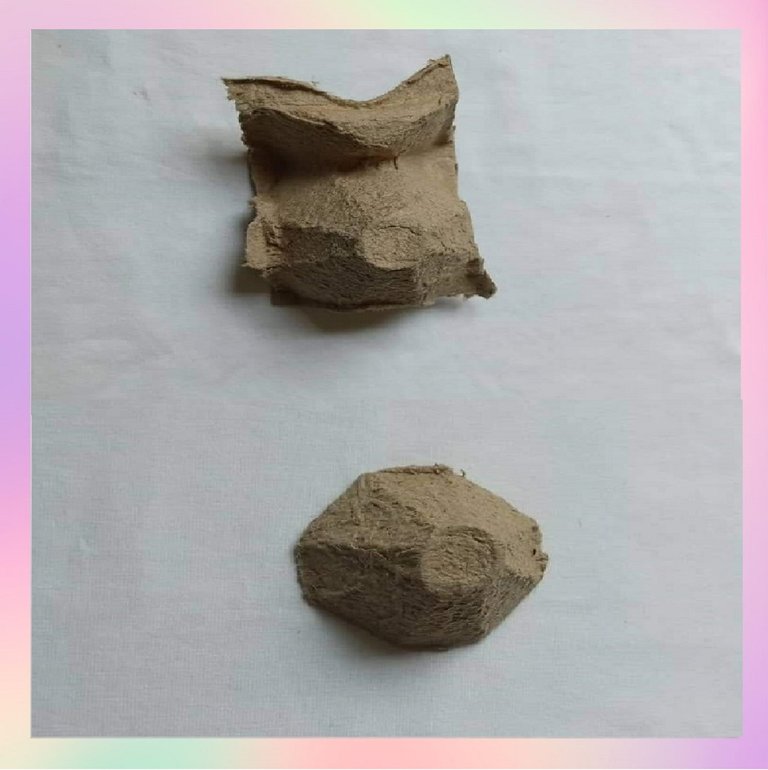
From the egg cartons, cut out a cone and cut it so that it looks as shown in the image.
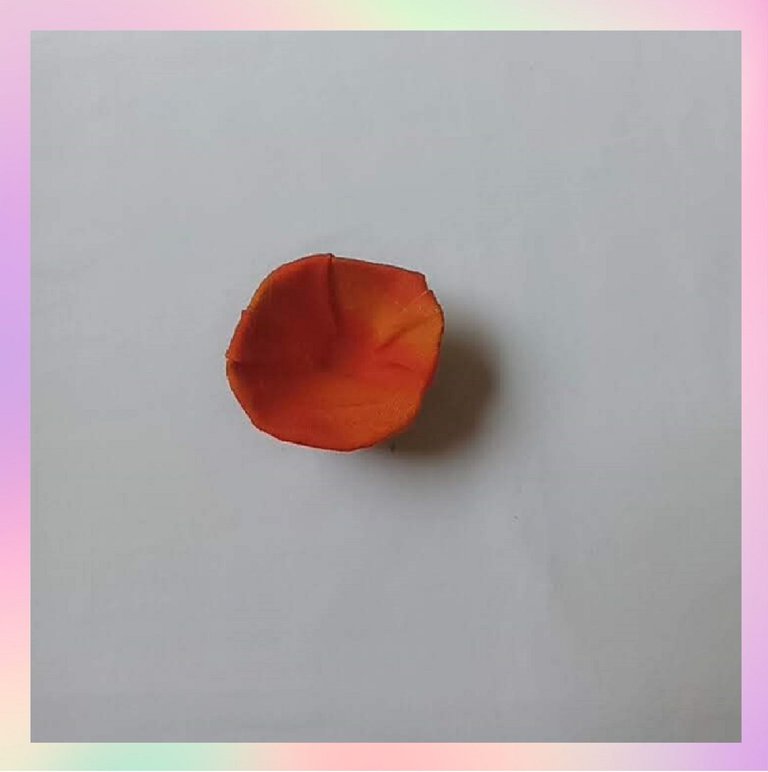
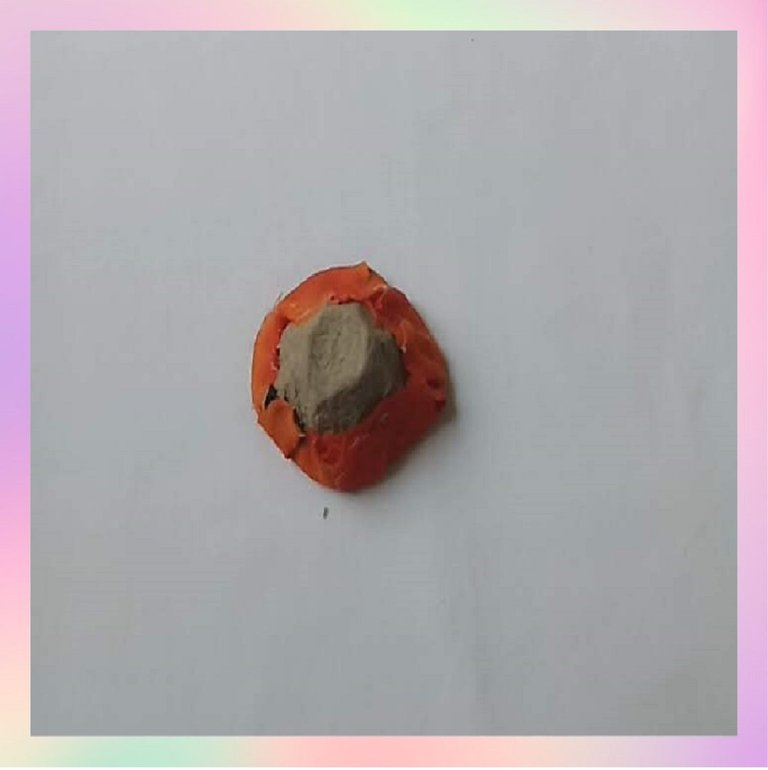
With the piece of orange fabric, I cut out a circle and glued it in the center of the cone on the inside. I made some cuts in the leftover fabric and then with the silicone, I glued them to the outside of the cone.
| https://images.ecency.com/DQmedwriMM4K7a61LgM3PDdXMKUCN9vFgqCLYc4p5XM6qqe/imagen_3..jpg | https://images.ecency.com/DQmWgPWk3CPzPDGJeZiLVBzMRWFisGEdy9Y7a6bhnSqSrae/imagen_4..jpg |
|---|
 |  |
|---|
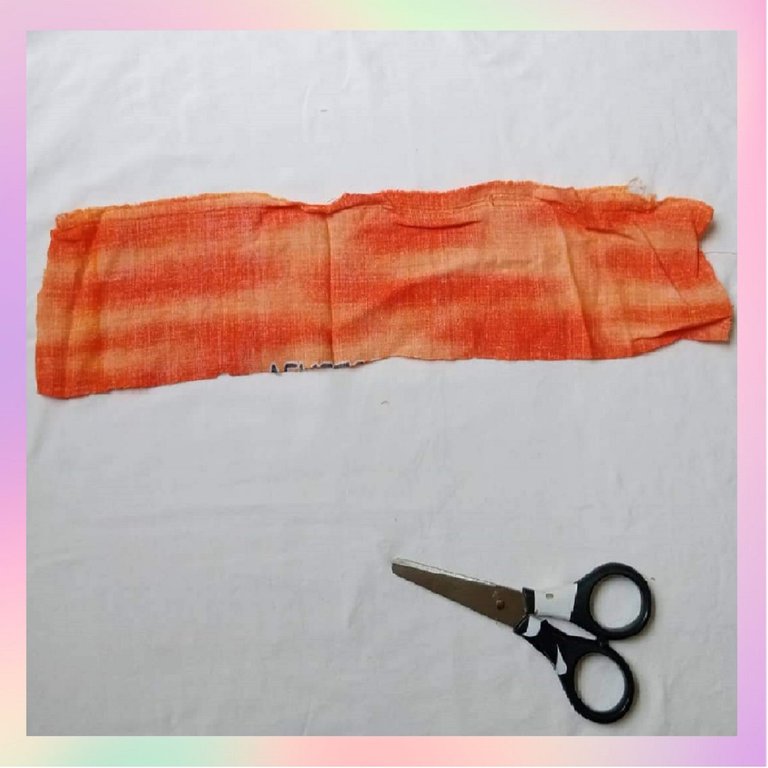
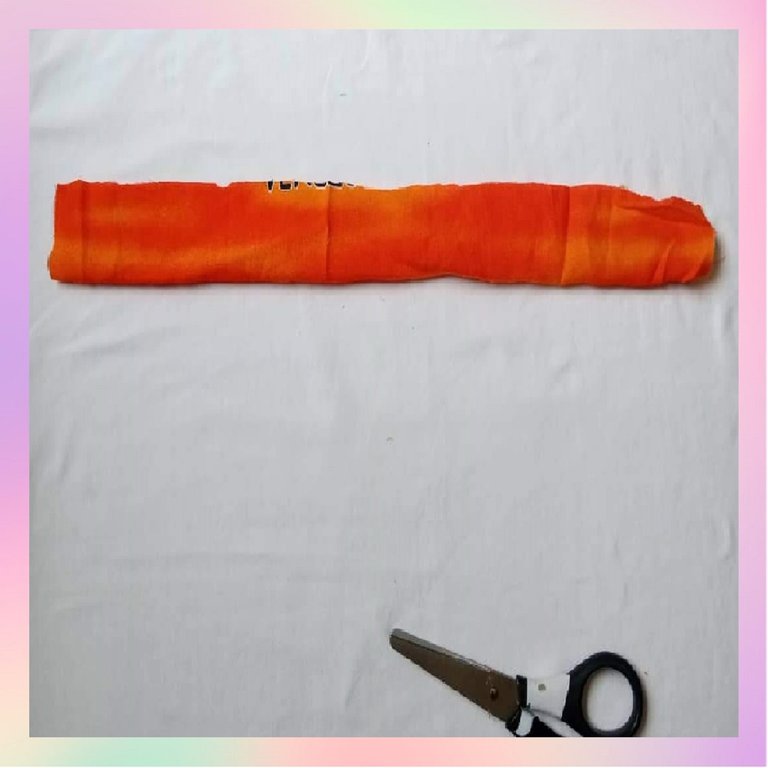
Using the orange fabric, cut a strip 30 cm long by 6 cm wide. Grasp the strip and fold it in half, as shown in the image.
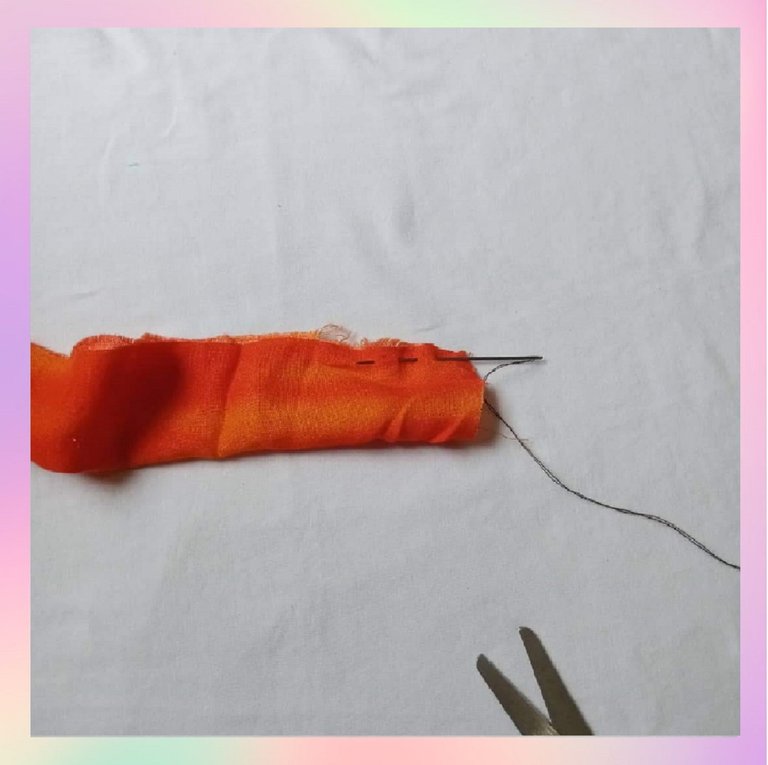
With the needle I sewed all around the edge of the fabric, leaving about 5 mm from the edge. I sewed the whole fabric and when I reached the end, pull the thread to be able to gather it and make it look like a flower.
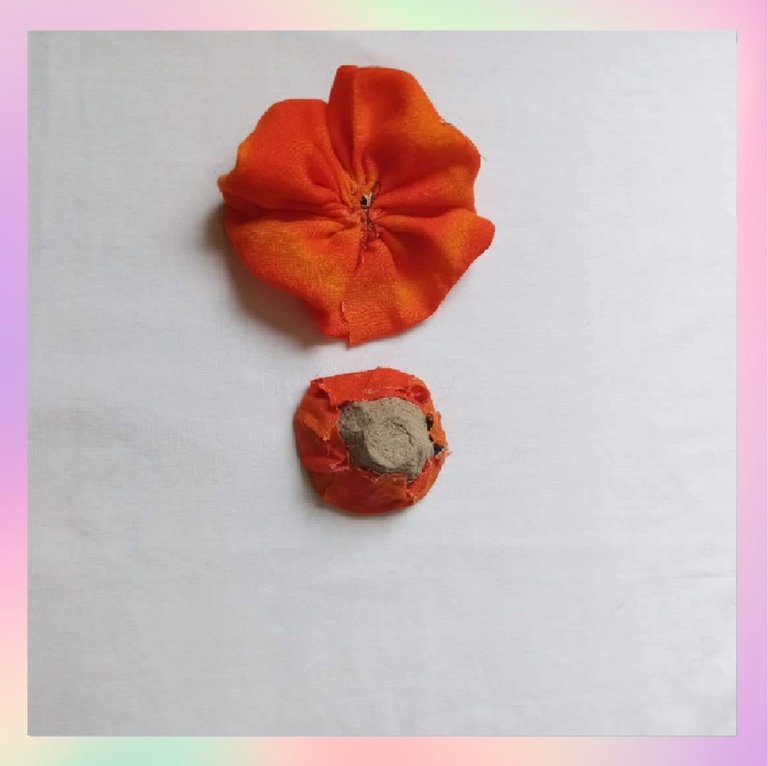
Take the cone and put silicone on the top, in order to glue the fabric that I sewed previously, leaving it like this.
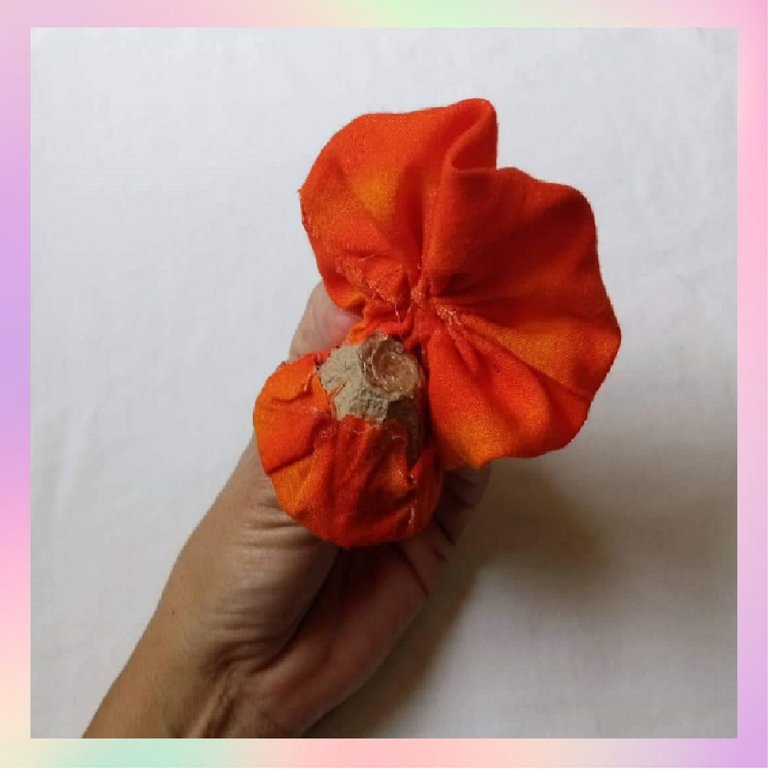 | 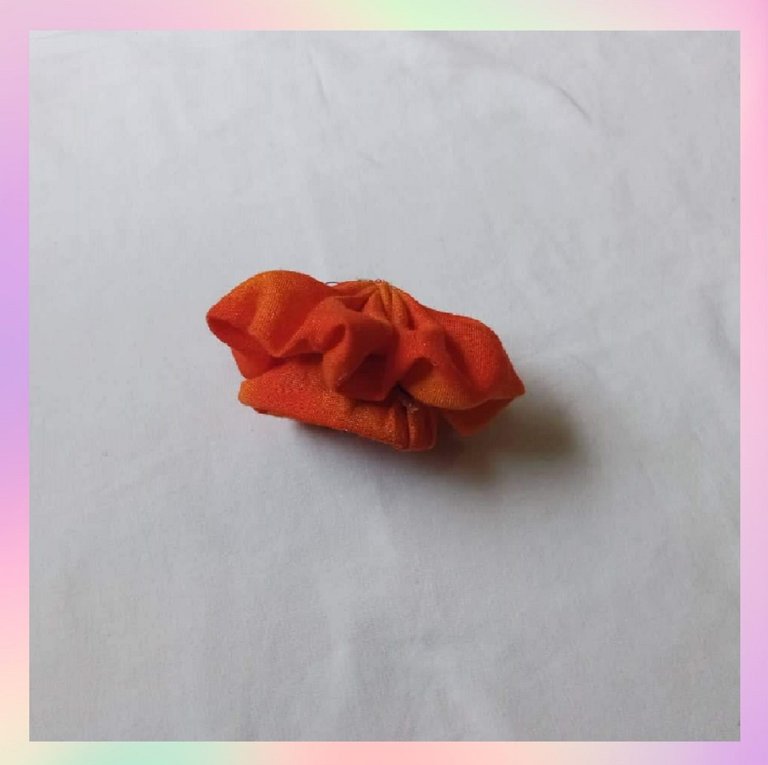 |
|---|
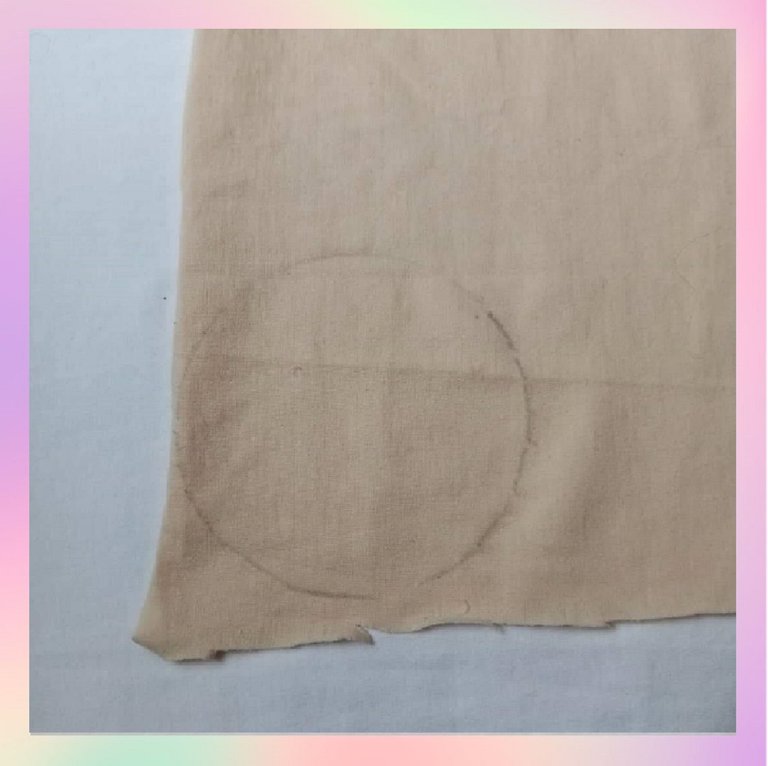
With the beige fabric, cut a circle of 10 cm. Then with the thread I sewed all around the circle, leaving a margin of 5 mm. Then I filled it with the ironed cotton and closed it, taking care to leave a flattened circle.
 | 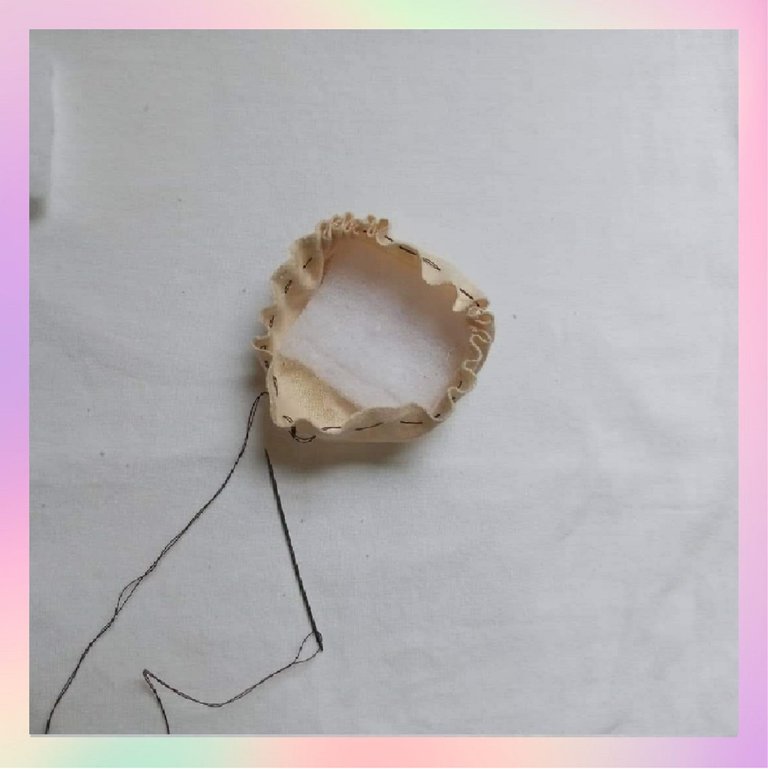 | 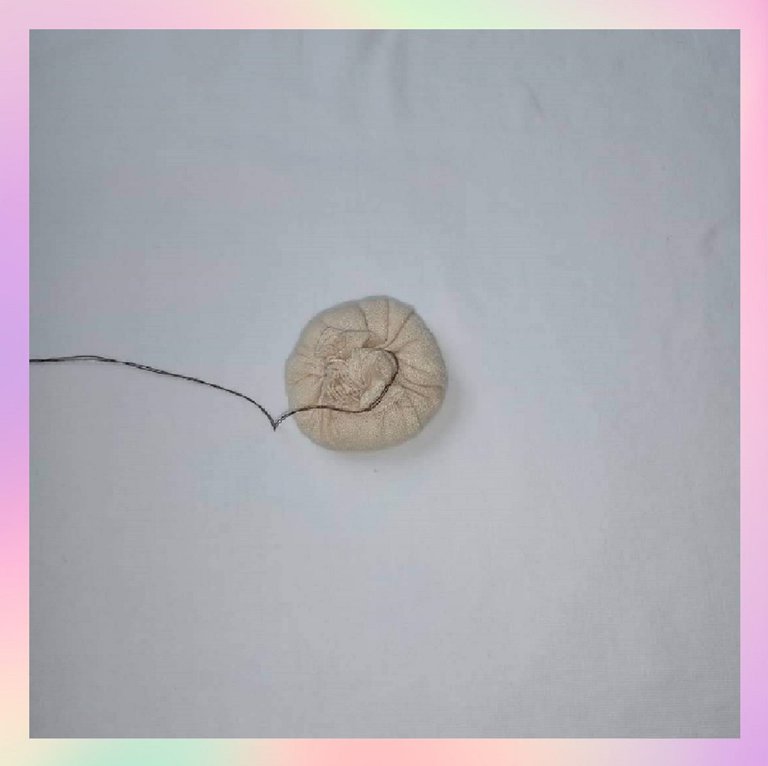 |
|---|
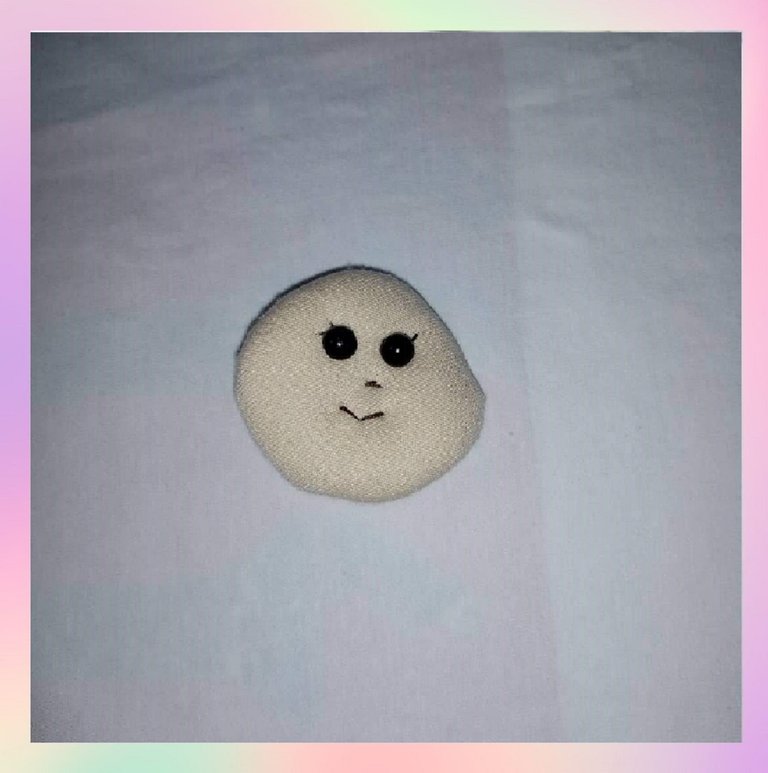
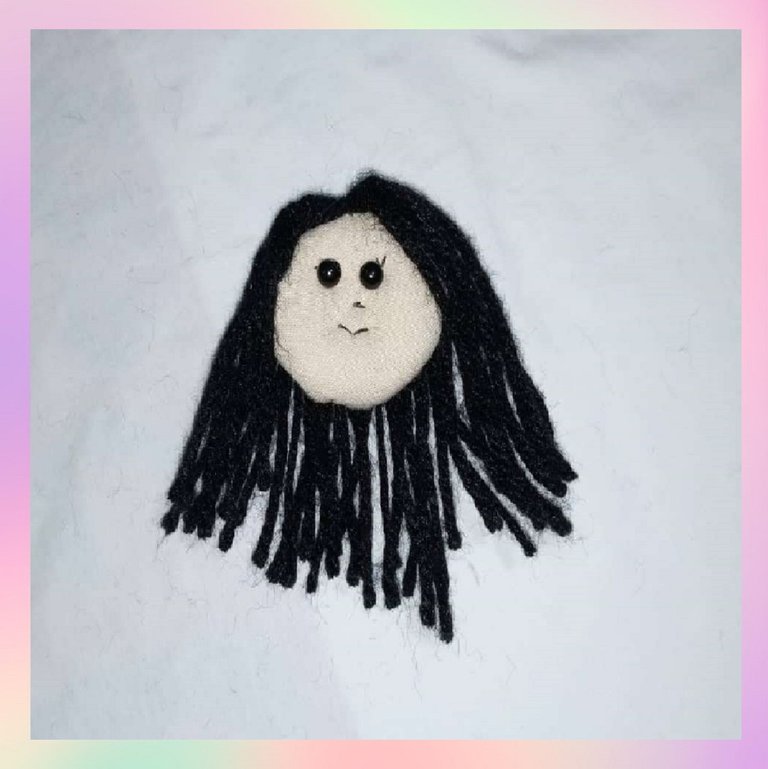
With the thread, I sewed a stitch right in the middle of the circle to make the nose. I also made some stitches where the eyes would be and sewed eyelashes to them, then I placed the beads to make the eyes. I also sewed a mouth.
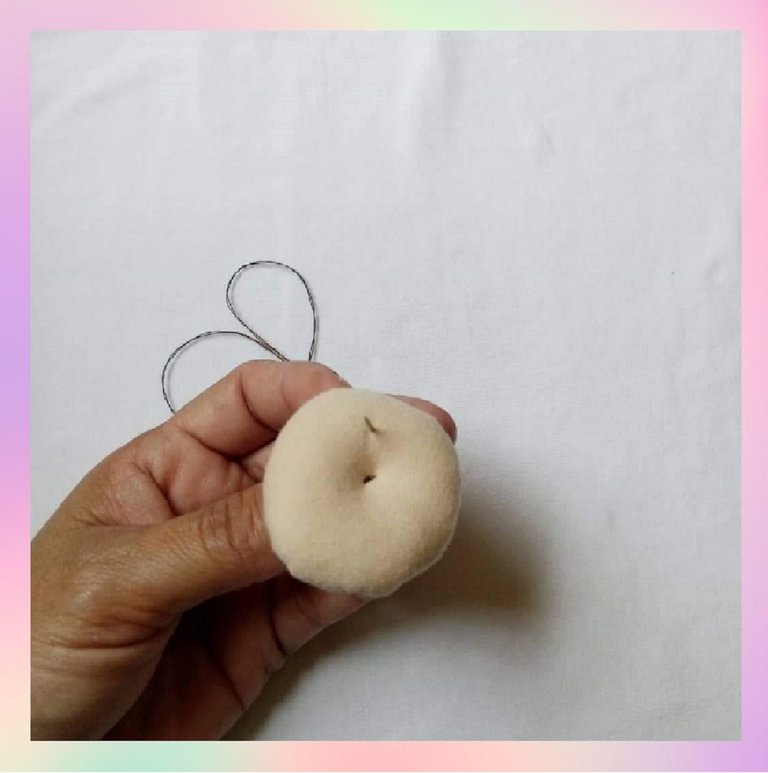 | 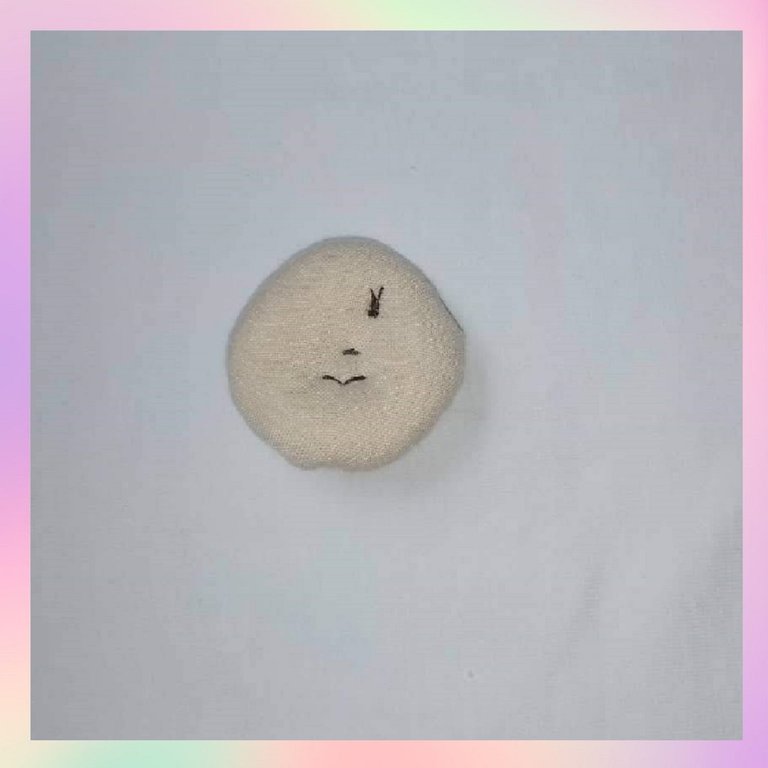 |  |
|---|
With the thread, I sewed a stitch right in the middle of the circle to make the nose. I also made some stitches where the eyes would be and sewed some eyelashes to them, then I placed the beads to make the eyes. I also sewed a mouth.
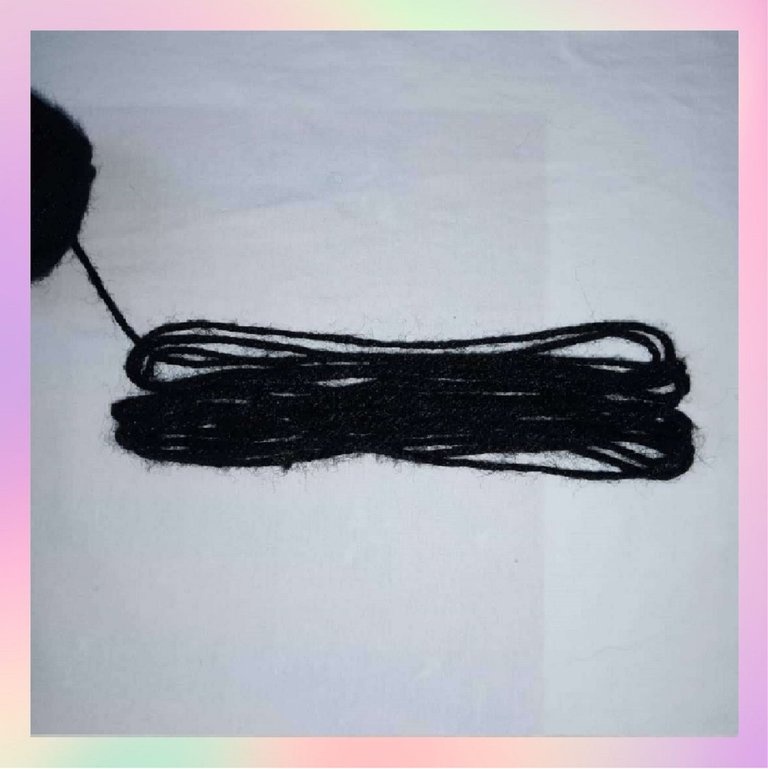
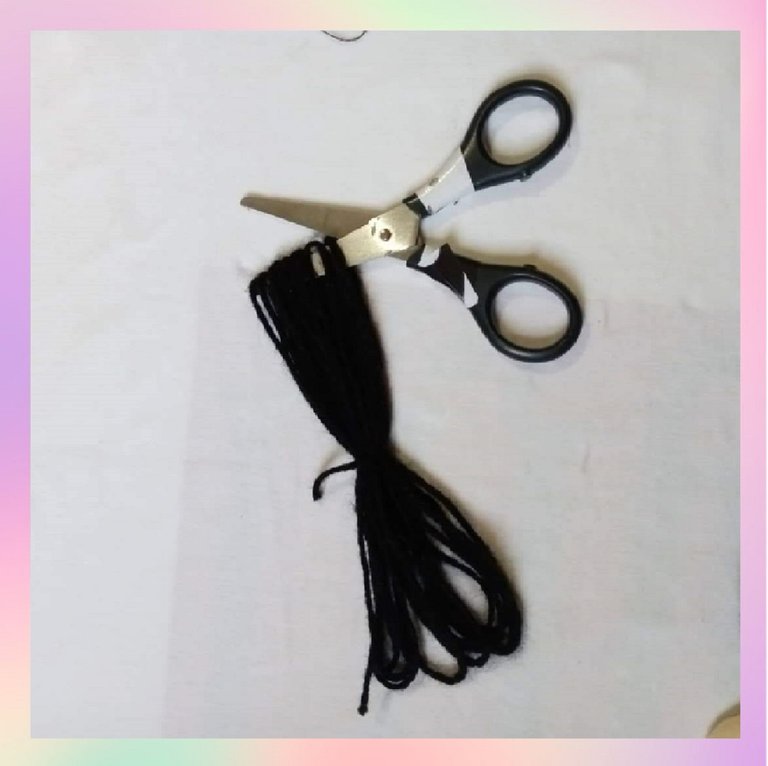
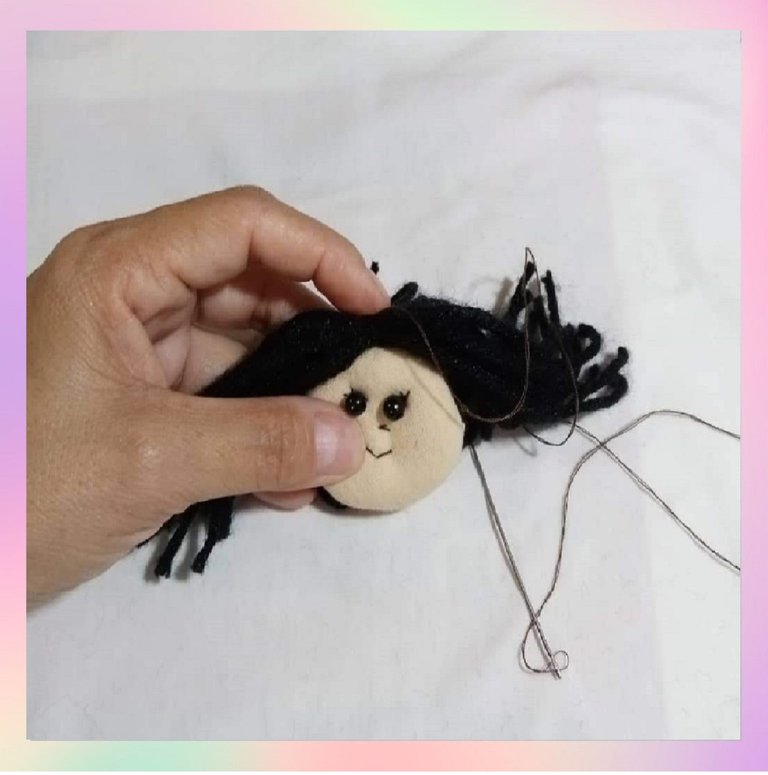
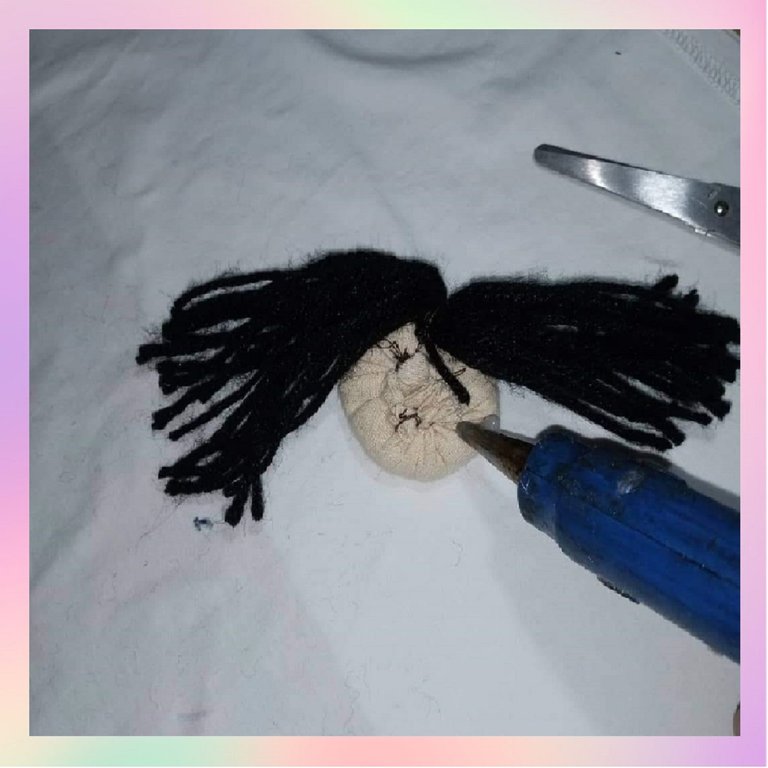
Once I had the bow ready, I sewed it with the needle on the head, just at the top. After attaching it with the thread, I put silicone on the back and glued the threads to cover the whole back. And this is how it looks like.
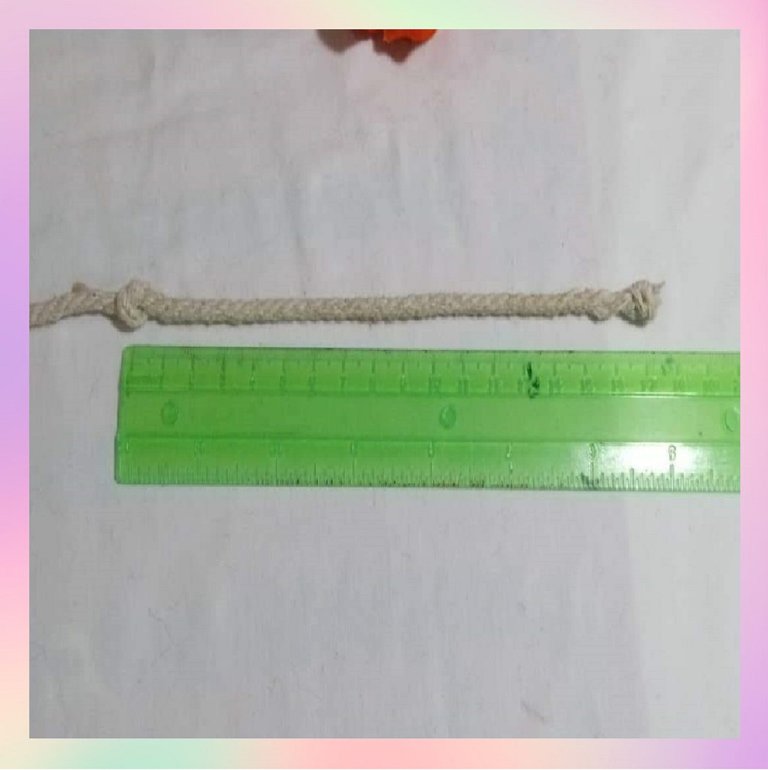
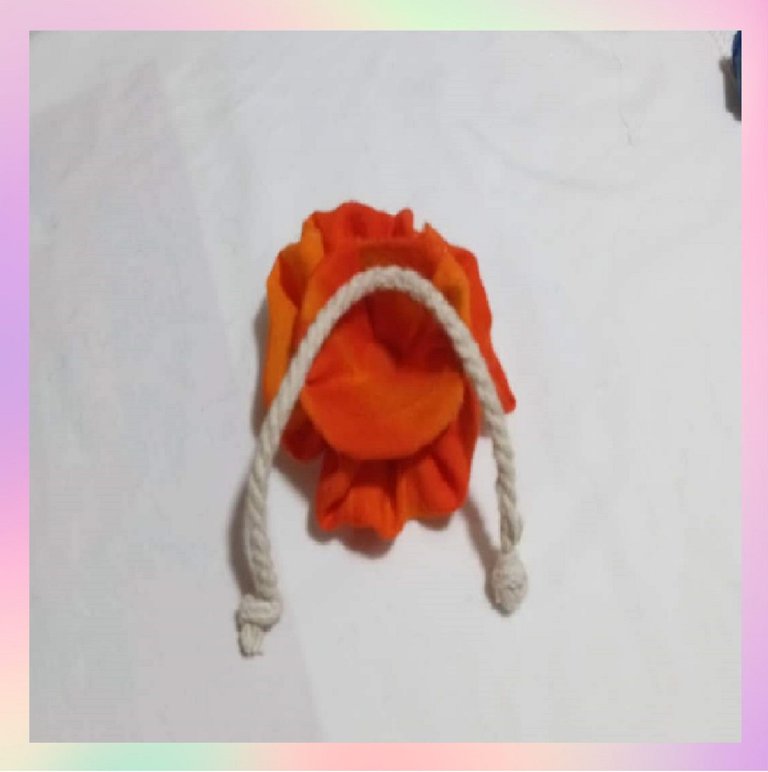
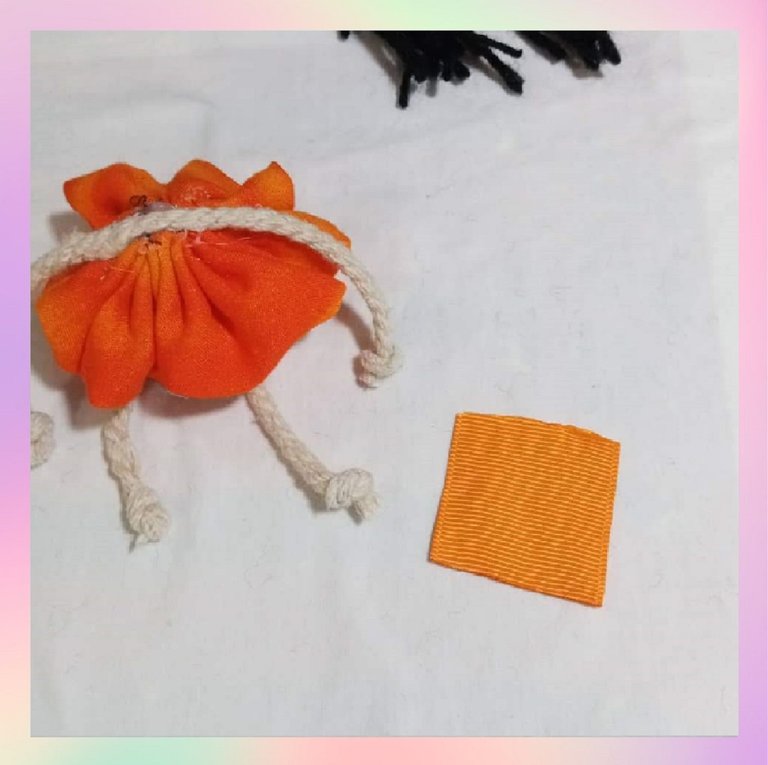
I took the cord and made some knots at the ends, with a length of 16 cm. I glued it with silicone on the cone, at the bottom, that would be the doll's legs. I also cut another cord with a length of 10 cm, I did the same procedure with the knots and glued it on the top of the cone. I also cut a square with the orange ribbon, 2 x 2 cm and glued it on top of the cord, to cover the ties and in turn serves as decoration as the neck of the dress.
 |  |  |
|---|
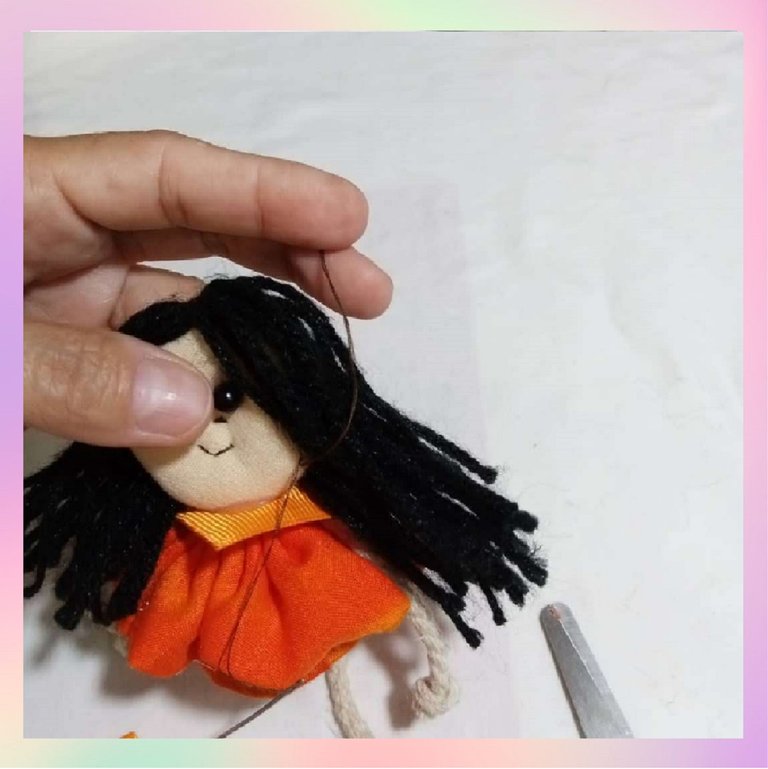
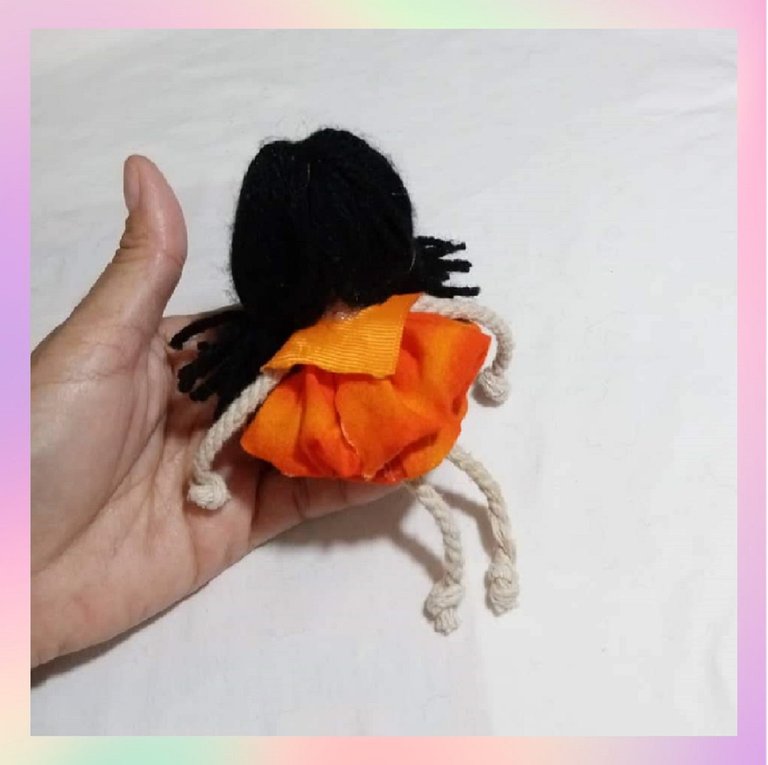
Once I had everything ready, I glued the head to the cone. And with the thread I gathered the doll's hair, to make two buns. And I finished decorating with two white pearls. And this is the final result.

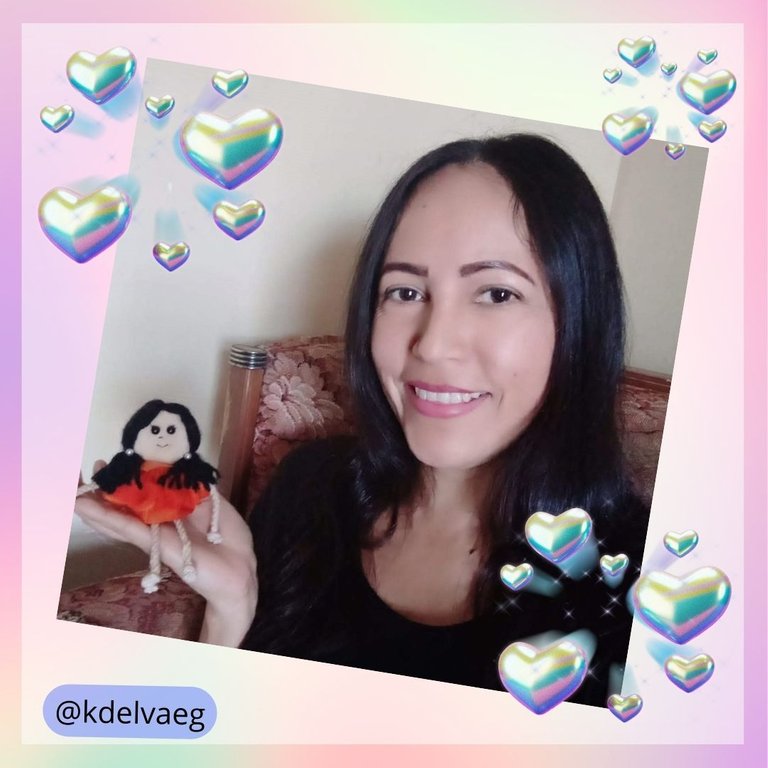
I hope you liked it, my daughter loved it and was delighted. I say goodbye as always, but not before thanking you for taking a little of your valuable time to visit my blog, I hope to see you in my next post, be well and take care of yourselves.
Original creation content:
⭐ All photos are my property taken and edited with my Alcatel cell phone.
⭐ The cover image was made with the Canva application and edited by me.
⭐ The English translation was made with the help of DeepL.
❤️🧡💛💚💙💜🖤♥️❤️🧡💛💚💙💜


Hola mis queridos lectores de esta comunidad, espero que se encuentren bien y que tengan o hayan tenido un excelente día.
Les cuento que desde pequeña, no era fanática de las muñecas, de hecho, llego un momento en que ya no me gustaban. Hoy en día, tengo una niña de 5 años a la cual le fascinan las muñecas, siempre que ve una, me dice que quiere una igual. El hecho de que no me gusten, no significa que la voy a privar a ella de que juegue con las muñecas. Hoy la voy a sorprender haciendole una y quiero compartir con ustedes, lo rápido y fácil que fue hacerla.
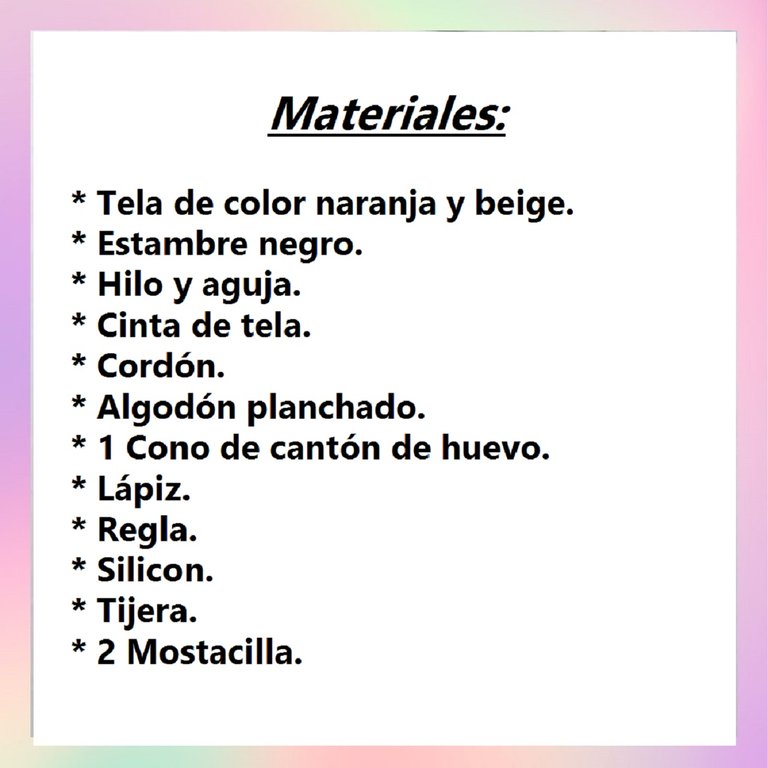

Procedimiento:
De los cartones donde vienen los huevos, recorte un cono y lo recorte de manera que quedara tal como lo indica la imagen.

Con el retazo de tela anaranjada, recorte un círculo y lo pegaré en el centro del cono por dentro. En la tela que sobraba, le hice unos cortes y luego con el silicon, los pegue hacia afuera del cono.
| https://images.ecency.com/DQmedwriMM4K7a61LgM3PDdXMKUCN9vFgqCLYc4p5XM6qqe/imagen_3..jpg | https://images.ecency.com/DQmWgPWk3CPzPDGJeZiLVBzMRWFisGEdy9Y7a6bhnSqSrae/imagen_4..jpg |
|---|
 |  |
|---|
Con la tela anaranjada, recorte una tira de 30 cm de largo por 6 de ancho. Agarre la tira y la doble a la mitad, tal como se muestra en la imagen.


Con la aguja cosí por toda la orilla de la tela, dejando unos 5 mm desde el borde. Cosí toda la tela y al llegar al final, hale el hilo para poder fruncirla y quedar como si fuera una flor.


Tome el cono y le coloque silicon en la parte de arriba, para poder pegar la tela que cosí anteriormente, quedando de esta manera.
 |  |
|---|
Con la tela beige, corte un círculo de 10 cm. Luego con el hilo cosí por todo el alrededor del círculo, dejando un margen de 5 mm. Luego lo rellene con el algodón planchado y cerré, cuidando de que me quede un círculo aplanado.
 |  |  |
|---|
Con el hilo lo, cosí un punto justo en el medio del círculo para poder hacer la nariz. También hice unos puntos donde quedaran los ojos y les cosí unas pestañas, luego le coloque las mostacillas para hacer los ojos. Y de también le cosí una boca.
 |  |  |
|---|
Con hilo negro de estambre, hice un moño de 15 cm de largo, los coloque como se ven en la imagen y luego de amarrarlo en centro, le corte las puntas para que pudieran quedar todos los hilos sueltos.


Una vez que tenía el moño listo, lo cosí con la aguja en la cabeza, justo en la parte de arriba. Después de fijarlo con el hilo, por la parte de atrás, le coloque silicon y pegue los hilos para cubrir toda la parte de atrás. Y así es como se ve.


Agarre el cordón y le hice unos nudos en las puntas, con un largo de 16 cm. Lo pegué con silicon en el cono, por la parte de abajo, eso serian las piernas de la muñeca. También recorte otro cordón con un largo de 10 cm, hice el mismo procedimiento con los nudos y lo pegue en el cono, por la parte de arriba. También recorte un cuadrado con la cinta naranja, de 2 x 2 cm y lo pegue encima del cordón, para cubrir los empates y a su vez sirve de decoración como el cuello del vestido.
 |  |  |
|---|
Ya que tenía todo listo, pegue la cabeza al cono. Y con el hilo recogí el cabello de la muñeca, para hacerle dos moños. Y terminé decorando con dos perlas blancas. Y este es el resultado final.


Espero que les haya gustado, a mi hija le fascino y quedo encantadisima. Me despido como siempre, no sin antes agradecerles que me hayan dedicado un poco de su valioso tiempo para visitar mi blog, los espero en mi próxima publicación, pórtense bien y cuídense mucho.
Contenido de creación original:
⭐ Todas las fotos son de mi propiedad tomada y editadas con mi celular Alcatel.
⭐ La imagen de portada fue realizada con la aplicación Canva y editada por mí.
⭐ La traducción al idioma inglés fue realizada con ayuda de DeepL.


