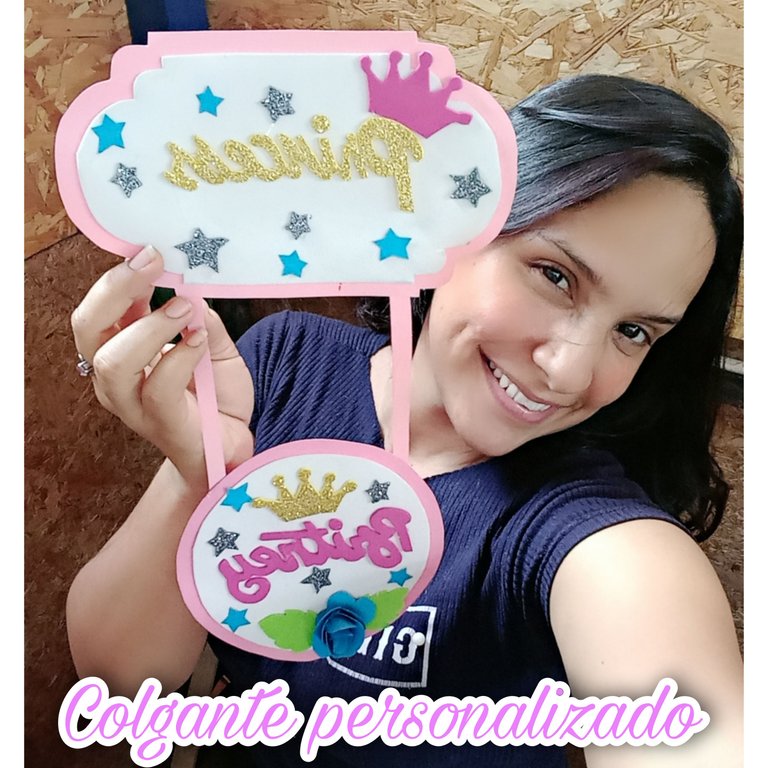
Feliz y excelente día queridos amigos de la colmena, bienvenidos a mi blog. Hoy les traigo un pequeño tutorial de cómo hacer un Colgante personalizado, ideal para identificar las puertas de los cuartos.
Happy and excellent day dear friends of the hive, welcome to my blog. Today I bring you a small tutorial on how to make a personalized Pendant, ideal for identifying the doors of the rooms.

- Cartulina rosada y azul.
- Goma Eva dorada, fucsia, blanca y plateada.
- Patrones de círculo, letras de Princess, el nombre de la persona y barra Decorativa.
-Tijeras.
-Pistola de silicón caliente. - Lápiz.
- Cartulina rosada y azul.
- Goma Eva dorada, fucsia, blanca y plateada.
- Patrones de círculo, letras de Princess, el nombre de la persona y barra Decorativa.
-Tijeras.
-Pistola de silicón caliente. - Lápiz.
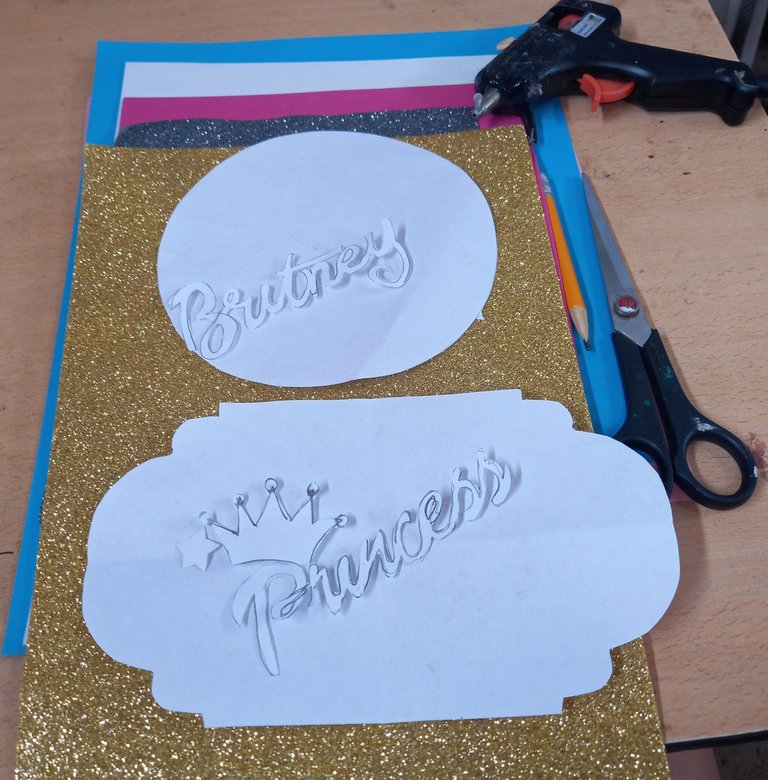

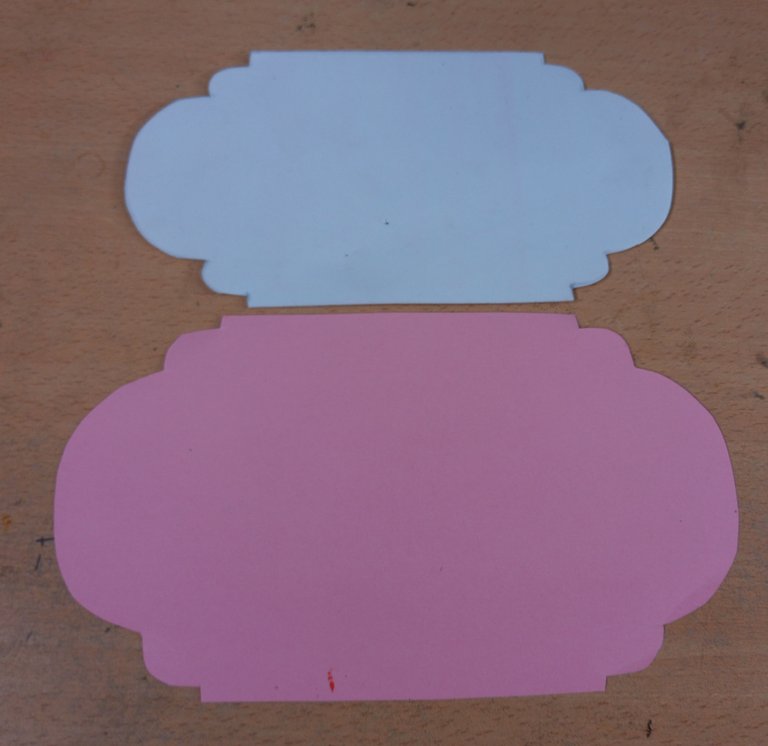
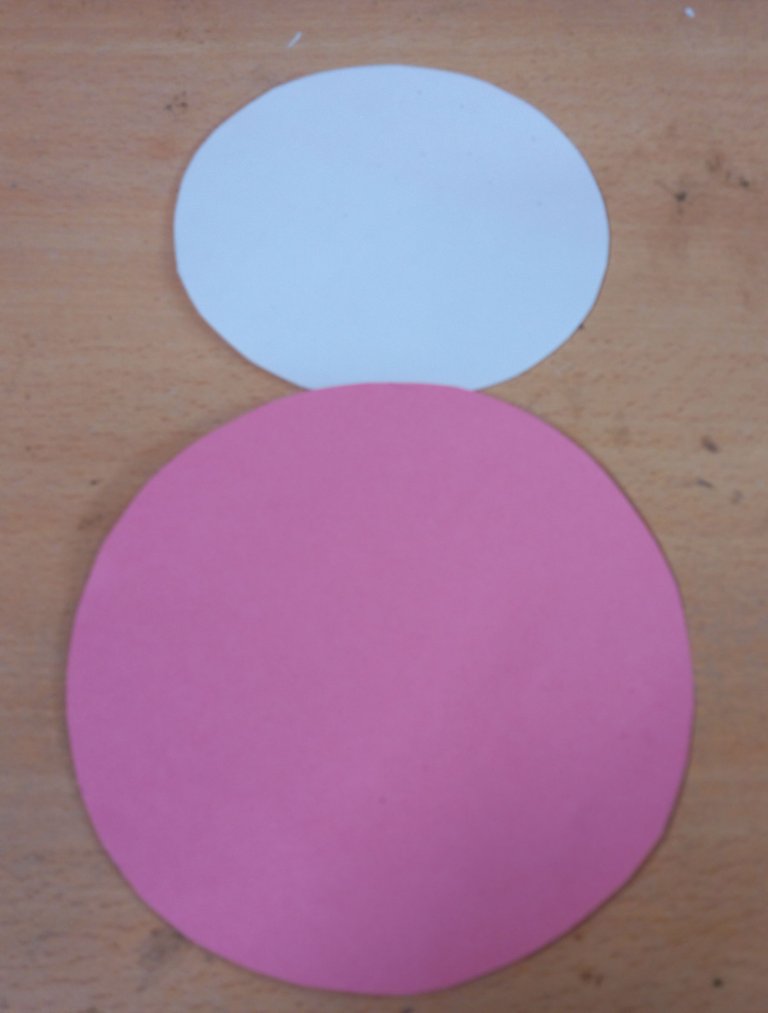
Primero marcamos y recortamos el patrón de la barra decorativa utilizando para ésta, cartulina rosada y goma eva blanca ya que haremos dos piezas en dos tamaños, es decir, una pequeña y otra grande, esto mismo lo haremos para el círculo.
First we mark and cut out the pattern of the decorative bar using pink cardboard and white eva gum, since we will make two pieces in two sizes, i.e., one small and one large, and we will do the same for the circle.
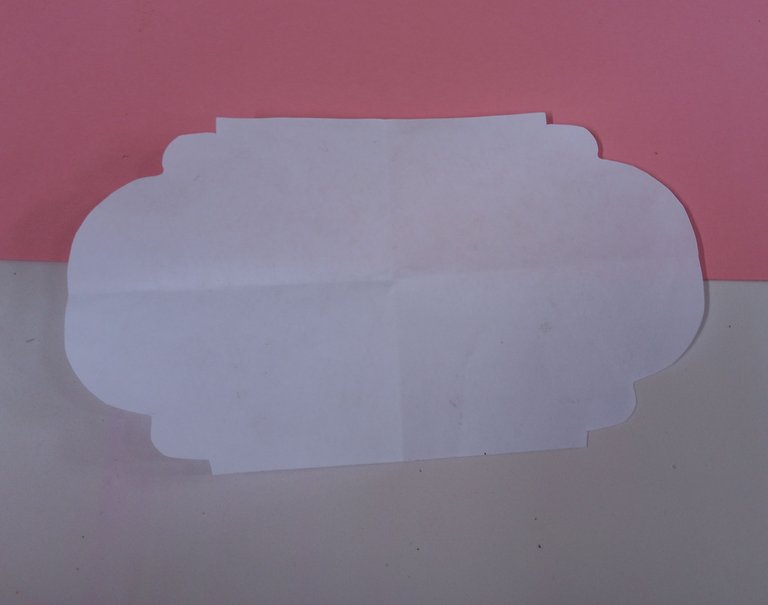
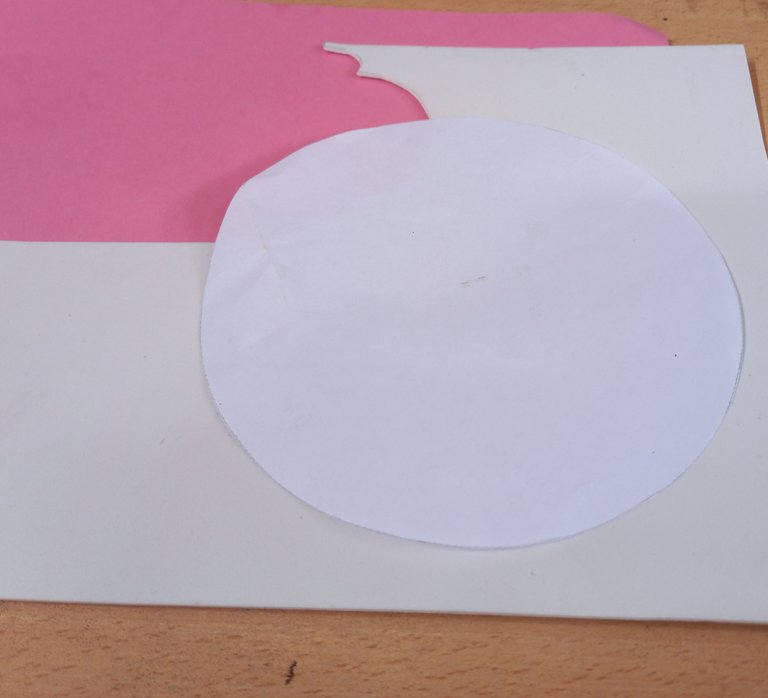
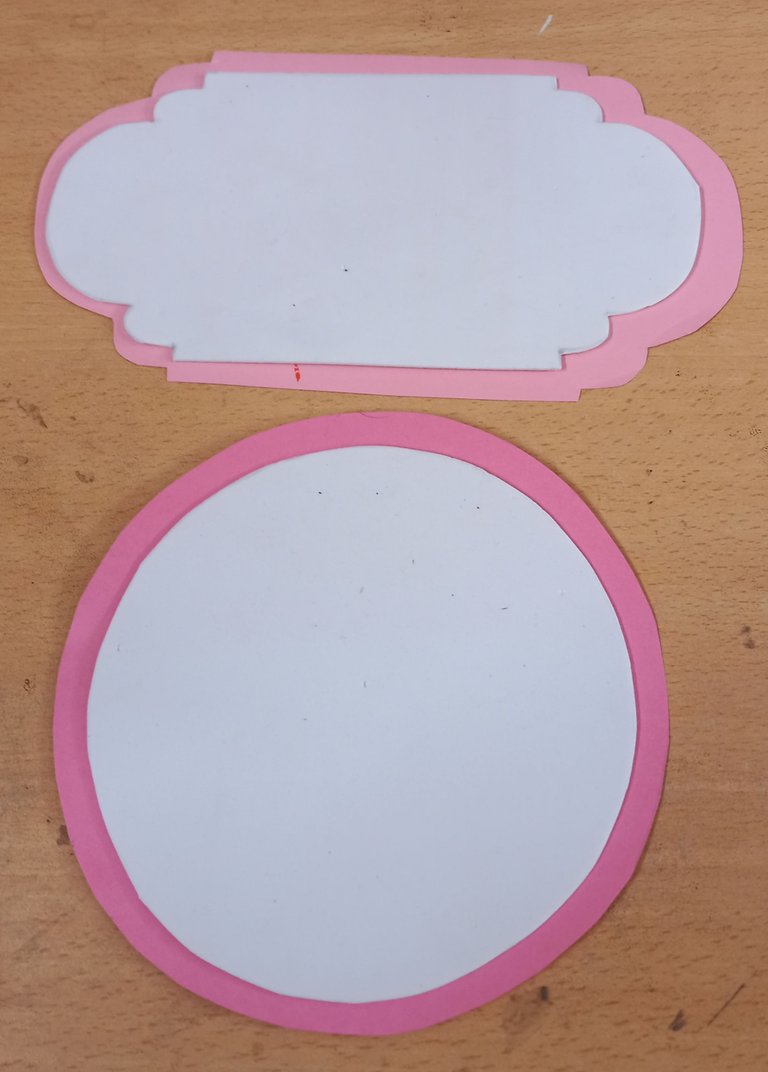
Después pegamos la barra decorativa, quedando abajo la grande y arriba la pequeña igualmente haremos con el círculo.
Then we glue the decorative bar, leaving the large one at the bottom and the small one at the top, as we will do with the circle.
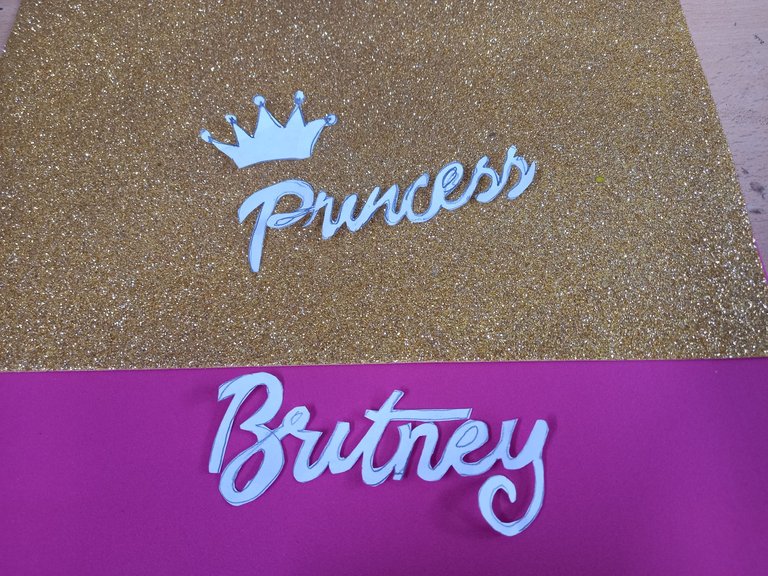
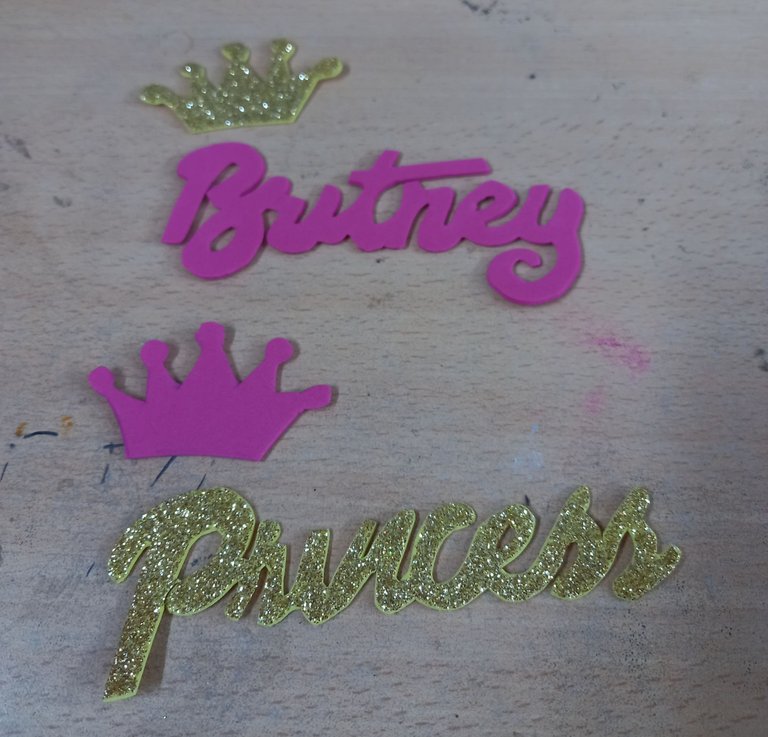
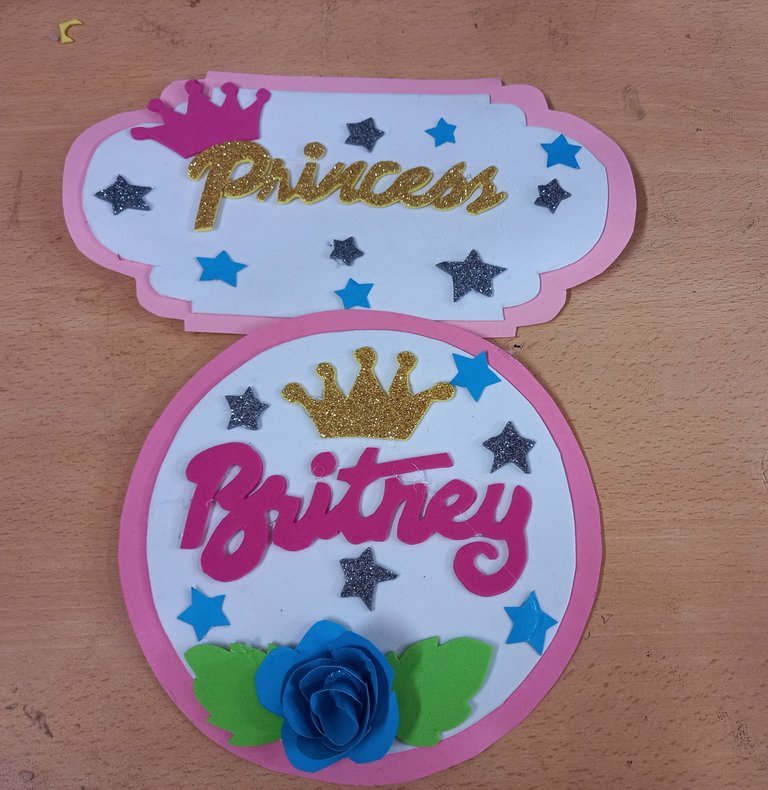
Luego marcamos y recortamos los patrones del nombre, la palabra Princess y la corona, utilizando para el nombre goma Eva fucsia, más una corona dorada y para Princess goma eva dorada más la corona fucsia.
Then we marked and cut out the patterns for the name, the word Princess and the crown, using fuchsia eva rubber for the name plus a gold crown and gold eva rubber plus a fuchsia crown for Princess.
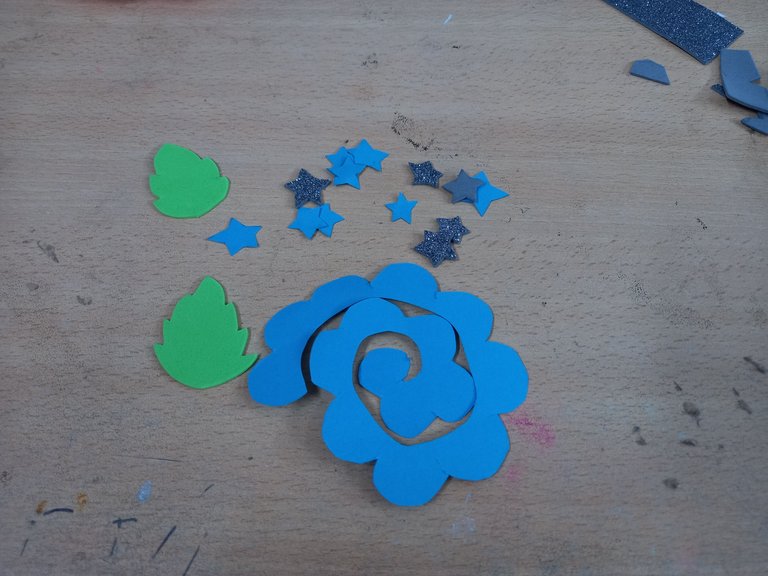
Posteriormente hacemos unas estrellas de cartulina azul y goma eva plateada, además una flor azul con dos hojitas verdes.
Then we make some stars with blue cardboard and silver eva rubber, and a blue flower with two little green leaves.
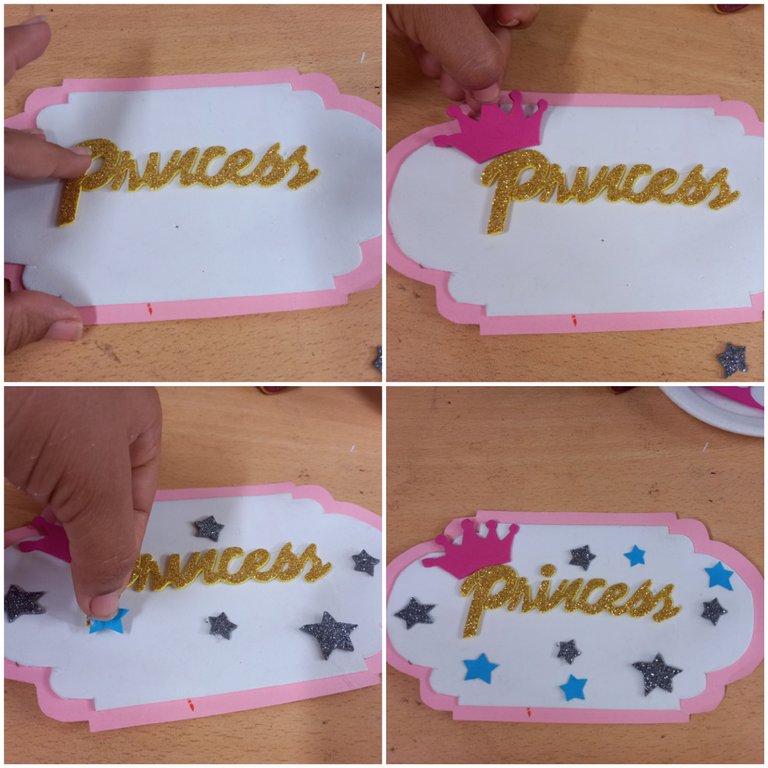
Luego pegamos la palabra Princess en la barra decorativa con la corona fucsia más las estrellas azules y plateadas.
Then we glued the word Princess on the decorative bar with the fuchsia wreath plus the blue and silver stars.
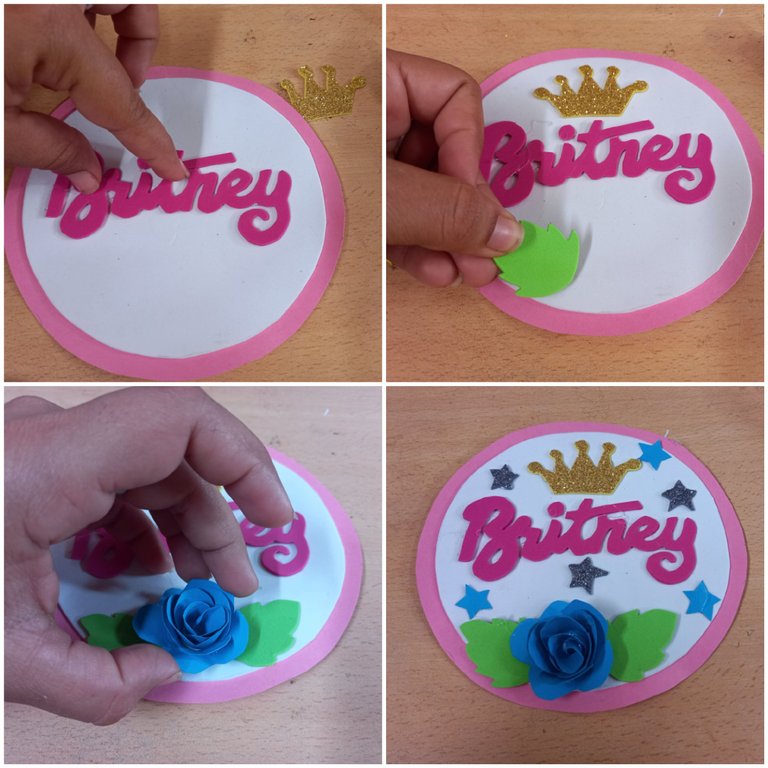
Pegaremos el nombre en el círculo con la corona en el centro y la flor debajo de éste, además de las estrellas azules y plateada esparcidas.
We will glue the name in the circle with the wreath in the center and the flower below it, as well as the blue and silver stars scattered around.
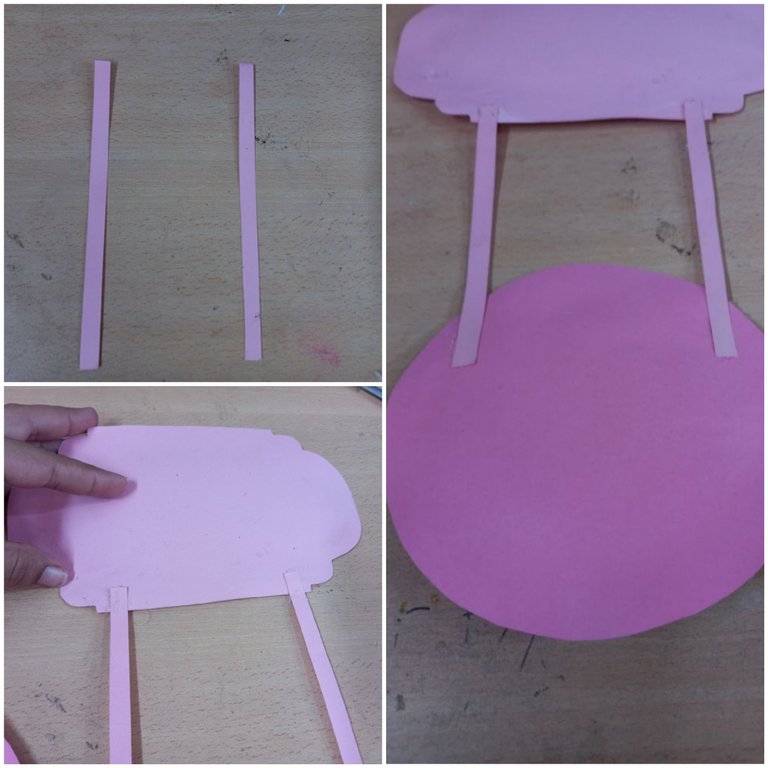
Finalizamos haciendo dos tiras de cartulina rosadas y las fijamos uniendo las dos piezas terminadas, es decir el círculo y la barra decorativa.
We finish by making two strips of pink cardboard and attach them by joining the two finished pieces, i.e. the circle and the decorative bar.

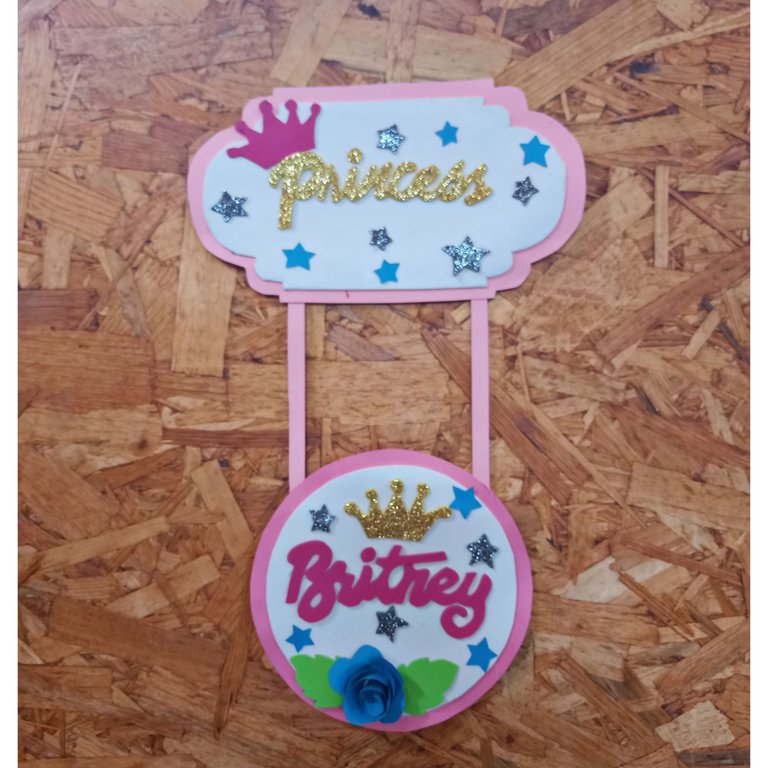
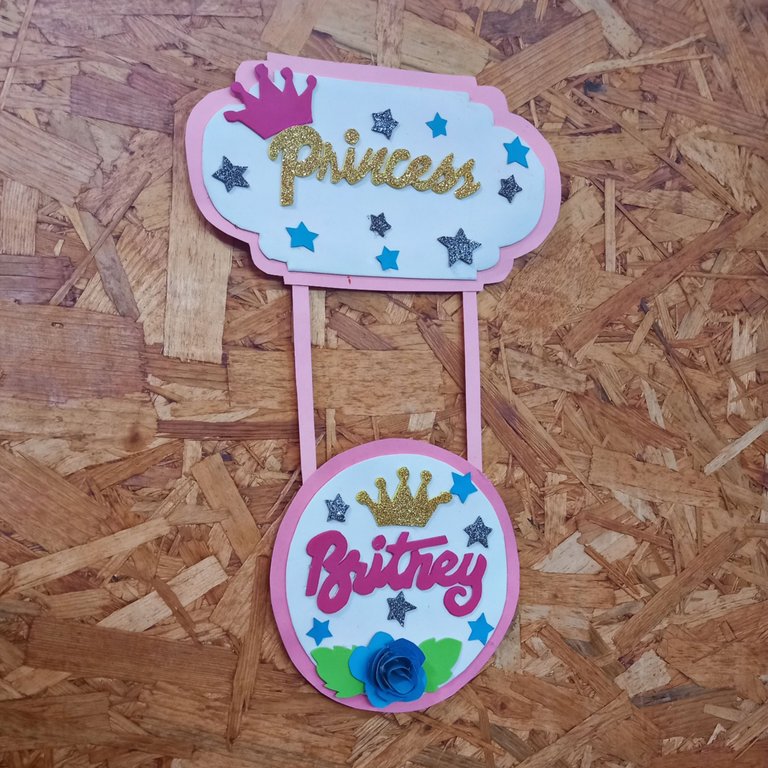
Así de lindo quedó éste Colgante para personalizar nuestras habitaciones o sitios favoritos, espero les haya gustado el resultado y lo pongan en practica.
Saludos y Bendiciones queridos amigos.
I hope you liked the result and I hope you put it into practice.
Greetings and Blessings dear friends.


