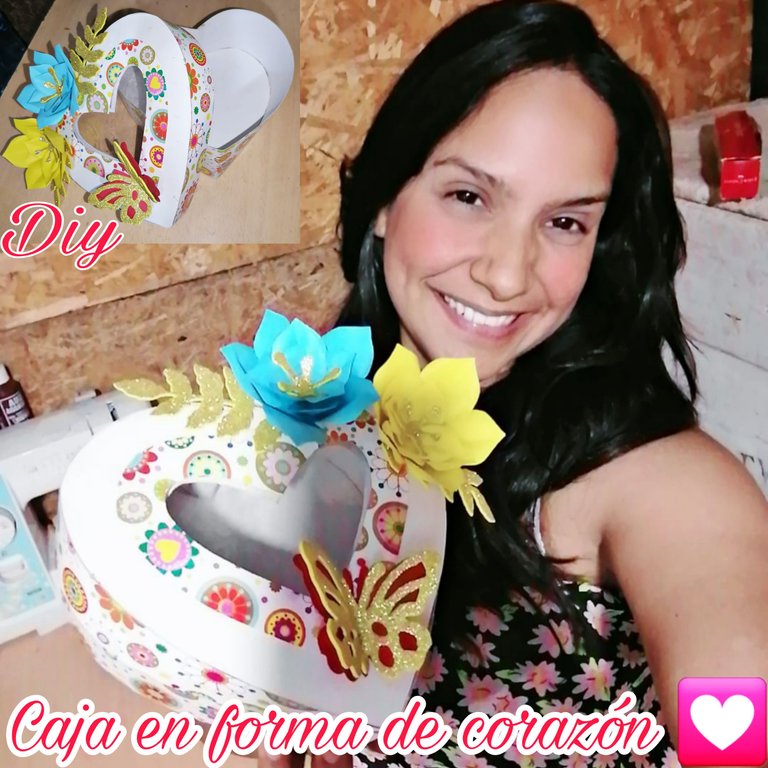
Hola mi linda familia de esta creativa comunidad #Hive-Diy, deseo que se encuentren muy bien, llenos de salud y de mucha energía y motivación para seguir creando contenidos de calidad. Como siempre es un gusto poder saludarlos y compartir con ustedes una nueva creación. Hoy les mostraré la elaboración de una elegante y colorida caja en forma de corazón, ideal o creada especialmente para obsequiar a esas hermosas madres que lo dan todo sin esperar nada a cambio. Aquí te muestro como realice esta hermosa caja para que tú también te animes a hacerla.
Hello my beautiful family of this creative community #Hive-Diy, I wish you are very well, full of health and lots of energy and motivation to continue creating quality content. As always it is a pleasure to greet you and share with you a new creation. Today I will show you how to make an elegant and colorful heart-shaped box, ideal or created especially to give as a gift to those beautiful mothers who give everything without expecting anything in return. Here I show you how to make this beautiful box so that you too can make it.

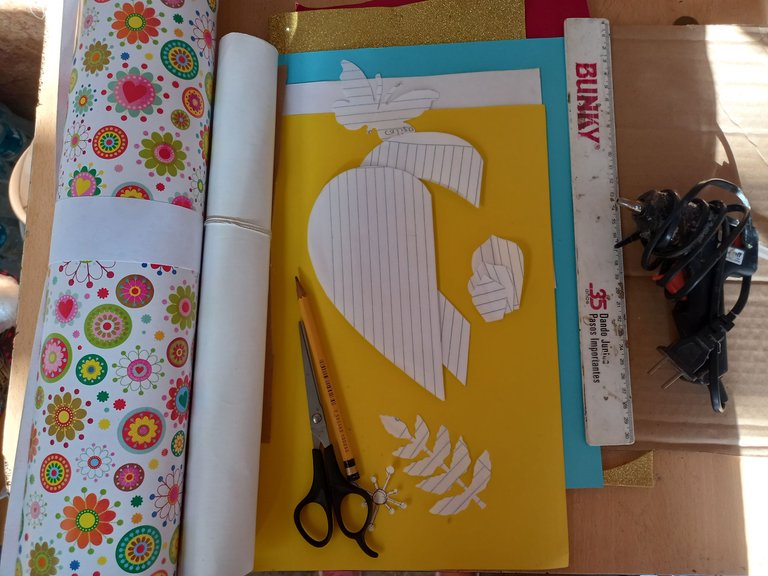
- Cartulina de diseños.
- Cartón.
- Cartulina amarilla, blanca, azul y roja.
- Goma Eva dorada.
- Una pieza pequeña de plástico de botella.
- Patrón de: corazones,pétalos, mariposa y hojitas en rama.
- Lápiz.
- Tijeras.
- Regla.
- Pistola de silicón.
- Cardboard of designs.
- Cardboard.
- Yellow, white, blue and red cardboard.
- Golden eva rubber.
- A small piece of plastic bottle.
- Pattern of: hearts, petals, butterfly and leaves on branch.
- Pencil.
- Scissors.
- Ruler.
- Silicone gun.

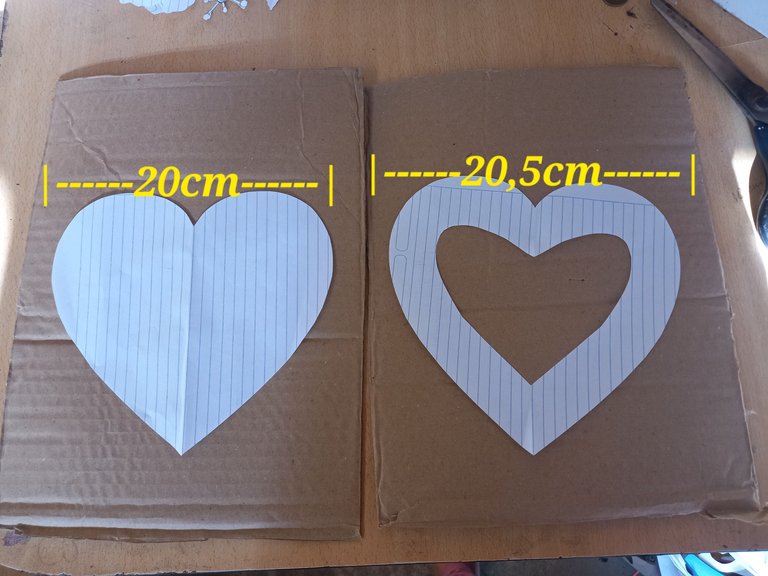
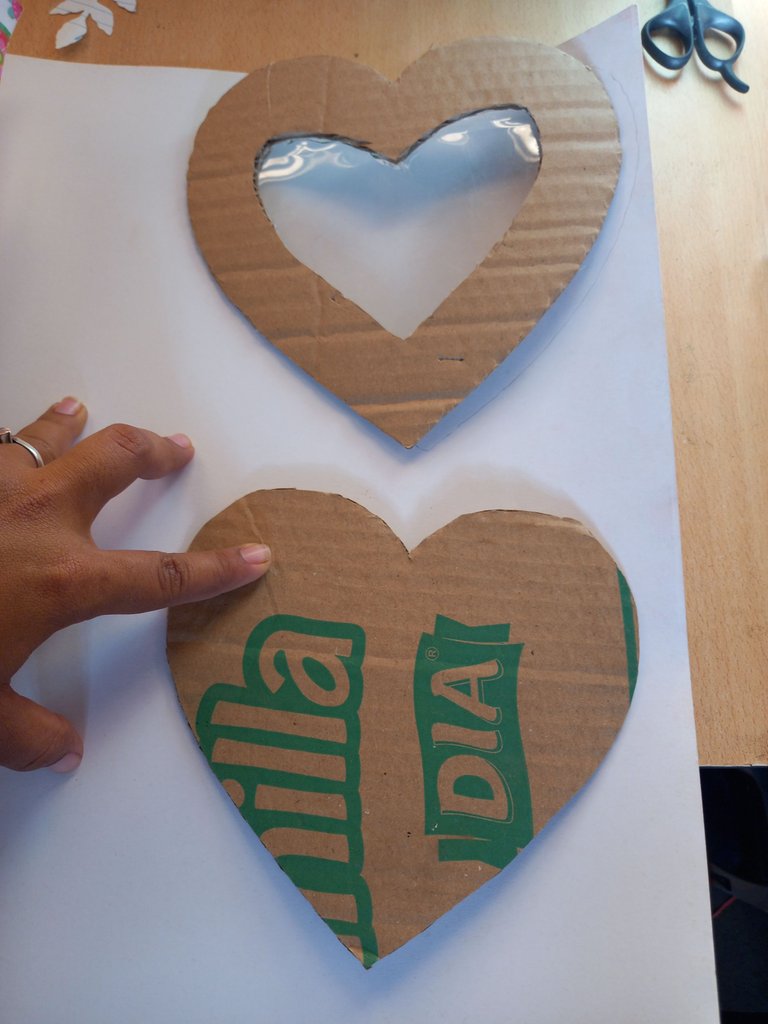
Lo primero que vamos a hacer es marcar nuestros dos patrones de corazón tanto el de 20 cm que será la base de la caja como el de 20,5 cm de ancho que es para la tapa, sobre el cartón y recortamos.
The first thing we are going to do is to mark our two heart patterns on the cardboard, both the 28 cm which will be the base of the box and the 29 cm wide which is for the lid, and cut them out.
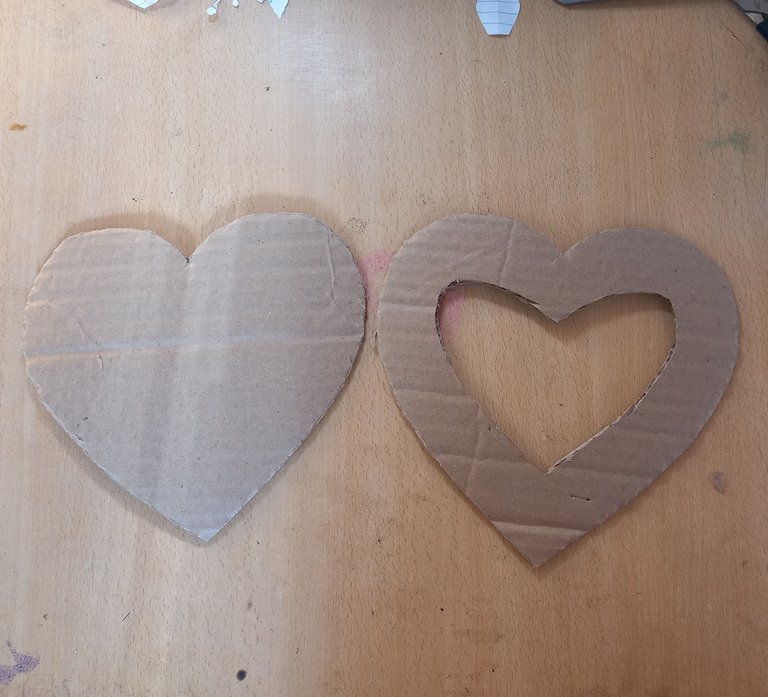
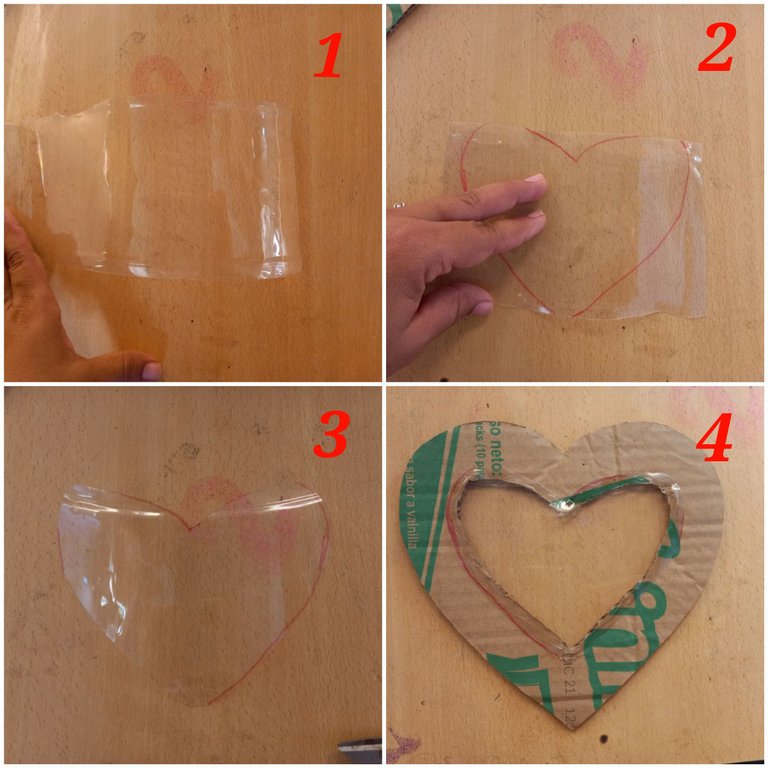
En la pieza o la lámina de botella plástica, dibujamos un corazón, que sea 1cm más grande que el corazón del centro de la tapa, lo recortamos y lo fijamos sobre esta con silicón caliente.
On the piece or sheet of plastic bottle, draw a heart, 1 cm larger than the heart in the center of the lid, cut it out and fix it on the lid with hot silicone.
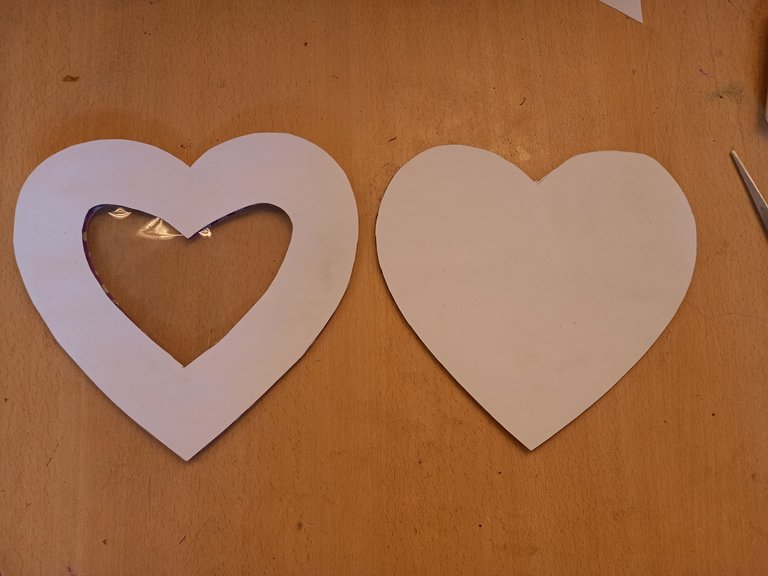
Luego forramos las dos caras de los dos corazones con cartulina blanca.
Then line both sides of the two hearts with white cardboard.
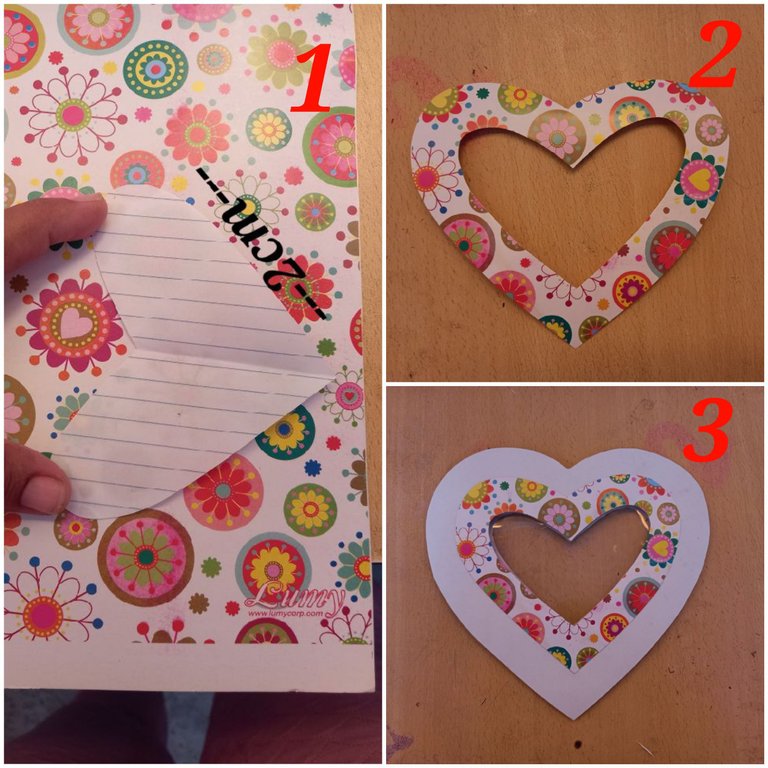
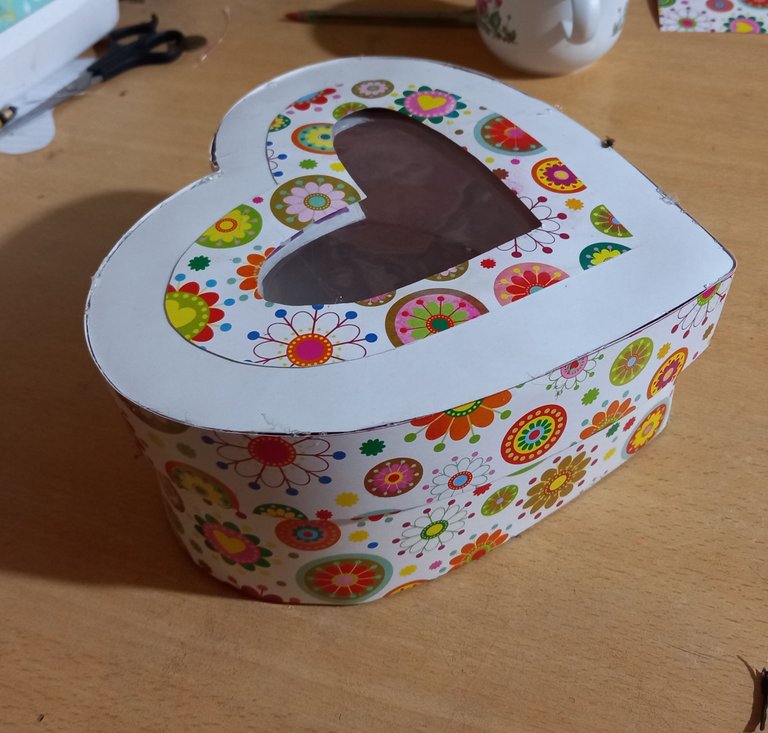
Con cartulina de diseño haremos un corazón del tamaño del corazón del centro de la tapa, con un borde de 2cm de ancho y lo pegamos en el medio de la tapa, siguiendo la figura de abajo.
With designer cardboard we will make a heart the size of the heart in the center of the lid, with a 2cm wide border and glue it in the middle of the lid, following the figure below.
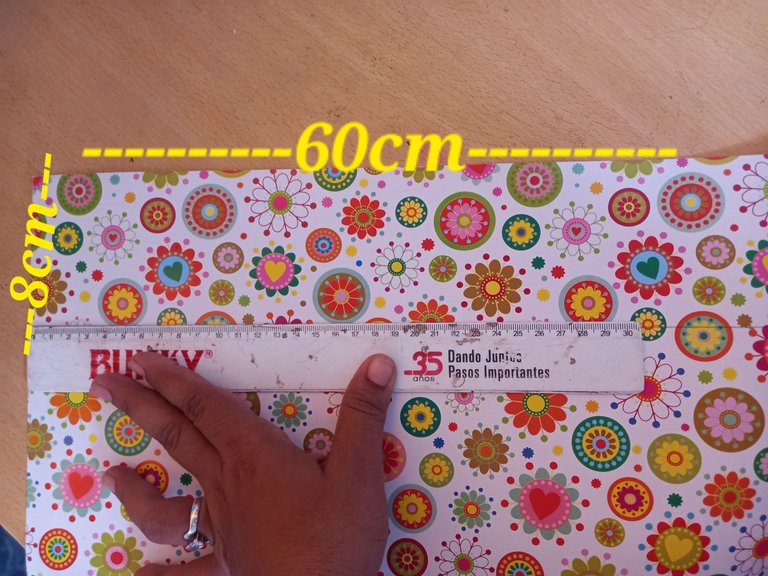
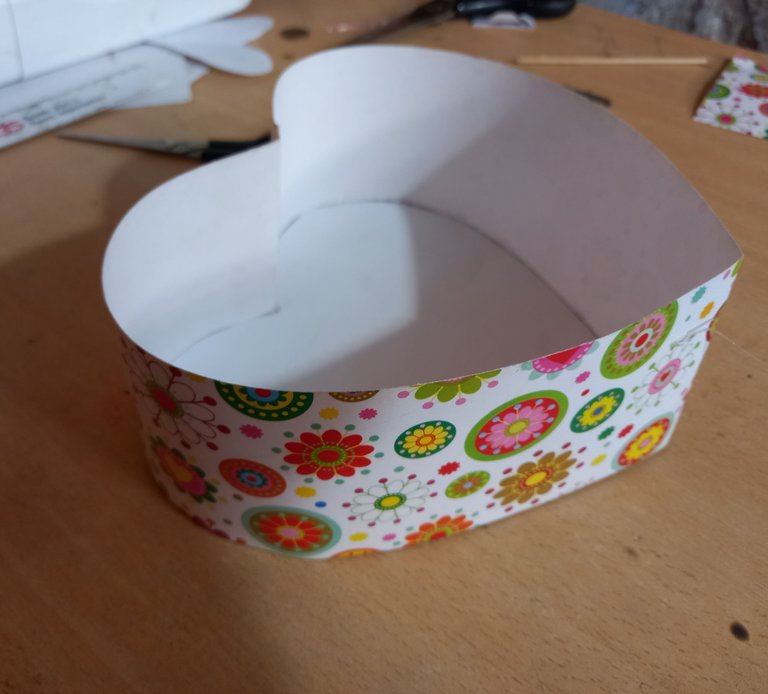
Una vez que tengamos listas las piezas anteriormente mencionadas, procedemos a cortar una tira de cartulina con diseños de 8cm de ancho y 60cm de largo para hacer las paredes del borde de la caja.
Once we have the above mentioned pieces ready, we proceed to cut a strip of cardboard with designs of 8cm wide and 60cm long to make the walls of the box edge.
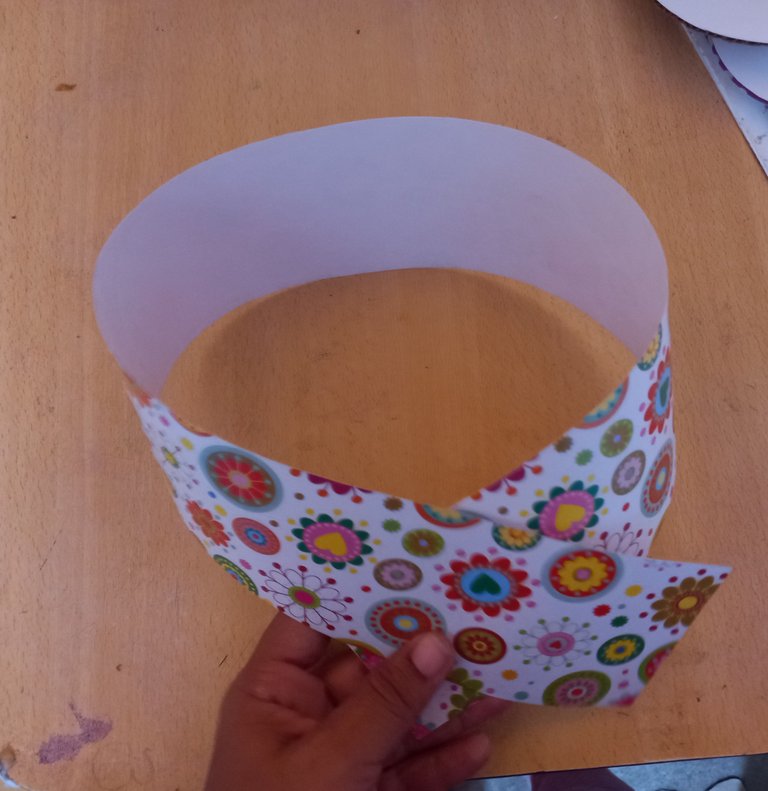
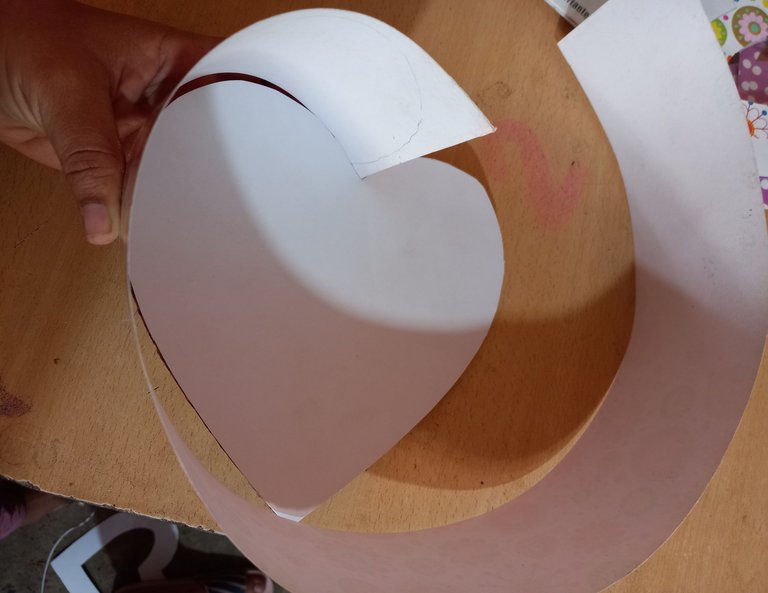
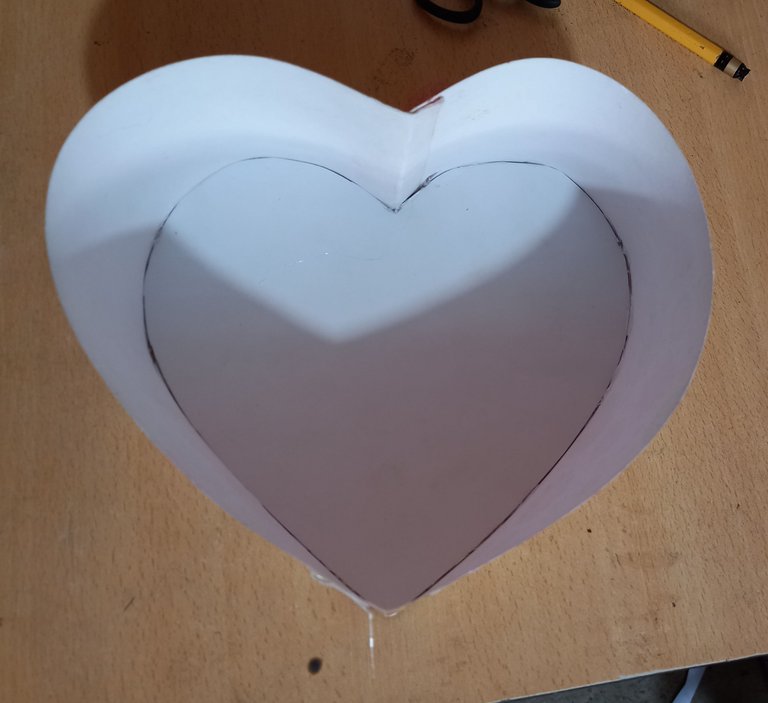
Pegamos la tira por todo el borde o el contorno del corazón de cartón y así tendríamos lista nuestra caja.
We glue the strip all around the edge or the contour of the cardboard heart and our box is ready.
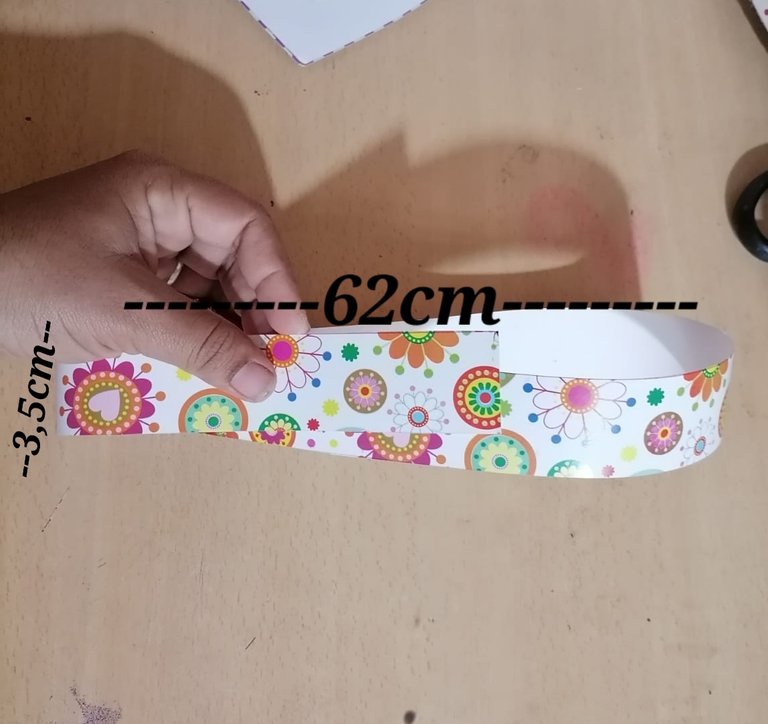
Ahora recortaremos una tira de aproximadamente 3 cm de ancho y 61cm de largo para hacer las paredes del borde de la tapa.
Now we will cut a strip approximately 3 cm wide and 61cm long to make the walls of the edge of the lid.
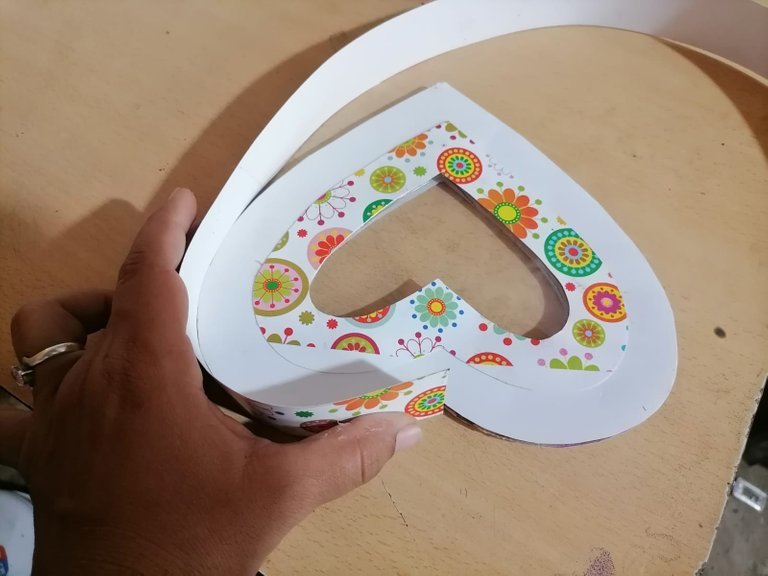
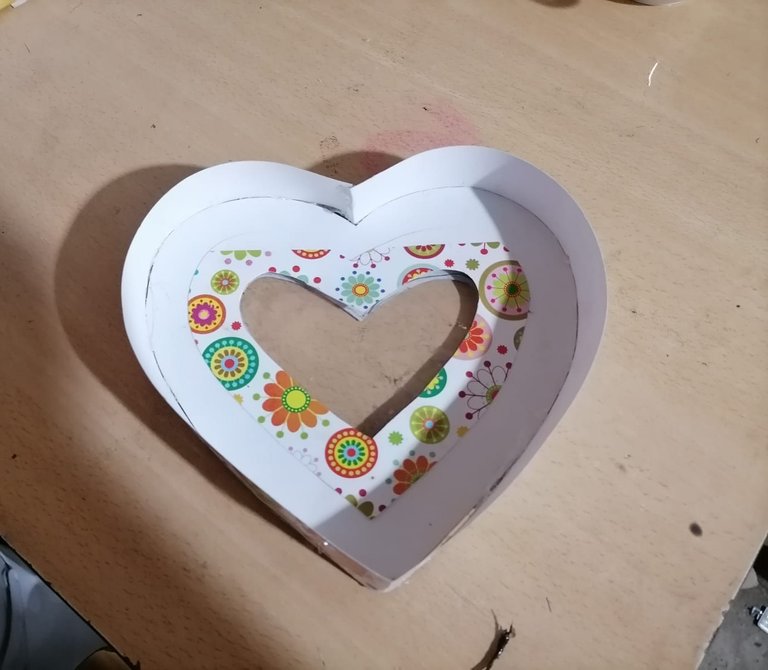
Pegamos la tira por todo el contorno del corazón y terminamos nuestra tapa.
We glue the strip all around the heart and finish our cover.
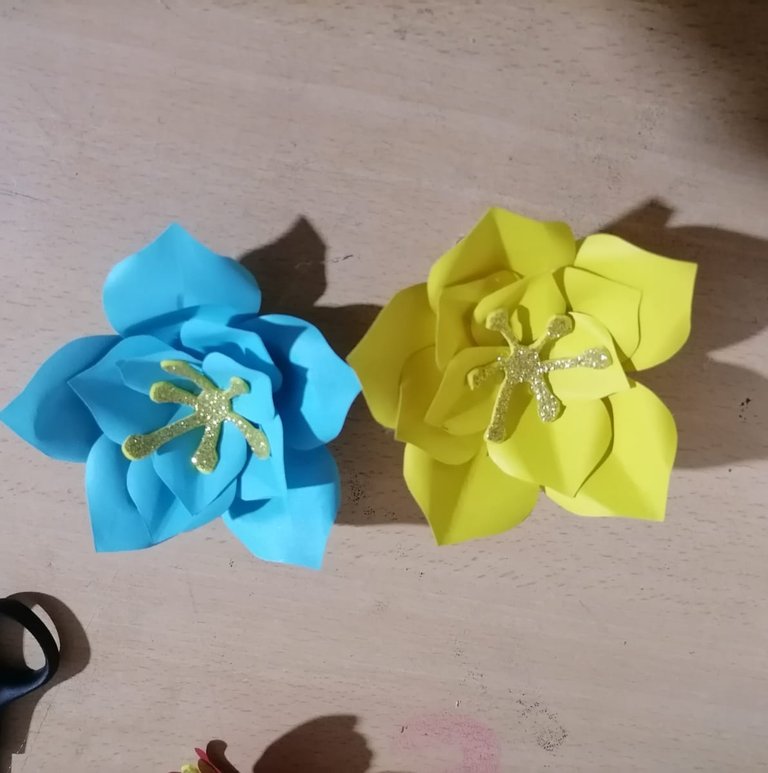
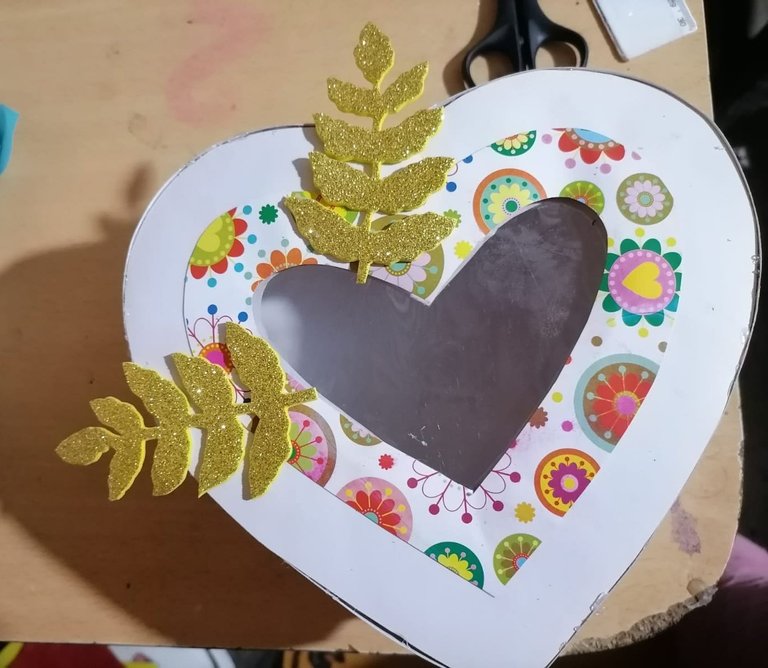
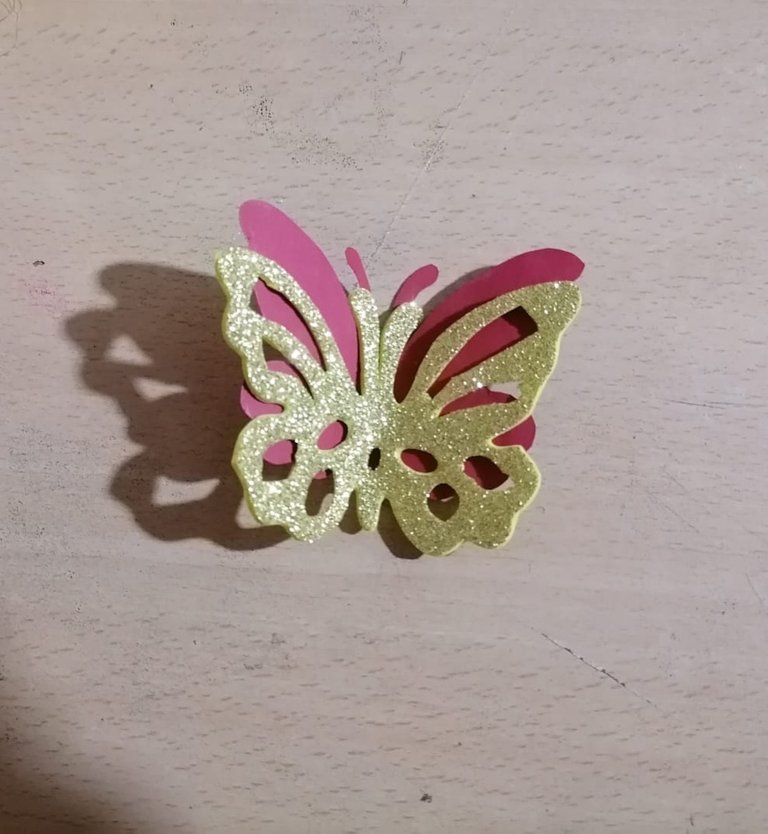
Una vez terminada la caja comenzaremos a marcar los patrones de los pétalos de las flores, el adorno del centro, sus respectivas hojitas y la mariposa. Para estas flores utilice cartulina amarilla, azul celeste y blanca, para sus hojas goma Eva dorada y para la mariposa cartulina roja con goma Eva dorada.
Once the box is finished, we will begin to mark the patterns of the flower petals, the ornament in the center, their respective leaves and the butterfly. For the flowers I used yellow, light blue and white cardboard, for the leaves I used gold Eva glue and for the butterfly I used red cardboard with gold Eva glue.
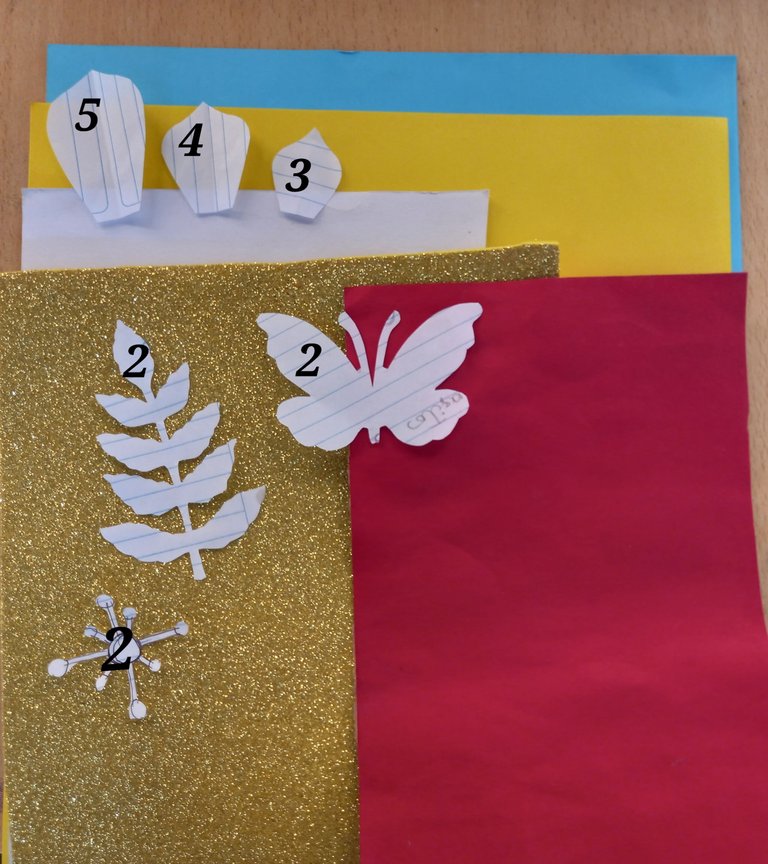
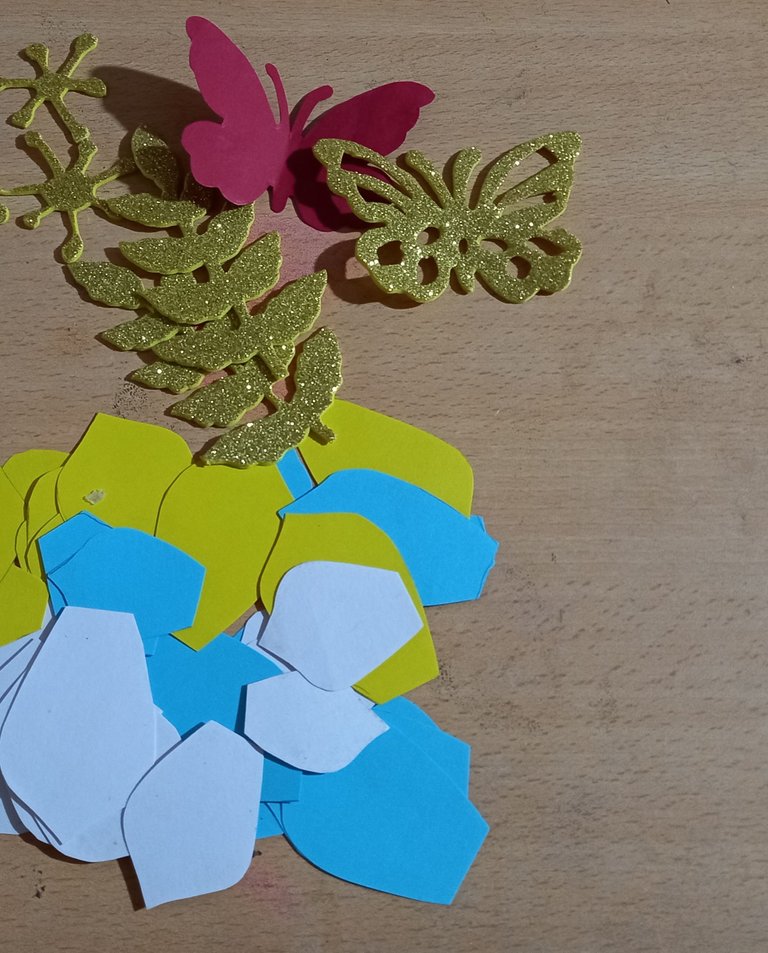
Recortamos todos los patrones y las cantidades necesarias para armar cada pieza.
We cut out all the patterns and the quantities needed to assemble each piece.
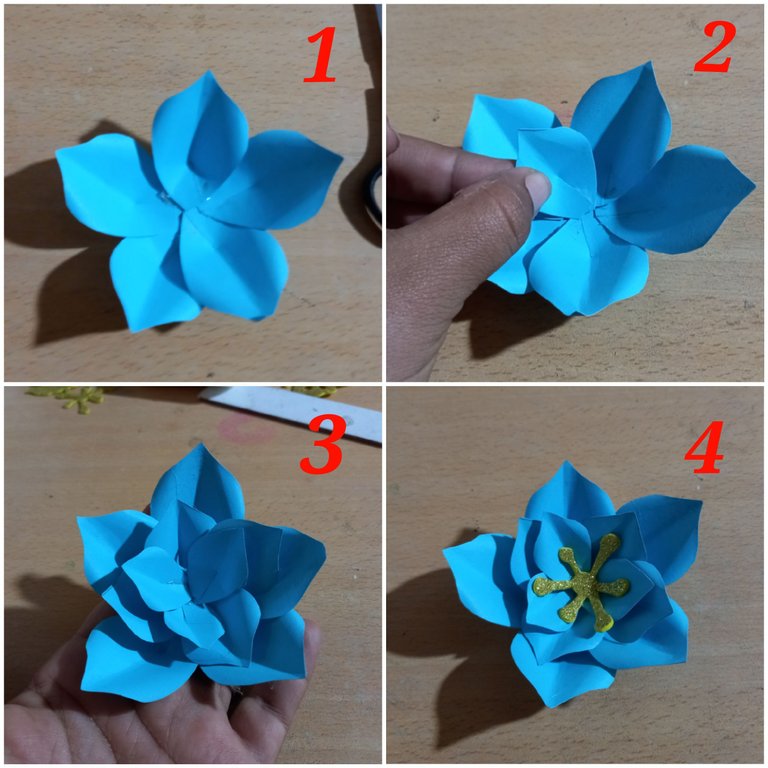
Procedemos primeramente a armar las flores, para esto doble un poco en el centro todos los pétalos y con la tijera también doblé las dos esquinas superiores de los pétalos, hacemos un piquete en el centro de los pétalos y los unimos para que queden levantados.
We proceed first to assemble the flowers, for this fold a little in the center all the petals and with the scissors also folded the two upper corners of the petals, we make a picket in the center of the petals and join them so that they are lifted.
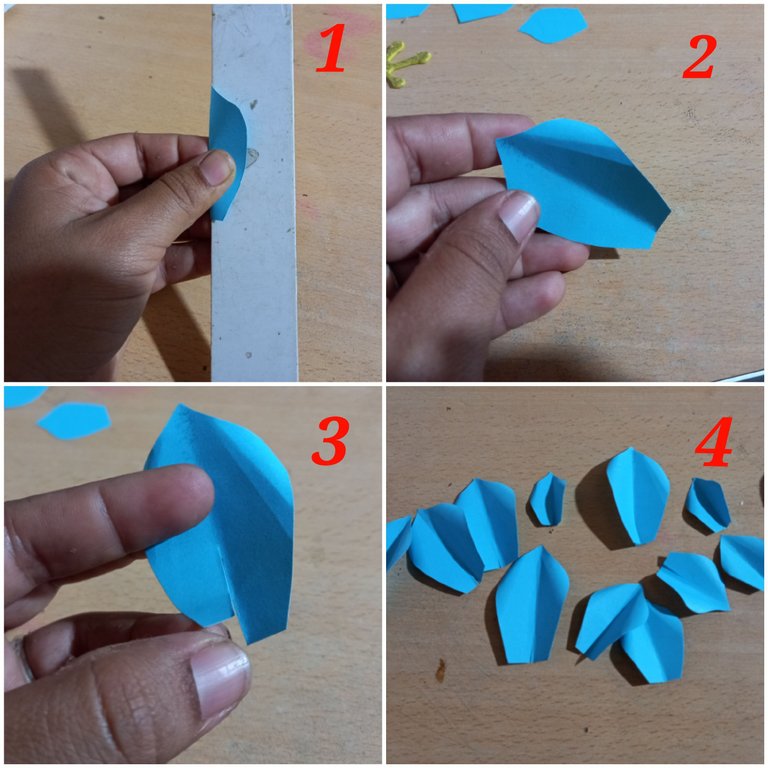
Cuándo hayamos terminado el proceso anterior, comenzaremos a unir cada pétalo comenzando desde los más grandes hasta terminar con los más pequeños.
When we have finished the previous process, we will begin to join each petal starting from the largest to the smallest.
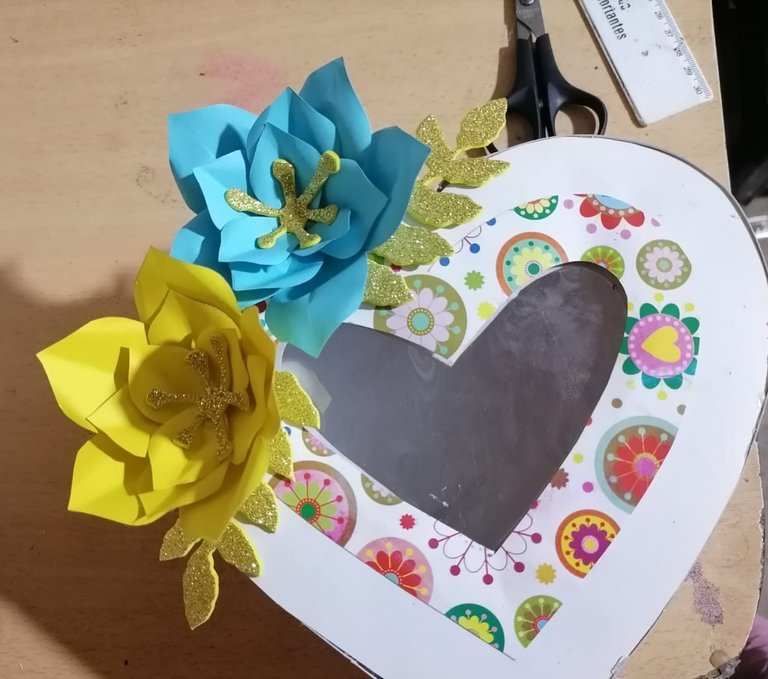
Pegamos las flores con las hojitas en el lugar que más nos guste de la tapa.
We glue the flowers with the leaves in the place we like the most on the lid.
Por último armamos la mariposa y la pegamos sobre las flores.
Finally we assemble the butterfly and glue it on the flowers.
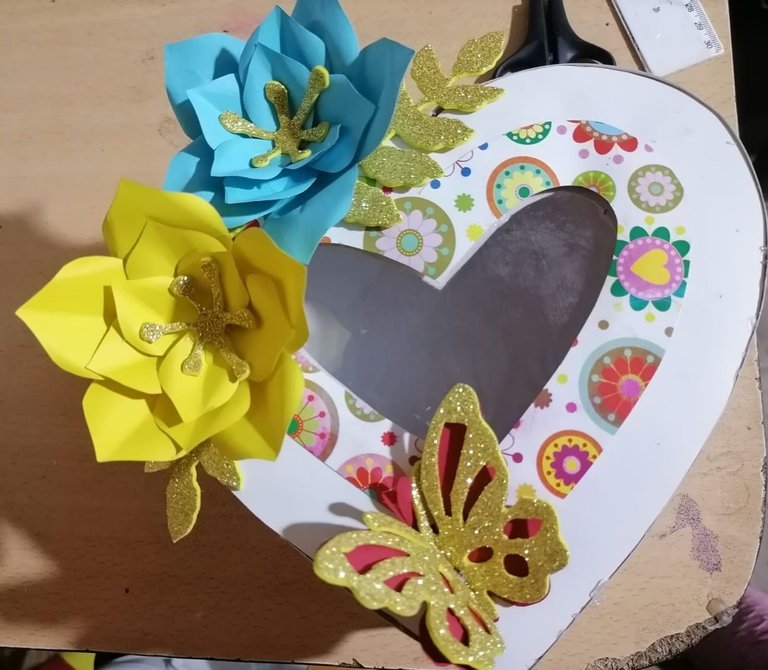
¡Veamos el resultado amigos!
Let's see the result folks!

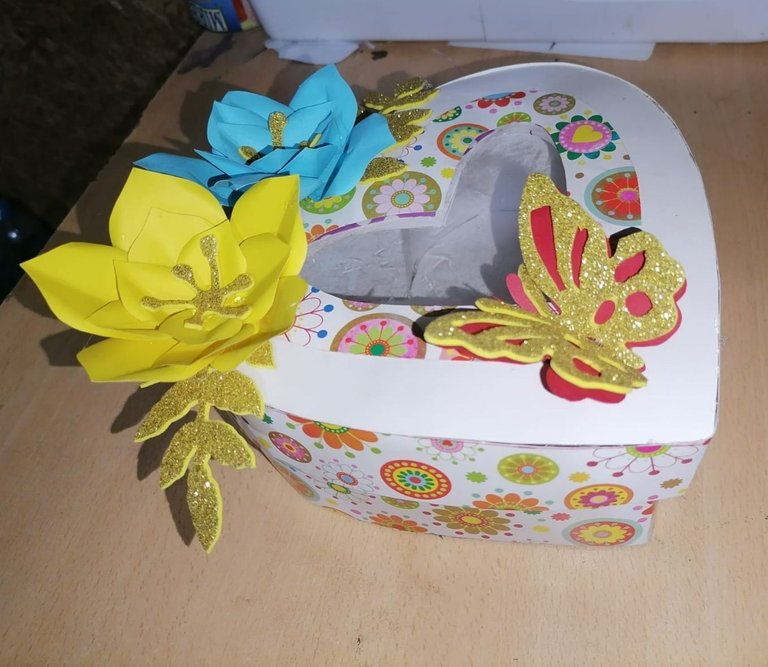
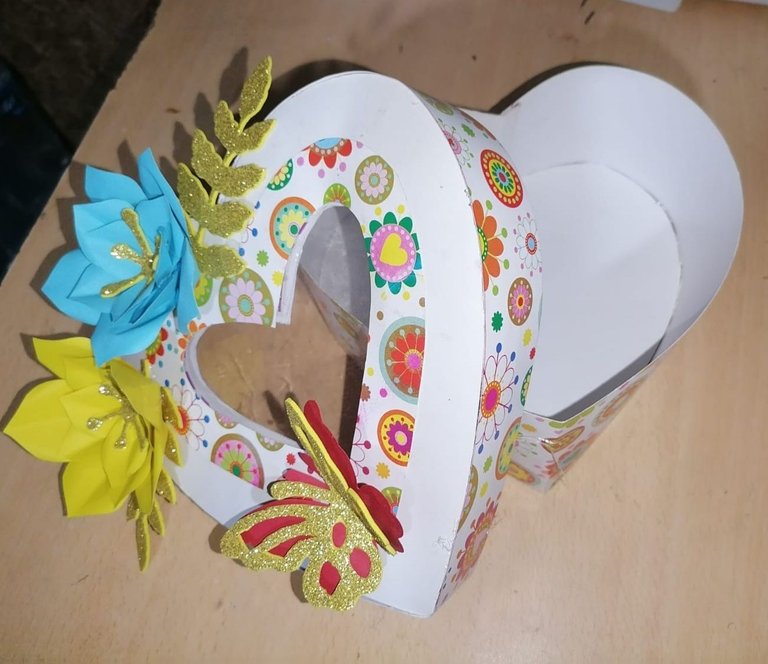
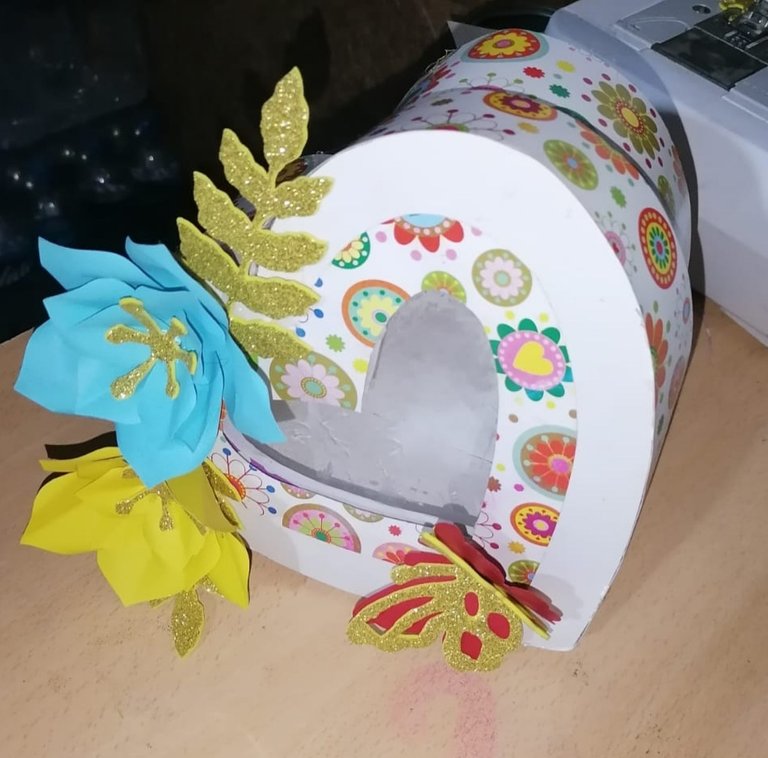
Este ha sido el resultado de ésta caja en forma de corazón, hecha con amor para mamá 💕 ♥, activa tu creatividad y anímate a hacerla. Saludos y Bendiciones mis amigos. 🙏 🤗😘
*This has been the result of this heart shaped box, made with love for mom 💕 ♥, activate your creativity and encourage you to make it. Greetings and Blessings my friends. 🙏 🤗😘


